
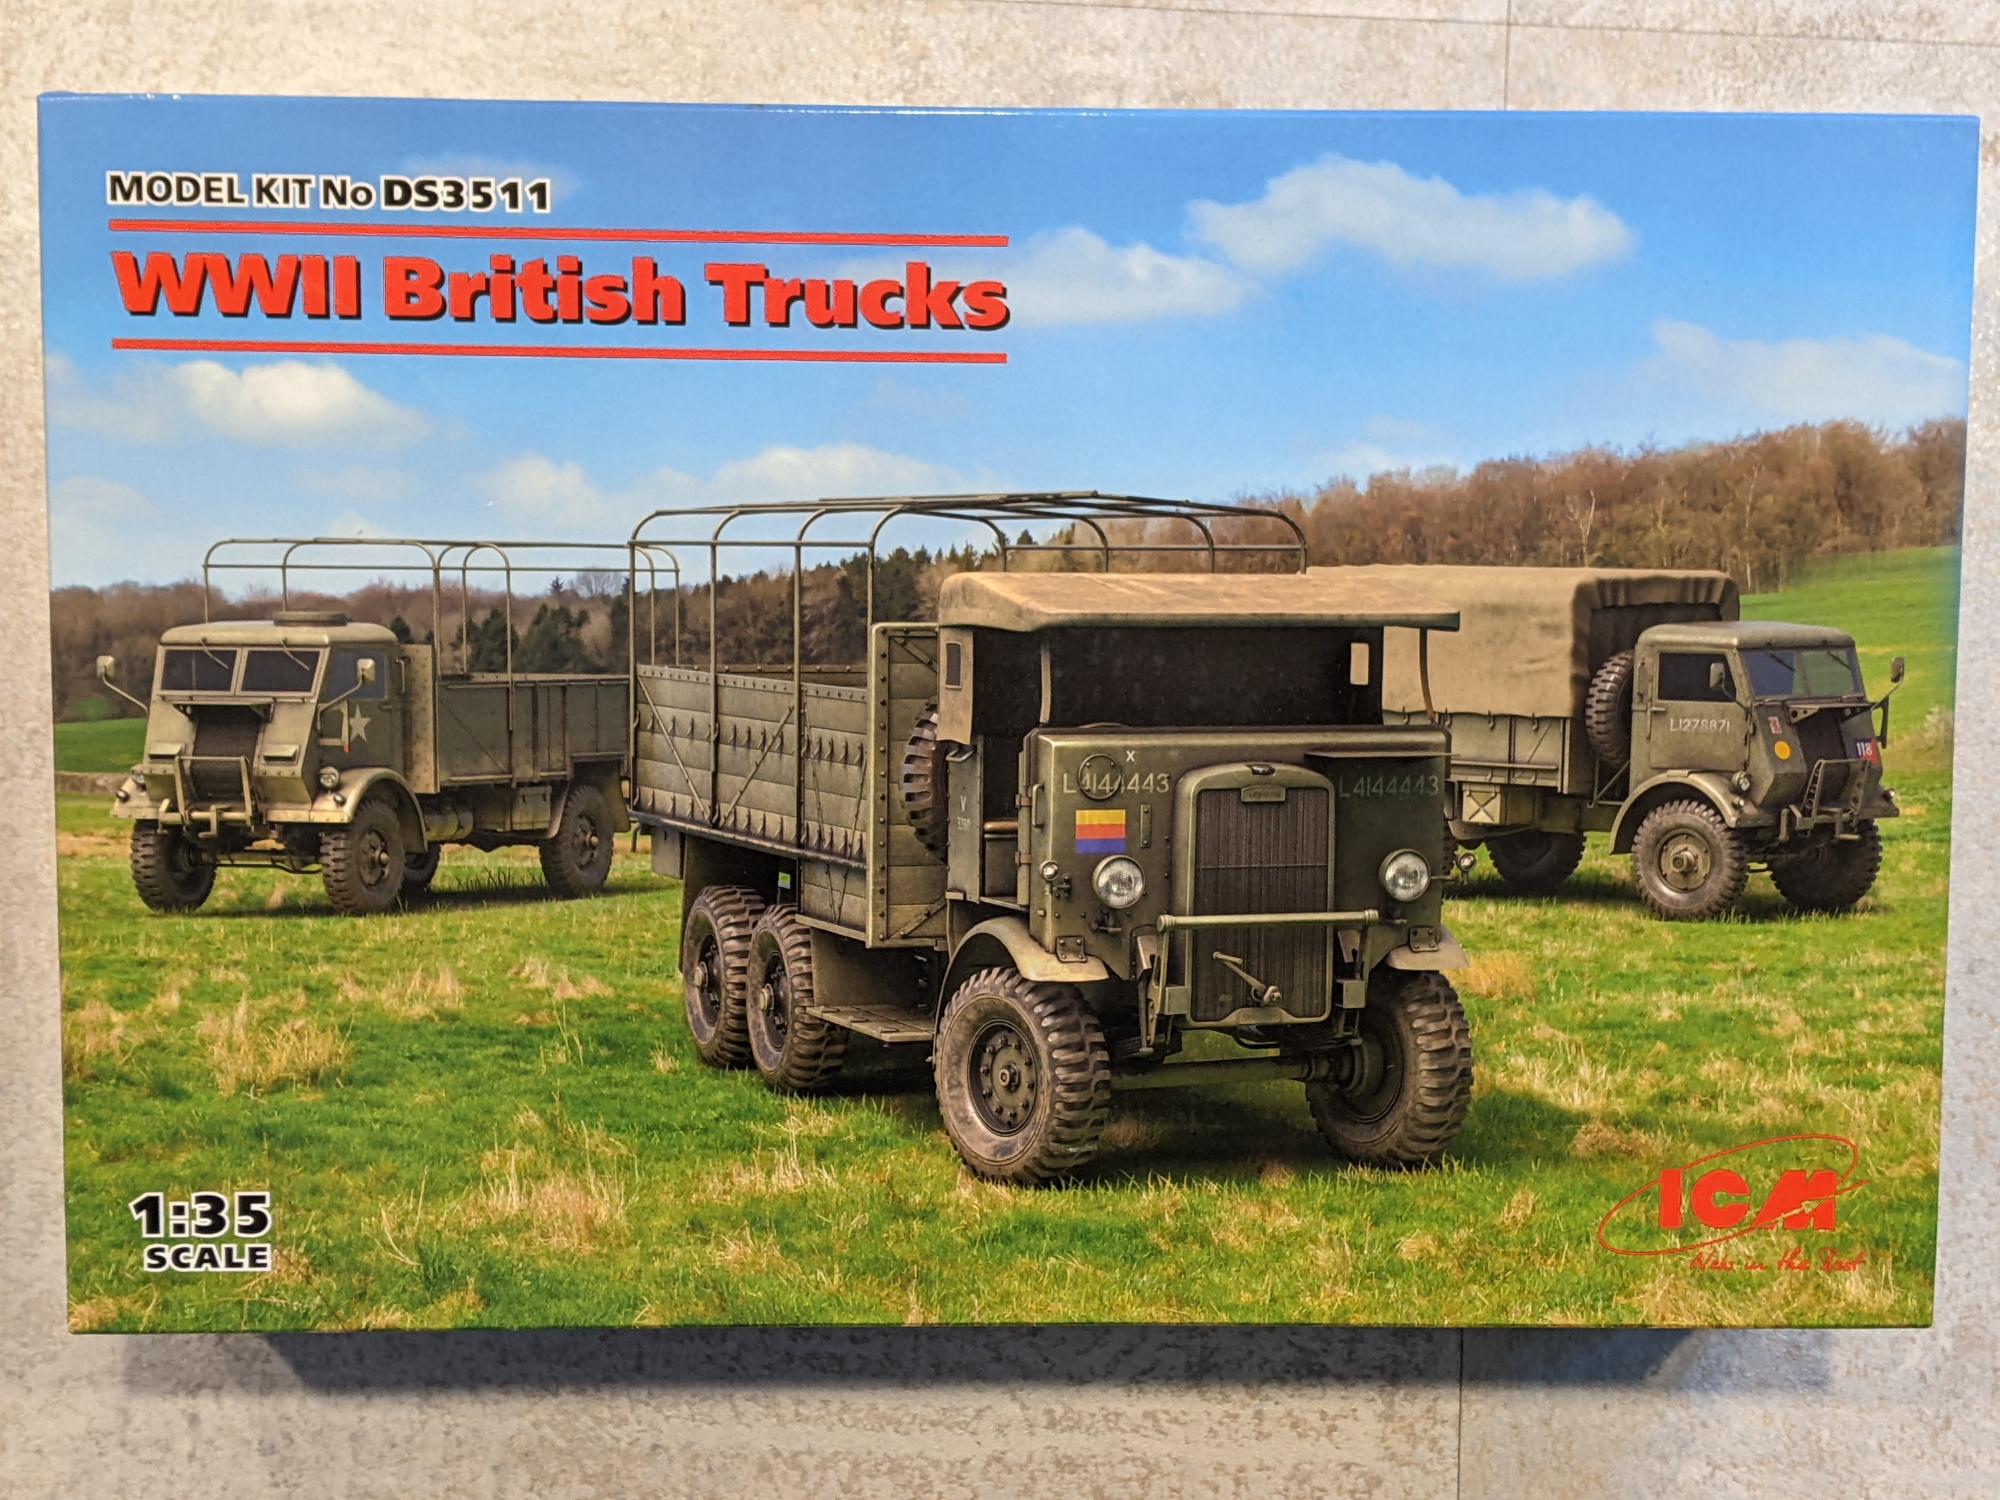
World War II British Trucks
The Kit
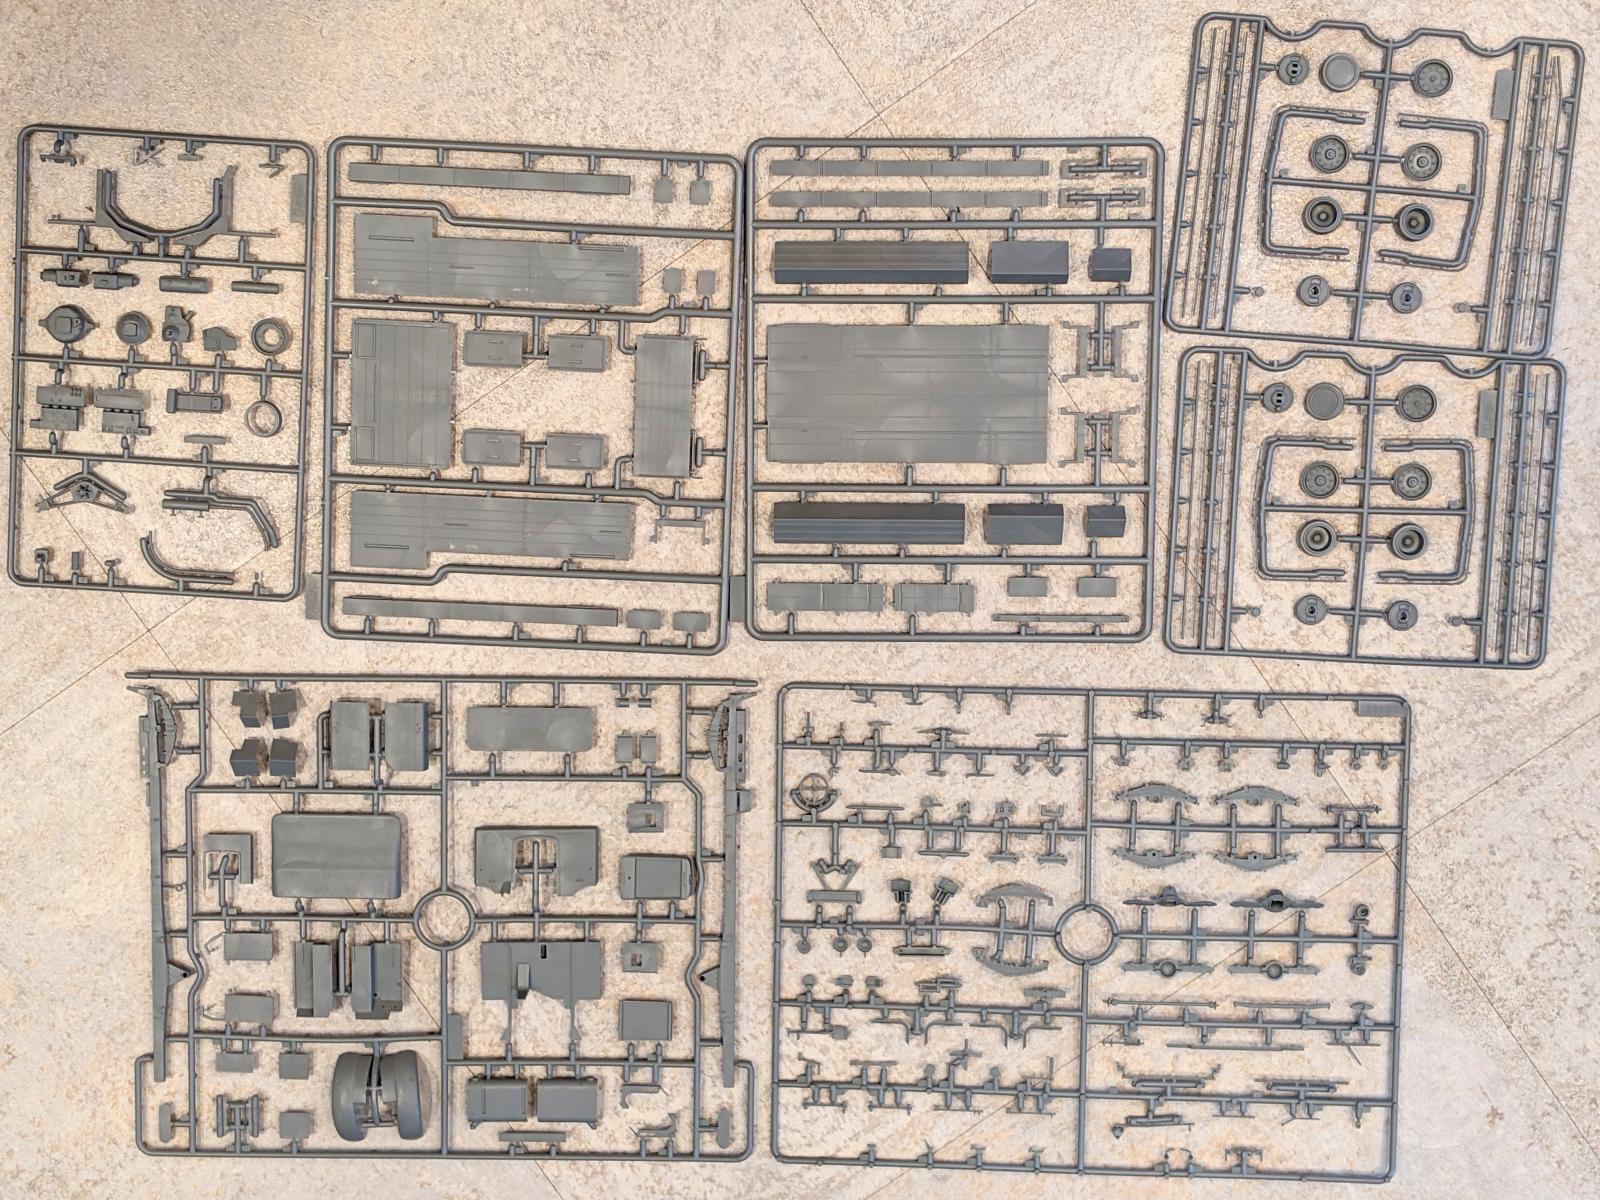
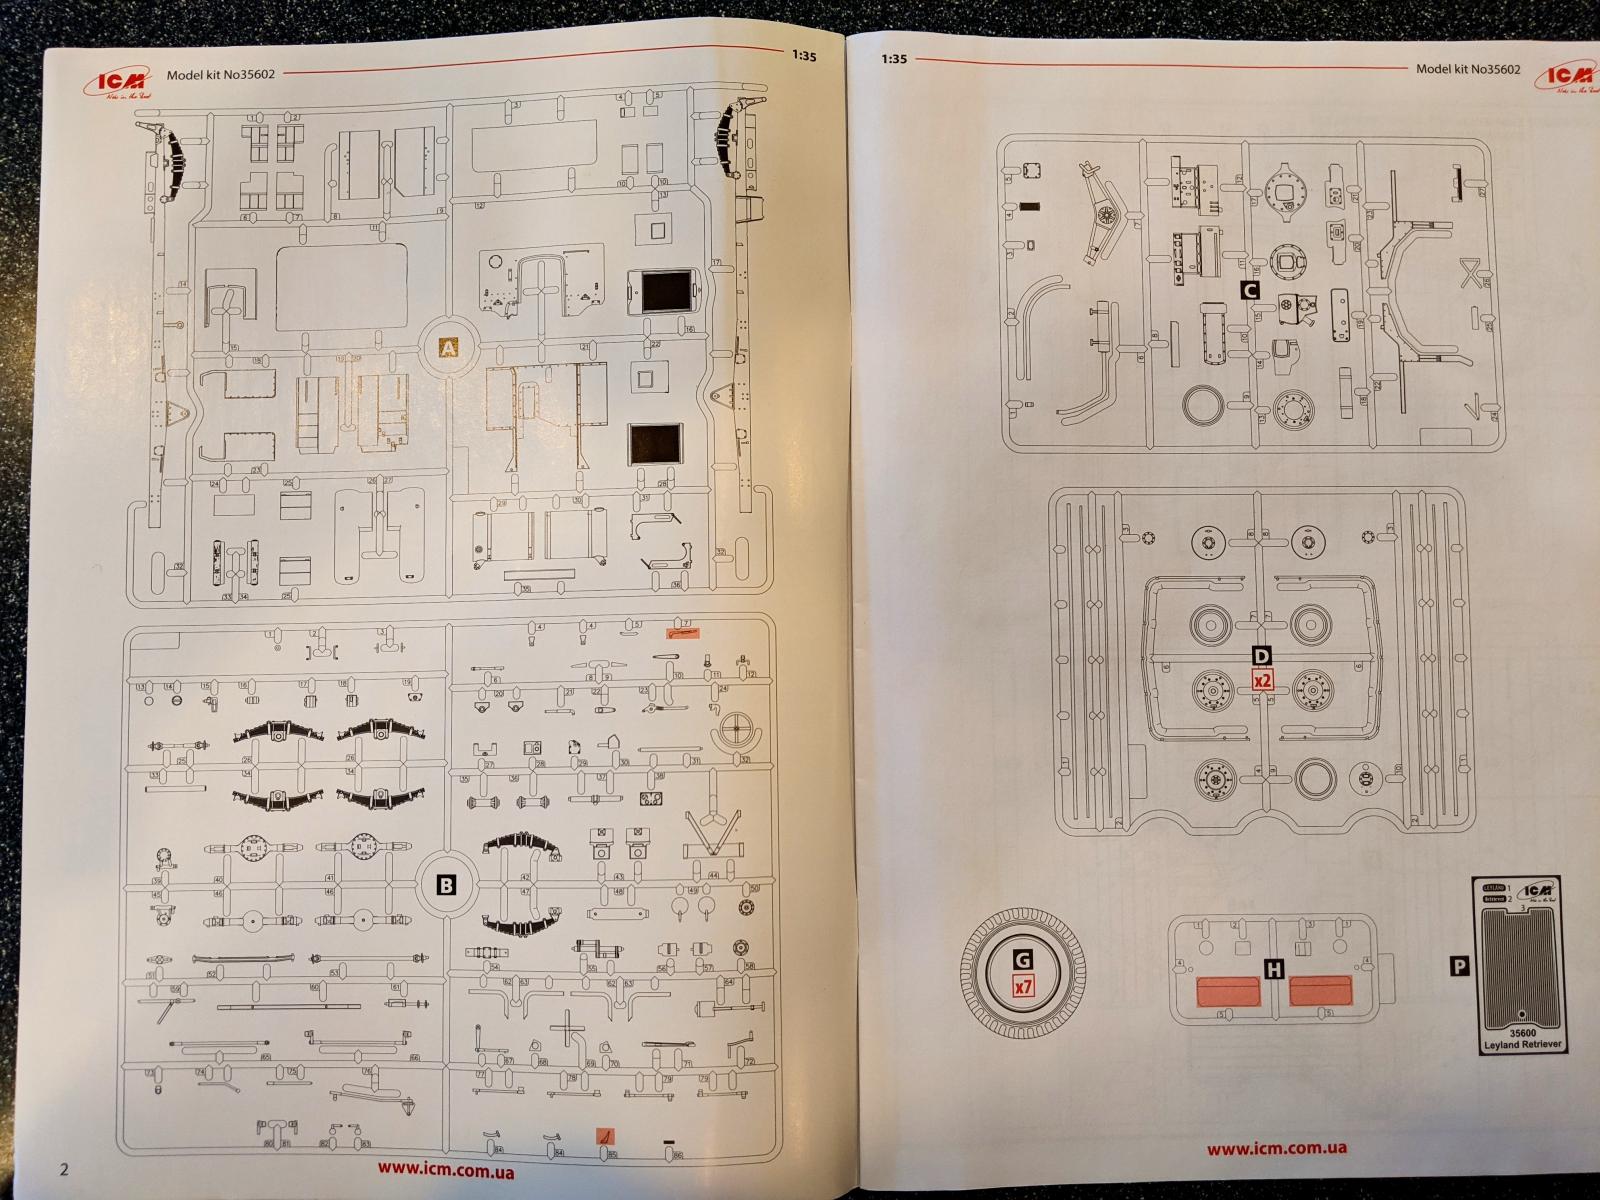
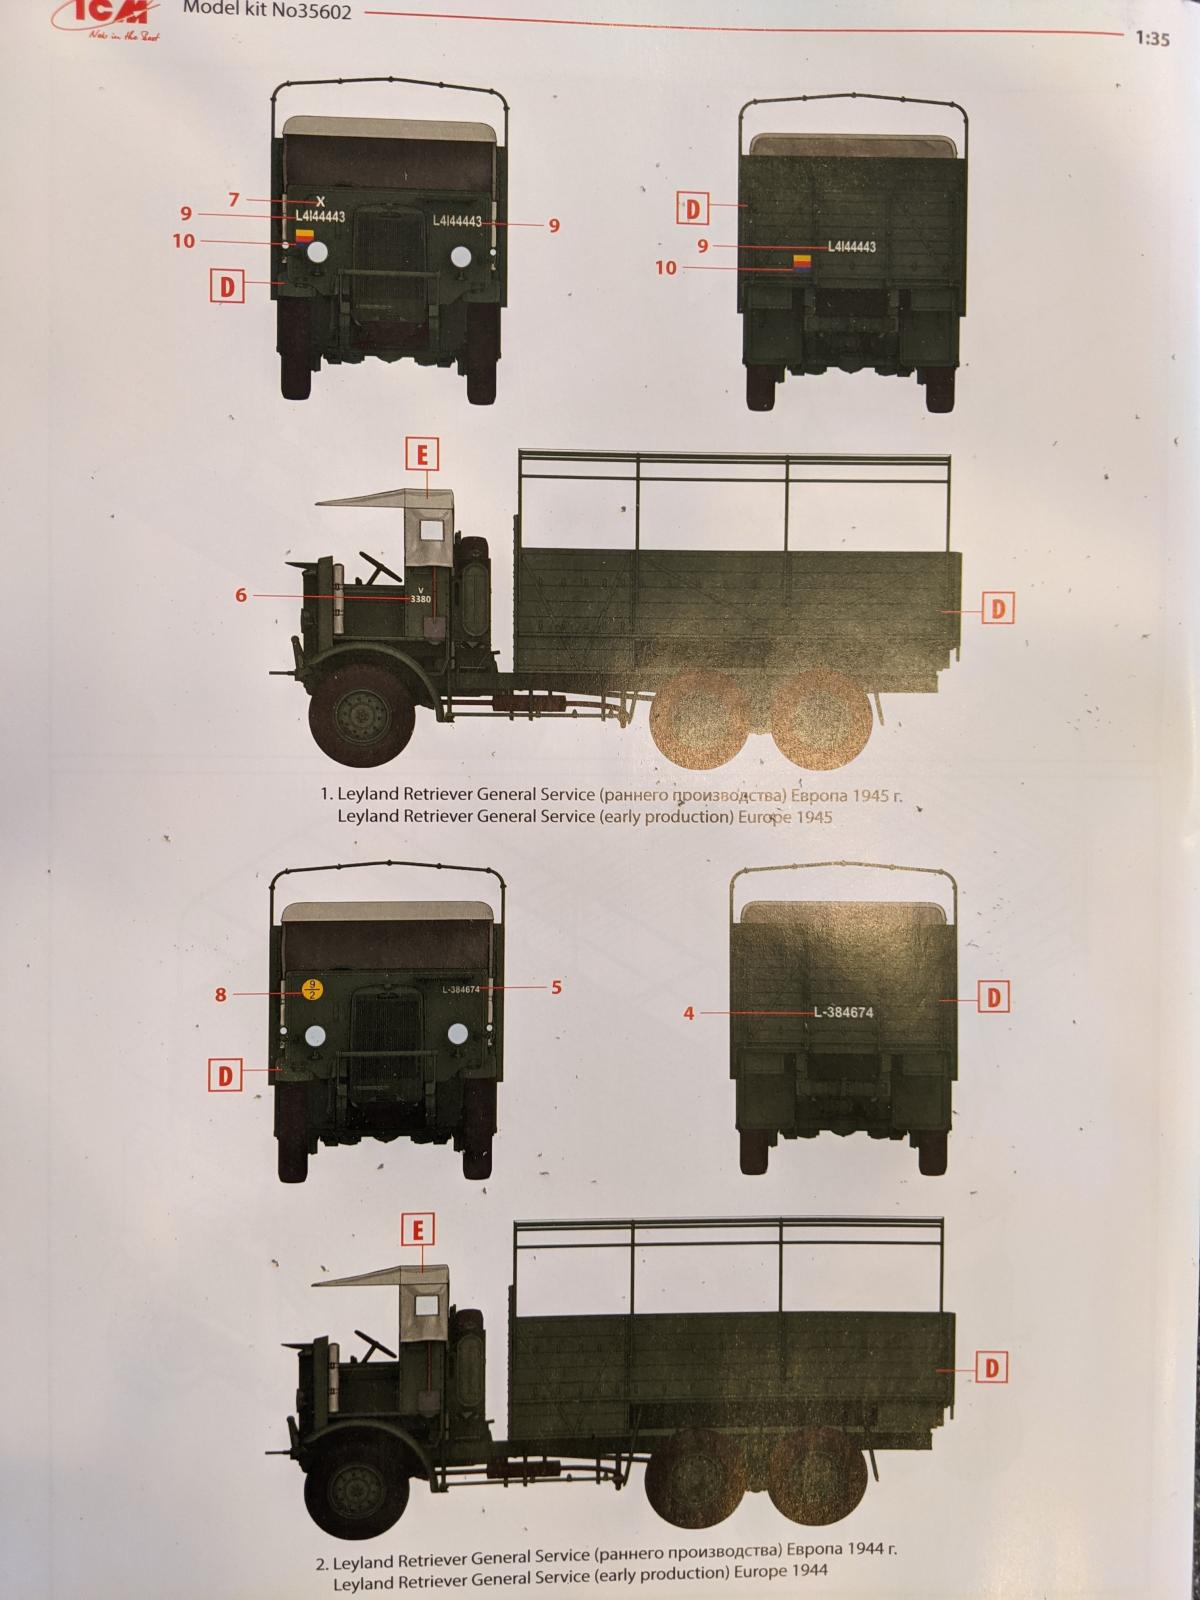
This one took me by surprise as it was listed as three British trucks. Since it was in 1/35, I assumed that meant it was a kit of a British truck with three configurations to choose from. Imagine my surprise when a rather larger box containing three complete 1/35 British truck kits arrived! They are a 6X6 W.O.T. 8, a W.O.T. 6 and a Leyland Retriever. The parts count is, respectively, 267, 235 and 257. All have GS type bodies, two with the exposed frames for a canvas top and one with the actual top and all have very detailed chassis and engines. The parts are very nicely molded with no flash nor sink or injection pin marks, but there are the usual mold seams to deal with. There are three separate instruction manuals that sometimes have the usual flaw of some international instruction sheets of just indicating the parts flying into the general vicinity of where they should go, so you need to take some time to study the illustrations and the kit parts to make sure you get it right. At many points along the way, great care needs to be taken as to the orientation of the illustrations. In diagram “A” for example, the assembly may be right to left, but the next diagram, which may look identical, it is actually left to right, or some such switch. It can be easy to get confused. In addition, as many of the parts can be put in place in several orientations, care must be taken to insure you have the part right way round and you need to really study the order of assembly in the instructions as many parts cannot be put in place until, after or before other parts. There are small PE frets for some of the kits that have radiator grills or tiny name plates and decal sheets that allow for two different markings for each kit. The individual trucks are separately bagged complete with instructions and decals inside a box that looks like it was made to withstand a nuclear attack it is so sturdy.
Assembly
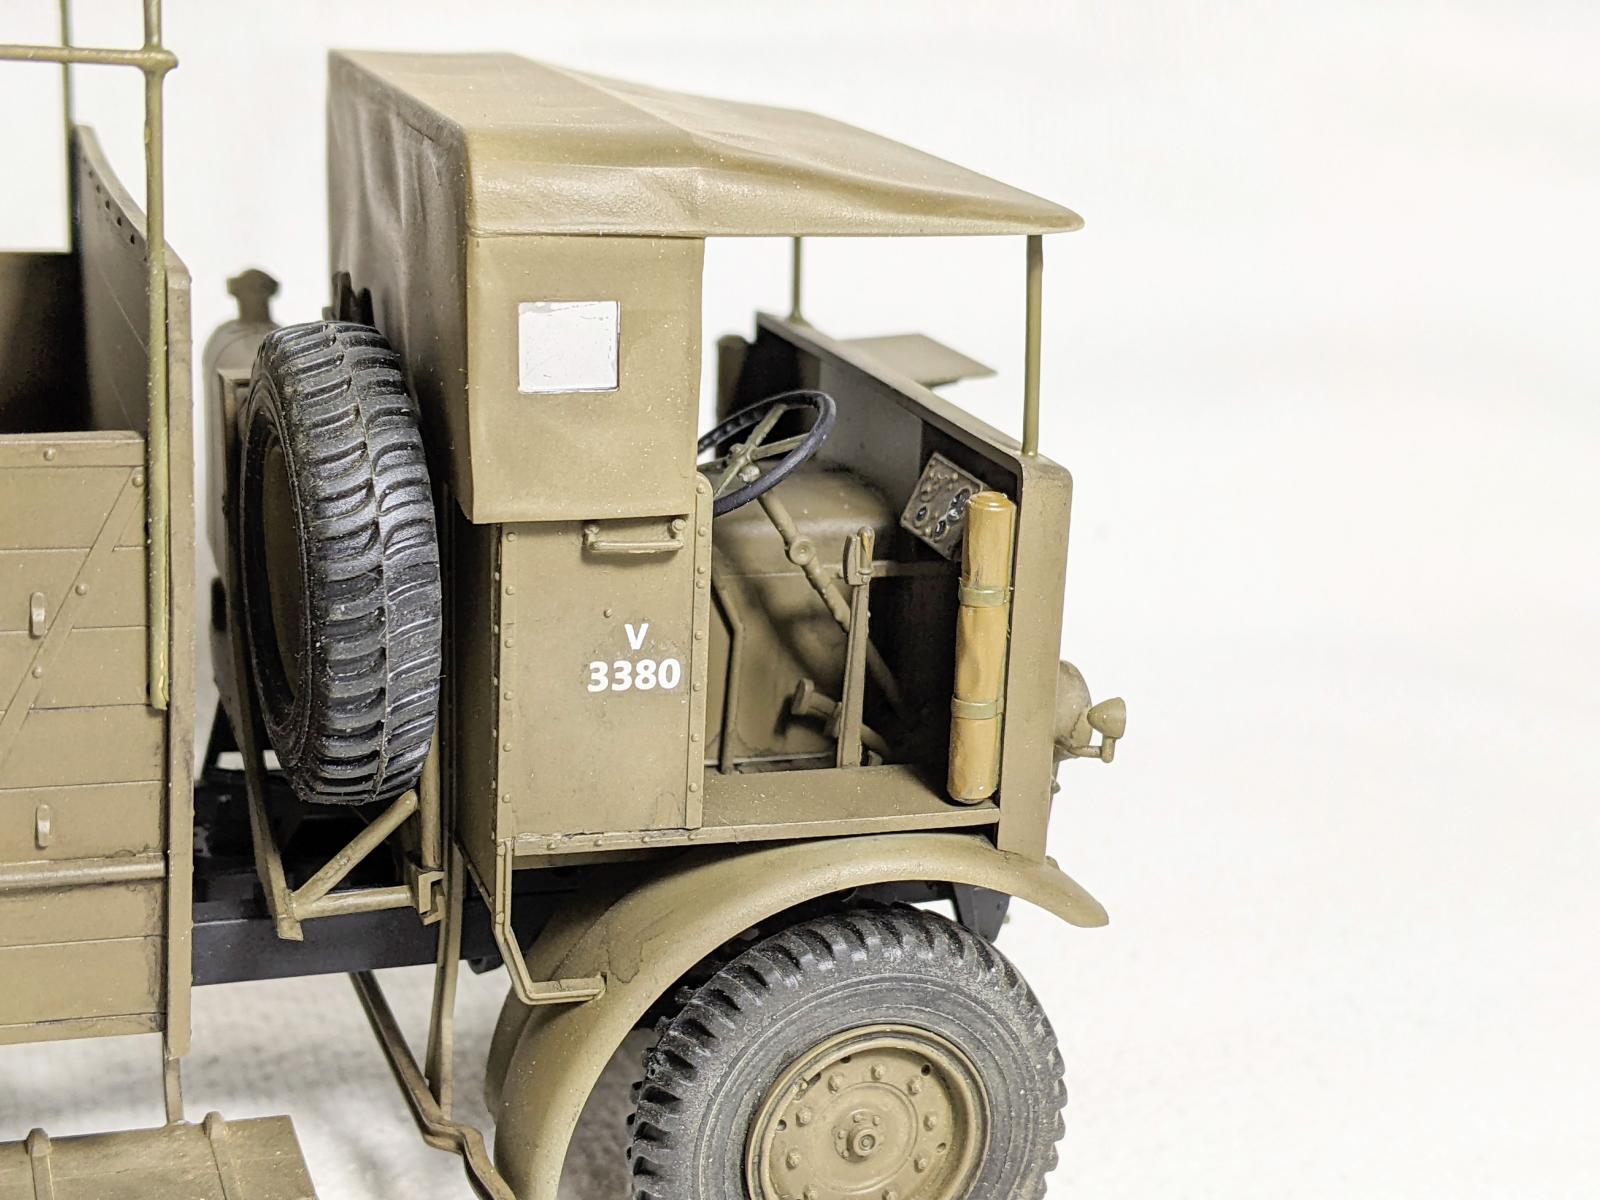
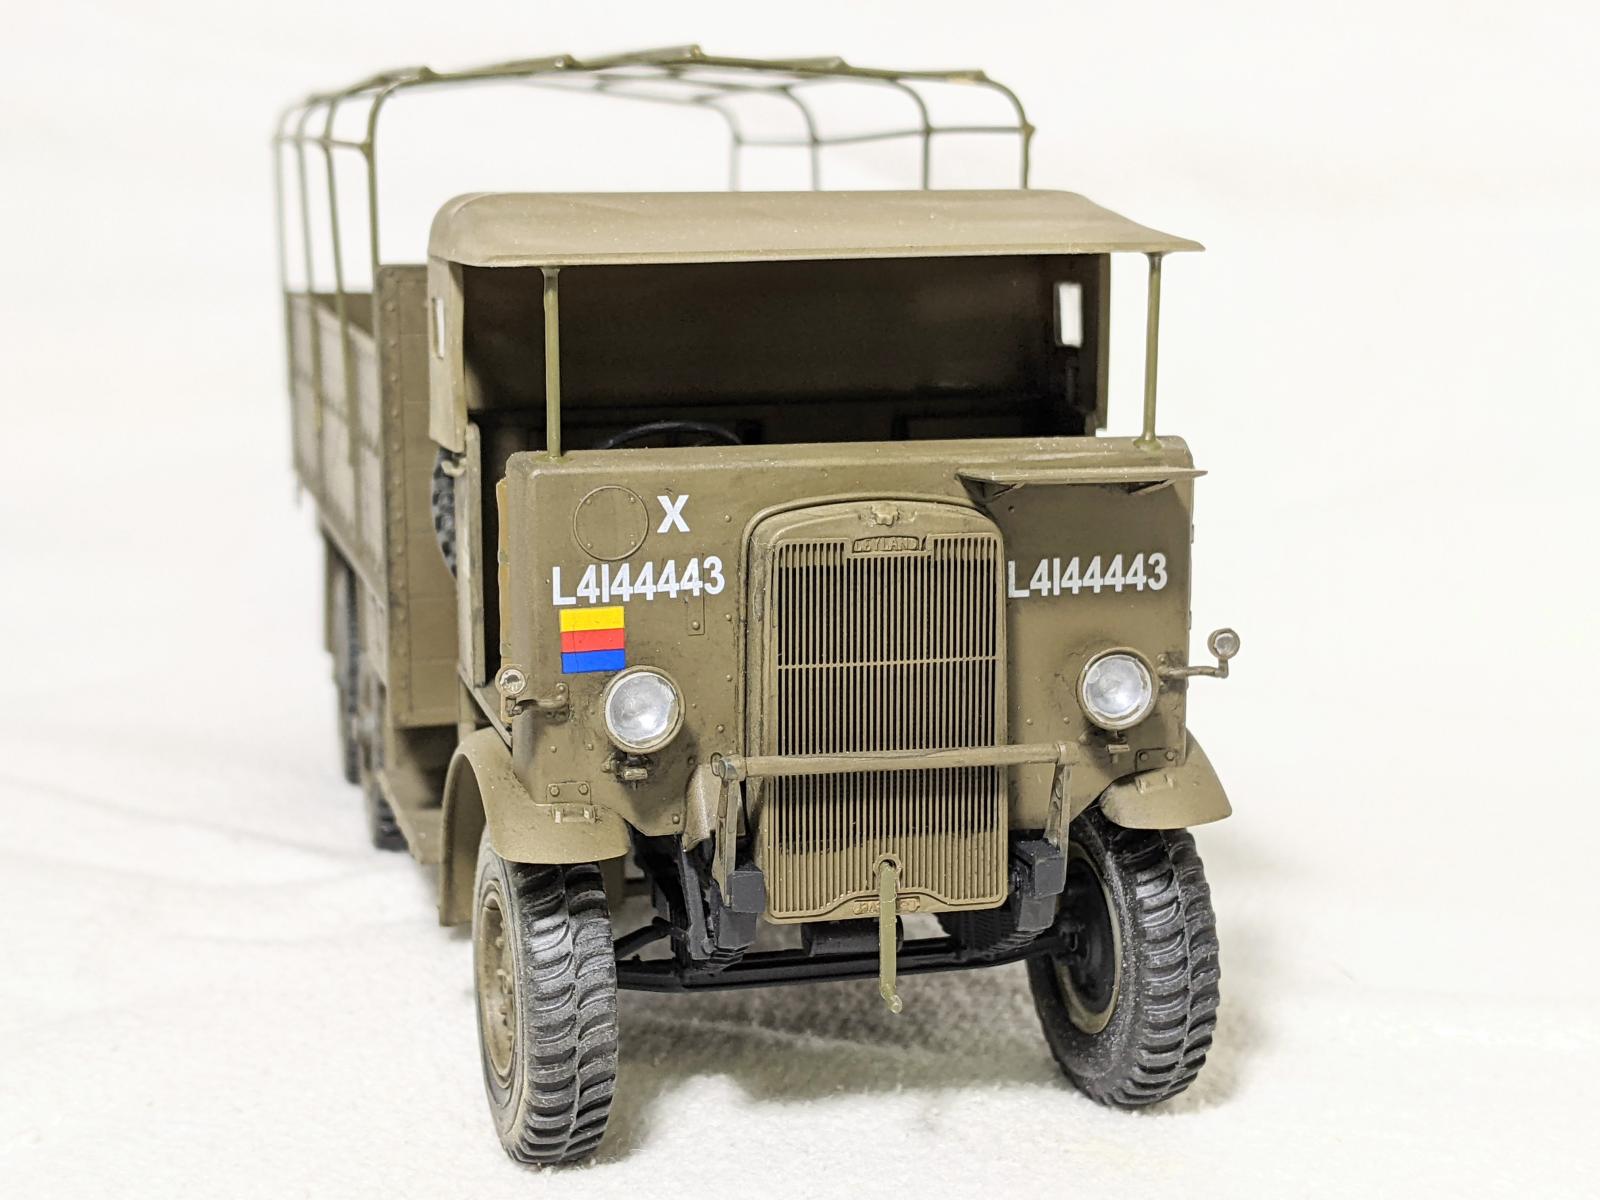
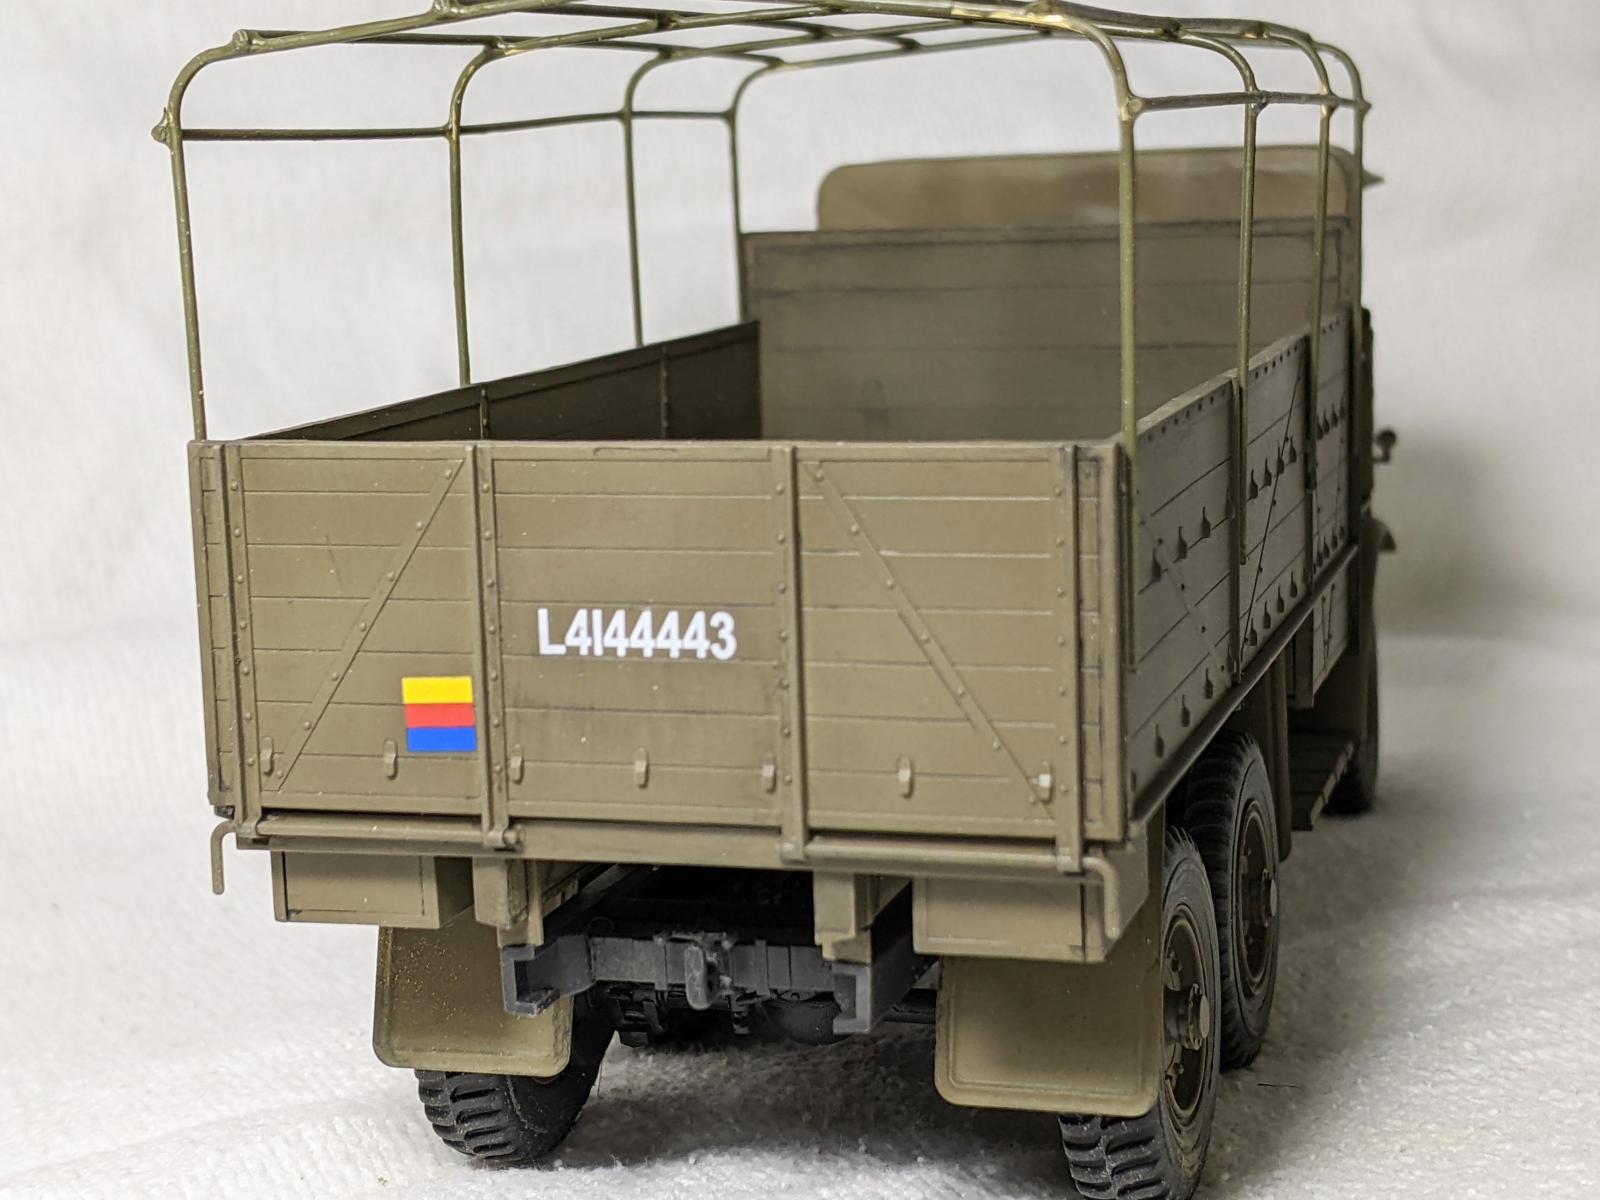
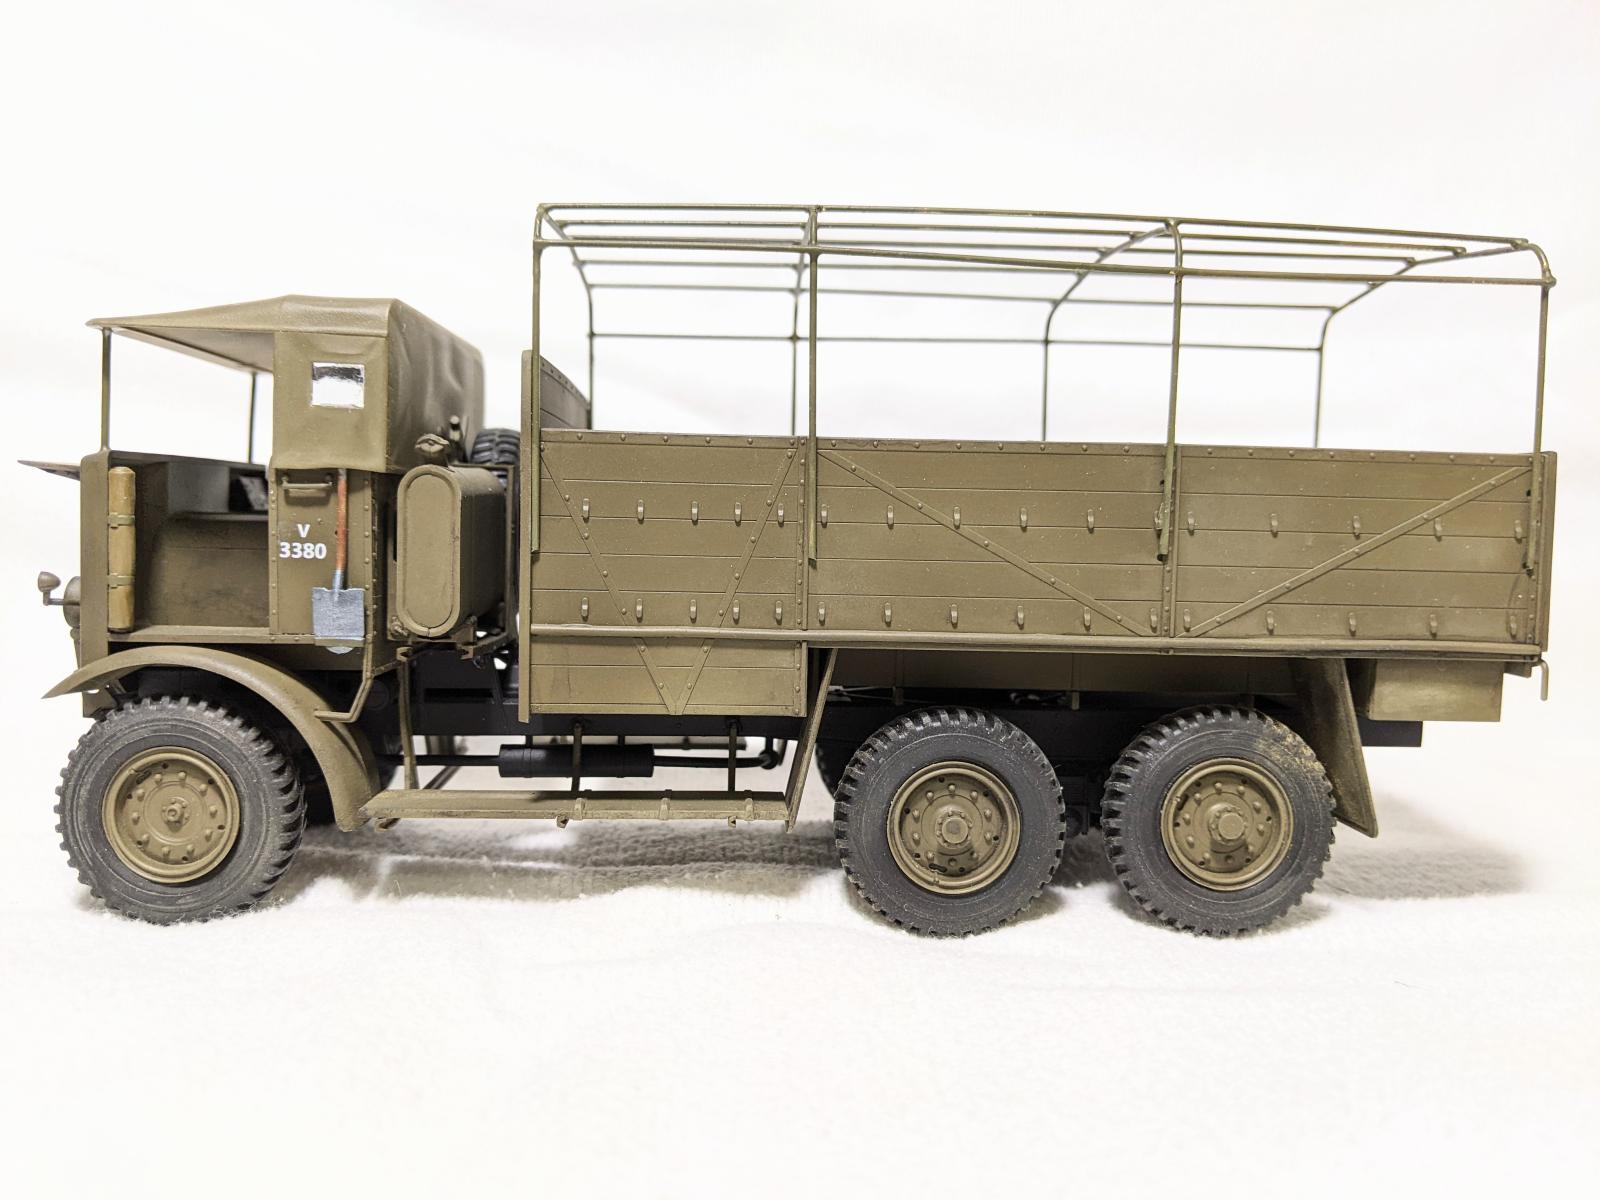
Make no mistake, these are not weekend projects. With over 250 parts in each kit, each one will take quite a while to complete. In order to get this review submitted in any sort of a timely manner, I just built one kit to see how it went together. I chose the W.O.T. 8 and it didn’t go well. I learned all the lessons I pointed out in the above section the hard way resulting in the kit being unfinishable halfway through. So, I tried my hand at the Leyland Retriever. Knowing now how to cope with the instructions, I did much better. There is a myriad of small to tiny delicate parts to remove from some rather heavy sprue attachment points that need to be cleaned up for proper fit as the parts are molded quite well with little tolerance for error. Since this kit was for a review, I dispensed with my normally obsessive removal of all flash and mold seams and just cleaned up what was needed for basic assembly and because with over 250 parts, I’d still be in my basement covered in plastic dust if I didn’t. I needed to go slowly and methodically as the chassis, drive train and engine are all rather complicated sub-assemblies that need to fit together ‘just so’. When this is all completed, you rather feel like you have just built a real truck, not a model of one there are so many parts and details. I did the model out of the box with one exception. The frames for the tilt, or canvas cover, are incredibly delicate and have multiple attachment points and injection lugs around them. They are almost impossible to remove from the sprue without breaking. I was super careful on my first one and was doing pretty well until I got to the last attachment point and the part snapped. Since I still had to clean up the attachment points, remove the injection lugs and clean up the mold seams as they would be exposed right on top of the model, I decided on another path. I purchased some thin brass wire the same diameter as the kit parts and using them as a guide, made a new frame, which I attached with CA glue. Since the frame consisted of 10 parts, all of which would have to have been almost surgically removed from the sprue and cleaned up, I think I saved an enormous amount of time and my sanity and still got the look of the framework.
I finished the truck in MM Green Drab with a black wash and pastels. The decals went on very easily and settled down well. The few clear parts were nicely done and went in easily.
Summary
These is an excellent, if trying, set of kits and an incredible bargain to boot. The trucks are also sold as individual kits and go for in excess of $50-60, while this three-pack is only around $90. As the three trucks were in reality used with many different bodies, the door is open for conversions galore. If you are into soft skinned vehicles or need some for a diorama, I highly recommend these kits, but take your time and pay attention to the instructions.
Thanks to ICM for providing the review sample and IPMS/USA for the opportunity to review these kits.


Comments
Add new comment
This site is protected by reCAPTCHA and the Google Privacy Policy and Terms of Service apply.
Similar Reviews