
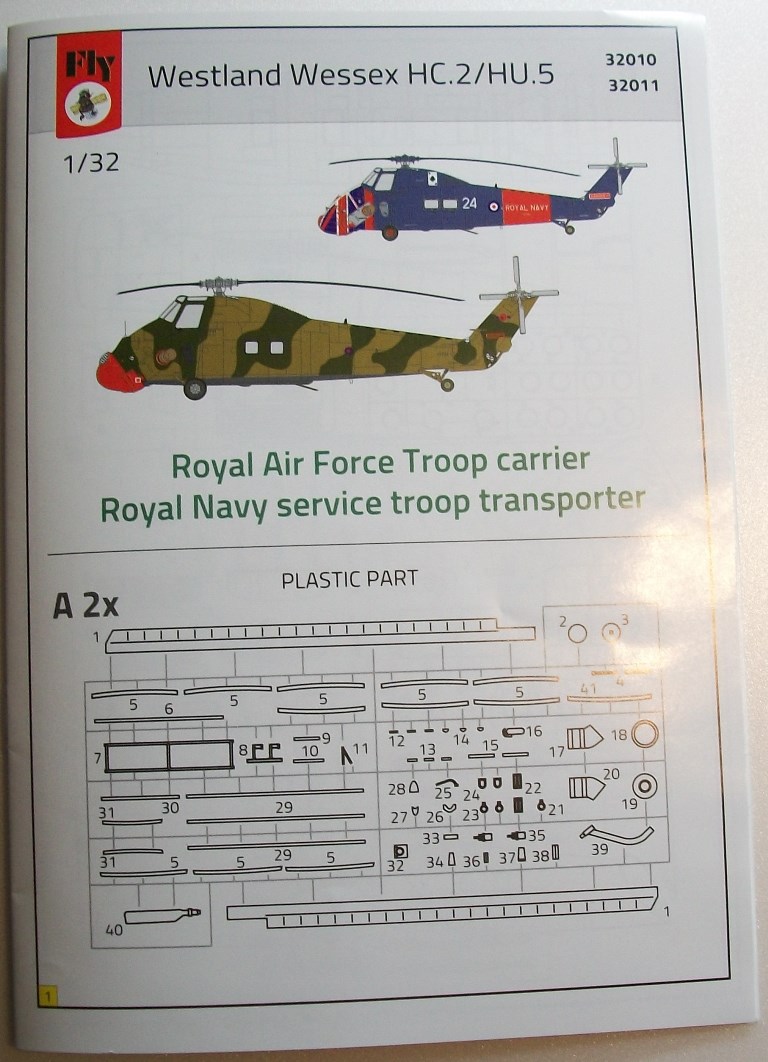
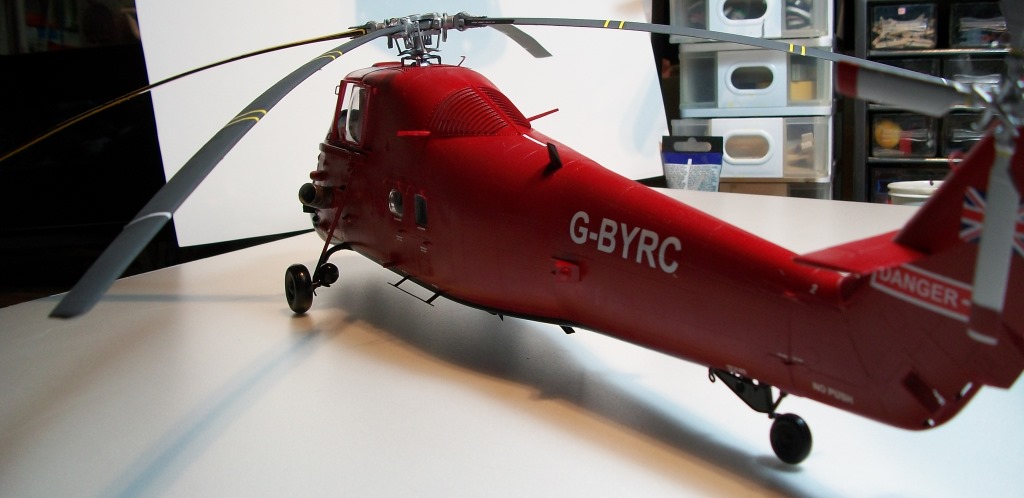
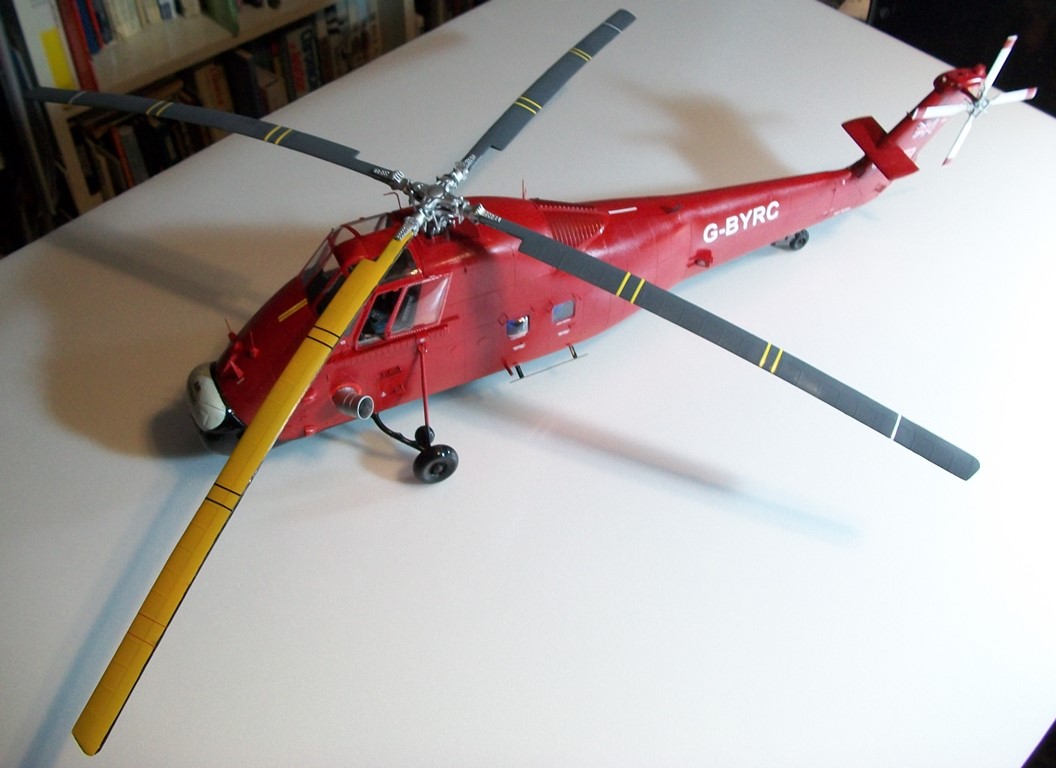
Westland Wessex HC.2
When I was offered the opportunity to review this kit, I jumped at the chance. Growing up in the UK, the Wessex was a familiar sight at airshows and at Airports. The kit looks great and when you open the box the size and amount of detail is fantastic!
In the box is:
- 7 x light grey sprues
- 2 x clear sprues
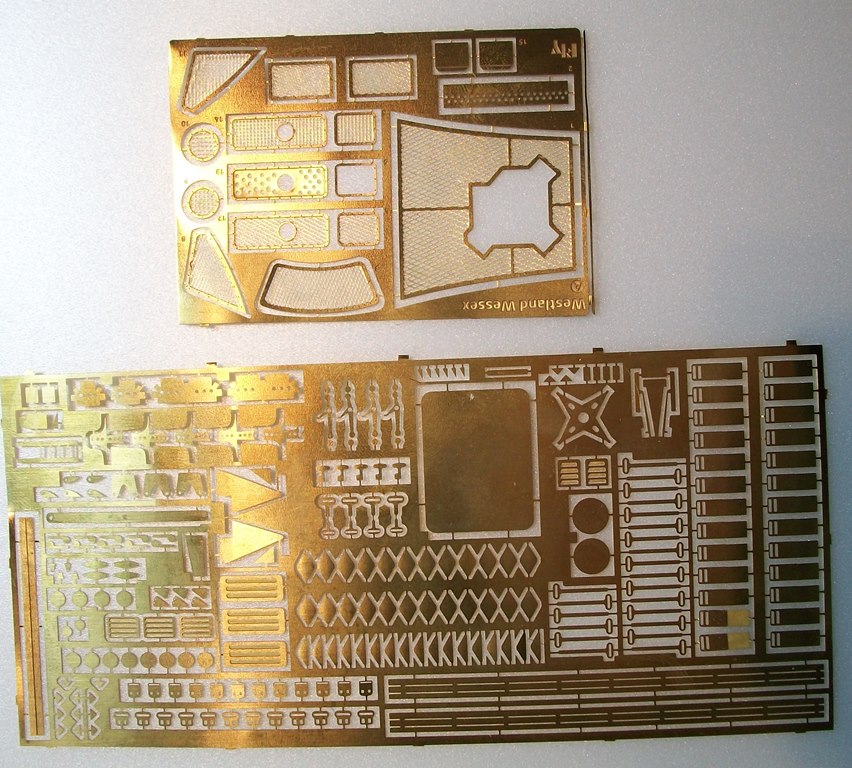
- 2 x Photoetched details parts
- 1 printed paper set of seats and seat belts
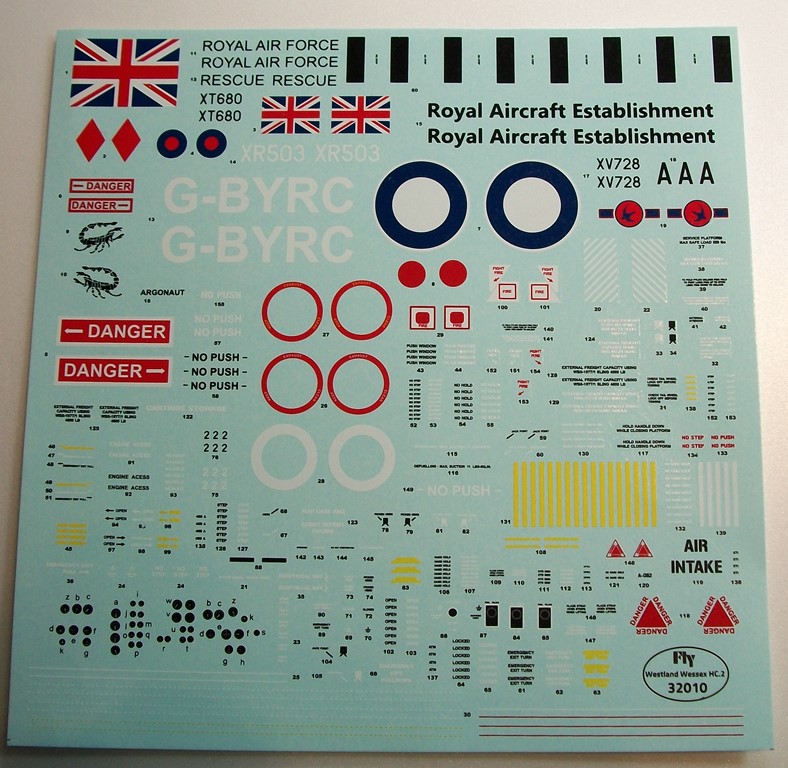
- 1 decal sheet
- 1 instruction booklet
- A lot of resin parts!
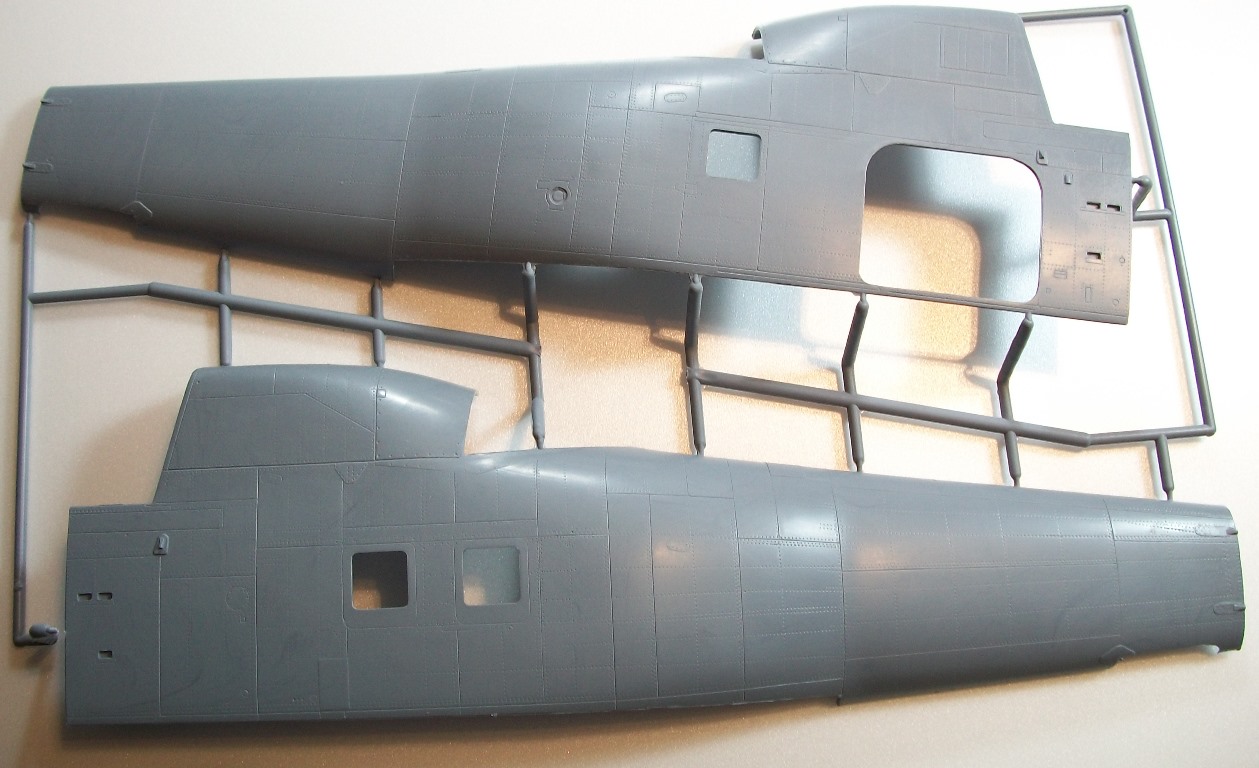
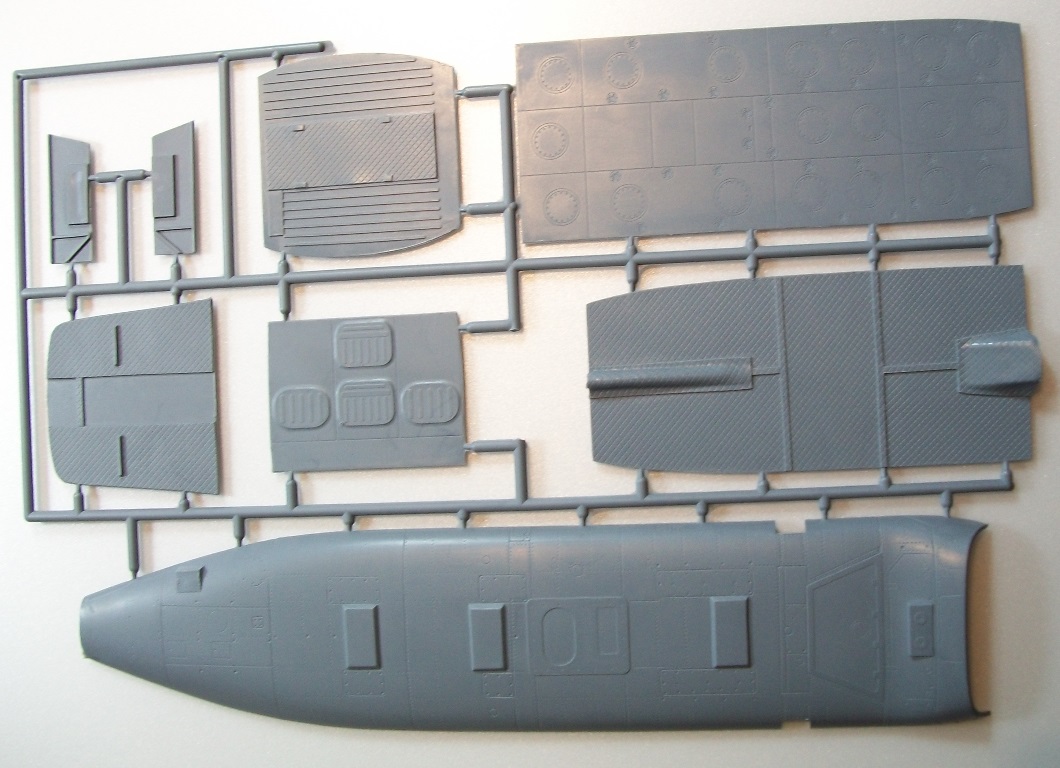
All the sprues are extremely well molded with super fine details. The plastic is a little softer than I like. A big drawback is the sprues have no part numbers on them so you have to keep turn back to the front of the instruction manual to ensure you are getting the right part from the right sprue!
The kit can be built as any of four versions. You need to decide before commencing the build which to do. There is a lack of information on which parts are needed on each version and you should refer to some other reference sources to ensure accuracy.
Construction
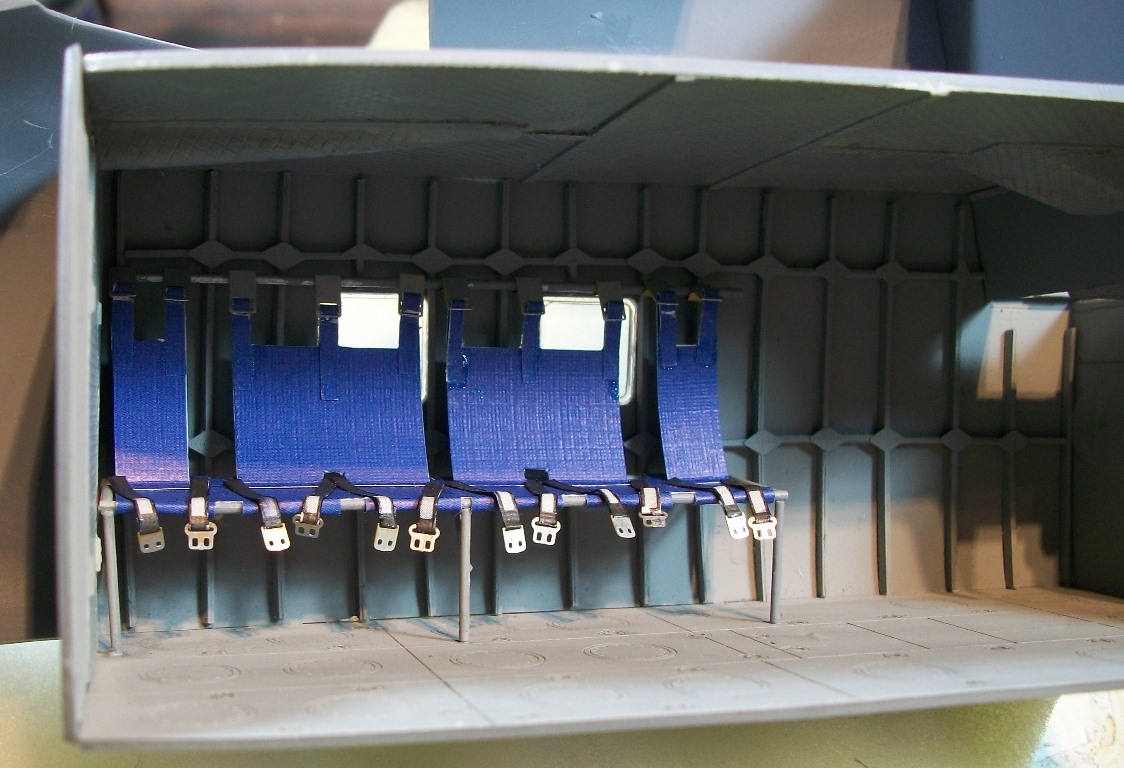
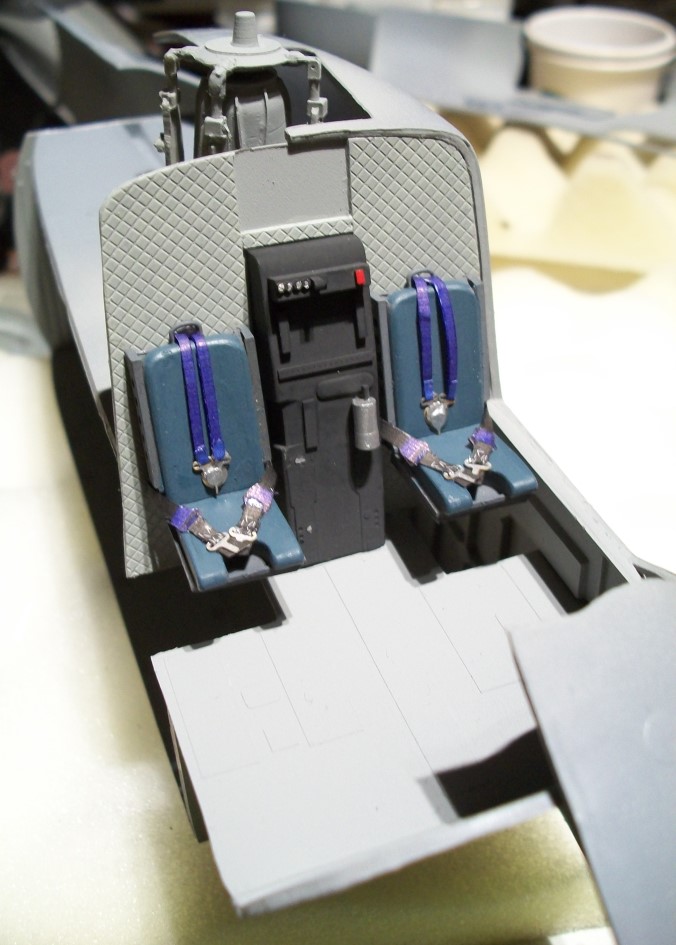
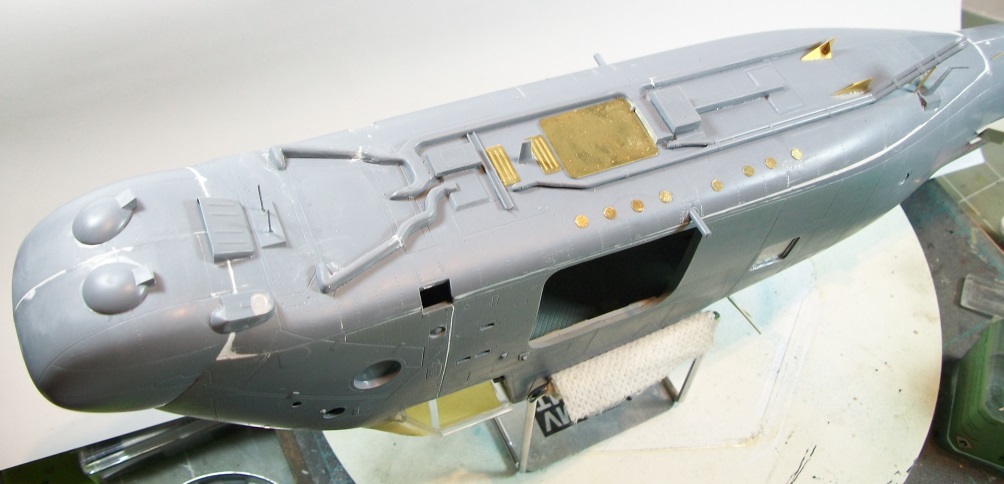
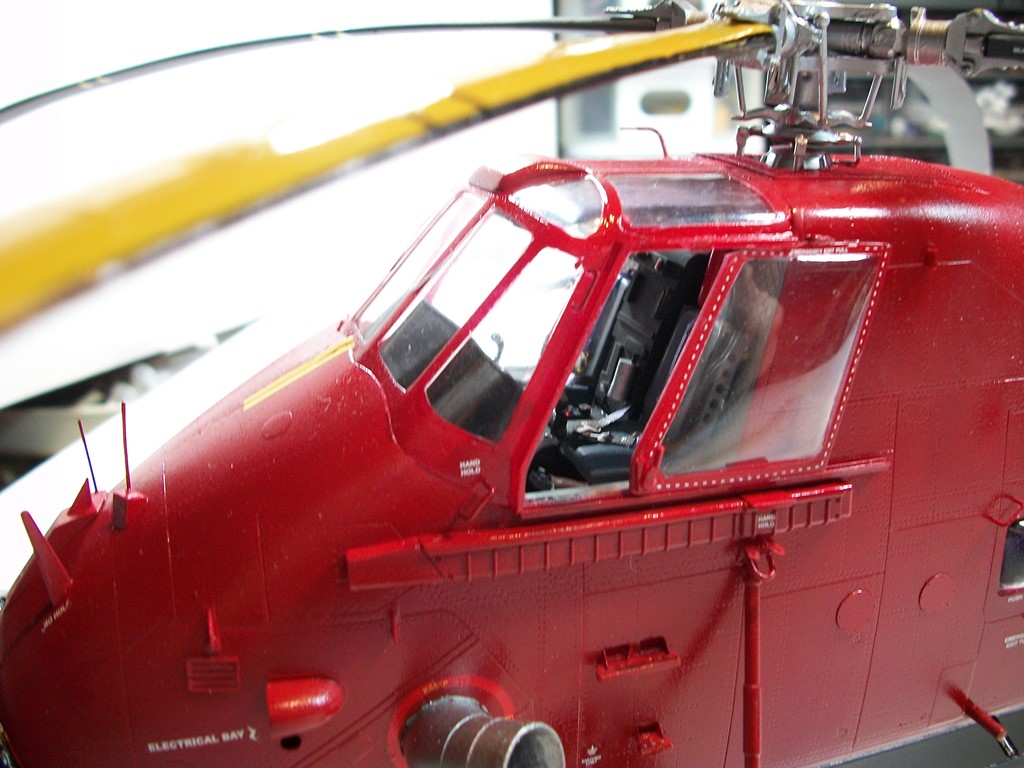
As with most helicopter kits we start in the interior of the main cabin. You have to fit the ribs and PE joint plates first. I found that the PE parts supplied do not match those needed in the instructions; there are 8 short of PE-B5. You will also have to clean up a few injection pin marks on the side walls. The ceiling, floor panel, front and rear wall are installed in the main cabin. Also the cockpit floor and rear bulkhead are installed. There are a few joint issues here and some filling is required. The main cabin left side seats are next with seat belts, which are easier to build than I first suspected. Now on to the cockpit area, where the seats are installed first, very well detailed, and a joy to build. The whole cockpit assembly was easy and very well defined and detail is outstanding! You now return to the right side of the main cabin and the main cabin right hand seats.
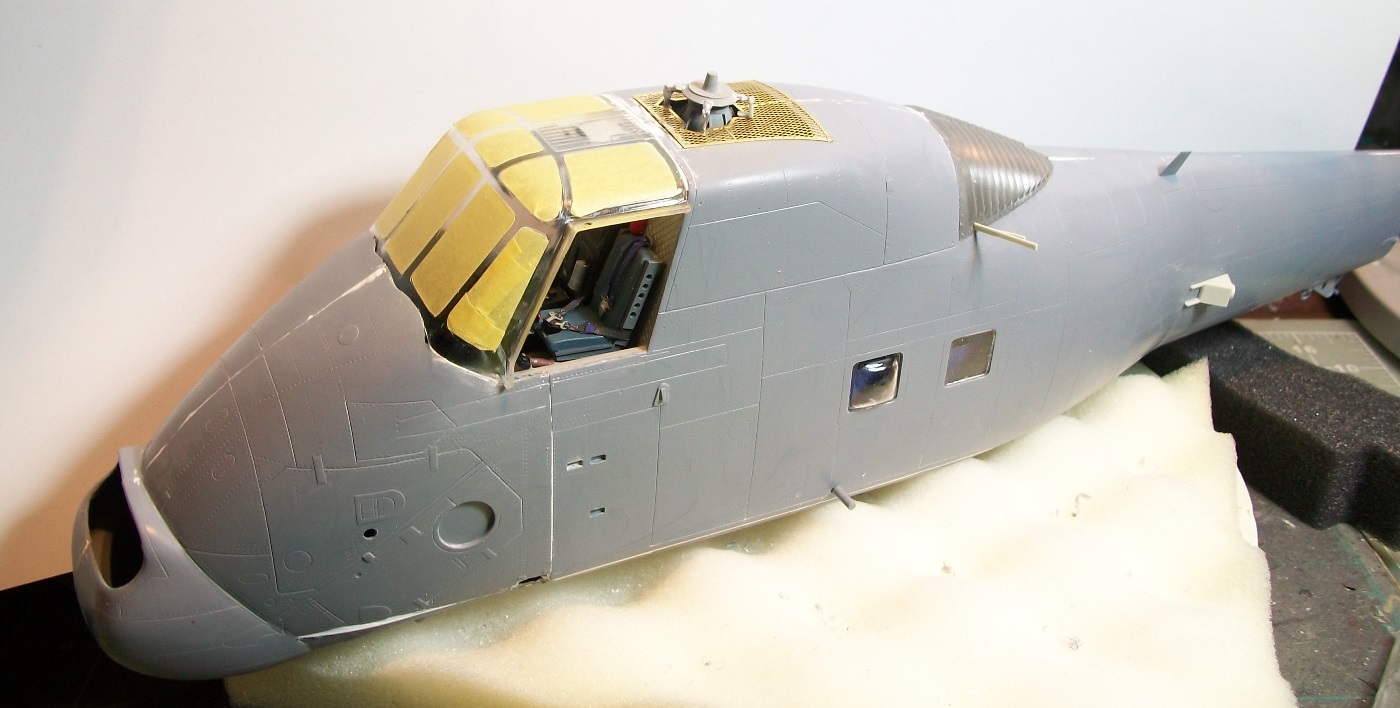
The next stage is the rear will and fuselage assembly. The fuselage is in four parts: nose left and right, and main cabin left and right. When building these there are no guide pins and the assembly is not very easy. Once complete a lot more filling is needed to make a good looking joint. Some guide pins between the halves would have made this so much better to build.
Now on to all the exterior and underside details which are many, and build very easily. The joint between the belly of the helicopter sides was also very hard to do and once again out came the filler!
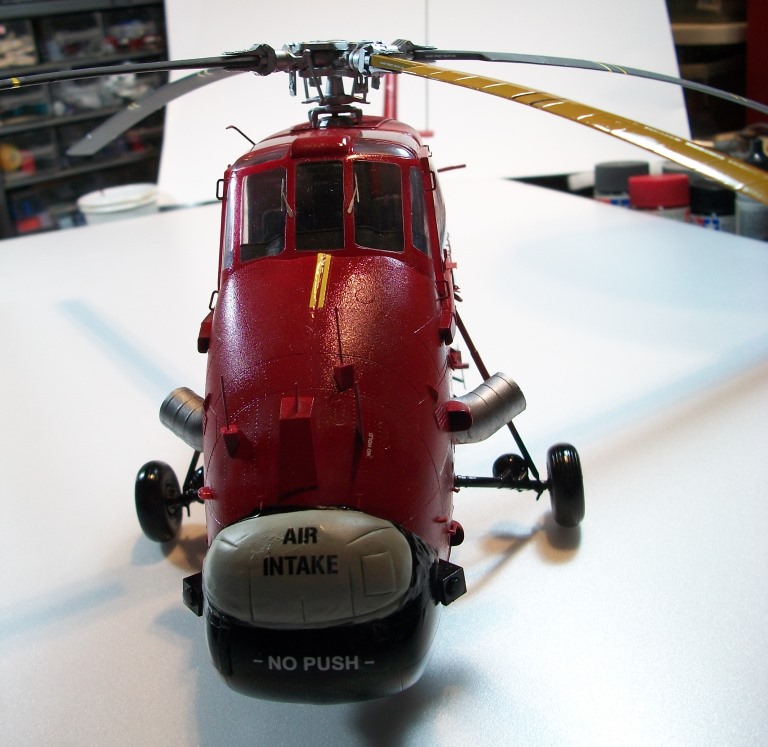
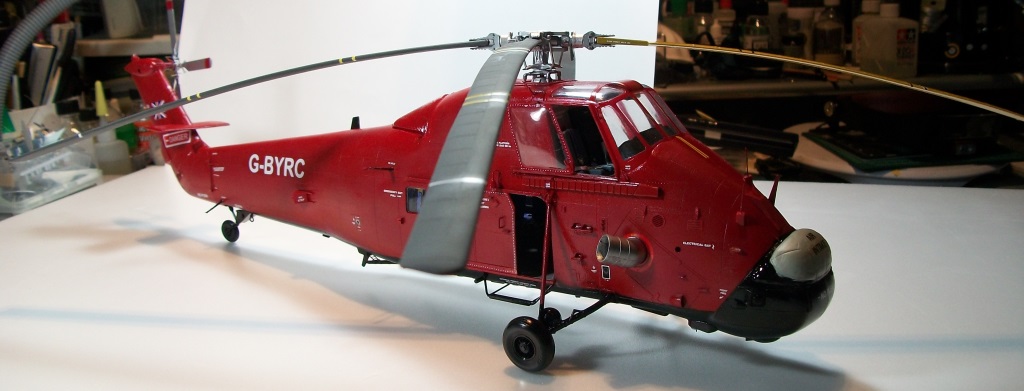
The main cabin door and cockpit side windows can be posed open or closed.
The main tail can be built folded or not. I choose not to as the Rotor blades cannot be folded, which is a shame as I would have built it with everything folded to save space. Once it was finished this is a big kit!
Summary
This was a really fun but a nightmare to build. I would not recommend this to anyone who wants an easy build! Once finished it is a wonderful looking Wessex that I am very happy with the detail. But to be honest at several points in the build I just wanted to throw the whole thing away. I am very glad I persevered, as I am very pleased with the end result!
Thanks go to Fly Model for providing this kit to review and IPMS USA for allowing me to review it for them.


Comments
Add new comment
This site is protected by reCAPTCHA and the Google Privacy Policy and Terms of Service apply.
Similar Reviews