
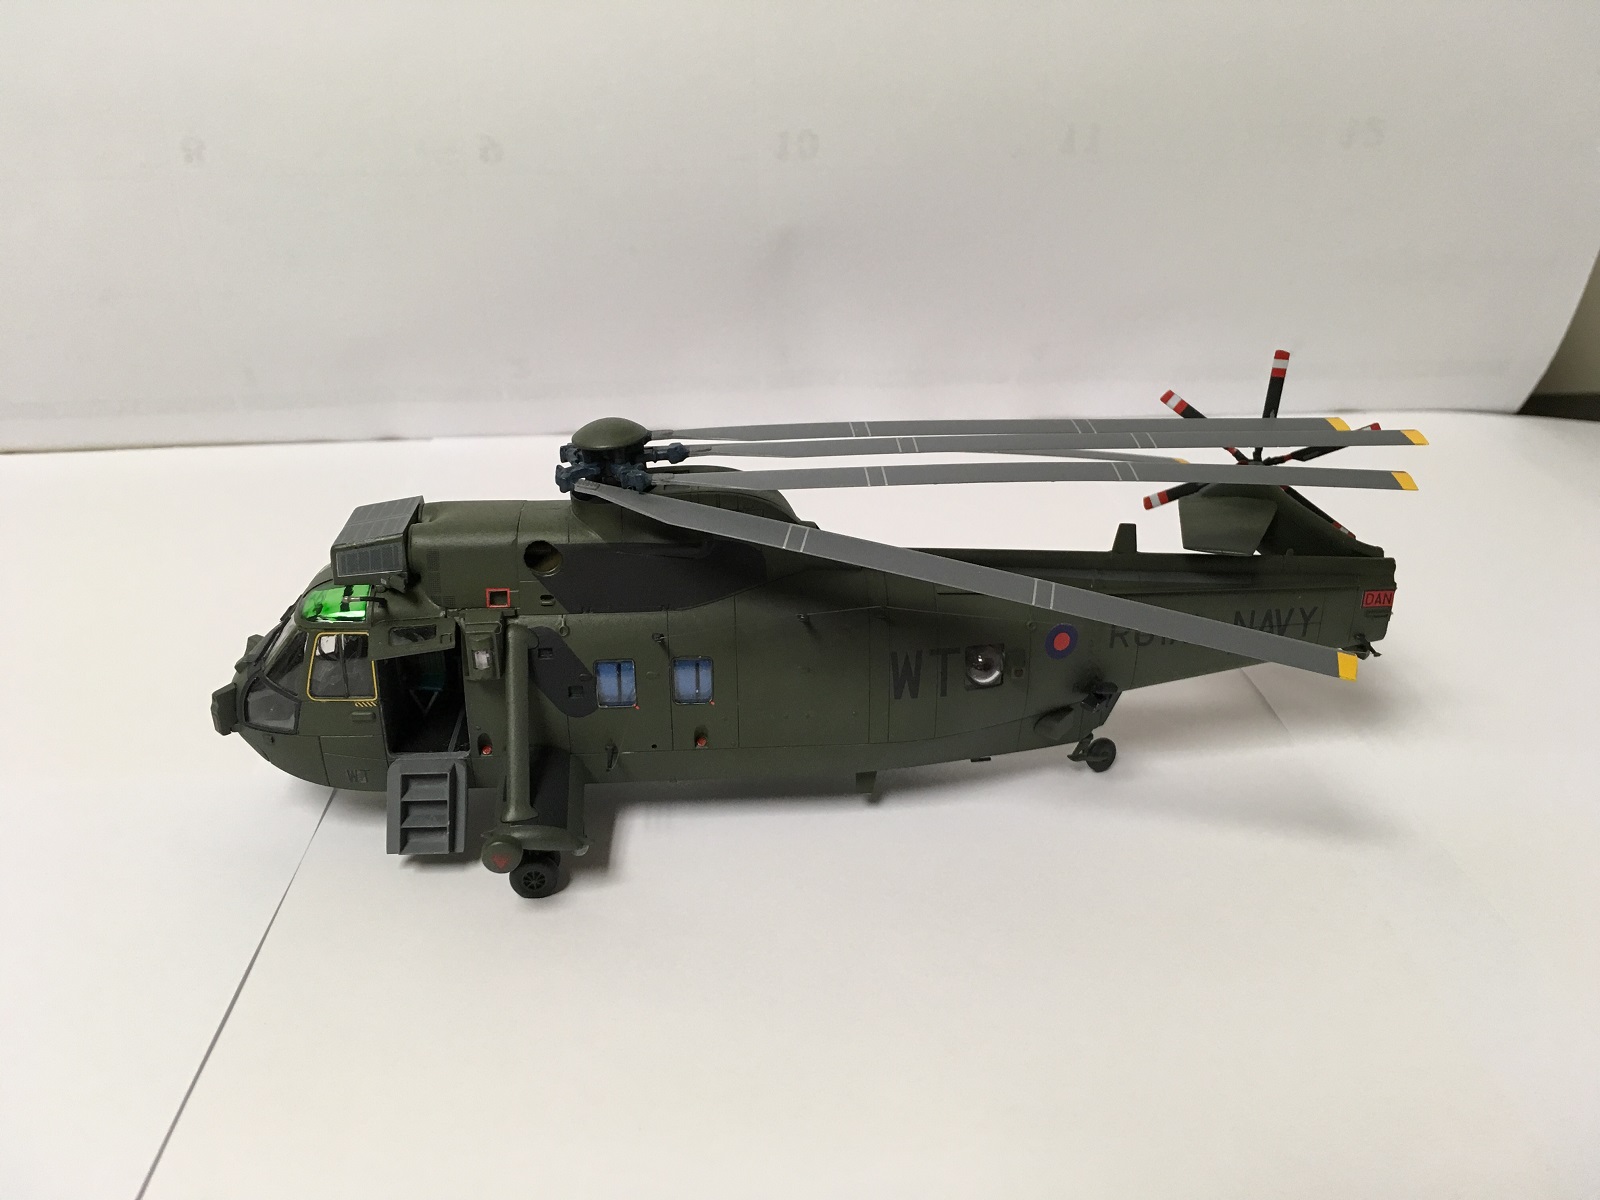
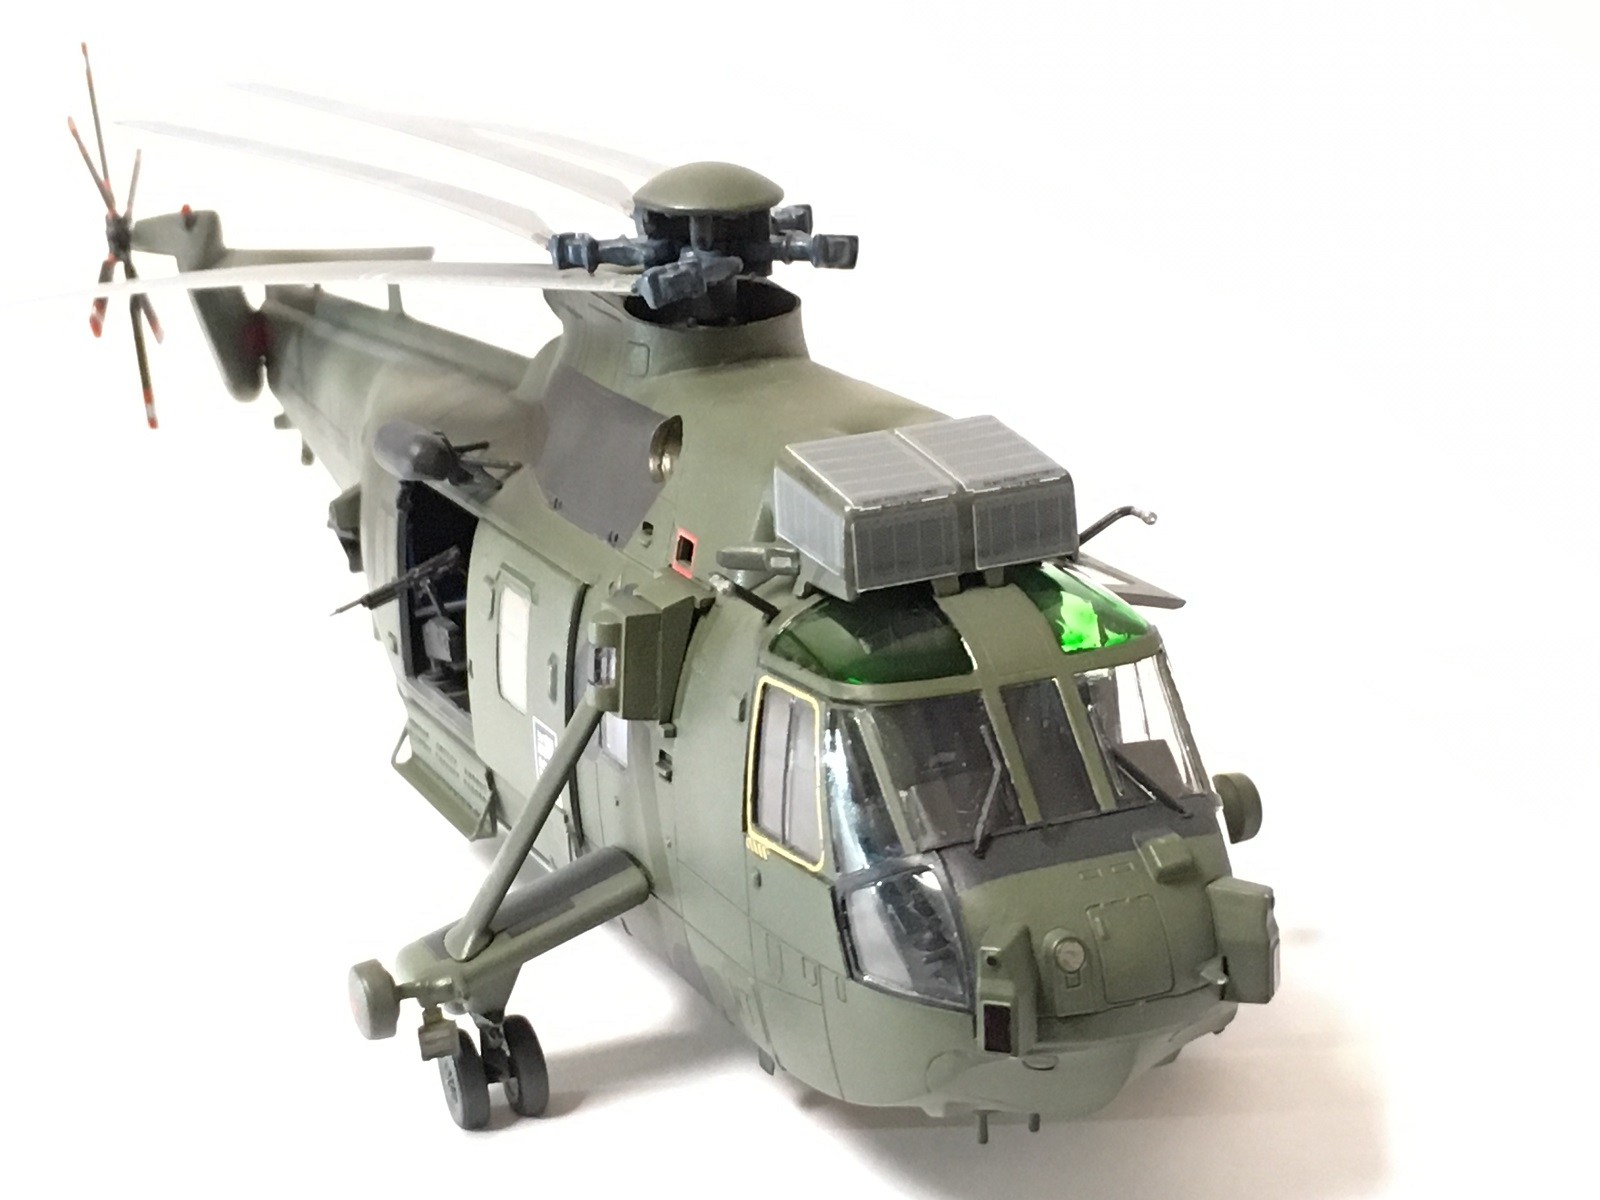
Westland Sea King HC.4
The Sea King has been a mainstay helicopter for many navy and army services around the world. The subject of this model is the British Navy HC.4 Commando. The scheme I chose was a bird from 848 Naval Air Squadron, Commando Helicopter Force, Yeovilton in England 2011. The British Sea Kings are in the process of being withdrawn from service, as of March 2016.
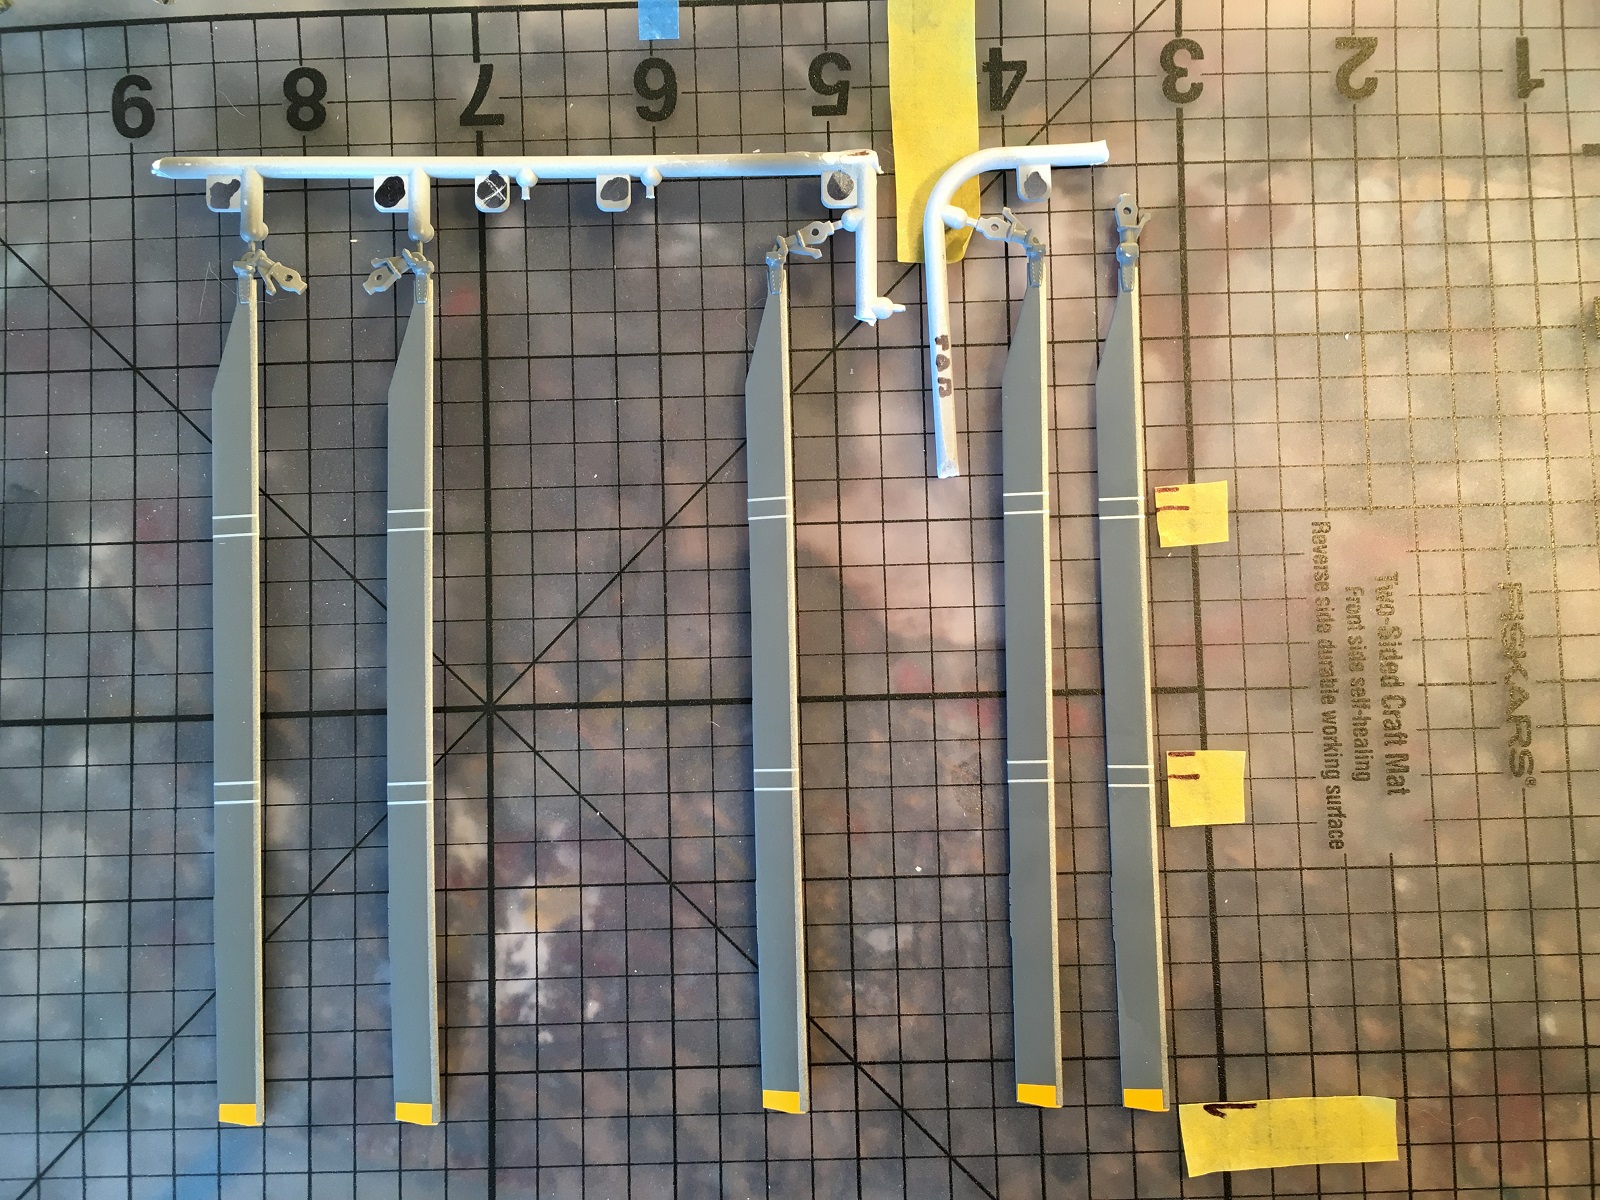
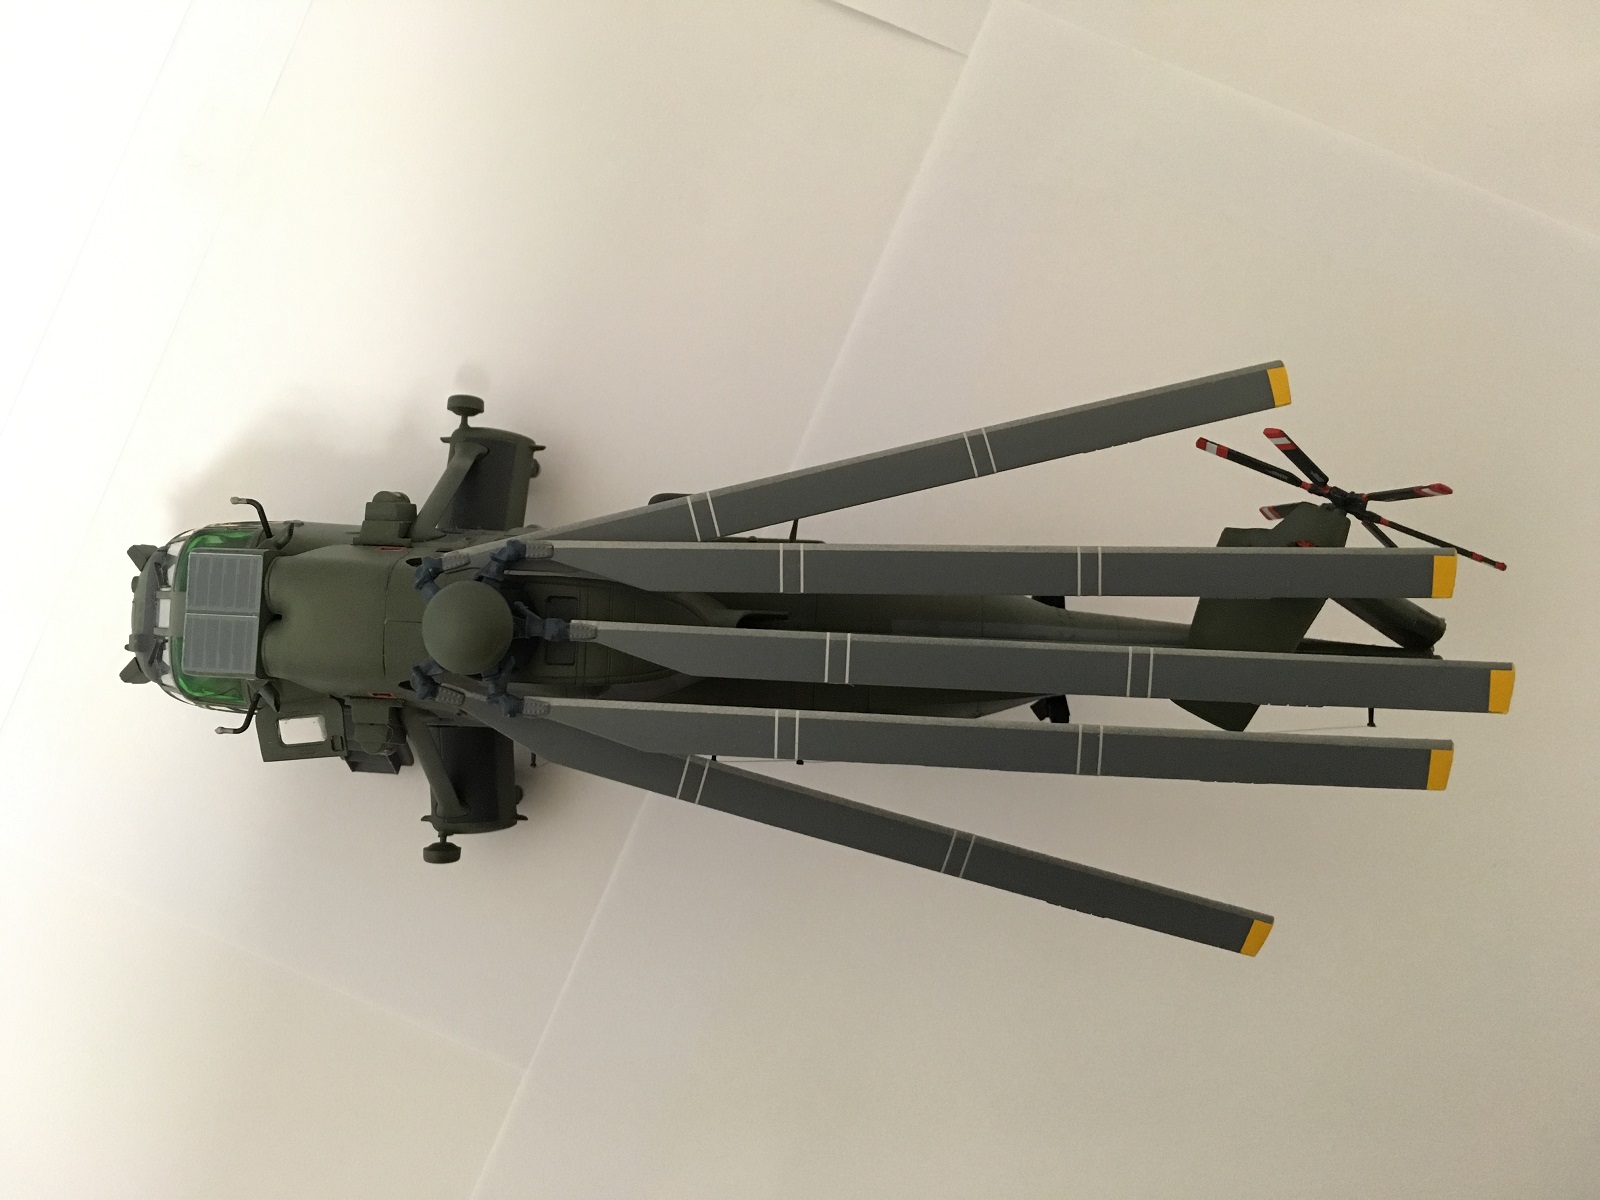
This kit is the new mold from Airfix, and the small box is packed full of sprues, decal sheet and instruction book. There are several options that include extended or stowed main rotor blades and tail assembly, open or closed doors, and two markings to choose from. A small electric motor (purchased separately from Airfix) can be installed. Some modification within the cabin is needed, but everything is clearly illustrated. I did consider the motor, but chose to fold everything up for something different. There are some spare parts left over, including a different sand filter.
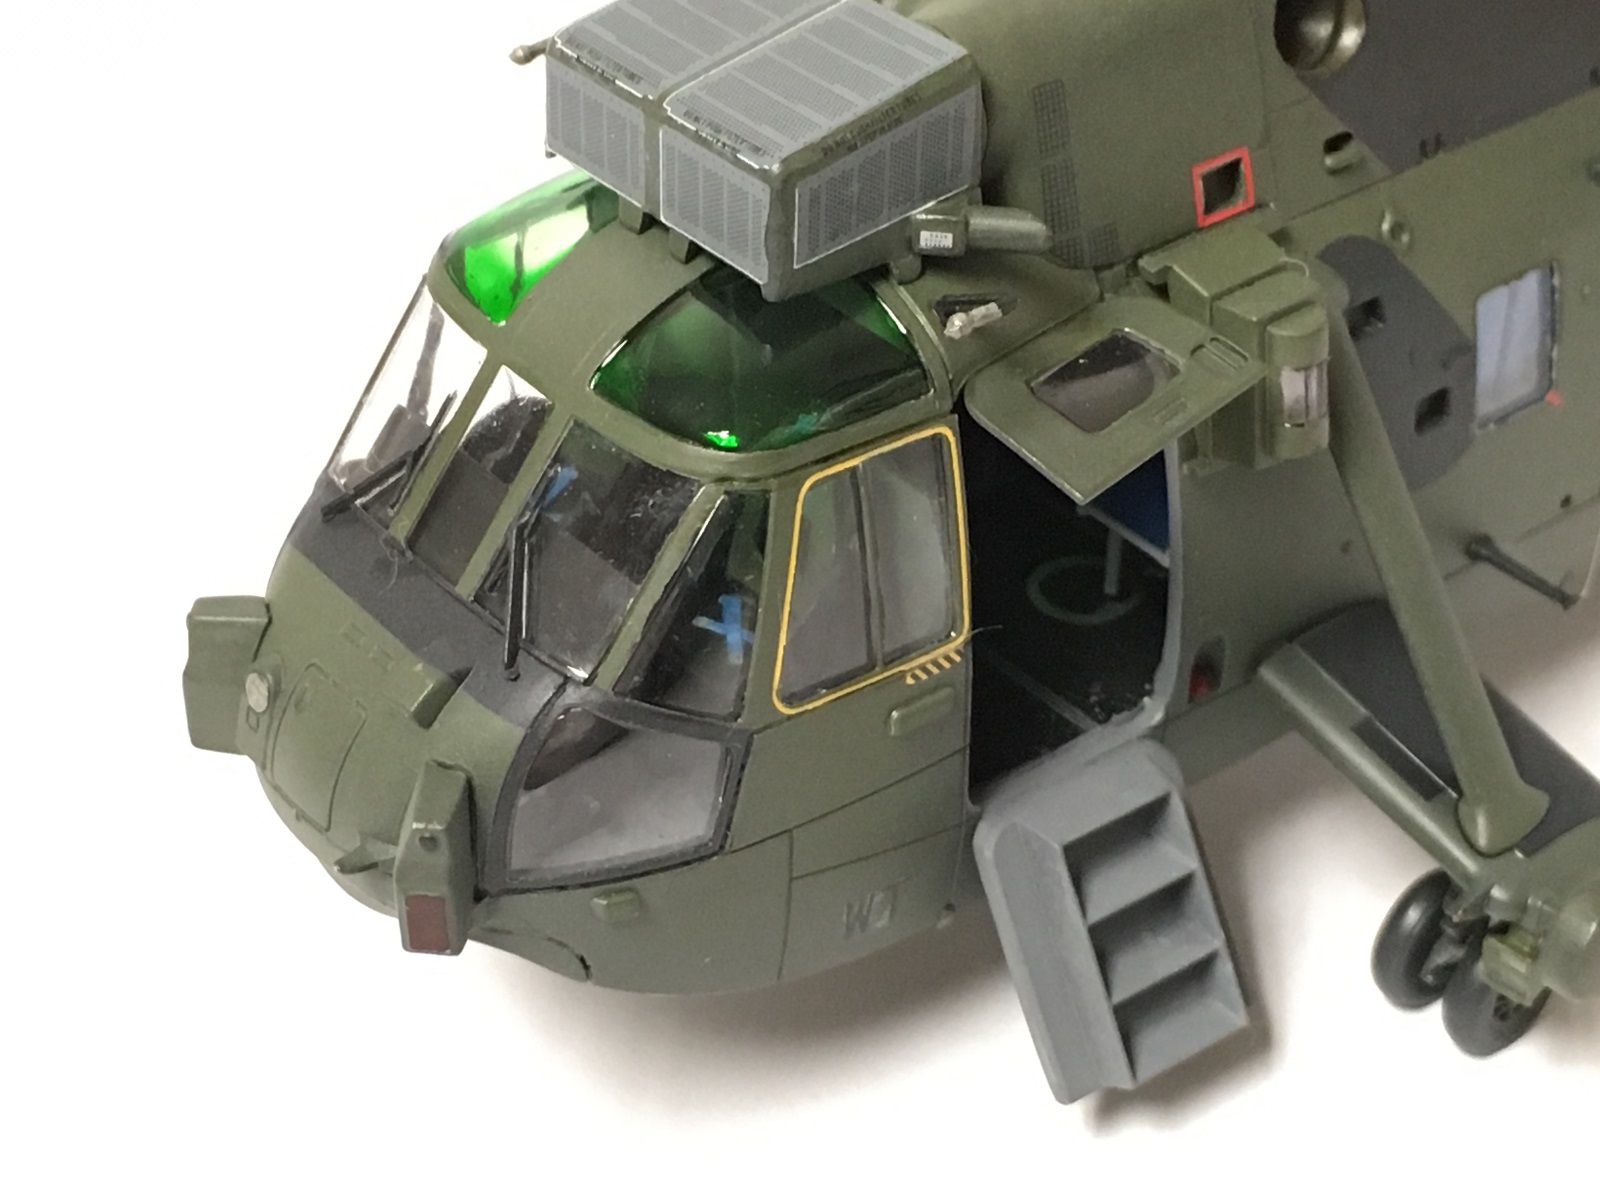
Overall this Sea King went together very well, and most parts fit precisely. Like all new Airfix kits the tolerance is tight. My main concern was the cockpit canopy. There are three parts: front windows including the overhead glass and center panel, and two side parts that have the side and lower front windows. With care and some planning they do fit OK. I taped the three parts together to gauge the fit and used Testors clear cement thinned with water and a fine brush to attach the front and then the sides. Be especially careful as the outer front window panes butt up to the frame on the side window parts. I think I succeeded with minimizing the seam.
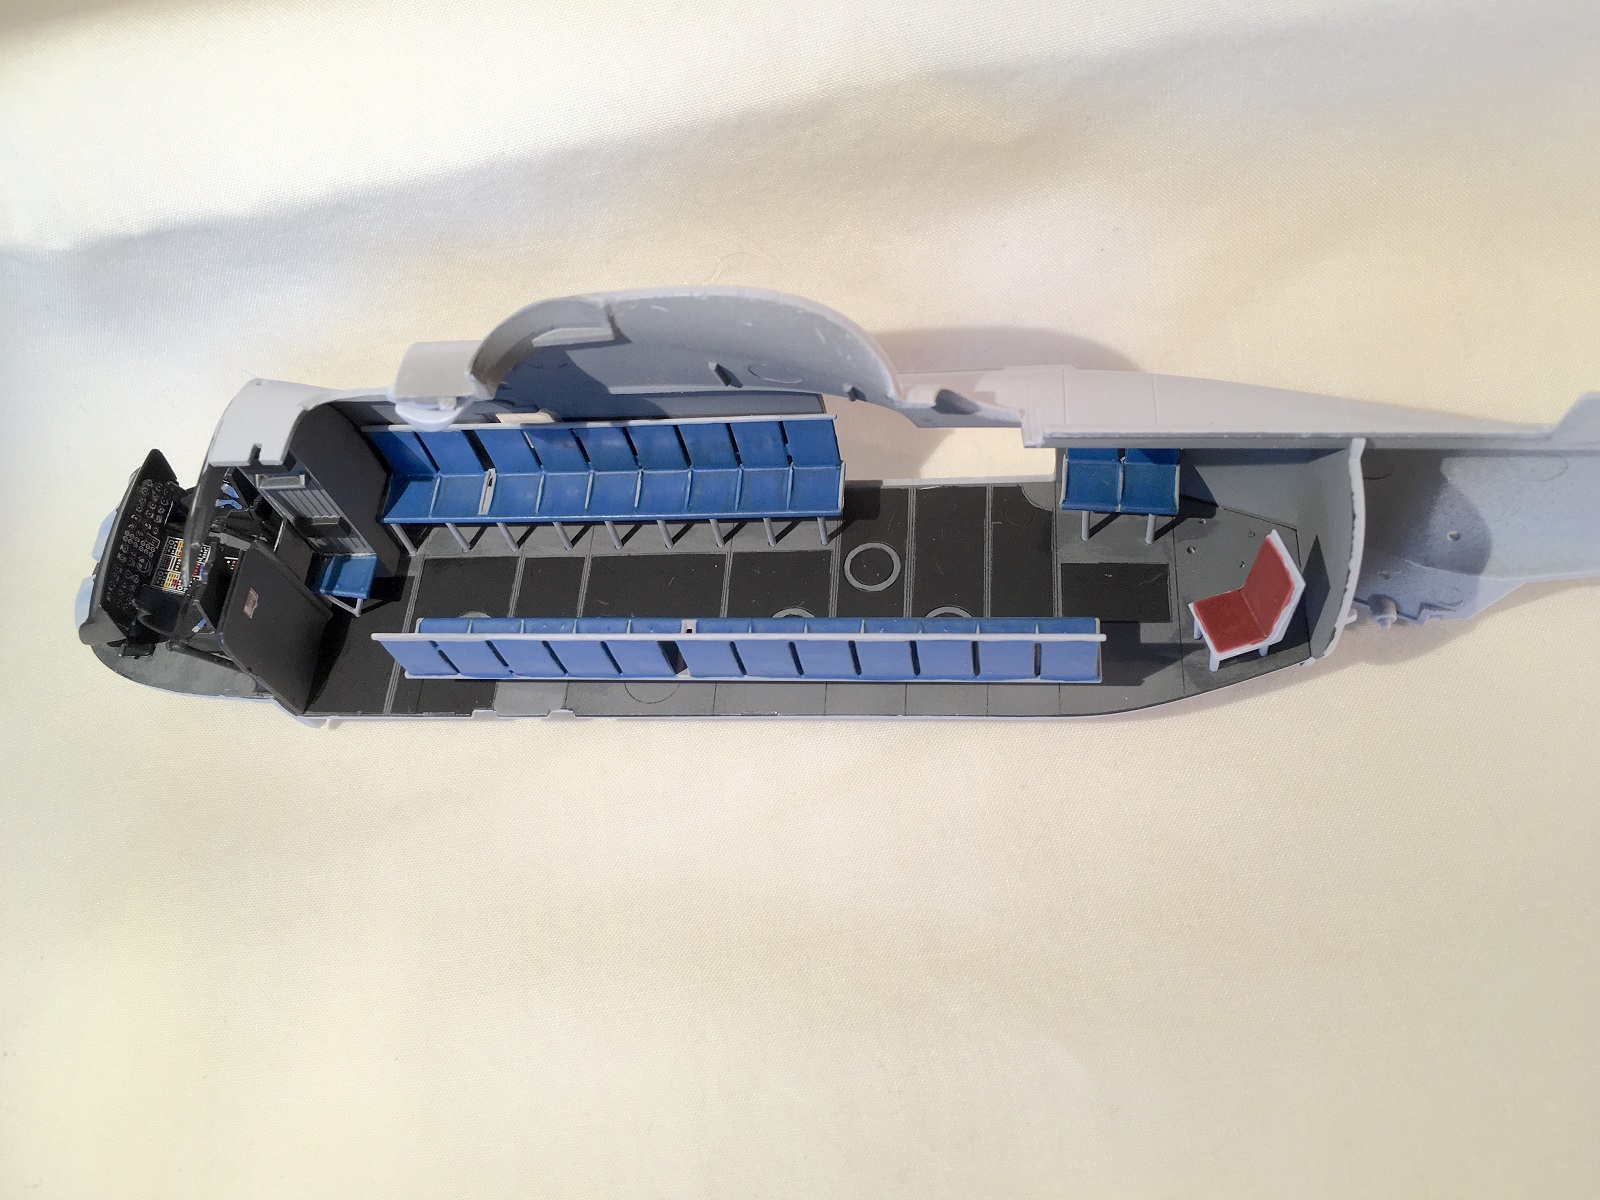
The interior builds up nicely. A few of the seat legs are longer than others, so you have to drill through the floor to accommodate them. Step # 1 in the instructions shows which holes to drill. Fitting the floor and cabin ceiling is a little tricky. Some adjustment was needed, as there are no positive attachment points, just tabs. Part of the ceiling includes half of the roof right behind the cockpit. For me this fit was the worst in the whole model, and I needed to fill and sand the resultant gap. When attaching the belly part, I would suggest to start gluing from the front and work back. I started at the rear and ended with a slight gap where the belly meets the nose that I had to fill.
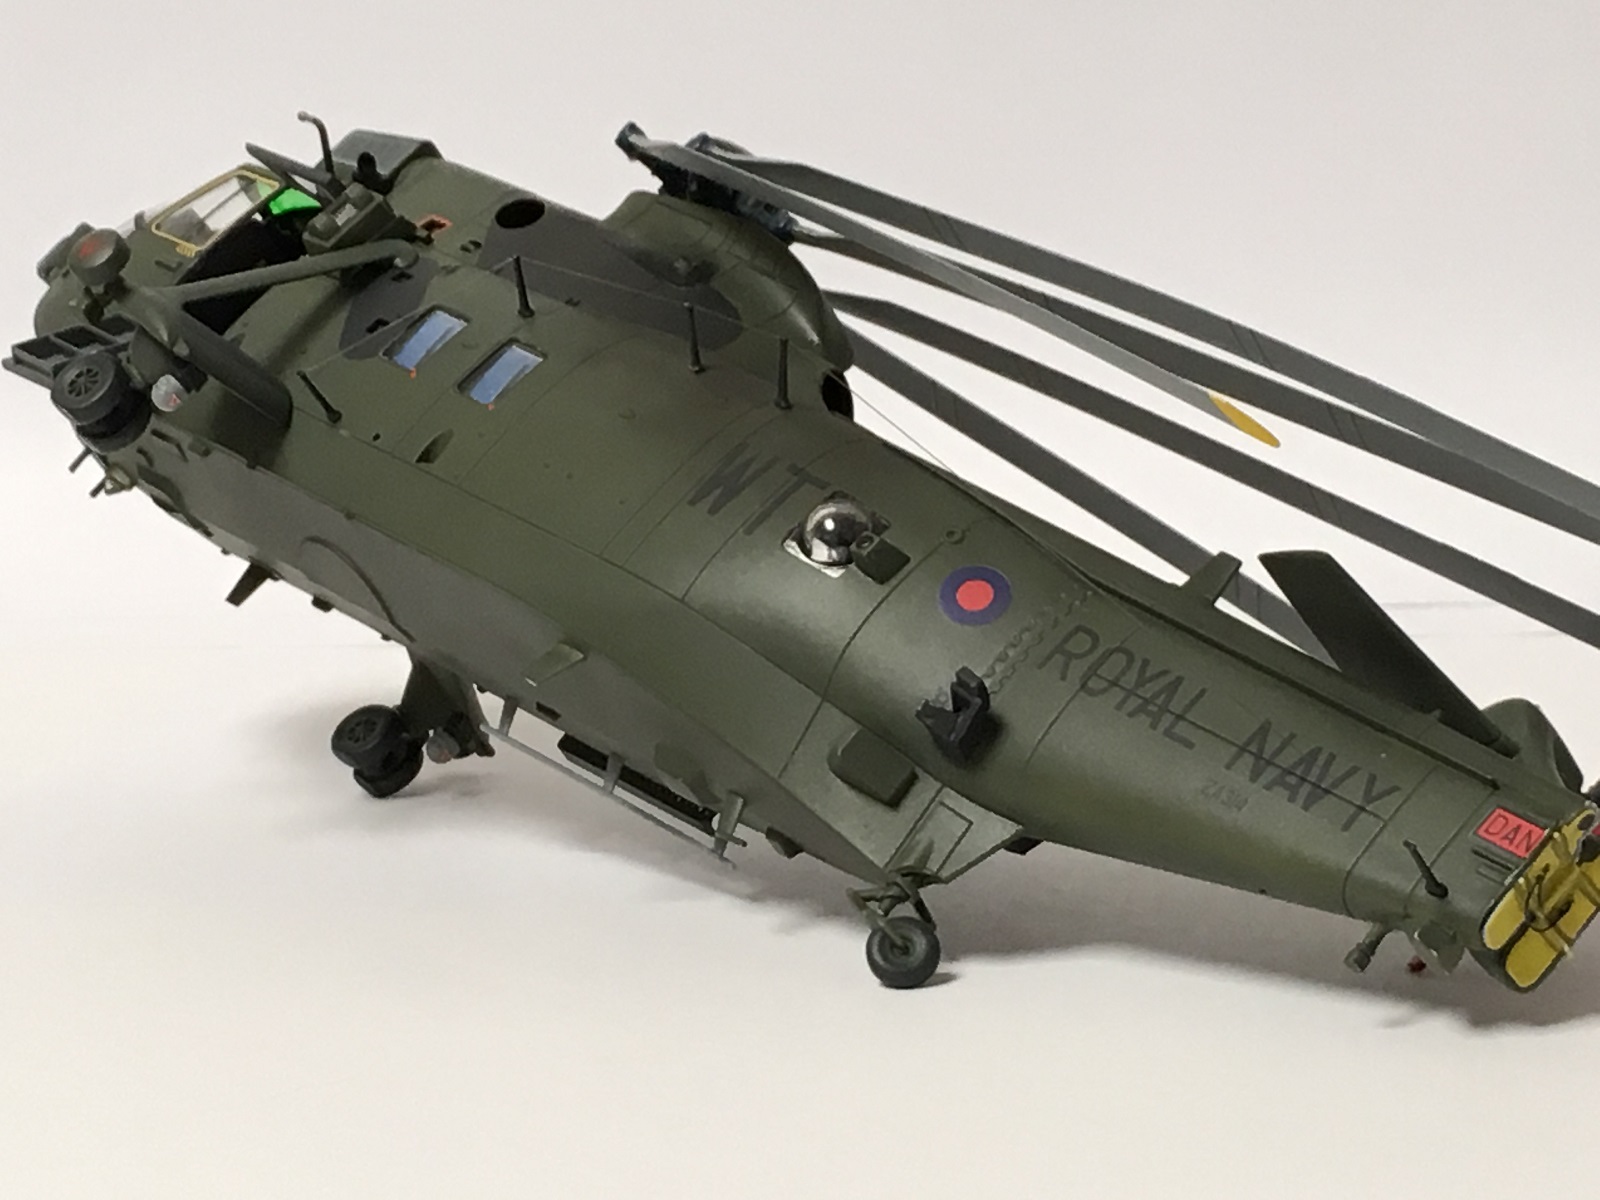
When attaching the undercarriage sponsons, there are two tabs that fit into square holes in the fuselage. There is meant to be a gap between the sponson and fuselage, but they appeared a bit wide, so I shortened the tabs. I think I now have a more scale looking gap. The tires are flattened and look great. It would have been nice to have the wheel rims defined more from the tire to ease painting. I used Eduard’s canopy mask that included wheel masks, so it wasn’t an issue. The tail wheel was painted the “old fashioned” way with care, a fine brush and a (somewhat) steady hand. I also used bare metal foil for the tiny oleos.
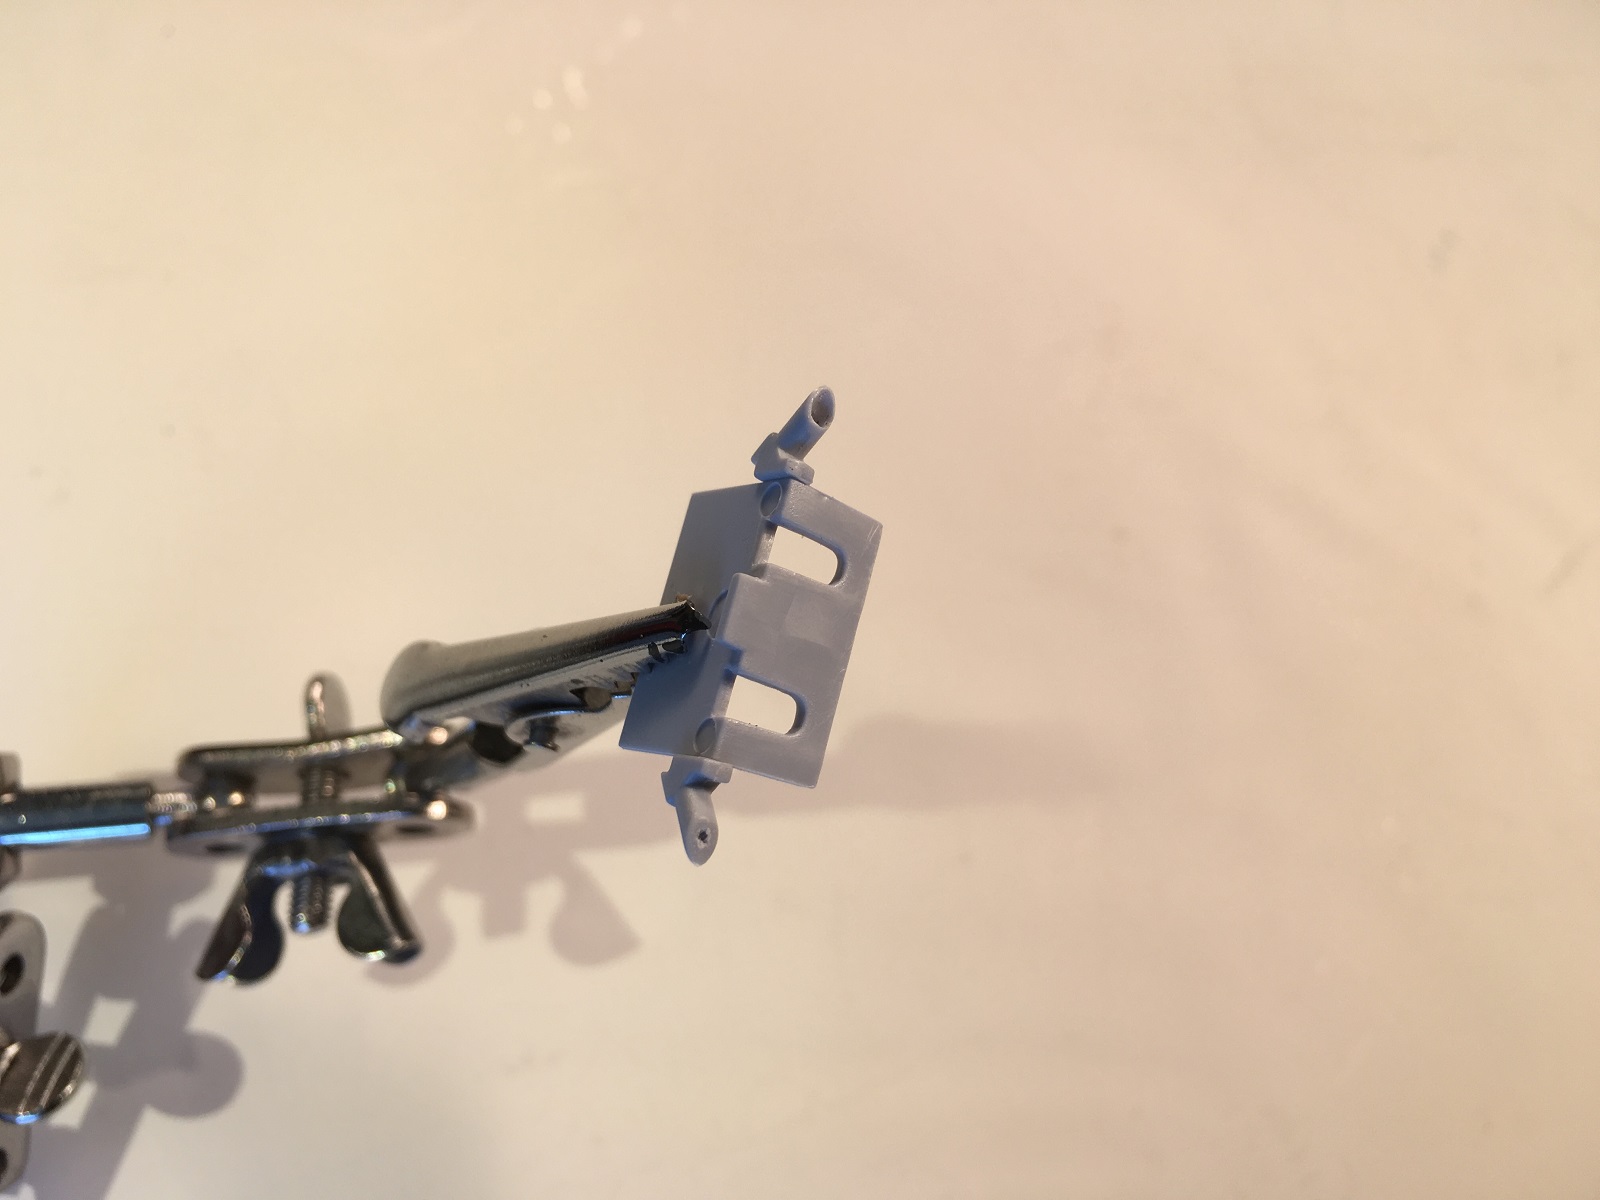
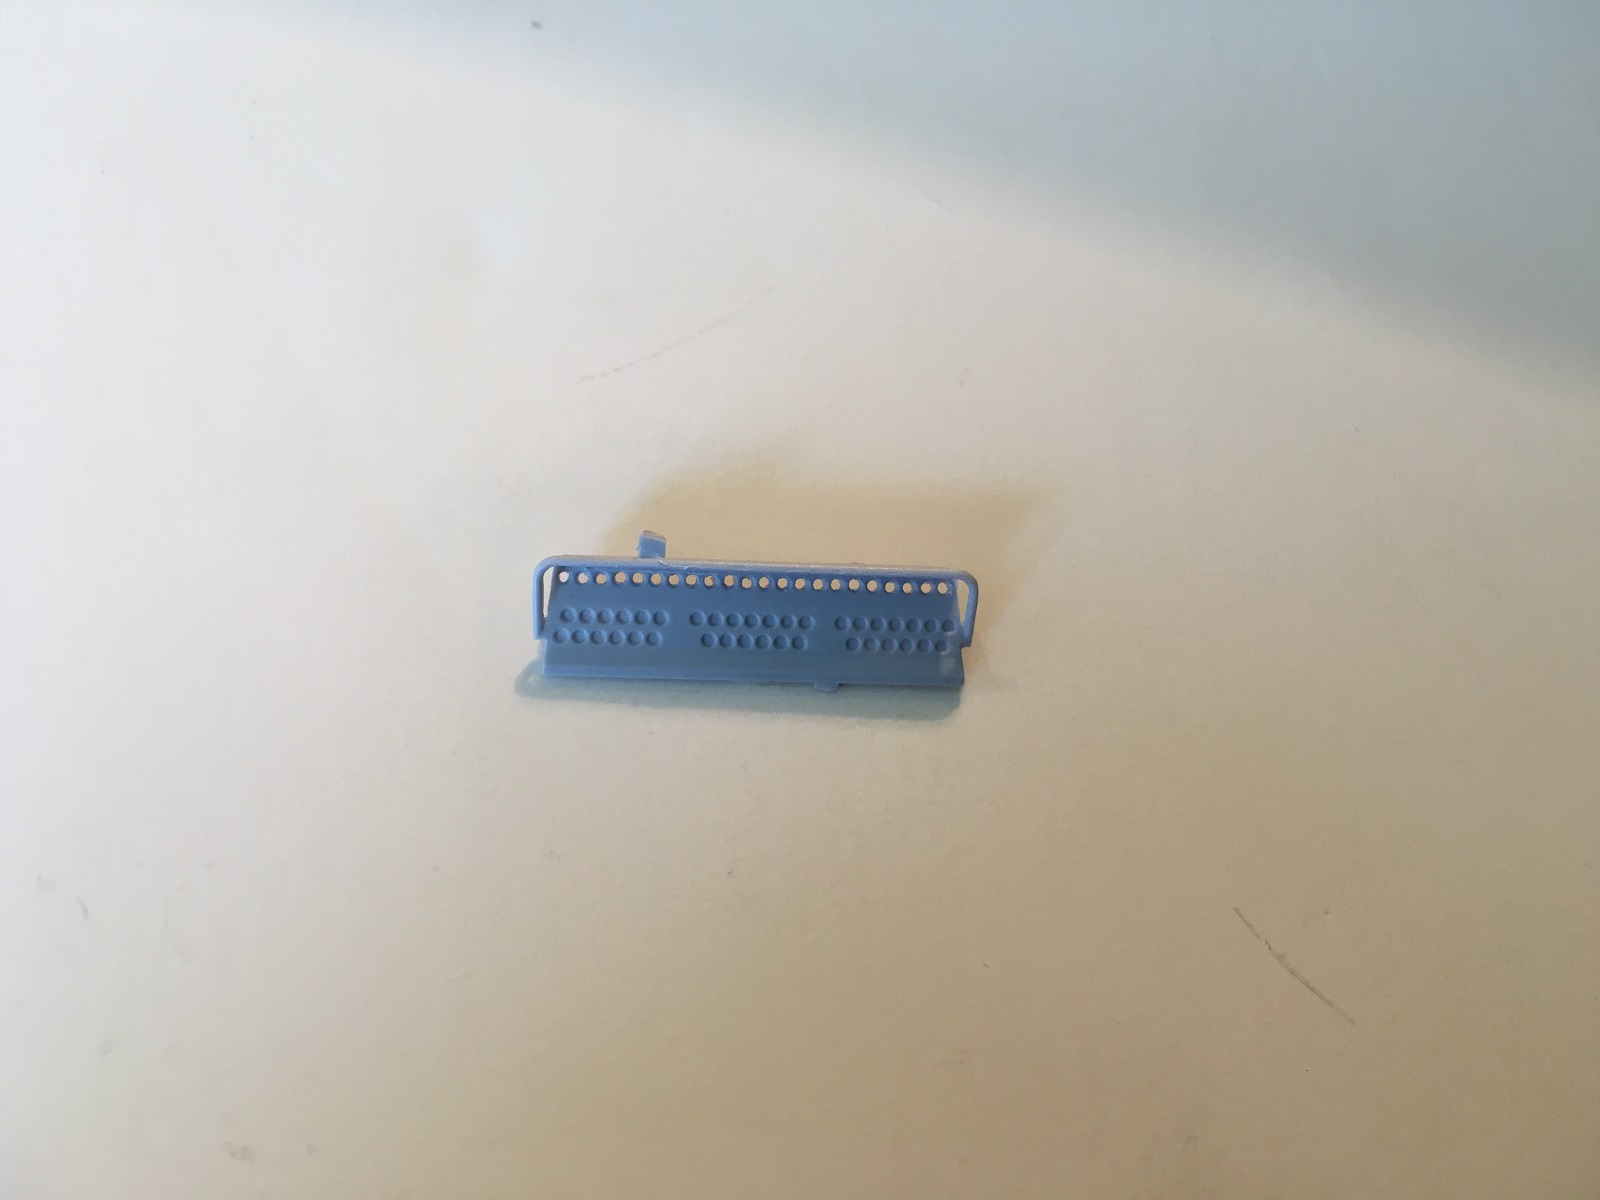
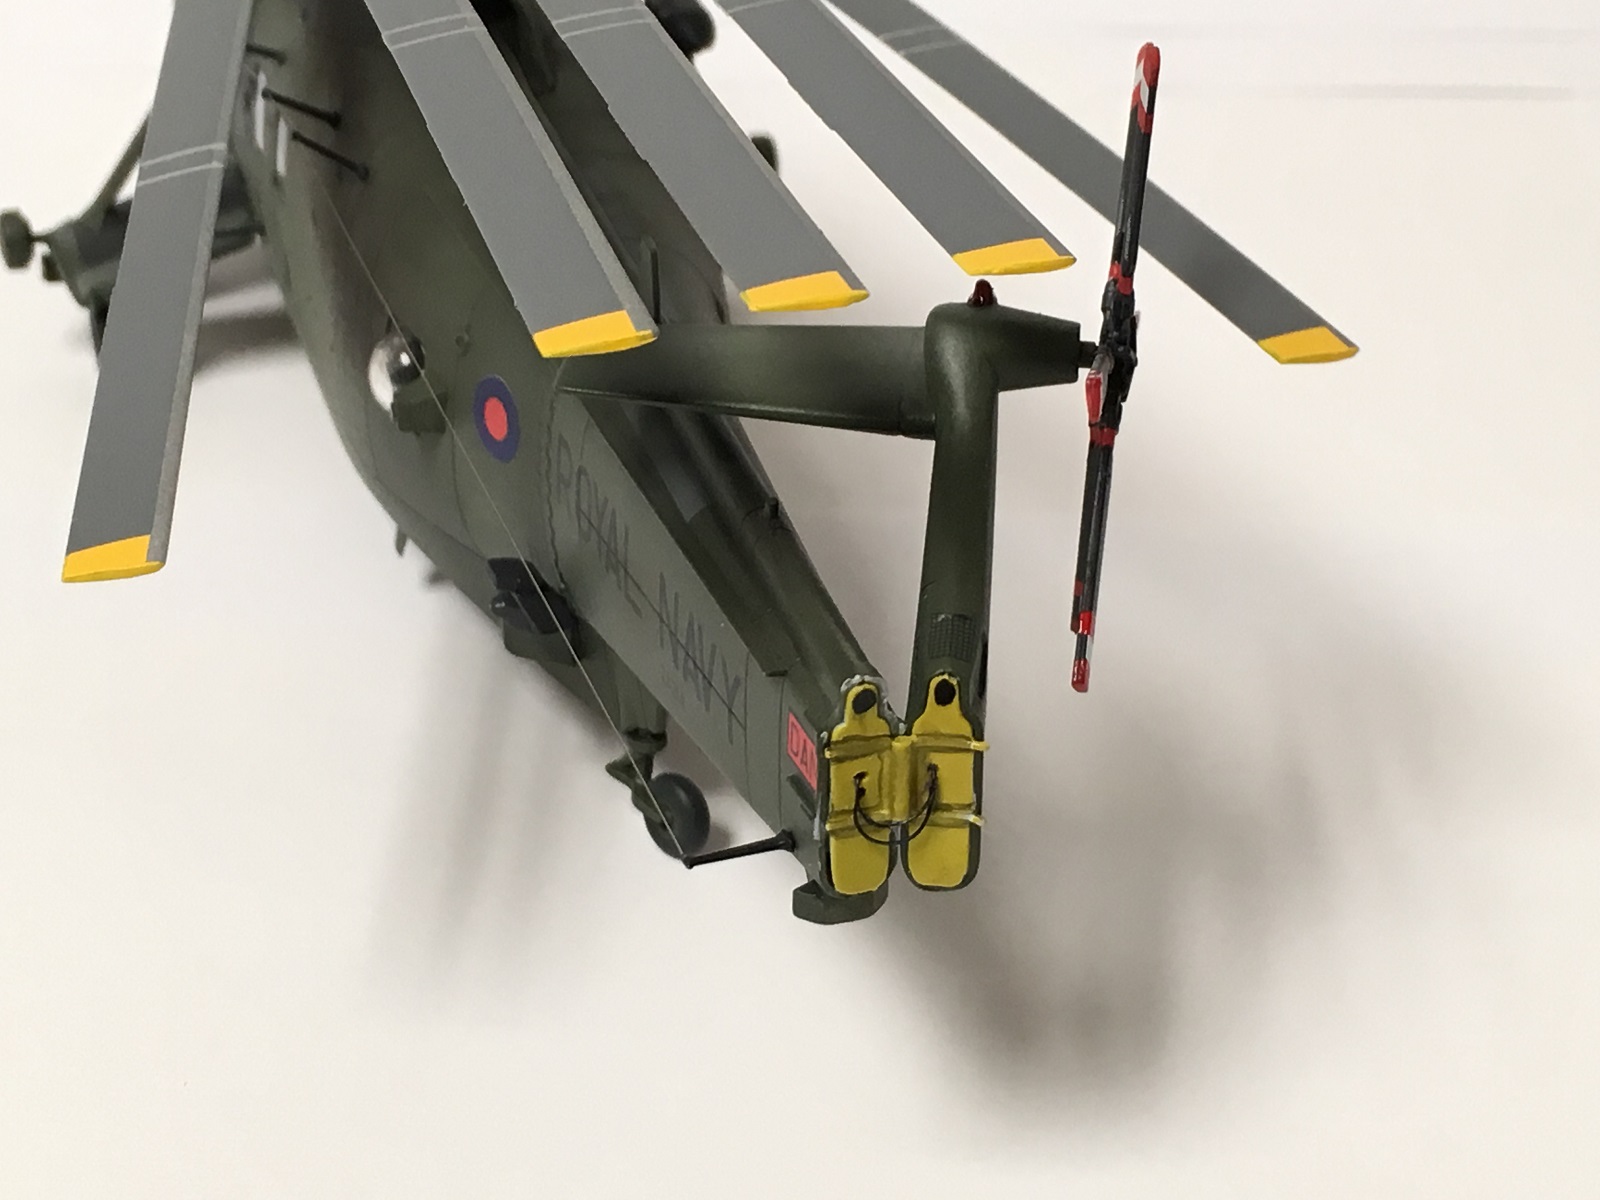
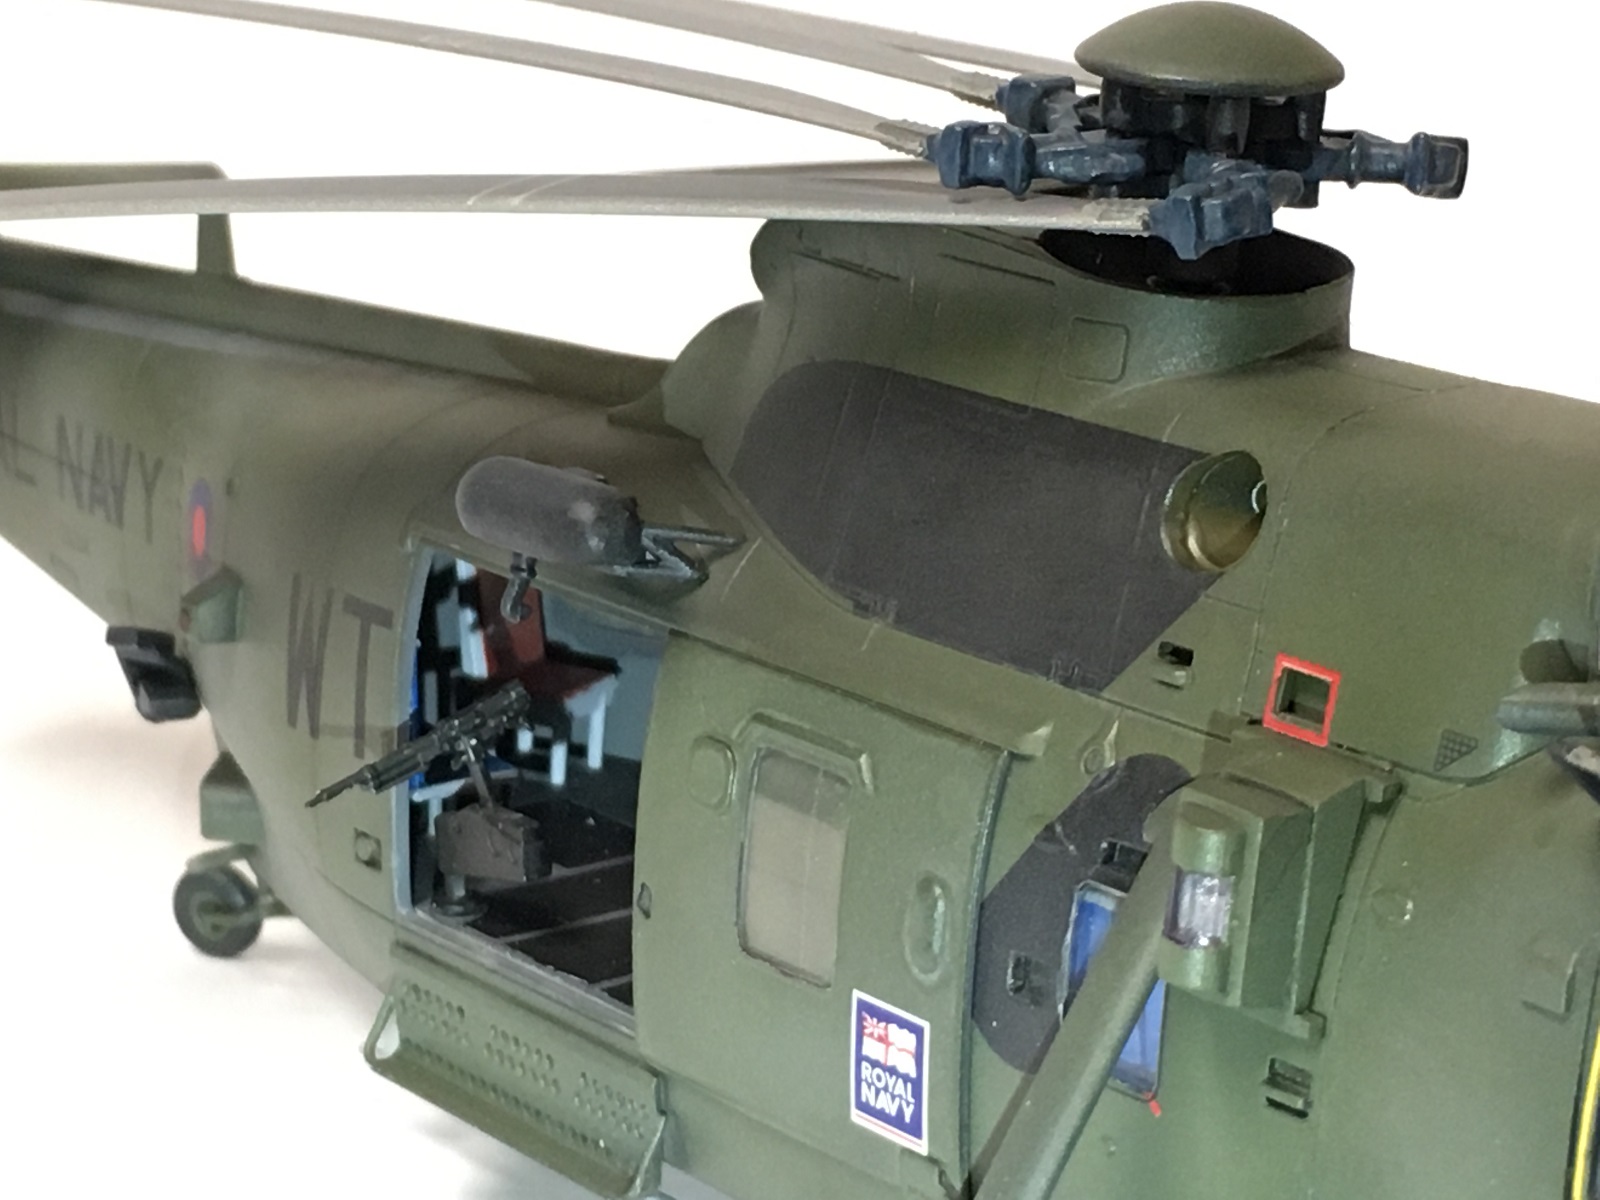
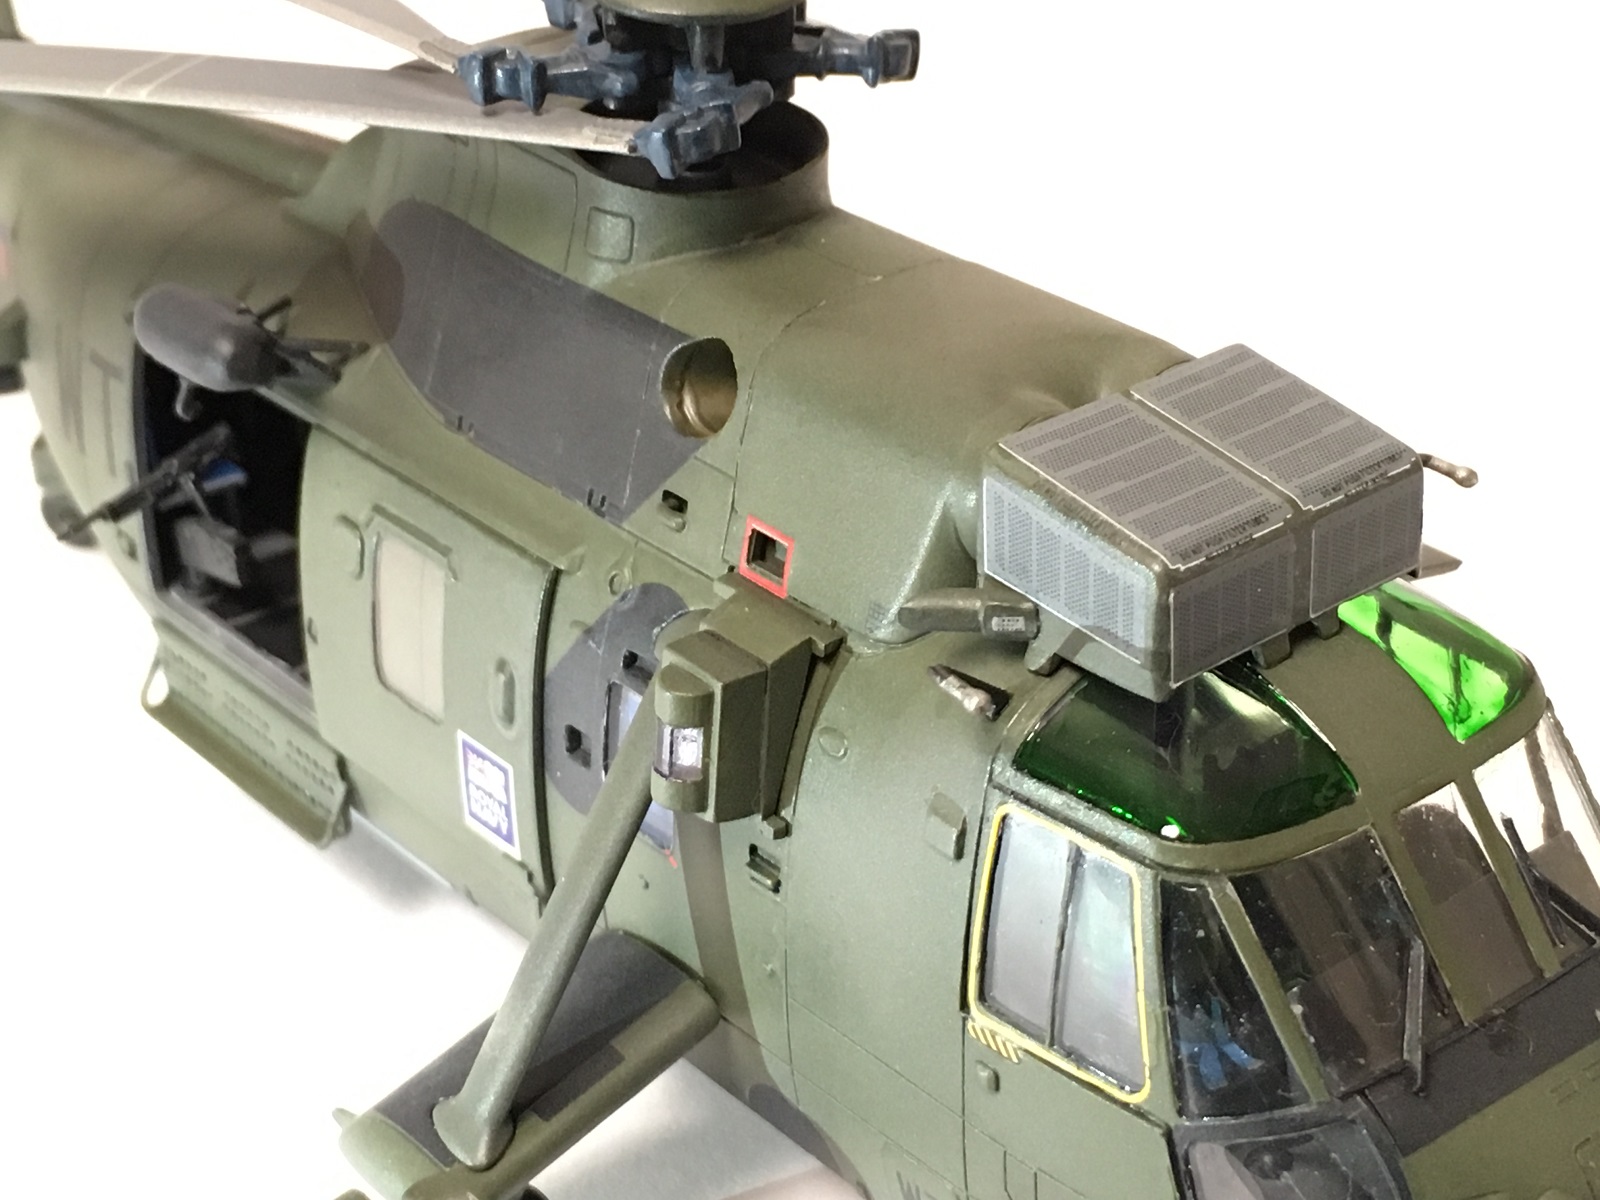
I drilled out the lightening holes in the main cabin door step. Looks much better. I wish I had done the same to the Infrared jammer mounting frames on the upper front fuselage. The sides are solid blocks, but have a nice cross member frame that can’t be seen behind the jammers.
The decals are from Cartograf, so you know you’re getting a superb product. They settled down nicely with some help from decal setting and softening solutions. I was surprised to see a very slight misalignment in the roundels, and dust filters with a sliver of white backing showing through.
The cabin windows are thoughtfully supplied with decals to simulate the rubber seals around them. There are four part to each. The top and bottom parts include the edge curves, but are a fraction wide. The yellow side cockpit window outlines are also supplied in four parts. On first glance the front and rear vertical stripes seem to be the same length, but the front is shorter. They are the same number on the decal sheet.
Red/white stripes are included for the tail rotor tips, as are the yellow main rotor tips. I picked up a good way to align the other stripes on the main rotor on a model forum, using a plastic drawing mat with a grid pattern to line up each rotor. I found this was great for the first side, but eye balling was easier to align the other side.
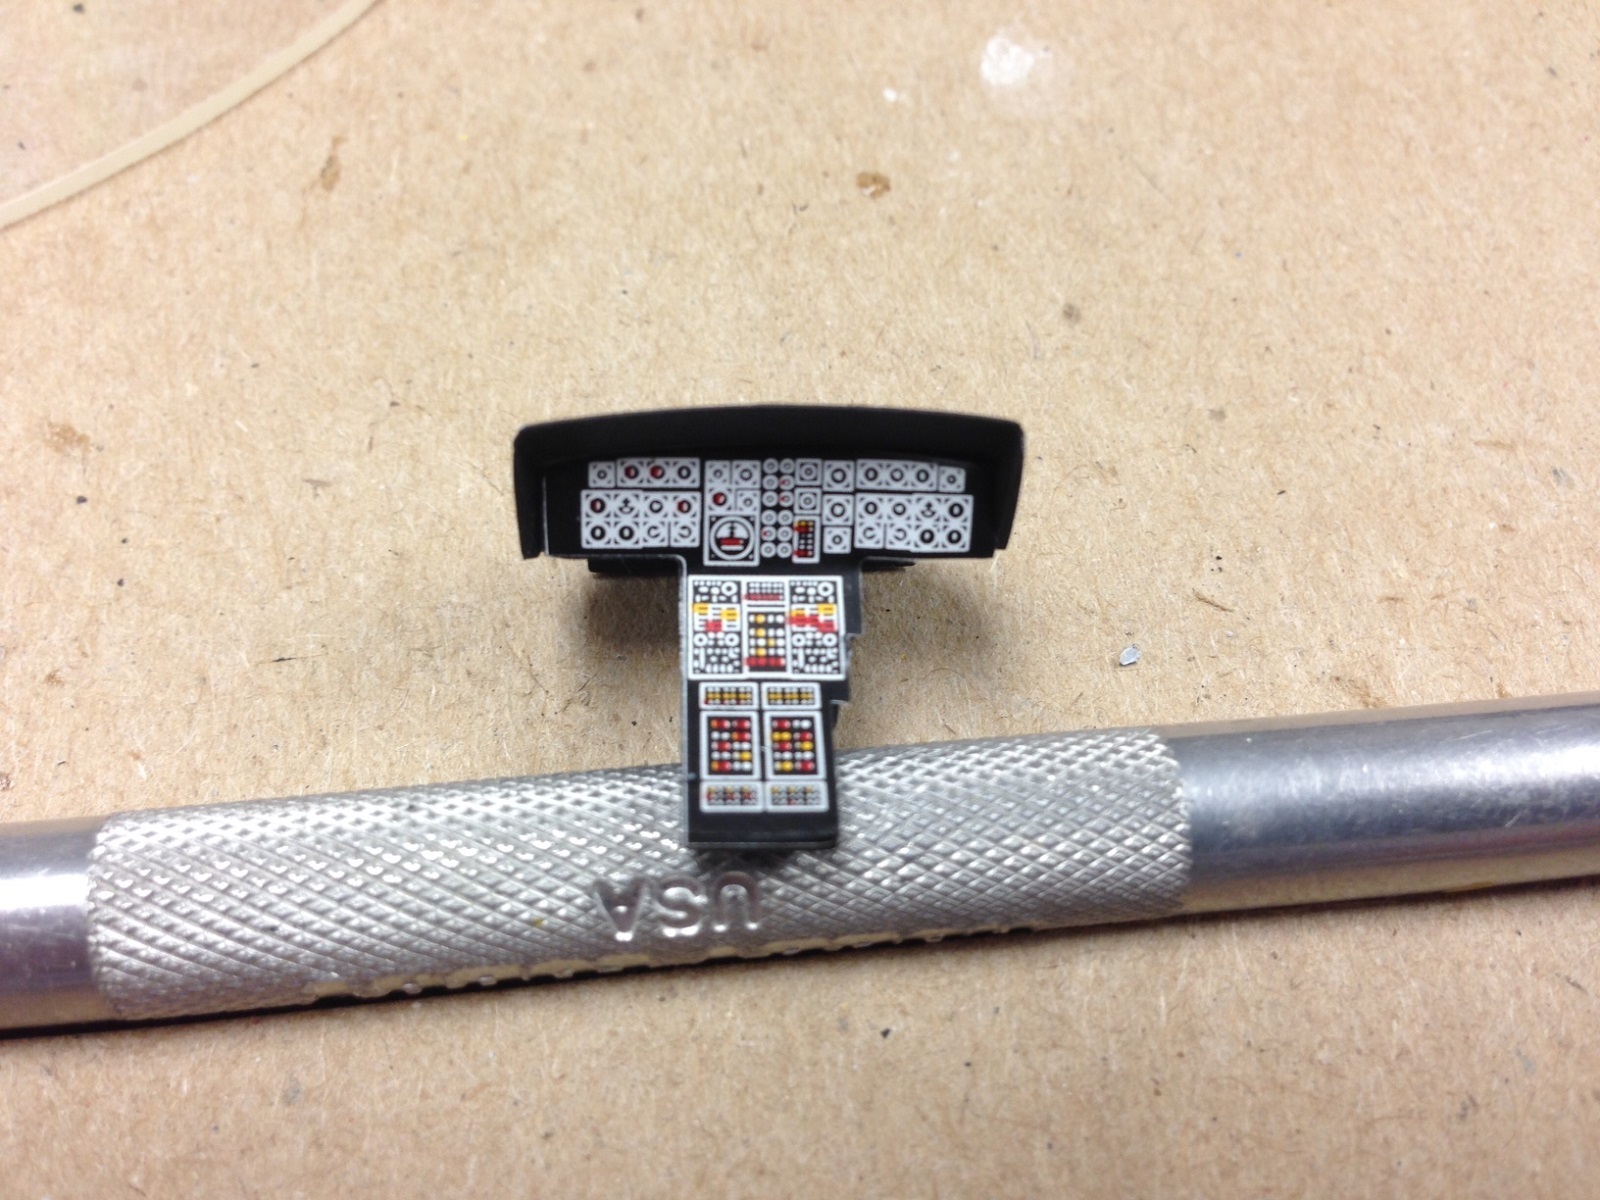
The instrument panel decal had the instruments outlined in white, making the panel look essentially white. I attached the decal, and then ran a black marker around each dial to darken them. Not great, but better than the decal as supplied. The center and overhead panels are fine as is.
All walkway and other heavy duty areas are supplied in black and grey decals. The left hand engine/transmission cowling has a large protrusion that the flat decal is meant to lay over. I sliced it under the hump, aligned the decal top, and painted Tamiya black (best match) to fill in the cut, and exposed areas. The undercarriage sponsons have a walkway decal that the instructions have you apply before attaching the support arm. There is a recess that the arm fits into, but part of the decal goes over the recess. I think it would have been better to supply the decal with the cutout to fit around the support arm after assembly. As it is the decal has to be trimmed away from the recess, anyway.
The rest of the build is fine and I used tape for the cockpit seat belts. Most of the small items were left until the very end, including most antennas, various lights, pitot tubes and doors.
I really enjoyed building this new Sea King. I believe “little Johnny” may end up frustrated with some of the more tricky parts of the build, and tiny parts, but the challenges I faced are not beyond the average modeler. The end result being a fine, accurate example of an important helicopter.
I would very much like to thank Airfix, Hornby USA, and IPMS for the opportunity to review this excellent model.


Comments
Add new comment
This site is protected by reCAPTCHA and the Google Privacy Policy and Terms of Service apply.
Similar Reviews