
Victor K2 Tanker
This kit traces its lineage to the now-defunct “Matchbox/Lesney” company in the UK. It was one of their last kits before going into receivership in the early 1980’s… Revell bought the molds, and fortunately this kit is available again.
This Victor was heralded by all Anglophiles as a great thing, who had endured the occasional vacuform Victor or the odd-scale kits from other companies to scratch one arm of the three British “V” bombers itch. Never mind that it was molded in bright green and pale gray plastic, had huge raised panel lines, and fit that was a bit dodgy… it was a Victor!
… This kit has been re-released several times, most notably with an improved decal sheet spanning the mid-1980’s green/gray over gray scheme, and the later desert-storm “Hemp” gray over light aircraft Gray, with “Maid Marion” nose art.
With the re-releases of the model, (Last time was 2003) the plastic was changed to the now-standard light gray overall with clear parts; 108 in all. Nothing new has been added in the way of detailing; you are a getting a Victor K-2 which can be built with landing gear and flaps up or down, the centerline HDU (Hose Drum Unit) extended or retracted, and drogues either extended on styrene hoses or retracted into the pods and HDU. Decals: first rate and worked great!
First step was to decide gear up or down. UP was simple; first. I did not fancy installing the landing gear, as I wanted an “in flight bird”, and the thought of 18 little bitty tires and wheels all requiring paint put me off. Have done this kit before, and remember how it felt… and there are, in the aftermarket, resin items which are easier to paint and look a lot better. The wheel wells are there, just not detailed. Remember the vintage… we used to do our own! I installed the gear doors in the wing sections and fuselage, using superglue as a filler and a bit of accelerator to keep them from falling out. Easy.
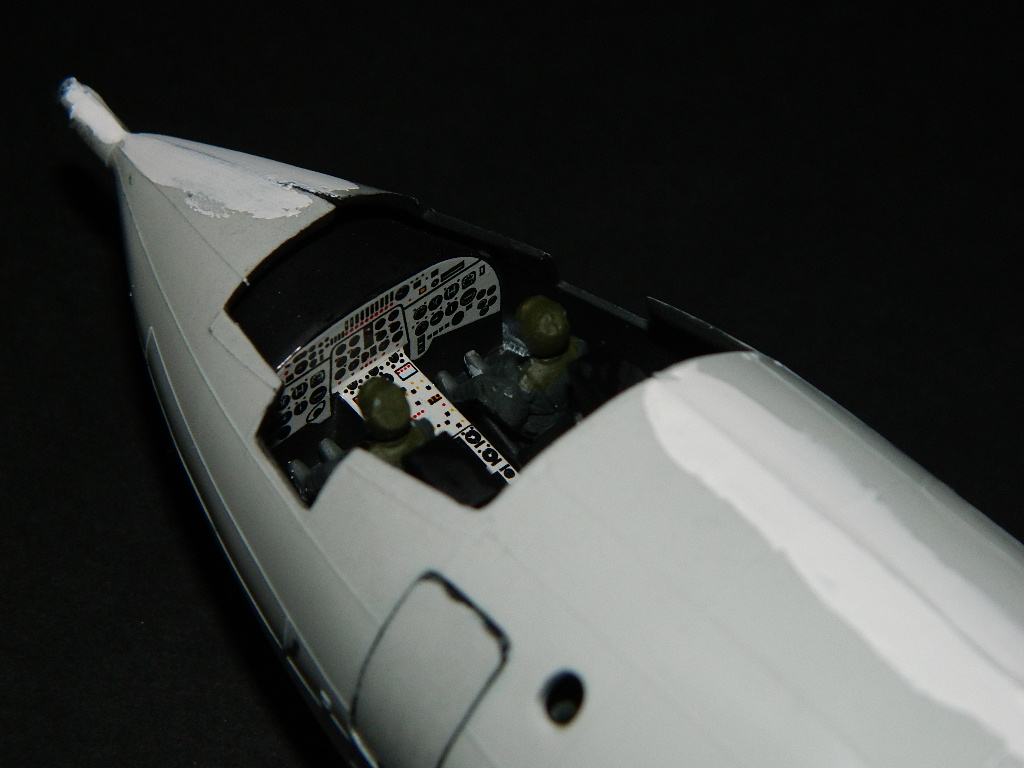
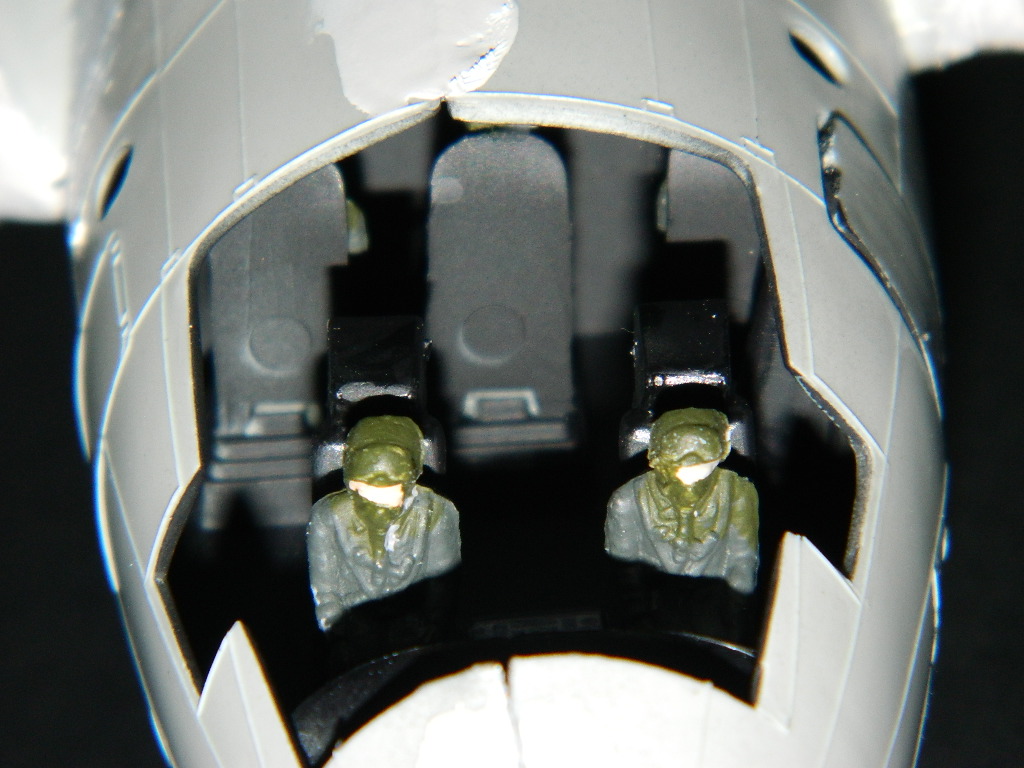
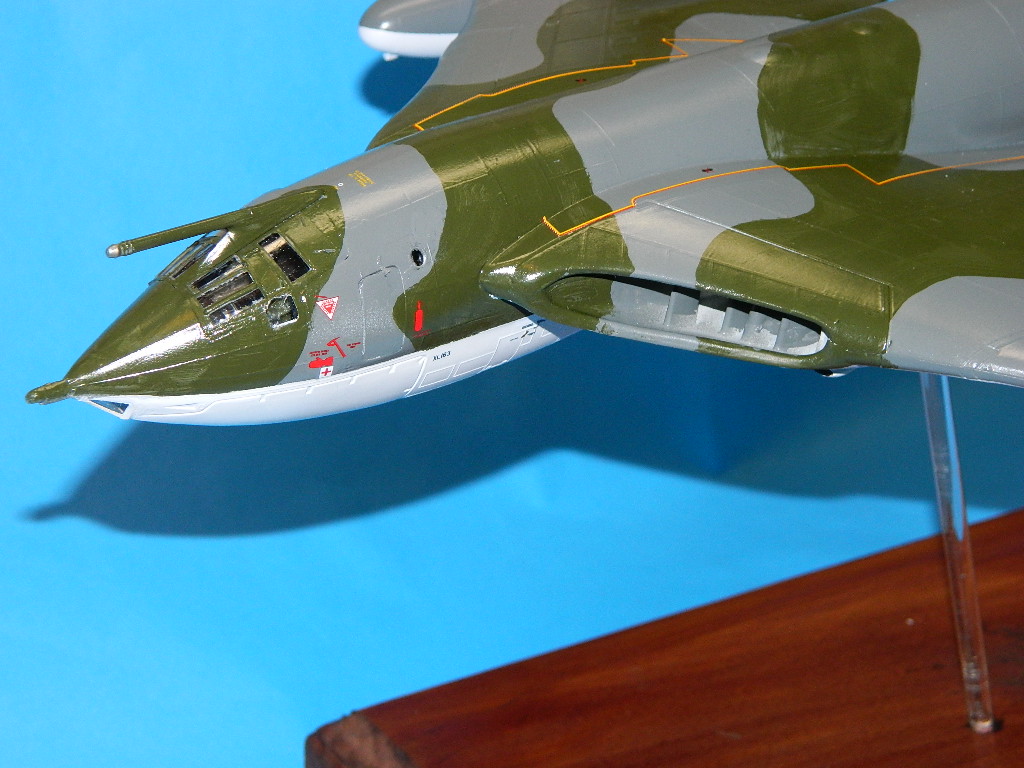
Construction is simple; the flight deck is not as detailed as today’s models, which is really ok because you can’t see much when the model is complete (even though the clear plastic is glass-clear).
As I was intending to show the model “in flight, the crewmembers were painted and installed. These are typical “men” from the 1970’s in 1/72 scale, and are decent but unanimated in their “sitting at attention” pose. Decals break up the interior, with the instrument panel and central panel being provided on the sheet. These fit perfectly into place; there are no control yokes, so you are on your own if you want to superdetail what can’t be seen…
The fuselage halves are cemented together (don’t forget to trap the centerline HDU into place after you glue the two parts together) and taped. Fit is not great, but it’s an old kit. Keep that mantra up. You WILL use filler, you WILL use filler… ad nauseum.
The windscreen was next to be installed; I would state the fit is just a bit bigger than the opening, which is fine because you can always sand and polish down after trimming to fit. More filler here… Overhead refueling boom also went in with no problems.
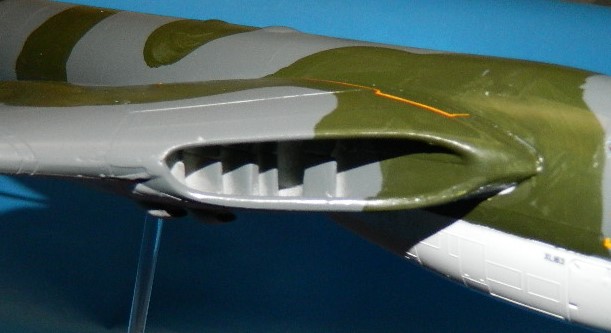
Wings are provided in two sections; inboard and outboard. The inboard section has you trap two detailed fan intakes on a bulkhead between the upper and lower section, then you will have the delightful task of filling and sanding the intake splitter vanes. (see the photo). I had pre-painted the intakes white, in anticipation of not being able to get to the aft section later. Same for the intake fans; I painted them aluminum and the bulkhead black. In retrospect, out of the box, these would be better white. If you don’t fancy this approach, try Flightpath’s Victor set; there are two resin intakes which properly address the vanes, and it’s a relatively easy conversion involving a razor saw and time. A very nice Photoetch set for the exterior details is included as well.
Once all this is together, you can then cement the ouboard wing sections together, then cement them to the inboard wings and engine fairings. I would, after doing this kit, recommend you cement the ouboard wings to the inboard wing halves, then cement the whole thing together as a unit. Better fit on the wing surface that way… Of course I followed the kit instructions and had to use filler.
Tail section had similar fit gaps; the “v” tail has a stout mounting section, to which you add the outer tailplanes; filler required. The fin and rudder also required filler after mounting to the fuselage.
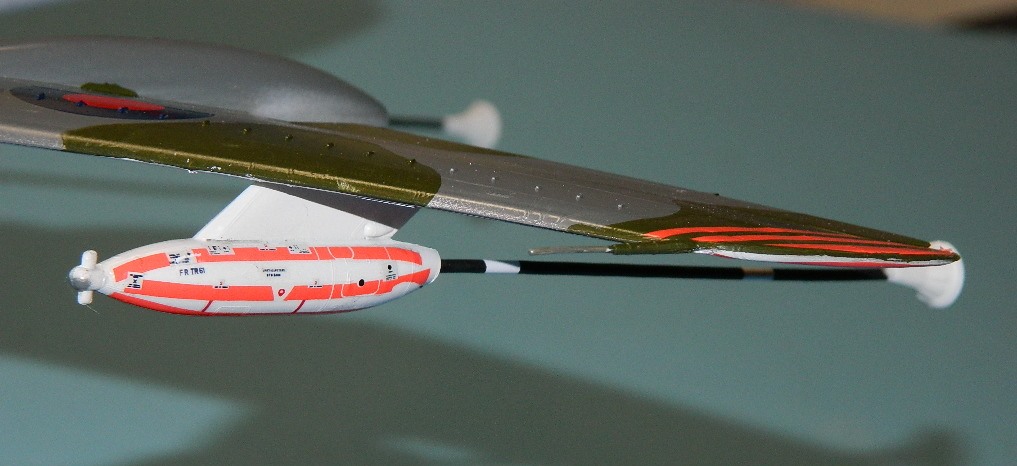
Underwing HUDU pods were next; these actualy went together very well. Installation into the wing was ok as well, just requiring a smear of Vallejo filler to blend in.
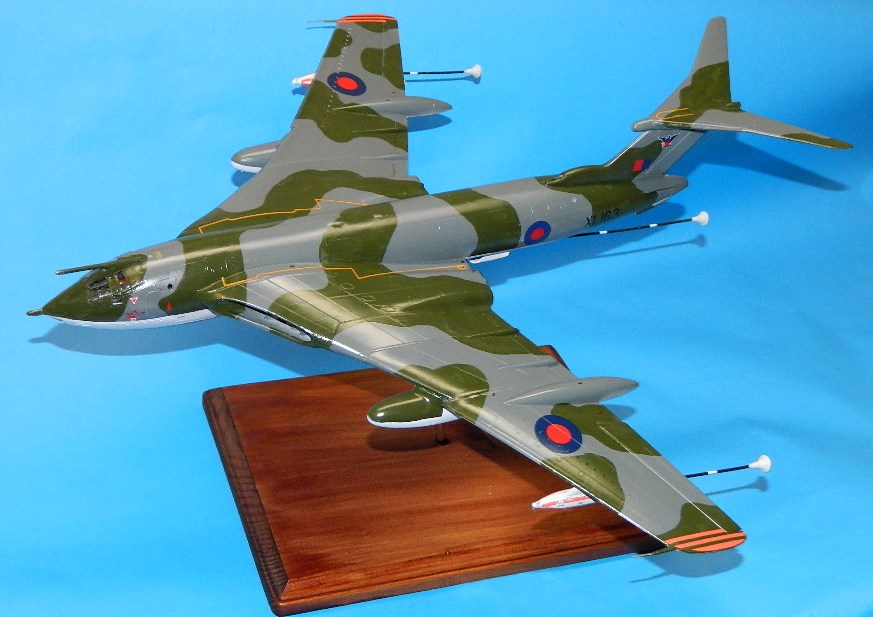
Painting was done after masking the windscreen and nose bombardier port; Overall primer white, fix a few areas, then Duplicolor flat white and gloss white to finish. Mask the lower parts off, and paint the upper part dark sea gray. I then used Vallejo Olive green as a brush coat for the camo pattern. In retrospect, two coats would be better, but I wanted to see how this stuff worked. (GREAT!). glosscoat, and then decals.
A word about the decals... fantastic! All the stenciling is provided, and the markings went on with no problems. A far cry from the original decal sheet. The fluorescent line-up markings underwing and on the wing pods snuggled right down. After drying, a final gloss coat and It really looked good.
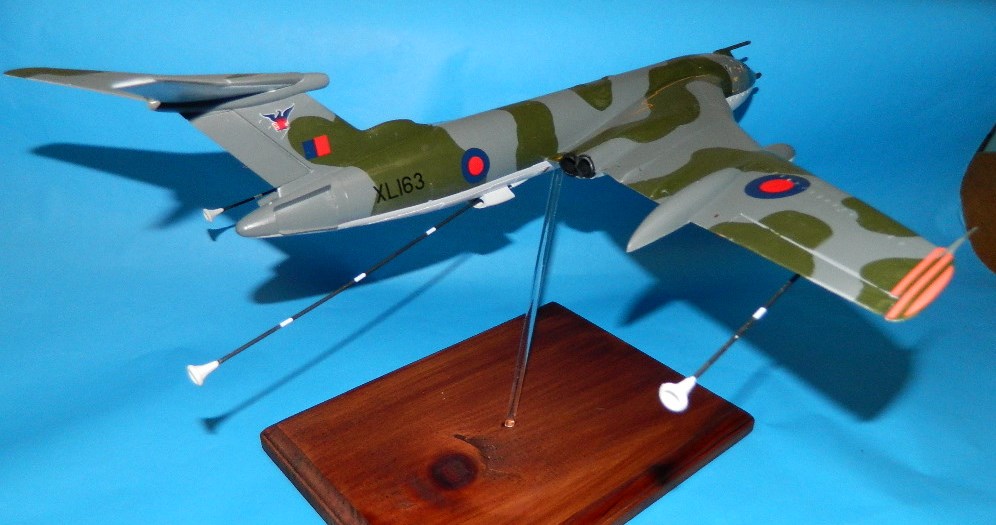
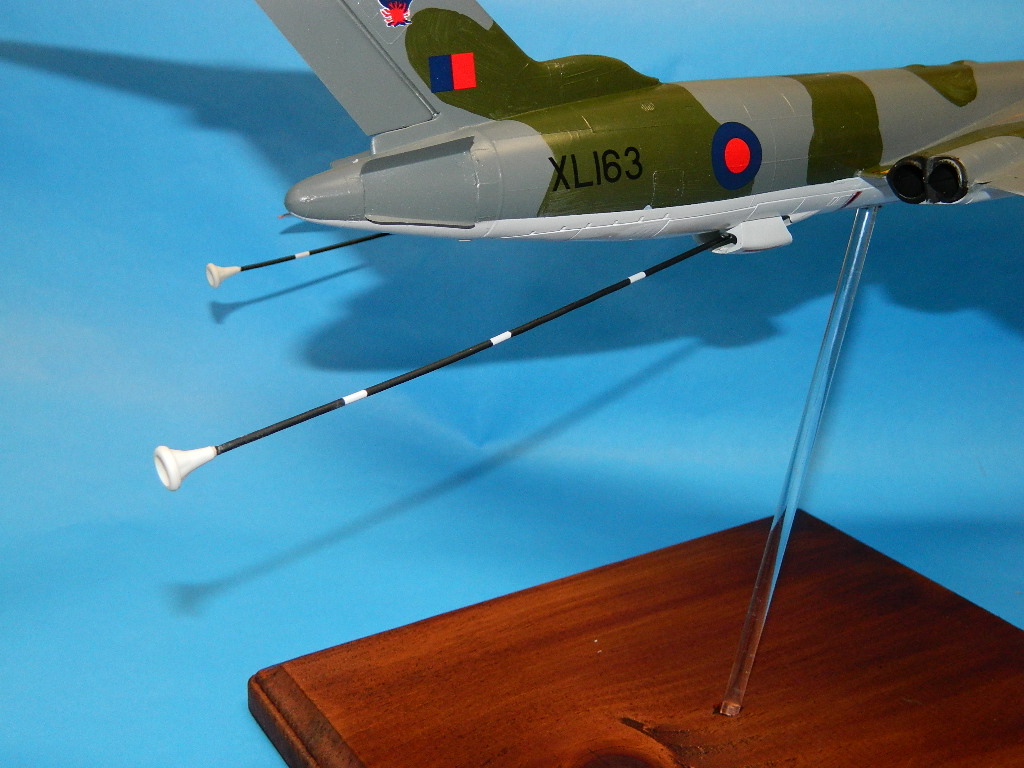
I did not weather the model; wanted a clean look, and the final section on this tome involved making hoses to attach the drogues to . I used white-coated clothes hangars, cut to length, and masked the extension bands. Painted the whole thing flat primer black, attached the drogues with Superglue, and drilled holes to put them into place. The kit provides plastic hoses, which are short and fragile. The wire hoses look great and are relatively sturdy.
I drilled a hole in the model base, inserted a plastic tube, and used clear rod to make a mount for the base. Someone is gonna have a nice desk model when I take it in to the office… contributing to my dissemination of aviation stuff amongst the great unwashed.
This kit is highly recommend them for those looking to step up their personal modeling efforts… 8 of 10 for fit, 10 for decals and overall presentation. Revell, keep these older kits coming! Thanks again to Hobbico for supporting IPMS USA and leadership for firing it off to me…

Comments
Add new comment
This site is protected by reCAPTCHA and the Google Privacy Policy and Terms of Service apply.
Similar Reviews