
VEF Irbitis I-16
Upon opening the box, one is greeted with a simple resin kit of an aircraft so obscure that even though I pride myself on my knowledge of WWII aircraft and have built over 100 resin kits of many obscure aircraft, I even had to look this one up!
The Irbitis I-16 was an indigenous fighter design from Latvia. The aircraft was small, approximately 24 feet in length with a wingspan of 26 feet 11 inches and a height of 8 feet 2 ¼ inches. Maximum speed was estimated at 298mph. It was to be armed with two Browning machine guns in the fuselage and two in the wings. The aircraft was test flown in Latvia during the spring of 1940. Shortly thereafter, in the summer of 1940 the Soviets occupied Latvia and further development was stopped until early 1941. Then, in the summer of 1941, the Nazis invaded and took over Latvia. Under the Germans, development continued and when the aircraft was completed it was claimed by the Luftwaffe and from there it disappears into the mists of time.
The kit contains 27 gray resin parts and 1 vacuform clear part. My example has decals for both a Latvian- and German-marked aircraft, although from the instructions it appears that only one marking option normally comes in the box. In some ways this kit reminds me of the old Czech Resin kits that used to be available from the old Aviation USK, just with all the benefits of 20+ years advancement in resin and casting technology.
The casting quality is excellent with no flaws or visible pin holes. Pour stubs are located where it will be easy to remove them, with only minor clean up required since there is very minimal flash.
The instructions are one sheet containing a brief history and an exploded view drawing, nothing else. No color callouts and no painting and marking guide, so the builder is one his own. Research at the Latvian aviation website listed above does give the over all aircraft color as “aluminum bronze,” so at least we have a starting point for painting. After much research and questions posted to several modeling forums, I was able to find out the “aluminum bronze” was a common 1930s-1940s name for aluminum dope, like that used on fabric surfaces.
Assembly began with parts cleanup, which only took about ½ hour. Then onto the cockpit as the starting point, which I painted in RLM 02 – a complete WAG as to the possible interior color. The cockpit is very rudimentary, consisting of a seat, control stick, floor, rear bulkhead, and a flat featureless part that’s intended to be the instrument panel. No decals, photo etch, or paper are included to populate the instrument panel. Now, as I have been able to find no interior photos, drawings, or plans for the I-16, this could indicate that nothing is out there, so I am willing to give Master–X a pass on this, and this also prevented attempting to scratchbuild a panel. Also, not a lot will be visible once the canopy is in place. Still wanting something there, I was able to find an instrument panel decal from an old Accurate Miniatures Mustang Mk. I sheet that fit beautifully on the panel and will at least show an instrument or two if someone looks inside the canopy. Accurate – no! But a cockpit looks naked without some detail on the instrument panel, so compromises must be made.
To fit the rear bulkhead/headrest I needed to take off between 1/8 and 3/16 of an inch from the part at the bottom, as well as sand a small indention into the back of the cockpit opening for the headrest to recess in. Also, to get the floor in, I removed some of the maker’s nameplate from where it is cast into the inside of the fuselage – up to the bottom of the letters and two to three letters in length within the name, and the fuselage halves closed easily. I also added some simple wedges to look like rudder pedals, a photo etch throttle assembly, and seatbelts from the spares box, as these items were not included in the kit.
Once the cockpit parts were together and placed in the fuselage, it was time to join the two halves. No problems here as there was a very good fit. Next, I added the horizontal stabs, and here some filler was used to fill in the open gaps. I use 3M Acryl Blue on resin kits as, once the gap is filled, lacquer thinner on a Q-tip will remove the excess and leave a smooth flush area without losing any detail to sanding. Then I added the nose cap, which also required a small amount of filler. The next step was to join the one-piece wing to the fuselage. A small amount of filler was needed along the wing fillets and where the rear of the wing and the fuselage meet. The spatted gear needed a little sanding around the peg to get it to fit in the holes in the wing. Once again, a small amount of Acryl Blue was used to fill, and the excess removed with lacquer thinner.
The canopy is made up of a resin lower part and a clear vacuform part. The resin part fits quite well and with a little pressure you can get it to fit without needing any filler. My only complaint here is that only one vacuform canopy is provided, so there is no room for error. I managed to cut off a little too much and had to fix this as best I could with white glue and Perfect Plastic Putty to fill in the gap created and blend it into the fuselage. This problem was entirely of my own making, but could have been easier to fix if a second canopy was included.
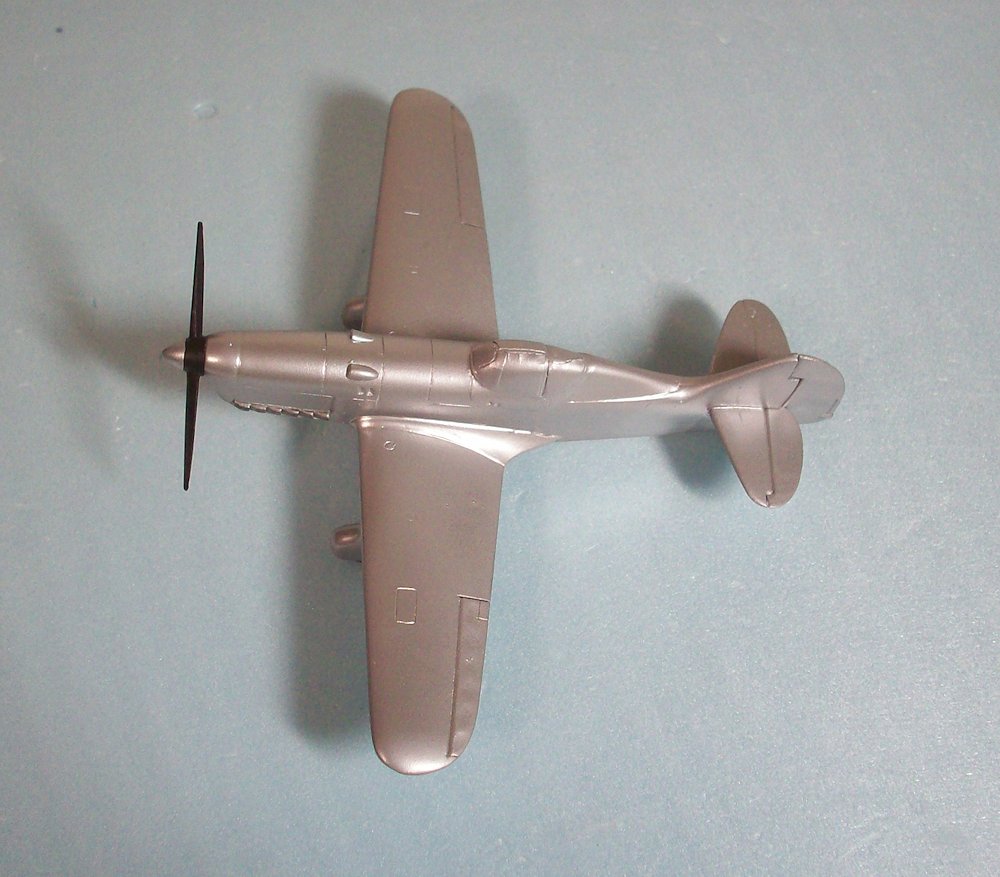
Now it was time to prime, and this revealed no pinholes and only a couple of small areas to dress up. Once this was completed and a few panel lines re-scribed, it was on to paint. As stated above, after a few hours of research on the net I found that the real plane was painted “aluminum bronze.” After more research and questions on several modeling forums it was determined that this was in reality “aluminum dope,” so out came the Floquil old silver. With painting and clear coating accomplished, it was time for the decals.
There are three versions of this kit; one with original Latvian markings, one with German evaluation markings, and one with Soviet markings. As stated previously, mine had both German and Latvian markings in the box. While I believe these kits normally come with only markings for the one aircraft showed on the box top, since I had the option of the Latvian markings in mine that is what I went with.
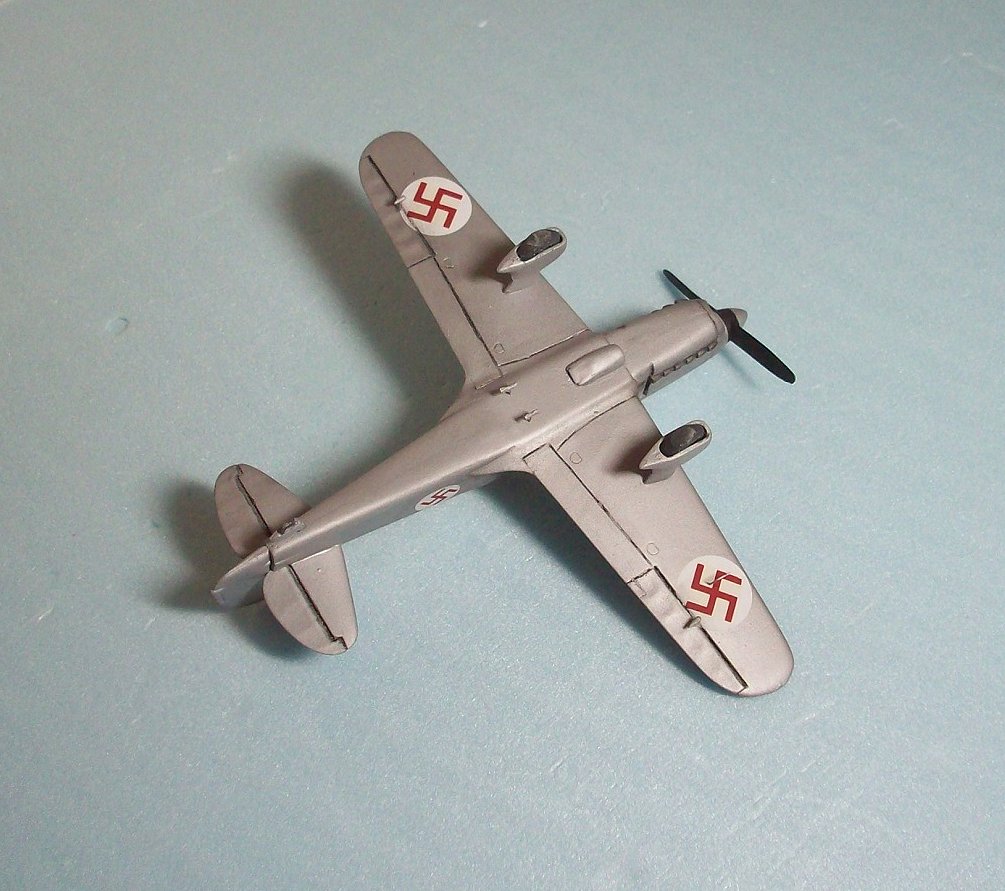
The instructions show the larger white circle and red Hakenkreuz on the fuselage with the smaller ones on the underside of the wings. An internet search turned up only two pictures of the I-16 in its original Latvian markings. Both of these show the small insignia on the fuselage and one showed larger insignia on the wings, so this is what I chose to depict. The decals are very thin, in perfect register, and go down flawlessly over a gloss coat. The only thing missing from the decal sheets that I could see were the propeller manufacturer logos. These are pretty prominent in photos of the only prototype.
Lastly came the fitting of the small details and weathering. Two control surface balance weights, two venturi-type fittings, and a pitot tube that all go on the underside of the wings and fuselage. There are small locating indentions that I had to drill a little deeper for a good seat. Please note that these parts are VERY fragile and small. I managed to break the posts off both venturis and also the pitot tube. These were then repaired/replaced with steel wire which, due to the small size, caused a lot of salty language until completed. A little more careful handling on my part and this could have been avoided. To finish, I added a light panel wash and light exhaust staining, as being a prototype it would not have been heavily weathered.
This is quite a nice little resin kit. It is well engineered, well cast, and fits together nicely. There are a few minor adjustments that as described above will have to be made, but it was a pleasure to build. This could be a good option for a first resin kit build! The only improvements that I wish Master-X would make are to include a second vacuform canopy and to provide some color call outs. Given the obscurity of this subject and the real lack of information on it available, I can’t complain too much about the latter! I highly recommend this kit to those who like resin kits, have an appreciation for lesser known warplanes, or are looking to venture away from just building injection molded kits. This really is a nice kit and I look forward to building other subjects by this manufacturer!
My thanks to Master-X for the review copy and IPMS/USA for the review opportunity.

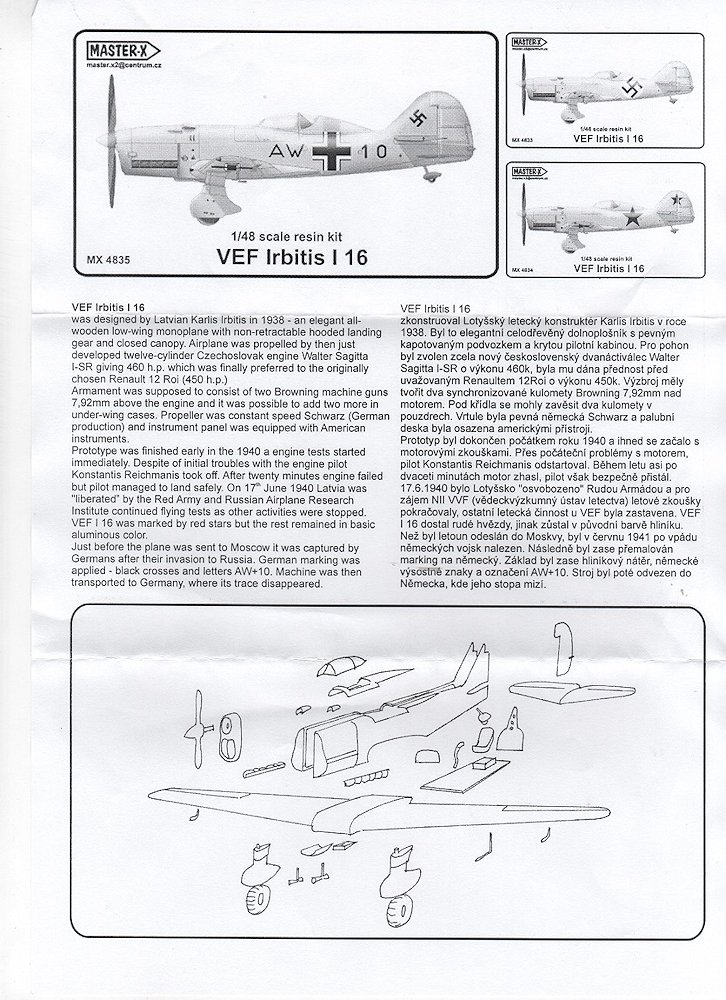
Instructions and history
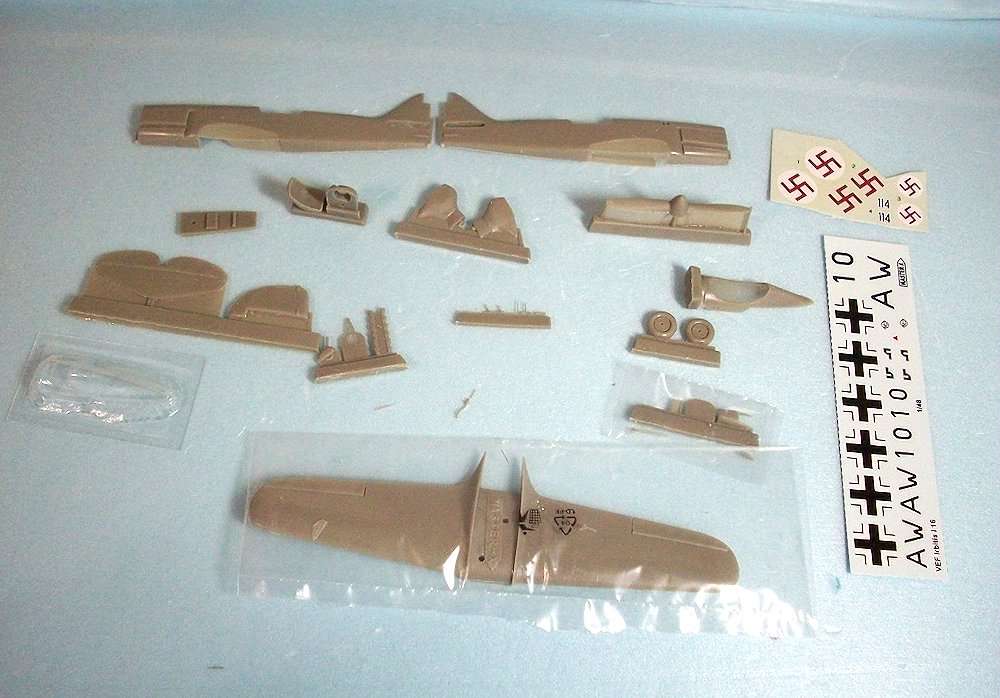
Box contents
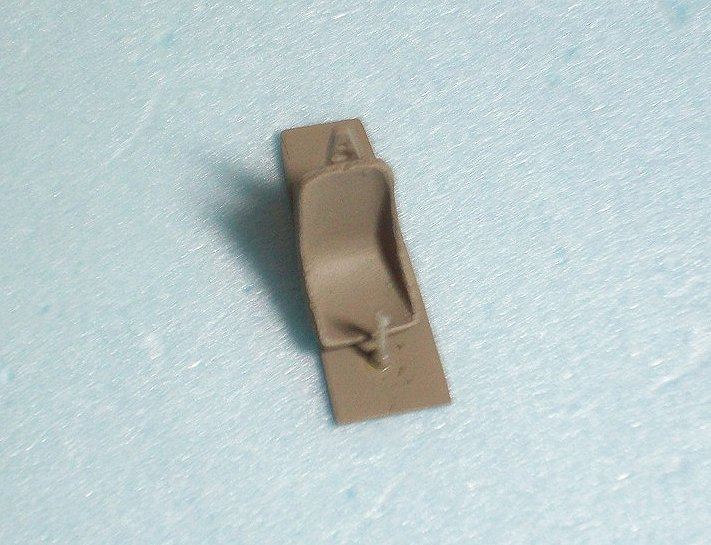
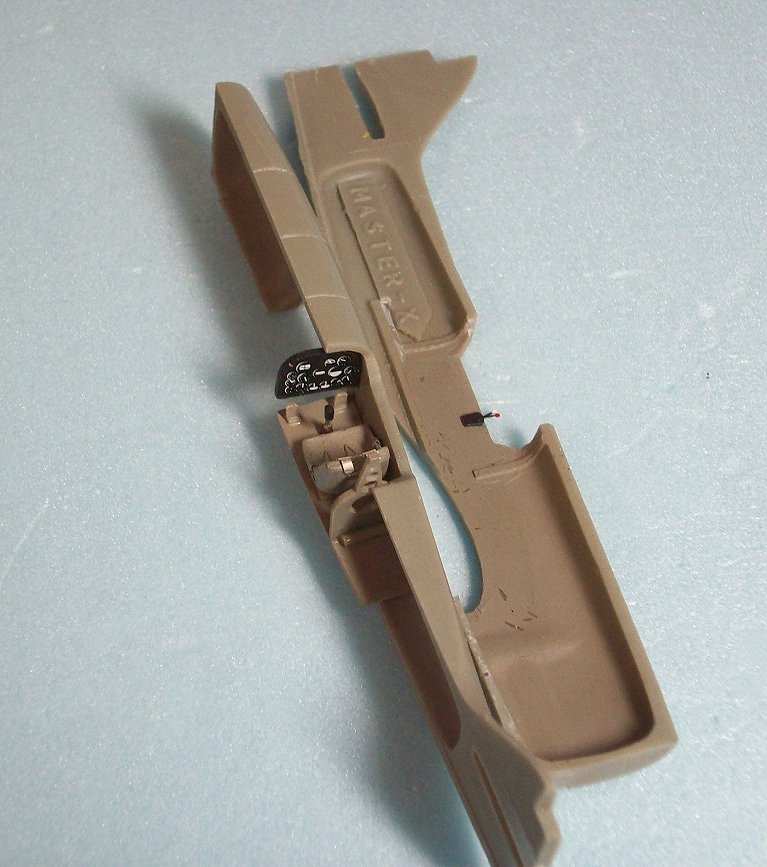
Cockpit assembled OOB
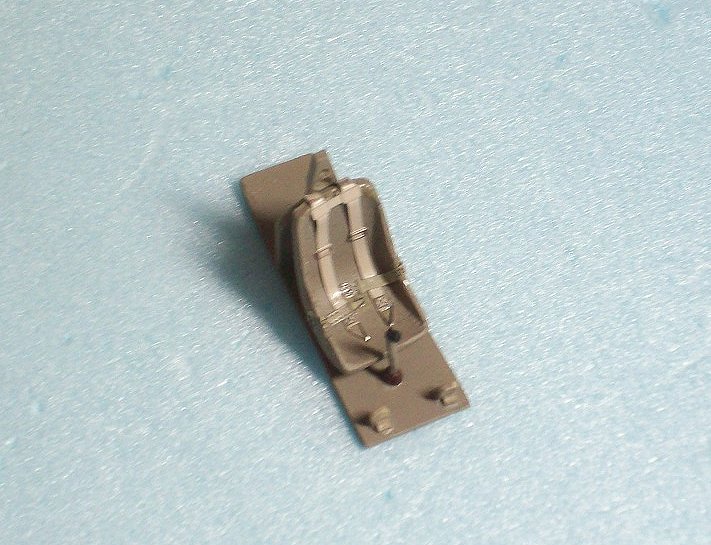
Cockpit with other details added
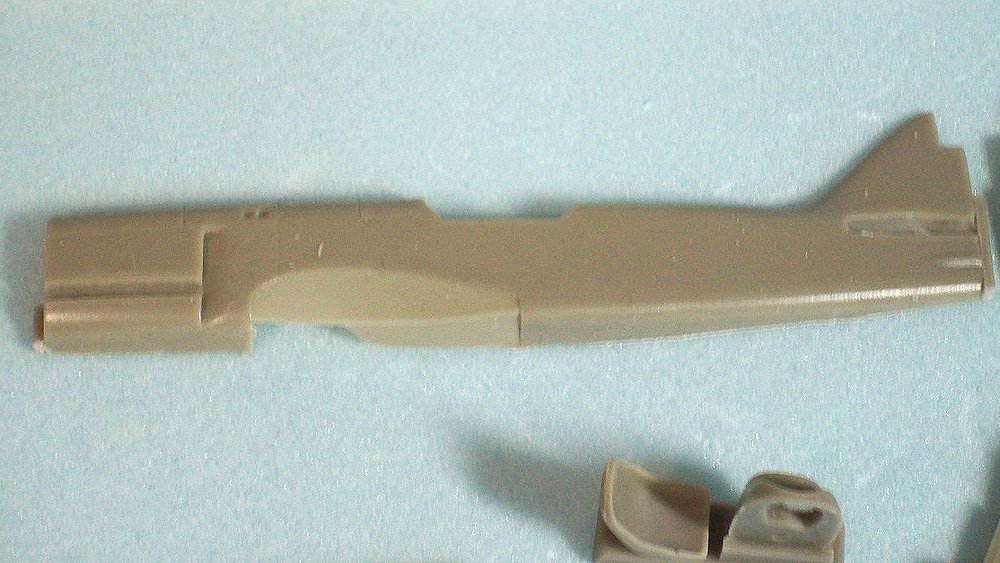
Fuselage exterior

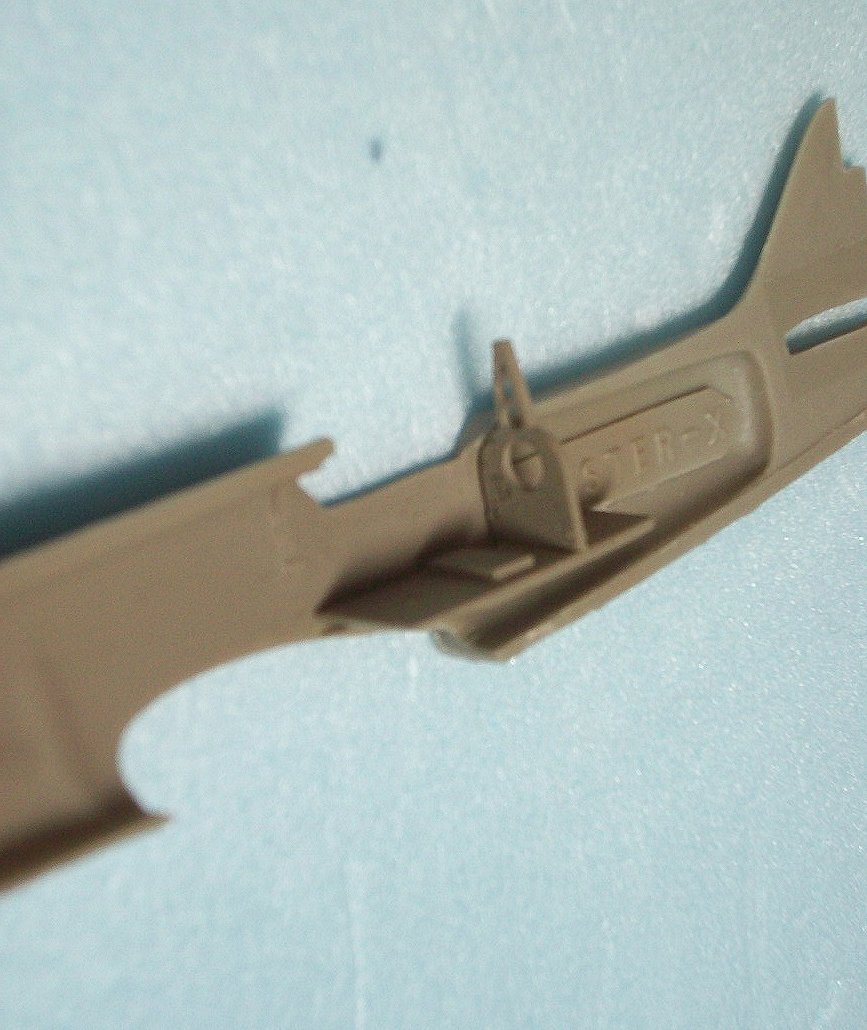
Fuselage interior - note where gouged out to fit floorboard
Bulkhead and floorboard fitted
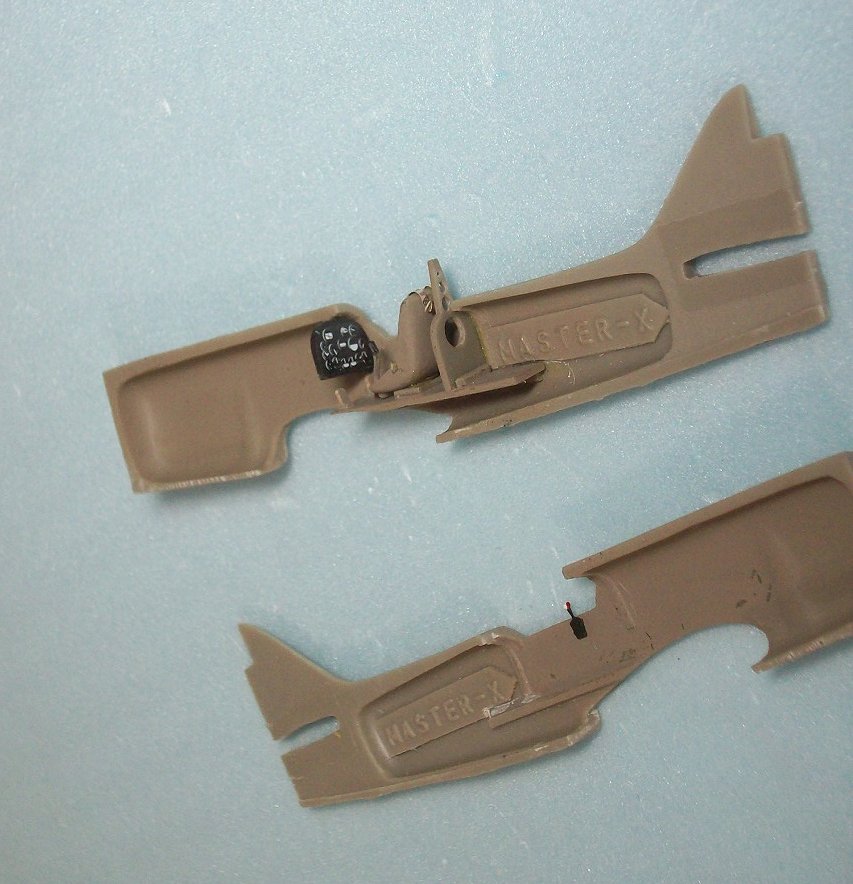
Cockpit installed
Instrument decal from spares
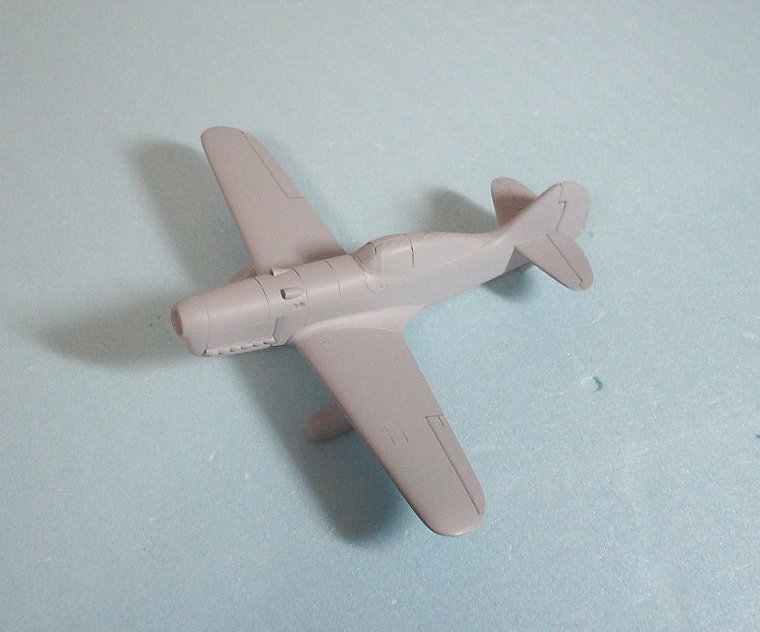
Assembled and primed 1
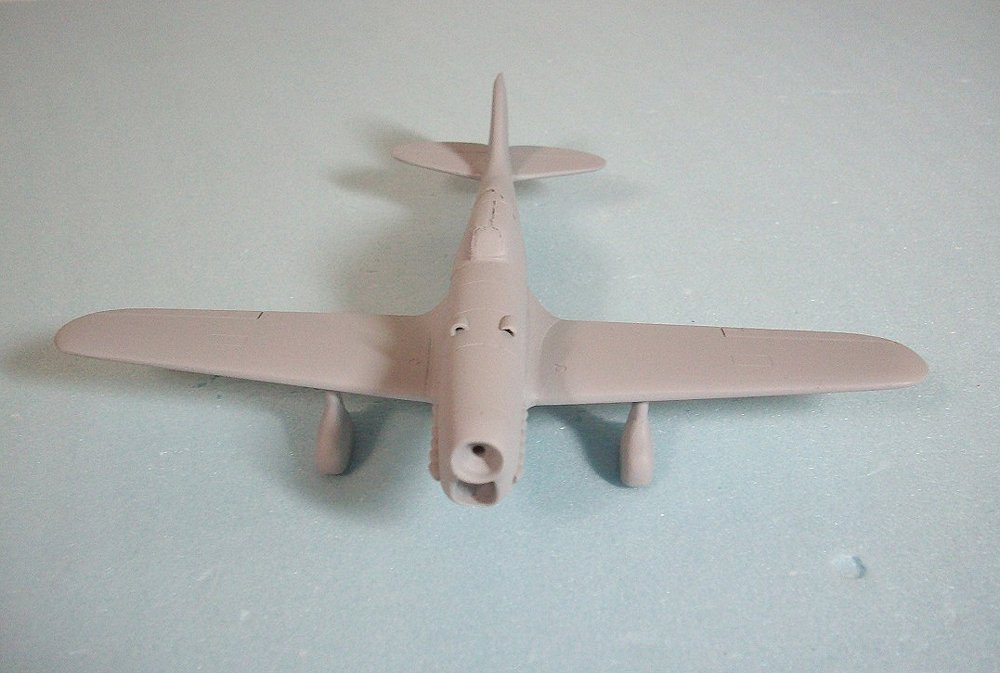
Assembled and primed 2
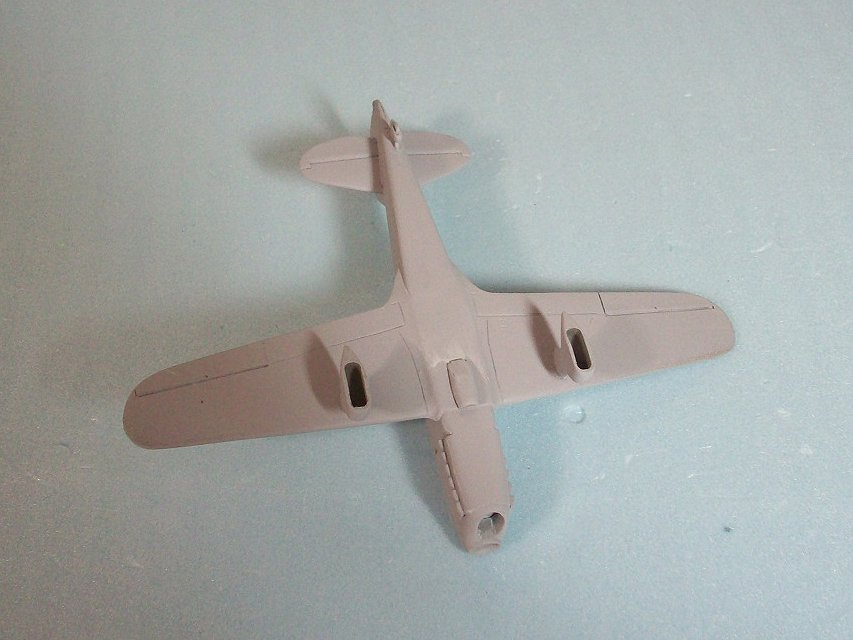
Assembled and primed 3
Painted 1

Painted 2

Finished 1

Finished 2
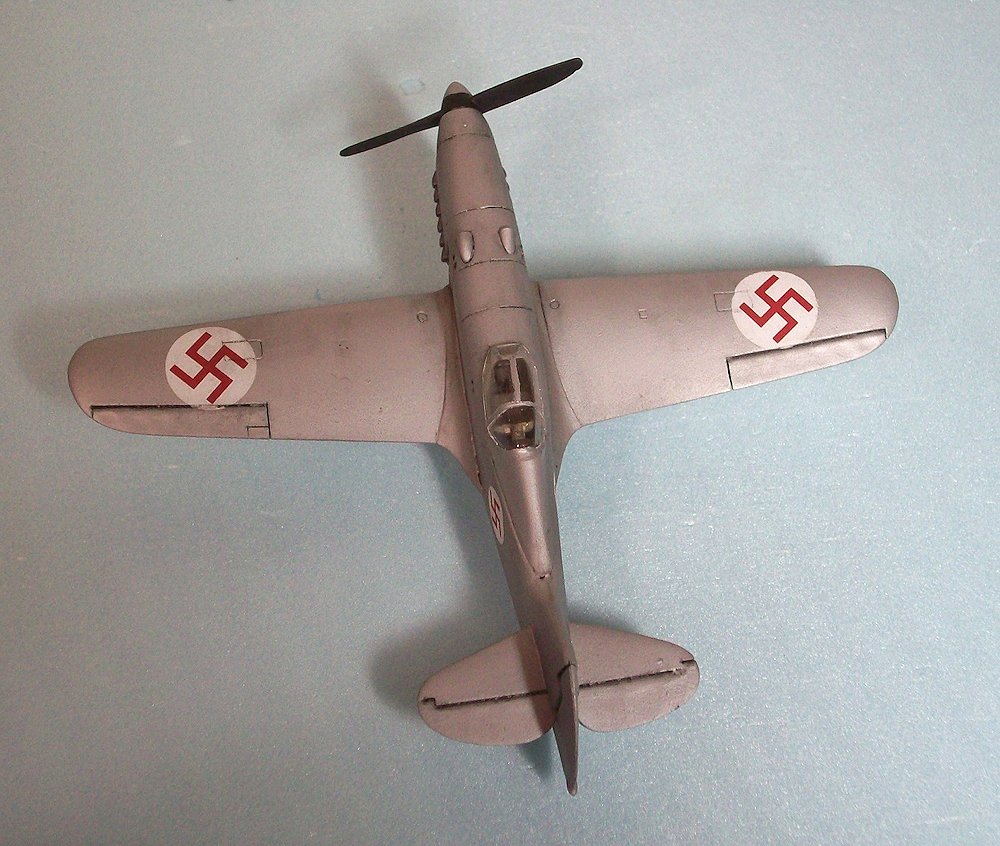
Finished 3
Comments
Add new comment
This site is protected by reCAPTCHA and the Google Privacy Policy and Terms of Service apply.
Similar Reviews