
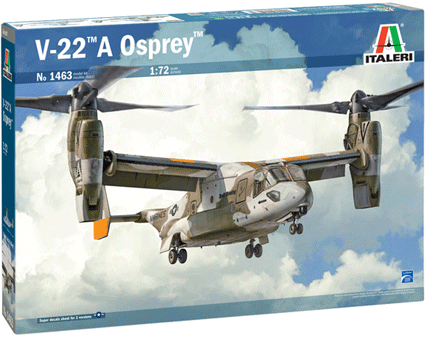
V-22A Osprey
The V-22 has had a long and difficult developmental period – hard to believe the design dates from the early 90’s – but with improvements in design and operational techniques, has taken its place as a workhorse in multiple services.
I have a personal connection to this aircraft – in fact, the version I chose to model probably has my fingerprints her and there on the empennage. I was the leader of the Technology organization in an aerospace composites manufacturing facility early in my career, and we built the first 9 ship sets of V-22 empennage assemblies under contract to Bell-Boeing. So, when this kit came up for review, I was pleased to get the opportunity.
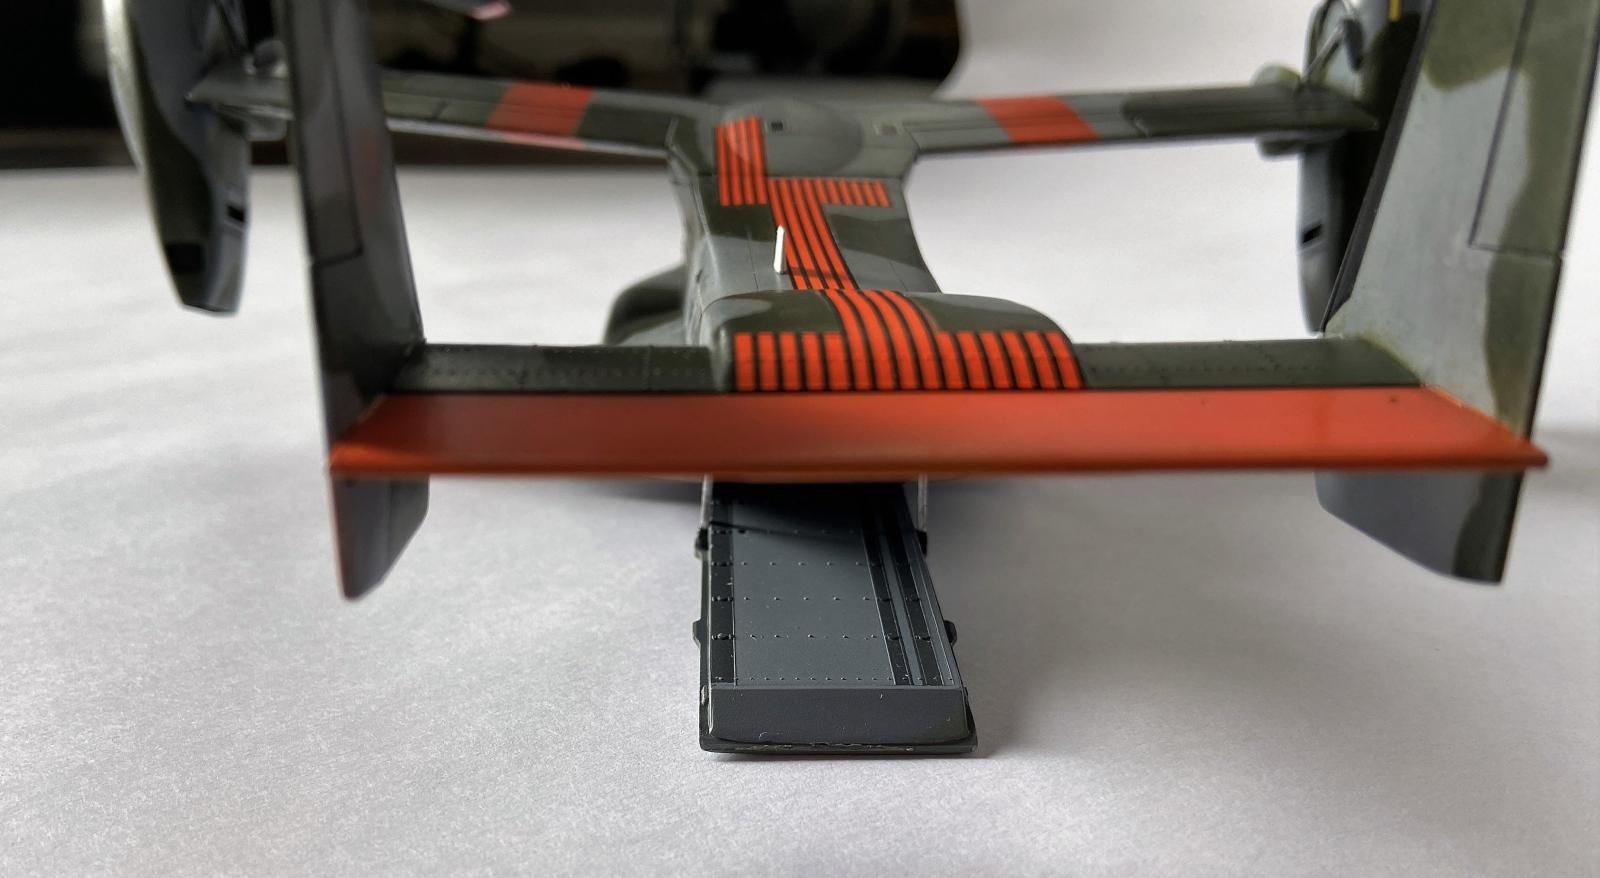
On to the model. Although this is a repop of a 1990’s era kit, and as such represents the early configuration of the Osprey, the parts are crisply molded and there was no flash to be found. The cockpit was built up and installed (Figure 1). The major assembly was relatively straightforward, with one exception – the joint between the tail assembly and the aft fuselage is challenging. Because there is a relatively small amount of joint area between these two subassemblies (partly due to the open cargo ramp configuration I chose) I broke that joint several times during assembly (Figure 2). I finally ended up tacking it in place with Tamiya Thin Cement and then flooded the area with thin CA glue. This cascaded into a number of other problems – all self-induced at this point. The CA ran down the inside of the fuselage and found its way into the cockpit and immediately fogged both transparencies down by the rudder pedals. I popped them out to polish the fogging and promptly sacrificed one to the carpet monster. I made several replacements from an appropriately contoured piece of clear plastic. That was the first of several “retrograde modeling” moments (time spent repairing screw-ups)
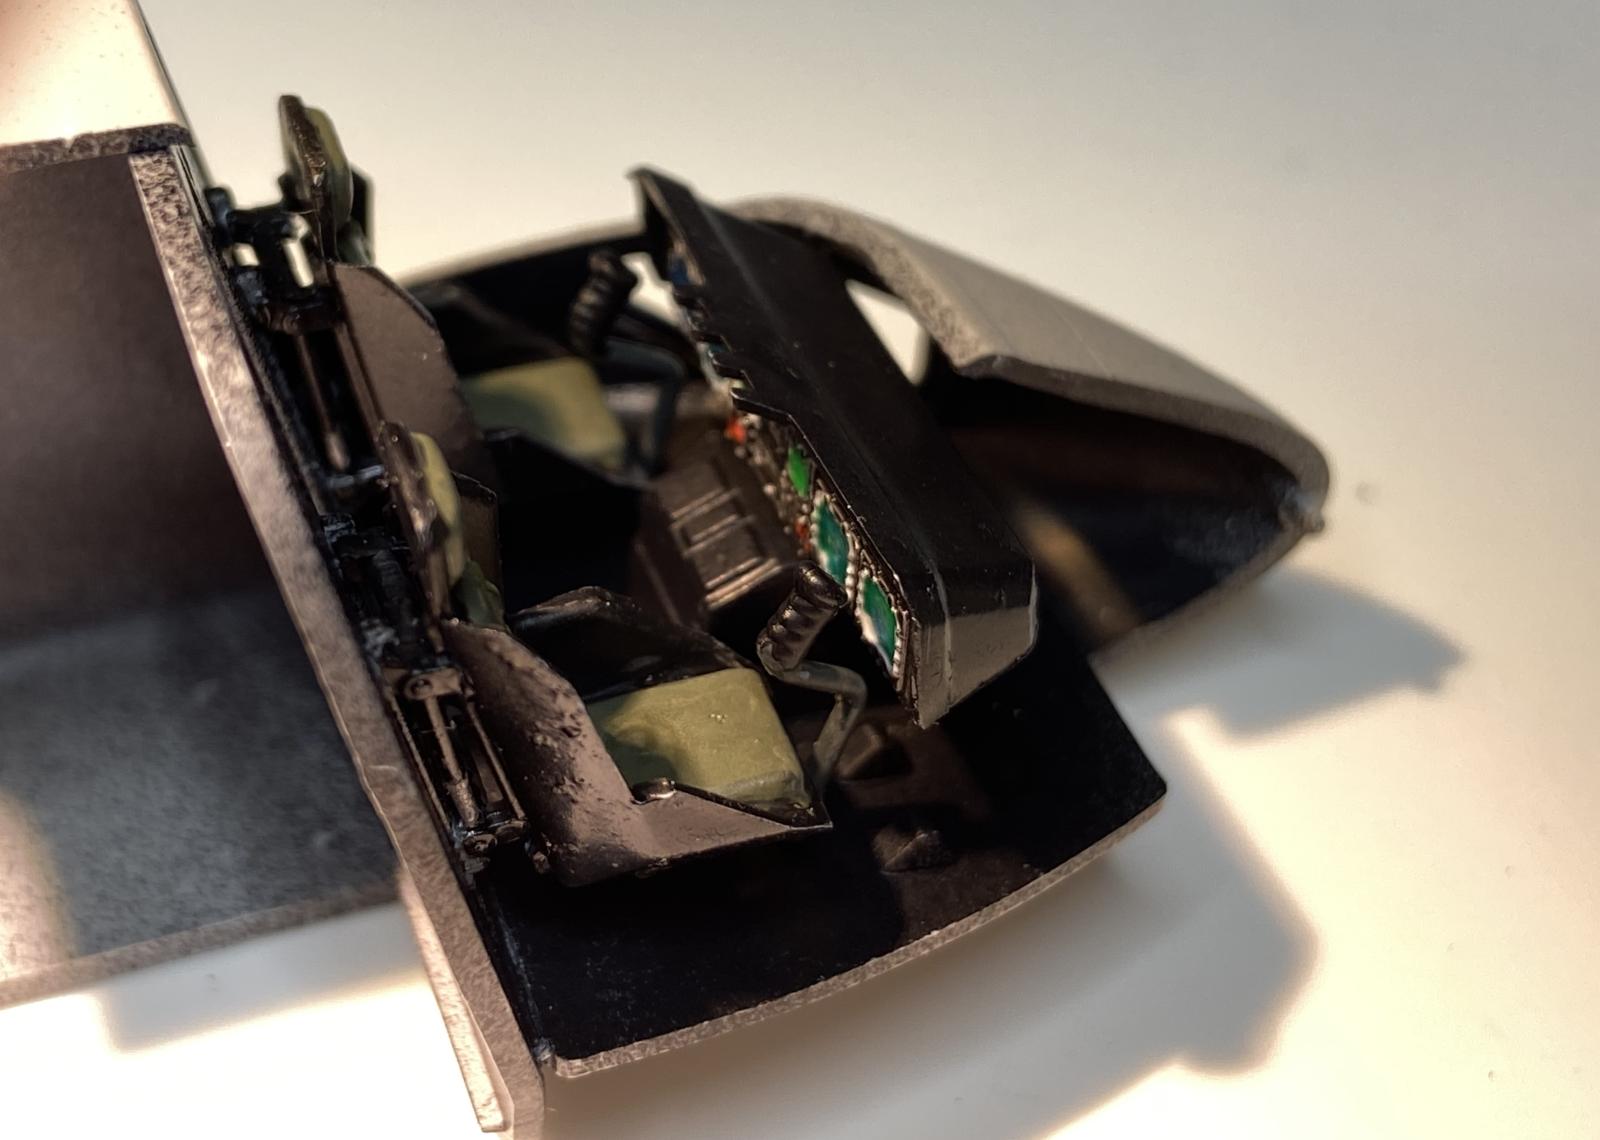
The fuselage interior is nicely represented with a detailed floor, rear bulkhead, and troop seats (Figures 3 and 4), but not much of that is visible once installed into the exterior shell. Vallejo Model Air was used exclusively to paint the seats, floors and cabin walls I shaved off the hinge pins for the cargo door to make it easier to install after assembly. By the way, this is a serious tail sitter! Pay heed to the instructions to add lots of nose weight if you’re not relying on an open cargo door to hold the aircraft level. A number of the small exterior detail parts – e.g., the towel rack antenna on the bottom of the fuselage and the three pitot probes on the nose – did not fare well in handling. I ended up replacing the antenna with soft aluminum wire of the same diameter after it snapped in half during removal from the tree.
Vallejo Air acrylics were applied over a coat of Badger Stynylrez primer, which I used for the first time on this build. I like how it lays down flat and evenly, but be aware that the adhesion is not as strong as that of a lacquer primer. The reduction in odor is very much appreciated though.
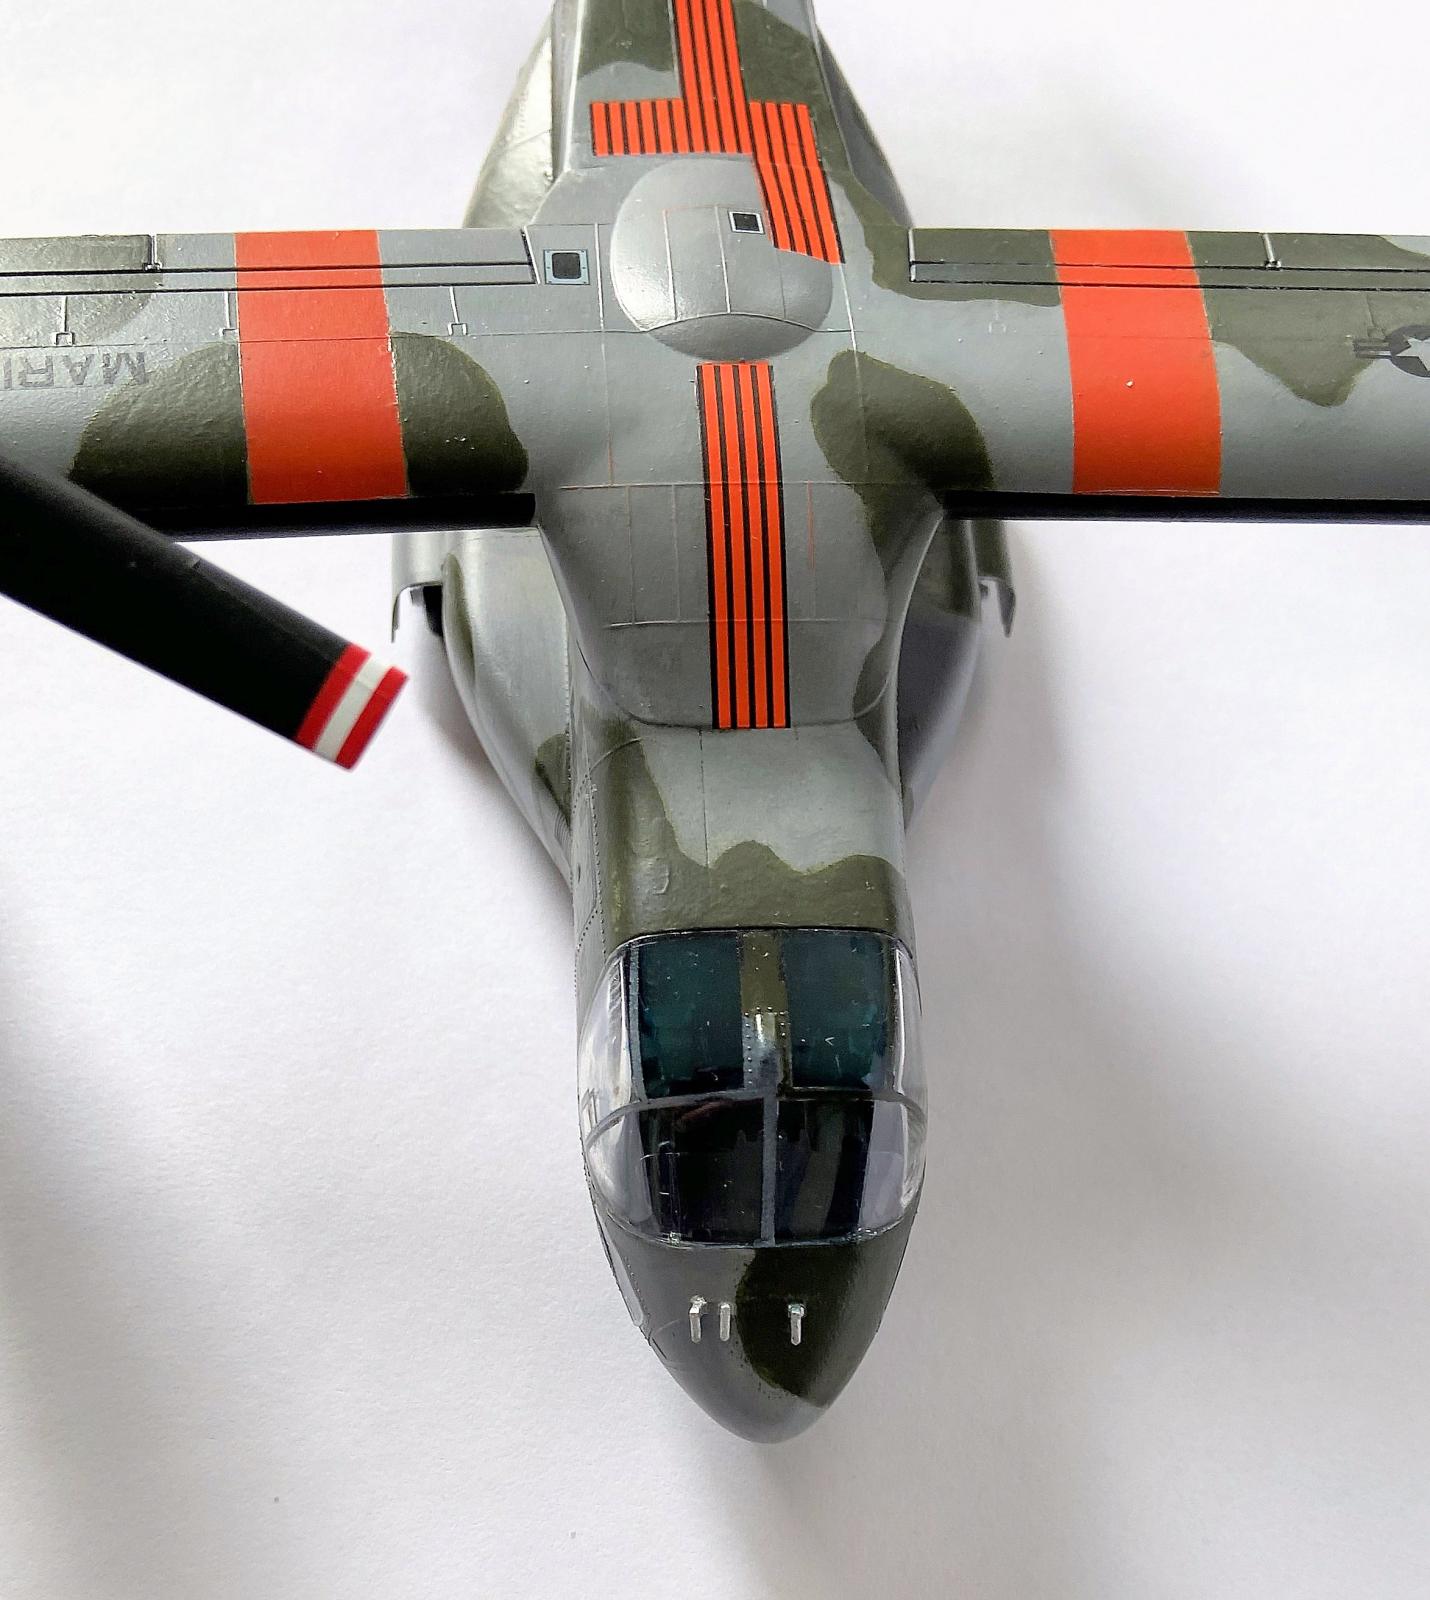
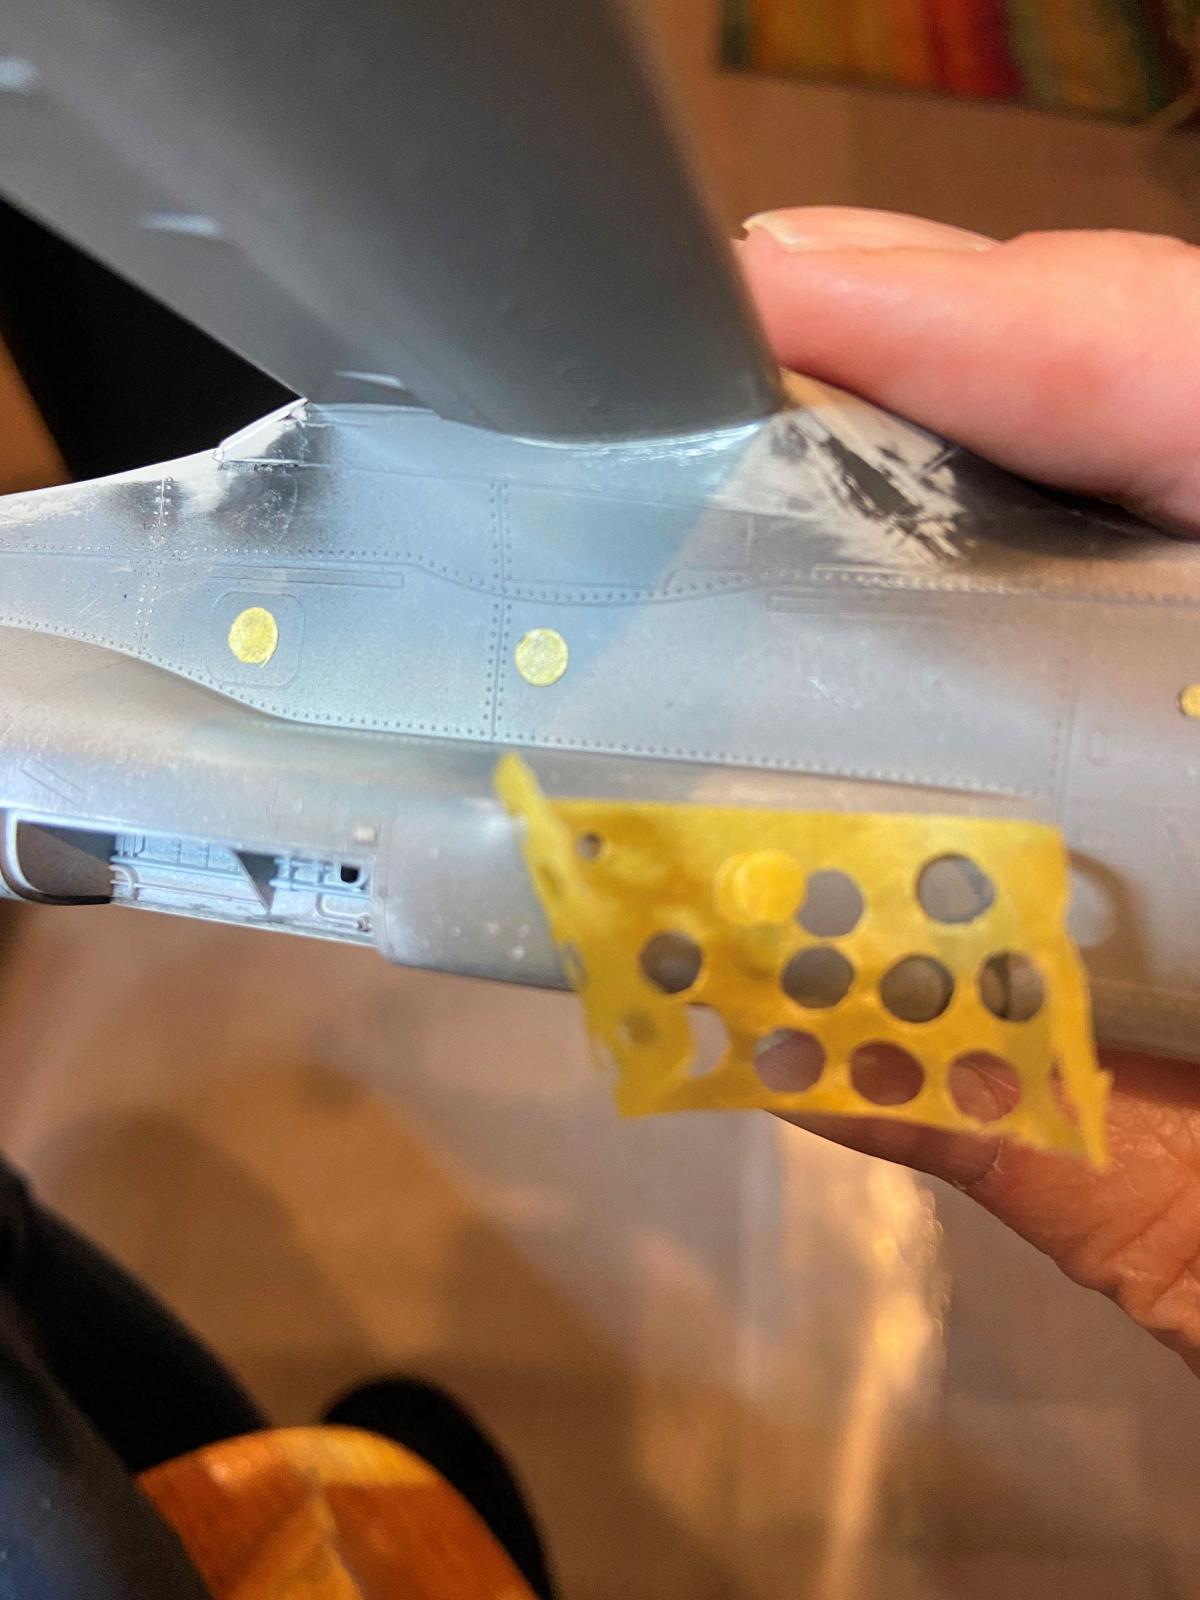
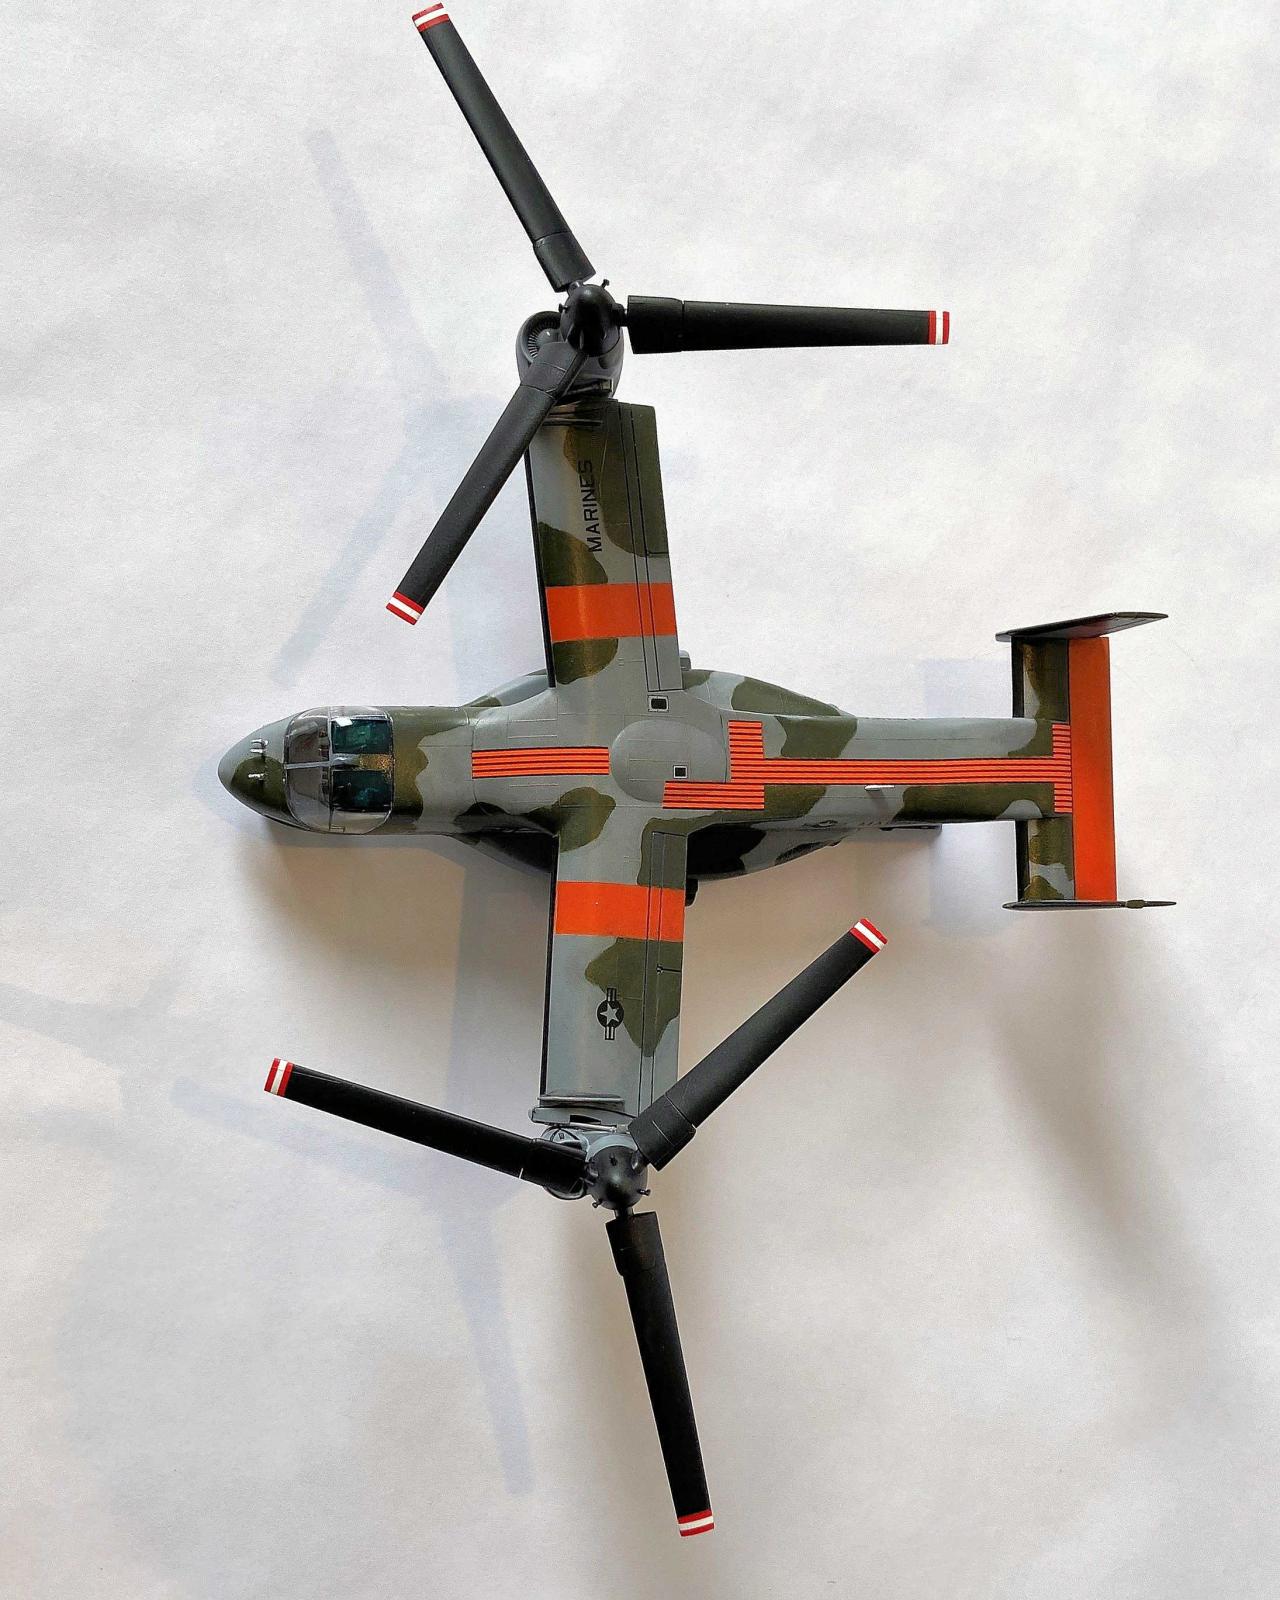
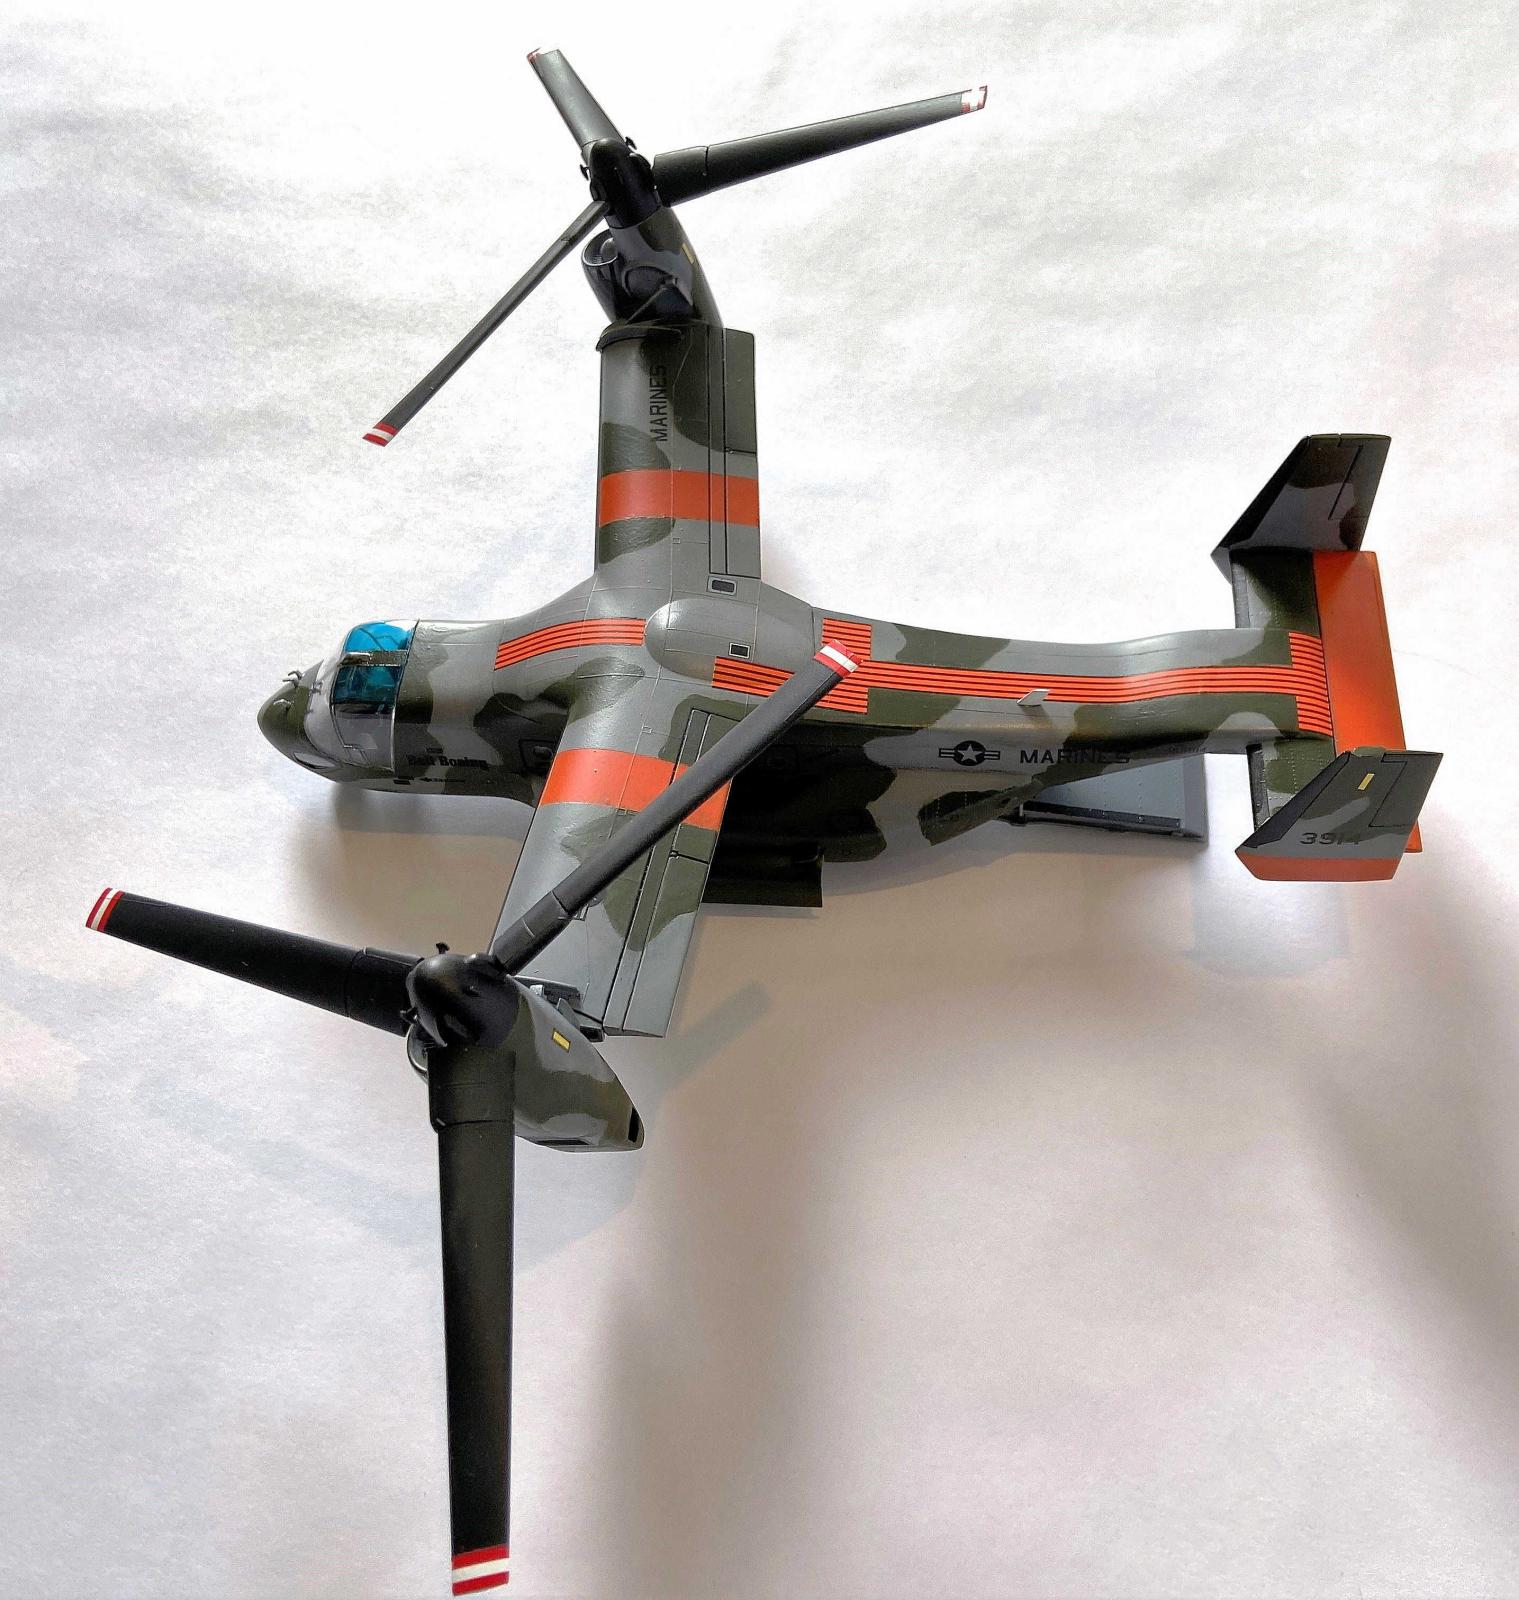
After I fought my (self-induced) battle through assembly, Perfect Plastic Putty and Mr. Surfacer 1000 were used in various locations to fill small gaps. I had installed the small cabin windows during assembly; these were masked with small circles of Tamiya tape that I created with a punch (Figure 5). I selected the very colorful FSD aircraft paint scheme that was applied to the shipboard compatibility test aircraft (ca. 1990). I sprayed a coat of Vallejo white in all areas that would end up orange (Figure 6). With the exception of the large, complex walkway decals, I elected to paint these areas and mixed a matching shade using acrylics. After applying the paint, I used the decal sheet to cut a mask the size of the walkway decals (Figure 7) and applied it to protect the solid orange.
Now on to the rework. Rather than cut masks for the complex olive drab/gray scheme, I decided to experiment with various mixes and pressures to create soft demarcation lines. For a variety of reasons, again self-induced, this didn’t work. I ended up brush painting the OD. The end result was a pretty lumpy finish, and you’ll see this in the photos, despite numerous sanding/DullCote/touchup sessions. In retrospect, I would have been far better off just spending the time doing the masking work up front.
Ah well. Once I reached a truce with the airbrush gods, I moved on to final assembly. The various bits and bobs were attached and a coat of GlossCote was applied. I mixed up an oil wash of black and burnt umber oil paints and applied it to all panel lines, wiping it away with Turpenoid until I was satisfied. This dirtied up the aircraft probably more than an FSD bird would show, but again, it was an experiment in techniques. The large canopy transparency was masked and a coat of flat black applied followed by the top colors. The entire canopy was dipped in my dwindling container of Future and allowed to dry. After that, I added a drop of blue food coloring to a few drops of Future and applied this to the two overhead panels.
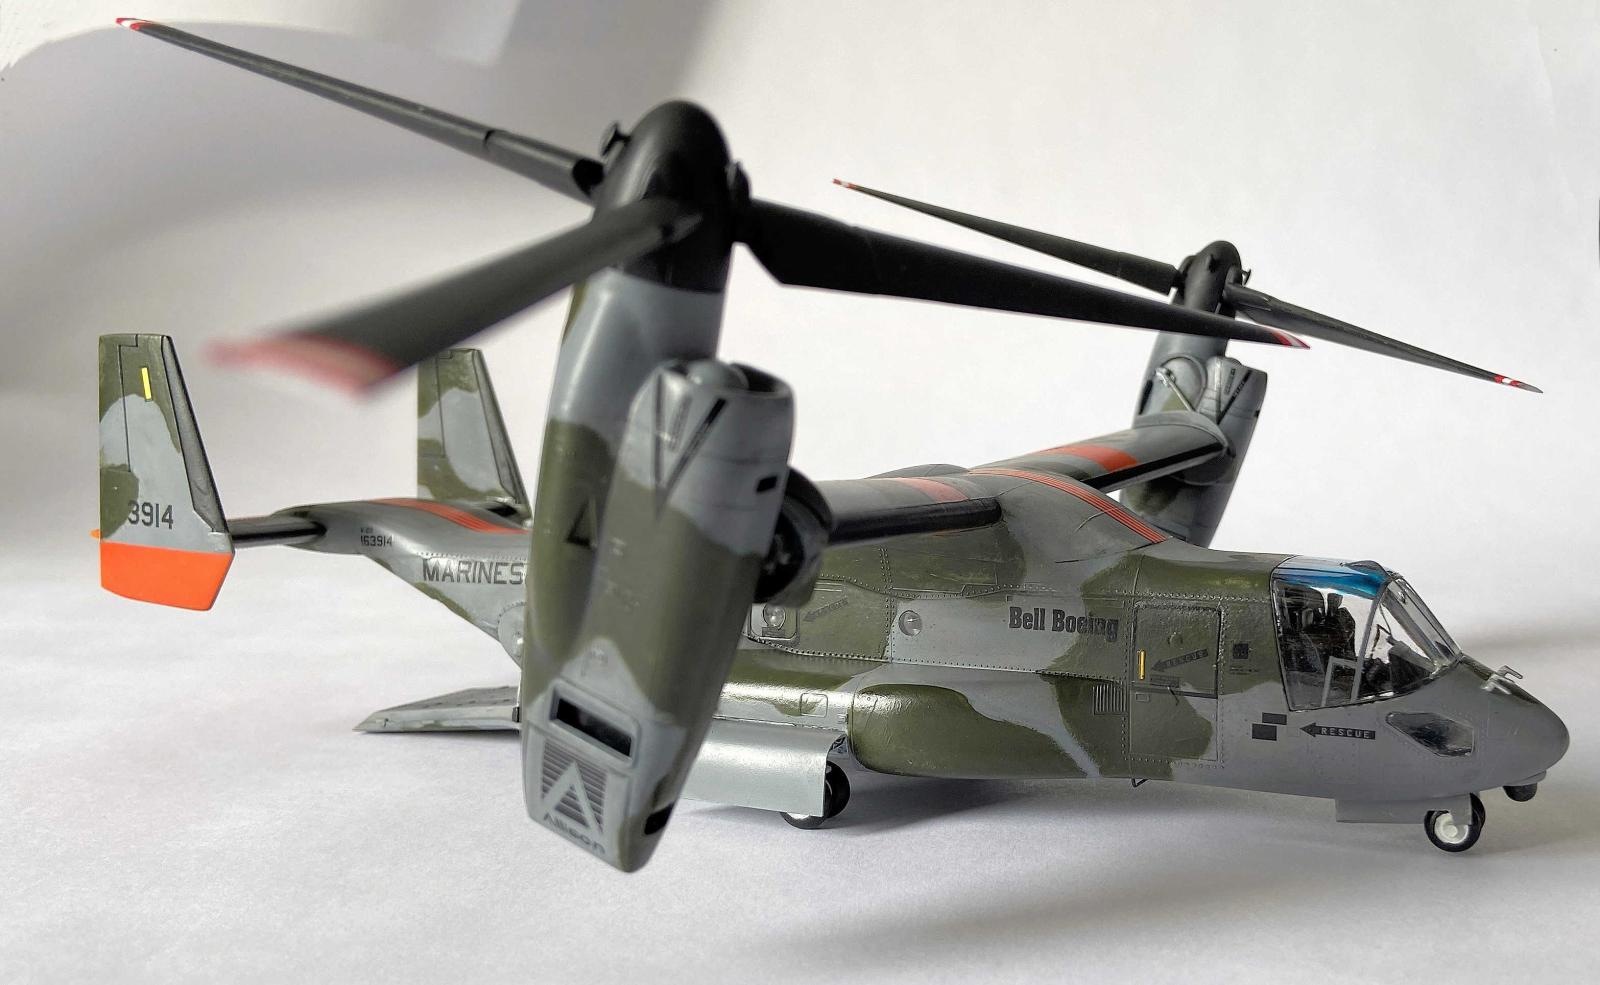
Decaling was straightforward and followed by two thin coats of DullCote which helped, but did not eliminate paint lumps and bumps. The cabin ramp was installed, and the aircraft was placed on its wheels with some temporary ballast (an X-Acto knife) holding down the nose while the ramp joint dried. And, finally, finis. See the remaining photos for the final result.
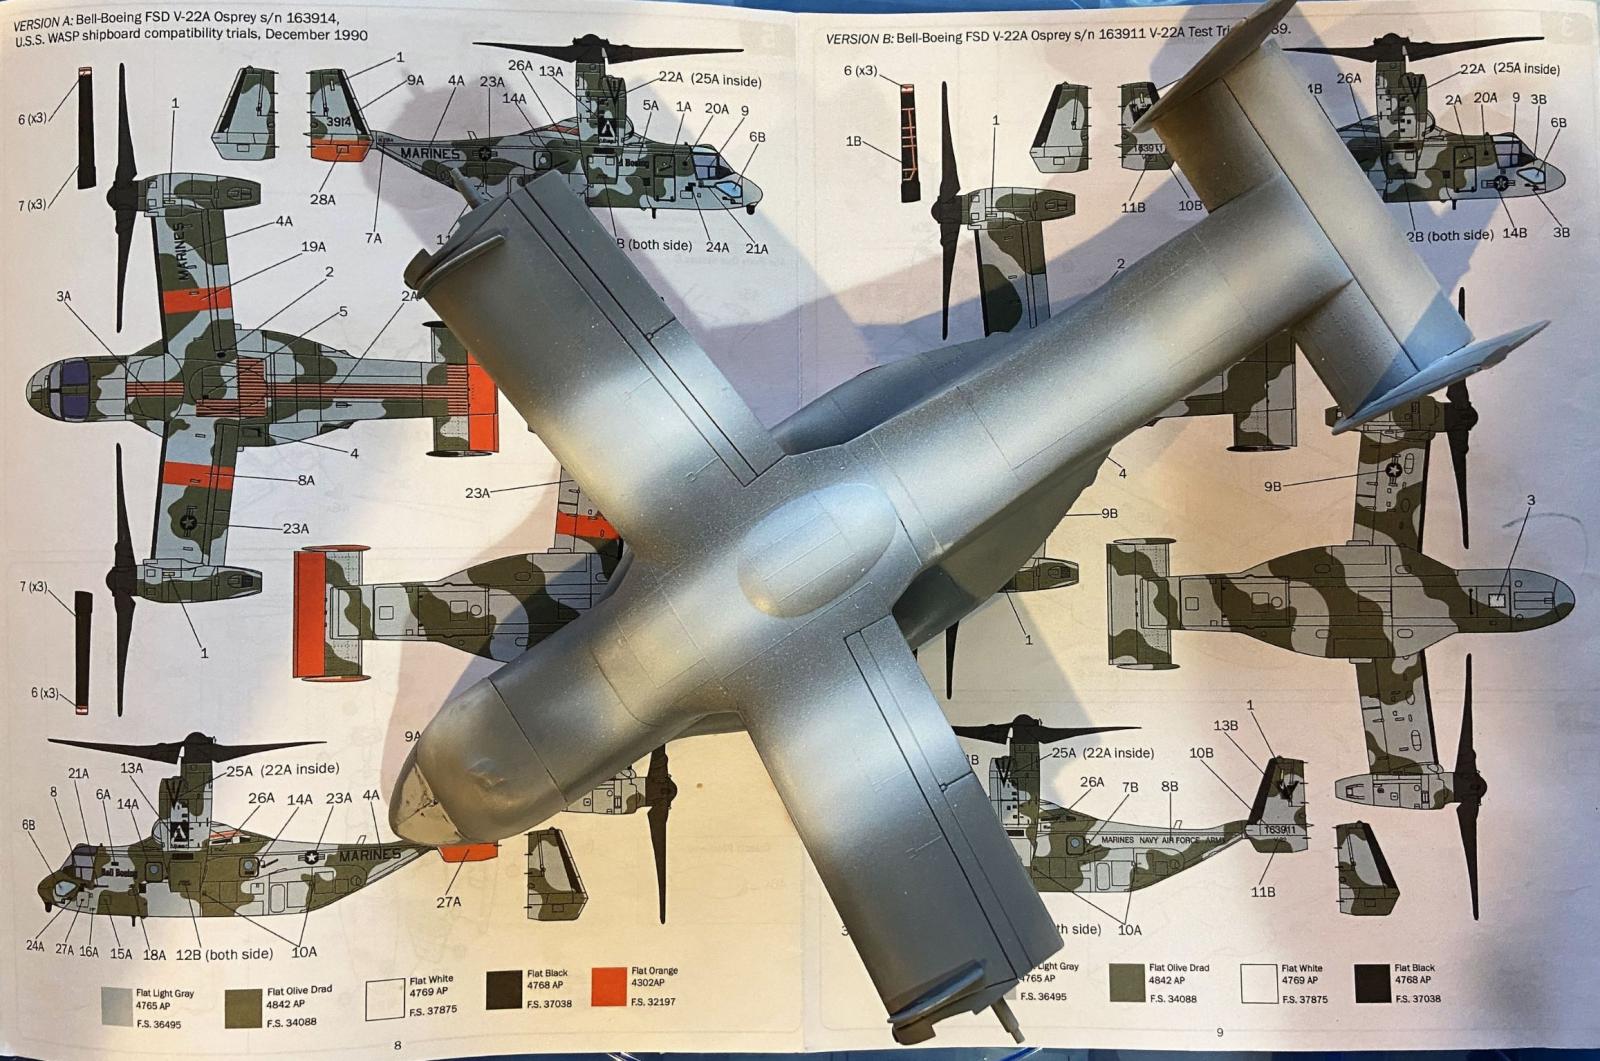
In the hands of a competent modeler, this kit builds nicely into one of three variants of the early V-22 platform. The Osprey has evolved significantly since 1990 and there are a variety of kits available of these newer versions. That being said, it’s a great kit with few pitfalls that, when finished, shows the impressive size of this versatile hybrid.
My thanks to Italeri, MRC Academy and IPMS/USA for the review opportunity.


Reviewer Bio
John Noack
Modeler since my Dad and I built Aurora biplane box scale kits at the kitchen table. Joined IPMS in the early 1980's and I've held a variety of leadership positions on the Board. I'm a retired VP of Aerospace Engineering, living in the Centerville (Dayton) OH area. I am a Docent at the USAF Museum, a musician in several bands, member of IPMS/WFSM, and a widower.
My tastes are eclectic. When I build aircraft it's usually in 1/72, but I also dabble in submarines, autos, and scratchbuilt Steampunk vehicles.
Comments
Add new comment
This site is protected by reCAPTCHA and the Google Privacy Policy and Terms of Service apply.
Similar Reviews