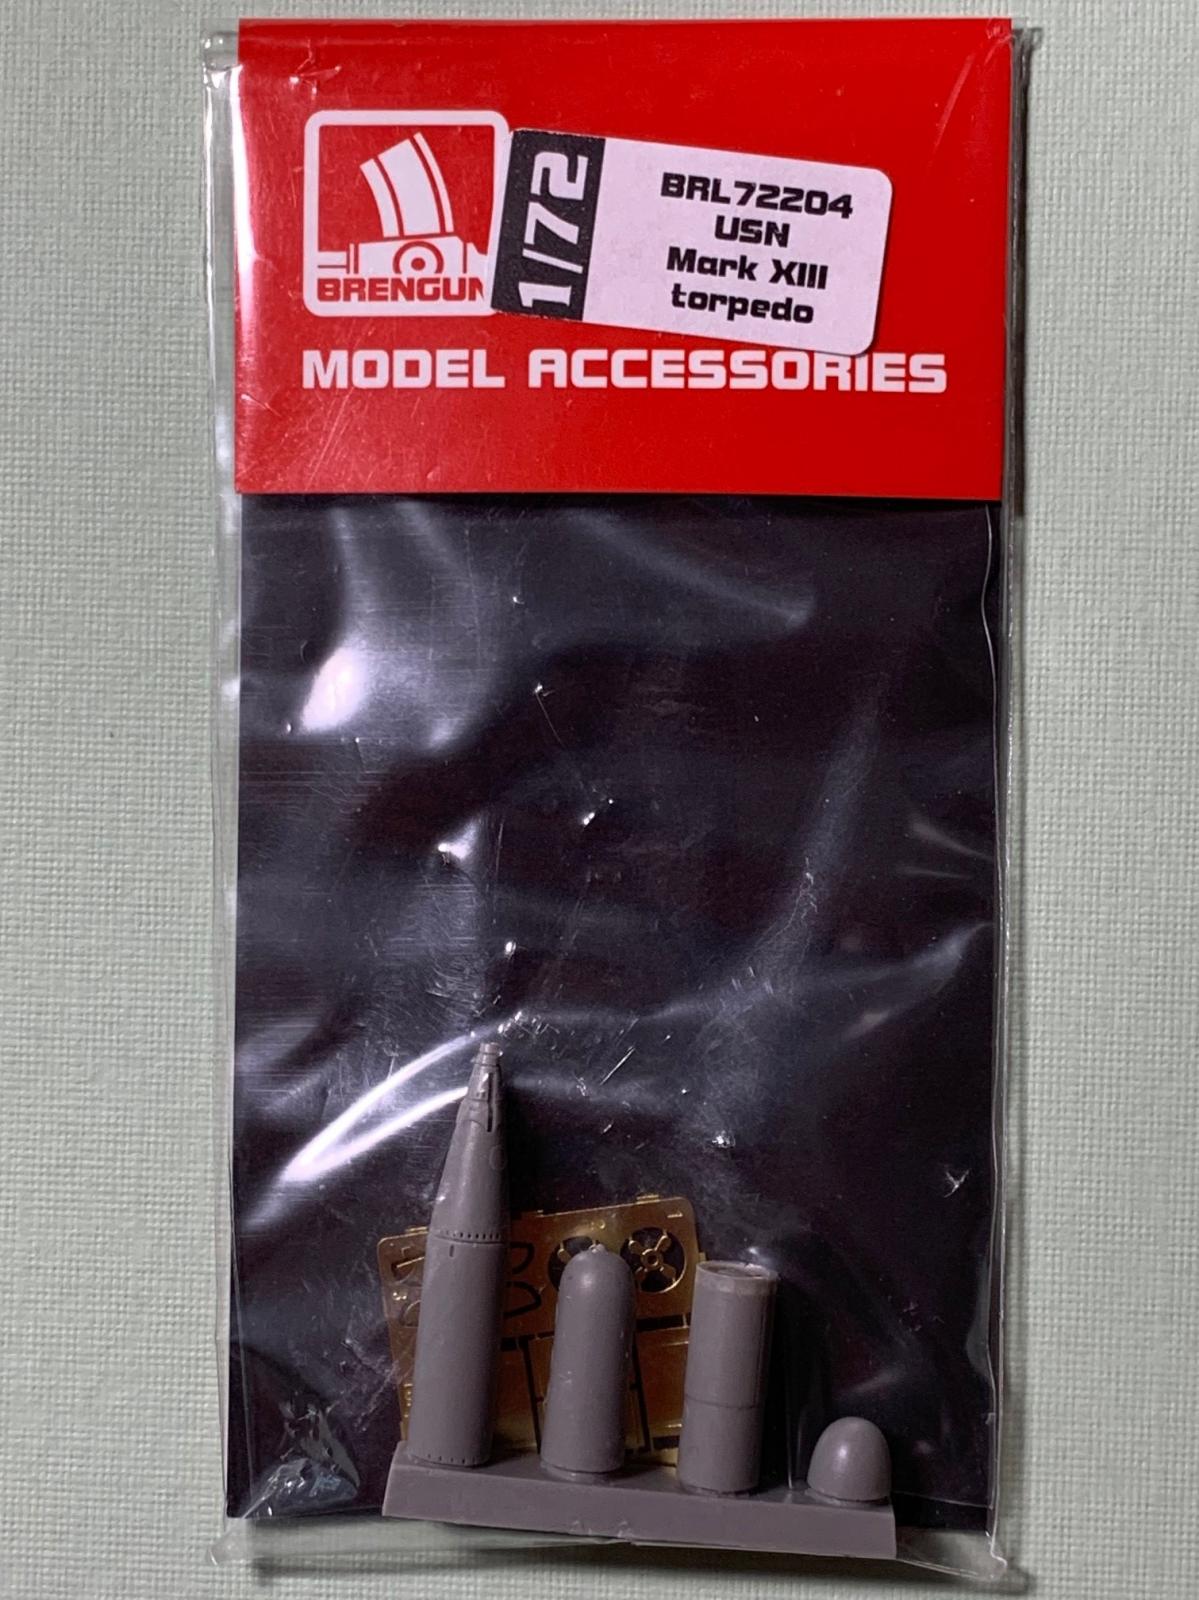
USN Mark XIII Torpedo
The Mark XIII torpedo was the primary air-dropped torpedo of U.S. Navy in World War II. While it originally entered service in 1938, due to a series of design flaws, its performance during the first years of World War II was dismal, often running erratically, failing to maintain the correct depth and arming prematurely. However, continued improvements to the Mark XIII during the war eventually made it a powerful and effective weapon. Later in the war, Mark XIII’s were used on American PT boats on roll-off racks, replacing the bulky torpedo tube launchers originally mounted (United States Naval Undersea Museum).
This new set from Brengun allows you to build a single Mark XIII torpedo in several different configurations: early (1935-1942); late (1942-1951); and a specialized version employed on the AD Skyraider in the Korean War. The set consists of a resin afterbody with three resin options for the warhead (original clean warhead, warhead with a breakaway plywood sleeve over the warhead, and the breakaway sleeve with a plywood nose cone as flown on the AD Skyraider. There is also a small photo-etch fret with the rear fins, the propellers and parts for the plywood tail shroud.
As shown on the attached instructions, construction is straight-forward once you determine which configuration you are going to model. I chose the late World War II configuration with the plywood nose sleeve and tail shroud. After washing the resin parts to clean off any mold residue, I removed the resin body and the nose sections from the pour stub and then sanded the ends flush so that the warhead section sat squarely on the body. I attached these two parts with gel superglue to allow me time to ensure they were correctly lined up all around. Once this join had set, I used a fine razor saw to cut the tail section into three pieces. I recommend doing this over a small box or dish to catch the small sections of the tail as they are cut off.
Next, I installed the first propeller, followed by the larger section of the tail that had been removed, taking care again to ensure the parts all align and the circular cross section of the torpedo is retained. After this has set, the second propellor was attached, followed by the smaller section of the tail that was removed. I mounted the two propellors slightly offset from each other for more visual interest. Once this entire assembly had dried, I took fine flat pliers and bent the propeller blades to about a 45-degree angle. In looking at photos online, it appears that the two propellers counter rotate, so I made sure that they were bent in opposite directions. I then attached the metal tail fins which had to be shortened a little on the rear corner as they were longer than the provided slots in the torpedo body.
The instructions include painting instructions for the various sections of the torpedo. However, after looking at several pictures of Mk. XIII’s being moved around carrier decks, I felt that the brass color specified for the aft section of the torpedo did not look right. Instead I painted it Testors Non-Buffing Steel with a light black wash to make it look a bit oily/greasy. As I was modeling a Navy torpedo, I painted the section of the warhead not covered by the plywood sleeve a gull grey. For the plywood sleeve and the tail shroud, I airbrushed them with Tamiya Dark Yellow and then dry-brushed the sections with a light brown to create an impression of wood grain.
I ended up reversing the assembly of the tail shroud by gluing parts PE 5 inside of the PE 4 parts, as I was not able to get the shroud over the tail fins when I put the PE 4 parts inside the PE 5 parts.I sprayed the plywood sleeve and the tail shroud with clear flat and the warhead and the tail section with gloss to further emphasize the different textures.
I enjoyed this set and look forward to building an TBF/TBM Avenger to display it with. Highly recommended for a change of pace and a project without decals!
Thank you to Brengun for the sample and to IPMS/USA for letting me build and review it.


Comments
Add new comment
This site is protected by reCAPTCHA and the Google Privacy Policy and Terms of Service apply.
Similar Reviews