
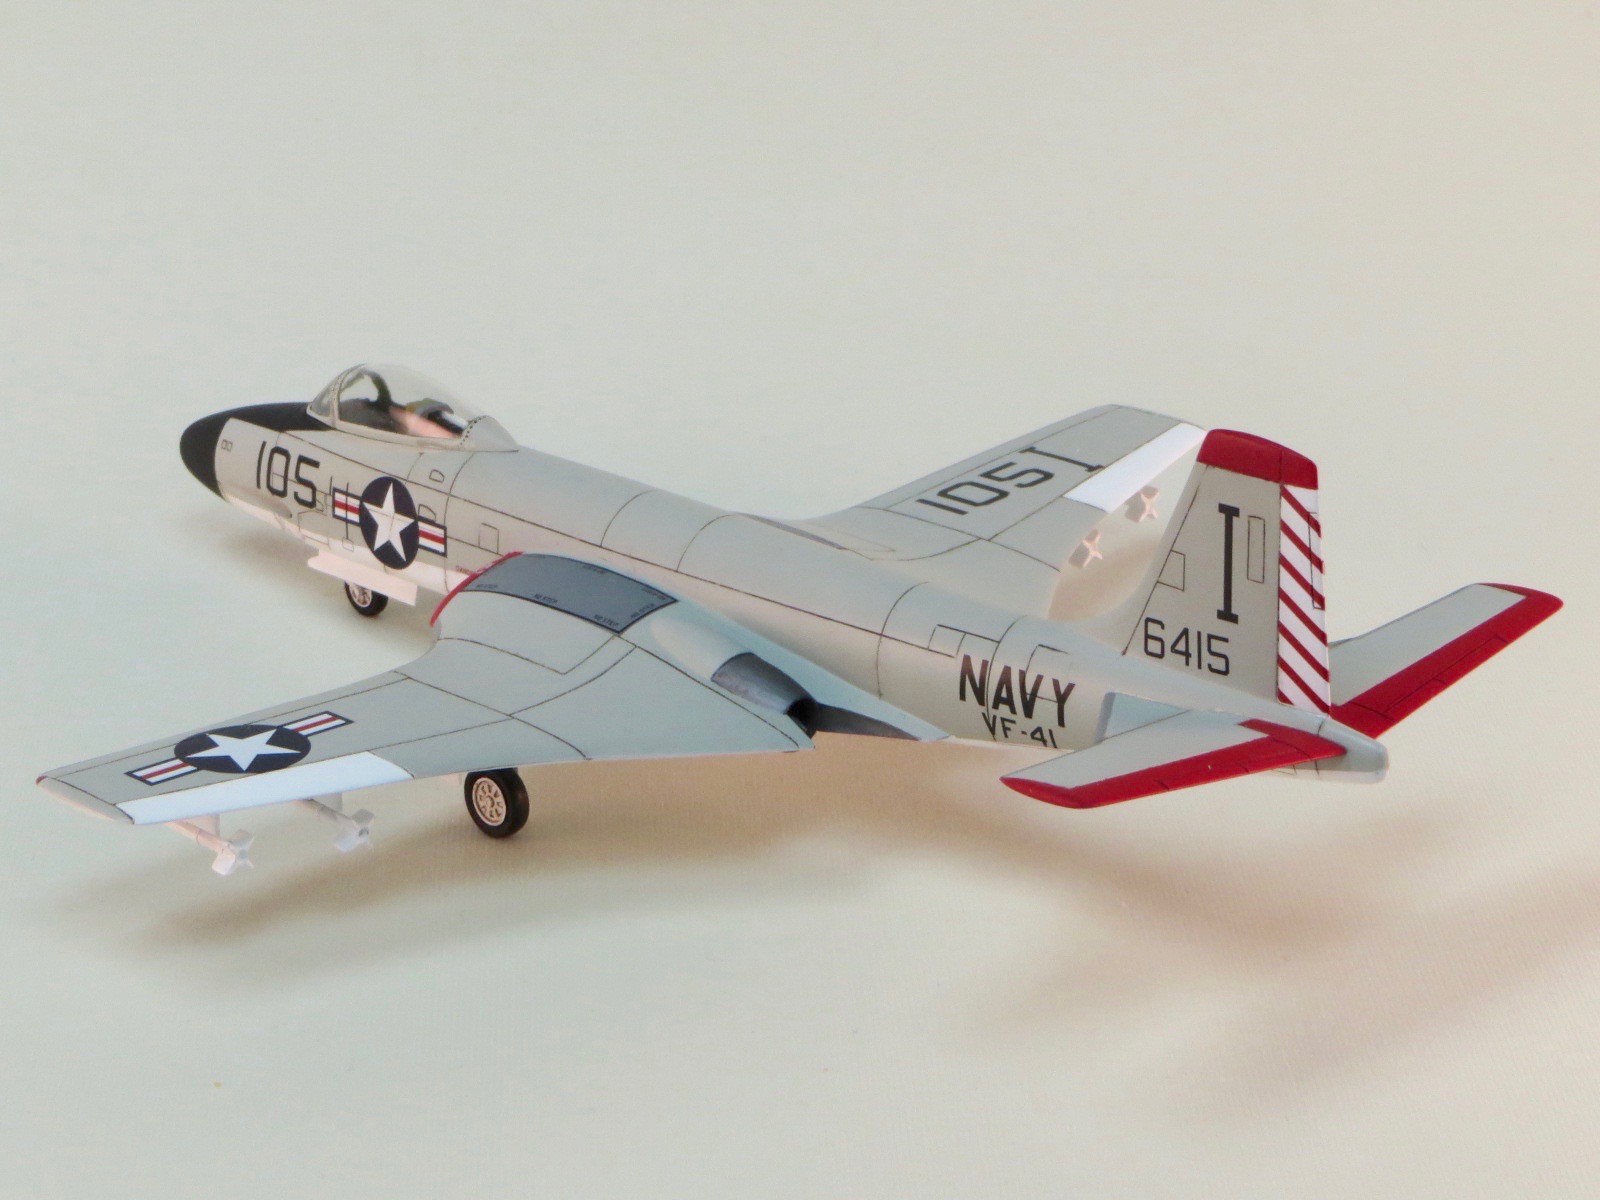
USN F2H-3 VF-41 "Black Aces"
The first mockup of the F2H was actually completed before the end of WWII. A continuation of the FH-1 Phantom program, the F2H was a progressive step in the Navy’s effort to develop jet aircraft for carrier operation. The Banshee, as it was called, entered service in 1948, served in the Korean War, and wasn’t retired until 1961. It was also operational with the Canadian Navy until 1962.
This kit provides 50 parts on three sprues of light gray plastic and one clear sprue. The parts are nicely molded with recessed panel lines and no flash. The canopy and windscreen are separate, for those who would like to display the model with the canopy open. Parts breakdown is conventional, with two fuselage halves and top and bottom wing sections. The horizontal stabilizers are each a single piece. Wing trailing edges are not extremely thin, but they look good when finished. The cockpit consists of five parts: a floor-console piece, rear bulkhead, instrument panel, seat, and stick. The wheels are nicely detailed, the engine inlets and exhausts have some detail, and there are optional wing tip tanks. Armament consists of the canons and machine guns in the fuselage as well as four rockets on under-wing pylons.
Instructions consist of ten steps on a double-sided 9-1/2” X 20-1/2” sheet. Painting information is split between the construction instructions and a supplemental page. Decals and marking information are provided for seven different aircraft. Three paint schemes are the standard Navy light gull gray over white (two Navy, one Marine), three Canadian planes are shown in dark gray over light gray, and there is a unique all silver aircraft. The natural metal would be an interesting alternative to those looking for something besides the usual Navy colors, but in the end I chose the “Black Aces” version featured on the box top. Paint colors are listed by name and FS numbers with a cross reference chart for Humbrol, GSI Creos, Lifecolor, Testors/Model Master, Revel, and Vallejo brands. The decals are from Cartograph and are perfectly printed, in register, with accurate colors.
Construction starts with the cockpit. There are no decals for the instrument panel or side consoles, but there is raised detail that shows up well with careful painting and dry brushing. I added tape belts to the ejection seat. After making sure to add the 7 to 10 grams of weight recommended, I inserted the cockpit and closed up the fuselage. As this assembly was drying, I noticed that the gun port openings could be seen from outside the cockpit, so I fished a piece of black paper into that area to block any “see through” from above or when looking into the gun ports toward the cockpit. Finishing of the fuselage seams went very quickly, as the fit was excellent for these parts.
Assembly continued with the wings. Some minor adjustments of the front and rear engine face pieces was needed to get the wing halves to come together properly, but it took only a few minutes. There were a couple of minor sinkholes in the engine nacelles, requiring a very small amount of filler. I also needed a little filler at the wing-fuselage joints, though with a little more attention and fitting, this probably would not have been required. I guess I was in a little too much of a hurry, as I wanted to finish this distinctive looking little plane. I remember building a model of the Banshee as a kid many years ago, so this project brought back a lot of memories. And modern technology provides a much better looking finished product.
The horizontal stabilizers fit well enough that I left them off until after painting was complete. This greatly simplified masking. Finishing touches were the landing gear and under wing rockets. After looking at references on line, I noticed that no pitot tube was provided with the kit, so I built one from styrene and wire and added it to the right lower side of the fuselage, forward of the wing. The only other quibble I had was the lack of detail in the landing gear wells. These were just shallow flat recesses, but after adding the gear doors, it’s not a big concern for me. Also, the panel lines don’t aren’t as extensive as they appear to be on drawings of the aircraft.
I used Tamiya fine white primer for the lower half of the plane and control surfaces, using it as both a primer and final finish. Model Master light gull gray was used on the upper surfaces, with insignia red on the elevators, air intakes, and top of the vertical stabilizer. I applied two coats of Pledge Future and then the decals. The kit decals are by Cartograf and were wonderful to work with. There were absolutely no problems applying them, and they responded well to Micro Set and Micro Sol. The markings are fairly basic, without any stencil data that can take so much time. Decal application only took two hours. I sealed the markings with another coat of Future. A wash of Reeves oil paint thinned with mineral spirits brought out the panel lines. Final finish was both Testors Dullcoat (for the radome and anti-glare panel) and a semi-gloss mixture of Dullcoat and Glosscoat, mixed 50-50.
Overall I spent about 24 hours on this kit, which is a little less than normal for me. This is a nice kit of a distinctive aircraft and I enjoyed building it. I actually have another of this kit on the shelf, awaiting the natural metal finish…
My thanks to Model Rectifier Corporation and IPMS for providing this kit for review.

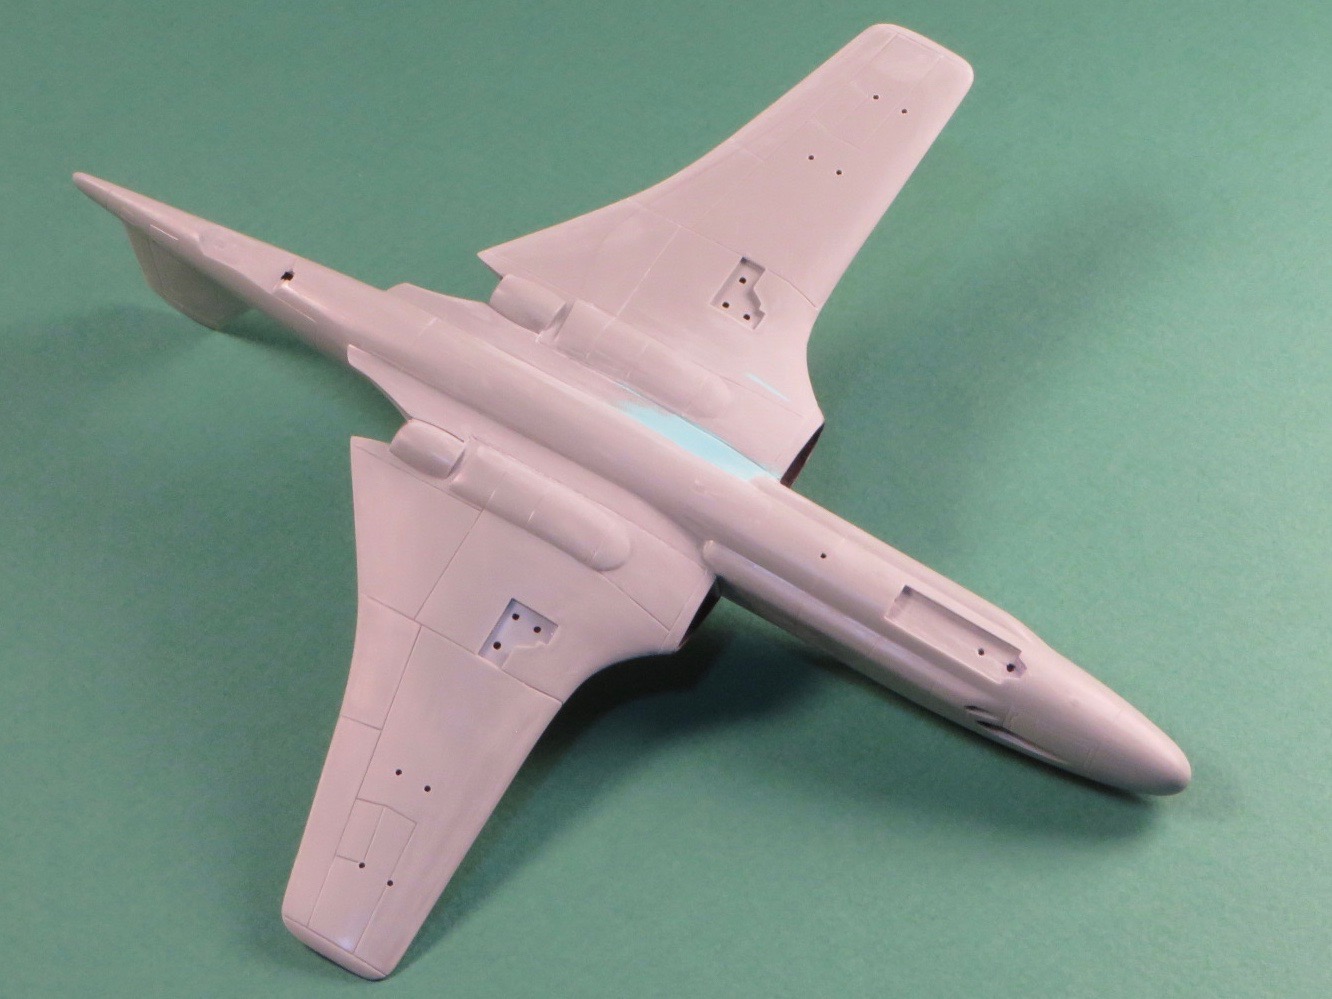
After some minor adjustments to the front and rear engine face pieces, the wing halves to come together nicely.
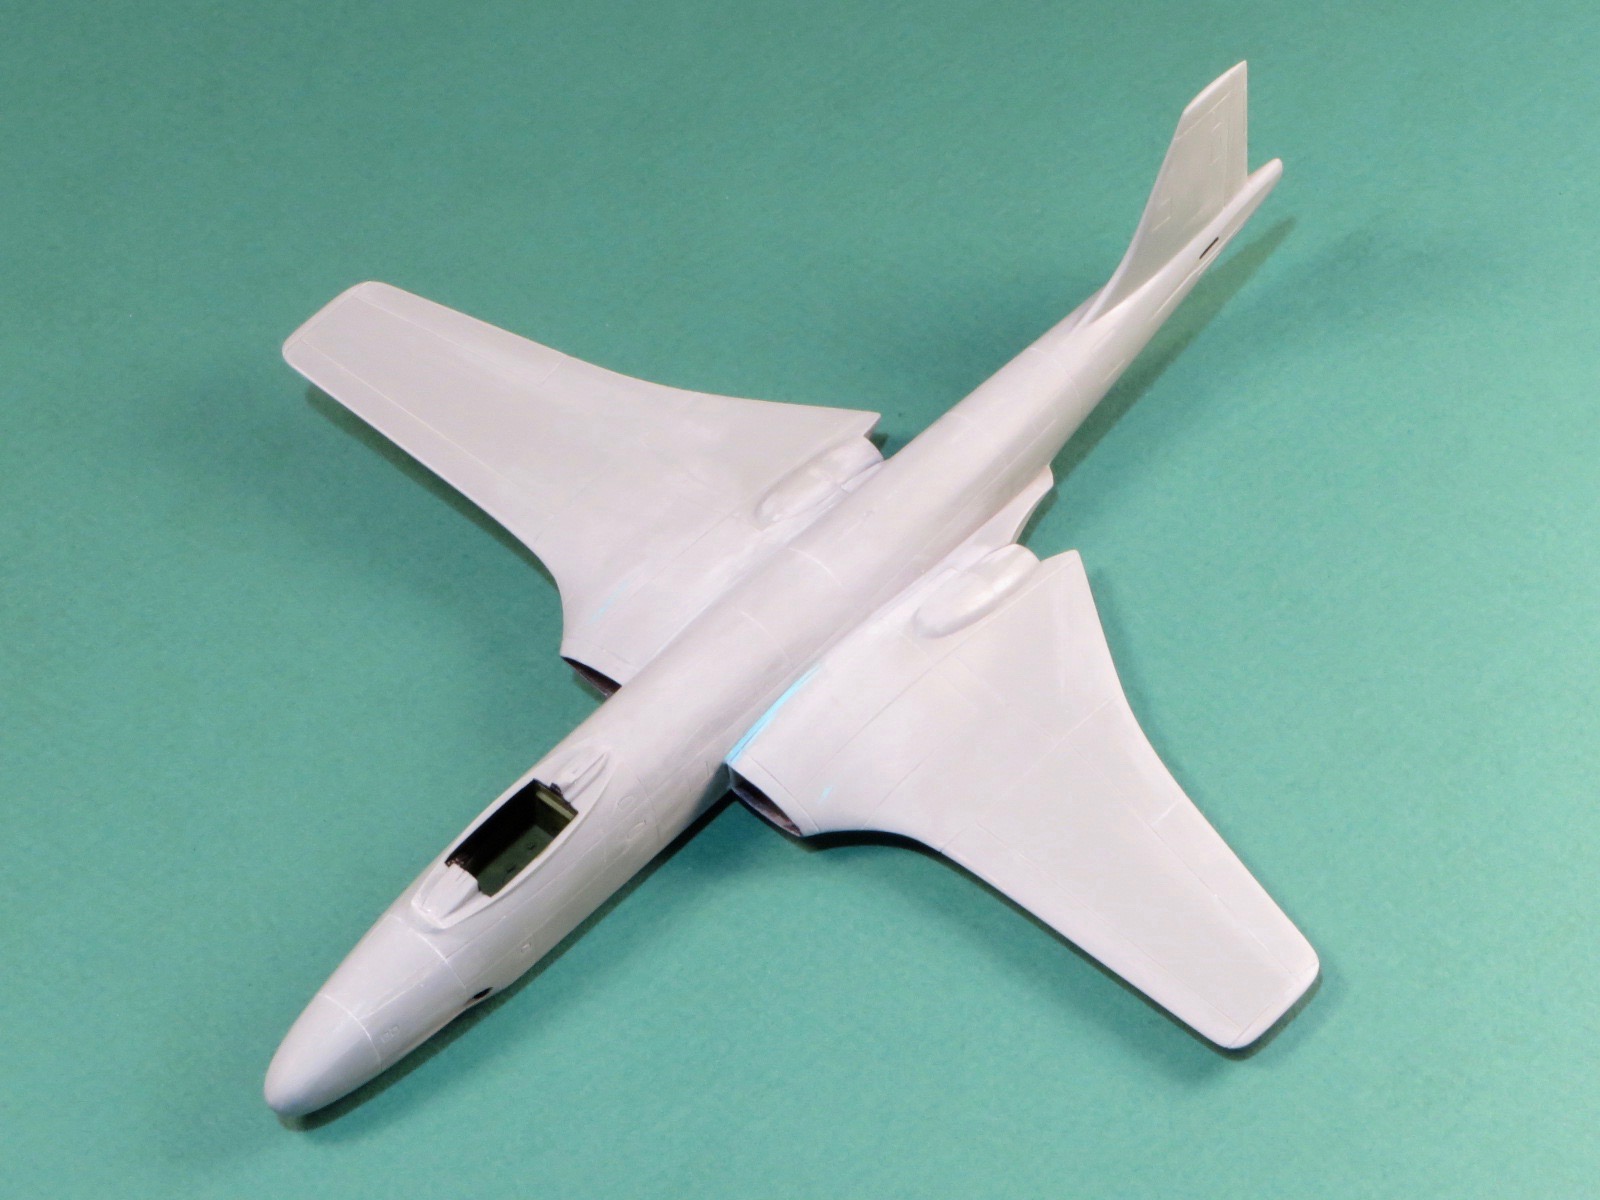
Very little filler was required at the wing-fuselage joints
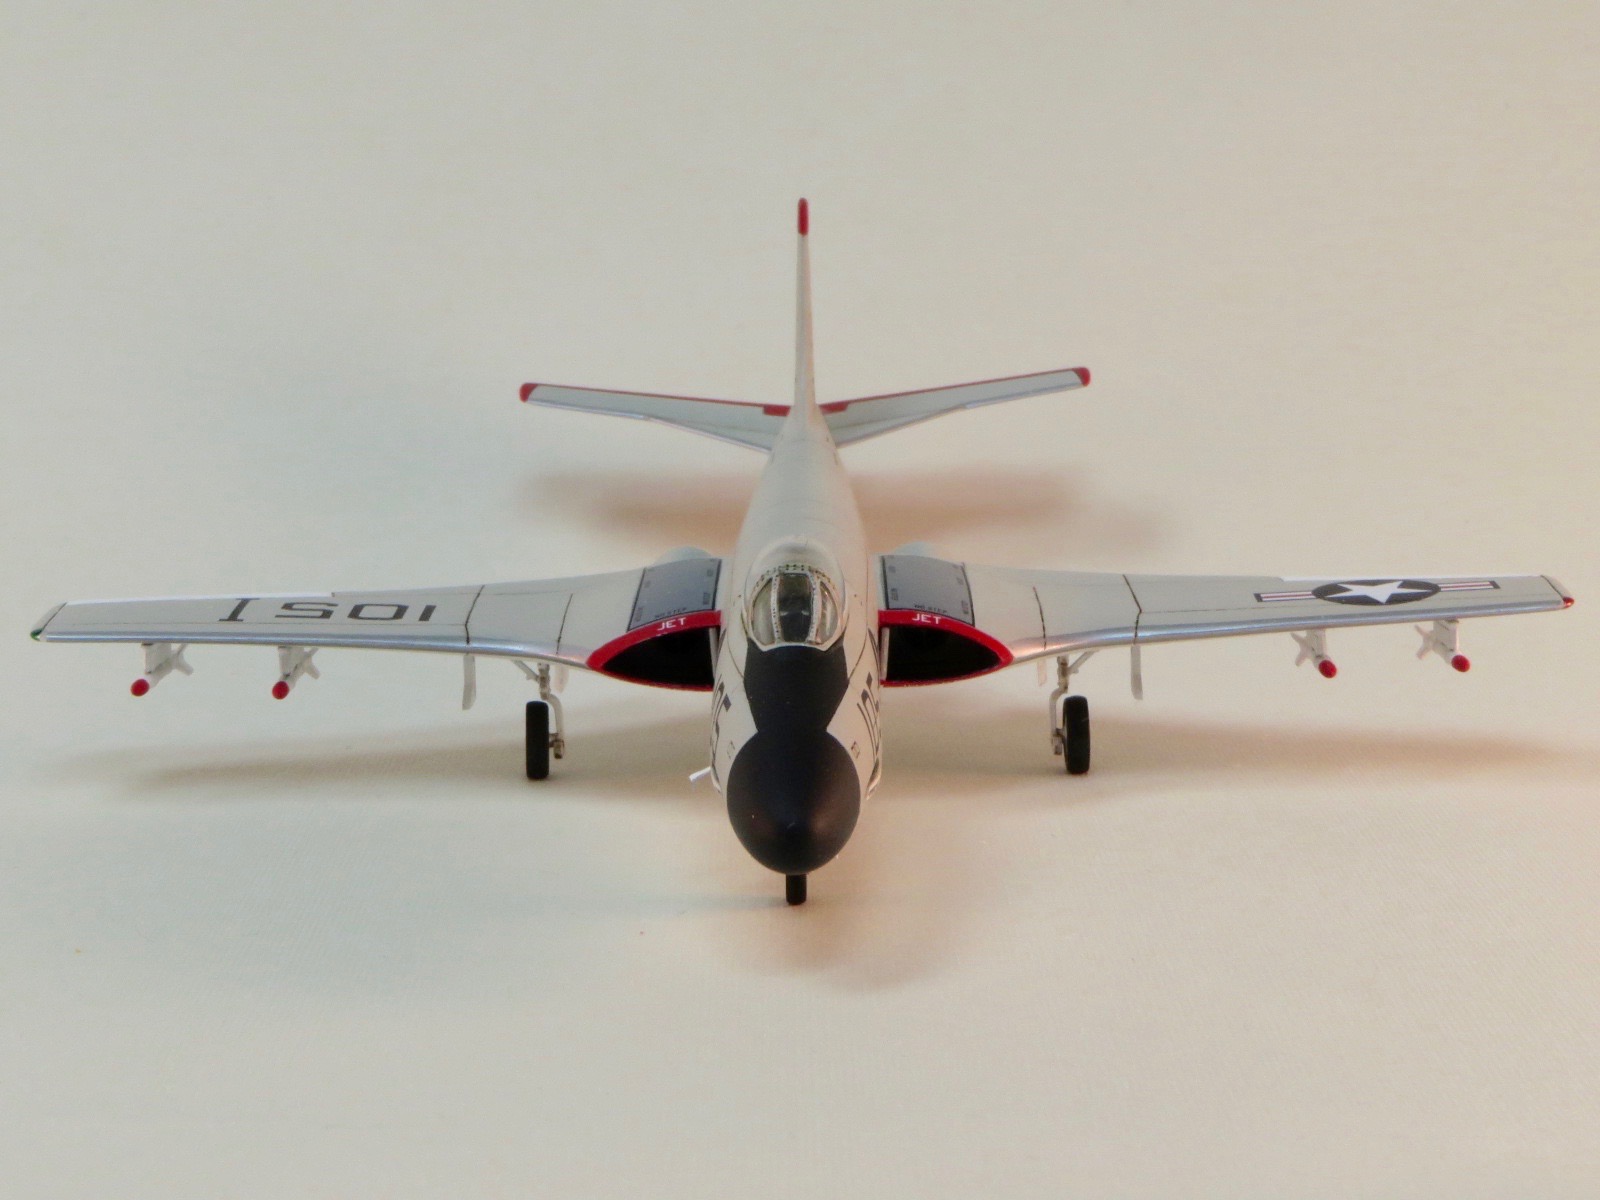
Head-on with this distinctive aircraft.

Right-rear quarter view of finished kit.

Left-front view of completed aircraft from above
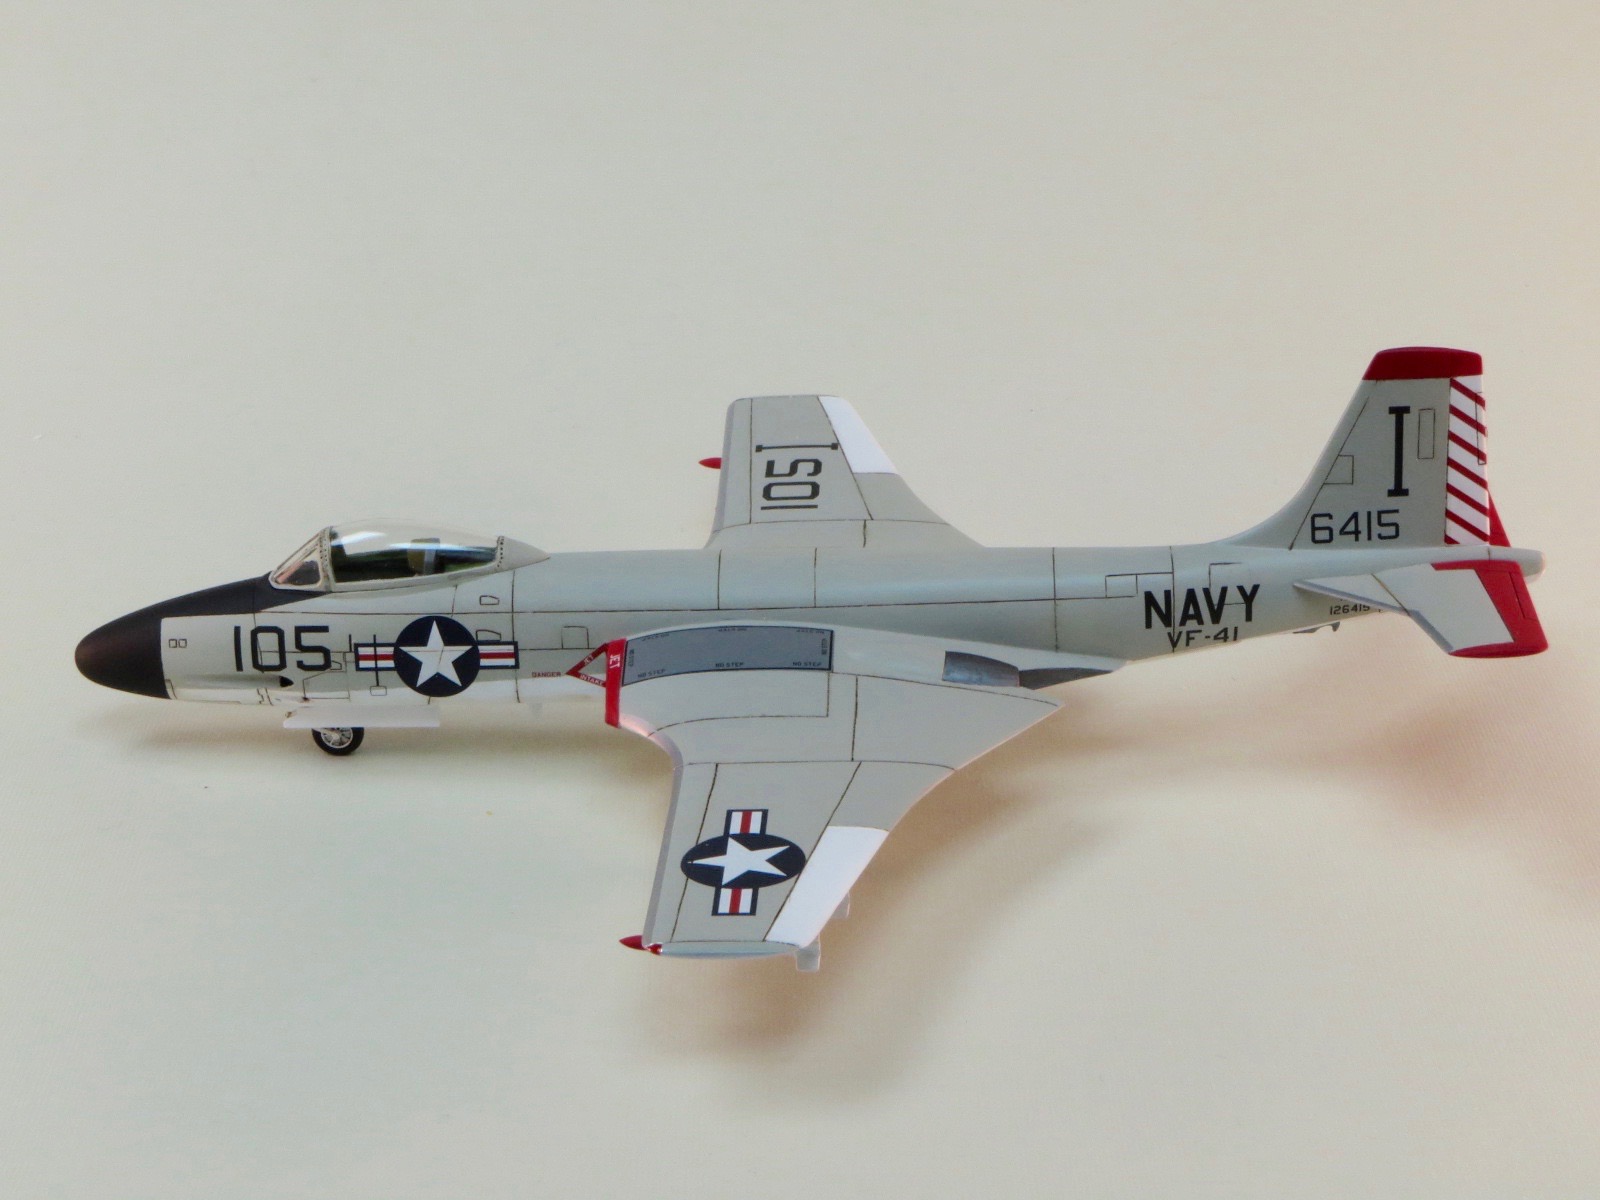
Left profile view of completed kit.
Comments
Add new comment
This site is protected by reCAPTCHA and the Google Privacy Policy and Terms of Service apply.
Similar Reviews