
U.S. Navy UCAS X-47B
Thank you to Freedom Model Kits for providing a review copy of an excellent new release of a very unusual aircraft. Thank you to the many Reviewer Corps people who make the IPMS review system work. It is a continuing honor and privilege to be part of the team.
This first release from a new company is a welcome addition to UAV (unmanned aerial vehicle) subjects in the scale model world. Freedom Model Kits (FMK) maintains an excellent Facebook presence (see the vendor link above), hosting much good information including corrections, and they set a very high standard with their first offering. I thoroughly enjoyed building this kit for review. The part fit is excellent, construction is very straightforward, and a very nice model may be produced directly out of the box. The model compares well to public domain published literature and internet sources.
Presentation (how the kit looks in the box)
The kit arrived in a very solid shrink-wrapped cardboard box about 15 x 9.6 x 2.75 inches. The colorful box art shows a Pegasus flying over the USS Abraham Lincoln with what appears to be an F-35 in formation. The 6 sprues were enclosed in poly bags, and only 1 part had come loose. The parts are molded in gray. The detail is finely engraved and there was no sign of any mold release. There were a few minor flash seams on some solid parts, i.e., landing gear struts, but my fingernail effectively took the flash off. Some of the sprue frames are a little bit on the thick side, giving good support to the parts, and the attachment points are thin enough that the parts are easily removed. The attachment points are generally flat and rectangular. A small photo-etch fret was protected by plastic on both sides and enclosed in a resealable poly bag, which is a nice touch.
The little ID tabs on the sprue next to each part not only have the number, but also the identifying sprue letter. So for example, if you are looking at a pile of sprues in search of a particular part, you will see “E5” on the tab for part 5 on sprue E. This feature is a timesaver.
Instructions and Other Materials
The instruction sheet is printed in black and white on a roughly 39 x 11 inch fold-out sheet and is accompanied by a full-color painting and marking guide on glossy ledger size paper. Drawings are well-executed perspectives, and completed assembly insets are often shown. Several options are available, such as folded wings, deployed airbrakes, landing gear and open weapons bays. Two GBU-32s are included. I did not find reference to parts D10 and D11 in the instructions for the stowed or folded wing option, this is a minor point. The first 5 steps follow a logical progression of assembly from landing gear to the main fuselage upper and lower halves. Step 6 addresses the open weapon bay option, step 7 details upper fuselage details and assembly of the wings in the extended or flying position, and step 8 has the particulars of completing the kit with folded or stowed wings.
I did find a good surprise while reviewing the instructions. We all know that tricycle gear aircraft need nose weight, don’t we? FMK’s kit requires no nose weight to keep the nose gear firmly on the ground, even with folded/stowed wings. While this characteristic may be part of the actual aircraft specs, FMK certainly must have considered this feature and engineered more forward mass into the kit design.
Decals
A comprehensive decal sheet is provided, with extensive stenciling, warnings and walkways. Markings for airframes 501 and 502 are included, along with CVW-9, CVW-5 and VX-9. Some of the airgroup markings are a little bit forward thinking, anticipating wider scale deployment of the Pegasus, with possible ship names and so on. I chose to complete my kit in VX-9 colors.
The decals themselves have a slight matt finish on the carrier paper. There is minimal clear carrier around the decals, a very nice feature! The decals loosen from the paper quite quickly and were easily nudged into position on a damp model surface. Even the smallest decals adhered well! I did not lose any “NO STEP” stencils to “NO STICK” as has sometimes happened to me in the past. The decal film was a bit cloudy when wet, making precise location on the model a little tricky. The decals dried mostly clear on glossy paint, but I couldn’t get some silvering to go away even with repeated Microscale solution applications. Overspraying with clear matt finish later effectively reduced the decal contrast with the paint and the overall final effect is excellent. A smoother gloss coat might help with the occasional decal silvering.
Construction Summary
Construction overall was very enjoyable. The first 2 steps involve assembling the landing gear and were very straightforward. FMK designed a nice feature into hinge areas; many parts have hinge pins and holes, allowing a positive attachment, handy for alignment before gluing. Examples of this positive attachment are parts E7 to E13, and E41 and E42 to part E13. A big advantage of this feature is that there is some flex in the parts, allowing some tweaking and adjusting to be done during part placement. Photoetch parts are included for various retractors, tie-down rings and other sorts of nifty details.
All of step 3 was very straightforward, with the wing and controls surfaces gluing up cleanly. I did not attach the airbrakes until the very end, just before I placed the wings in the folded position.
The entire engine compartment from intake through exhaust is built in step 4. This step is also very straightforward like previous steps. Be very careful removing the intake and exhaust fins and blades from the sprues. Some of the locating tabs can be easily removed by accident, leading to tricky part placement inside the “tube.” There are no engine parts other than the fins and blades. I like this approach to the engine area; the intake and exhaust seams can be easily sanded out before the assembly is placed in the fuselage.
The bulk of the aircraft comes together in step 5. I varied from the suggested assembly sequence a little bit by gluing the completed engine assembly into the top fuselage rather than the bottom half. Following the assembly of the main fuselage parts, FMK suggests adding the closed weapon bay covers, the nose and main landing gear and doors, the flying surfaces, and other small details. I left many of the smaller parts off until the kit was nearly complete. At this time I discovered 2 very good design features. The first one is that all of the arms on the door and weapons covers are provided as separate pieces. For example each nose gear door has 4 hinges. The extra parts may seem like more work, but the attachment points are well done, resulting in a strong and effective visual presentation that represents the real subject effectively. The second design feature is the socket-style attachment of the various antennas. Each of the blade antennas are on a small base that fits snugly into a socket in the fuselage. Only part E23 (mislabeled as E16 on the instructions) has a tradition pin locator. The socket arrangement accomplishes 2 goals: The blade is properly aligned and positioned and is blade is less like likely to be damaged by post-construction bumbling. I have personal expertise and experience in this area.
Step 6 addresses only the installation of the GBU-32 JDAMs and the open weapon bay covers. The weapons are assembled with traditional halves and separate fins. The mounting brackets are very solid, and the JDAMS were easily “loaded.”
Step 7 explains proper location of all of the small surface details and wing positioning. At this time in the construction sequence you must commit to the wing position you want. I chose the stowed or folded option and moved ahead to step 8. However, I did experiment with the extended wing option a little. Two very snugly fitting wing spar-like inserts are provided. The spars effectively bridge the fuselage-wing joint. While I did not actually glue anything at this point, dry fitting suggested that the part will make a very strong joint. If you chose this option, you are done with construction at the end of step 7.
I elected to show the model in wings-folded mode and continued construction with step 8. Part of my decision is because my display case is getting crowded. Different wing inserts are provided that allow solid attachment points for hinges, arms, and other parts to give the wing hinge area the correct complexity. The part fitting is a little tricky, but a cautious approach seemed to give me good results in the end. PE hinges are provided for the small hinge covers, but I stayed with the stronger solid plastic ones. PE cables and control lines are included, and they add nice detail that sets off the hinge area very well.
Finishing
The paint scheme is not complicated and FMK has already published a correction on their Facebook page for the typo on the painting and marking guide. The paint callout for the overall aircraft is for FS 36118. The correct color is FS36270. To the best of my knowledge all of the other paint colors are correct. Image searches for operational X-47B aircraft turned up a pretty consistent gray color scheme, with some variances in the extent of the intake color and the blade antenna colors.
Conclusion
This kit was great fun to build and as best I can tell is quite accurate. The overall shape and detail matches well with published materials. The real Pegasus is still very much a work in progress, but I do not believe the overall shape will change much. I have several completed UAVs in my collection and I always finish them thinking that I missed something, that something being the cockpit! This is of course only a sign of the times, but I certainly do get a laugh at “completion.”
Free Model Kits has a done a great job with this subject and I hope to see more from them soon. They have made an excellent entry into the scale model market with their first offering. I highly recommend this kit to anyone with an interest in UAVs.
Thank you, Freedom Models Works, for providing IPMS with this review kit. I value your support of the scale modeling community. Thank you again to the Reviewer Corps, who allow me opportunities to build exciting new kits like this one!
References
- Neubeck, K., 2010, U. S. Navy UAVs In Action, Squadron/Signal Publications, 64 p., ISBN 978-0-089747-608-9
- Yenne, B., 2010, Birds of Prey: predators, reapers, and America’s newest UAVs in combat, Specialty Press, 159 p., ISBN 978-1-58007-153-6

The distinctive front profile of the Pegasus, pre-weathering and final touch-up
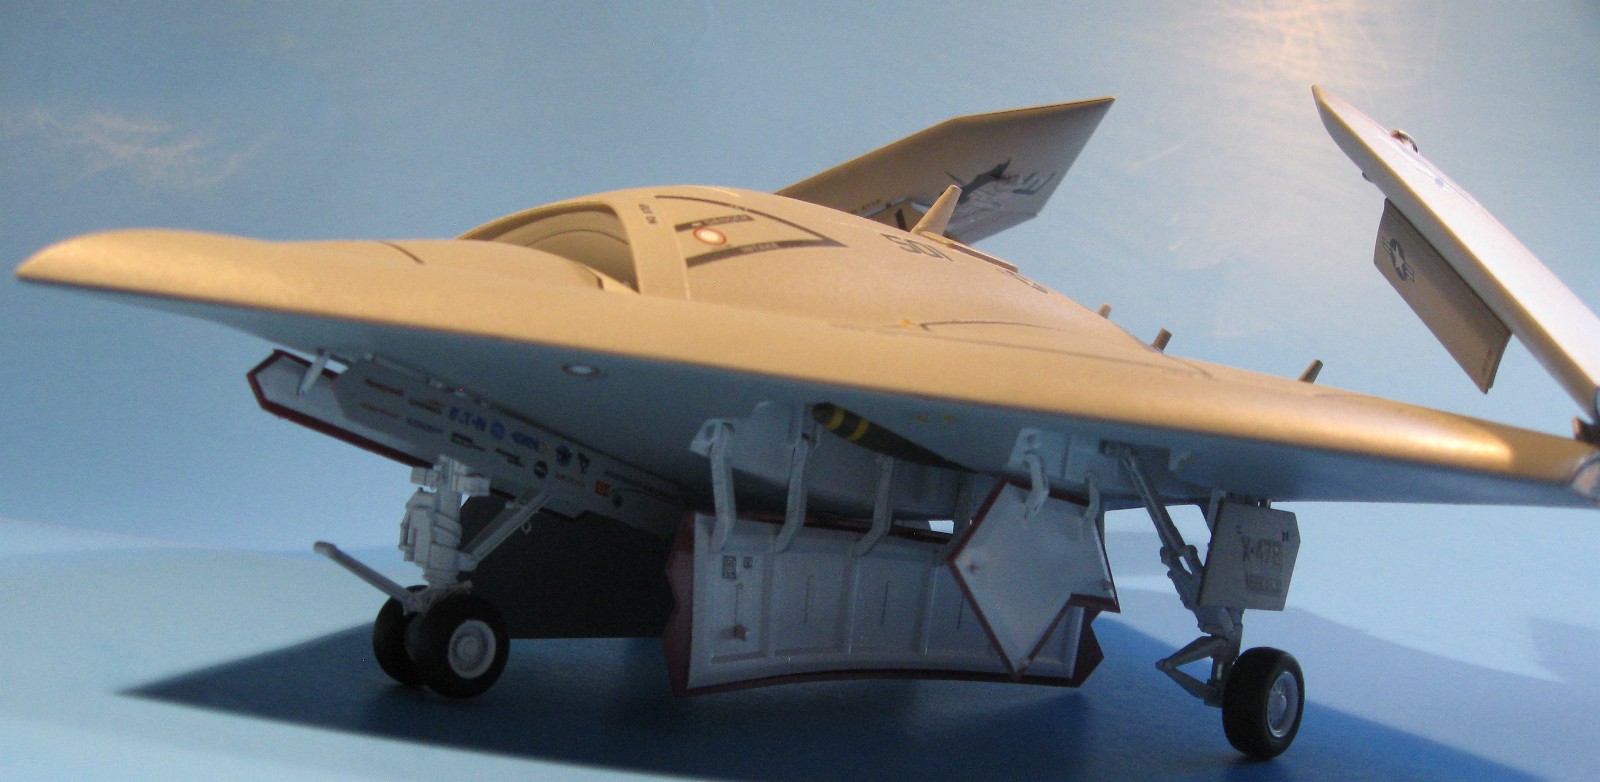
The flat lifting wing concept is evident here with the GBU-32s installed in this pre-weathering and final touch-up view.
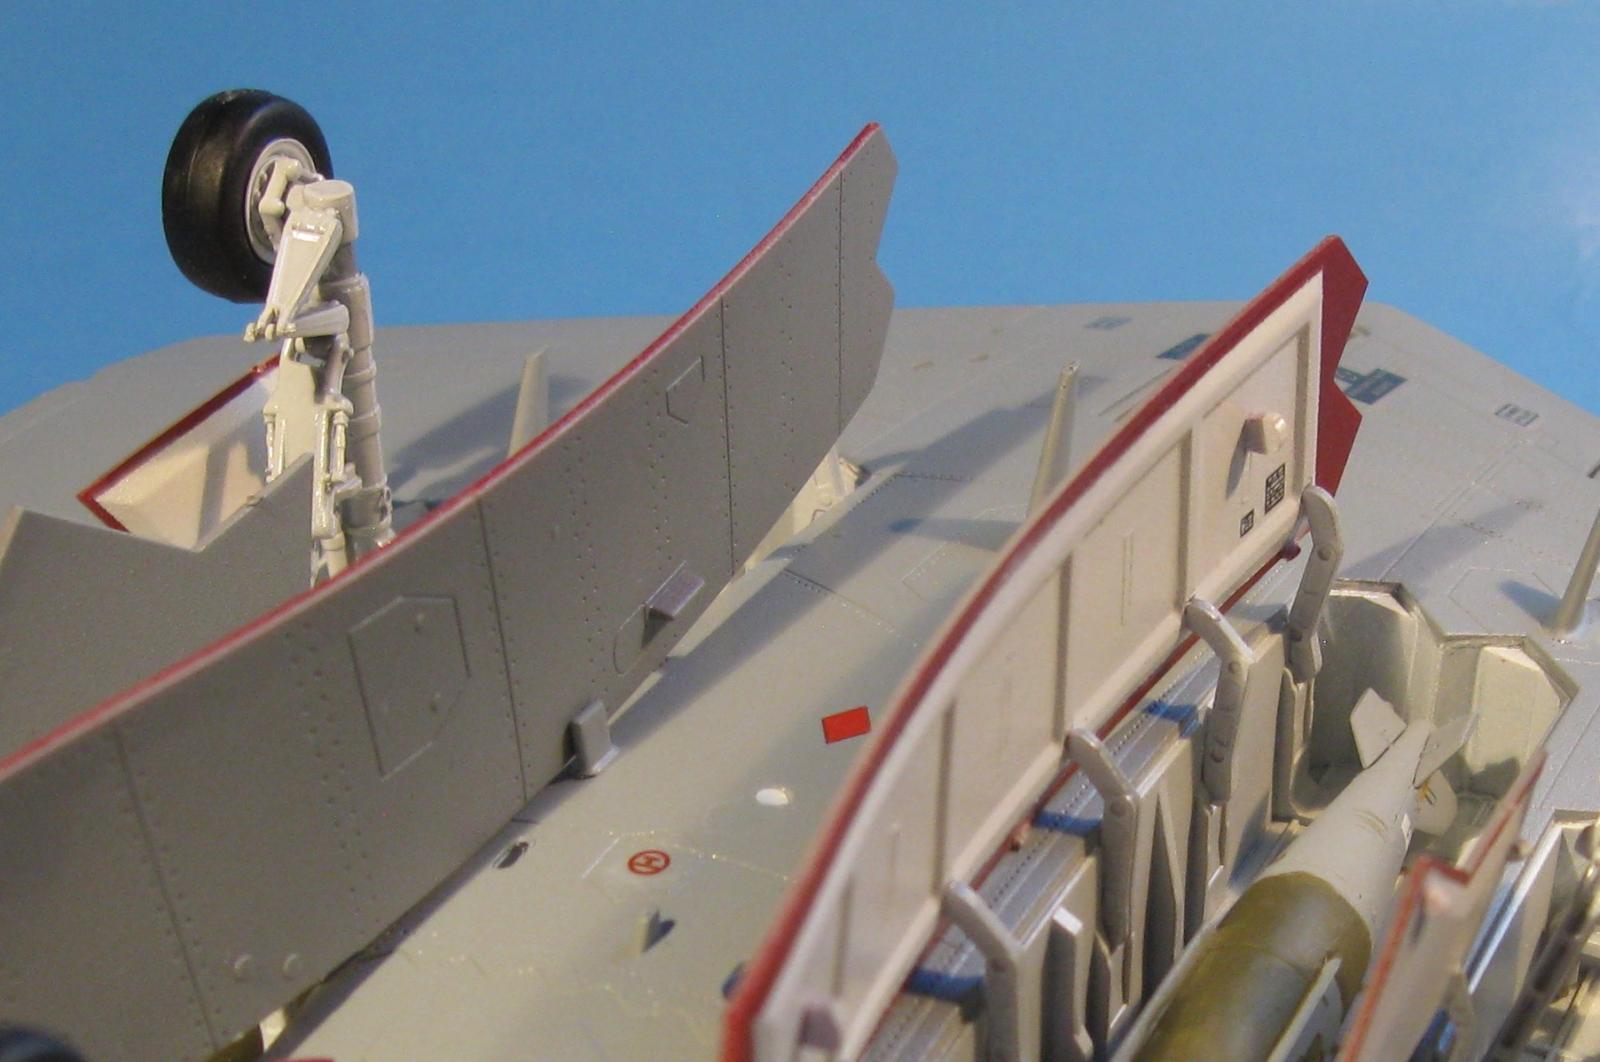
The well cover retractor arms and strut details are shown here, pre-weathering and final touch-up.
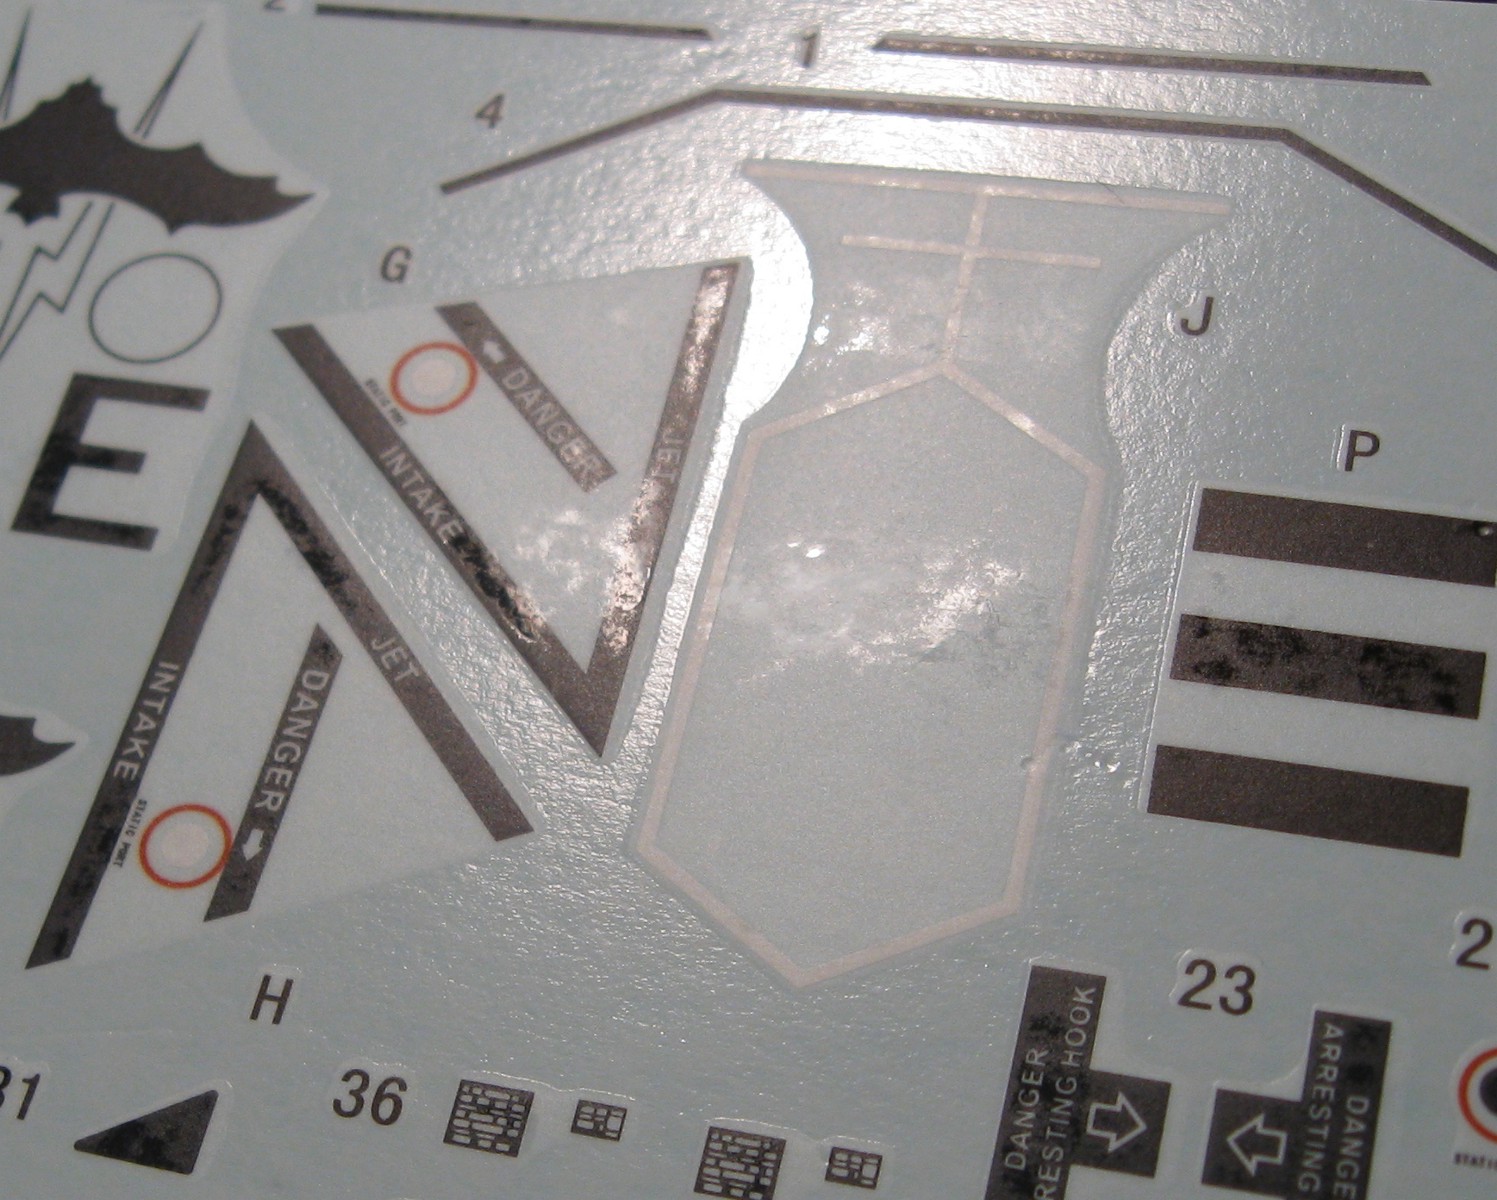
The matt finish of the decals is evident; this is not a problem after application and overcoating

I didn’t actually add this “aftermarket” extra from my spare, but while applying decals I did think about it. My apologies to 2001 buffs and Stanley Kubrick.
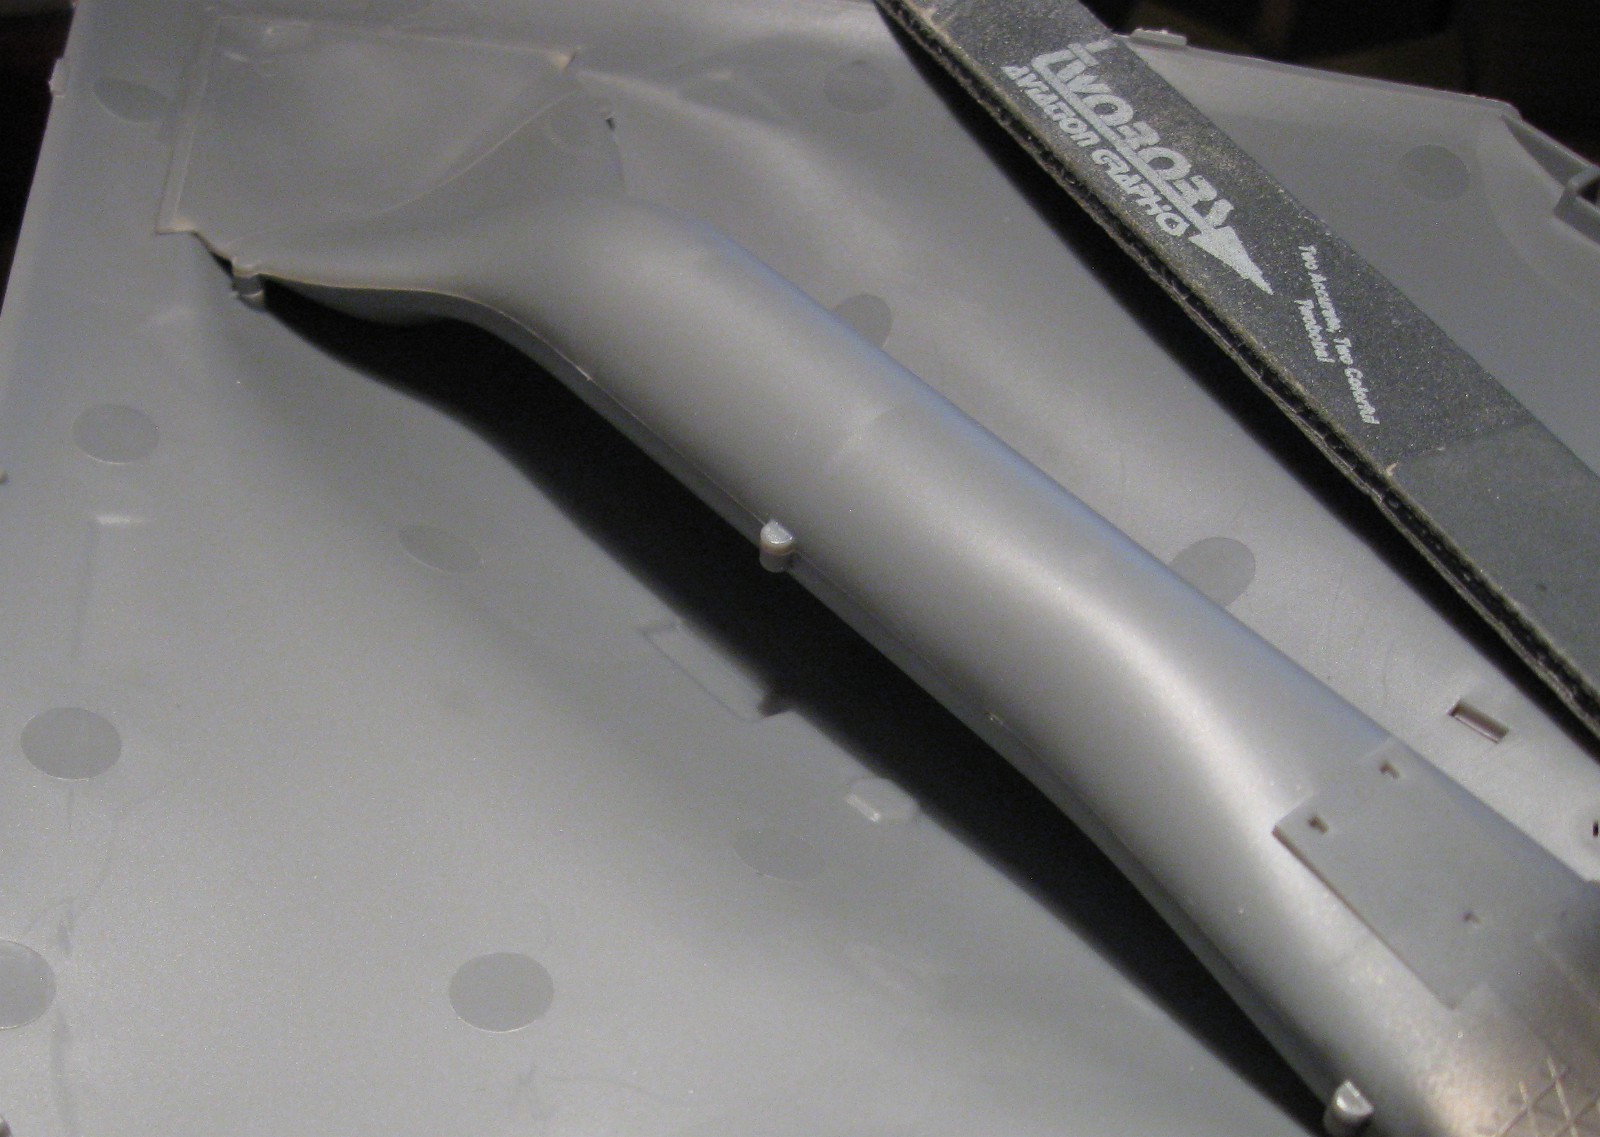
The intake, engine compartment and exhaust are housed in a single unit that mounts solidly in the fuselage
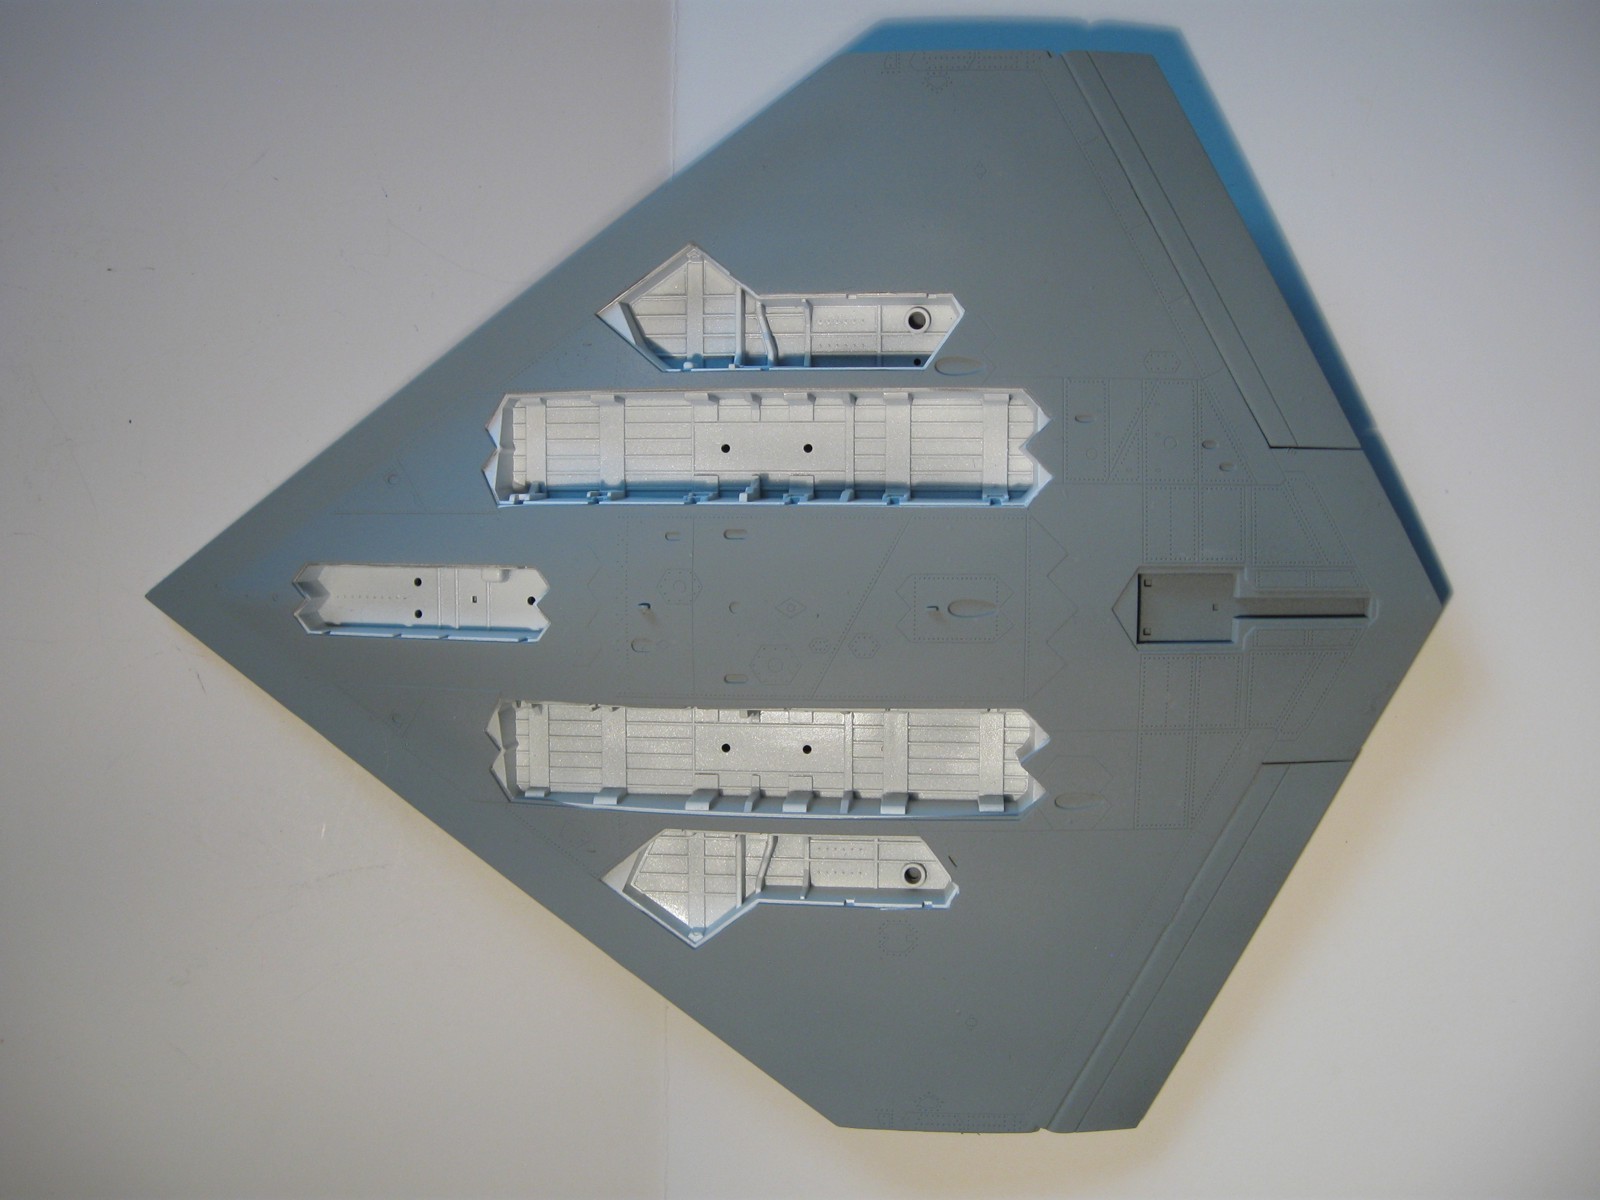
Lower half post-paint, before details.
The small pins and sockets that effectively hold parts together while allowing some movement are shown here.
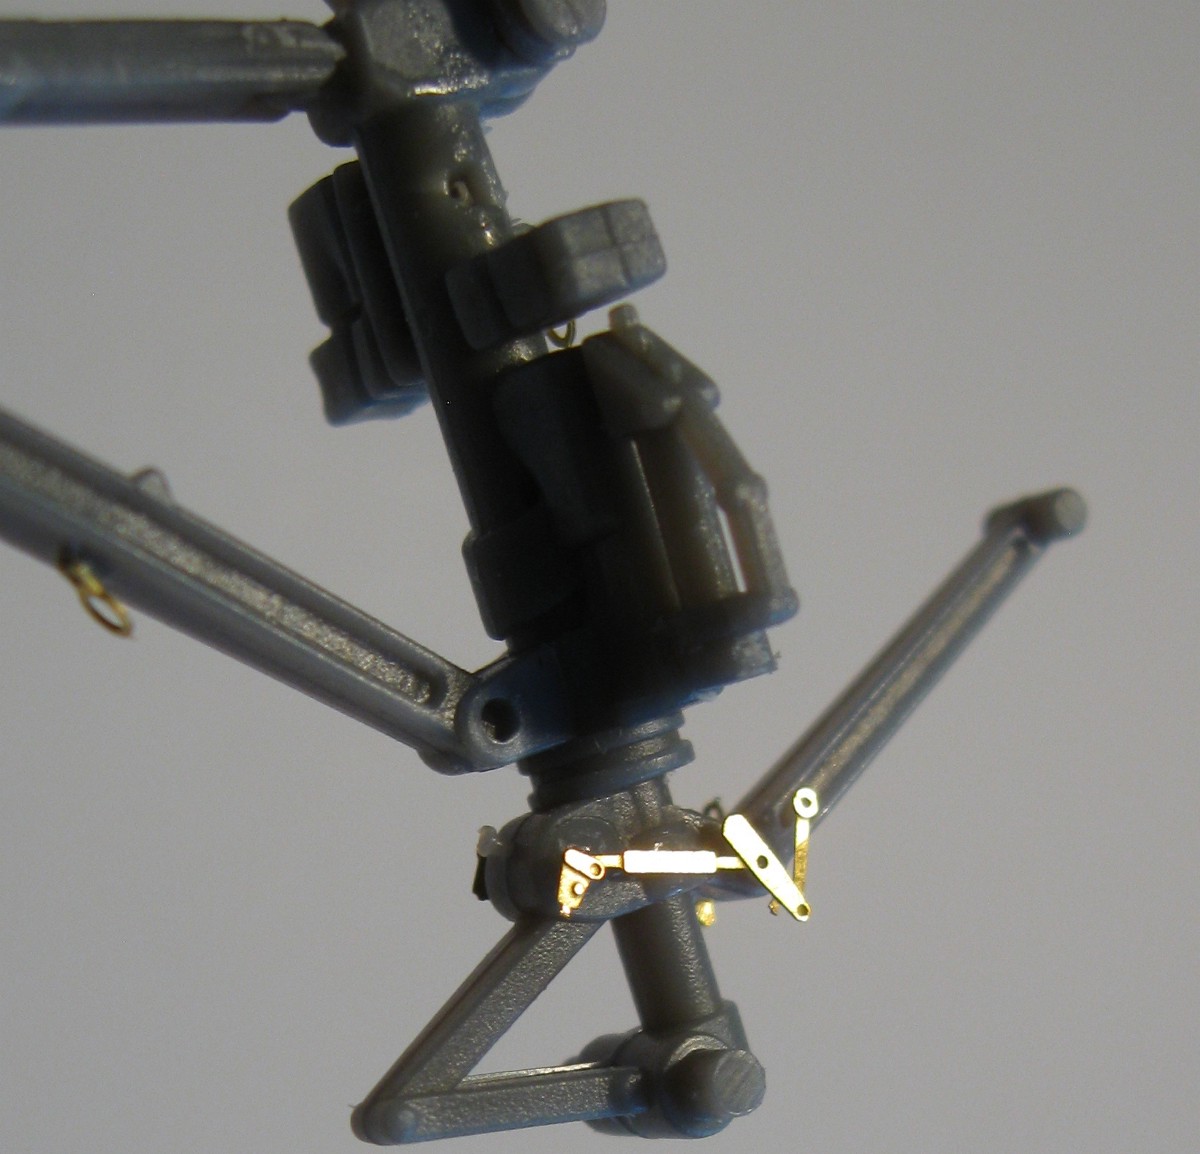
Tie-down rings and hydraulic PE details are nice additional details.

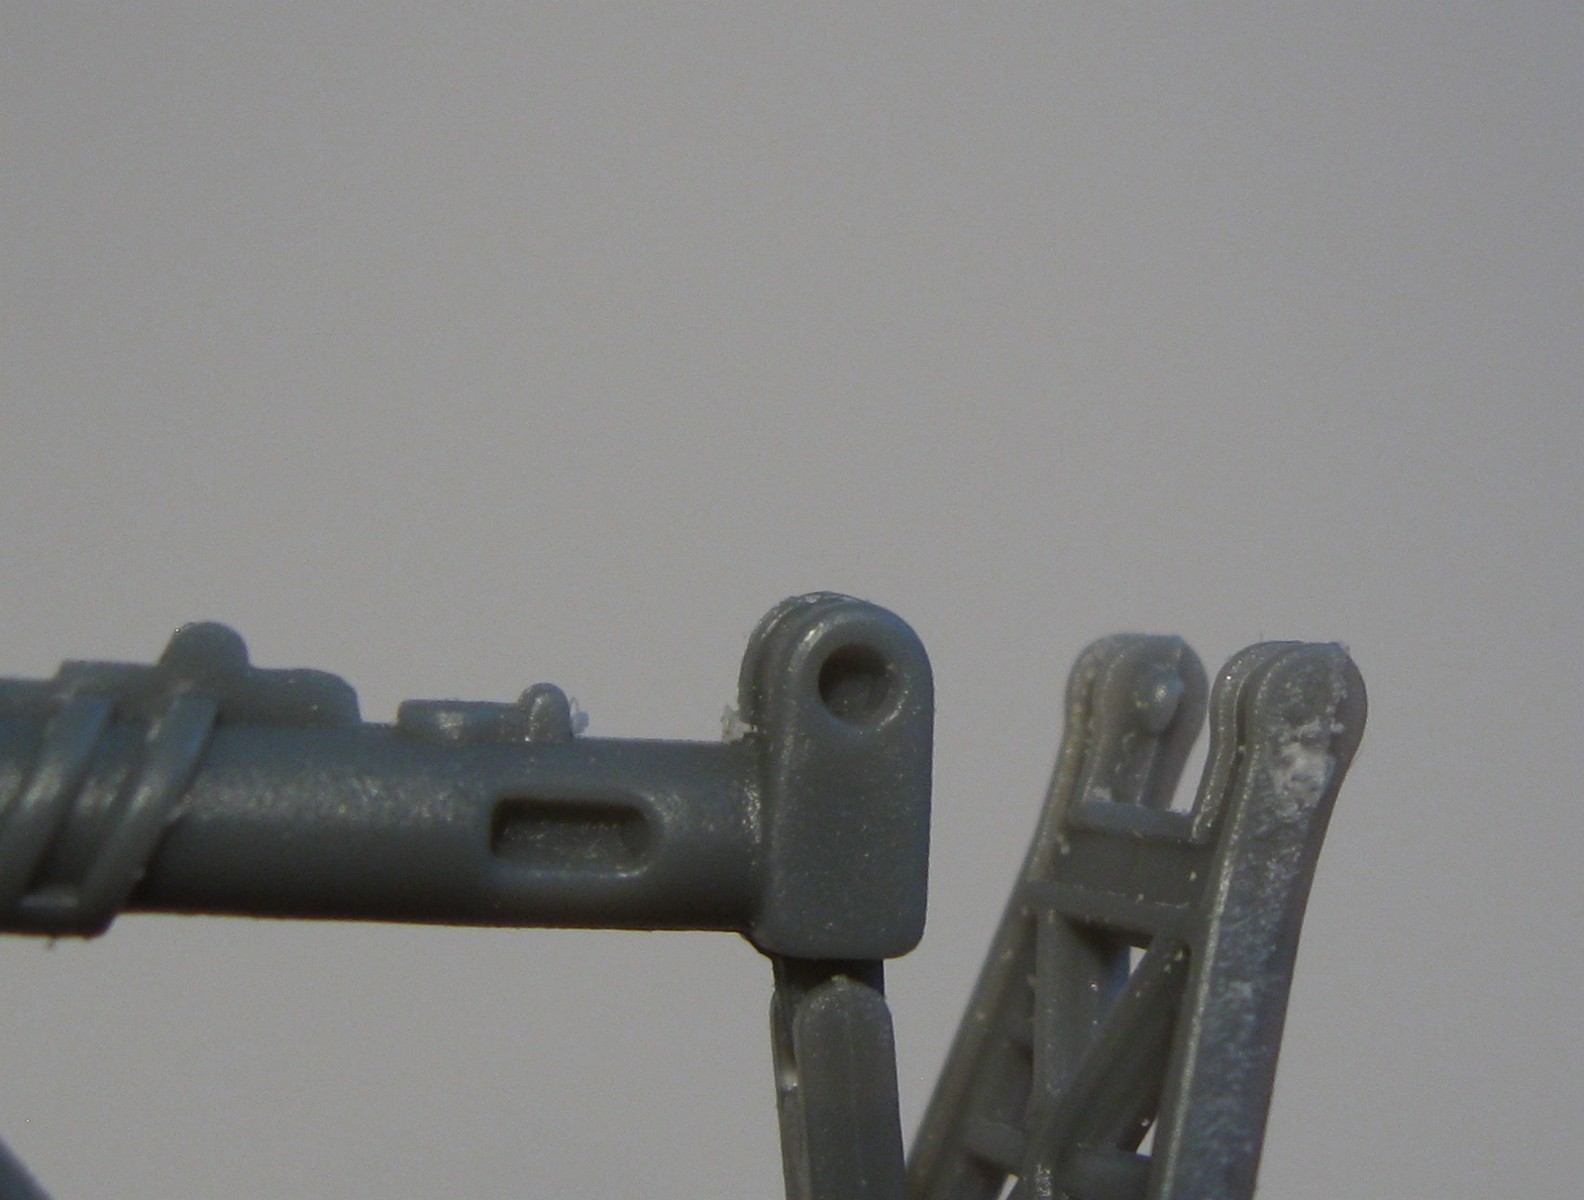
The rectangular attachments help with clean cutting and removal.
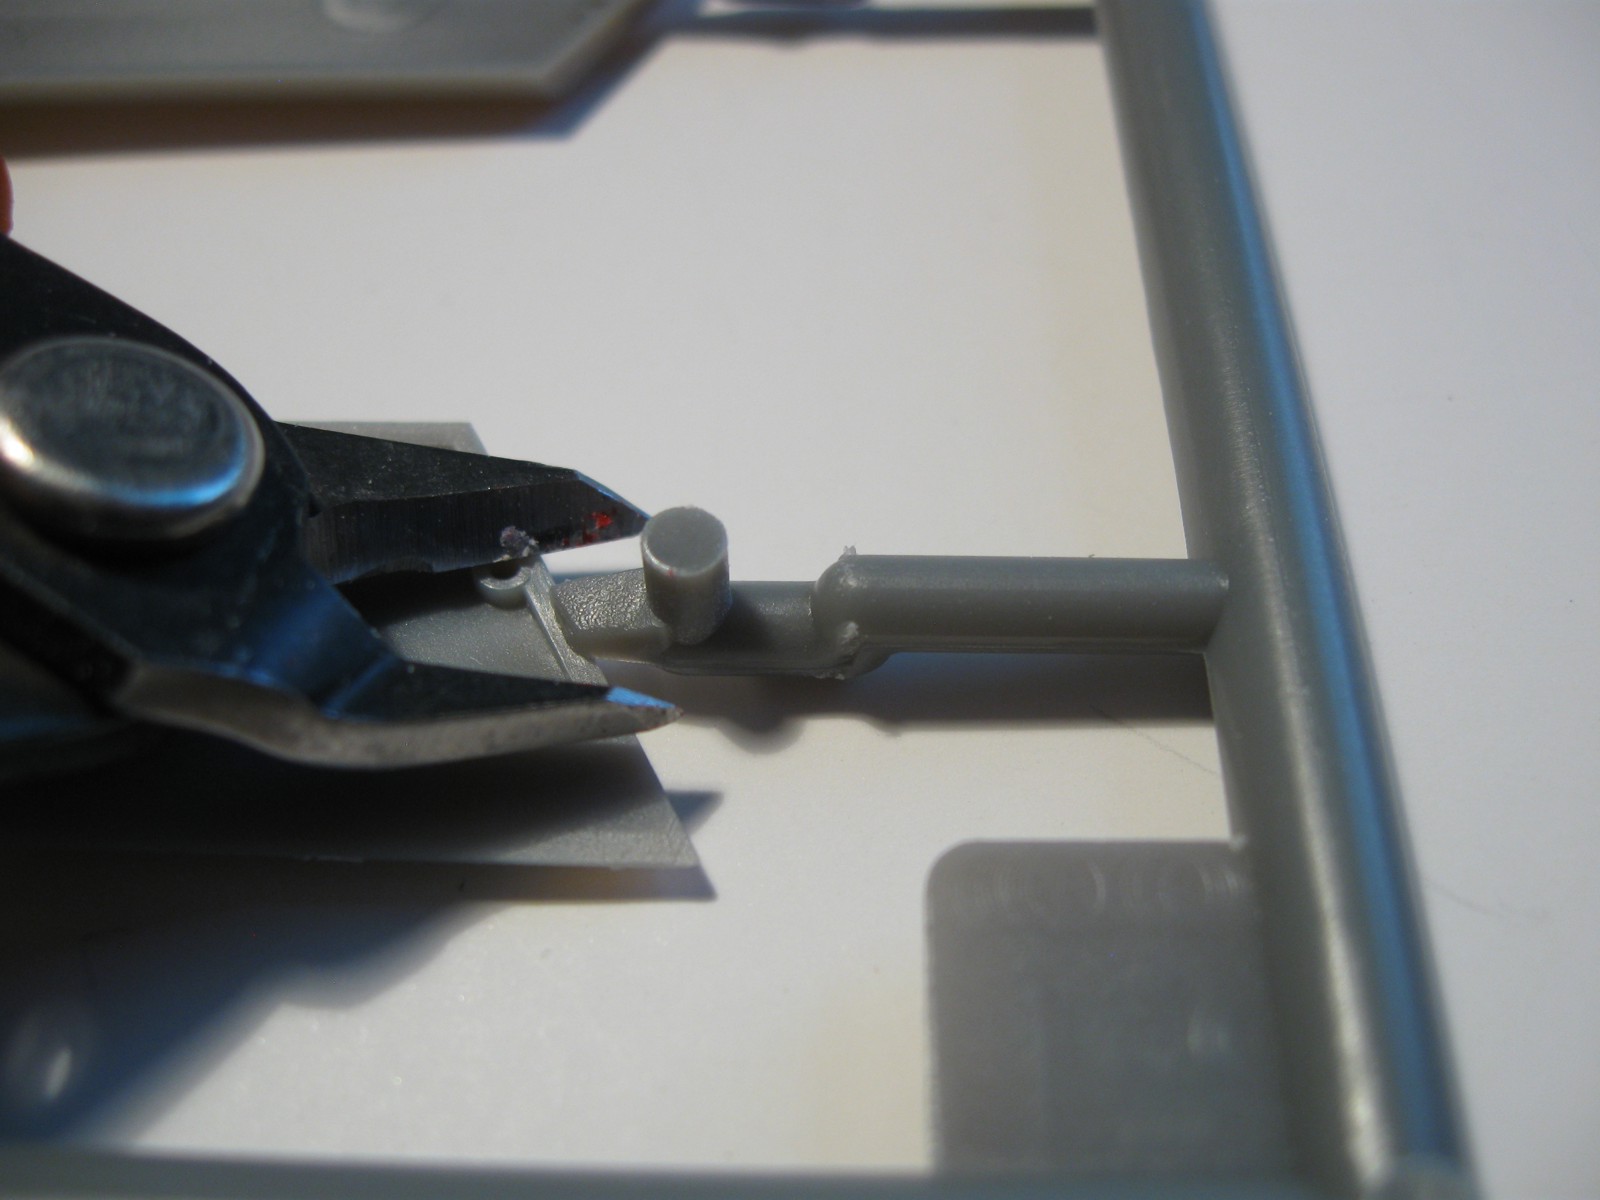
The rectangular attachments help with clean cutting and removal.

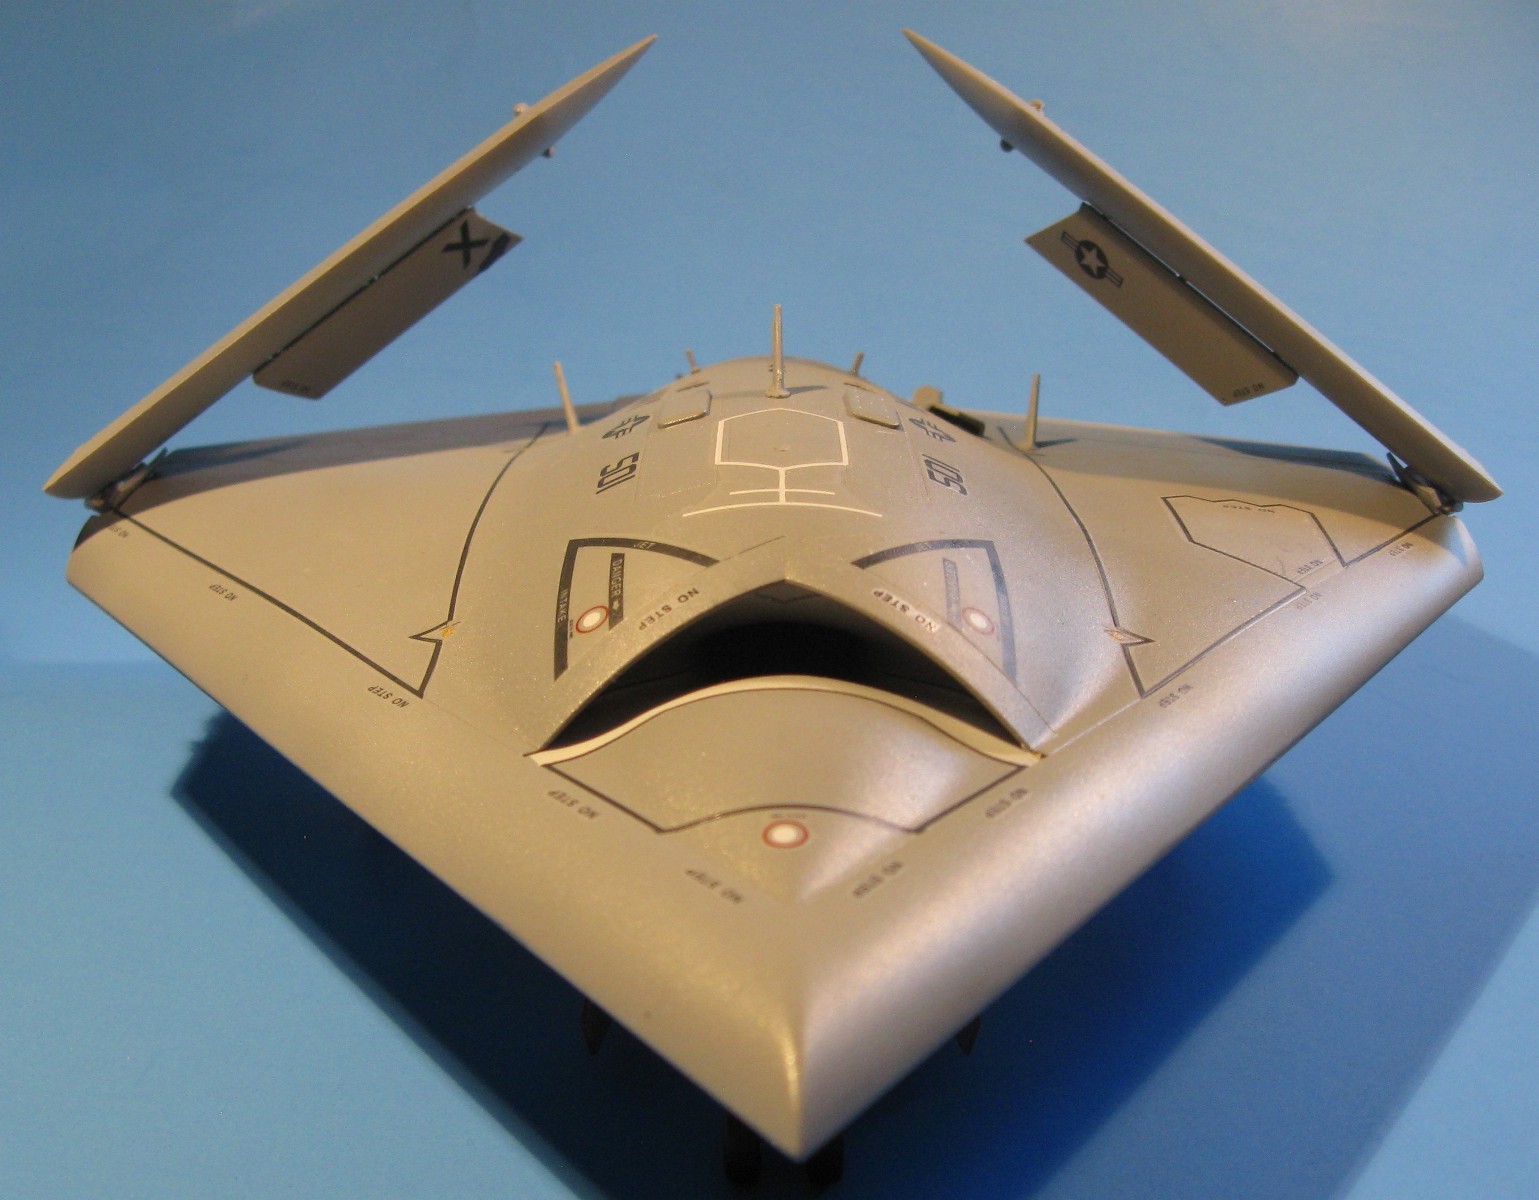
The distinctive top profile of the Pegasus, pre-weathering and final touch-up.
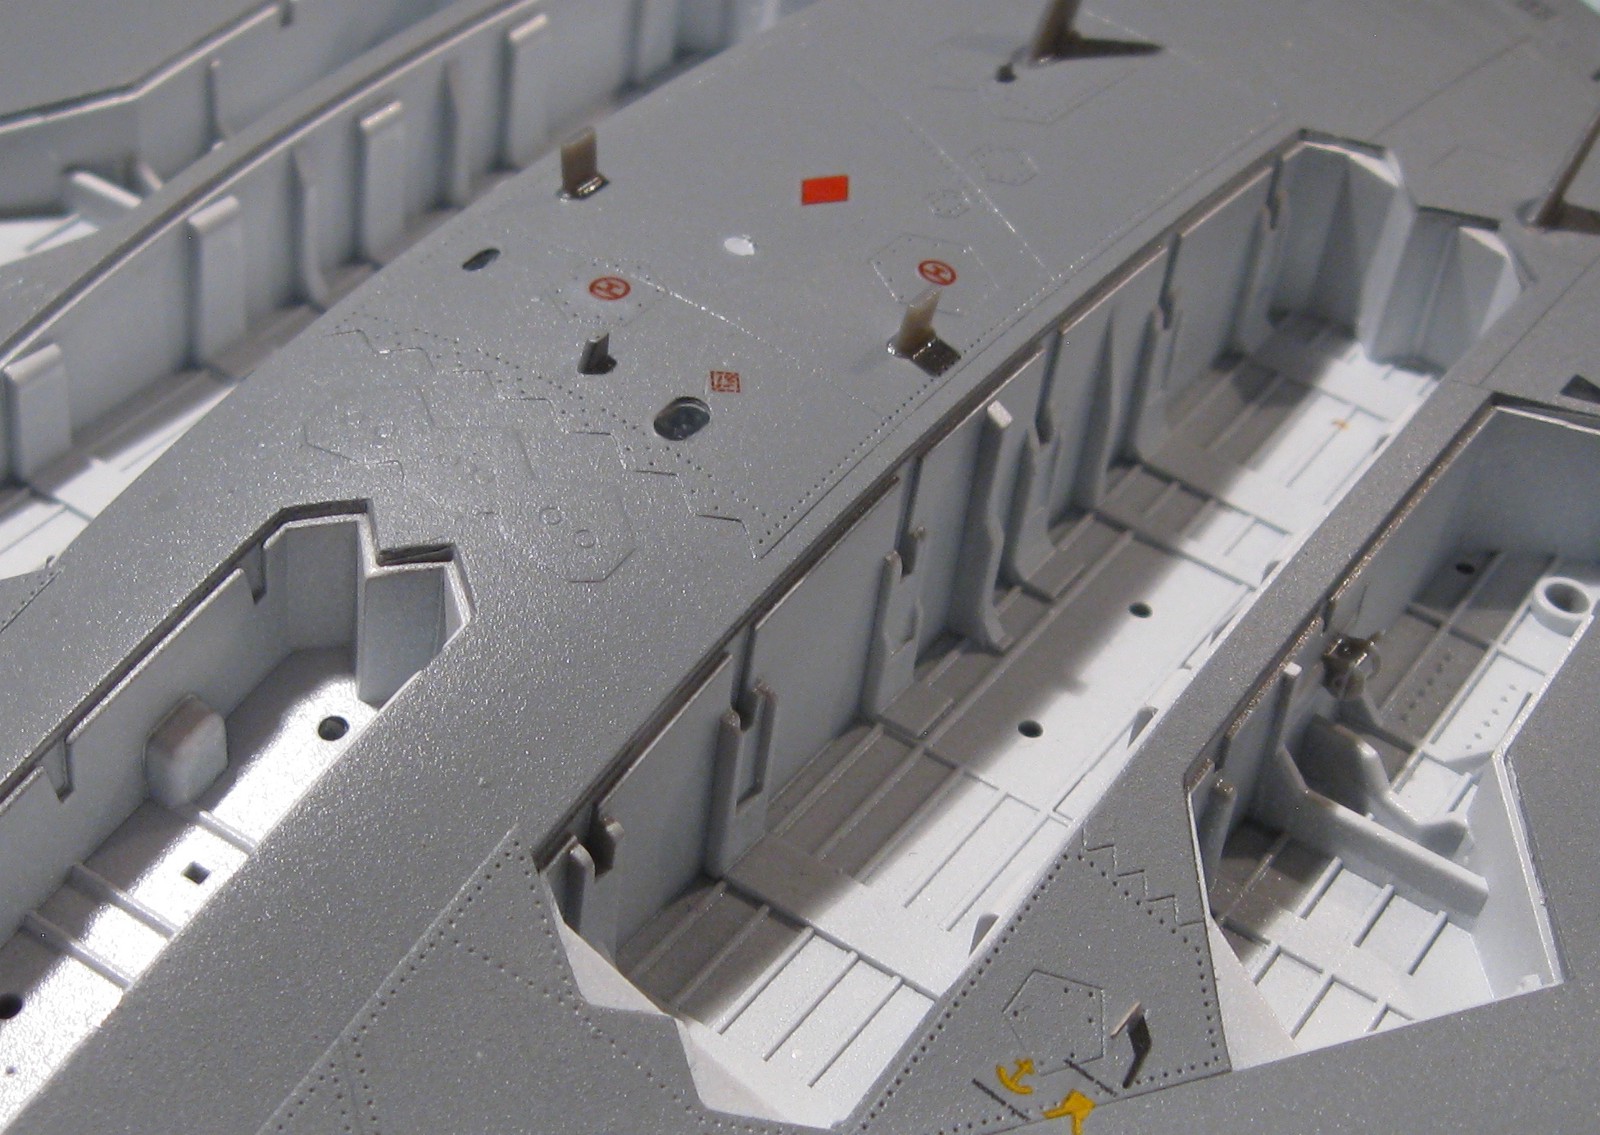
The cover hinge attachment points are solid square sockets in the weapons bay and the gear well.

Comments
Add new comment
This site is protected by reCAPTCHA and the Google Privacy Policy and Terms of Service apply.
Similar Reviews