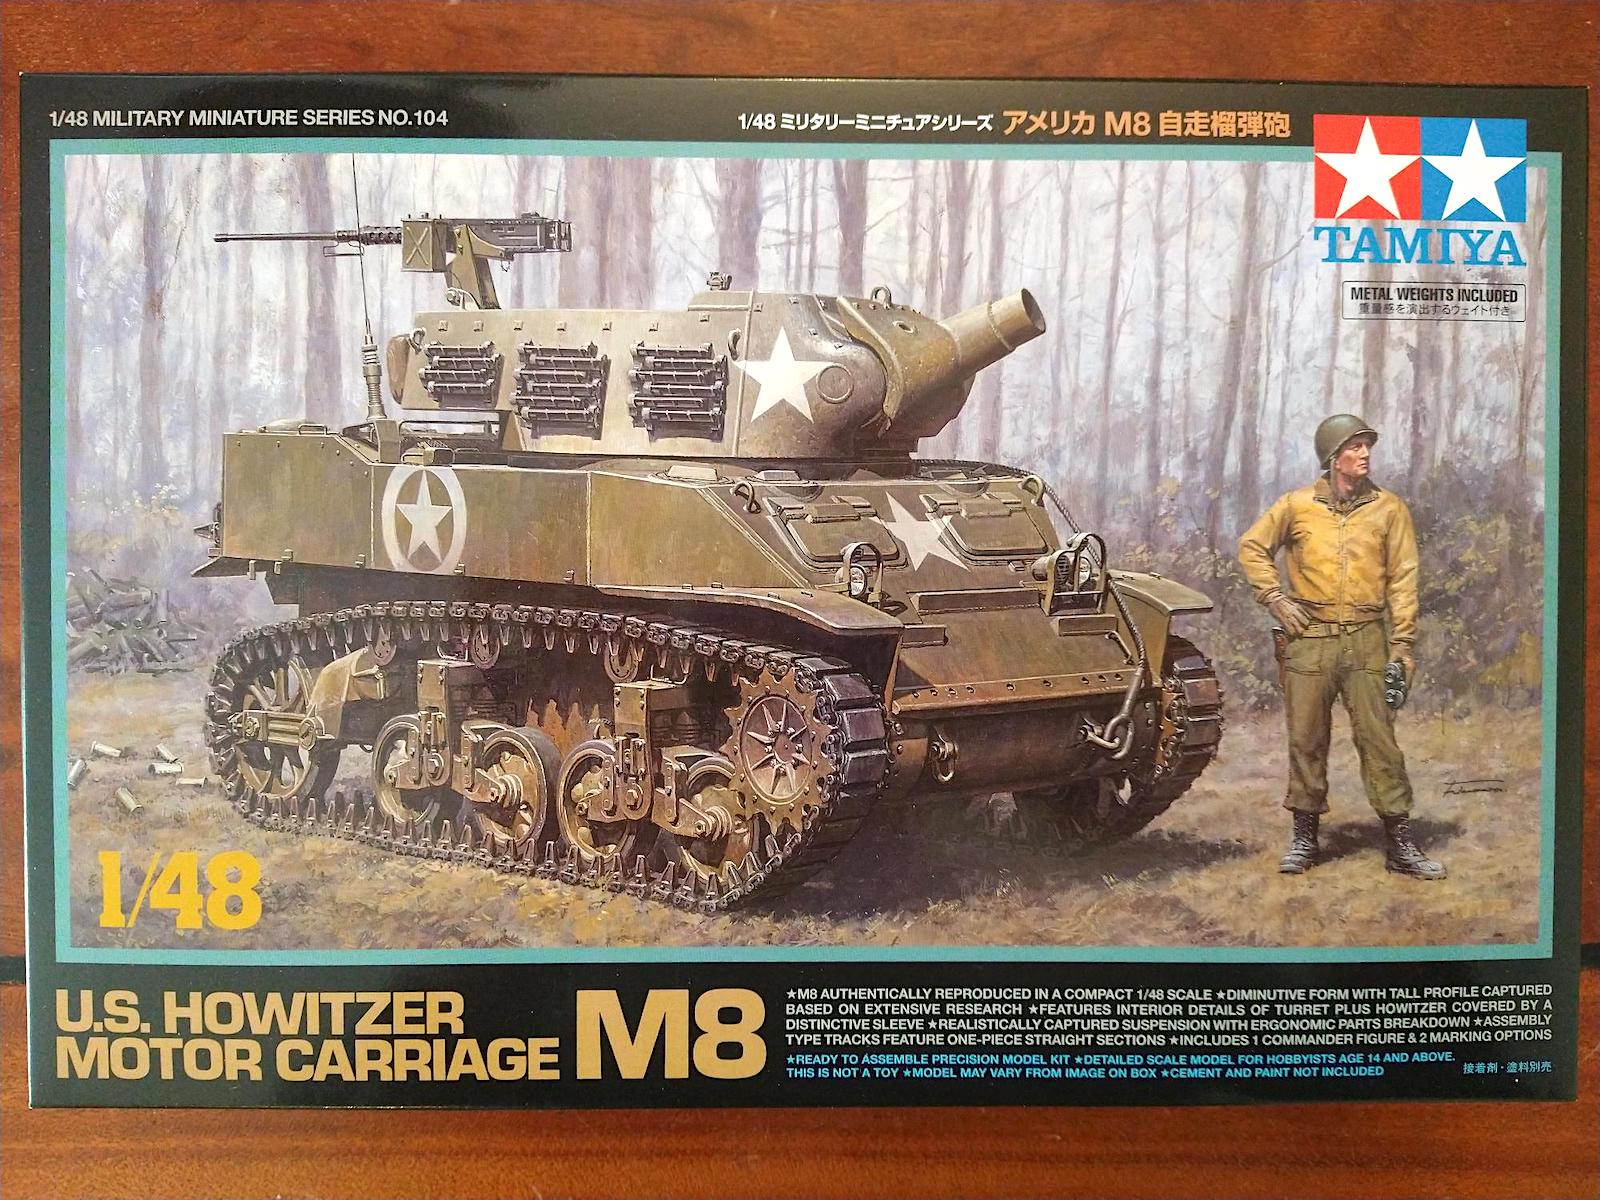
U.S. Howitzer Motor Carriage M8
I've previously built two of the 48th scale Tamiya tanks: the M-10 Tank Destroyer and the M1A2 Abrams, and they are great for a non-armor buff like me, both in size (not too big for the display cabinet) and part count (low to moderate, can be built in a week or two).
The M8 Howitzer Motor Carriage was a variation of the Stuart M5 light tank, powered by twin Cadillac V-8s with a 75mm M3 howitzer. Production yielded 1788 units from early 1942 to January 1944, and M8s served in Italy, Western Europe and the Pacific theater.
You get decals for two tanks: 106th Cavalry Reconnaissance Group, operating in Germany February 1945, and 758th Tank Battalion, Fifth Army operating in Italy, April 1945.
The kit includes a full body standing tank commander, a thick piece of thread used for the tow cable, and metal weights inserted inside the hull for stability. The turret can be rotated 360* and the howitzer barrel can be pivoted up or down. Tracks are styrene and each side consists of 13 individual track links and 5 straight sections.
My build was straight out of the box. After air brushing Vallejo AV US olive drab (71.043) on all parts trees, I followed the instructions and began assembly of the lower hull and wheels, the latter hand painted with Vallejo AV flat black (71.057). The tracks were airbrushed with Testor's Metalizer burnt metal paint, and installed according to the 7 step process. My tracks came up about half a link short in the end, and I improvised using about a half a single link (the kit provides 2 extra) to complete the last link on each side. It’s not noticeable since it is on top and hidden by the upper hull. I dry brushed the wheels, sprockets, etc with the burnt metal color, followed by a liberal amount of brown pastel “mud”: ground up pastels with water and a drop of detergent added and mixed to the consistency of mud. Let it completely dry for a couple of hours, then remove using dry paintbrushes of various shapes. You can flick off some or all of the dried mud, and decide how dirty your vehicle should be. Note: the pastel color will darken or fade the original color even if you remove all of the dried pastel mud.
The upper hull was completed next, but I did not assemble it to the lower hull until the final step. There are 4 tools to paint and attach, 3 others are inscribed into the rear panel and were carefully hand painted with Vallejo AV pale brown (71.035) and Gunze burnt iron (H76). The 2 front lights were painted with Vallejo AV aluminum (71.062) and rear lights with Tamiya clear red (X-27). Turret assembly begins with the howitzer gun, which was dry brushed with the burnt metal color, while the seats were painted with the Vallejo flat black. The howitzer is attached to the turret with poly caps, enabling it to pivot up and down. Follow the exact steps in the instructions to complete the turret assembly and be careful not to glue the howitzer to the turret. The spare links attached to the turret were airbrushed with the burnt metal paint, while the canvas sack on the rear of turret was painted with Testor's Acryl paints: leather and dark tan.
Final assembly items were the tow cable, antennae, figure (not used), and machine gun. The thread provided for the cable was too thick to glue to the 2 coupling links, so I bought some 0.45 mm braided silk cord, painted it with Gunze burnt iron, and then glued it to the links on each end. The antennae was made with stretched sprue and glued to the base. The machine gun was painted with Testor's Acryl gun metal and installed on the turret.
I brush painted Future floor wax only on the areas where the 5 decals were to be applied, and used Microset and Microsol to get the decals to snuggle down. The turret and upper hull were then airbrushed with Testor's flat clear Acryl paint, with a drop of light gray mixed in to fade the appearance. Final weathering included the pastel mud liberally applied, gray on the turret, gray and brown pastels on the upper hull with black pastels in the grill areas. Finally, the upper and lower hulls were glued, and the turret attached in the hull tabs (not glued), allowing it to rotate 360*.
The finished product is very nice indeed and highly recommended. Tamiya regularly issues more and more armor in 48th scale and I'll be building another in the near future. Thank you Tamiya and IPMS for the sample and opportunity to review this kit.


Comments
Add new comment
This site is protected by reCAPTCHA and the Google Privacy Policy and Terms of Service apply.
Similar Reviews