
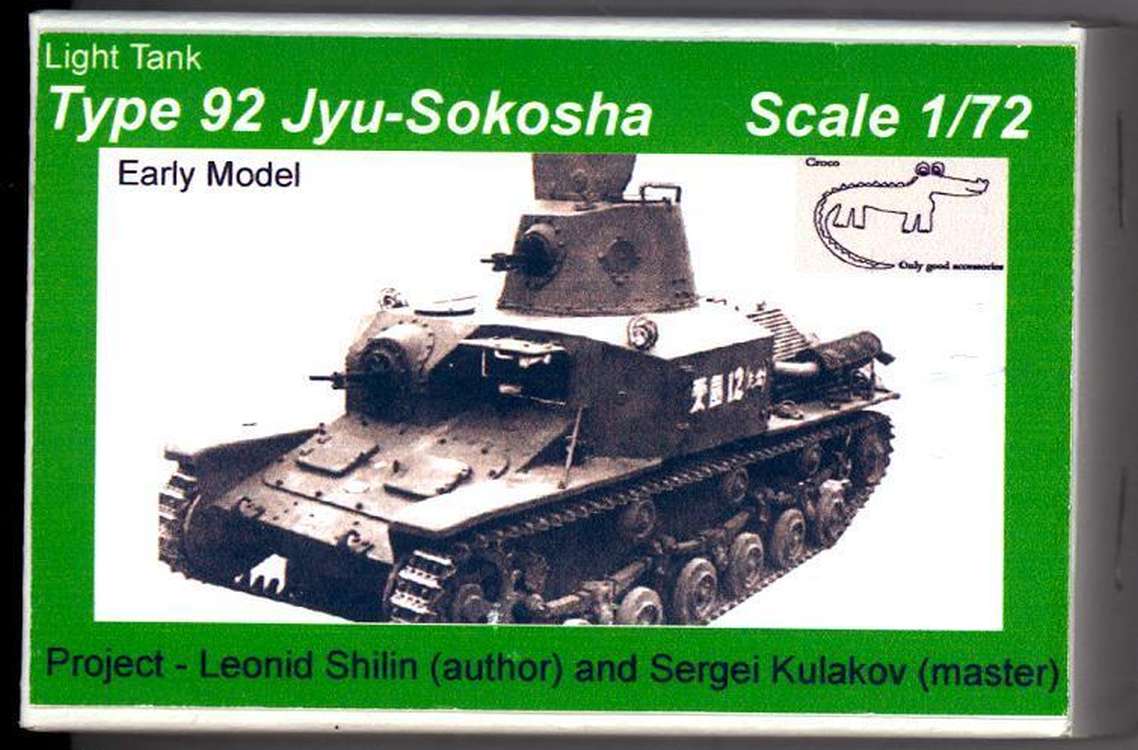
Type 92 Jyo-Sokosha Tank
Croco Models is a small model manufacturer from the Republic of Latvia. They’ve recently begun developing small kits of rare vehicles, and various model building accessories. Their first model kit is of an early Japanese cavalry tank, the Type 92 Jyu-Sokosha. As far as I can tell from a quick internet search, this is the only 1/72 kit of this tank available.
The Type 92 was the first Japanese-built tracked armored vehicle and it was loosely based on early British tankette designs. Since the final vehicle was intended for the Japanese cavalry and only the Army could have “tanks”, it was called a “heavy armored car”. Only 167 Type 92 tanks were built during its 8-year production run. This kit is intended to represent a later model of the early version with three return rollers, six small road wheels, and the Type 92 heavy machine gun for its main armament. This small tankette was built to accommodate three crewmen (commander/light machine gunner, heavy machine gunner, and a driver). The Type 92 tankette saw action in Korea and Mongolia but was not considered a success. Most models were phased out by 1937; however, the last remaining survivors were destroyed during the Russian campaign in 1945.
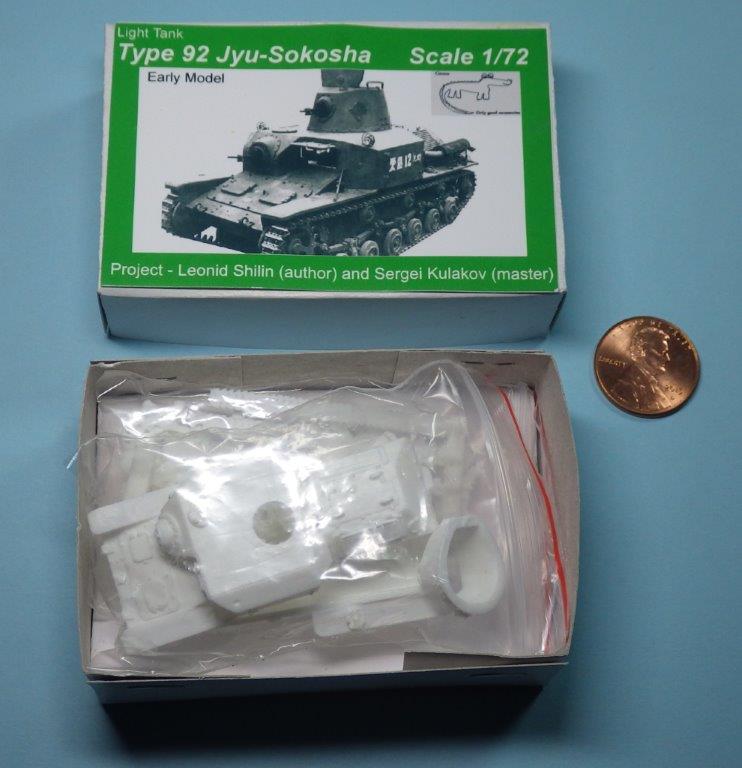
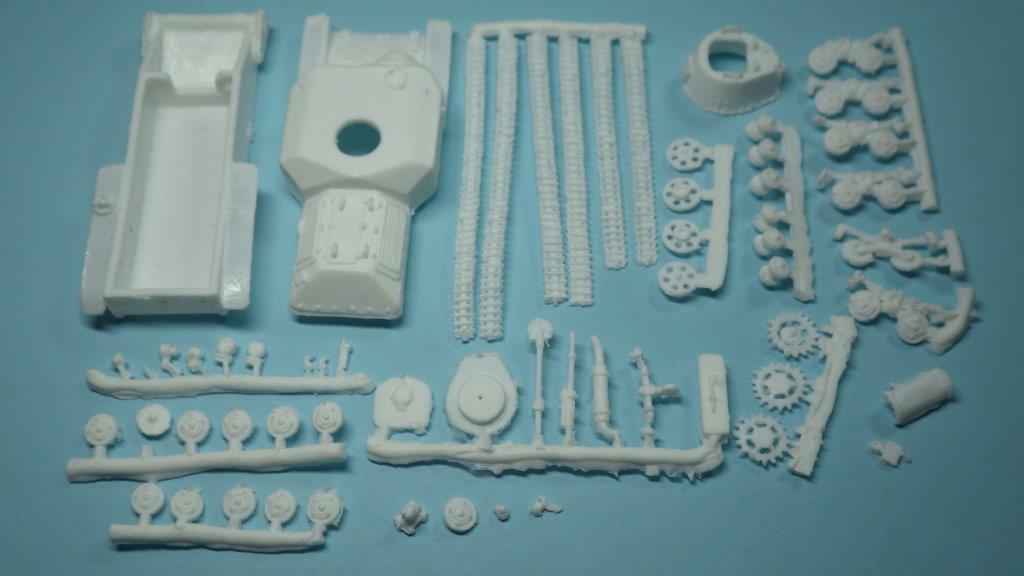
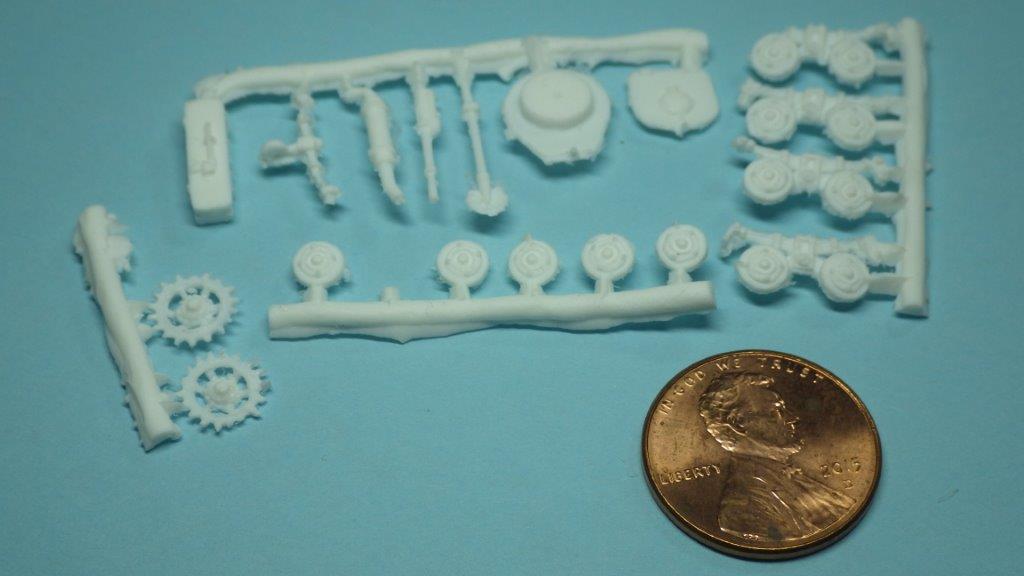
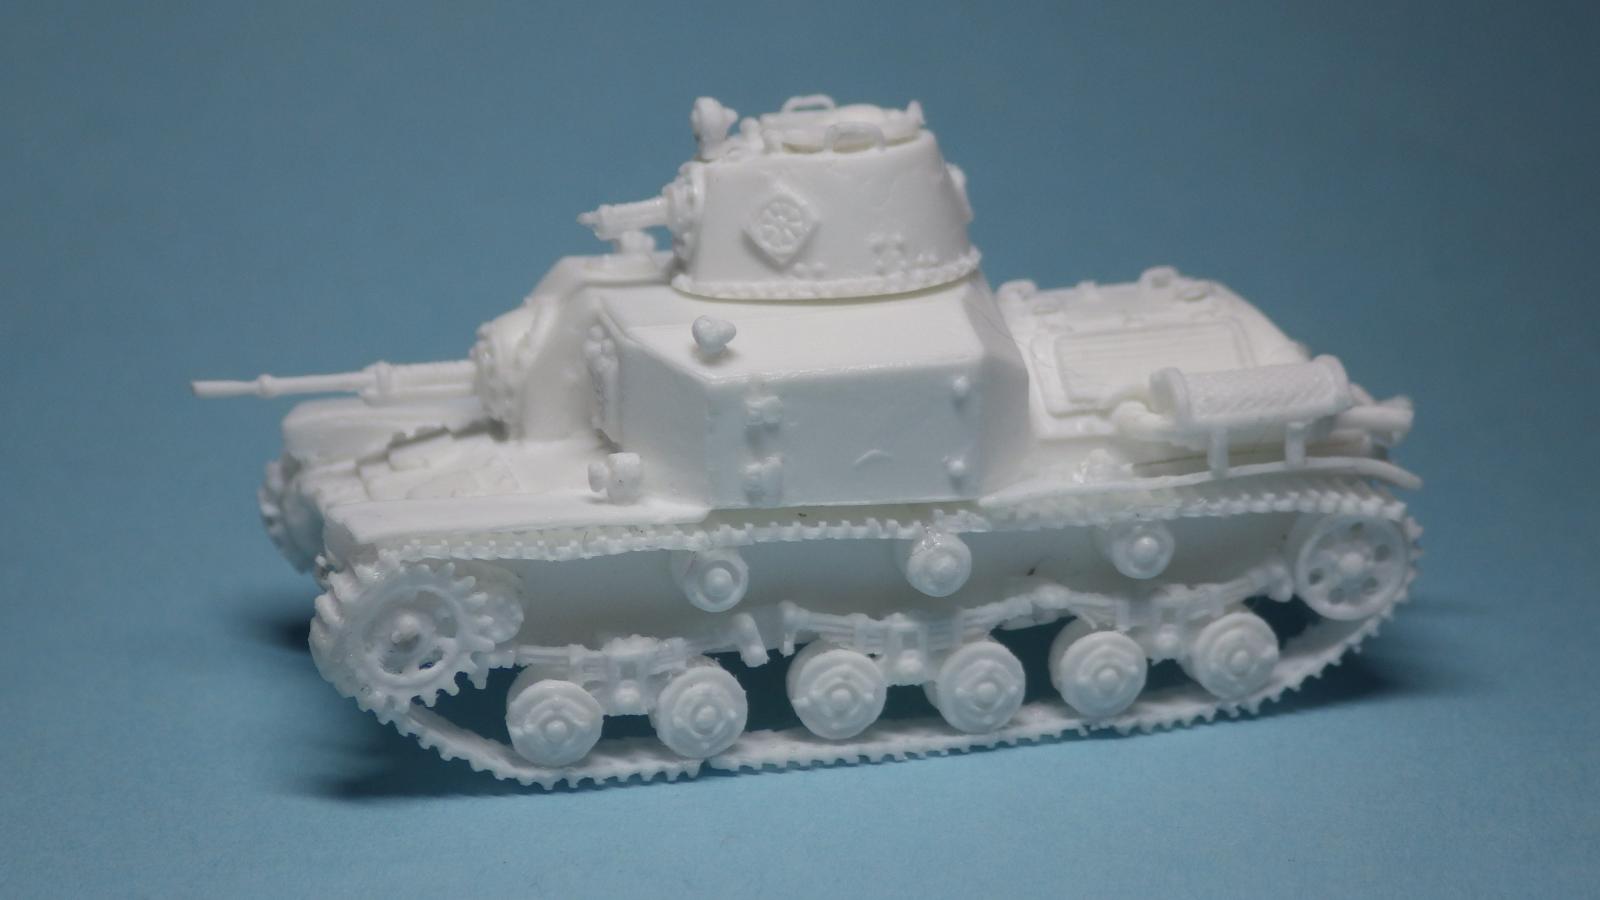
Just like the real-life tank, this 1/72 scale model is small. Very small. The tankette was just over 5 feet wide, and six feet tall. The 72nd scale model comes in at 9/10th of an inch wide, and just over an inch tall. The entire kit comes packaged in two small plastic bags tucked into a top opening box no bigger than a large matchbox. The parts are molded in white resin, and typical of a short-run kit, there is a significant amount of flash. The “instructions” are provided on one piece of paper with four photos. One photo shows all the parts, with numbers assigned to each, and the other three photos are of a completed model with lines pointing to where each numbered part goes. This leaves it up to the modeler to figure out the best order to assemble the kit. Unfortunately, the instructions sheet is a color copy and two of the photos are too dark to tell where some of the parts should go. Using the internet and historical pictures of the real tank helped clear up some of the confusion. Although many photos of these tanks show prominent markings on the side with Japanese characters, no decals are provided in the kit. The tracks are provided in six straight thin pieces of resin that will need to be bent around the running gear and road wheels.
I started construction with the lower hull and assembled the road wheels and bogies. Half the road wheels are attached to the suspension, so the modeler will need to attach the back half of the road wheels before attaching them to the hull. I choose to clean up the pieces while they were still on the sprue in hopes of not losing any parts to the carpet monster. For the most part this worked well. The pieces cleaned up easily enough. The resin wasn’t overly stiff which allowed for me to work with some of the bent pieces to get them straightened. Fitting the pieces to the hull was tricky and you really need to take your time and make sure everything is lined up correctly.
Once the running gear was attached, I moved on to attaching the treads. As mentioned earlier, the tank tracks are provided in 6 straight pieces of thin resin in various lengths. The resin is thin enough that it will bend, but be careful. I successfully bent 3 of the track lengths around the driver sprockets and return roller, but one piece broke during the bending process. Fortunately, there is aareut 2 inches of extra track length to work with if you end up breaking any pieces.
Once the lower hull and tracks were completed, I attached the upper hull and completed assembly of the various bits and pieces that attach to it. Compared to the lower hull, this part was a breeze. The parts cleaned up well, and there were no issues attaching everything. Now, you can take a deep breath of relief, because the hard part is behind you.
Here’s my list of things to pay attention to during construction:
- Before assembling anything, use a small drill and drill out all the prepared attachment holes on the upper and lower chassis. This really makes assembly, particularly attachment, go much smoother. I didn’t realize this until half of the running gear was attached.
- Part #12 goes just behind the drive sprocket. It’s not clearly identified in the photo provided. You may need to cut it down a little because it’s a VERY tight fit between the sprocket and the front suspension on the first set of road wheels.
- Attach the upper hull to the lower chassis BEFORE attaching any parts to the upper hull. The fit between the upper hull and lower chassis is going to take some pressure, and if you have the little bits and pieces attached, you’re going to lose/break something.
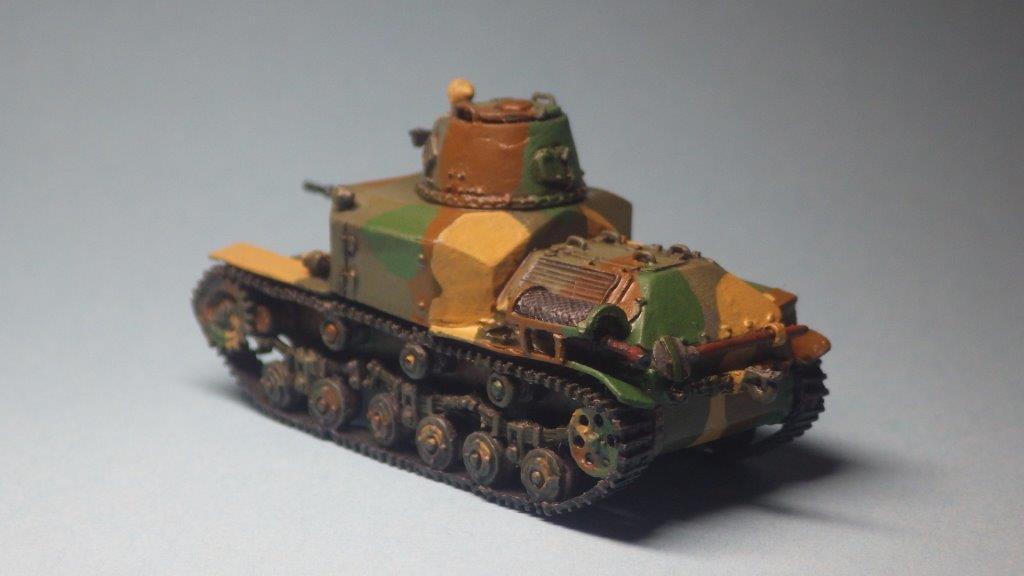
- Part #13 is the rear tow hook and it attaches to the three holes on the rear of the chassis. Part #15 is the shovel, which goes directly above the tow hook. This is not clear in the photo provided.
- Attach Part #16, the muffler, before attaching Part #21, the muffler cover. This seems obvious, but with no assembly instructions, it’s an easy thing to miss when reviewing the photos.
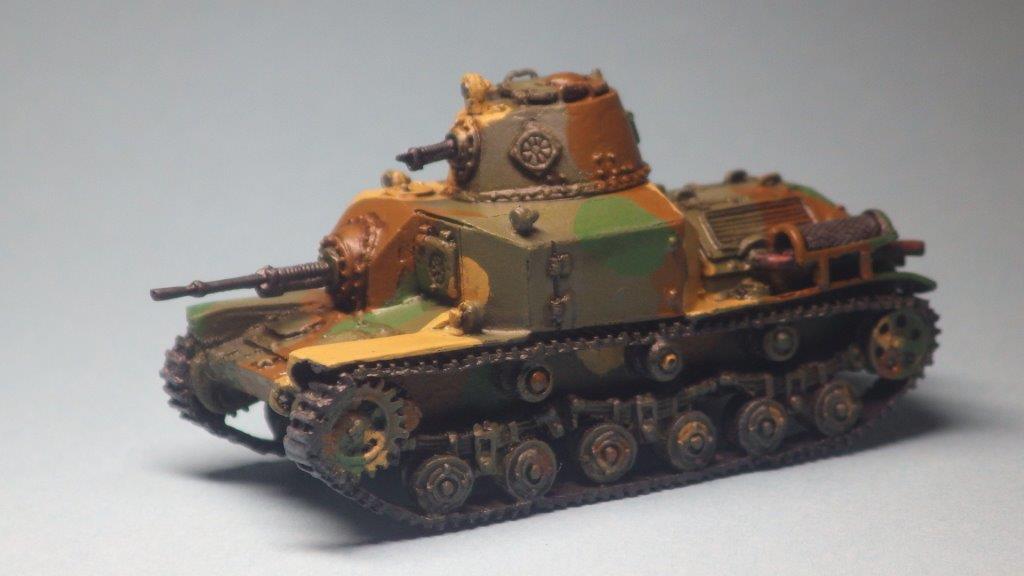
I always have a tough time seeing details on white resin and this model was no exception; however, once I sprayed a coat of primer on it, the details really popped out. The tankette has plenty of rivets, panel lines, hinges, and vent grates to make for a very interesting subject. No painting instructions are provided with the kit, but there are a few color palettes available on-line. Basically, trial versions of the early model were painted a solid Japanese green, while units in the field were solid green, or had a 3 or 4 color hard edge camouflage pattern.
Construction on this model is a little tricky and a lack of instructions, or all resin parts, might put off some people, but overall, I really enjoyed working on this kit. It went together relatively quickly and the finished model has a lot of character. I’d recommend this kit to experienced modelers, or anyone with an interest in Japanese armor.
Thanks to Croco Models, and IPMS USA for this review product.


Comments
Add new comment
This site is protected by reCAPTCHA and the Google Privacy Policy and Terms of Service apply.
Similar Reviews