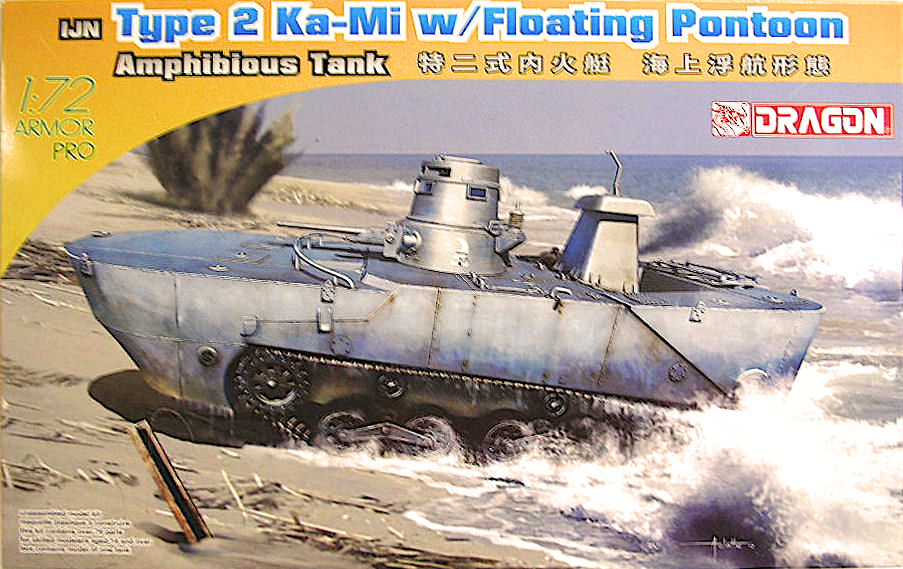
Type 2 Ka-Mi Tank w/floating pontoon
This one falls in the "that's an odd duck" category. This was a Japanese attempt – and a successful one, at that – to create a truly amphibious tank. The IJN developed the Type 2 Ka-Mi tank for invading Pacific islands that did not have adequate port facilities to handle regular tanks. The tank had removable pontoons fore and aft for flotation and to avoid shipping any water; they added a trunk for the air intake and a tower over the commander's turret hatch. It could do around 10 km/hr in the water, being driven by two propellers at the rear, and had a range of 150 km. These were probably test results in a bay or on a lake. I could find no information on its performance on the open seas, so I'd take that range and speed with a grain of salt. The vehicle was never used operationally in its amphibious mode, serving mostly as a dug-in pillbox on various Pacific islands. Given its thin skin (only 6-13 mm of armor) and 37mm main gun, it probably would not have held up well against our Shermans.
The Dragon kit of this vehicle is very nicely molded in a light grey plastic. The tracks are delicate and are made of Dragon's glueable DS soft plastic. There's a small PE screen for over the exhaust and a simple decal sheet with markings for three different vehicles on two different islands, Kwajalein and Papua, New Guinea. All the tanks are painted overall dark grey, so finishing is simplified greatly. The pontoons, turret tower, and intake stack are all made so they are removable, so you can position your Ka-Mi in a host of ways.
Typical of Dragon, there are a lot of parts, some of them very small and delicate (around 10-thousandths of an inch). There are two railings, one on the turret and one on the forward pontoon, that need utmost care to be remove from the sprue. The one for the pontoon has six sprue attachment points, so you have lots of opportunity to break it like I did!
The kit goes together pretty easily but there are some problem areas. You need to be very careful putting the tops on the pontoons to make sure you get a good clean joint. They have beveled edges and no locators, so you've got to hold them in place and apply cement carefully. I also wound up with a small gap at the front glacis joint. I got it to close by applying fast setting cement in small areas and holding them closed while it set. Then I moved on to another short segment and got it to close, and so on. Not a big gap, mind you, but in 1/72, a half millimeter scales up to 36mm, or about an inch and a half in real life. There are two parts that just do not fit where indicated. The turret railing has locating stubs on the turret that do not match up with the posts of the railing, and the locator spots for the larger antenna mount are too far apart. Another fit problem is with the tower over the commander's hatch. It will not seat where it's suppose to. I found I had to remove the handle on the turret hatch, thin the inner wall of the tower part, and remove the flange at the rear of the tower to get it to sit correctly. Then there's the commander's tower itself. It's in three pieces. The upper a lower ones sandwich a thin ring with episcope lenses on it. There are some gaps around the lenses that need to be filled when they’re in place.
Neither pontoon will fit where it is suppose to go. The forward pontoon will not attach to the tank because there is a headlight on the glacis plate. There's a pocket in the pontoon to accommodate it, but it's not deep enough. I decided to live without the headlight. The rear pontoon has a representation of the latches that attach the pontoon to the tank. The problem is these latches stick out too far and keep the part from sitting in the correct position. Nip them off and it sits fine.
A final oddity is that there is a superfluous hole on the top of the tank hull. It looks like it should be a locator hole for a kit part, but there is no part in the kit instructions that goes there. They even show the empty hole in the instructions in some of the final steps. I have no idea what it is or if it’s supposed to be there in reality or not.
Like all Dragon small scale kits I've built, there are lots of parts, some very delicate, and fit is dodgy in places. However, this is a nicely detailed kit, and with care it builds up into a very nice and quite unique little model.
Thanks to Dragon Models USA for providing the review sample and IPMS/USA for letting me review it.


Comments
Add new comment
This site is protected by reCAPTCHA and the Google Privacy Policy and Terms of Service apply.
Similar Reviews