
Tiger Shark Show Rod
Background
From KustomRama:
"The Car Craft Dream Rod was designed by the staff of Car Craft Magazine in 1961 and built in 1963. The car was completely custom made and got its power from a 289 Ford engine. In 1966 the Dream Rod was sold to the International Show Car Association, which commissioned a substantial revision to the car's styling, called the Tiger Shark. New alterations on the car included a hood scoop, the side roof scoops were closed, the trunk lid was eliminated, the rear was stretched 6 inches, the rear window, grille opening, and front fenders were also modified, and the roof clad in vinyl. The fenders followed the nose's shape and enclosed the Dream Rod's wheel wells. The redesign specified a new interior, including high-backed buckets, clad in a combination of wood-grained vinyl and orange and brown brocade. In place of the antiquated wires and skinny whitewalls were Cragar GT "mags" and plump Firestones. The new car was named Tiger Shark."
Subsequently, in 2005 Mark Moriarity bought what was left of the Tiger Shark and decided to restore the car back to the first version. The fully restored Dream Rod was completed in 2009.
The Kit
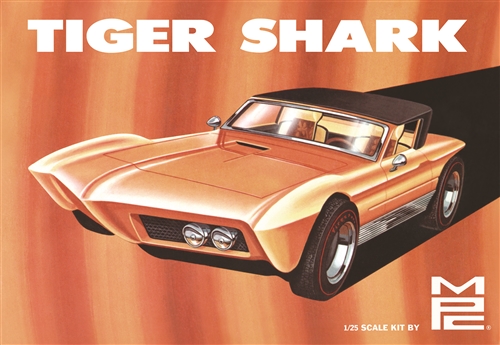
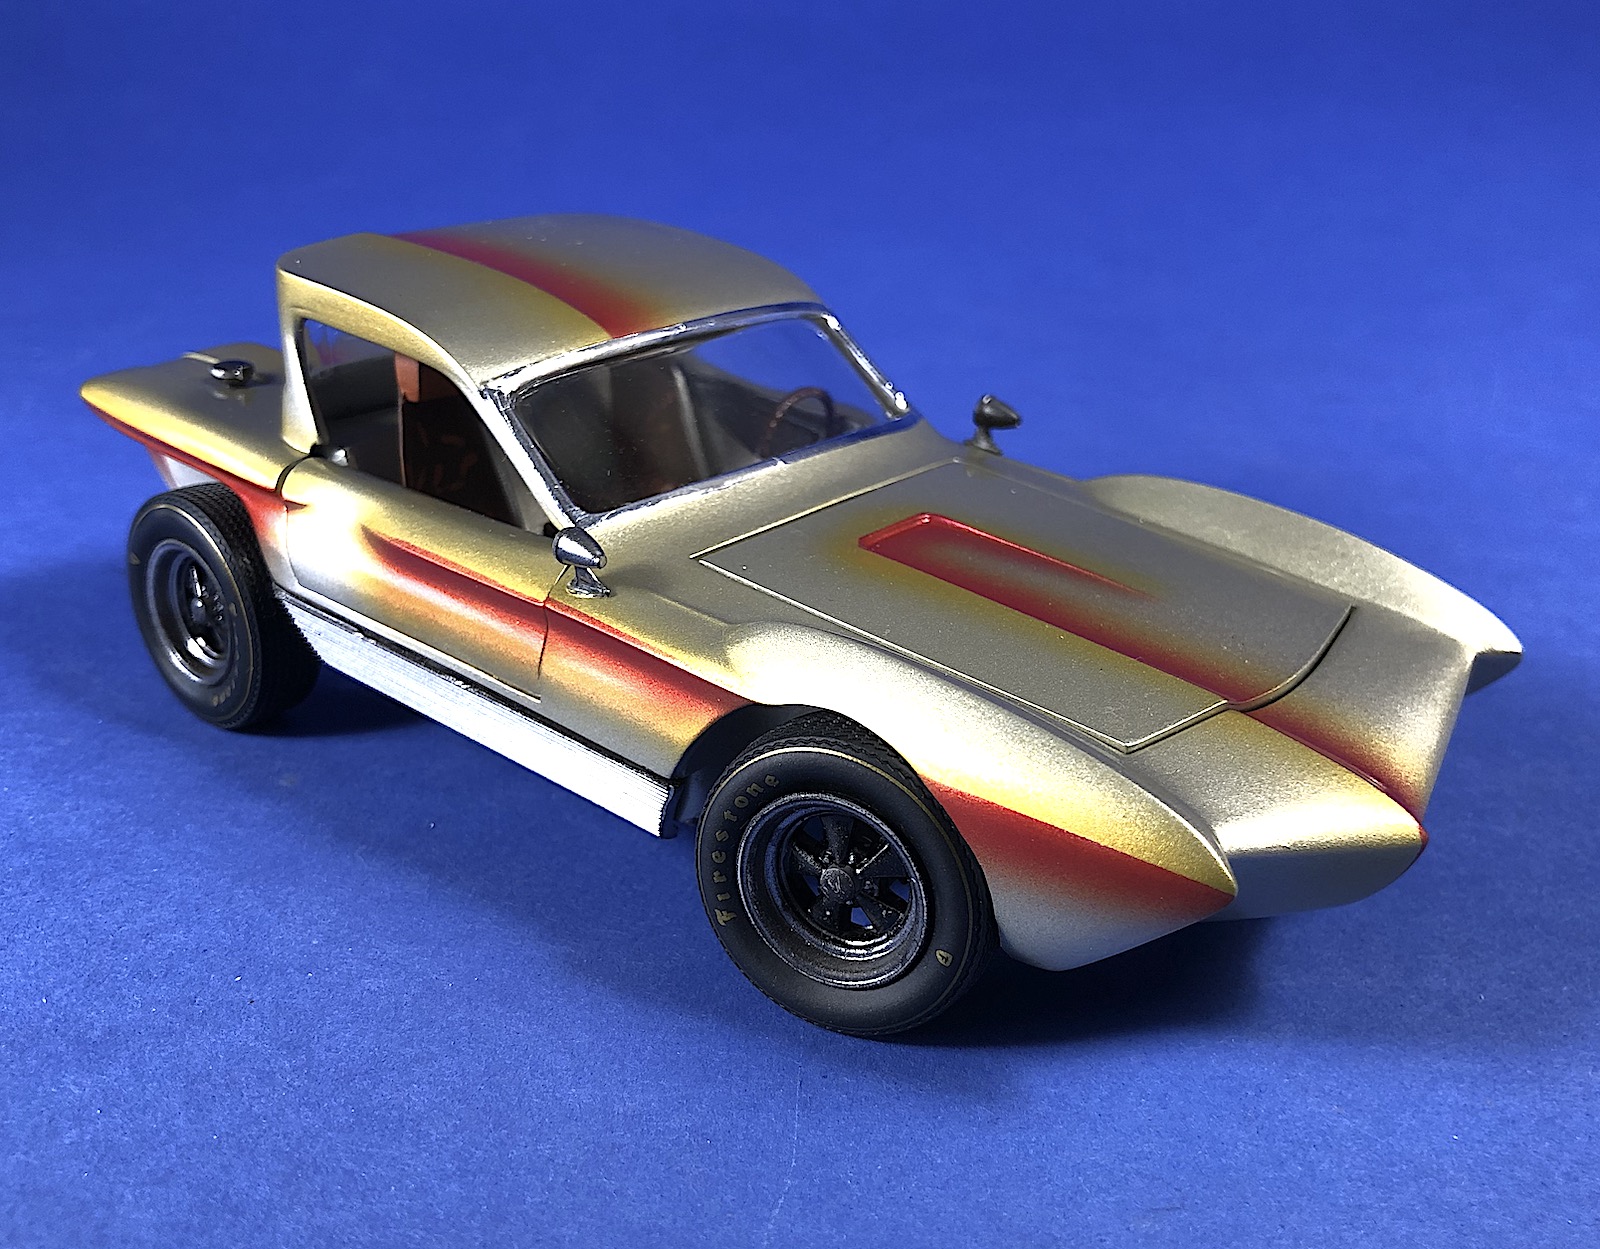
Round2 MPC’s kit of the Tiger Shark represents the 1963 Tiger Shark revision of the original Car Craft Dream Rod. MPC first issued the Tiger Shark kit in 1966 and then reissued it in 2006. Parts of this kit are from molds over 50 years old!? This new reissue by Round2, with a 2018 Copyright, appears to have the same kit parts, except the tires are Firestone and the decals have been updated. The kit futures turning front wheels, opening and closing hood, opening and closing doors, and rotating tires. The kit still includes the rotating base retained from the first issue in 1966. AMT released a kit of the original Dream Rod in 1964, which may never be reissued again as MPC reportedly modified the Dream Rod molds to produce the Tiger Shark.
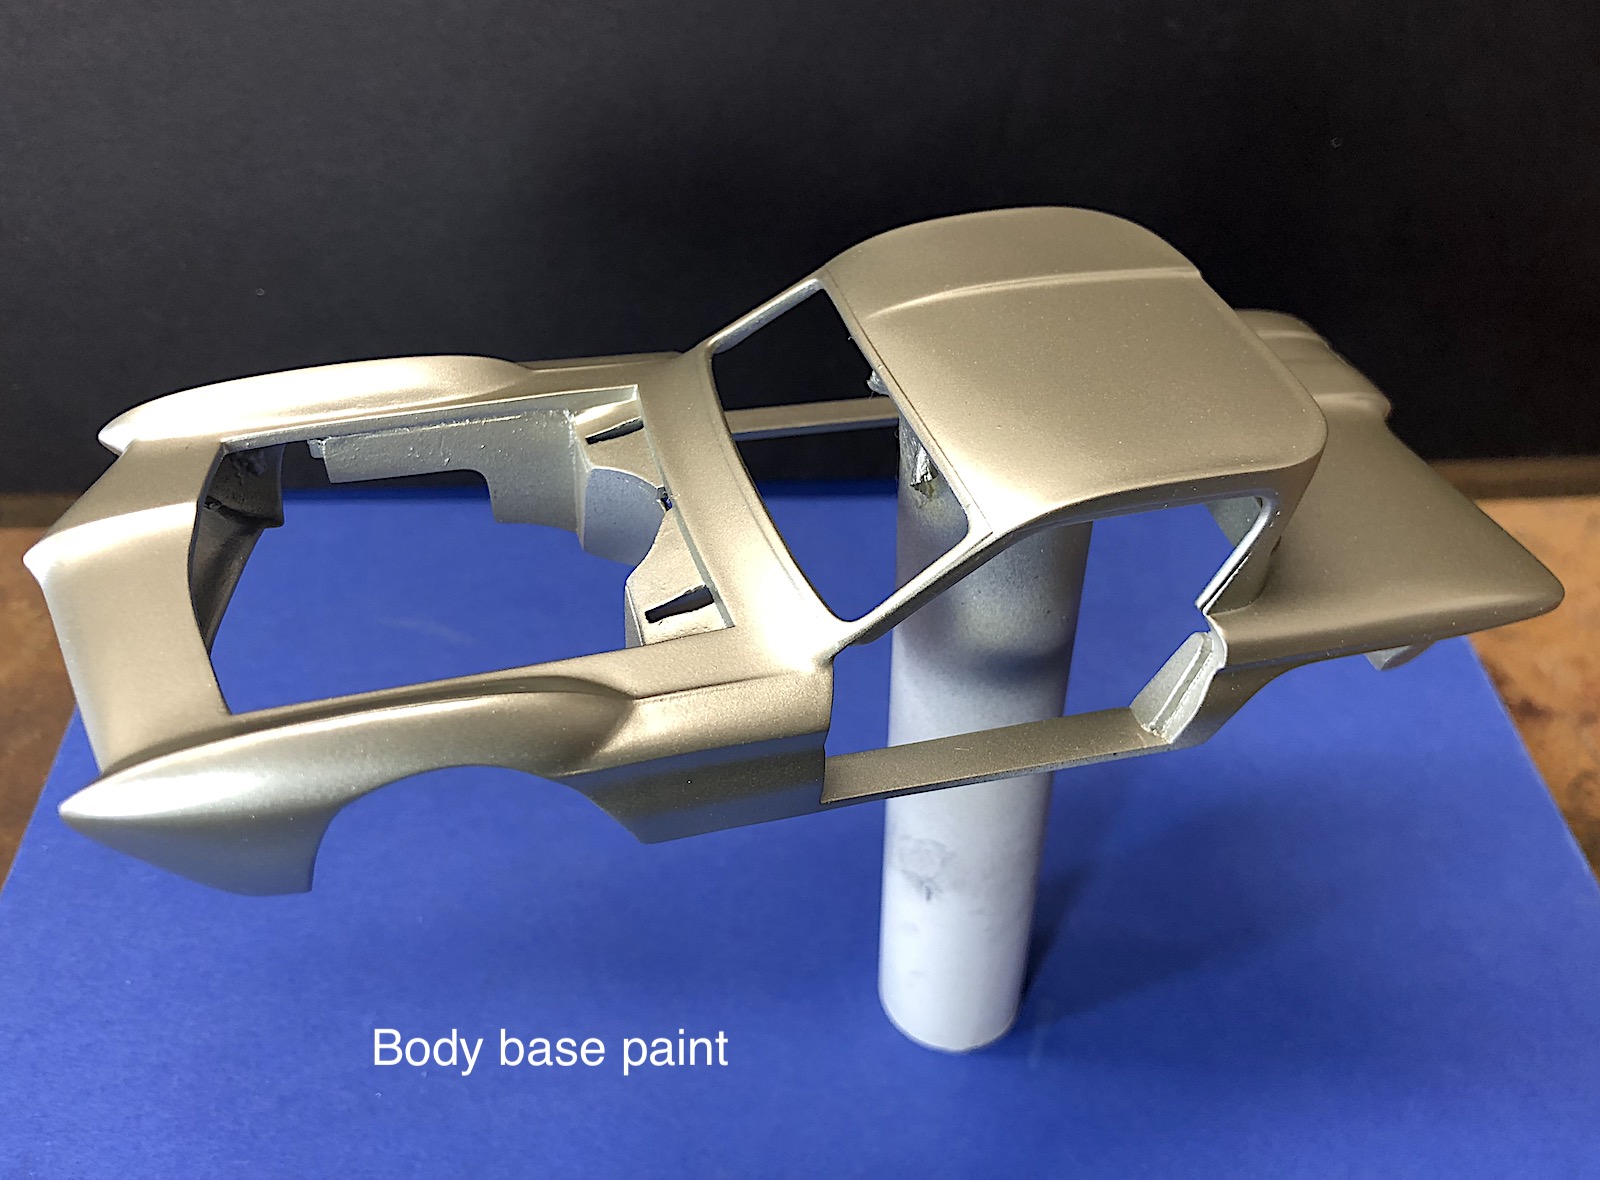
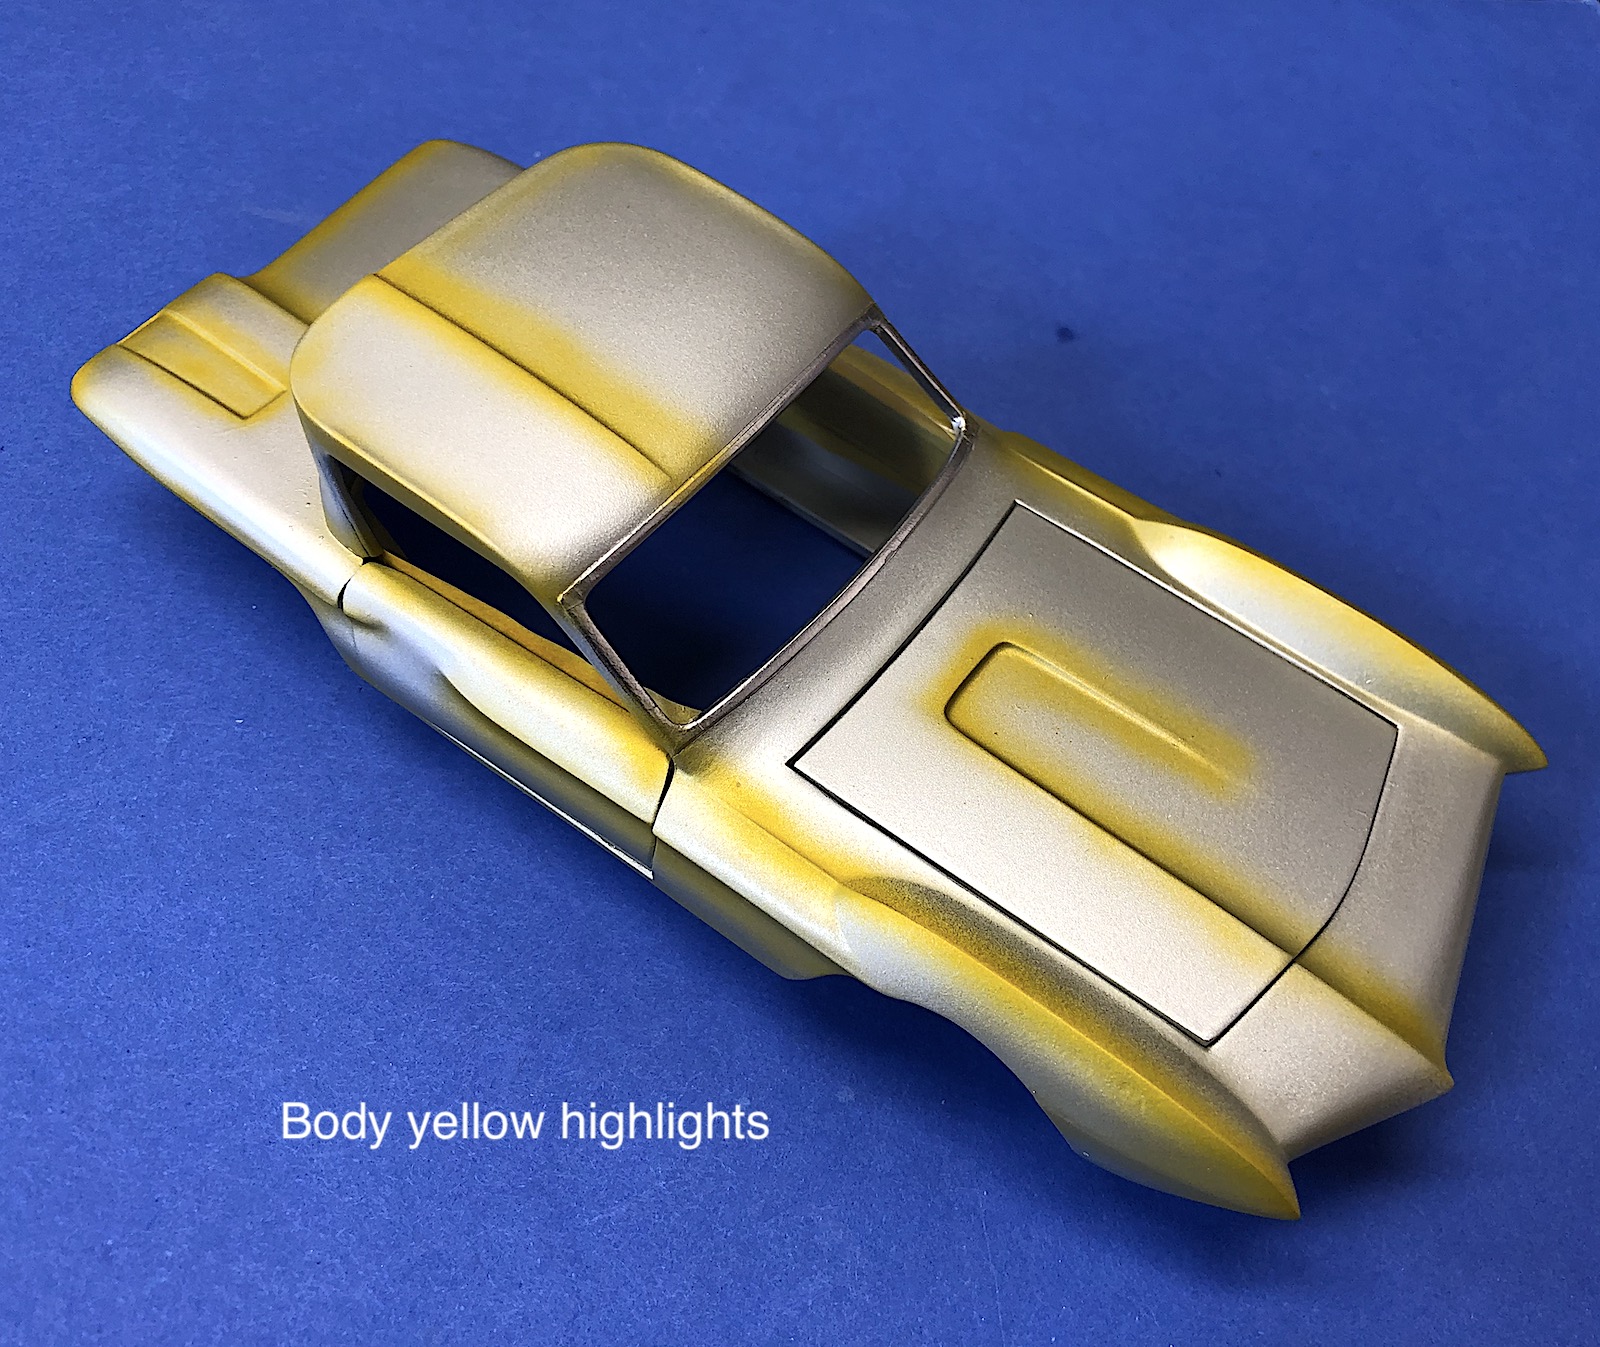
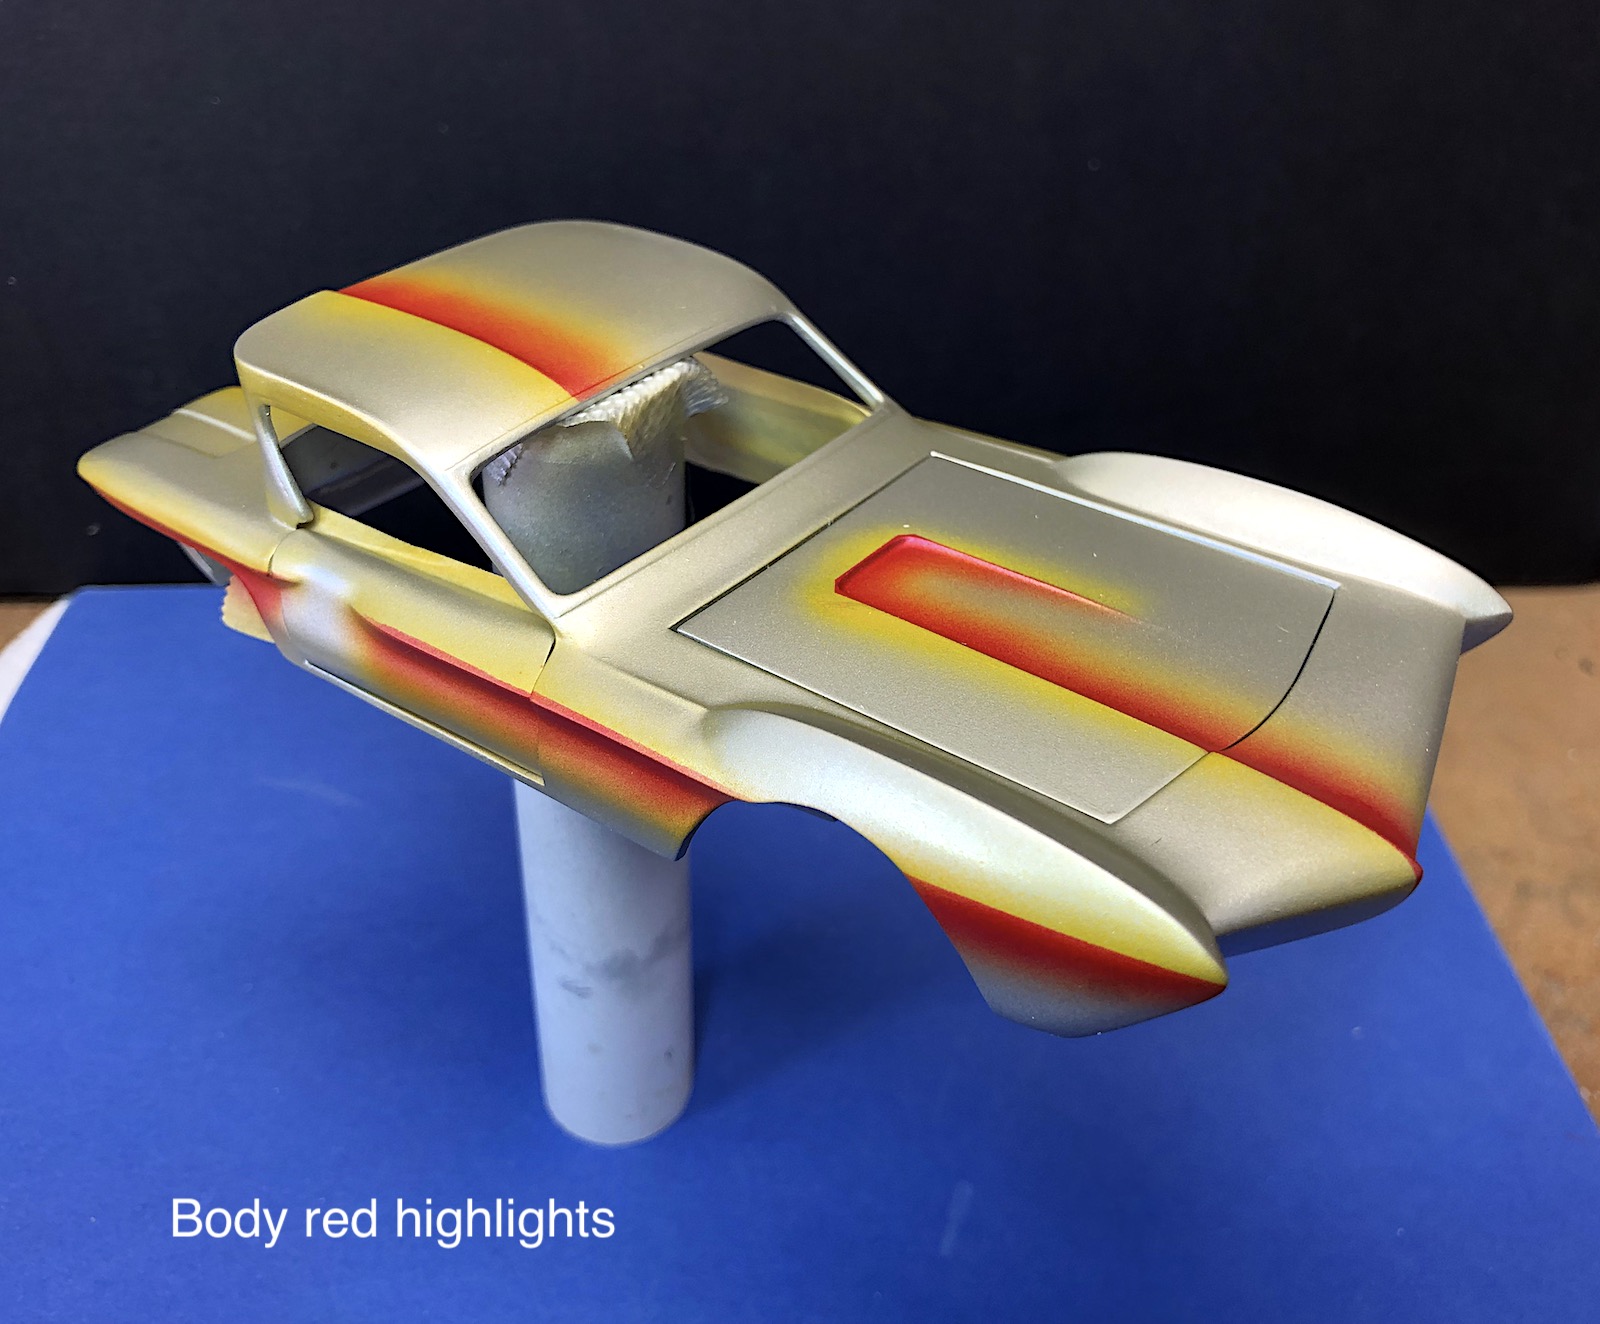
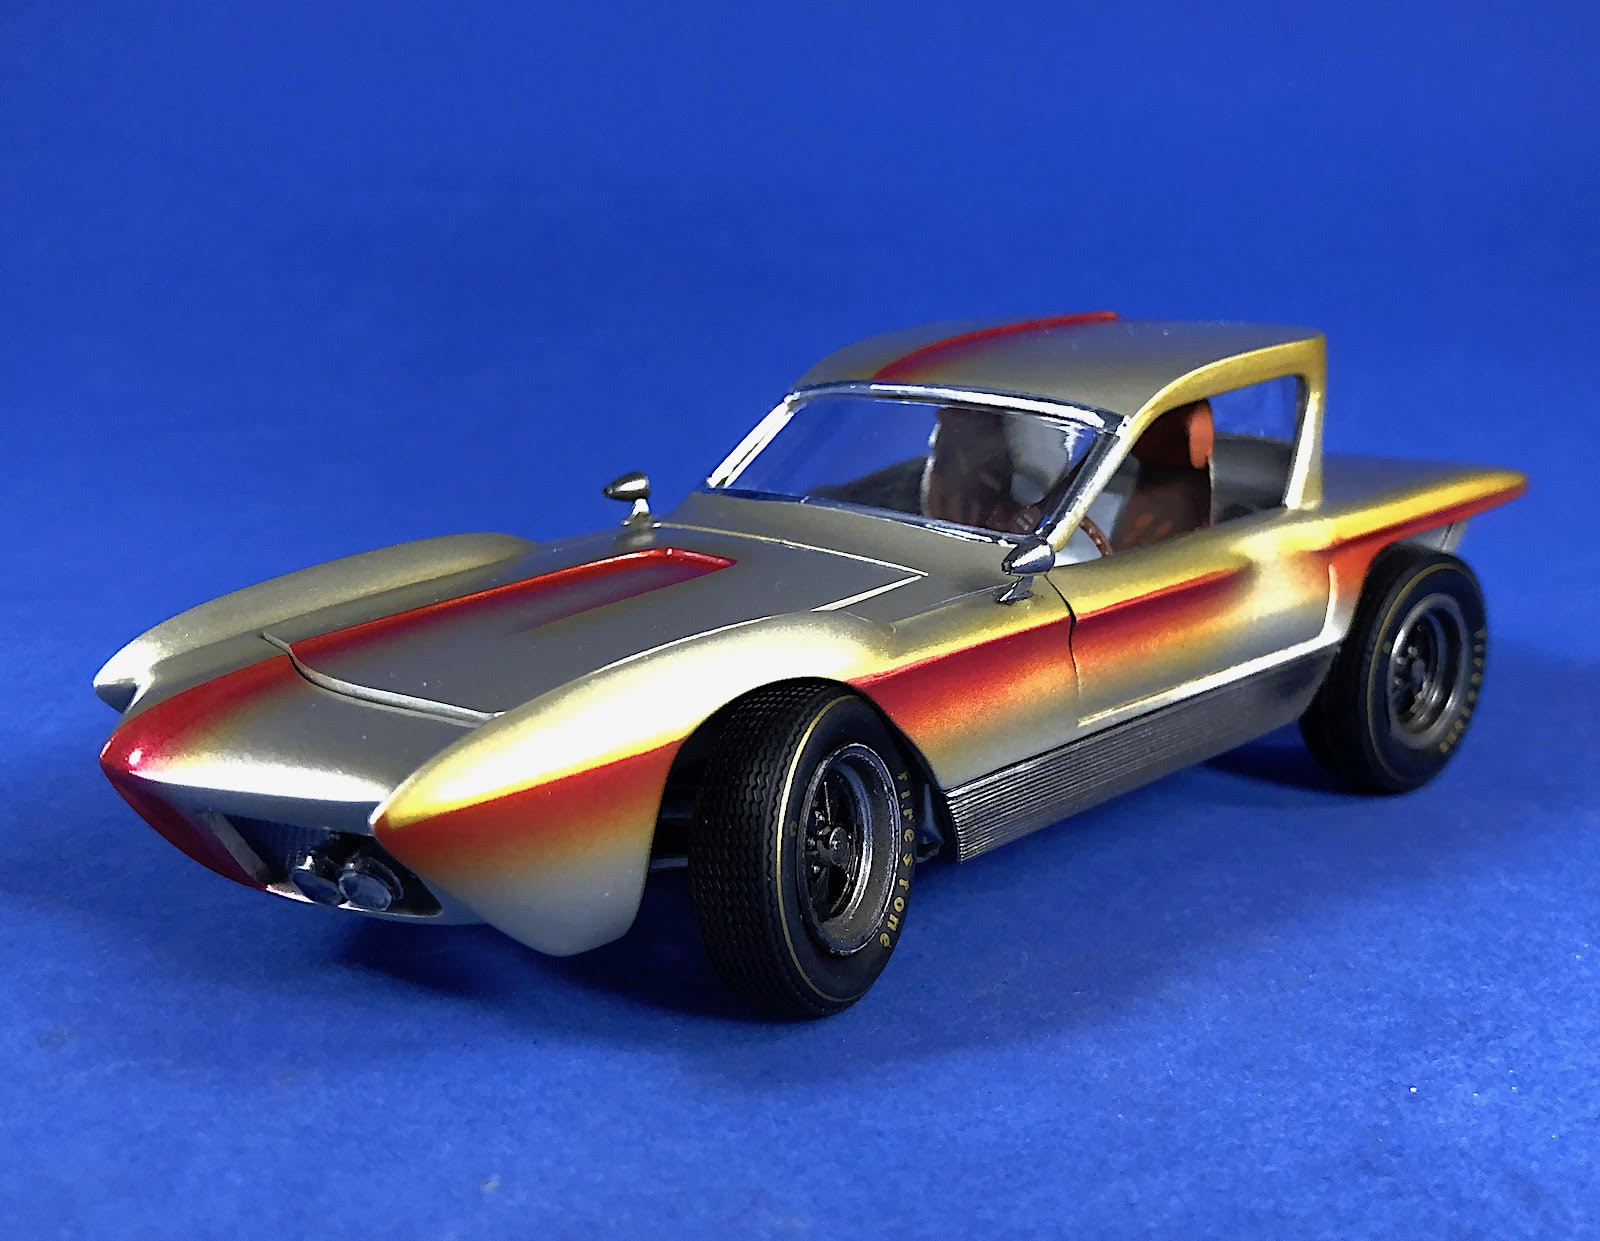
The box art represents the color scheme of the Tiger Shark, rather than the Dream Rod. I decided to paint the exterior in the highlight colors of the original Dream Rod, with the Tiger Shark’s wood and brocade interior as visible on the box art. I went along with the brocade upholstery but could not bring myself to put on a vinyl roof!
The kit comes on five white plastic sprues, white plastic upper and lower body sections, one chrome plated plastic sprue, and three clear plastic sprues; clear, orange, and red. Both clear and orange options are provided for the front windshield and rear window. The chrome plating is fairly thick and heavy, covering up the detail on the part. I removed the chrome plating with Easy-Off Oven Cleaner and repainted the parts with Alclad black base and chrome. Detail on the parts is pretty soft, consistent with other kits of this age. The mold seams are prevalent, there is a considerable amount of flash on the parts, and there are many misaligned molds that all require lots of cleanup. The car’s body has some significant mold seams that will need to be smoothed down.
The kit also includes four hollow rubber tires in a bag with two rubber bands and four ball bearings for the stand. The rubber tires are nicely molded with good tread detail and only a very minor center seam. The tires have nice pre-painted gold lettering and pinstripe on the sidewall.
The instructions are an 8 1/2 x 10-inch folded sheet with four pages and 11 assembly steps. Parts are numbered in the order of their assembly in each step, otherwise, there are no part numbers.
Assembly
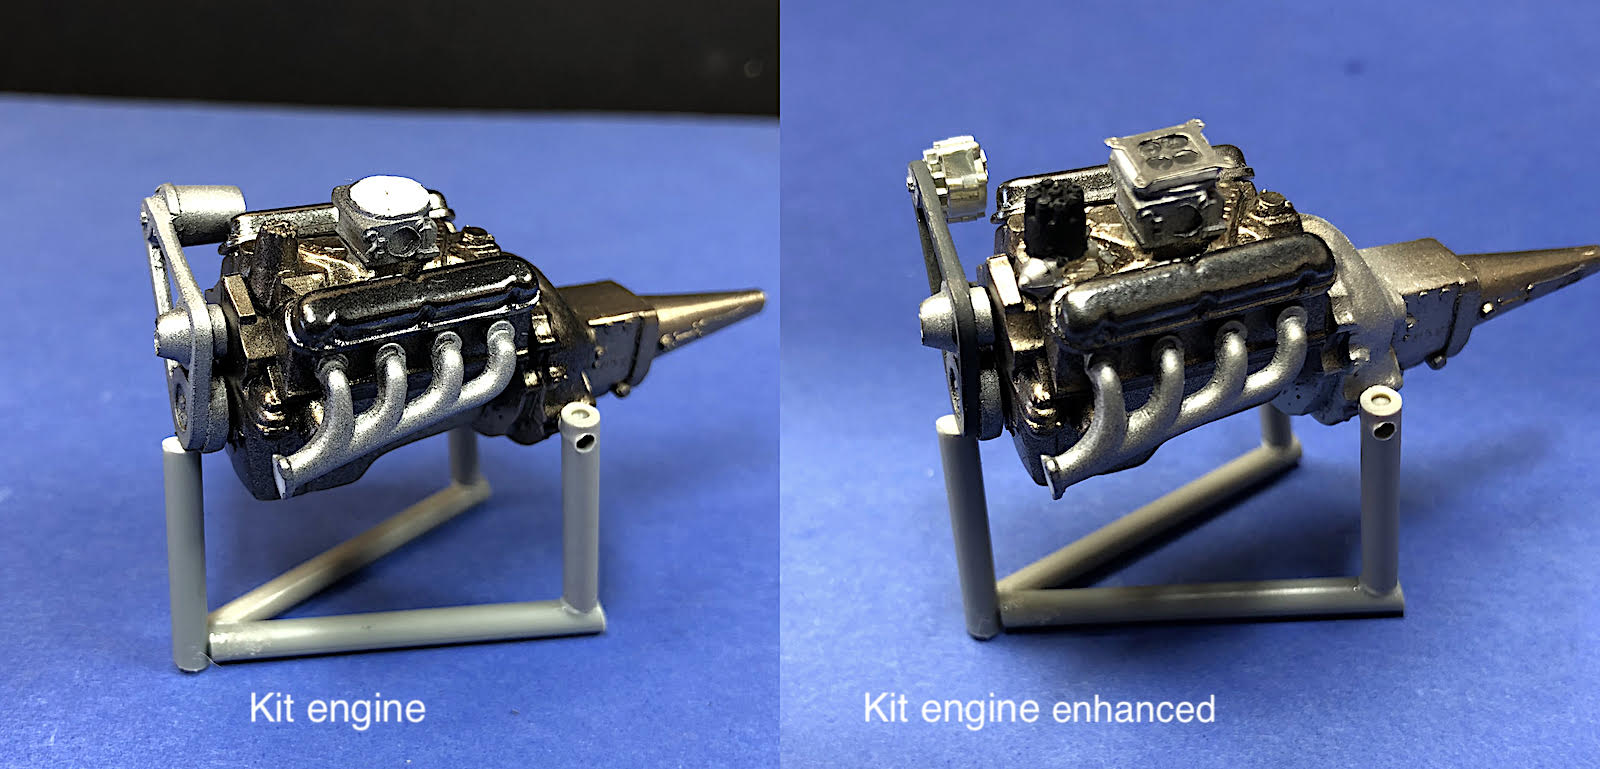
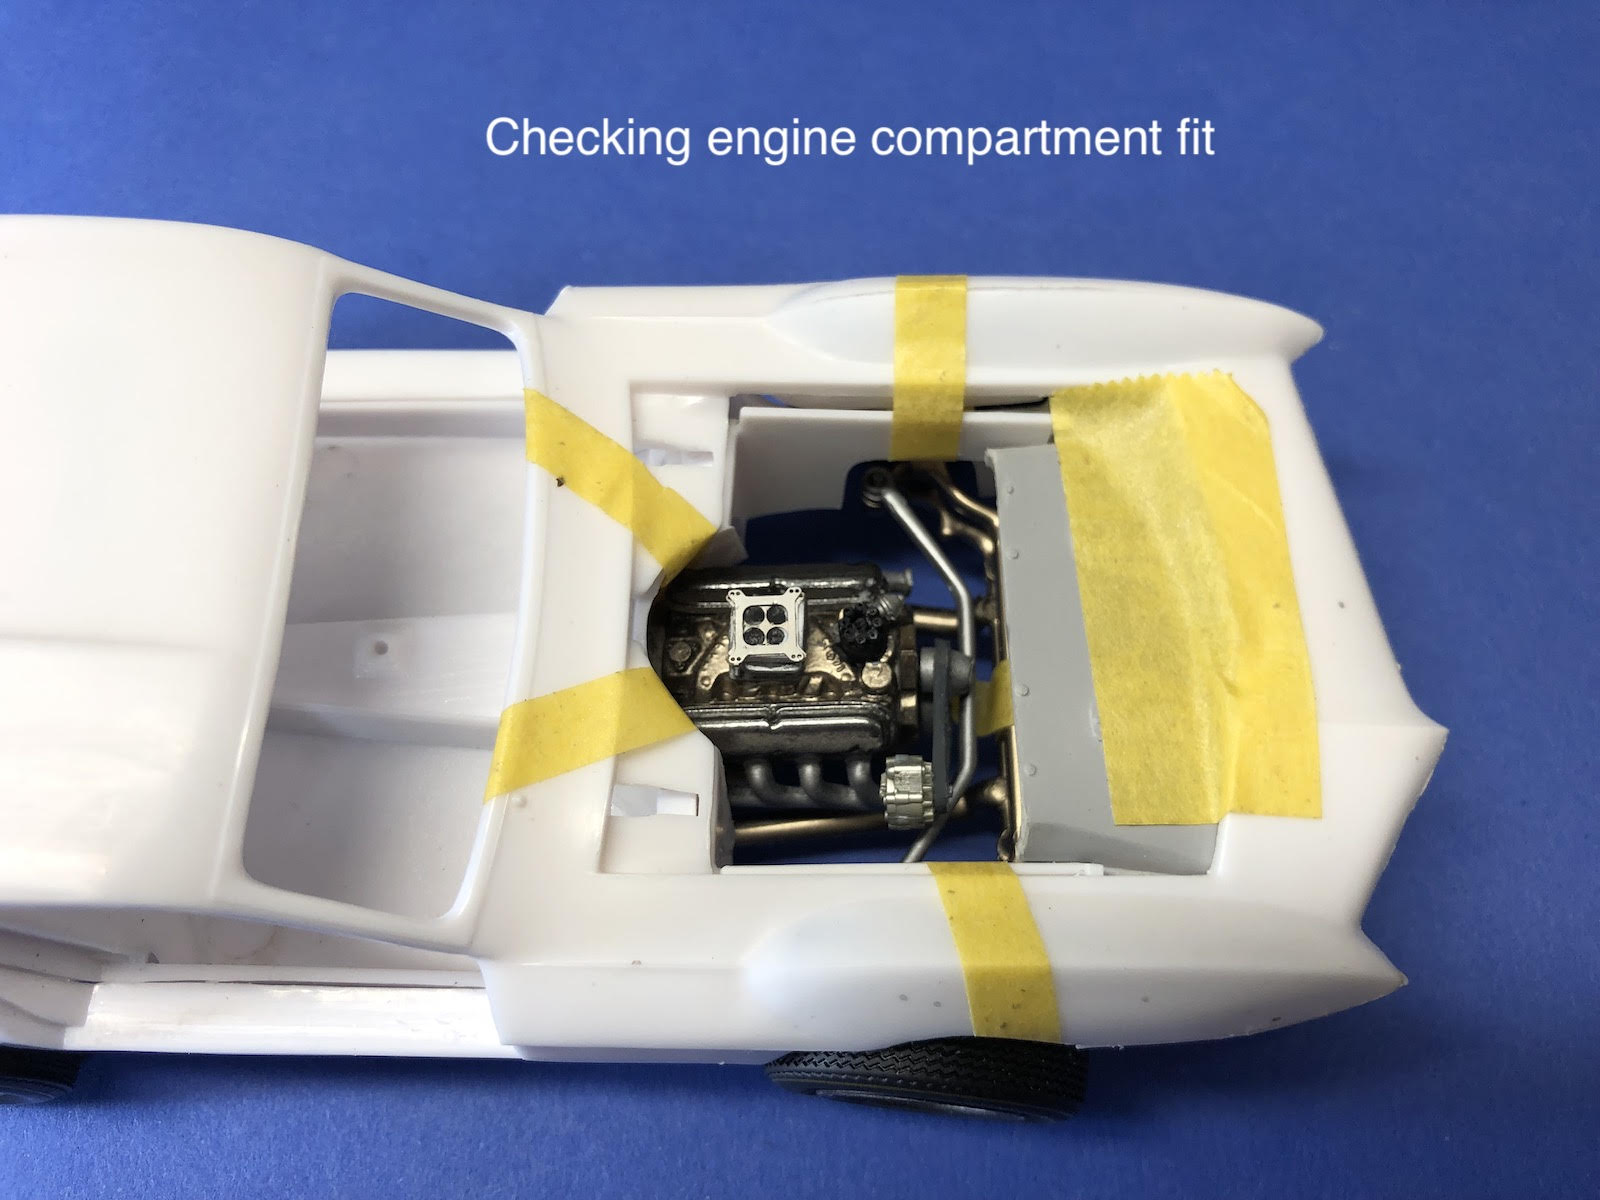
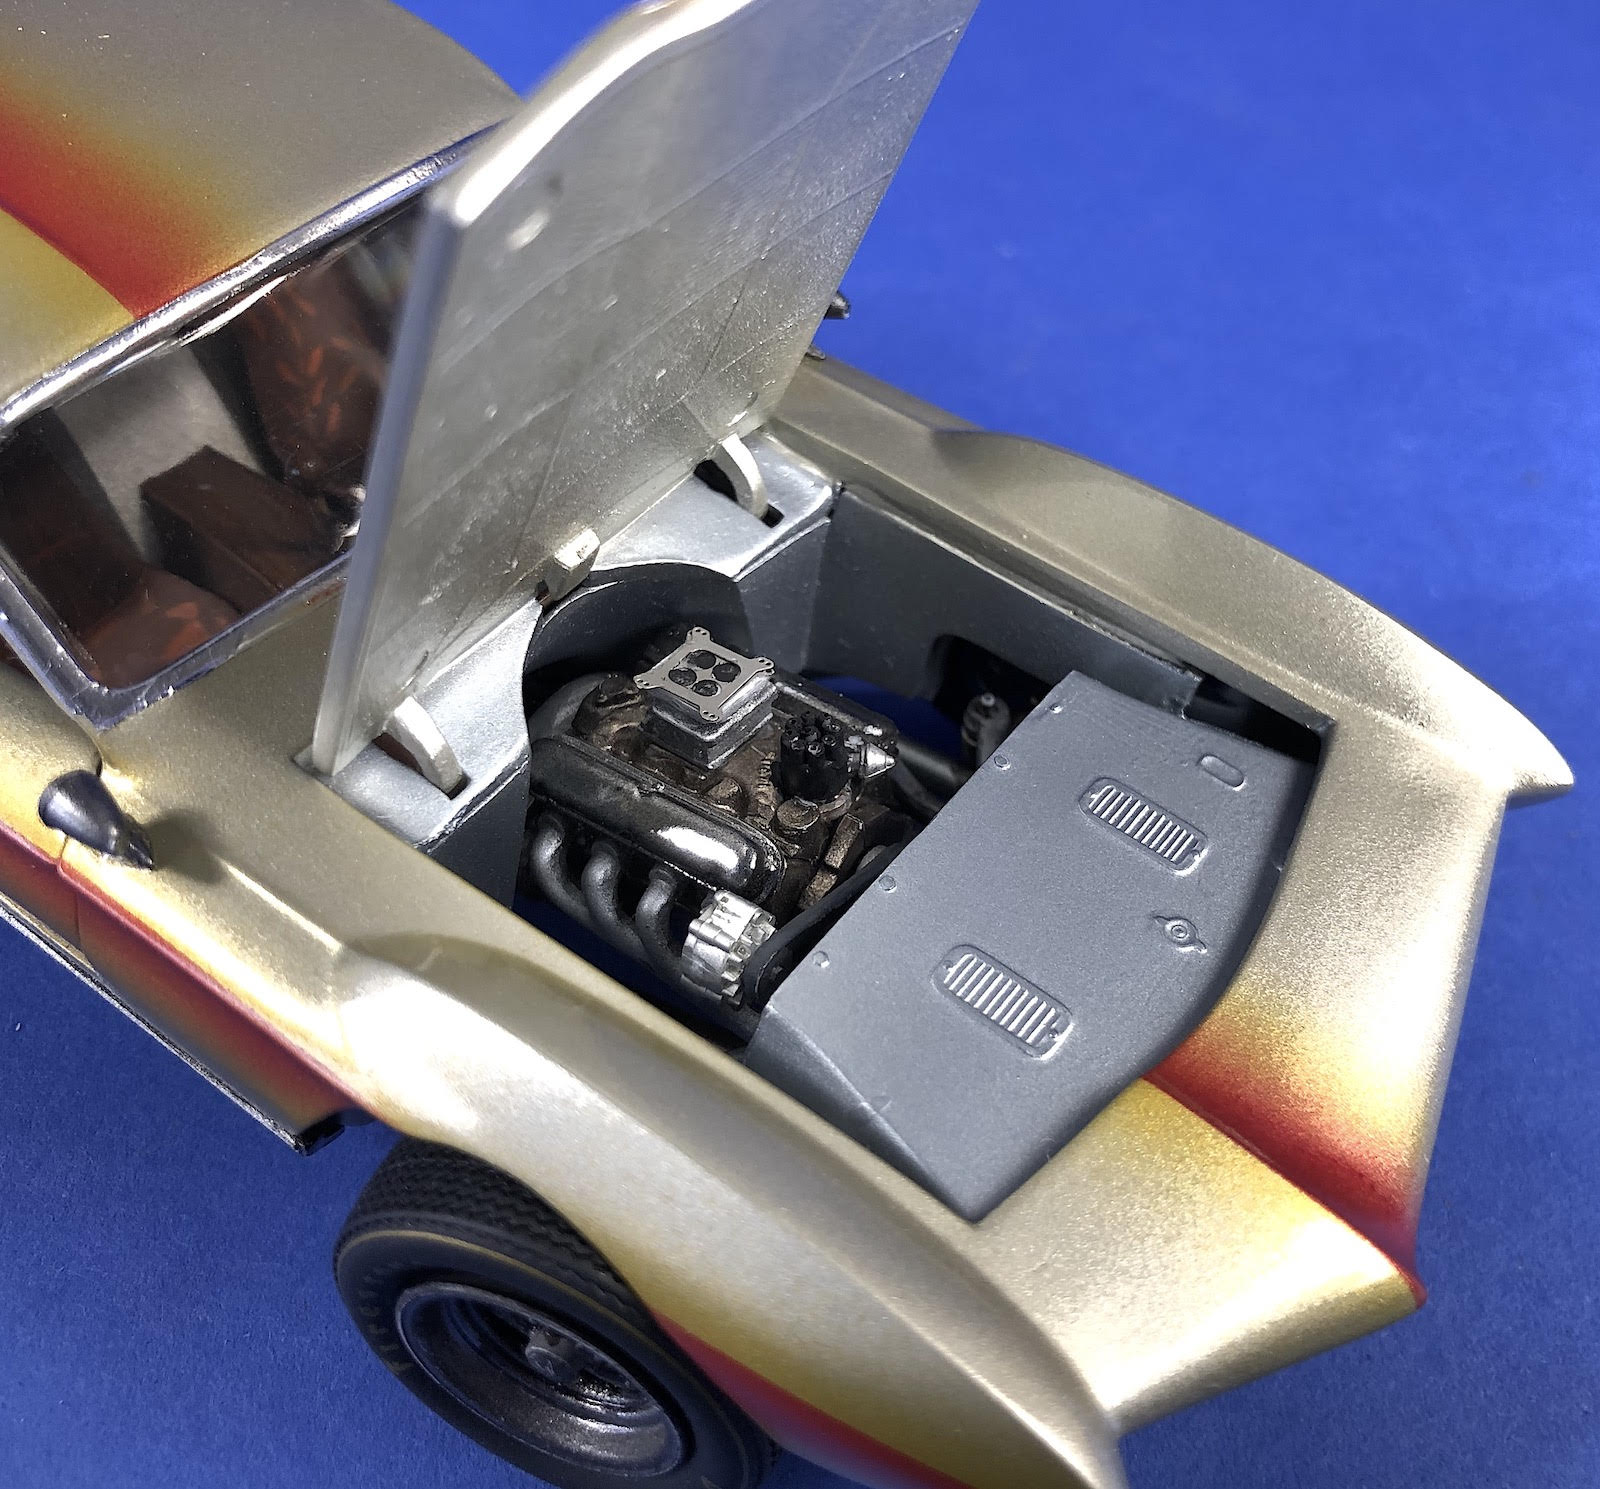
The kits engine is the first subassembly. The detail on the parts is very soft and the roughness of the molding complicated alignment of the parts. The engine’s single four-barrel carburetor has little detail and sits exposed on top of the engine without an air cleaner. I added some photo etch to give the carburetor a little more detail due to its prominent location. Likewise, the alternator is a simple cylinder without any detail, so I replaced it with a spare from another kit. The distributor looked a little undersized so I replaced that also with a larger one.
Mag wheels are provided with the kit, which I painted a dark metallic gray. The rear tires are wider and larger in diameter than the front tires. The front wheels mounted to a spindle that allows the wheels to turn and rotate.
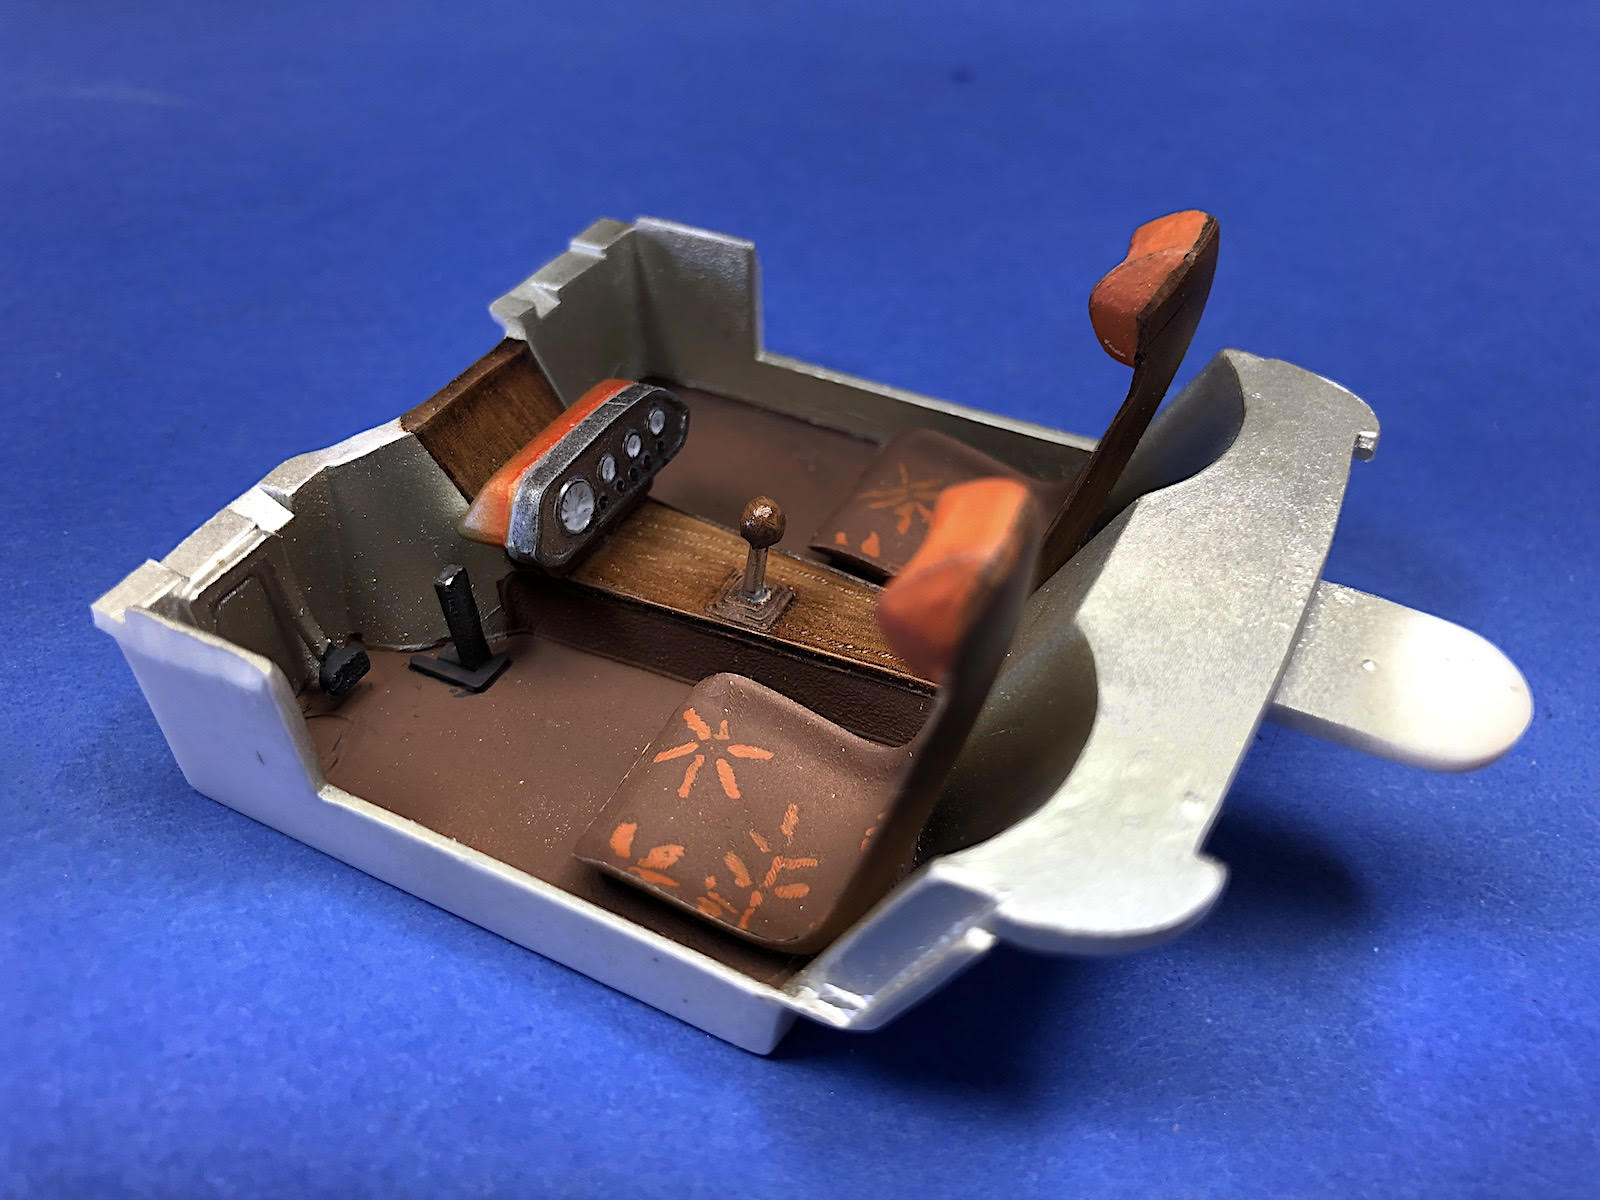
The interior tub snaps nicely into the car body, although there are some considerable gaps all the way around. There is texture on the floor of the tub for carpeting and a wood texture on top of the center console. The seats appear to be a wood shell and have the brocade fabric as described in the Tiger Shark rebuilding and shown on the box art.
Step four installs the engine into the chassis, which is a nice one-piece construction. The exhaust pipes seem overly large and don’t seem to be oriented correctly in the illustration. There was no pin on the end of the pipes, and I reversed them to point the pipes down behind the front body bracket. There are no extensions for the exhaust pipes to the tips on the rear of the vehicle.
Assembly of the front wheels, tire rod, and front frame cross member in step five can be done to allow the wheels to turn. Do not glue the wheel spindles to the pins, and do not glue the tie rod to the spindle so the wheels can turn. The fit of all of the parts is pretty loose and does not keep the wheels parallel, plum, or sturdy, so I will glue them all after positioning.
The rear axle is in assembled in steps six through eight. The axle braces and shock absorbers are all fairly over-scaled in their detailing. Take care to make sure the axle is parallel to the frame members when installing. After installing the axles I dry fit the body to check the ride height and wheel clearance. I would like to have lowered the body, but substantial modifications of the chassis supports would be necessary. The wheels were also tight to the body in the front and rear wheel wells, requiring some trimming of the body.
Step nine begins work on the body with the installation of the doors, front splash pan, windshield, and dashboard. The doors have a hinge piece that will allow them to open, however, I chose to glue them in place as the door assemblies are clunky and the interior is sufficiently visible through the windows. The dash assembles to the interior of the front windshield. Both a clear and amber windshield and rear window are provided, although I do not know the purpose of the amber windshield as it doesn’t appear to be used on either version of the car.
The car body needs some filler to repair the joint at the front splash pan. I also discovered some low areas in the molding of the rear deck that needed filling. I would have liked to glue the doors in place so the body lines could be repaired before priming, however, the interior tub will not fit in after the doors are glued in place. I did install the firewall and repair those joints prior to painting. The lower half of the body has some joints at the rear tire wells that needed repair but can only be done after assembly to the body.
Step ten installs the interior tub, front inner fenders, radiator shroud, and lower half of the body. The interior tub, front inner fenders, and lower half of body all fit OK but again had several gaps around the edges. The shroud over the radiator does not seem to have a precise fit or location. The radiator itself is installed on the underside of the shroud rather than to the chassis.
Various exterior body parts are installed in step 11, including the headlights, rearview mirrors, side rocker arm covers, tail light, and exhaust tips. This step also installs the body on the chassis.
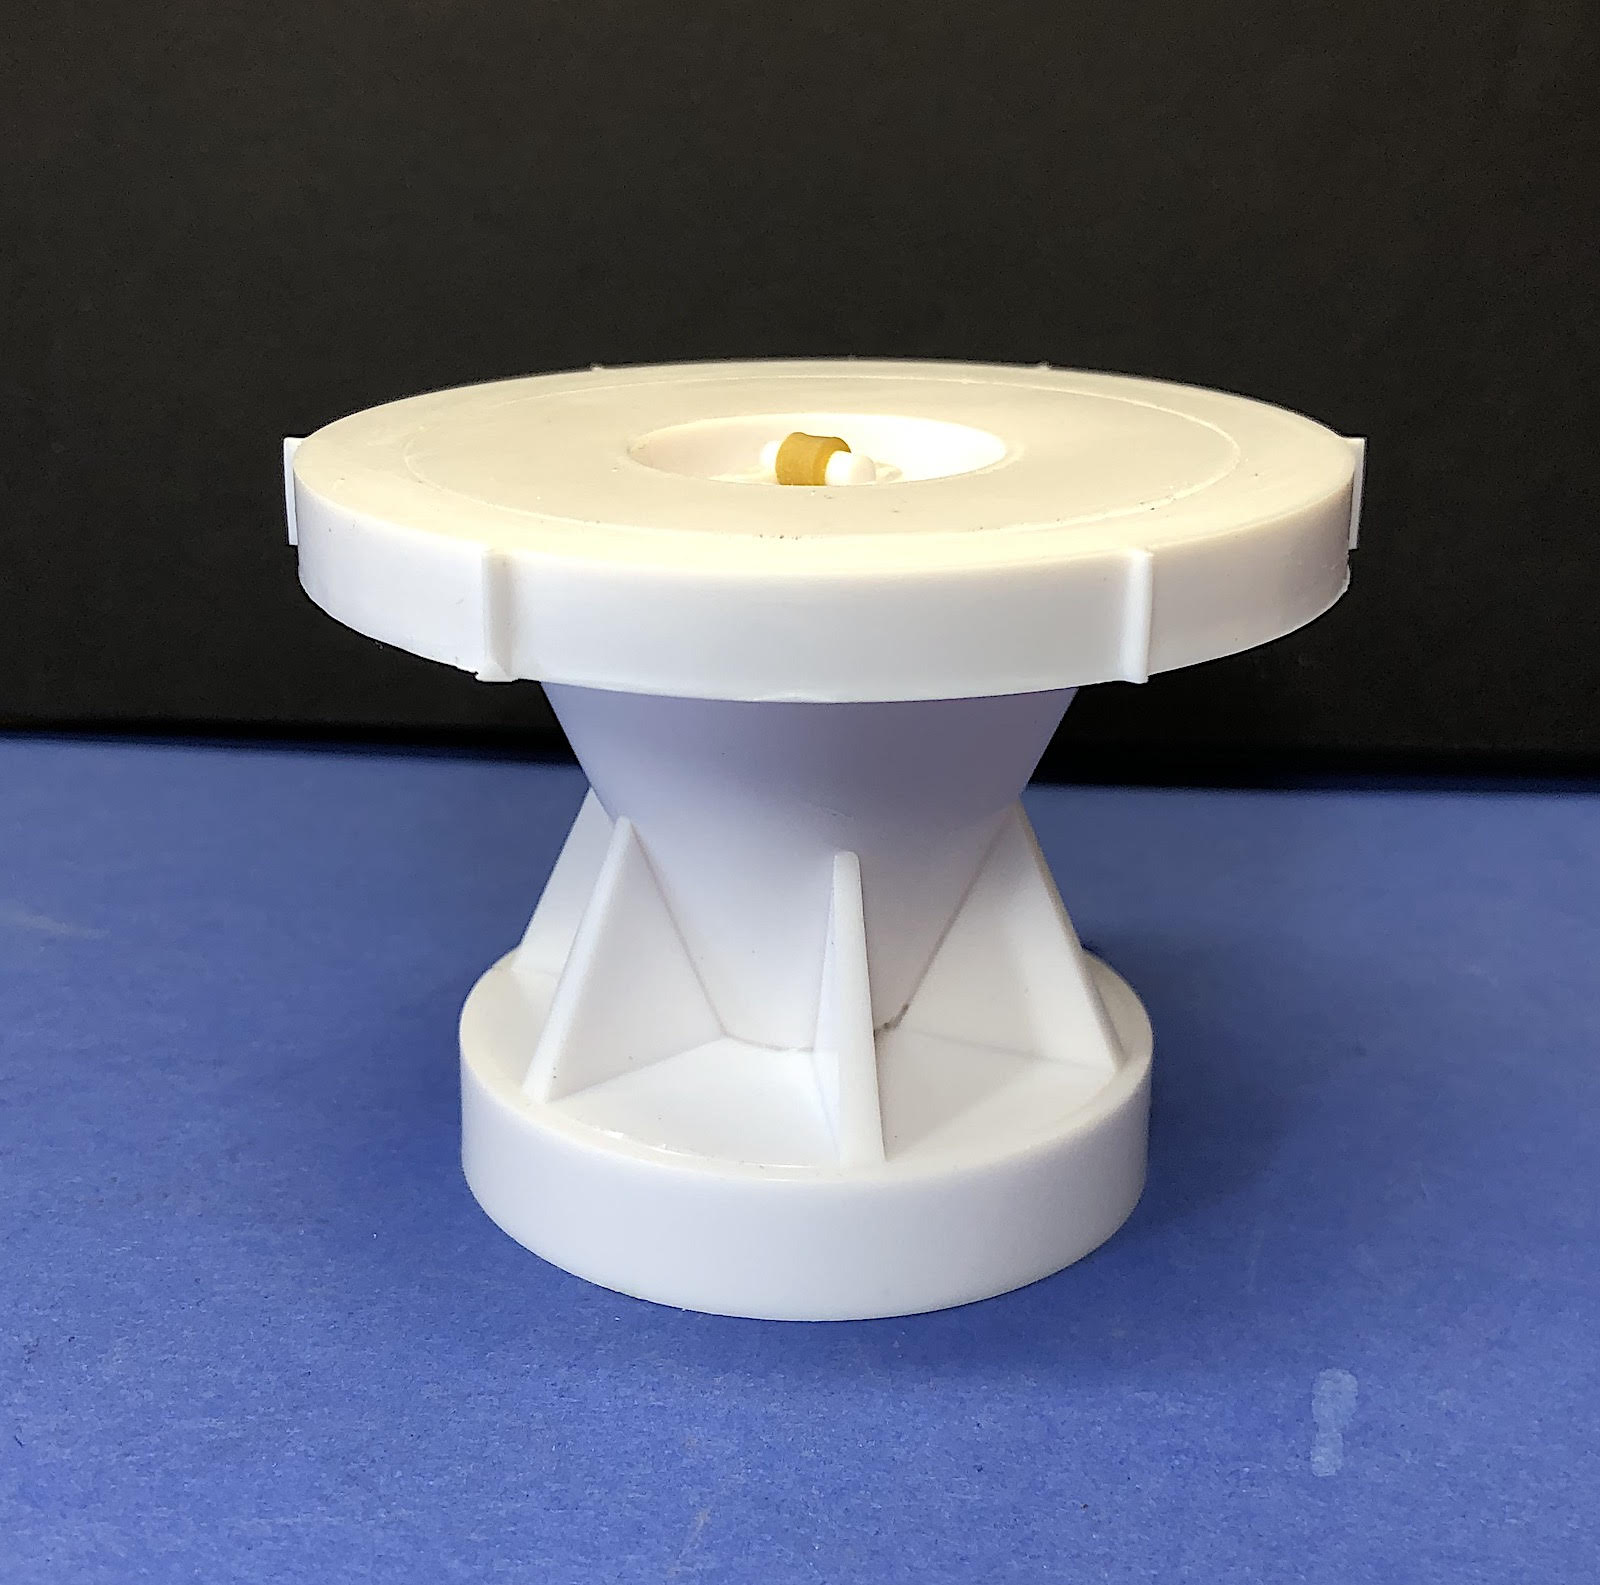
The last assembly step is a revolving display stand that was included in the original kit issue and is in Round2’s release also. The stand uses a rubber band so it can be wound up to rotate the vehicle. Eight ball bearings are used, which are a little challenging to get installed without having them fly all over the workspace. I don’t get how the base is supposed to work. The rubber band spins the top of the base very quickly back & forth for a few seconds. The car would need to be fastened to the base and perfectly balanced or it will go flying off. I think it would only work as a static base without turning.
Summary
This car has a great history and can be fun to build with enough patience on the clean-up. The detail and construction are crude by today’s standards but are typical of kits from the ’60s, illustrating how far model-making technology has progressed. The model can be a simple build for less experienced builders, but can also be built into a nice show car by more experienced modelers. The kit offers lots of additional detailing possibilities with the engine and chassis, and with a little work the body comes out nicely. The kit brings back memories of the wild customs of the ’60s and is a fun build.
Thanks to Round2 for great work salvaging these old kits and reissuing them, and thanks for the review sample!


Comments
Tiger Shark Kit display base
I built this kit as the AMT Dream Rod back in the early sixties. To keep the base from spinning too fast, AMT suggested, in the Directions, to use Vaseline as a viscous brake. It works for a very short time before you had to add more Vaseline. I remember showing my model to some friends and winding up the base only to watch my model go spinning off into the wall of my little work area.
Add new comment
This site is protected by reCAPTCHA and the Google Privacy Policy and Terms of Service apply.
Similar Reviews