
Tiger-1 "Gruppe Ferhmann Essel 1945"
History
Enough has been written about the Tiger tank so I will not go into detail about it. The Gruppe Fehrmann Tigers were “procured” from the Lehr School at Fallingbostel and were re-built from damaged Tigers. The unit was formed around 5 Tigers and 6 Panthers on April 6th, 1944 and by April 11th only two Tigers and possibly 1 Panther remained active.
The Kit
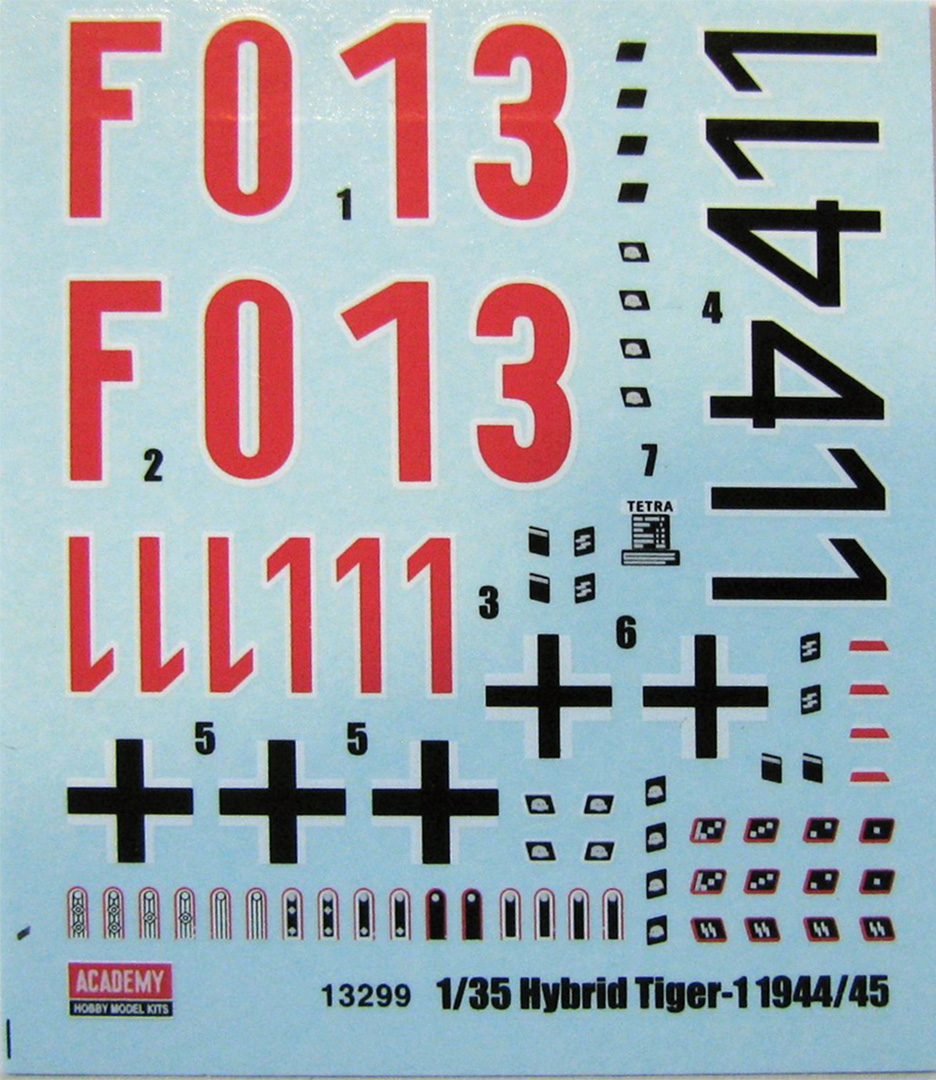
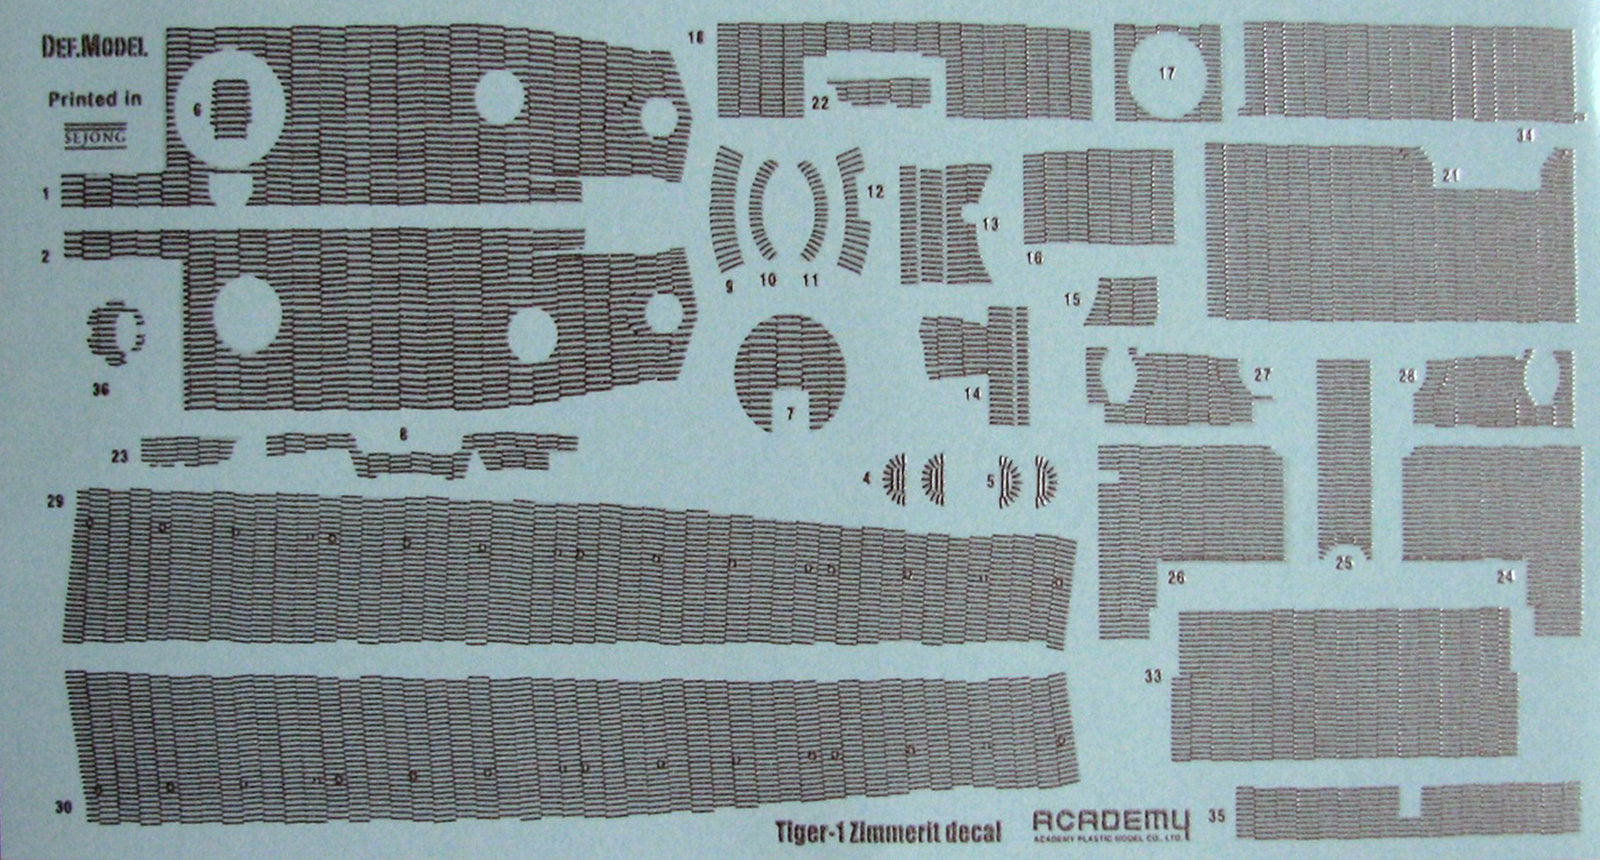
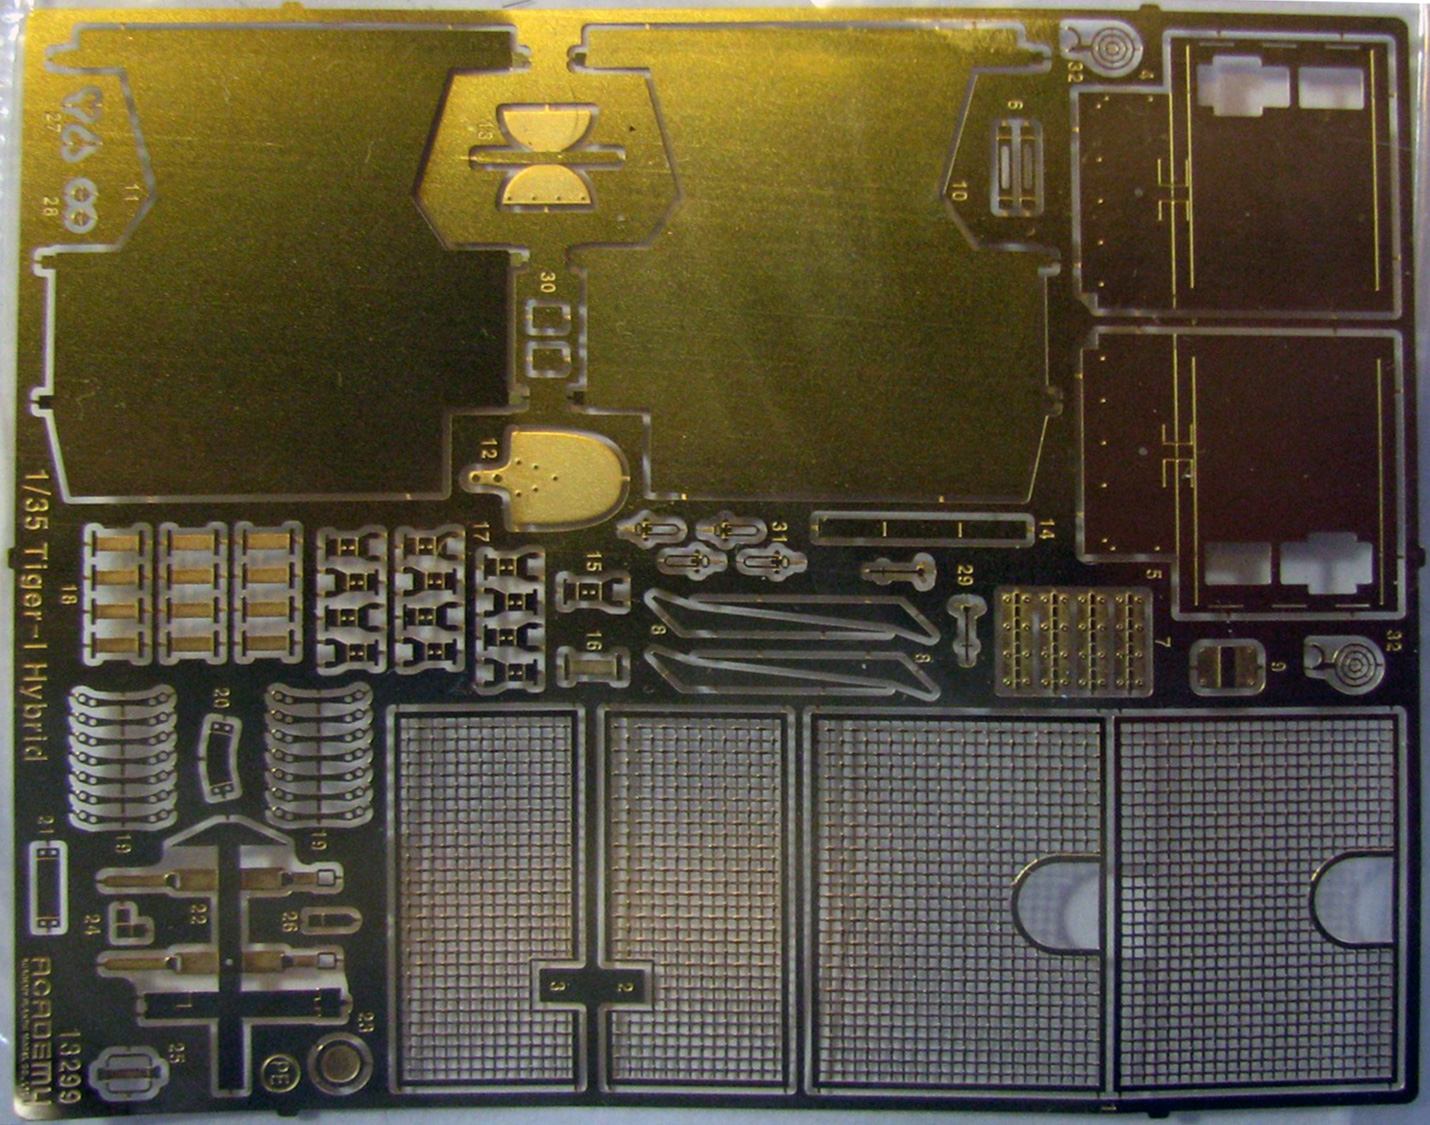
Upon opening the box you are presented with 11 sprue of dark yellow injected plastic, the lower hull & two vinyl tracks, A fret of photo etch (P/E), decal sheet, A zimmerit decal sheet (By DEF.MODEL), 8 page instruction fold out, and a two page markings & P/E guide (actually pages 9-12 of the instructions but separate). The plastic is crisply molded with little to no flash. The P/E is thin with many small parts. The decals are well printed and in register. And the zimmerit decals have a real subtle texture. One thing I noticed though was that there are no instructions for the zimmerit decals, so I had to go to the DEF.MODEL web site for them (http://defmodel.com/).
Construction
It all starts with the lower hull - I know big surprise right? Steps 1-6, with minor sub-assemblies, deal with this. Pretty basic construction here but pay close attention as all through this build there are areas where you have to apply the zimmerit. Step 4 is your first area where you have to choose if you want P/E or the kit plastic and these are the rear fenders. I just used the plastic due to their being the same thickness as the front and skirts. Also in this area you have to choose which of the marking options you are building 2 of the 4 do not have the covers over the exhaust. The version I built does not and I had to fill in the holes for the parts but they forgot to put this in the instructions so be aware of this. Step 6 is your next area of interest as you add some tools, the exhaust covers and have to choose if you want to use the P/E for the exhaust covers and tool latches (you are required to remove the molded-on latches). The tool latches are a very small 3-piece assembly and I’m sorry to say I only built one (broke the first two attempts) just to show what it looks like. Also, part #L 19 (Tow hook) is shown to go on right beside the left side exhaust, but there is no hole for the tab, and even if there was, it would not sit right. I just used a bit of CA glue just so it’s there, but I doubt it’s right.
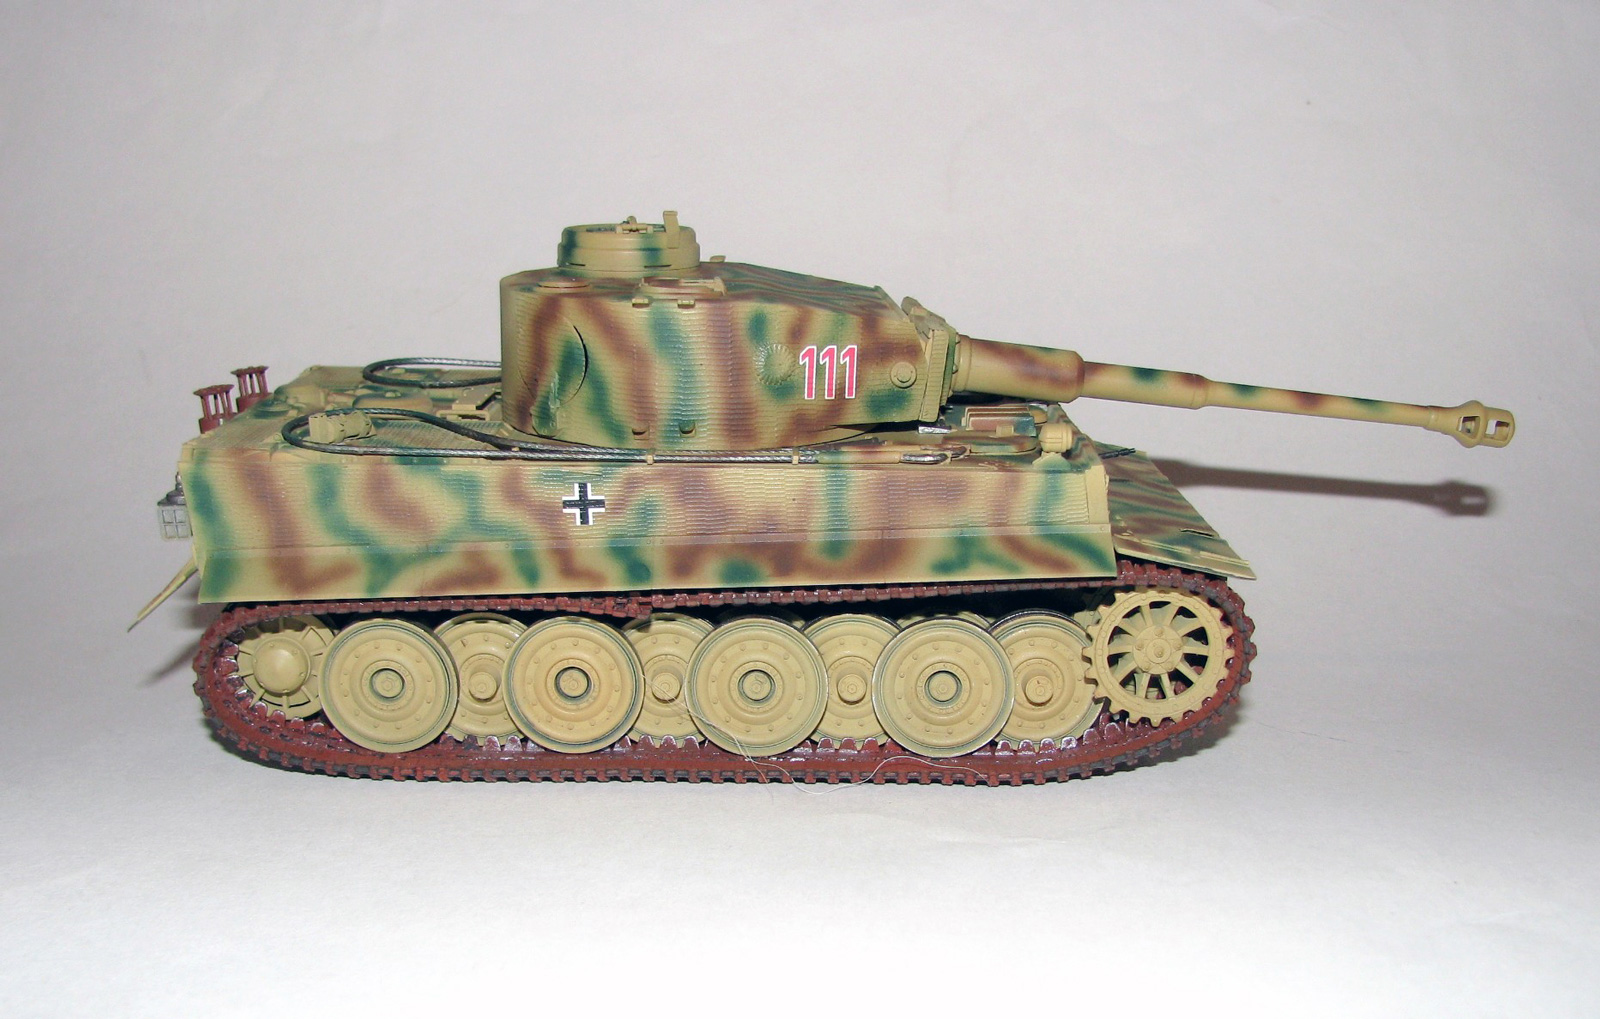
Steps 7-10 deal with the deck and this is where most of those pesky P/E tool latches are. The two hatches (as also the turret hatches) may be posed open and have really nice detail, but since there is no interior at all, I posed them closed. Also another part, L19 is shown to go to the right of the driver's hatch, and since there are no holes, I left it off. Step 10 is where you are advised to put the tracks on. I decided to leave them off until last, but don’t think it really matters. The tracks have nice detail, but are a bit thick, and paint did not want to adhere or stay on them. I used Krylon Colormaster primer RED OXIDE as a base coat after trying enamel, acrylic, and lacquer-based model paints, and even the Krylon did not bite into the track…. I suggest aftermarket tracks.
Steps 11-15 are for the turret and final bits. I had a problem with the turret, as there was a nasty seam in the rear, and also the gun is just a bit too heavy for it.
Zimmerit decal
I used Micro-Set to help with these, and it seemed to work alright. I did have a problem with one of the side decals (#30/31), and wish I had cut it in at least two halves, as it MAY have made it easier to place. The mantlet was a bit tough also, as the decal did not want to conform to the small corners very easily. I do like the texture of these and think they look pretty good. Are they as good as P/E or resin zimmerit? That’s up to you to decide but I think they look good.
Finishing
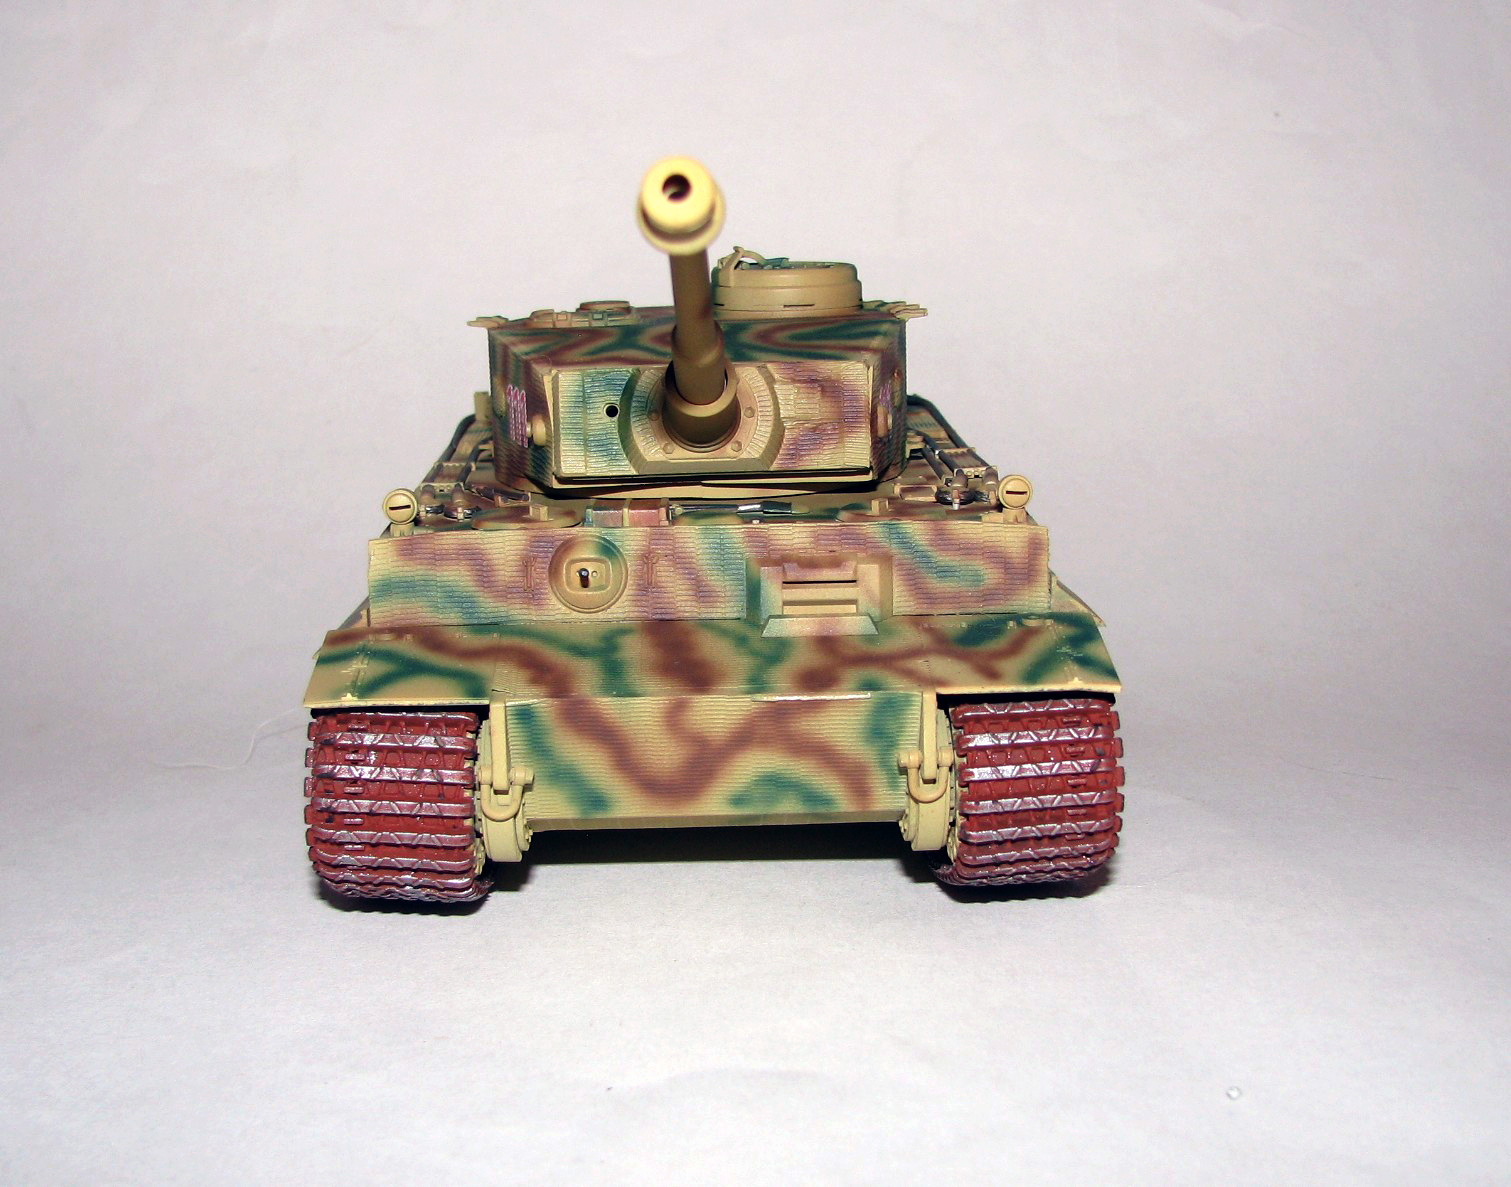
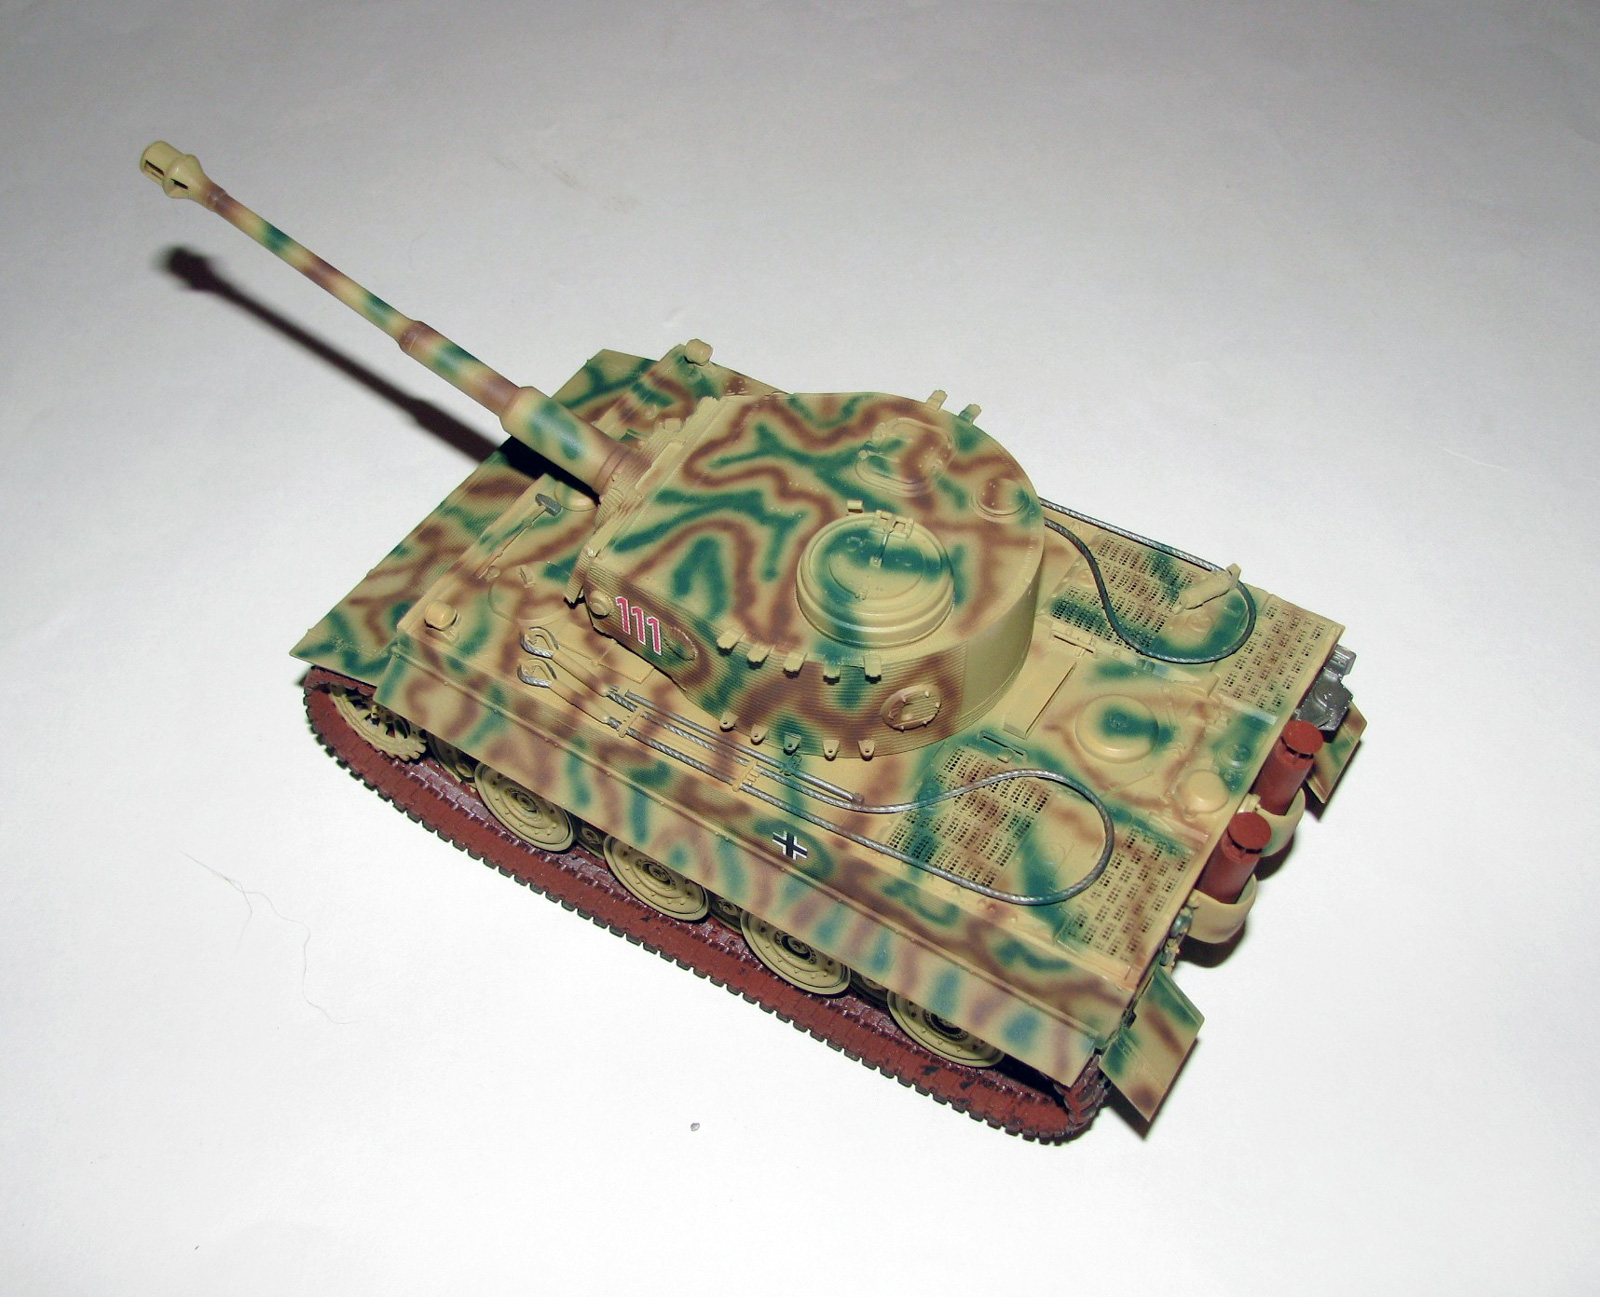
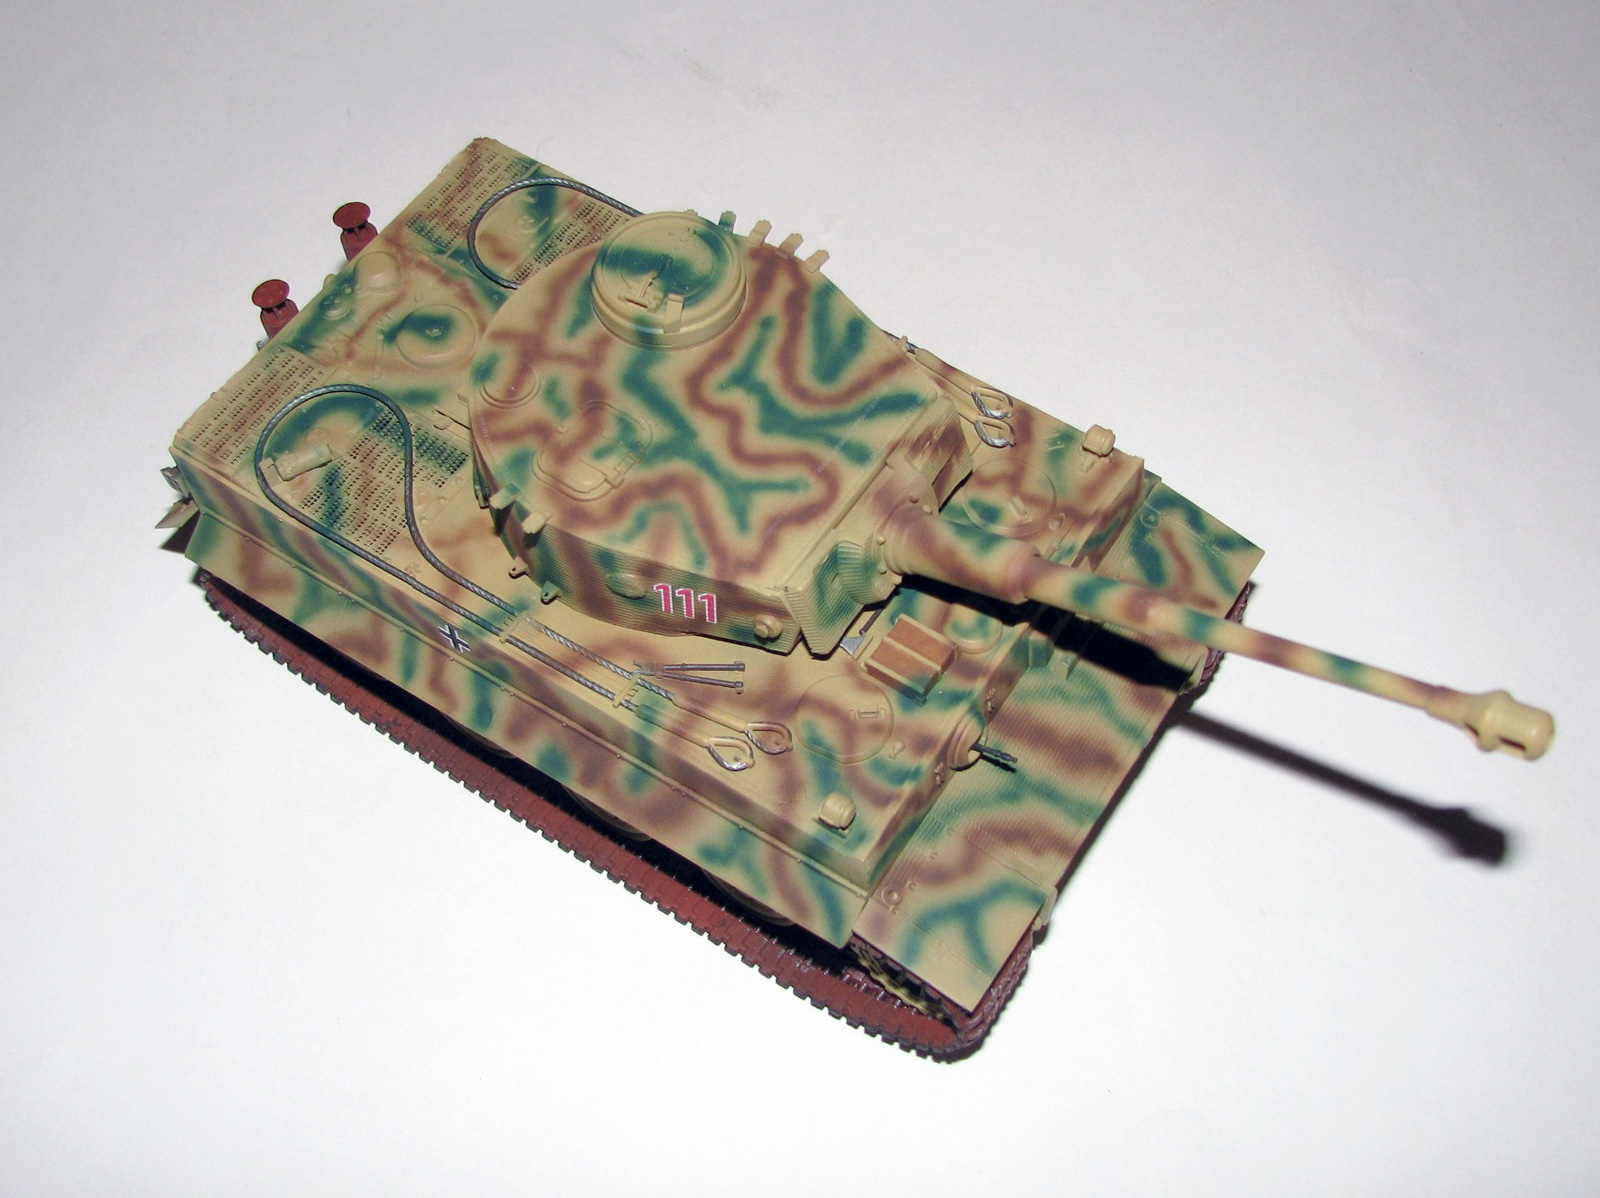
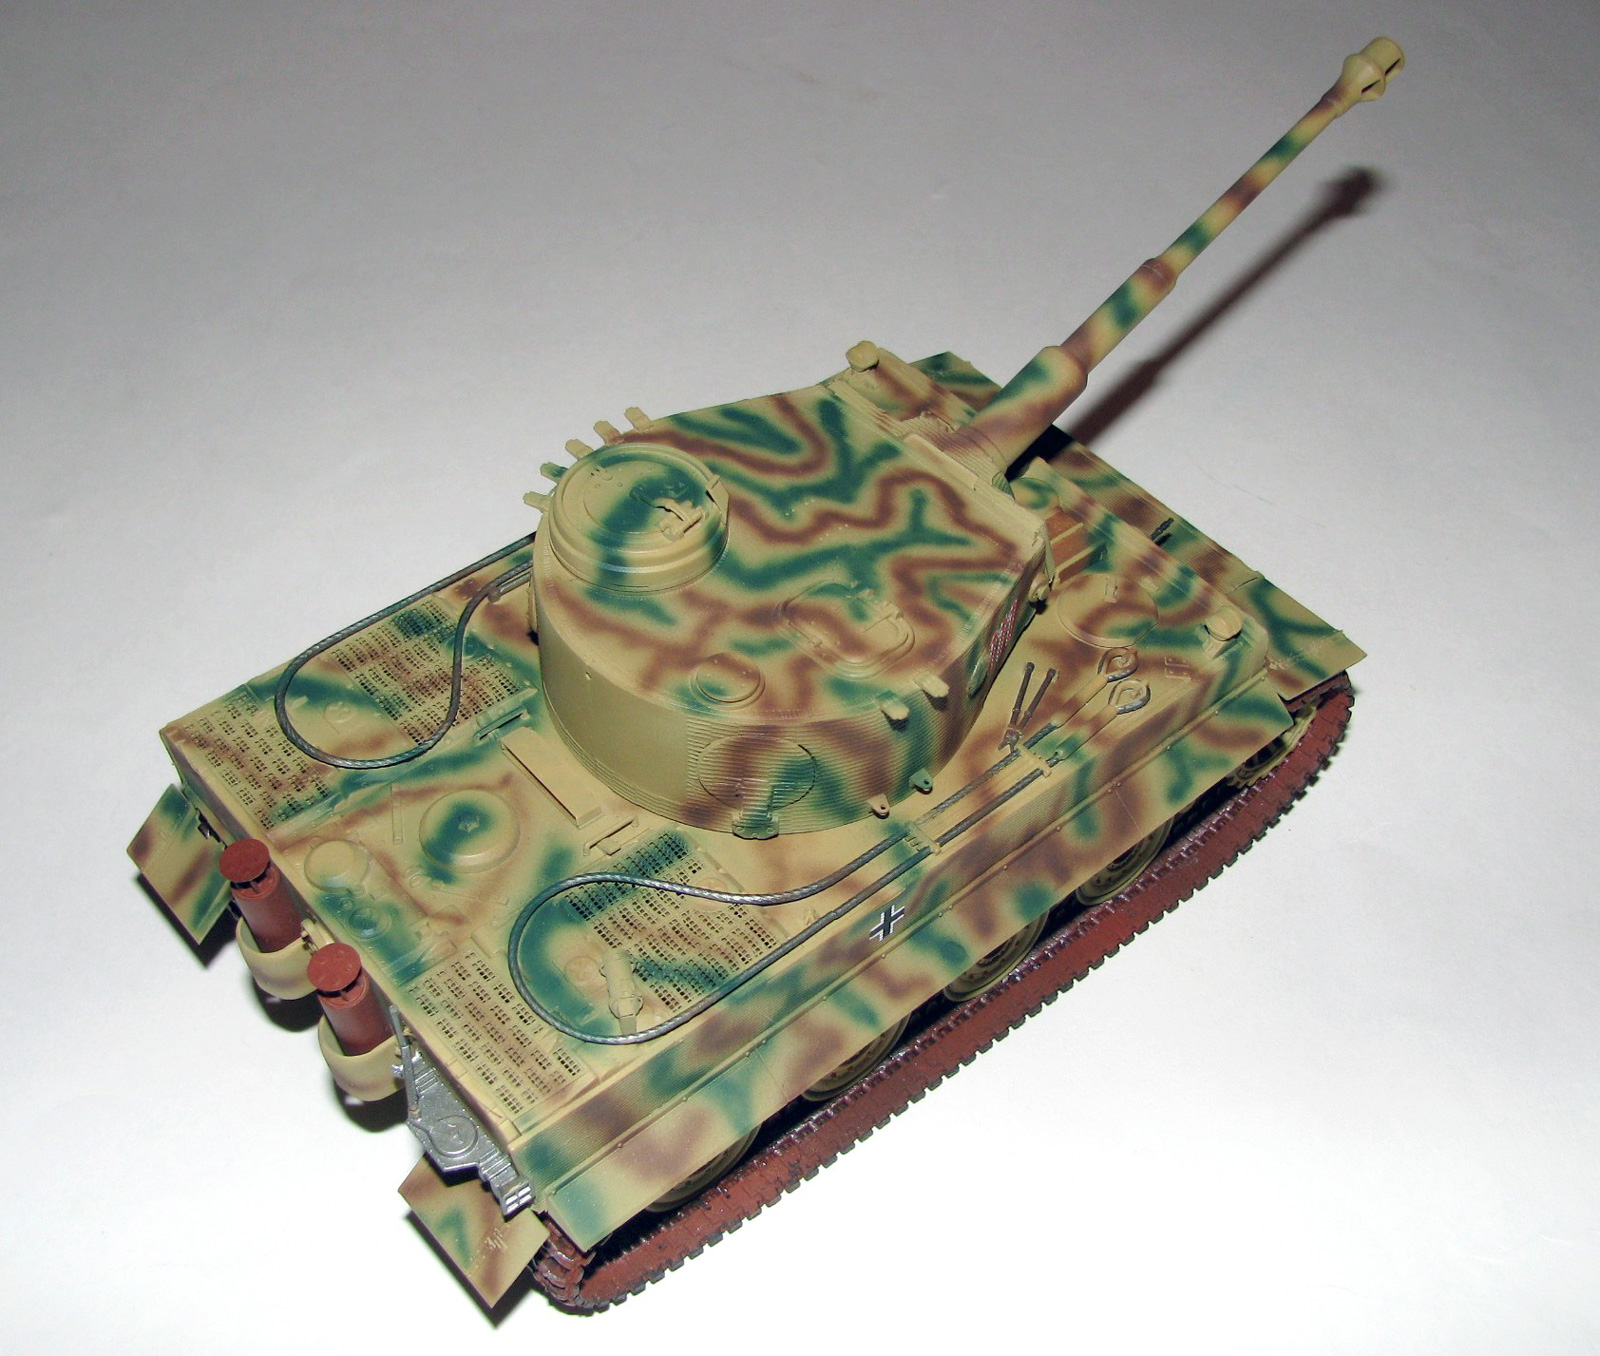
I used Tamiya Acrylics Dark Yellow XF-60, Red Brown XF-64 and Dark Green XF-70 for this. The decals set down nicely with a bit of Micro-set. You are given marking options for 4 different tanks.
- F01 from Gruppe Fehrmann, Essel Germany in April 1945.
- F13 from Gruppe Fehrmann, Essel Germany in April 1945.
- 111 from Gruppe Fehrmann, Essel Germany in April 1945.
- 411 from Schwere Panzer Kompanie, Hummel Belgium Ardennes, Dec. 1944-Jan 1945.
Conclusion
All in all this is a pretty easy kit to build with just some minor fit issues, and hey, IT LOOKS LIKE A TIGER! I recommend this to anyone except maybe a true beginner.
I would like to thank Academy and MRC for supplying this kit, the review Corps for letting an aircraft guy build it, and all of you for reading this.
MODEL ON!!!


Comments
Add new comment
This site is protected by reCAPTCHA and the Google Privacy Policy and Terms of Service apply.
Similar Reviews