
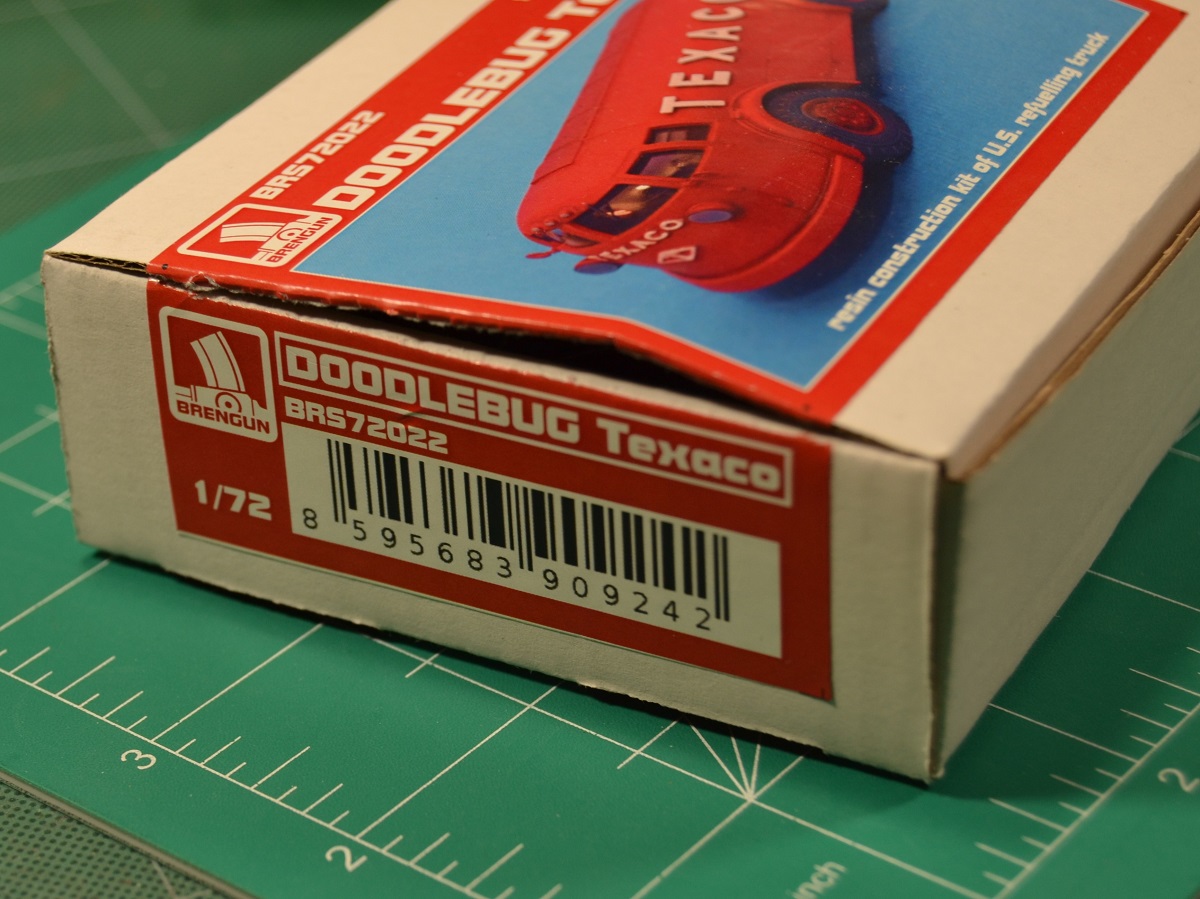
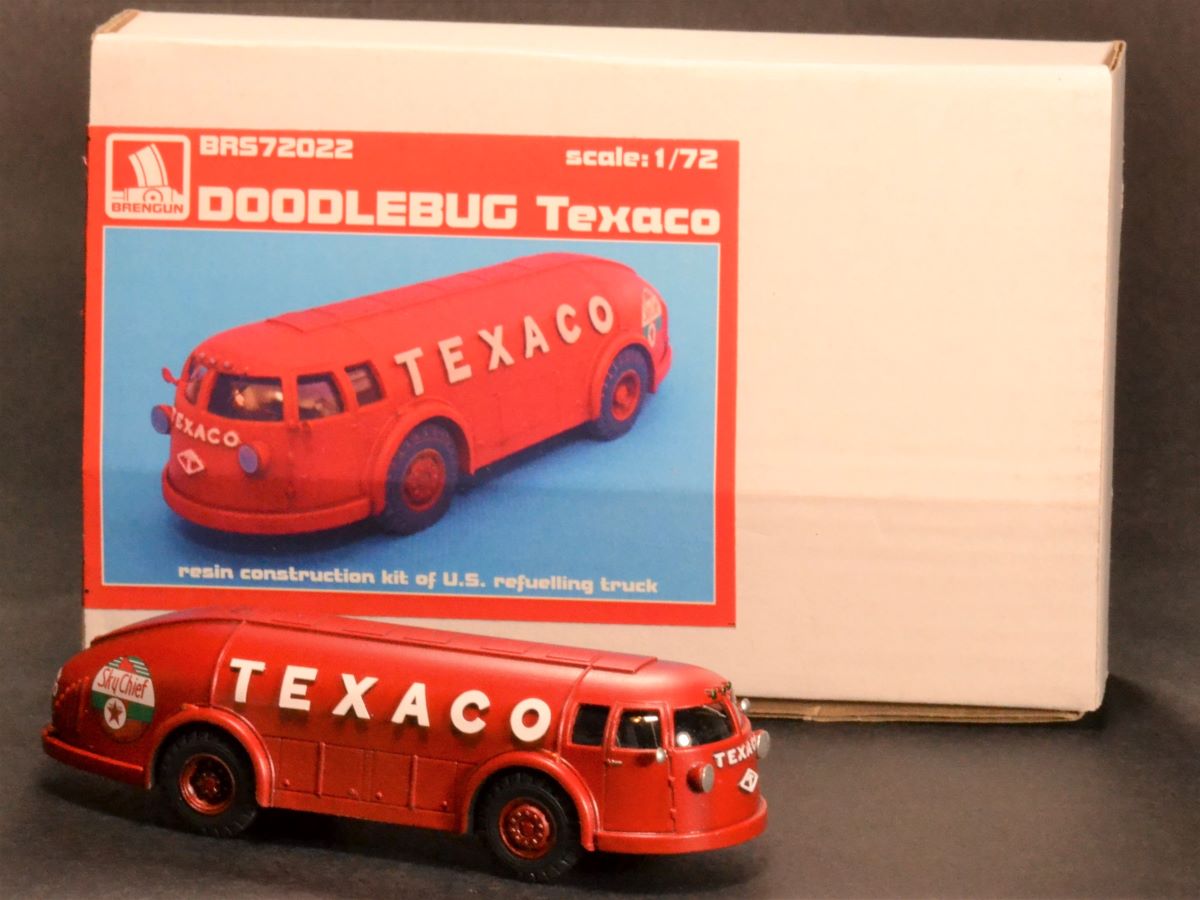
Texaco Doodlebug
A new multimedia kit from Bregrun. It a 1/72nd scale kit of the Texaco Doodlebug fuel tank truck from the 1930s era.
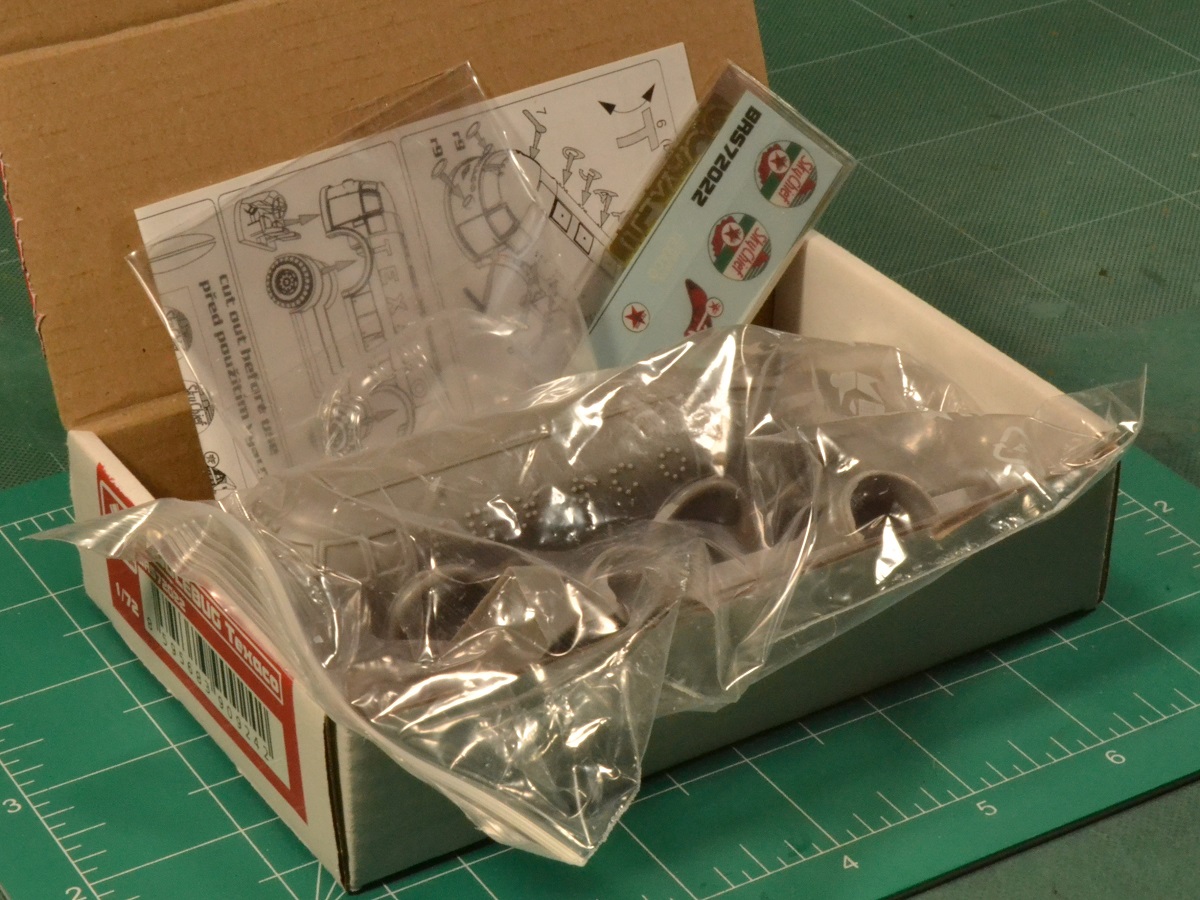
In the Box
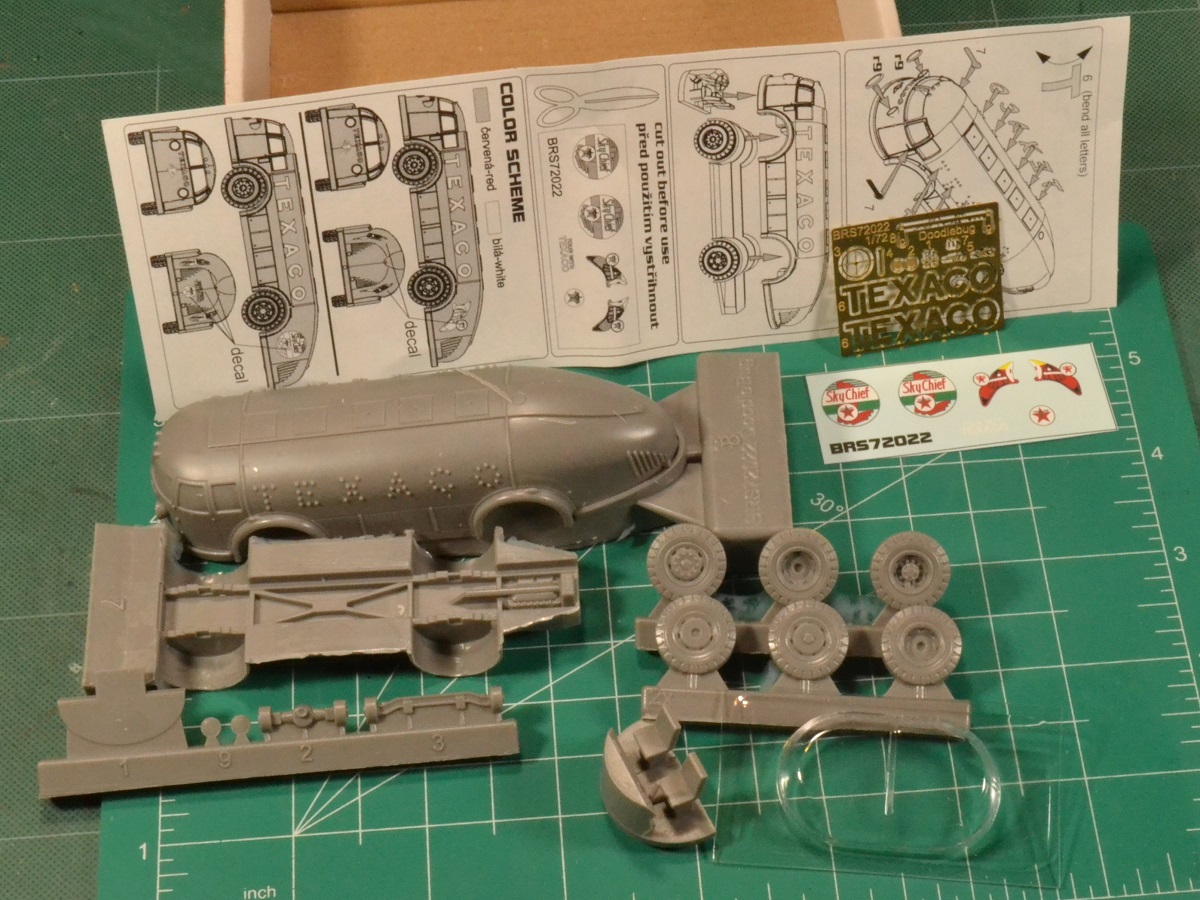
This kit has six (6) resin poured part stubs, 1 photo-etched (PE) sheet, 1 vacuum-formed (VF) clear plastic windscreen with & without frame moldings, and 1 decal sheet. Instructions are printed in black and white on a single piece of paper. Print is on both sides and well-illustrated but not much written commentary.
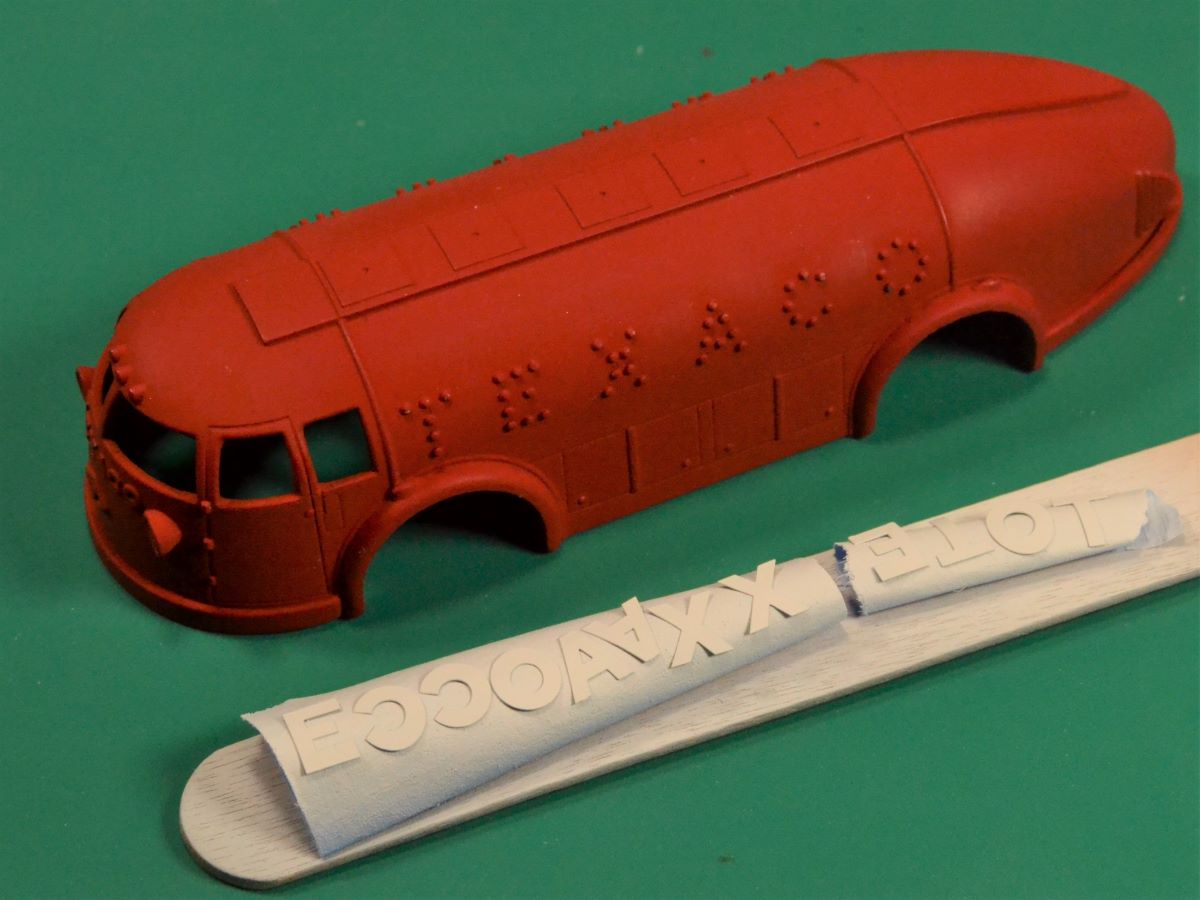
The resin parts are well molded with a few air bubbles that need filling. I used Superglue/Cyanoacrylate (CA) as the filler. The recessed panel lines are well defined and somewhat wide for this scale but acceptable.
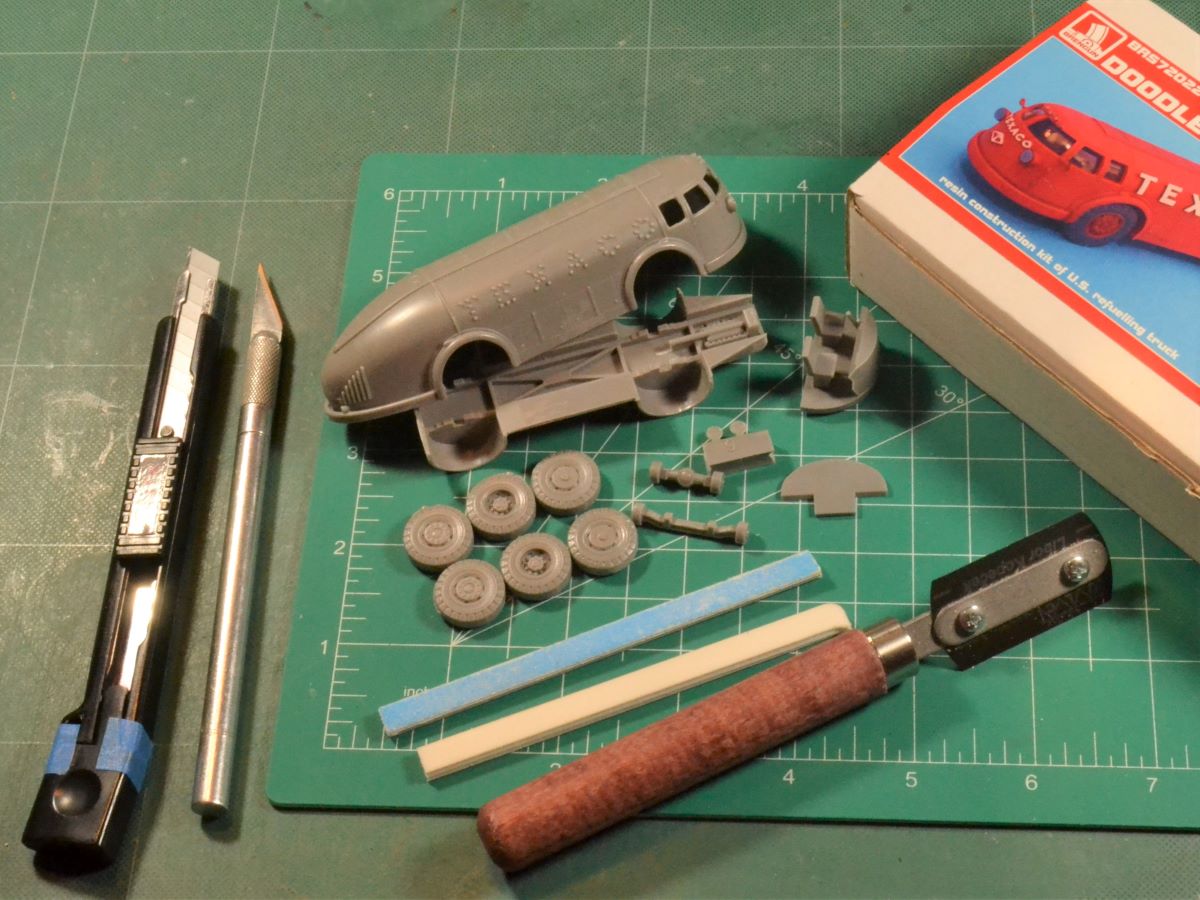
Construction
Assembly starts with washing the resin parts in dish soap (Dawn) and warm water and employing an old toothbrush to scrub the surface to help remove any mold release residue. Next was cutting the resin parts off the pour stubs. A razor saw was used and the parts cut easily. I also used a Tamiya scribing tool to help remove some parts by slowly removing layers of the attach points from curved areas where a razor saw cannot maneuver around. Lots of sanding and check fits were accomplished to make sure enough resin was removed to allow for successful downstream assembly. Also, I wet sanded to capture the irritating resin dust.
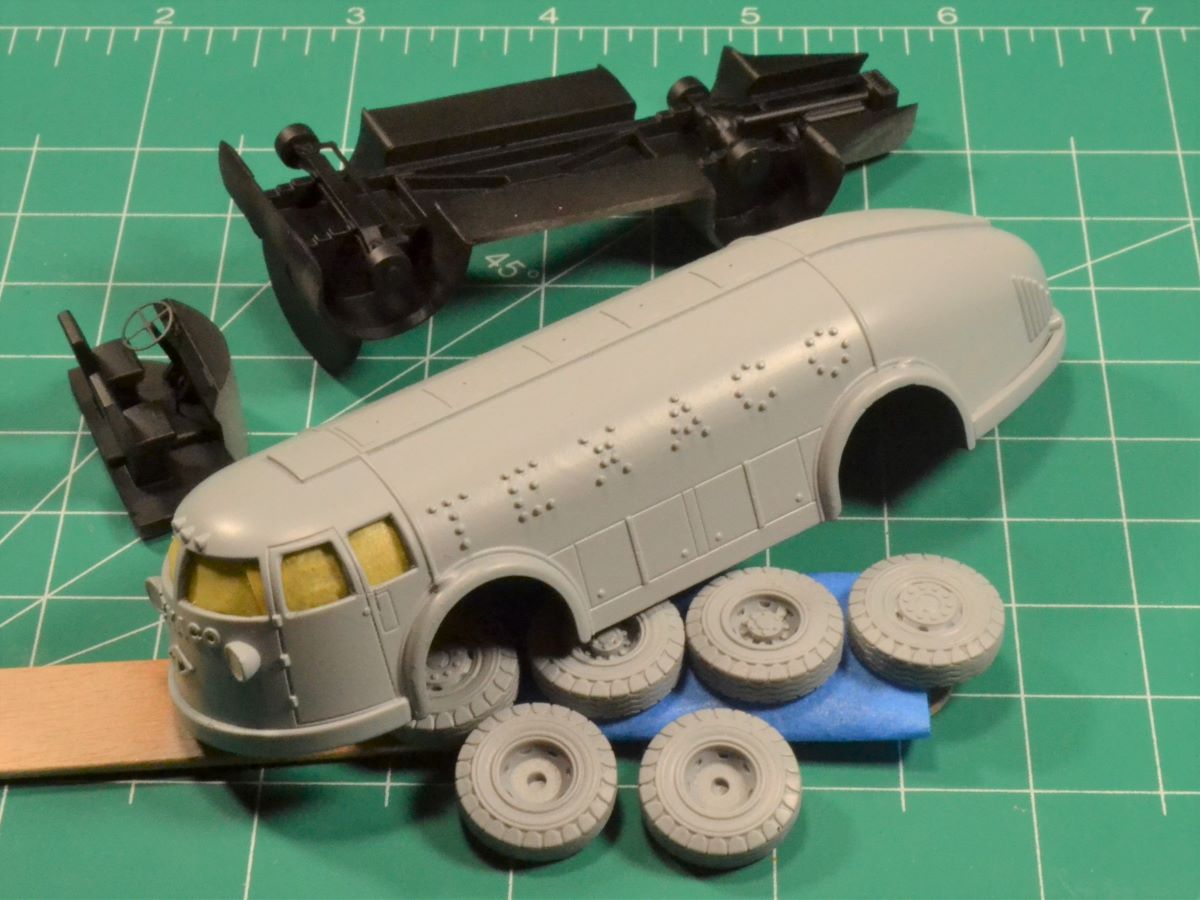
After this, primer coats of Mr. Surfacer 1000 Gray and Mr. Surfacer 1500 Black covered specific parts or areas of the model.
In the driver compartment area, I installed the PE steering wheel and gear shift with CA and then painted it all black. I used a Prismacolor silver pencil to add edge highlights but this area will be hard to see once it is installed.
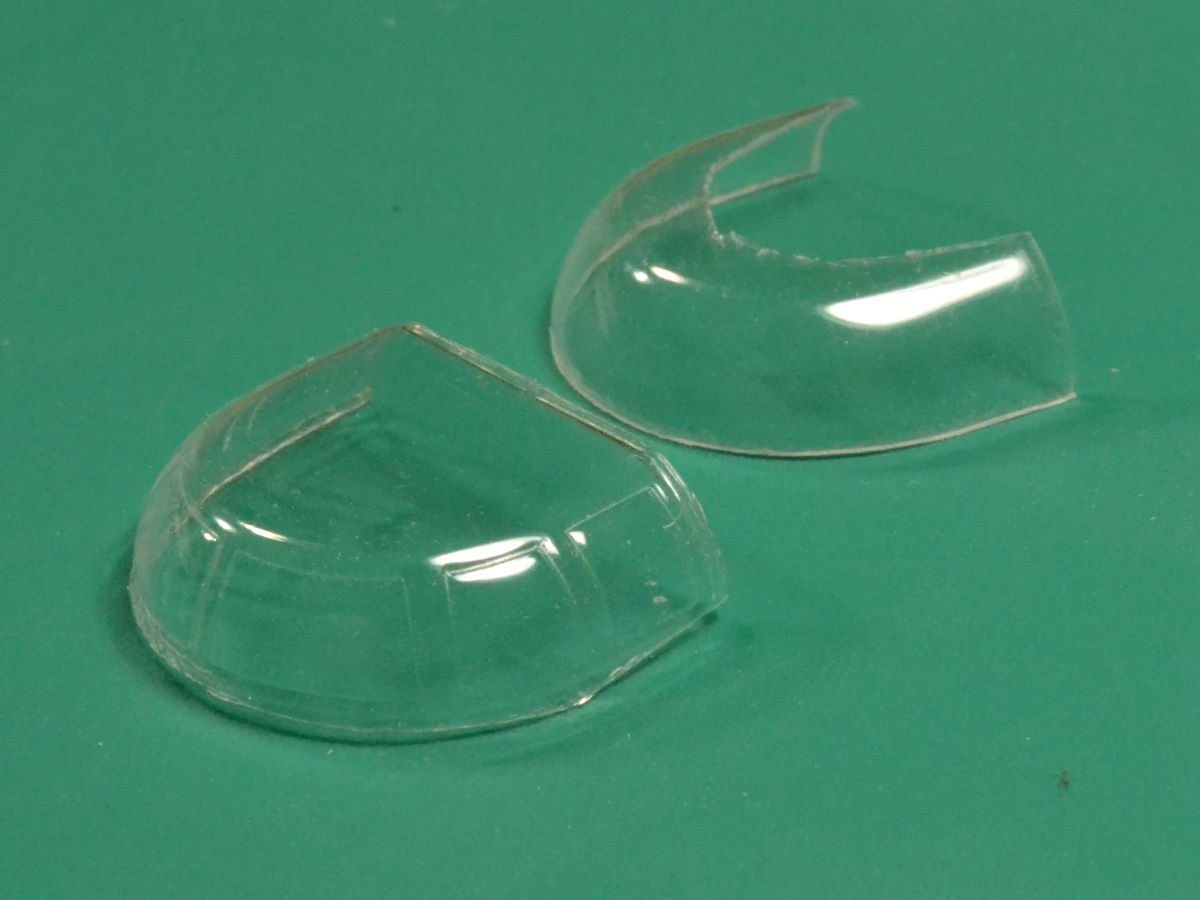
The clear VF windscreen was cut using a small precision scissors and a new Xacto blade. Then I sanded the edges down until a good fit was achieved. I did use the windscreen without the framing and cut a half-circle slot at the top of the part to allow it to flex and make for an easier installation later. I did brush on Future (Pledge Floor Finish) to protect it from CA fumes that would be used later in the build.
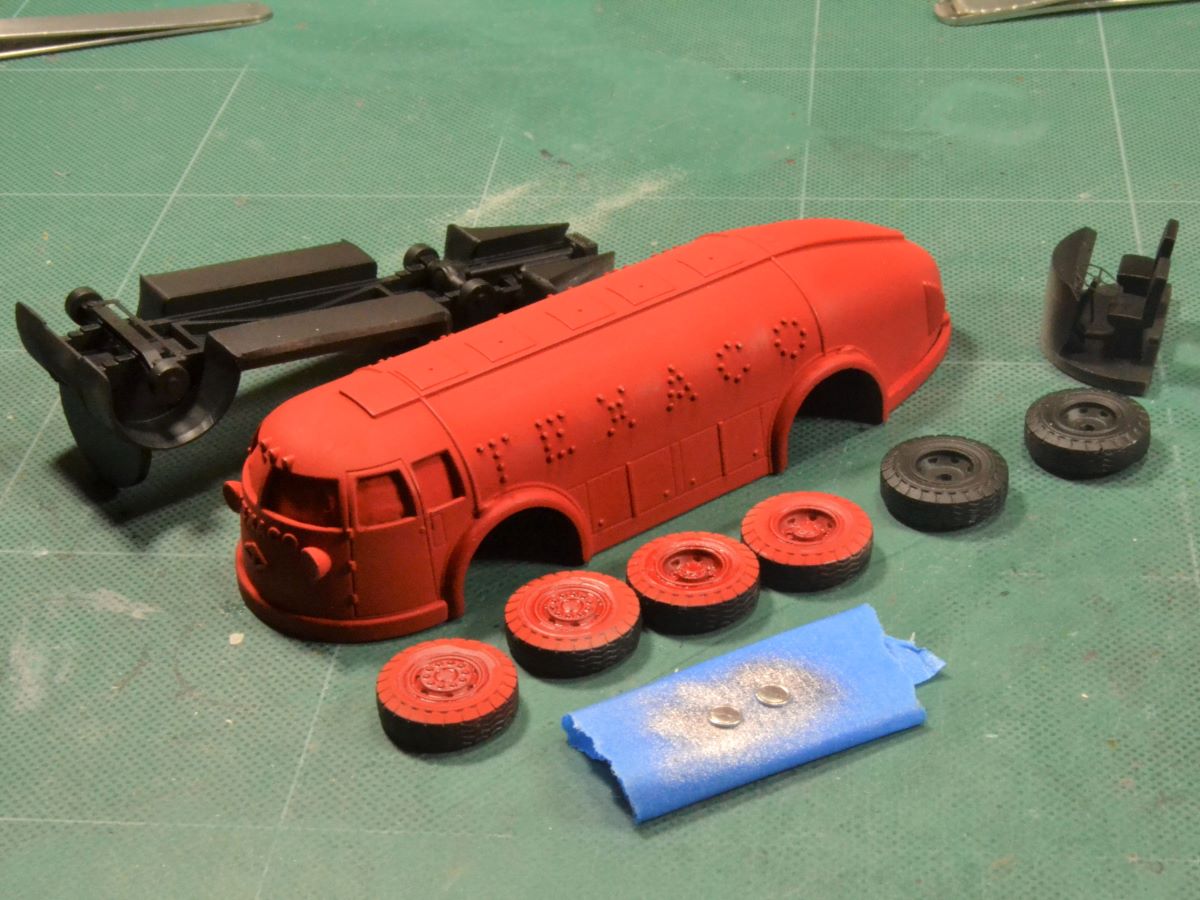
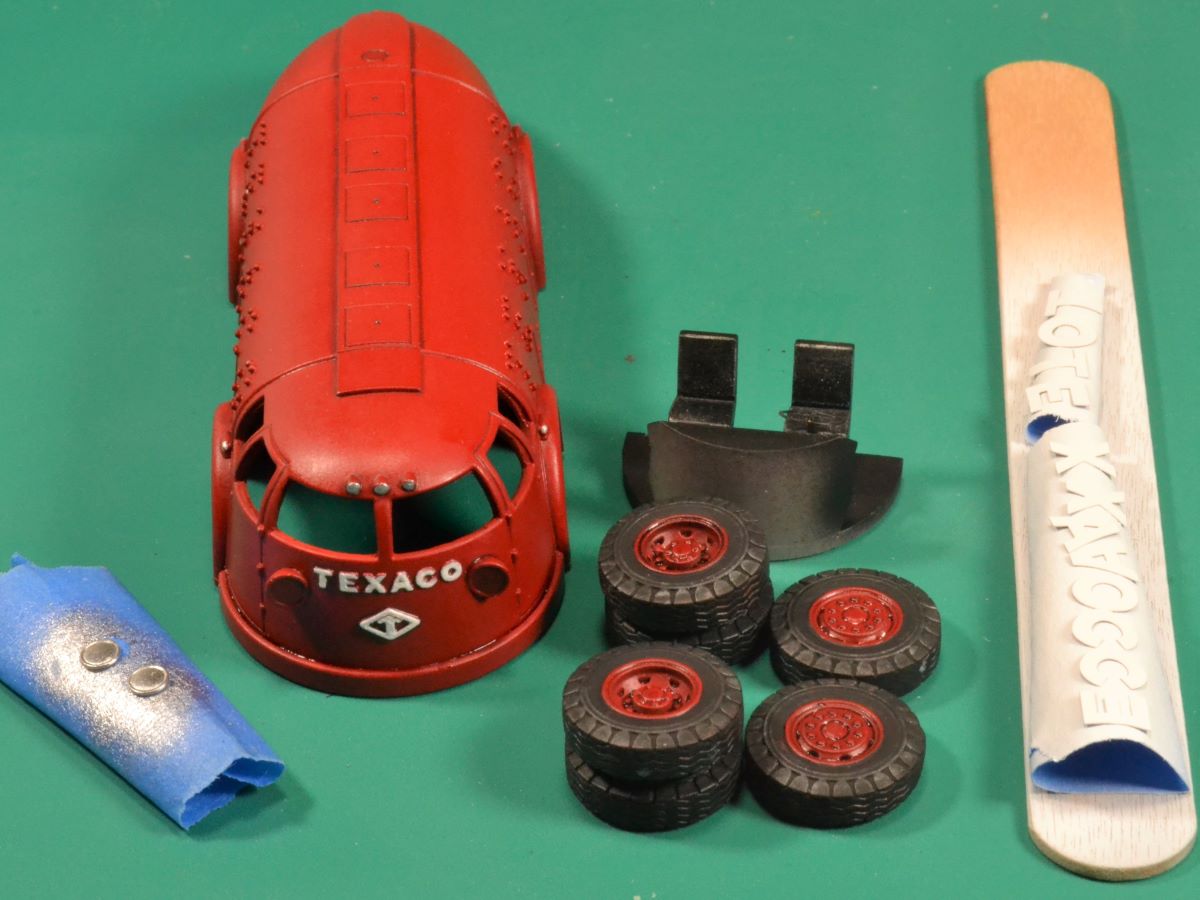
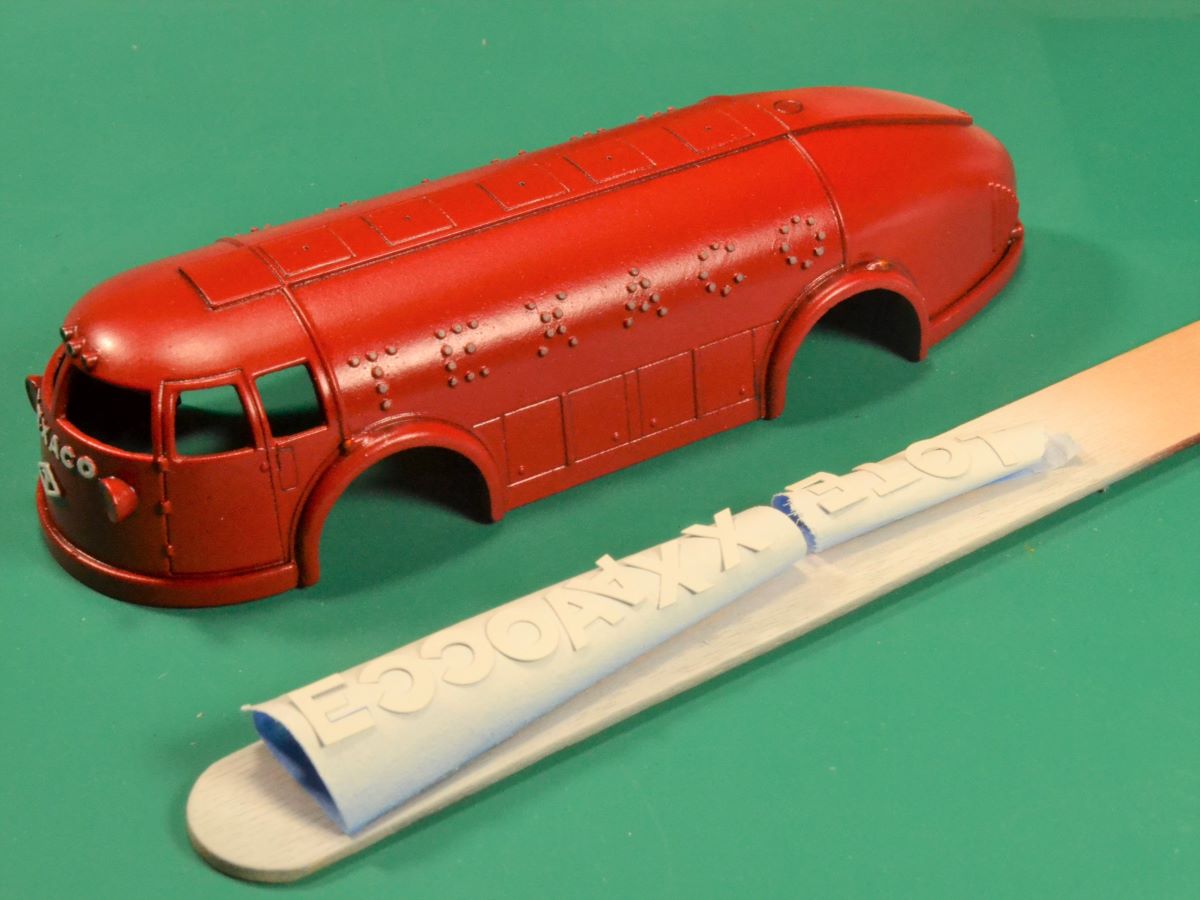
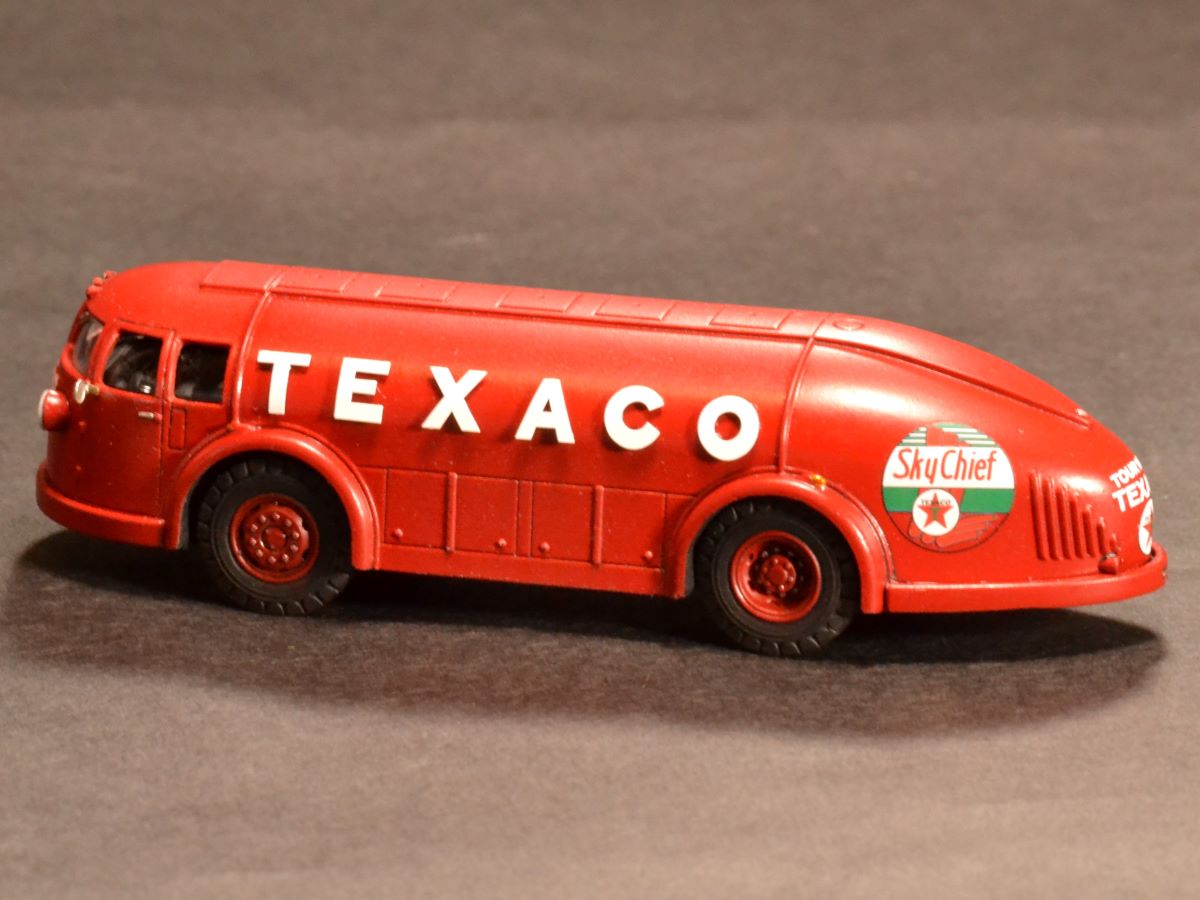
I painted the outer body and wheels with Tamiya Flat Red. Next, I brush coated Future so I could add a home-brew black acrylic pin wash to some recessed areas for added depth. Once the wash was dry, I airbrushed a coat of Vallejo Gloss Clear to seal in the red paint and wash.
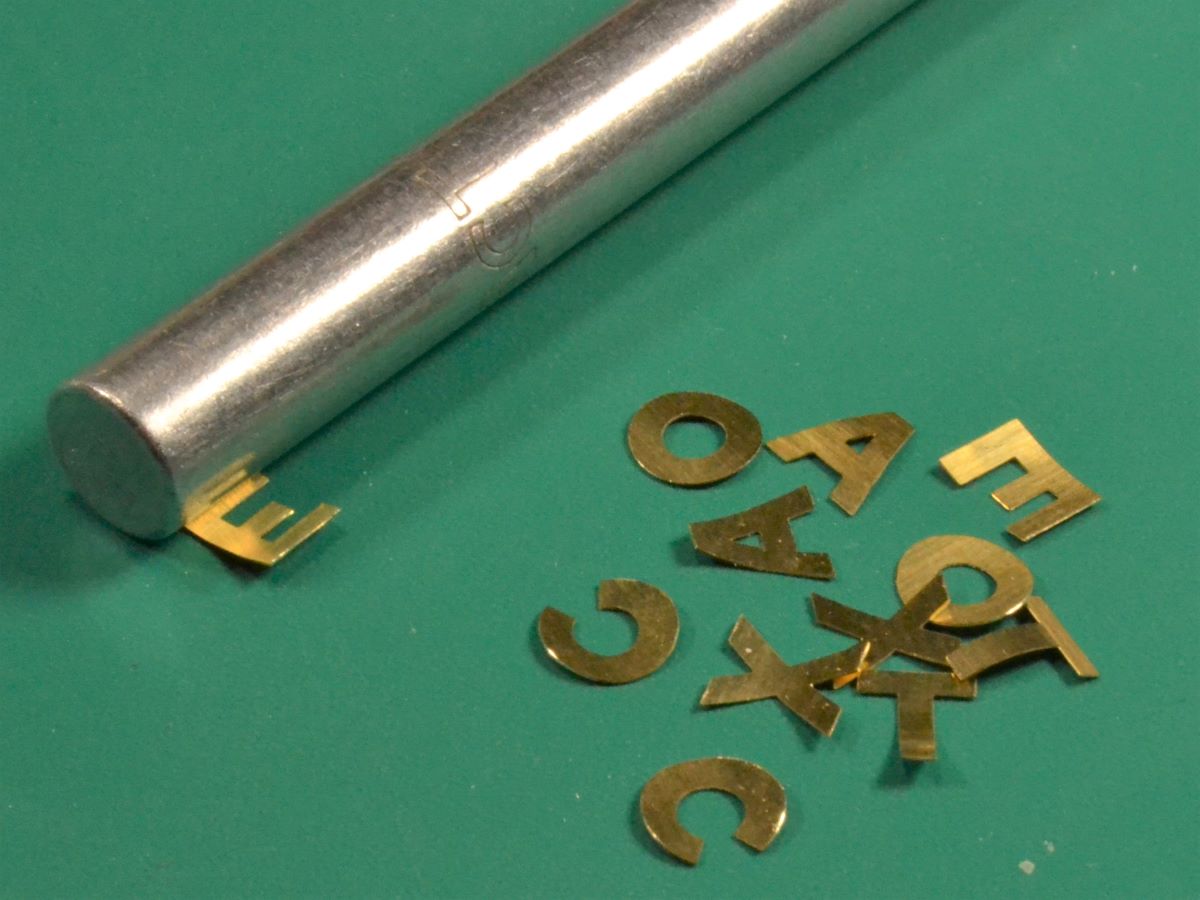
The photo-etched TEXACO letters were cut and filed to remove the attachment burrs. Then, using a round Xacto blade handle, I rolled the letters so it could match the curvature of the mounting stubs on the body. Next, I rolled some blue painters tape to attach the letters so I could airbrush it with Tamiya Flat White. This was then followed by Testors Dullcote lacquer to add more durability to the paint.
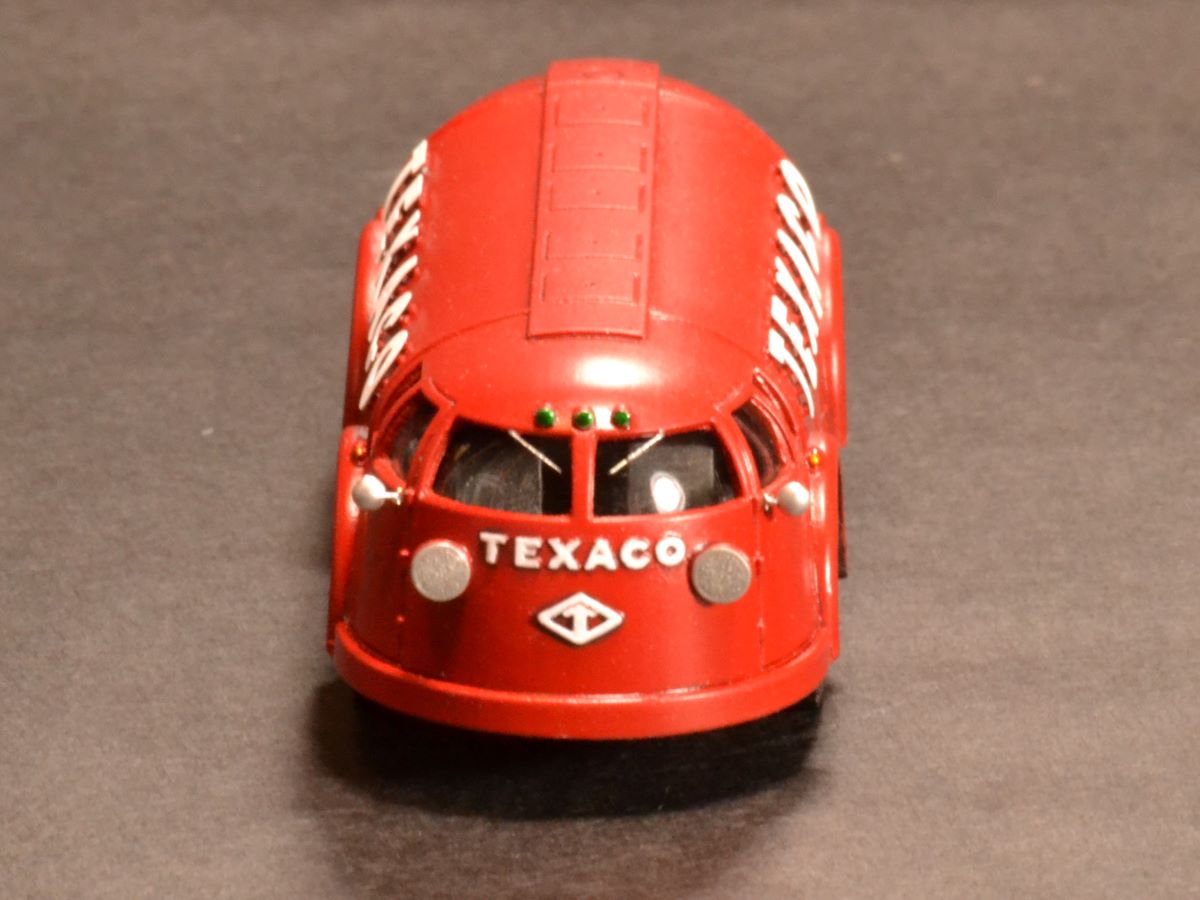
The headlamps were painted with Alclad Chrome and then I applied 2-part clear epoxy to give it a dome glass look.
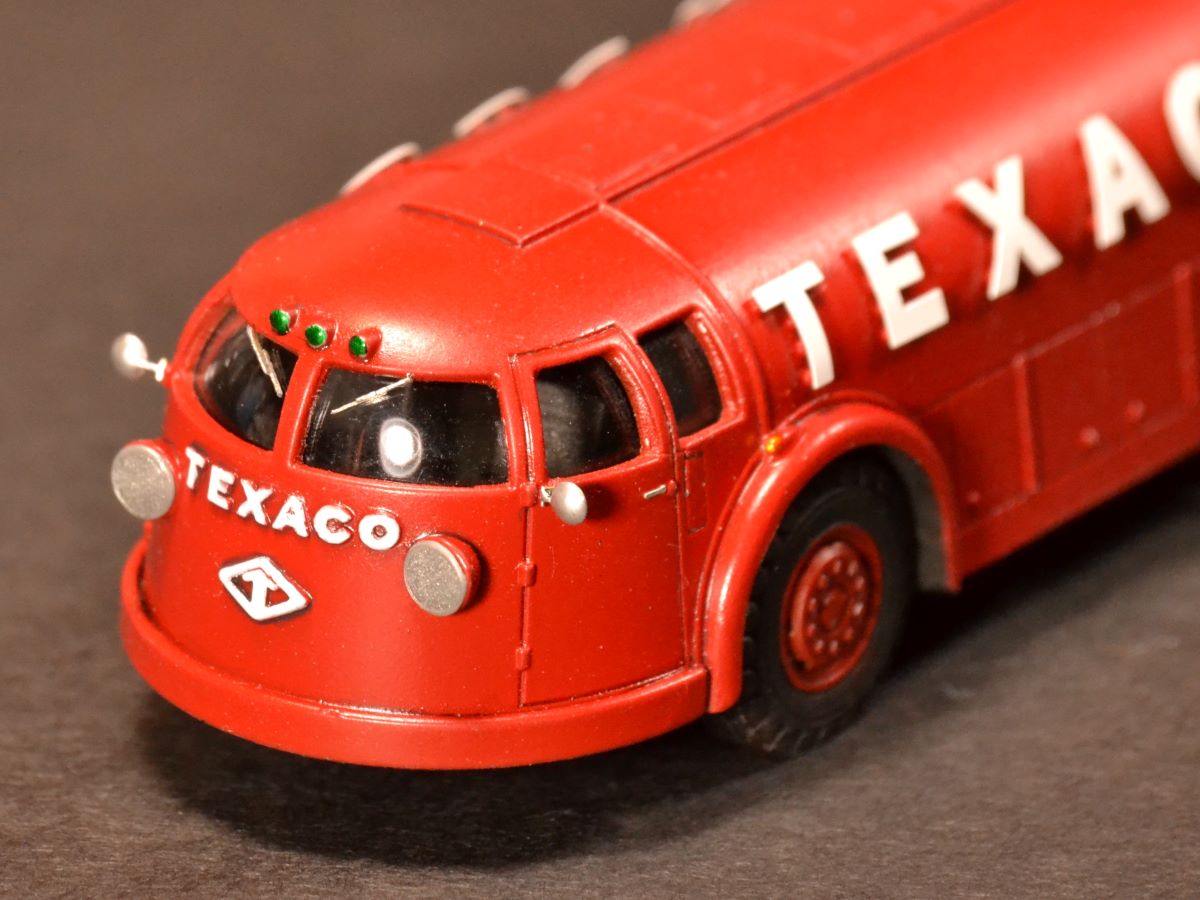
The frontside TEXACO letters were hand painted with Vallejo White. Several layers were applied to build up the opacity.
The other molded-in smaller lights were painted with Vallejo Aluminum as a reflective base and then top coated with Tamiya Clear Red, Orange, and Green.
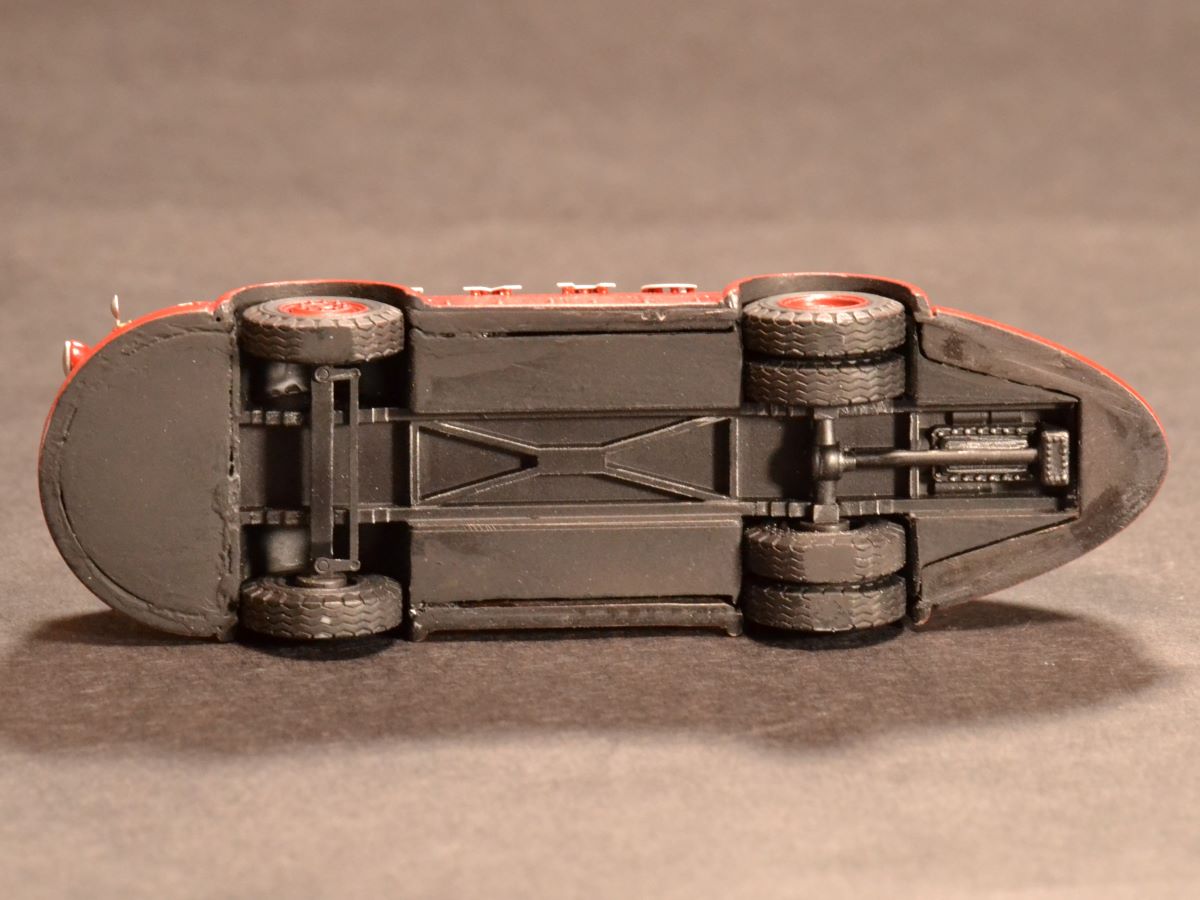
The major build up with the chassis, windscreen, driver’s compartment, body, and wheels were done using CA. Note, CA is the main bonding agent for this last portion of the build and can craze the clear windscreen if not protected with a coat of Future. And a lot of CA was used.
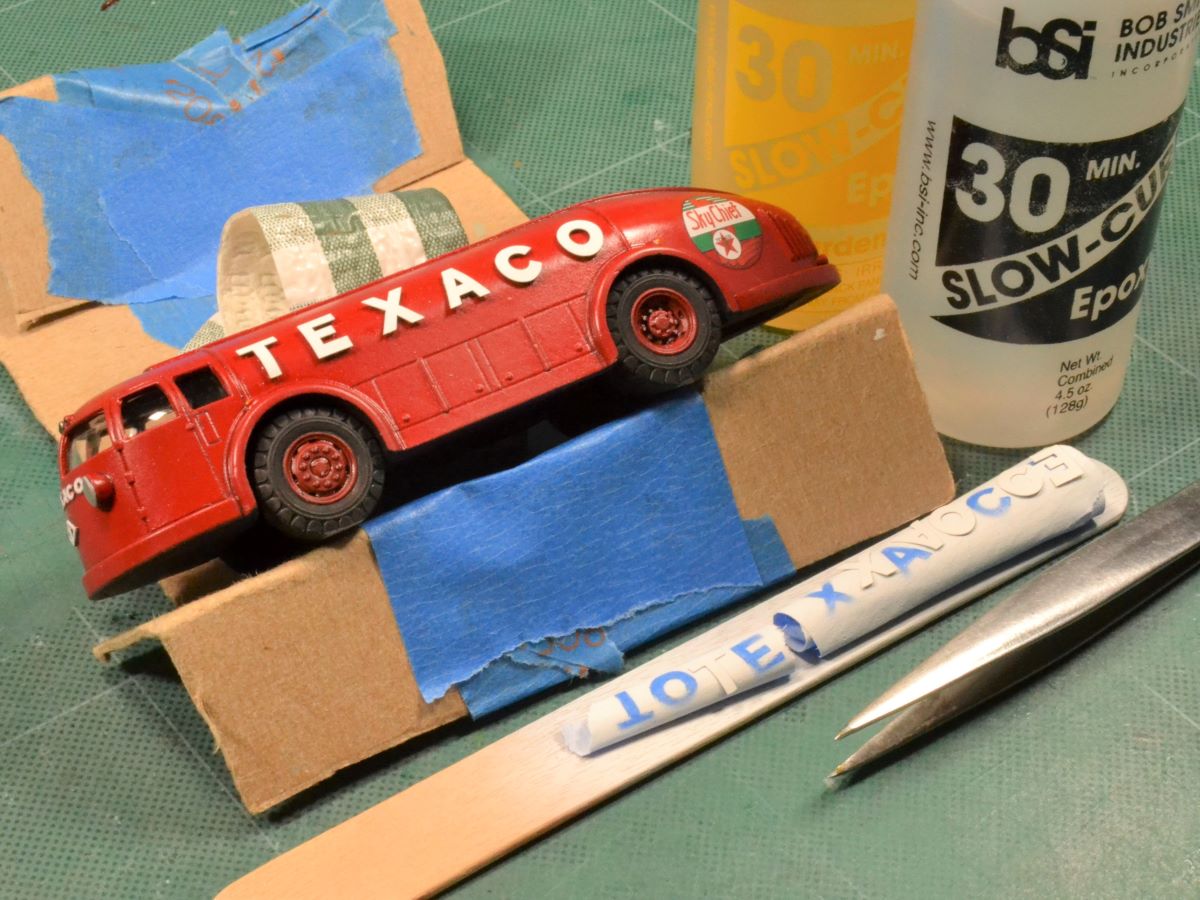
Decaling was next. The clear film must be cut away from the printing area since the decal sheet one clear film. Once on the model, it reacted well to Microsol to conform with the curvature of the rear surface.
The side TEXACO PE letters were installed using 2-part epoxy. Prior to installation, I sanded off the paint from the tops of the supporting stubs for a strong bond. Using 2-part epoxy allowed for a slower drying time to move the letters in alignment. Lastly, I attached remaining PE (side mirrors, door handles, and windshield wipers) using CA.
Conclusions
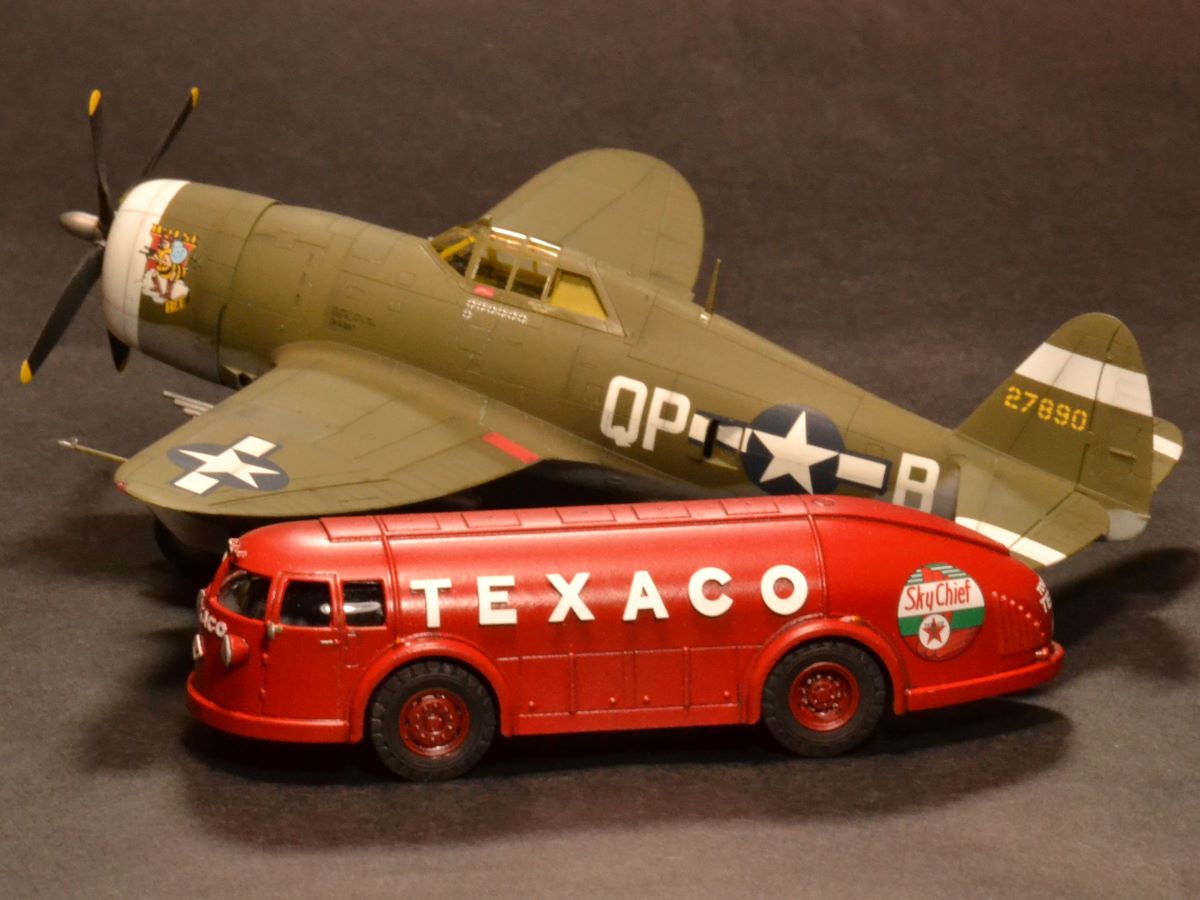
This is a nice kit from Brengun. It took me less than 3 days to complete over a weekend and it was very enjoyable. This is not a competition model due to some gaps that need filling between the resin parts and the simplicity of the kit. However, it would be a great kit for a 1/72nd diorama for an airplane scene next to a C-47 or another transport plane of the era. A unique subject and to not too difficult to build and the red color is an eyecatcher. I did take a picture of the Doodlebug next to a 1/72nd scale P-47D Thunderbolt as a reference for size versus a WWII plane.
I want to thank Brengun for providing this multimedia kit to review. Also, I want to thank IPMS/USA Reviewers Corp for allowing me the opportunity to review and build the 1/72nd Texaco Doodlebug fuel tanker truck.
Recommend!


Comments
Add new comment
This site is protected by reCAPTCHA and the Google Privacy Policy and Terms of Service apply.
Similar Reviews