
Texaco Bug US Refueling Vehicle
History
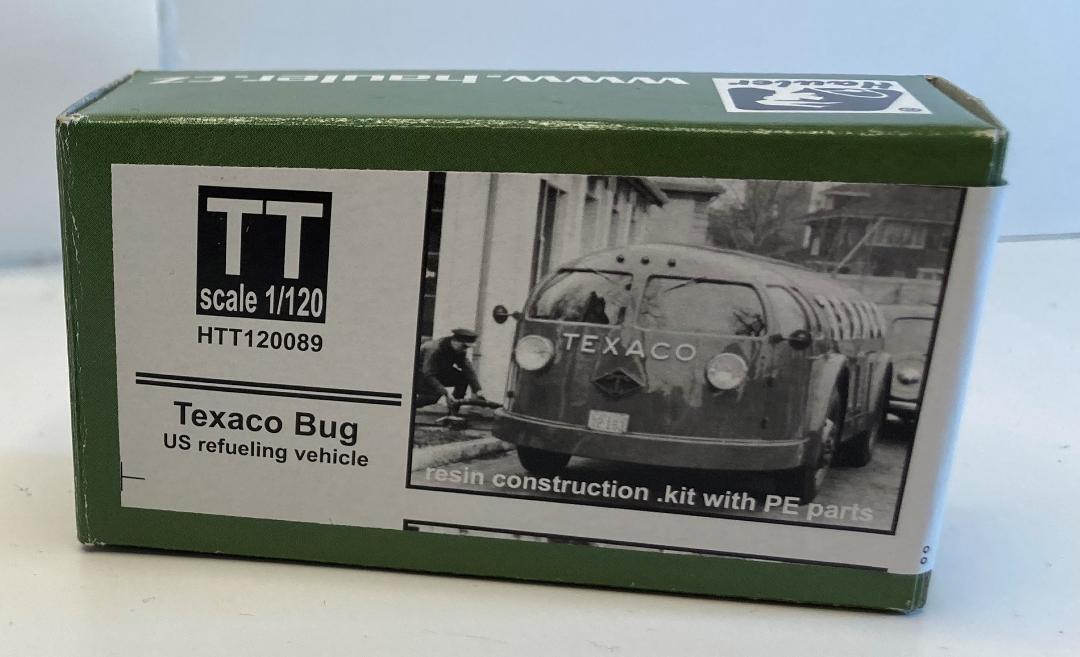
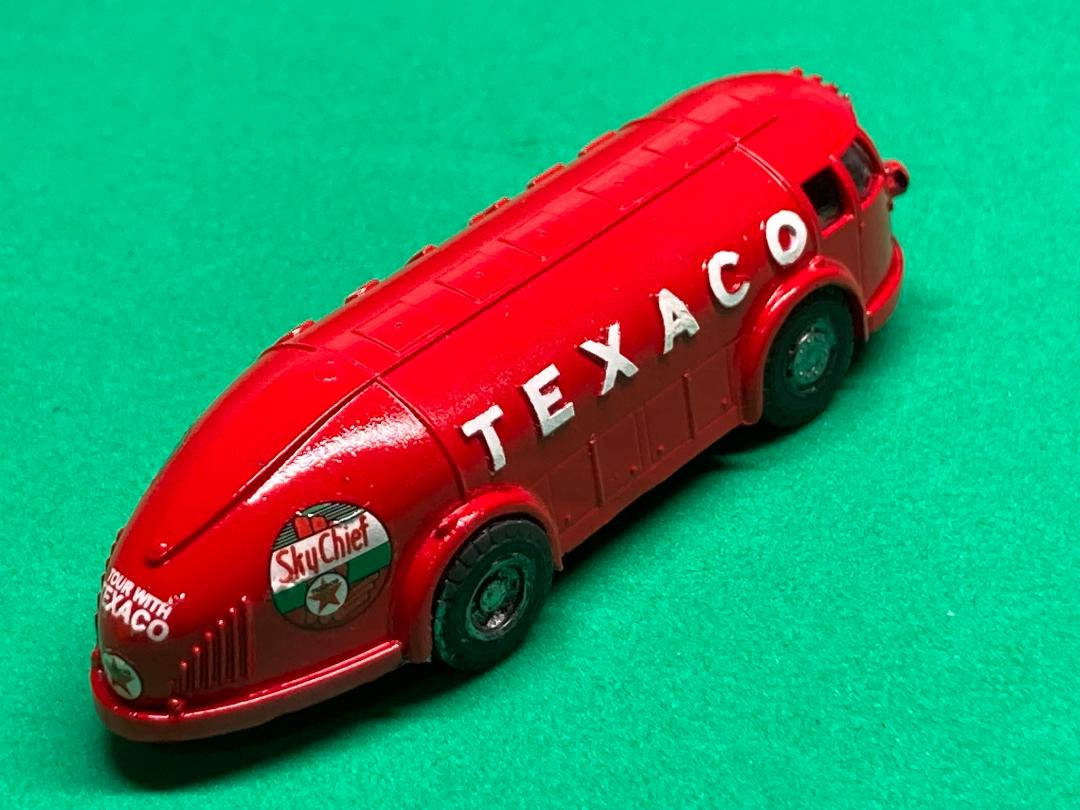
Back in 1935 Texaco was thinking of the future. Commissioned to help market the company it is believed there were 6 Doodlebugs produced. Coincidentally it was the smooth streamlined look of it that drew me in and motivated me to build this for my 1st IPMS review. It was only 6’ tall, carried 1500 gallons of fuel, and featured a unique compound curved glass windshield. I think you would be hard pressed to find a car in the 30’s with this kind of silhouette, let alone a heavy tanker truck.
The Kit
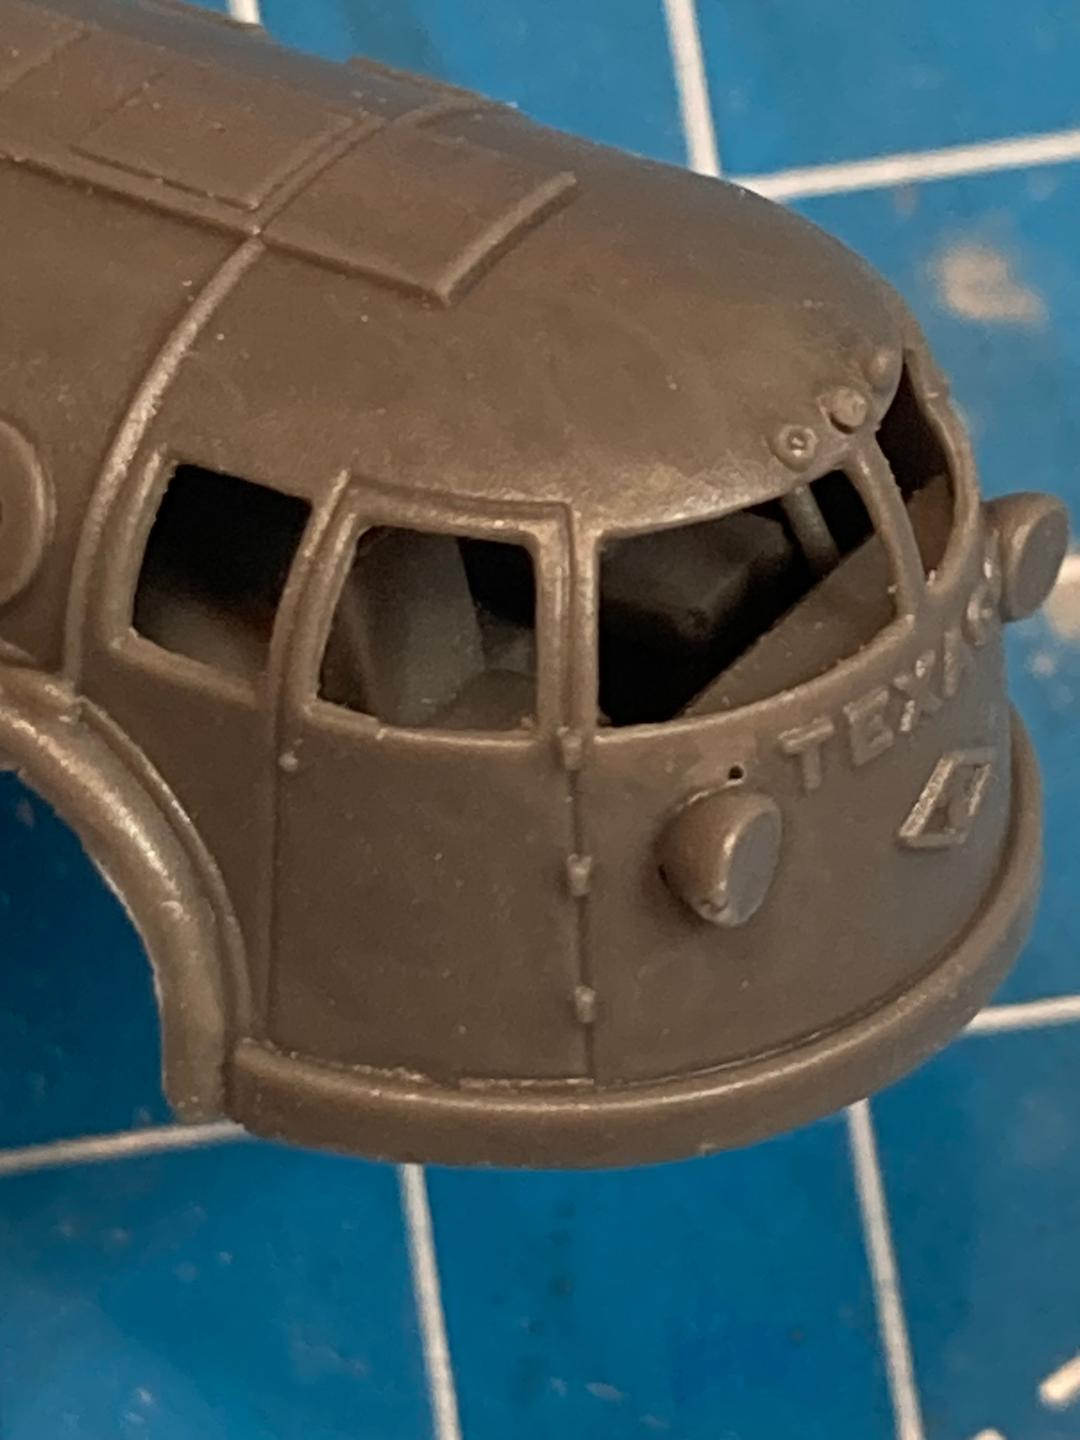
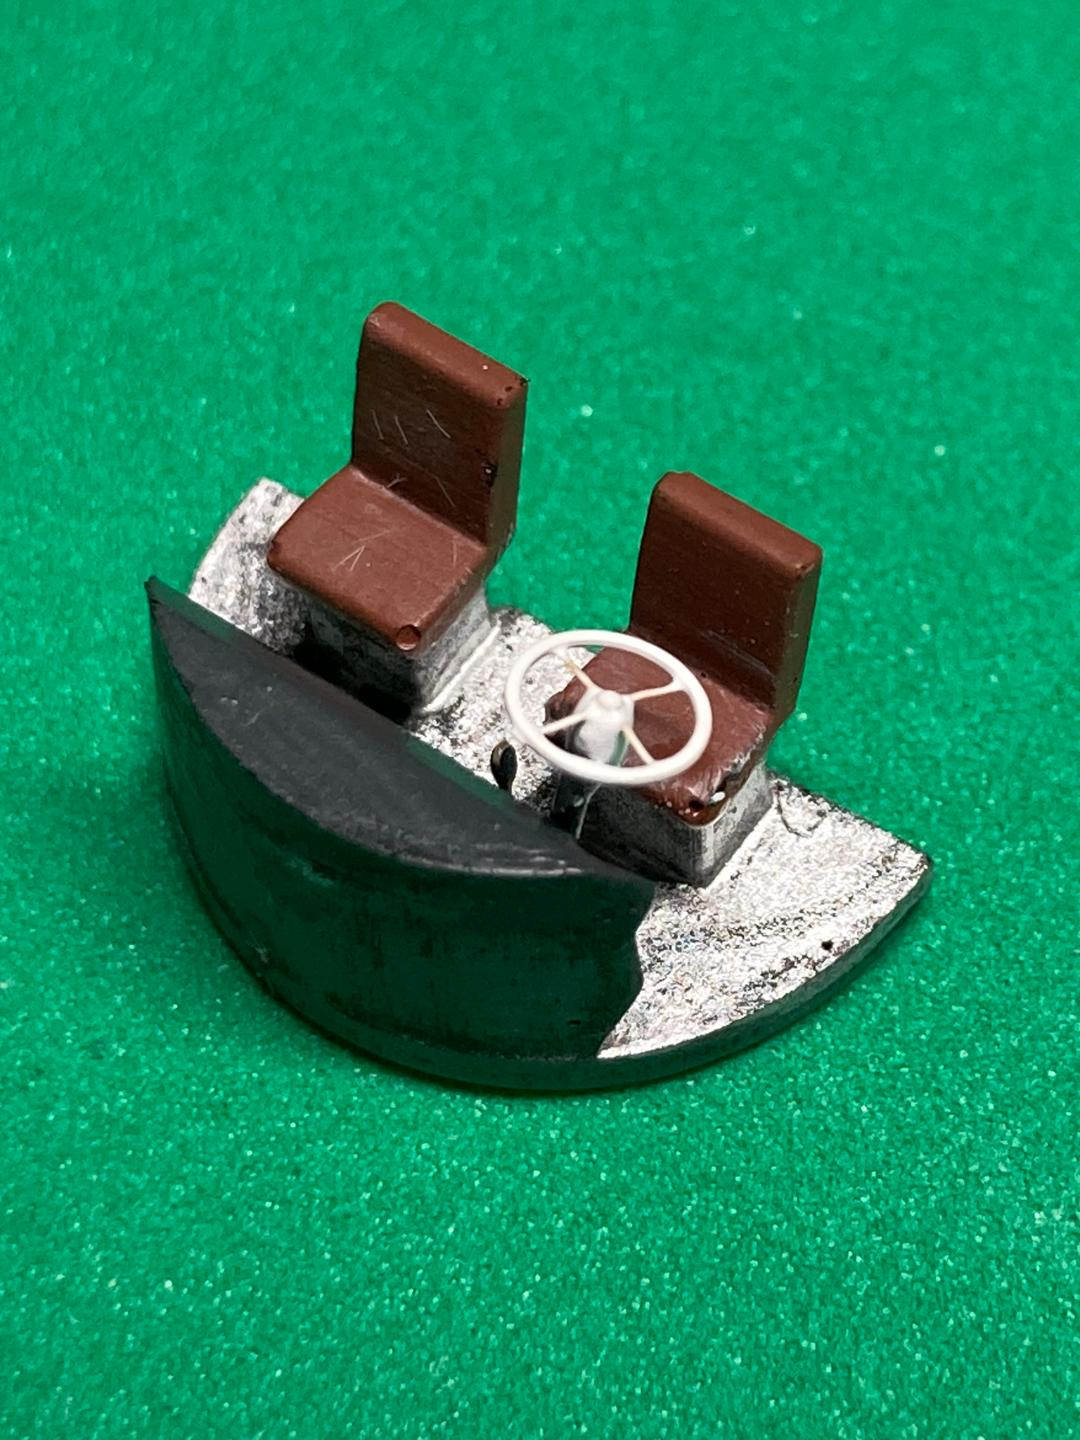
Hauler packages the Texaco Bug in a stiff little box, perfect to protect the delicate parts inside. The resin is crisply detailed, especially for the size of the Texaco Bug in 1/120th scale. There were a few small pinholes that required a very fine application of filler prior to painting. A real bonus is the stick-shift and steering wheel on the PE fret that give the interior some interest as there is plenty of glass to see through into the cab.
The contents of the box include:
- 6 resin trees consisting of 12 parts
- 1 clear vacuform of the glass
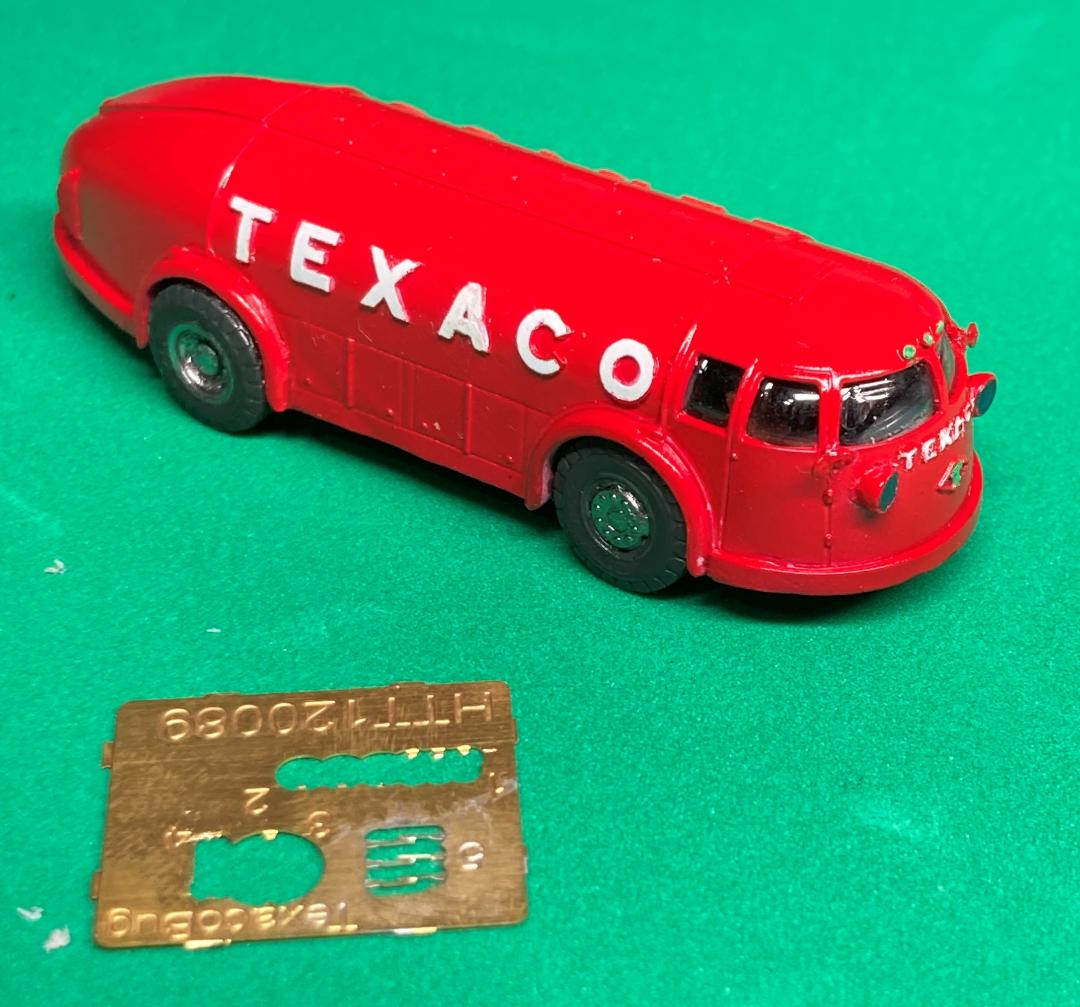
- 1 PE fret
- 1 decal sheet
- 1 instruction sheet
- thei nstructions
The map style folded instruction sheet is clear and I was able to build the kit without any placement issues. There is a discrepancy in the scale; the instructions indicate it is 1/160th vs 1/120th on the box. Some quick math based on the length of the truck vs the 26’ of the Doodlebug put it at 1/120th as the actual scale. There are two decal options. Colors are indicated as red and white.
The Build
Overall assembly is pretty straight-forward. The key is deciding how you would like to proceed with painting and finishing. The key being whether you want to try and mask the vacuum formed glass prior to painting. I was concerned about pushing the glass in or having paint creep between the glass dividers of the cab so I decided to paint 1st and install the completed components last.
First up is the cab. The PE parts come cleanly off the fret and appear scale correct in the cab. The seats and dash are all a single mold making painting and assembly quite simple. The most work is in fitting the cab in with the frame part. Careful sanding will yield a clean fit.
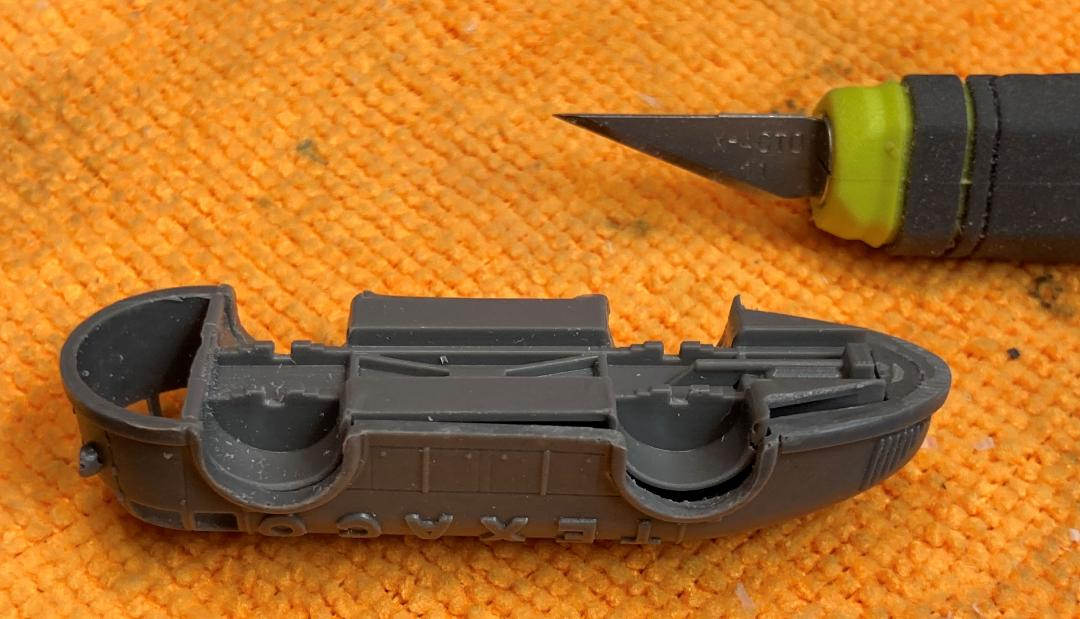
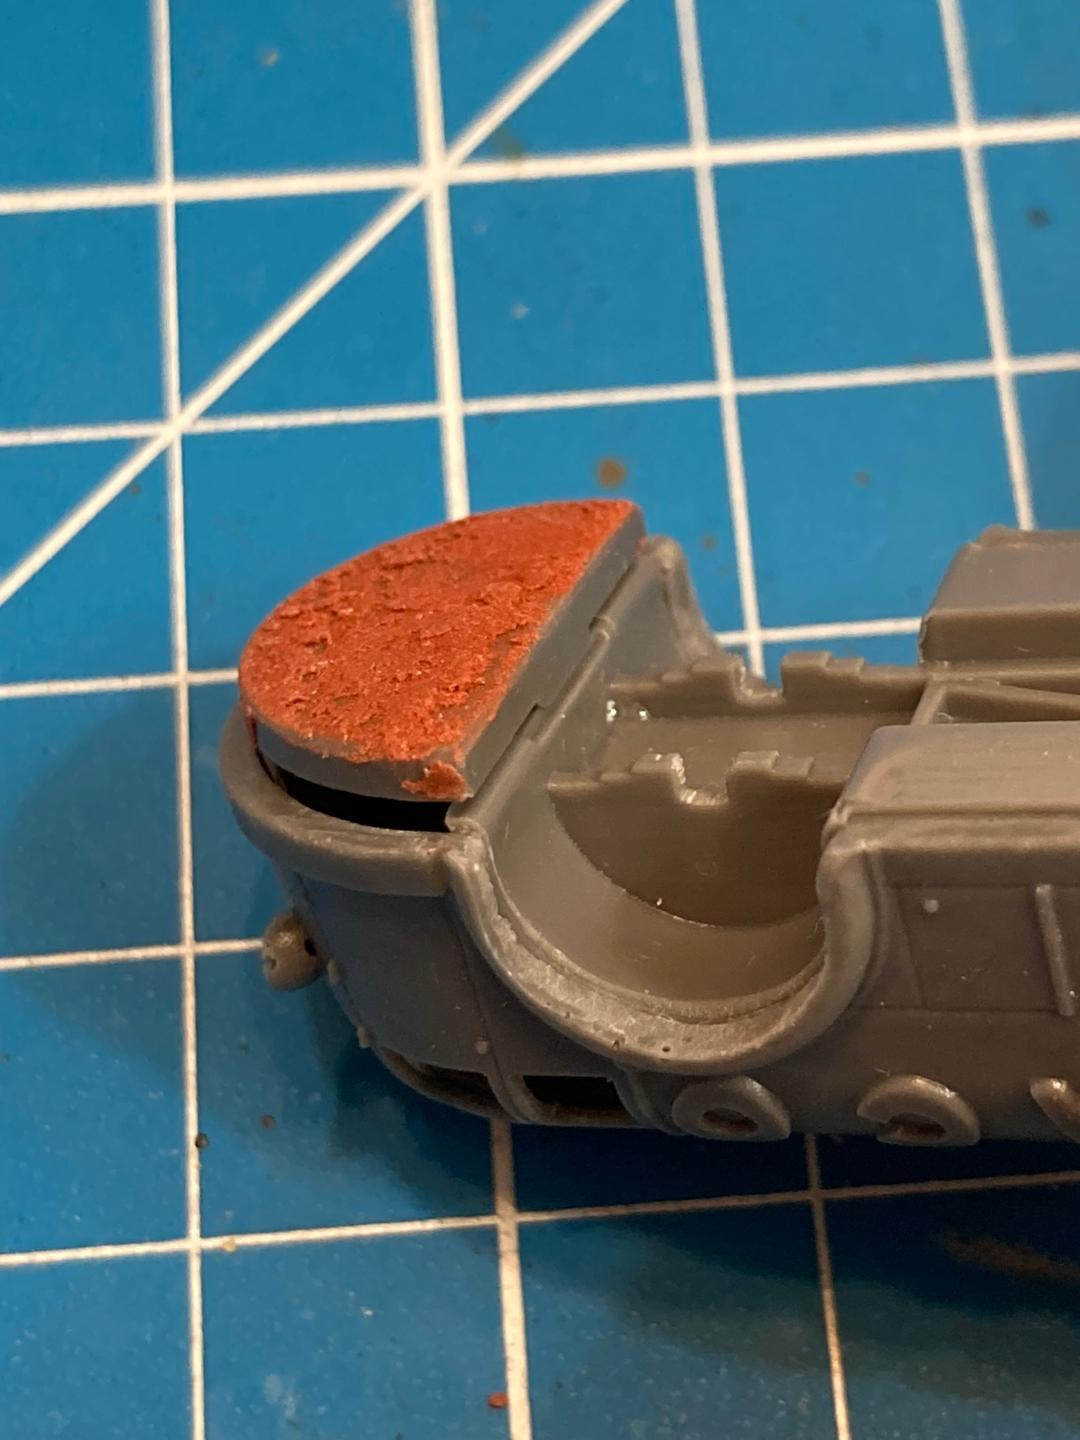
The main work on the body is opening the windows for the vacuum formed glass piece. The openings for the glass are very thin and give you a sense of being in scale. Each window frame cleaned up with a #11 blade and a 400-grit sanding stick (which actually fit just inside the window making it a dream to sand). Next up was cleaning up the slots in each wheel well. I test fit the frame to the body multiple times, making the slots deeper until the frame sat flush with the bottom of the body.
I found the resin above the engine molding needed trimmed back at an angle so that the frame piece would tuck up nicely in the body. The frame slots into fine grooves in each wheel well. Don’t take any length off the frame until you make sure it is aligned with the wheel wells or you will have a gap on one end or the other.
The rear axle in my kit was very brittle. The front axle cleaned up nice however the rear axle broke when I was trimming it. I stopped and laid out the part on the bench to support it and even then, the opposite side of the axle snapped off leaving me 3 pieces to CA together. I would use a fine diamond file next time instead of a #11 blade. I probably had a false sense of security given that I didn’t have a problem with the 1st axle I cleaned up. In hindsight maybe a fine diamond file would have given better results.
The vacuum formed glass needs trimmed just the way Hauler shows in the instructions. I used some 400-grit sandpaper to do the final trimming. Test fit the cab with the glass in place as the cab will hit the edge of the glass and stop short if the glass is too tall. The dashboard will hit the glass and it won’t look right otherwise. When done up right it fits nice and tight making an invisible seem between the cab and the dashboard.
Painting, Decals, & Finish
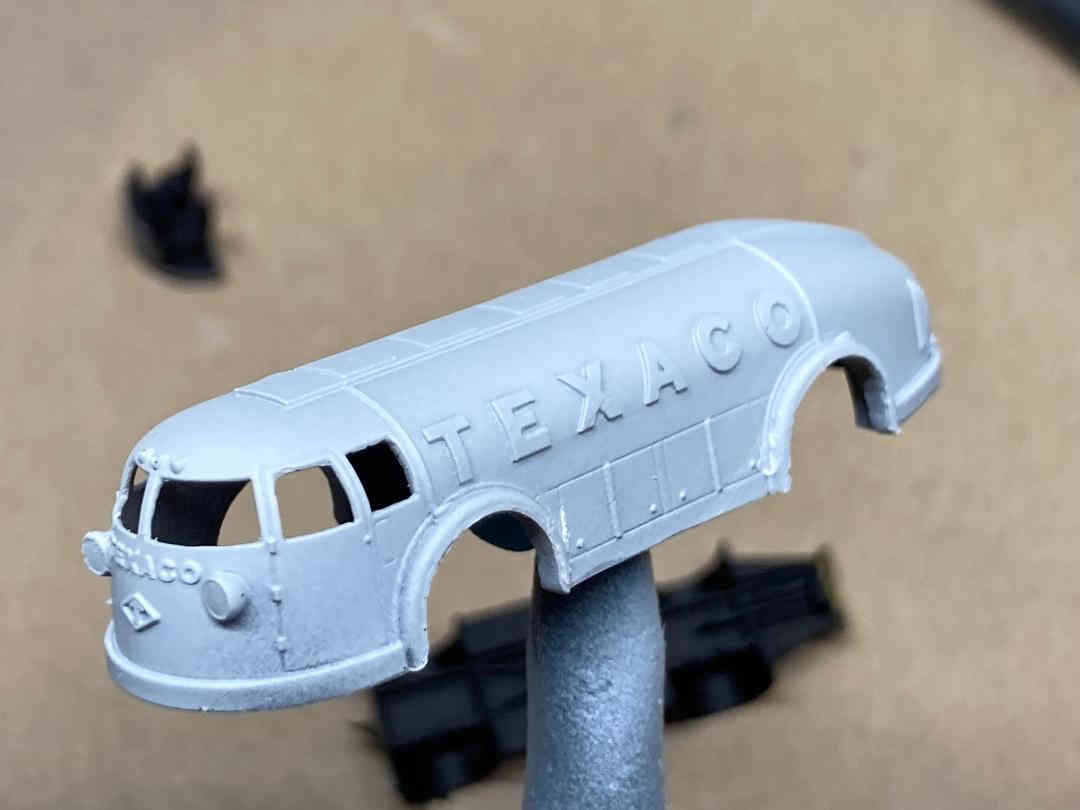
Prepping the resin for paint consisted of the obligatory wash in warm water with some dishwashing detergent added to it. There were a few fine pinholes in the resin that were filled with Perfect plastic Putty using the end of a sharpened toothpick. I opted to prime the body with Citadel White Scar out of the spray can. A fine primer is key to maintain the details you will find in this resin kit.
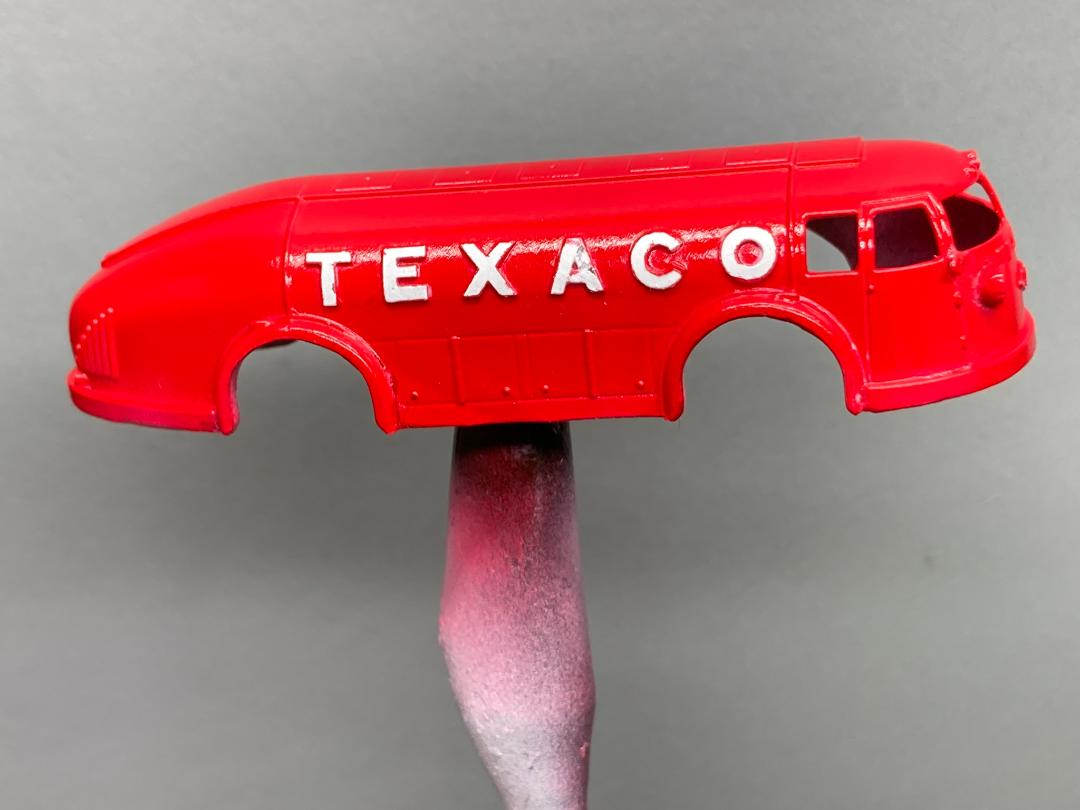
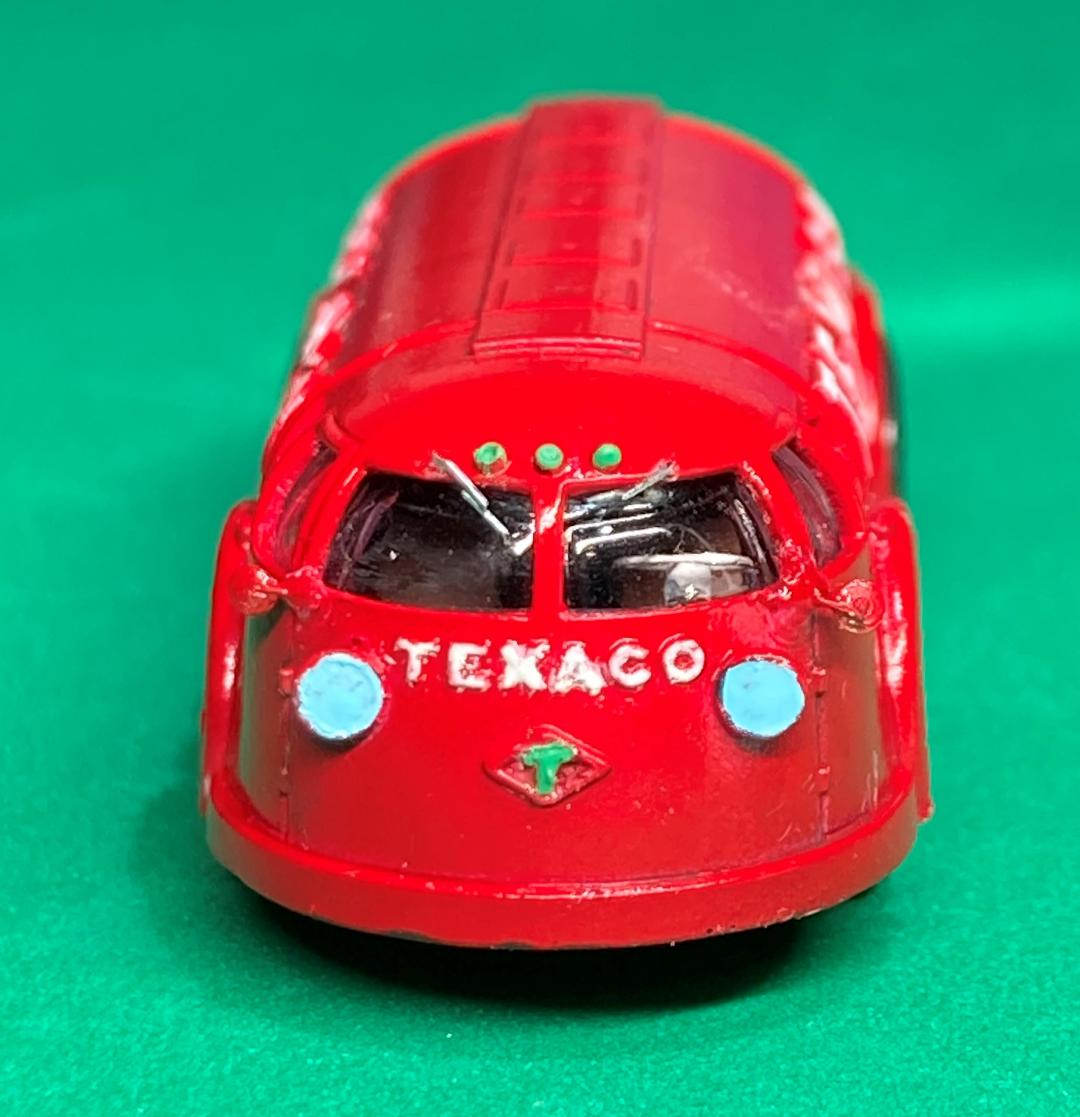
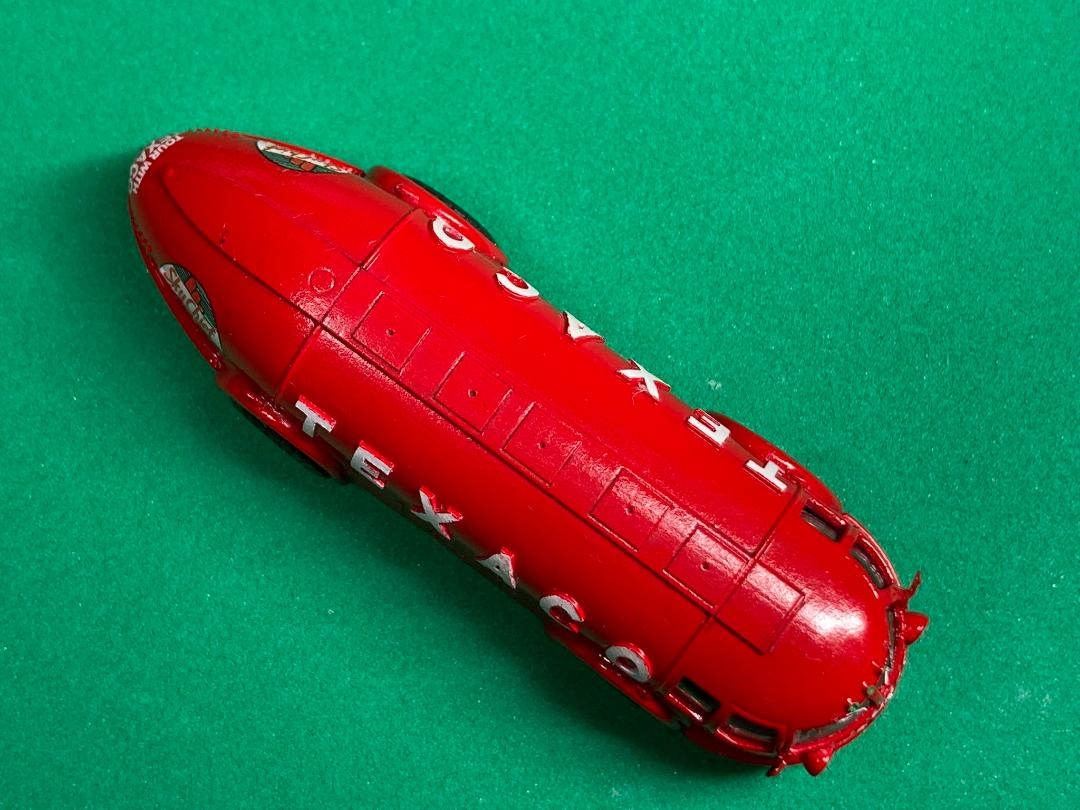
The final red color would “pop” better with a white primer I felt. The color coat is MCW Guards Red. These are gloss colors to start with so no additional clear coats are required before decaling. I kept the frame in a satin black. There are very few pictures of these trucks. The only color shots appeared to be colorized after the fact. Between that information and that the trucks were a marketing tool I kept everything pristine. I only opted for a black pin wash across the top of the tanker. Several photos show the top open and rear vent lifter so I thought the pin wash would add a shadow to these areas. It works well from a distance so don’t be too alarmed with the close-up shots required to capture this little Doodlebug.
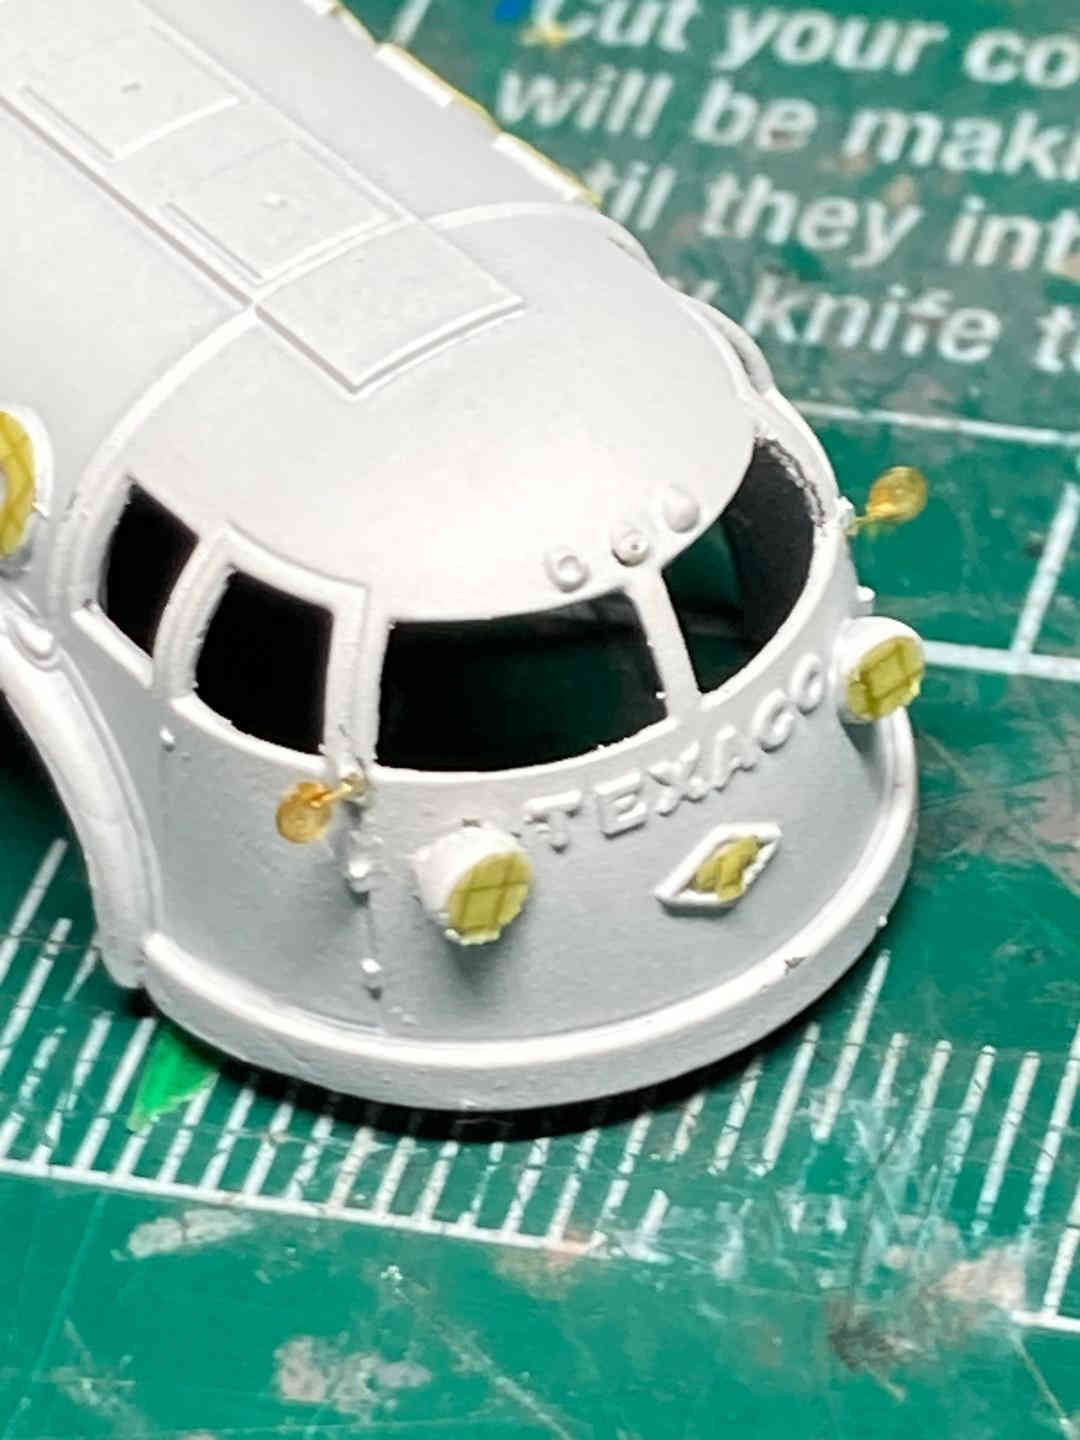
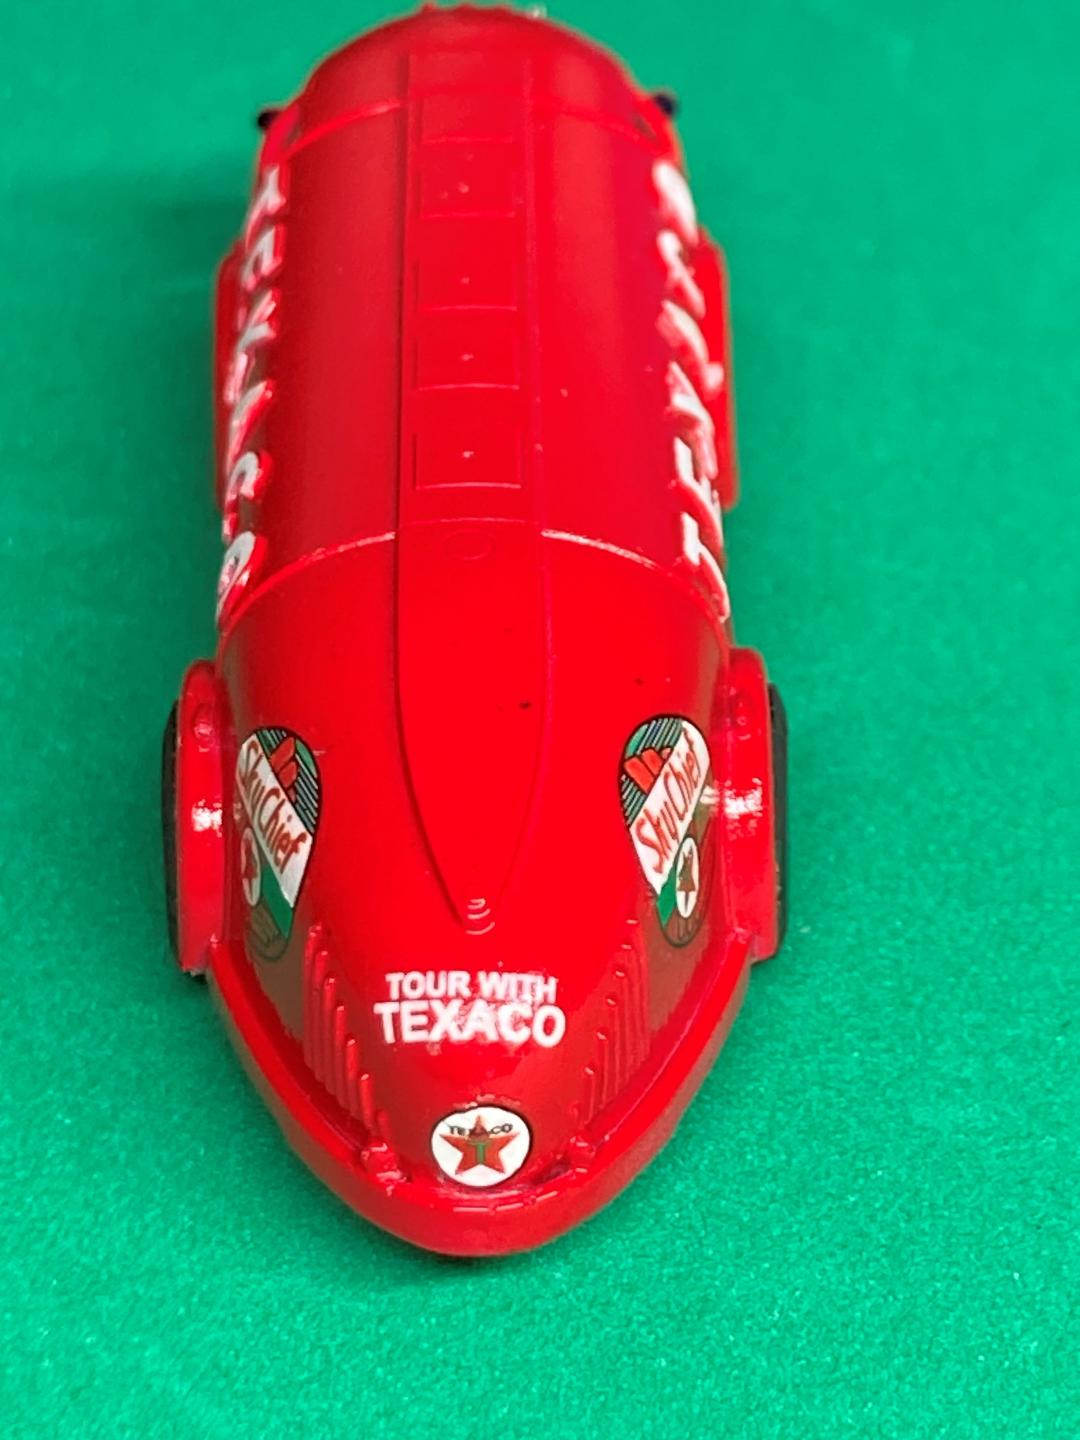
A side benefit of priming in white was that the main Texaco lettering could be masked over to create clean lines. The detail on the cab front challenged my fine painting abilities under a magnifier. I didn’t do Hauler justice in this area. Even with a toothpick I had trouble defining the intricate lettering they molded.
Wheels and tires have a lot of detail. A steel metal color from MCW and Tamiya rubber black fitted out the rolling stock appropriately for a marketing tool like the Doodlebug.
I was a little scared of the PE due to its size. Hauler seems to know that might be the case as they provide an extra sideview mirror and windshield wiper on the fret. The windshield wiper came in handy as my 2nd one went off into oblivion as PE parts often do. The side view mirrors have a small brass nub that definitely helps with attachment to the body. Scale looks correct again and each piece adds to the look of the finished truck.
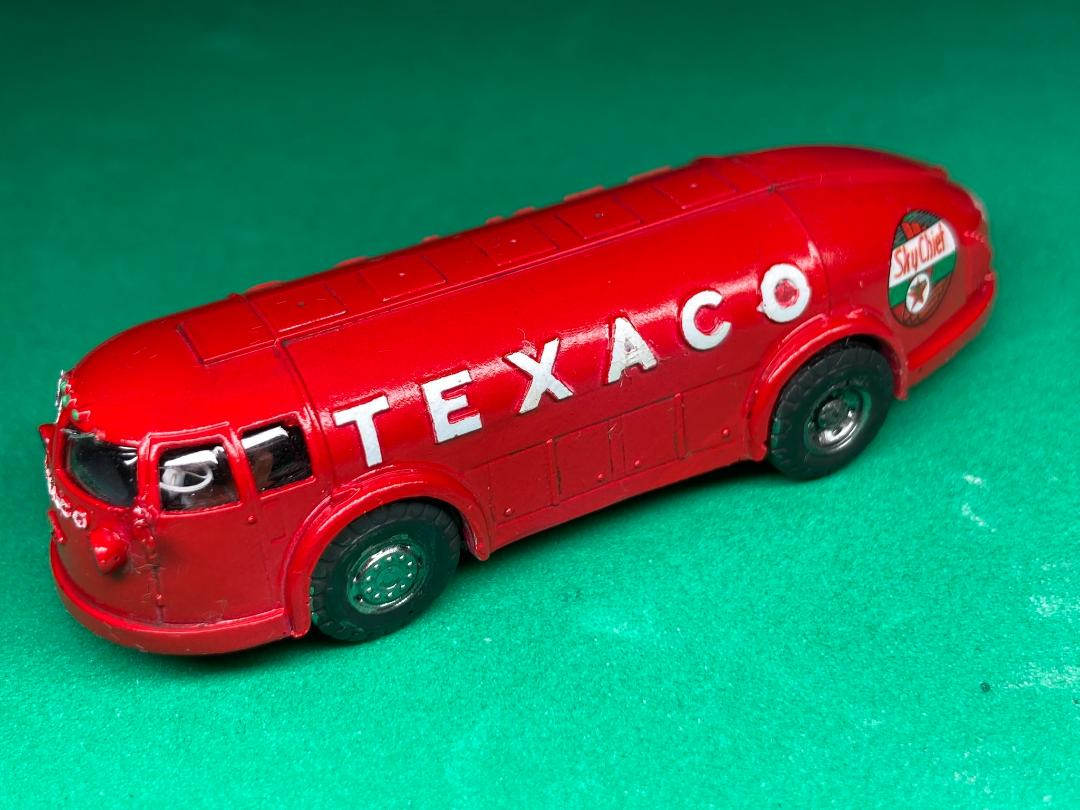
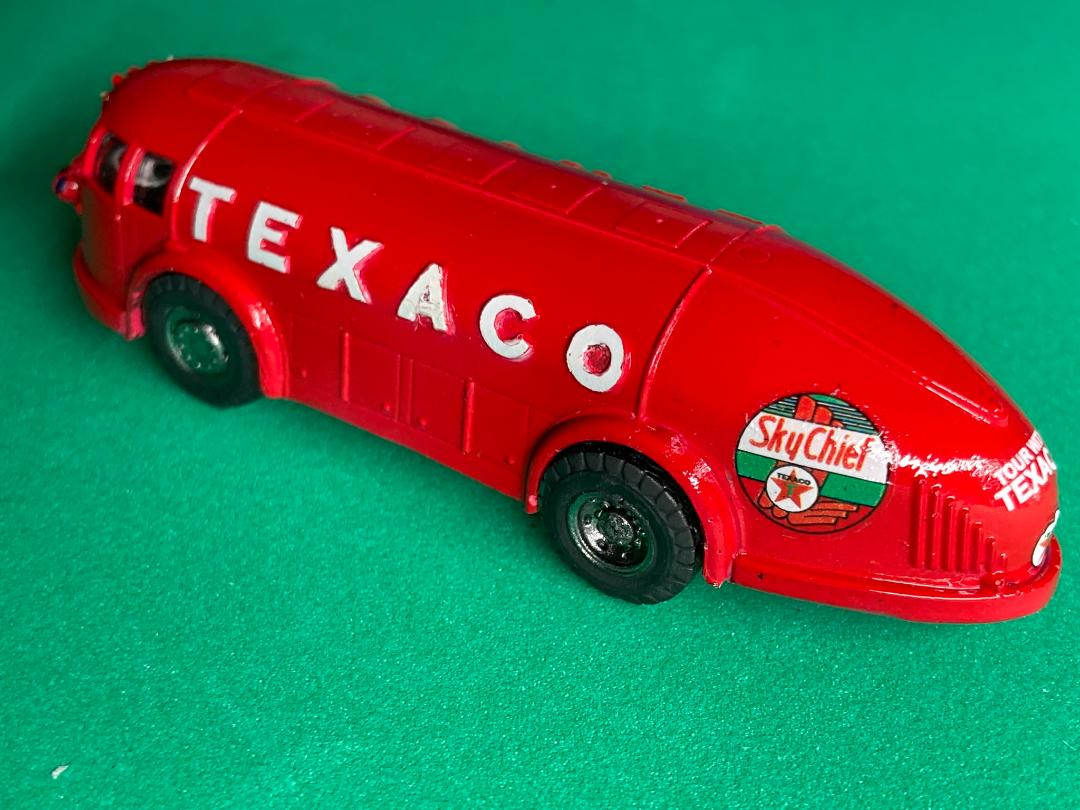
Decals are printed on a single sheet and must be cut from the transfer film. I used a new #11 blade to go gently around each of them before dipping them in water. I used a circle template as a guide to get a clean cut around the sky Chief logos. I opted for Sky Chief as that option included the Drive With Texaco decal on the back of the truck as well. This was the greatest challenge as it required the decal to sit down on a sharp complex set of curves. I took my time, starting with MicroSol initially and then moving on to Solvaset over the next 2 days. I would apply a thin coating and then let the decal sit for a day before another application. All the decals settled down nicely over time and are nearly invisible under a clear coat now.
Conclusion
Overall, this tanker truck was as fun to build as the picture was to look at! Detail is crisp, the parts fit well, only requiring just basic cleanup and fitting with a sanding stick. It will show nice on my shelf and I think grab people’s attention with the bright red finish even given its small size. Detail is abundant on this Hauler rendition of the Texaco Bug.
I would like to thank Hauler for providing this kit for review, and to IPMS USA for giving me the opportunity to build it.


Reviewer Bio
Chris Vandegrift

When Chris isn't modeling he's restoring old cars or doing home remodeling in his spare time. Both have helped improve his modeling. "Having learned to paint cars, quite a few of those techniques apply to priming and painting my models," he says. Chris used to build aircraft exclusively, but has expanded into ships, science fiction, armor and cars. A member of multiple IPMS clubs in Ohio including Akron's Ed Kinney Chapter, Wright Field and Cincinnati Scale Modelers, Chris started building models when he was about 7. Chris lives in Cincinnati Ohio; a Mechanical Engineer by trade, he's the head of Operations and Engineering for a company that makes pumps. He's been married to his wife Jane for 30 years; they have four kids ranging from 20 to 34.
Comments
Add new comment
This site is protected by reCAPTCHA and the Google Privacy Policy and Terms of Service apply.
Similar Reviews