
Tempest Mk V Series 2
Eduard has released the long awaited Tempest Mk.V series 2 in their Profipack boxing and what a treat that is. The box includes a total of 7 sprues (two clear), plus pre-painted photo-etch cockpit details, detail pre-cut masks and cartograph-printed decals for 6 different airframes. Not only that, but you will end up with some extra parts for your spares box, as there are a few parts for the Mk.V series 1 and you also have some optional parts for different airframes. A comment is that some of the sprues seems to have been molded with a slightly different color of plastic (one is a tad bluer than the other sprues). Regardless the color, all sprues have the same ‘feel’ when removing parts or sanding parts.
Construction starts -like most airplanes- in the cockpit. A superbly detailed seat, stick and cockpit frame is provided, which with the addition of photoetch and careful painting becomes a small gem. One of my modelling buddies said: “That is a great looking cockpit!”. I’m not a master modeler, so if my buddy said that is because Eduard helped me reach the status of having other modelers to admire my work.
A word of caution with the cockpit: Parts D4 and D17 are the cockpit sides frames, which typical of the Hawker design has plenty of thin rods building a “cage” around the pilot. Eduard molded the connecting rods with such fine details and the frames are so thin, that the frames got damaged during transportation. I had to replace some of the framing with plastic rod.
Next up is the big radiator inner works. The full subassembly has a total of 9 parts which fit perfectly with each other. Some detail painting is the only thing needed but honestly, only the front part is really visible. The back side of the radiator is hard to see.
Closing the fuselage presented no real issues (fit is amazing). However alignment of the cockpit “cage” was challenging. Eduard provides 10 alignment pins for the cockpit (4 per side and 2 in the bottom). Perhaps due to the scratchbuilt of some cockpit cage parts (that broke during shipping) something got miss-aligned and I had to remove some of the alignment pins to get things to align. I only kept the top alignment pins in each side.
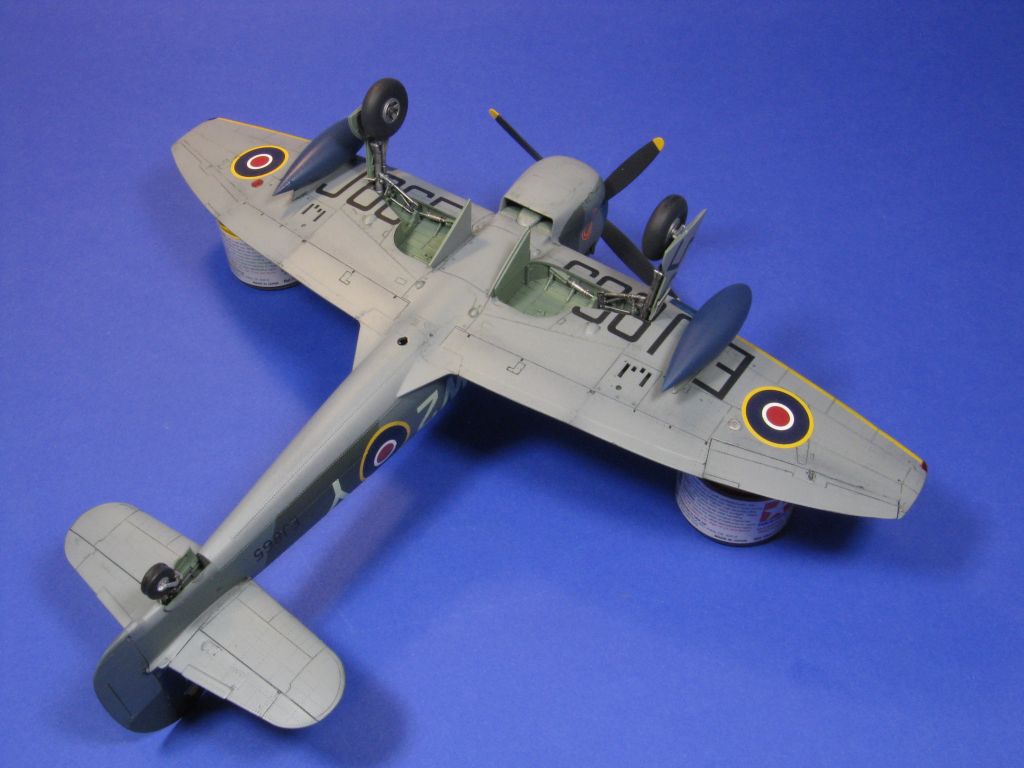
Once the fuselage was closed, I set it aside to let the glue fully cure and moved on the wings. Assembly of the wheel wells require some detailed work due to all the landing gear and landing gear doors actuators, many of which are molded independently. I believe there is a total of 13 parts that goes in each wheel well. That might seem a bit too many but the engineering is superb, and the fit is excellent. The final wheel wells look great, with all that detail. Just make sure you don’t lose any of the small actuators in the carpet.
Presenting the wings to the fuselage showed no fit and no gaps. You might notice that I did have to add a thin piece of plastic on the wingroot but that is because of overzealously cleaning of the fuselage part with a sanding stick. If I could have been more carefully there would have not been the need for that fix.
At this point I started to prepare the surfaces for painting. There was very little work needed, just sanding the seams and applying a tad of filler on the main fuselage seams. Probably the area were most filling was needed was in the lower side of the radiator chin, and that was because I was a bit to heavy handed when removing the attachment pin and I damaged the part (i.e my own fault).
Painting was accomplished with enamels and after a careful masking job I applied two thin coats of Future in preparation for decals. The decaling process was eventless. The only thing I would recommend is to take your time and work your way through the fuselage markings as they have to lay down over a few rows of raised rivets and I needed to puncture and apply MicroSol/Set a few times on the decals for proper setting of them. Another coat of Future sealed the decals for the final weathering. This was just a simple enamel panel wash along all the panel lines and some of the deepest recesses.
At this point construction was reaching the home stretch with the landing gear and the drop tanks (which were molded in clear plastic, something unusual, but nothing wrong with it). The landing gear struts have very firm location points and also a very good and clever engineering to connect the landing gear struts with the landing gear covers. It is virtually impossible to misalign the landing gear considering the clever engineering.
And... That is when disaster struck. As I was looking the model straight on (to check for alignment) and when holding it only by the wingthips… I accidentally dropped the model. I caught it before it hit the ground, but still my fingers got caught on the landing gear and snapped a few pieces. Some PE part that goes in the radiator chin also went awol. I was actually able to find it and I glued things back the best I could, but... oh well.
At this time I used the precut canopy masks –provided in the boxing- which makes the tedious task of masking a canopy a very simple task. Please note that you have to use liquid mask for parts of the canopy. The precut mask only includes the contour of the canopy frames. Painting the canopy was then a breeze. Fit of the clear parts is outstanding, to the point that I decided to not glue the canopy, or the windshield.
Assembling and painting of the wheels was also very easy due to the good engineering of the parts, which makes the wheel hubs to be a separate part from the wheels. A word of caution: the hole in the wheel hubs is a very tight opening to accept the landing gear strut. I had to expand the hole a tiny little bit with a drill bit.
The last steps were to add the engine exhaust (again separate parts that make painting much easier) and the very large propeller. Just a minor comment on the propeller and hub, there are 3 propeller hubs and two propellers, so follow the instructions. As I was getting on the very final steps I ran into an issue: the clear parts that are supposed to fit under the wings and center fuselage were either a bit too large and had to be sanded to fit –in the wings- or a tad undersize in the fuselage opening, which meant it went straight into the fuselage and my model now rattles a bit…
In Summary
The Tempest is a significant airplane of the late WW2 era and post-WW2 conflicts and this model certainly honors its pedigree. The fit is all around excellent. The decals are outstanding. The engineering is top notch. The only areas where I needed some filler was due to my own mistakes. Besides, by having pre-painted photoetch and pre-cut canopy mask make this boxing a full meal deal.
The only two things that I would warn you about are: the inner cockpit frame parts are super-thin and could break in shipping. Not much of them are visible through the opening and it is easy to replace them with plastic rod, if needed. And some of the clear plastic parts that fit under the wings, did not fit that well. One of them was a tiny bit undersized and fell into the fuselage. It would be easy to scratch a replacement part.
Highly recommended to modelers with some experience in photoetch and small parts.
I would like to thank IPMS/USA and Eduard Models for the review sample.


Cockpit

Cockpit

In Progress Left Side

In Progress Right Side

In Progress Cockpit Installed
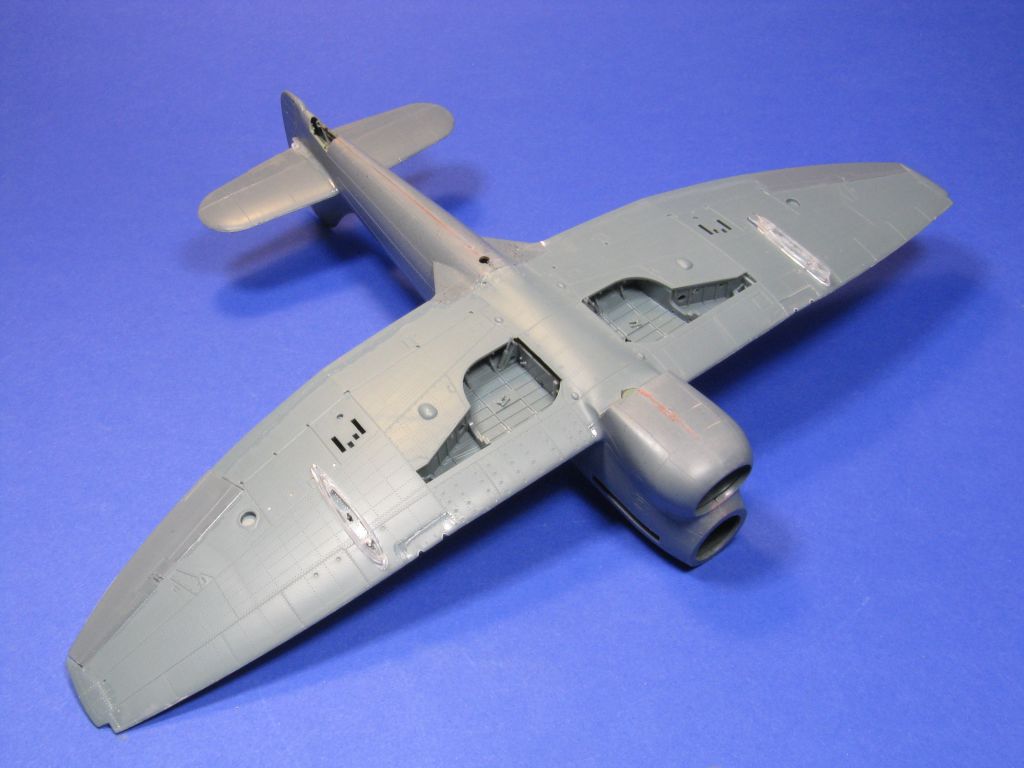
In Progress Bottom
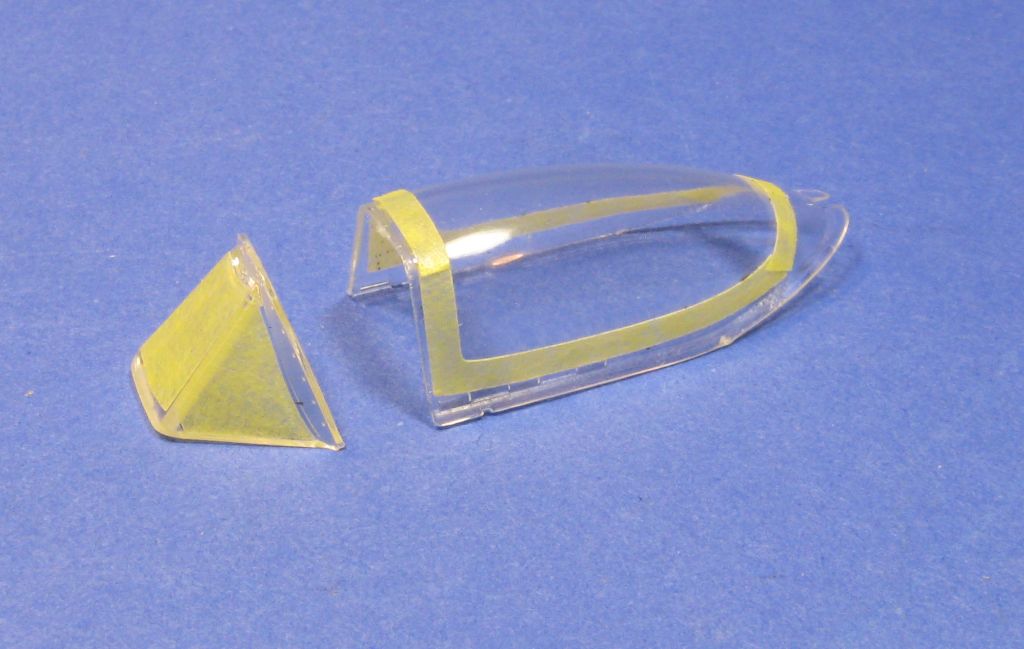
Cockpit Masking
Painted Right Side
Painted Left Side
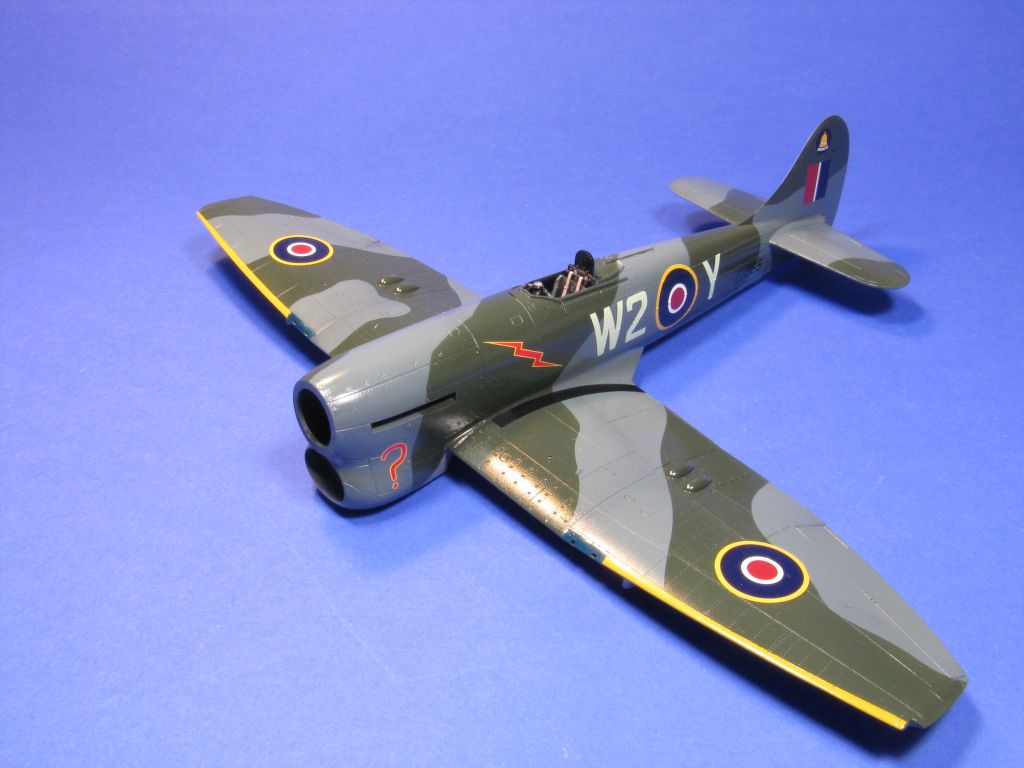
Decals Left Side
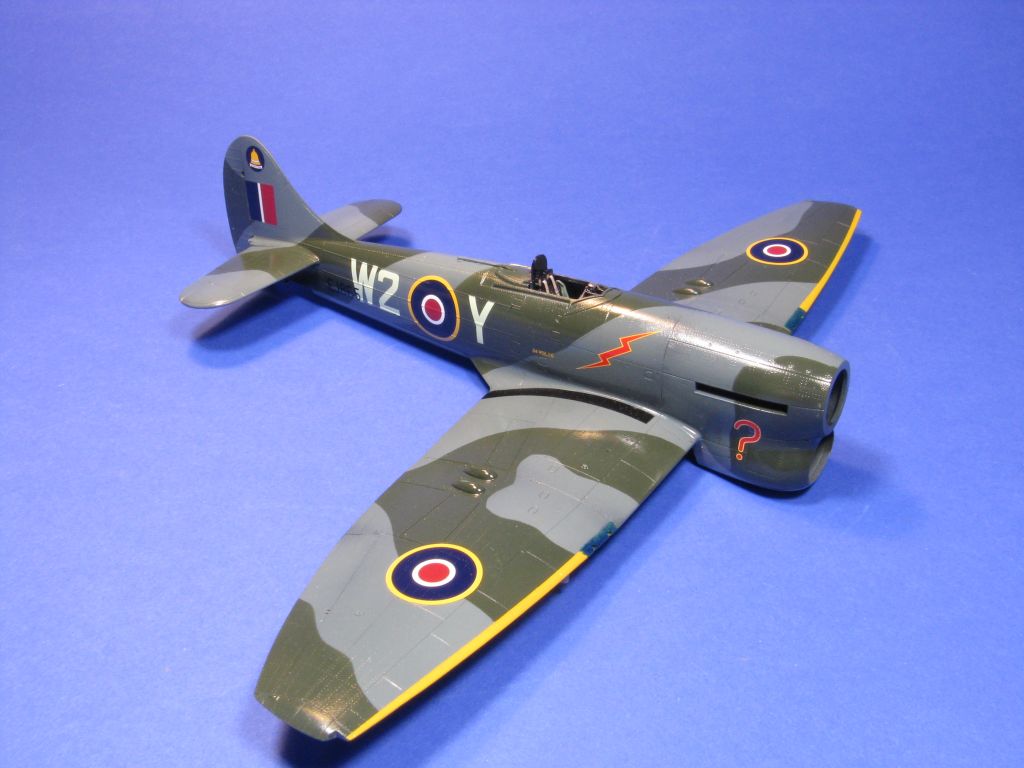
Decals Right Side
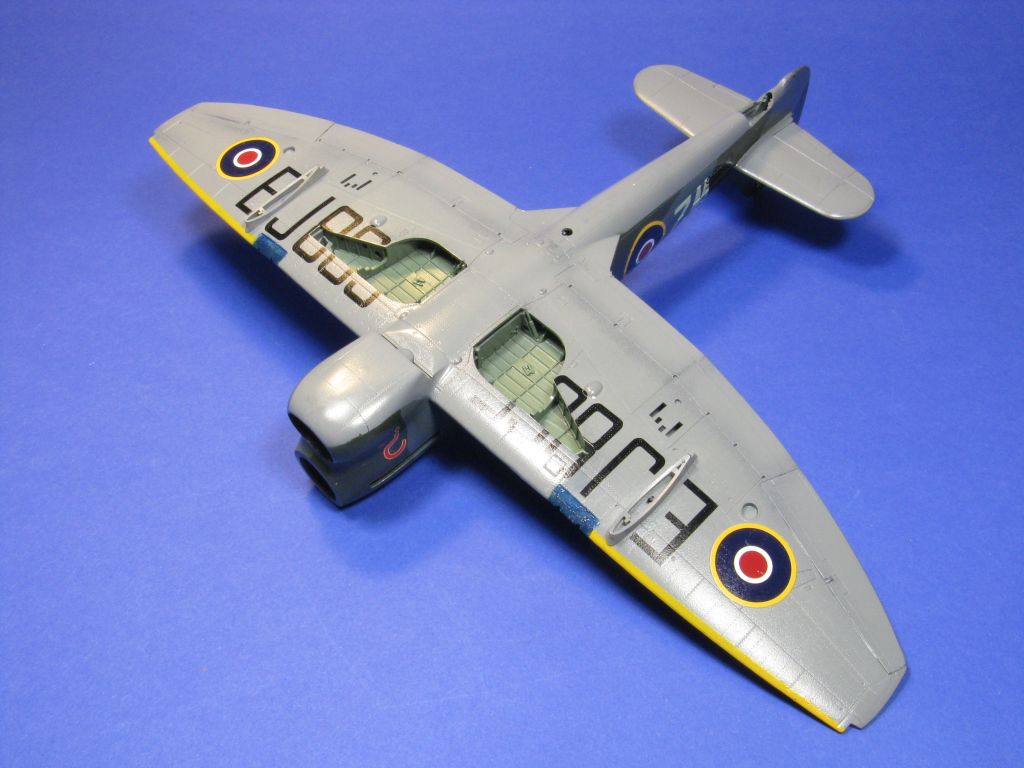
Decals Bottom
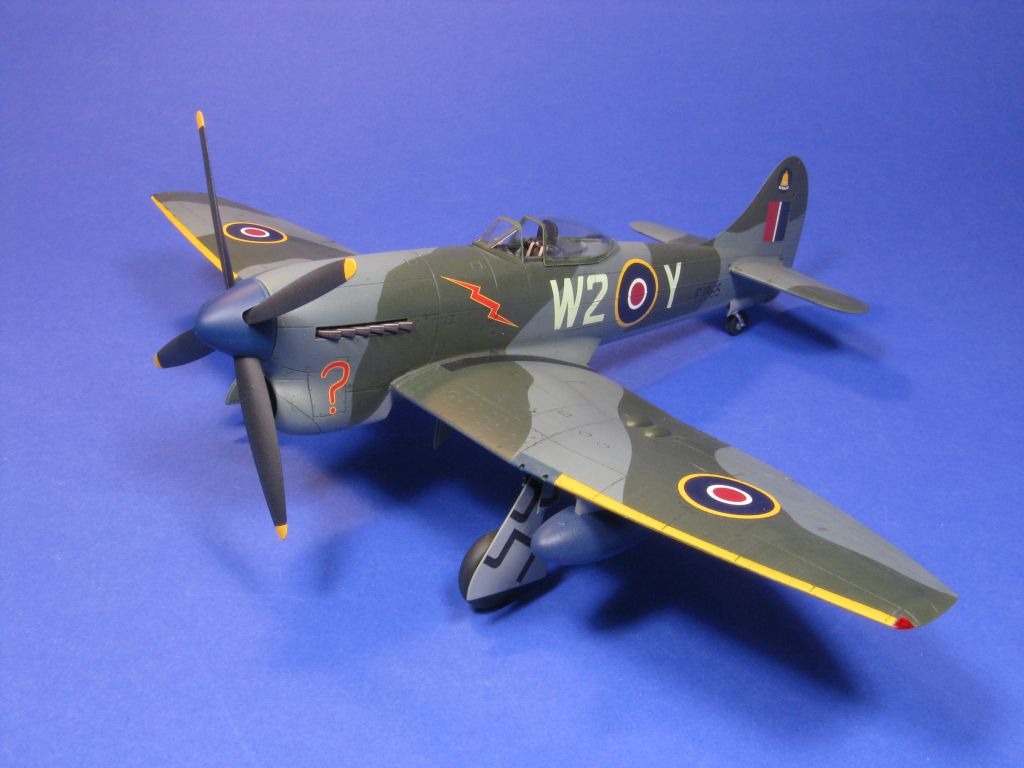
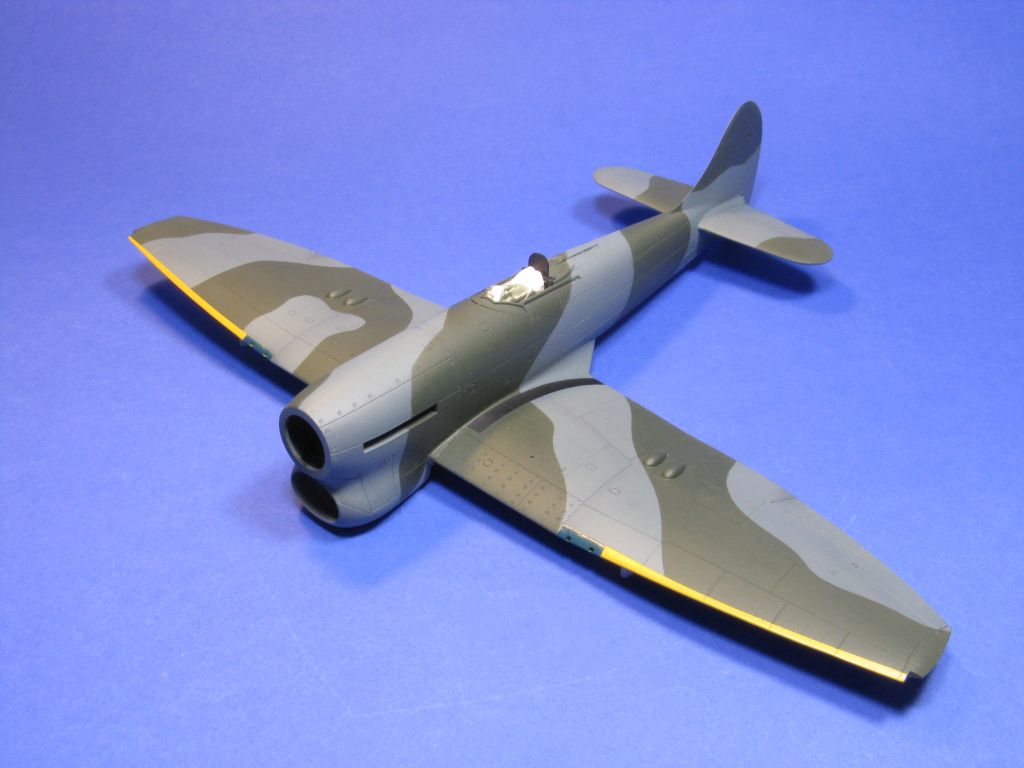
Finished Left Front
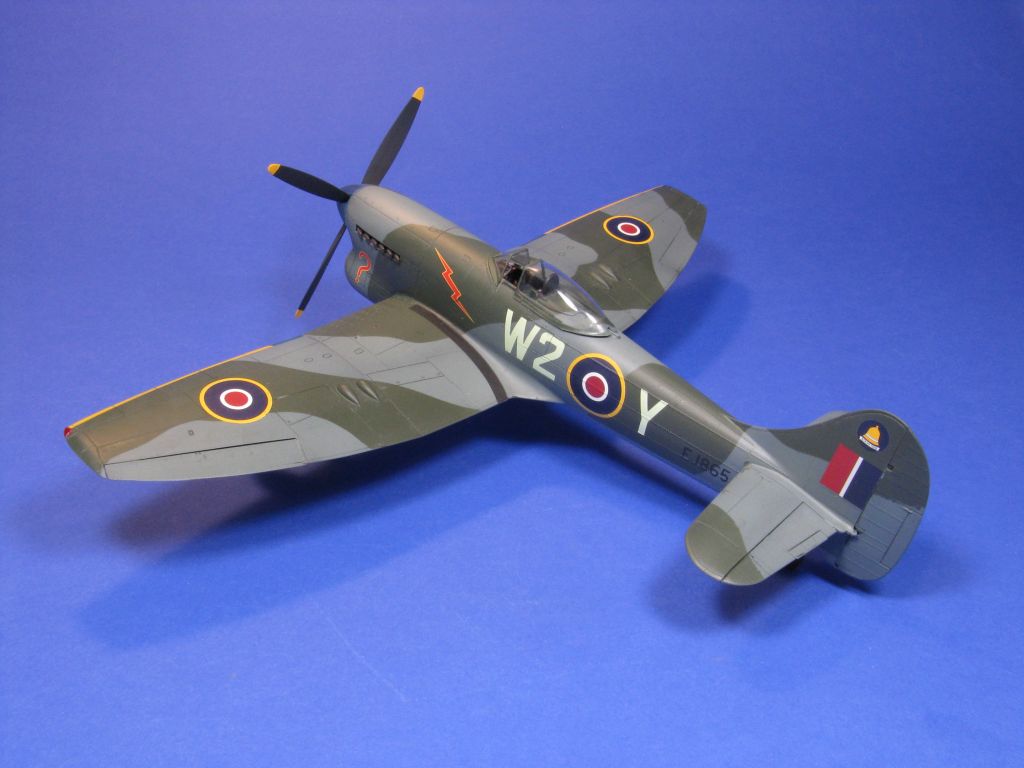
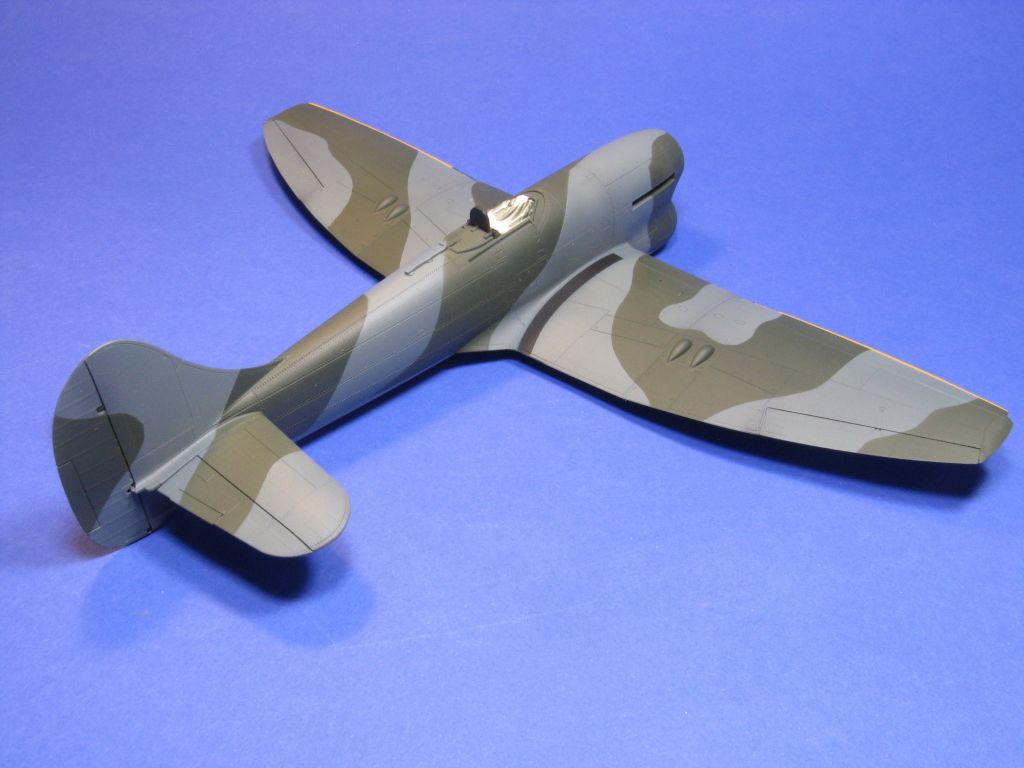
Finished Left Rear
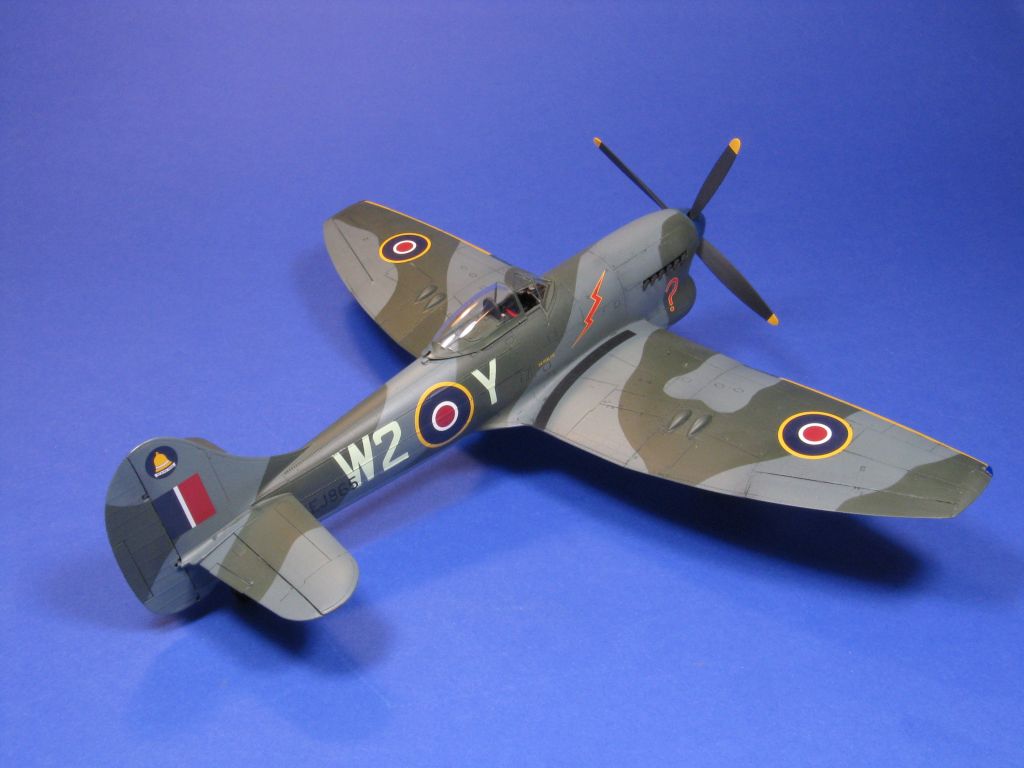
Finished Right Rear
Comments
Add new comment
This site is protected by reCAPTCHA and the Google Privacy Policy and Terms of Service apply.
Similar Reviews