
TBF Avenger
The Aircraft
The Grumman Avenger (TBF) was first used at the Battle of Midway. It was a carrier based torpedo bomber, but was also used as a light bomber, carrying one 2,000 pound bomb or 4x 500 pound bombs. The Avenger was the heaviest US single engine aircraft of WW 2, weighing in at 400 pounds more than the P-47.
In 1943 Grumman began phasing out Avenger production in favor of Hellcats. Production was taken over by Eastern Aircraft, a division of General Motors. The designation for these aircraft was TBM. There were 4,600 TBMs produced, but most of the aircraft used in WW2 were TBFs.
In June of 1943, George HW Bush, the future president of the US was shot down over Chichi Jima, parachuting from the TBF and landing in the Pacific Ocean. He was rescued by the submarine Finback, and later received the Distinguished Flying Cross.
Avengers were also part of the operations which sank the Japanese battleships Musashi and Yamato.
Avengers were used by Brazil, Canada, Cuba, France, Japan, the Netherlands, New Zealand, United Kingdom, US and Uruguay.
Another “famous” flight by Avengers was the disappearance of Flight 19 in December of 1945. 5 Avengers flew out of Fort Lauderdale, and disappeared in what is now called the Bermuda Triangle.
The Kit
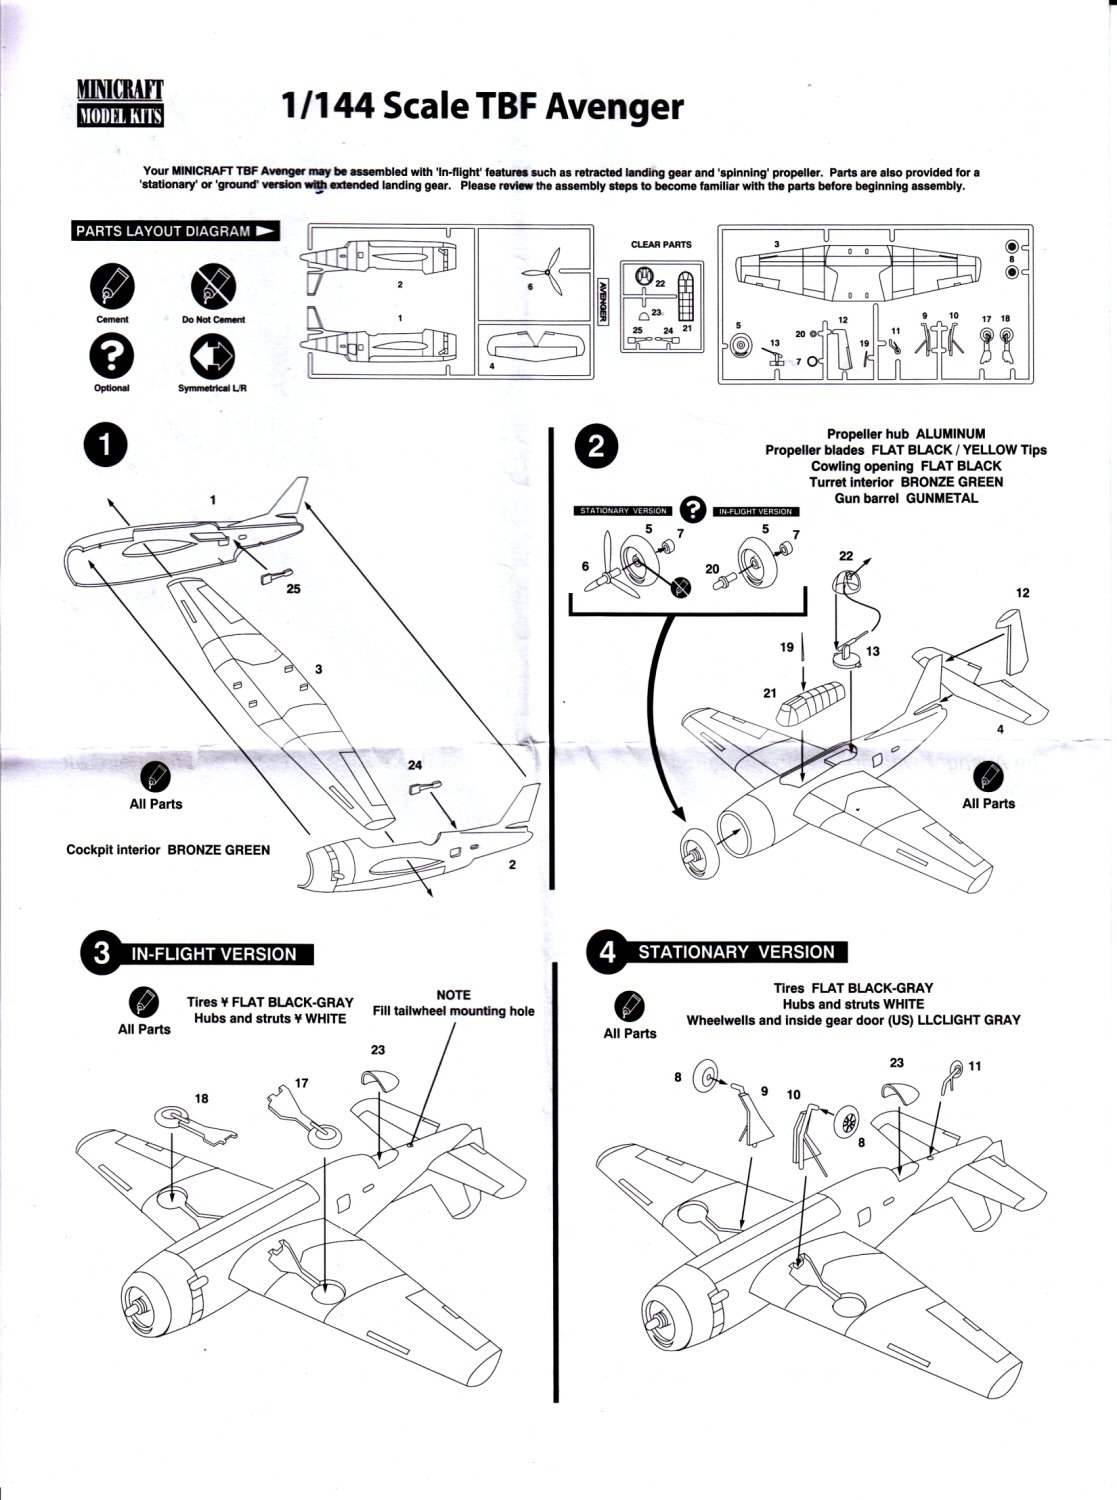
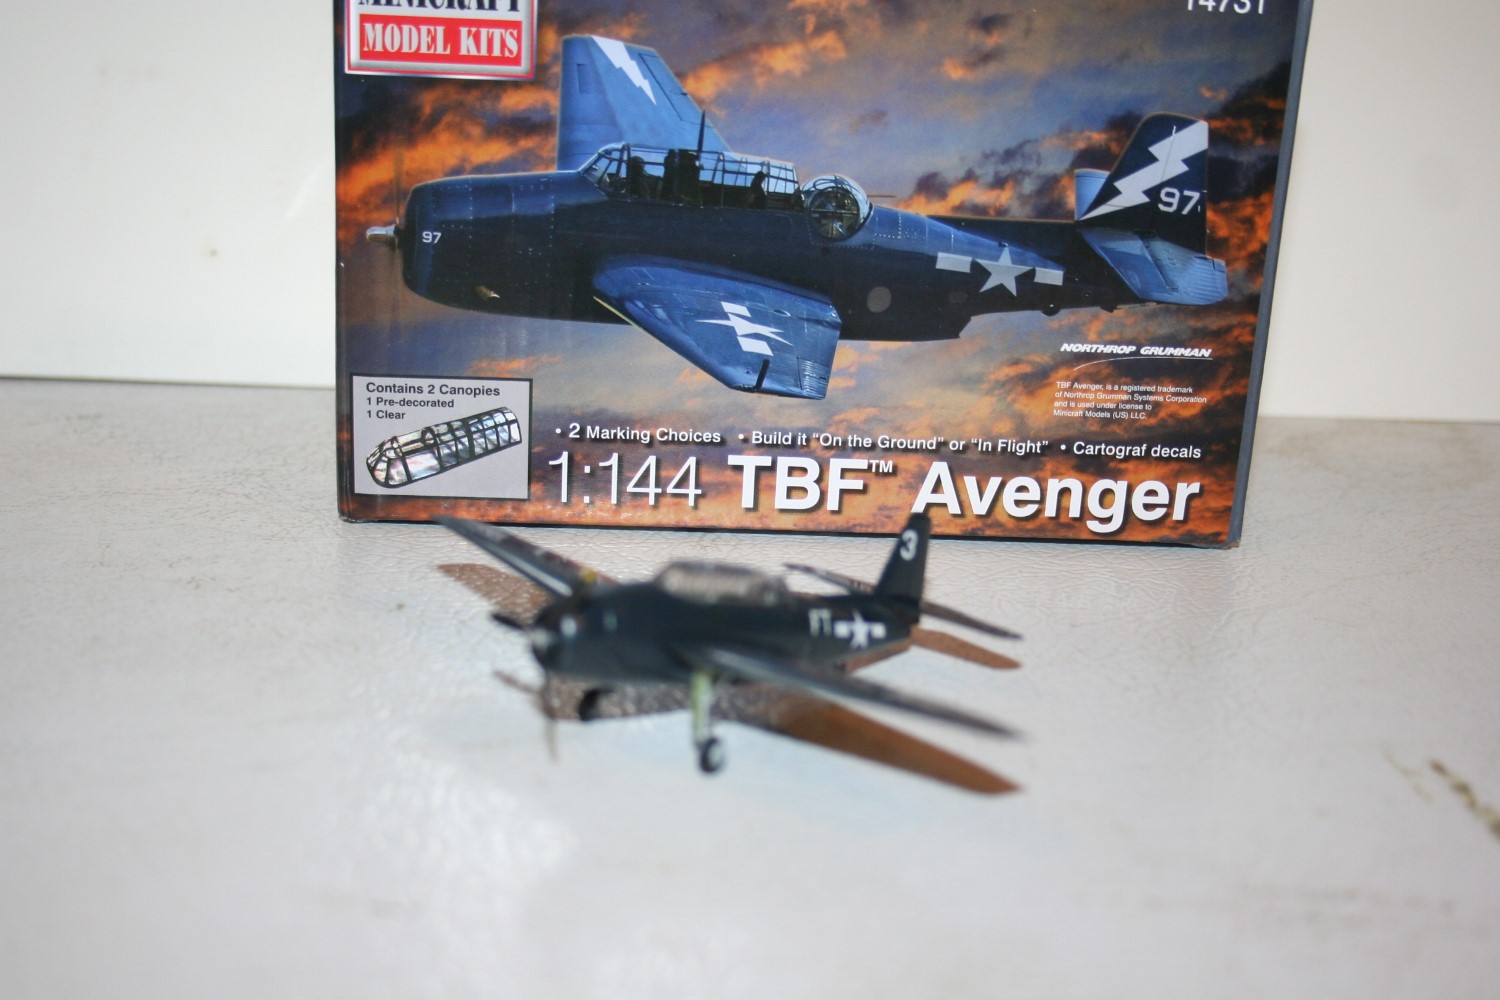
This is a simple kit, with very few problems. The instructions only require 3 steps. There are 4, but number 3 is for gear up, 4 is for gear down. The decals are printed by Cartograf, and one outstanding addition is the pre-painted canopy. This is Minicraft’s third issue of this base kit. I figure that there has been some rework on the molds, as the parts are flash free, and fit is good.
Assembly
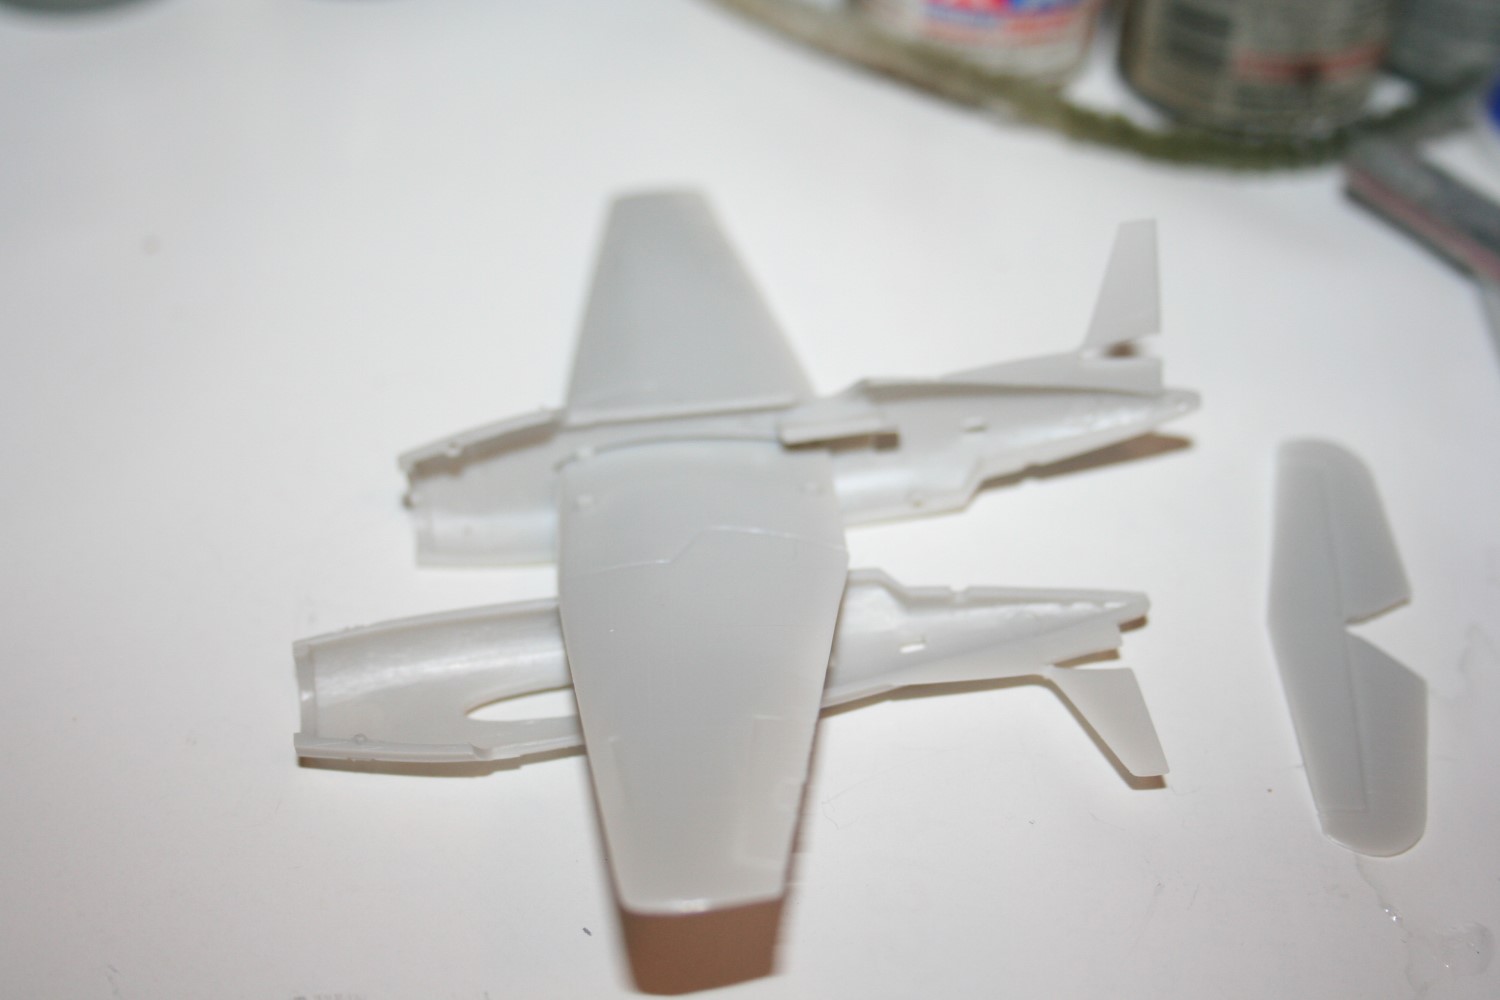
The first step is to put the windows in both fuselage halves. I skipped this, as it makes painting harder, and I’ve gotten pretty good with Micro Scale’s Krystal Kleer over the last 40 years or so. Then the wing is inserted in one fuselage half, and the fuselage halves are mated. Fit of the wing in the fuselage was very good, with no gaps or overlap. The fuselage halves fit quite well, with only a little scraping required to clean up the seams on the top and bottom.
STEP 2 is where you put the horizontal stabilizer and rudder on. I had a small fit problem with the rudder. It was a bit too long, and there was a gap at the top of the vertical stabilizer where the rudder overlaps. I used a sanding stick to shorten it by about .2mm to get it to fit. The front of the engine is installed here. No problems there. This step also asks you to put the canopy and turret on. I waited until I had painted the plane and put on decals. It was time to paint the plane.
Painting
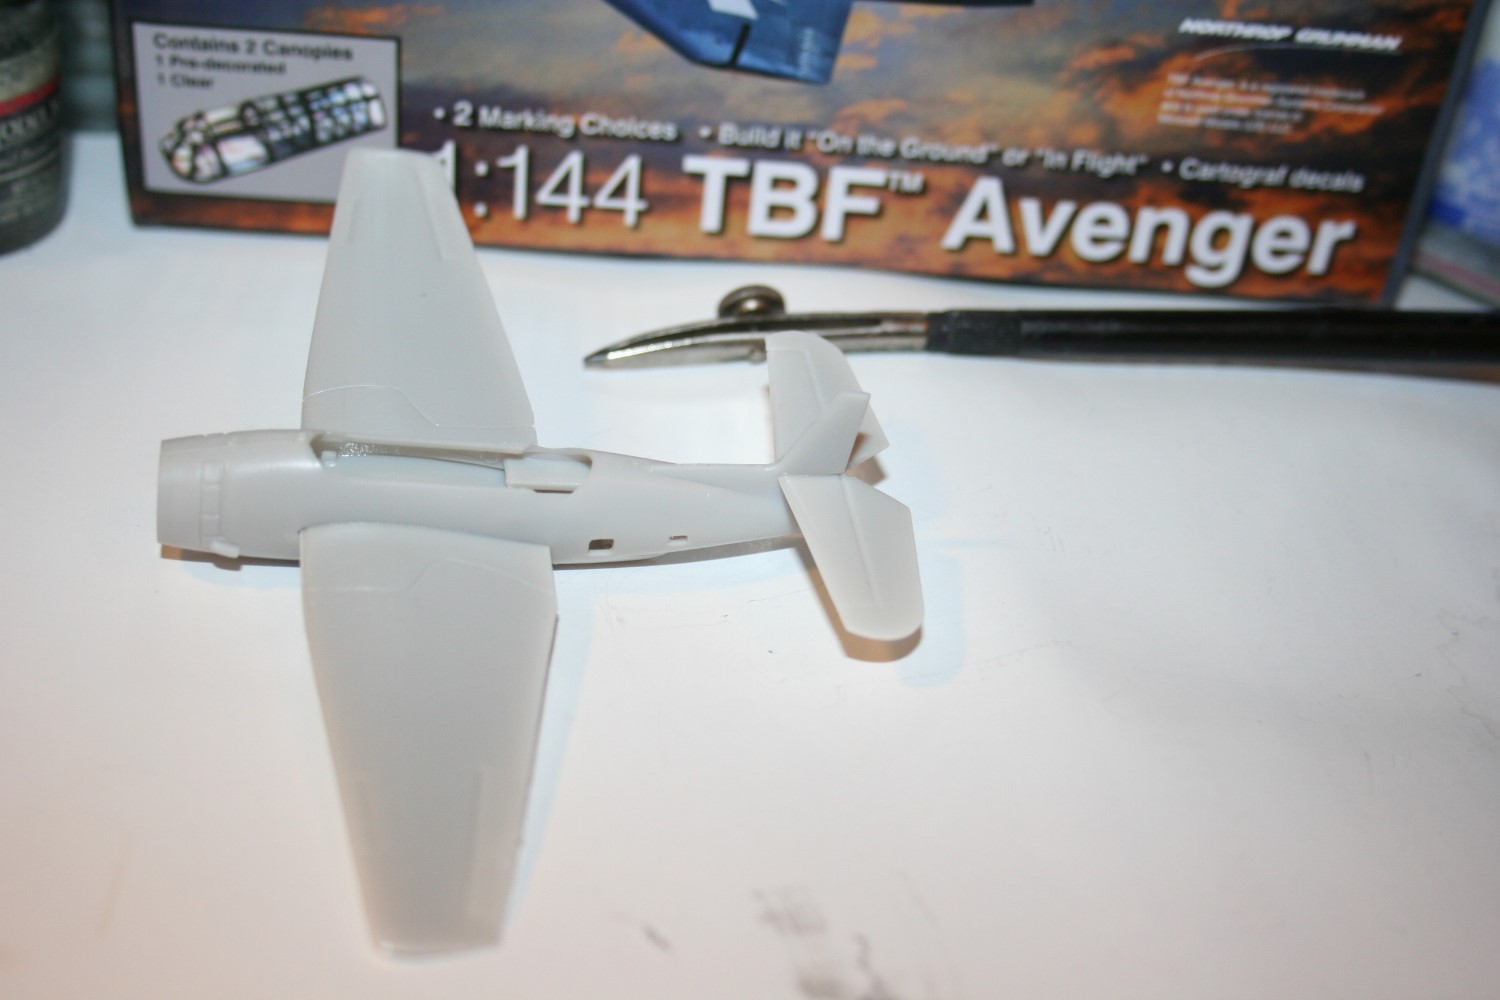
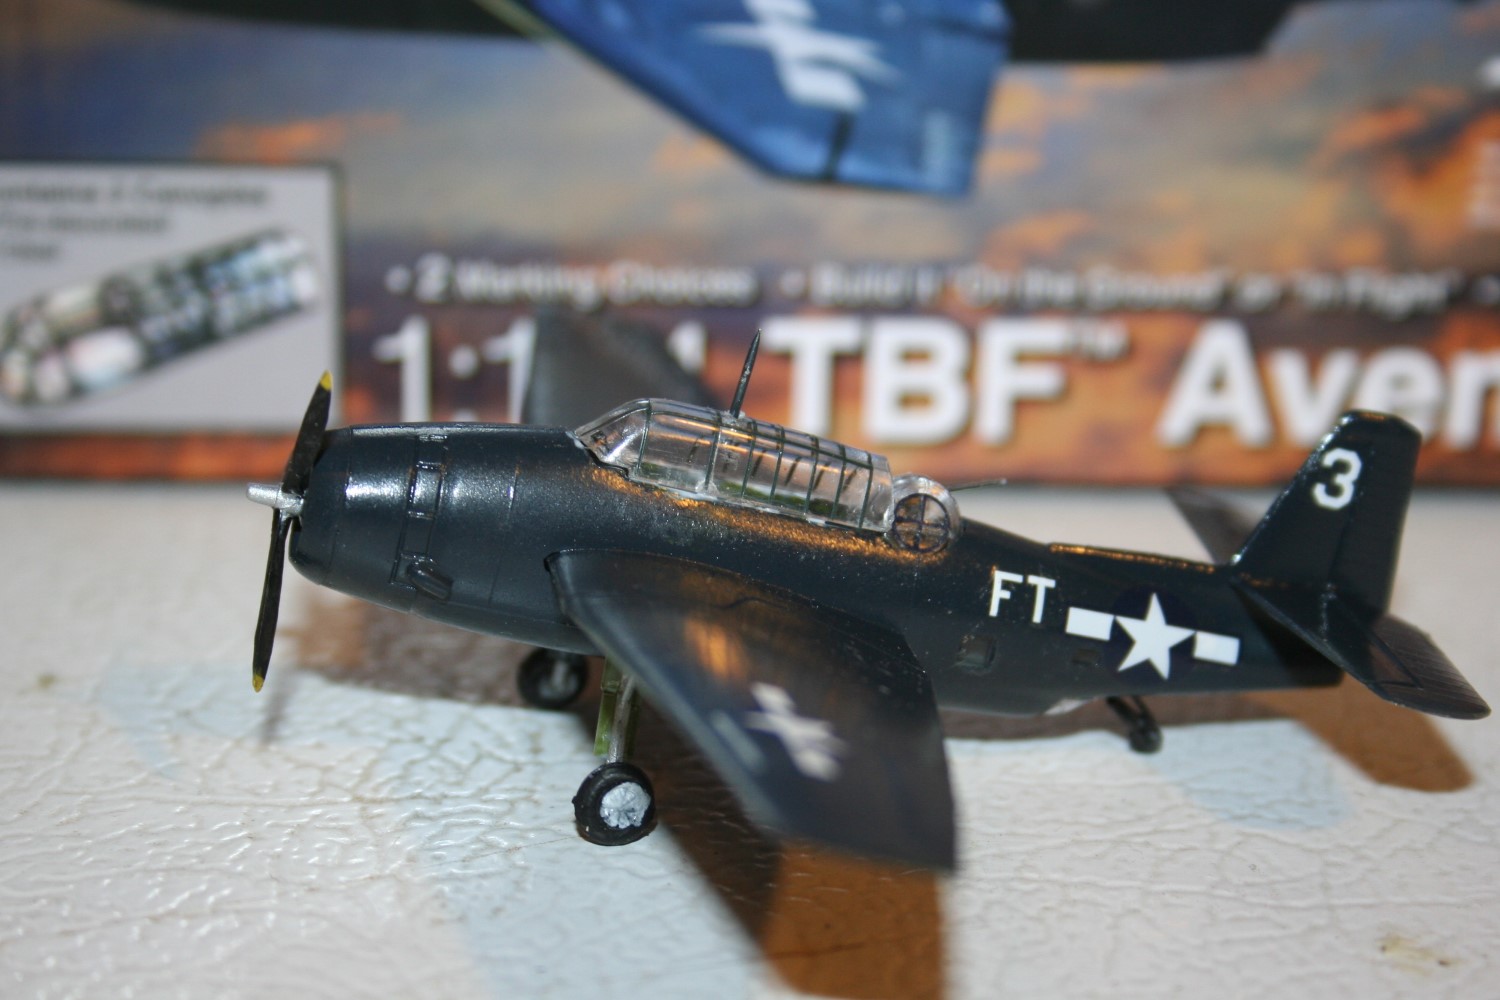
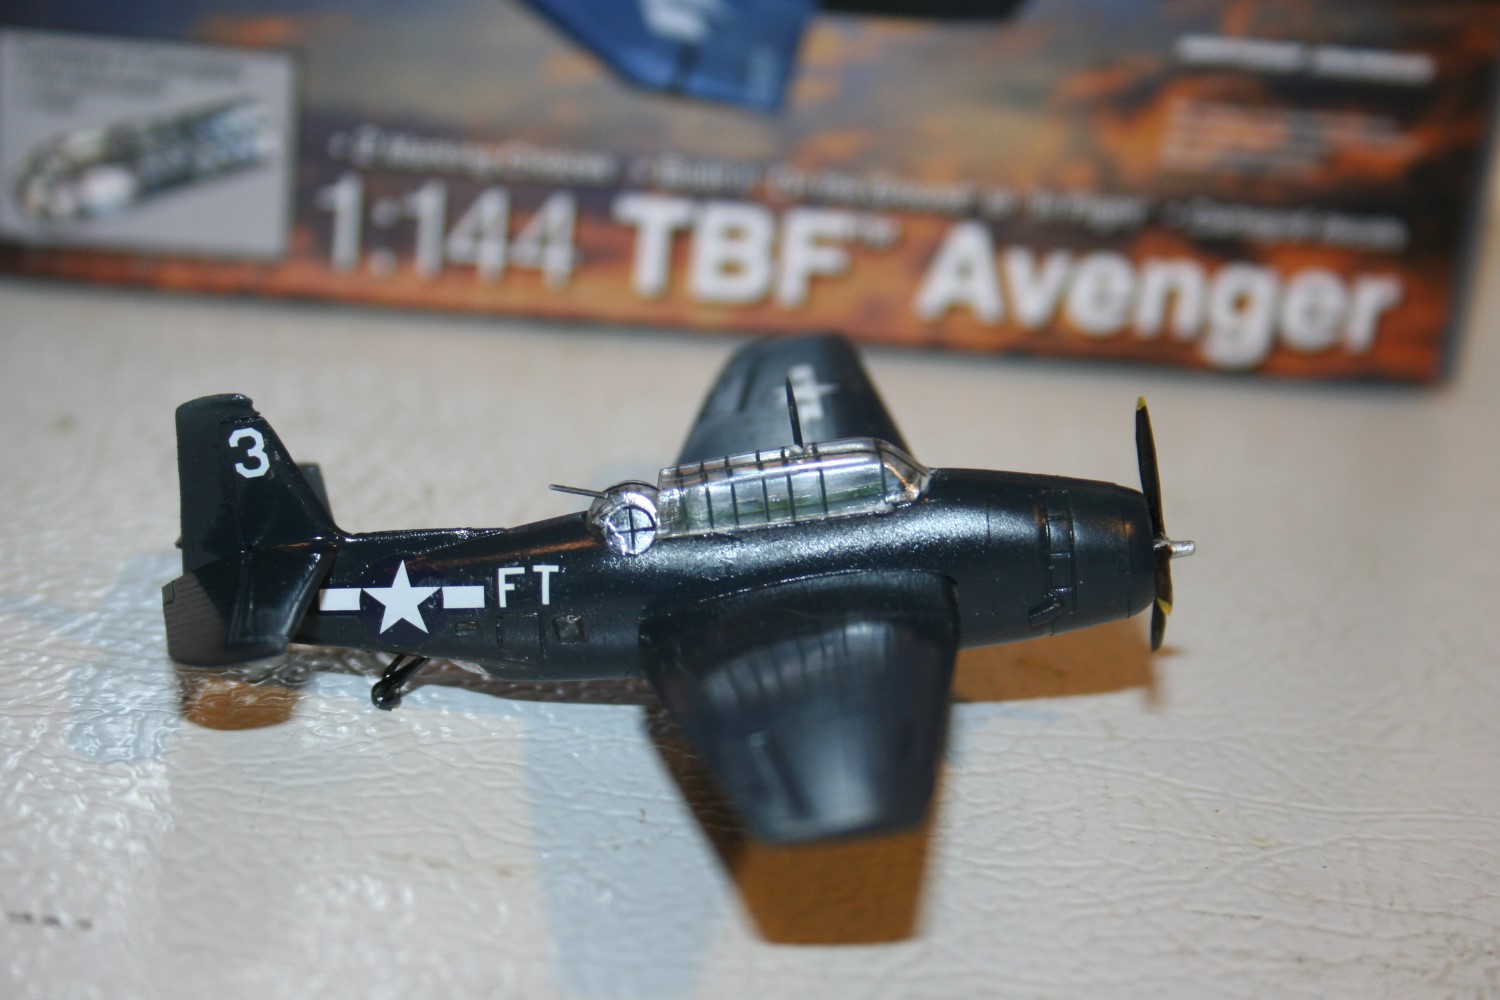
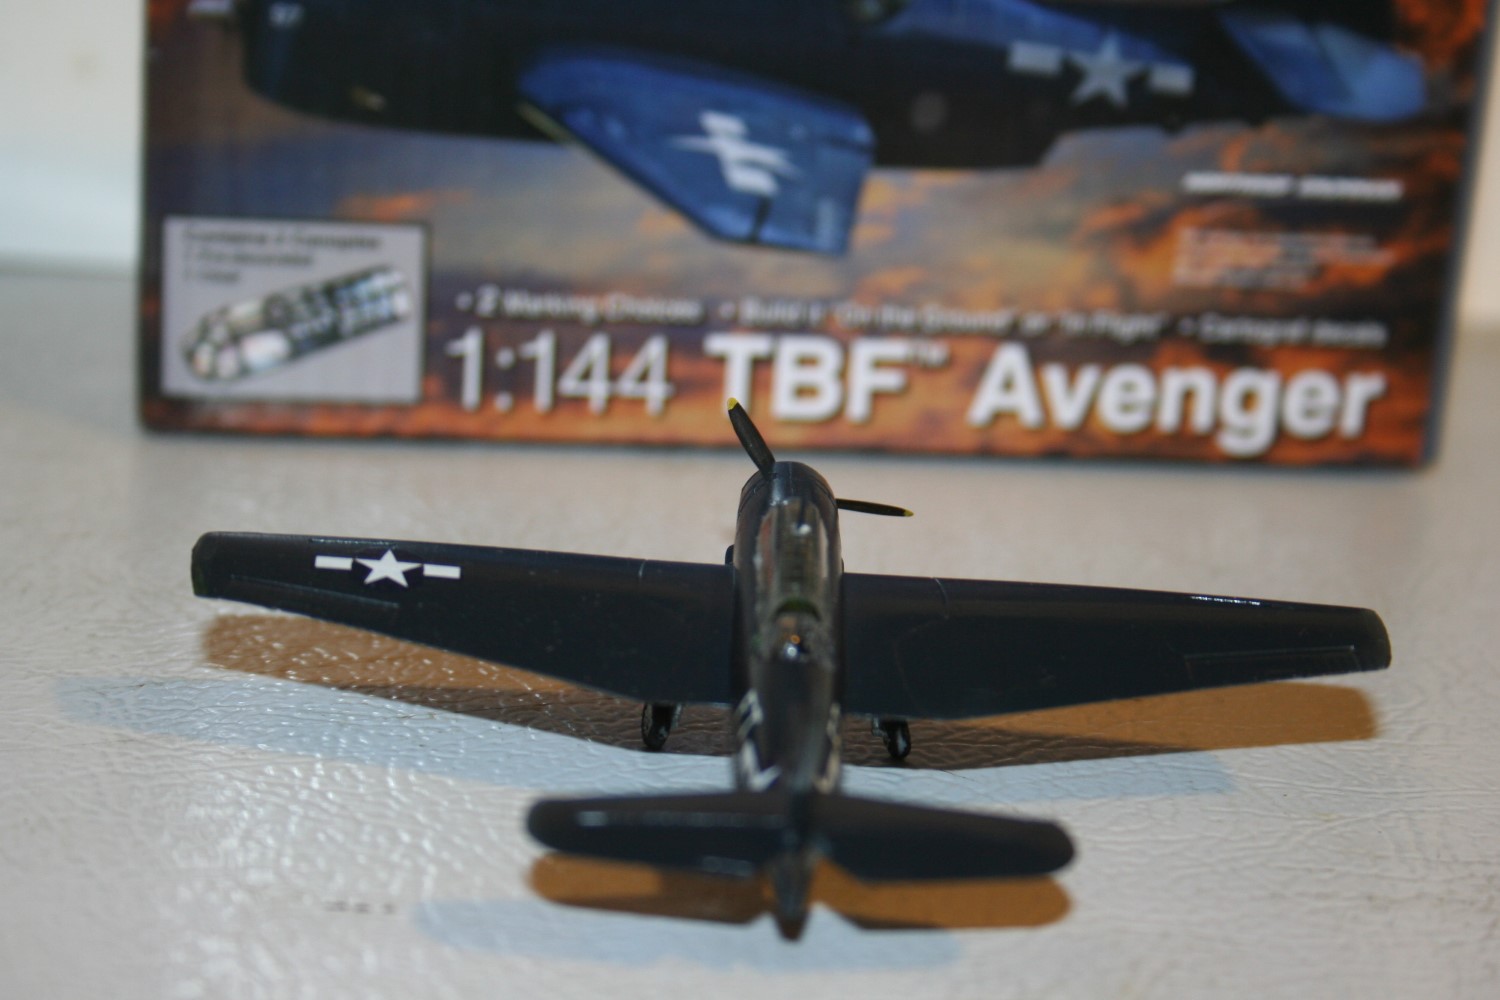
Here is one of the joys of doing a late war Avenger. It was painted gloss Navy Blue (35042) overall. 35042 is actually a flat color, but I’ll get to that. Painting was pretty easy. One color, everywhere on the plane. Also the tail wheel and main gear doors. Not much finesse required in this step.
I painted the interior chromate green. There’s no interior detail at all, no seats, no panels, just the gun for the turret. I did some detail painting on the landing gear, chromate on the inside of the gear doors and chromate in the wheel wells. I painted the gear legs white. The prop blades got black with yellow tips and a silver spinner. The wheels were painted flat black with white hubs.
I then put a layer of Future on the entire aircraft, to give a gloss surface for the decals. This brought the finish up to USN Standards.
Decals
I started out wanting to do President Bush’s plane, but after seeing the name ‘Barbara” in white script letters on both sides of the fuselage under the canopy, I changed my mind. Just too difficult to do in 1/144 scale. I settled on one of the “Flight 19” Avengers from the Bermuda Triangle.
I used the national markings from the kit sheet. They went on very nicely, were tough enough to stand up to handling, and then stayed put when I wicked the extra water off. There are also decals for the turret. The ones for the sides were nice to install. The lines which went over the top from front to back were a chore.
The tail number and the ID letters were from aftermarket sheets I’ve picked up over the years.
I put on another coat of Future to make sure the decals stayed on.
Final Assembly
I installed the tail wheel and the turret. I had some trouble getting the turret to fit in the space in the top of the fuselage. It did go in, but only after some bad words were spoken.
The canopy was a pleasure to install. I used Krystal Kleer to attach the canopy, and it went on and stayed where it put, no overlaps, no gaps, just a nice placement.
I put the wheels on the landing gear and installed the gear. It’s nice to know that Tamiya Extra Thin Cement works so well. I did have to adjust the wheels for alignment after the gear joints dried. A small bit of cement loosened them to allow aligning.
The last thing I put on was the antenna on the top of the fuselage. I saved this until last because when I installed the gear I needed to put the plane on its back. The antenna is a short, thin part, and there is a sprue connector at the bottom and about half way up. When I cut the sprue connector at the bottom, the antenna shattered. I wound up using the pointed end of a straight pin, cut to length and painted blue. I fit it into the hole in the canopy and used Krystal Kleer to hold it.
And the project was finished.
Overall Evaluation
Recommended. Except for the antenna, everything went pretty well. And I figured out a fix for the antenna in less than 10 minutes. Someone’s going to figure out how to get the turret in there easily. I hope they let me know.
Fit is excellent, the decals are just what you expect from Cartograf, best I’ve used. The pre painted canopy is such a labor saver. This is a kit that goes together nicely, and it looks great there on the shelf
Many thanks to Minicraft for the review kit, and to John Noack and IPMS for allowing me to build a piece of “history”.

Comments
Add new comment
This site is protected by reCAPTCHA and the Google Privacy Policy and Terms of Service apply.
Similar Reviews