
T54 E1 - Smart Kit "Black Label Series"
You’ve got to give Dragon Models some real credit – they’re willing to put out the oddball kit now and then, and to do it with class. The U.S.-made T54-E1 tank (not to be confused with the Russian T54) was one of the several attempts in the mid-50’s to upgrade the M48 from its 90mm gun to something with a bit more punch. Three different approaches to this idea were initially attempted, including this one, which clearly owes its ancestry to the famous French AMX-13 tank developed around the same time. The idea, of course, was that an autoloading main gun would eliminate the need for a human loader, and would permit extremely rapid firing during combat. There were a couple of problems with this idea, however. First, once the nine-round “magazine” was expended, someone typically had to exit the vehicle to reload it – not something you necessarily want to do under fire. Second, early autoloaders were notoriously indiscriminate, happily loading some poor crew member’s ARM if nothing else was immediately available (although this may be apocryphal). In addition, the development of “first shot-first kill” technology eventually rendered the need for such quick loading largely unnecessary. In time, the search for a main gun upgrade would lead to the first M-60s, which closely resembled the M-48 except for the gun and a slight extension of the rear turret bustle. I believe this is the tank that Elvis served in.
Anyway, Dragon seems to have really done this variant some justice, including a lovely “skirt” for the oscillating turret as well as using the same soft vinyl for the rubber-band tracks, which are very well done. Photoetch is provided, although fortunately, they haven’t gone overboard with this material. Clear parts are also included, but they’re not very consistent with these as the driver periscopes are clear but the commander’s viewports are molded solid. Since I’ve never been particularly fond of clear viewports on a tank anyway, this did not present a problem for me. You will also ultimately find yourself with a plethora of useful after-build parts including a full set of bogey arms, fenders and an engine deck. I can definitely see a kitbash coming out of these bits.
As usual, Dragon provides comprehensive although somewhat confusing instructions which call for really careful scrutiny, as there are often several pictures all depicting just one step of the build. I missed a couple of “fill these holes” instructions until later in the build, for instance.
I began as I always do by tackling the running gear, which is typically the most involved portion of a tank build. Dragon molded each wheel in two pieces which I thought very clever at first (no need to mask the tires!) until I realized that the tires were still molded with part of the wheel rim, so I now understand that it’s to replicate the undercut on the inside of the rim. There’s a little bit of wiggle room when mounting the bogeys, so take your time lining everything up before the glue sets. For such a complex structure this part of the model went together quite smoothly.
The hull parts assembled tightly except for some areas around the rear sprockets which needed a bit of putty to blend it all together. I also saved some for filling in a couple of holes on the rear of the hull while I was at it. Because of the confusing instructions, I completely missed a repositioning of the exhaust shroud on the engine deck, which fits beautifully . . . in the wrong place, at least according to the directions. HOWEVER, that being said, the kit box art shows it located where mine fit. So which is correct? Good question. I looked it up on the internet, and apparently, the exhaust assembly actually was shifted a bit back to clear the turret bustle when the gun was at full elevation. Oh well . . . what’s a model without a glitch or two?
The fenders for this particular build are commendably thin, but as a consequence come off as a bit flimsy. I found it useful to brace the underside of each with some quarter-round stock, which helped align them a bit. The most complex item on the fenders is the tool assembly, which had a fair amount of photoetch associated with it. I replaced a couple of straps on this with lead solder rolled flat, as it was simply easier to handle. The only glitch in the instructions calls for the two small circular items which install on each side of the driver’s hatch. The part numbers are actually reversed, and the one with the notch on top should be to the driver’s left so the generator exhausts can fit it. Photoetch is provided for the fender fillets, but I opted to replace them with fine Evergreen strip, thereby preventing a rain of bits falling off my model as I continued assembly.
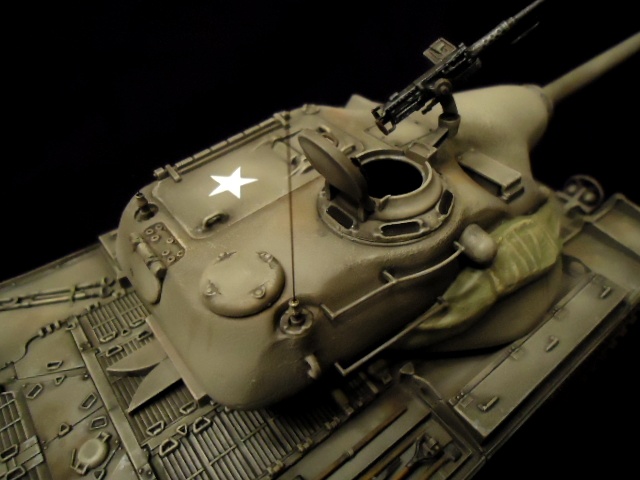
Things really got interesting when I got to the turret assembly. I was rather surprised to find that the dedicated turret moldings were MUCH cruder than the rest of the kit – comparable to Eastern Express or Maquette stuff; clearly the output from some low-pressure casting system. And then it dawned on me – the moldings had been OUTSOURCED. Egad!
Well, it’s certainly not the end of the world. Dragon has a long history of gleaning what it needs from any available source. So, although the turret halves fit together much more poorly than the rest of the kit, it was a relatively straight-forward process to fill and sand the seams. Besides, I wanted to texture the turret a bit more anyway. I also decided to replace some of the softer details on the castings with some simple replacements, which spruced things up very nicely.
An important note here, however – if Steve Zaloga’s excellent box art is anything to go by, the turret is not even remotely accurate, as it completely misses the sharp undercuts in the bottom section of the turret to clear the fender boxes. The turret cradle is where the problem seems to lie. As I was fiddling with the turret, I noticed that the kit turret also failed to clear, but was able to get it to fit by severely rounding the bottom of the turret. Is this fix accurate? Not even close . . . BUT it does permit the turret to fit on the assembled hull. If I hadn’t already glued on the vinyl skirting I would have attempted to correct this inaccuracy, as it appears to be a relatively easy fix considering the thickness of the plastic. However, as only two prototypes of the real thing were ever assembled, I don’t feel particularly uncomfortable having left this portion of the kit as-is.
With the completion of the modest turret modifications, the model was essentially complete and ready for painting. To simplify my work I painted the treads separately and must reiterate here that I’m not a big fan of this VERY soft vinyl that Dragon has chosen to use for its treads. Admittedly, it does permit a terrific amount of detail, but the vinyl doesn’t seem to take paint very well and I suspect that its shelf life is going to be comparatively short. I know that most people really hate separate link treads, but I’ve become quite a fan of them. So sue me. Anyway, the treads didn’t present any insurmountable difficulties and I must confess look good on the finished model.
I completed the finish with a couple of acupuncture needle antenna and that, as they say, was that.
Is the completed kit an accurate replica of the original? Well, judging once again by the cover art I’d have to say no. However, as stated before I think the fix for that should be relatively easy if that sort of thing bothers you. The main point I took away from this model was that it was FUN. I thoroughly enjoyed every minute building it, and it gives me something for my collection that’s really unique – an American tank that truly looks distinctive. I’m going to be spending the next week or so adding figures and stowage, and perhaps even building a dio around it. Who cares if it isn’t 100% accurate? My deepest thanks to Dragon for having the courage to release this strange gem, and to IPMS/USA for letting me have a shot at it. Once again . . . FUN!

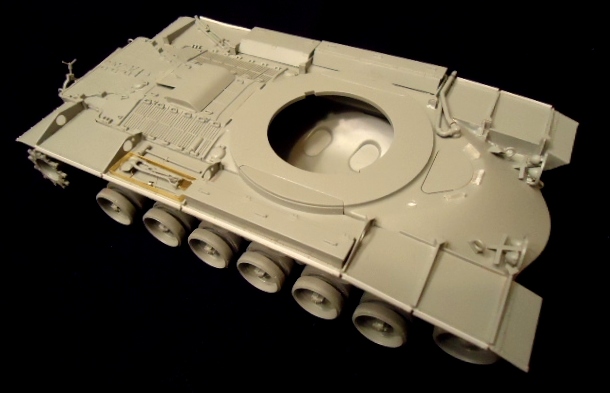
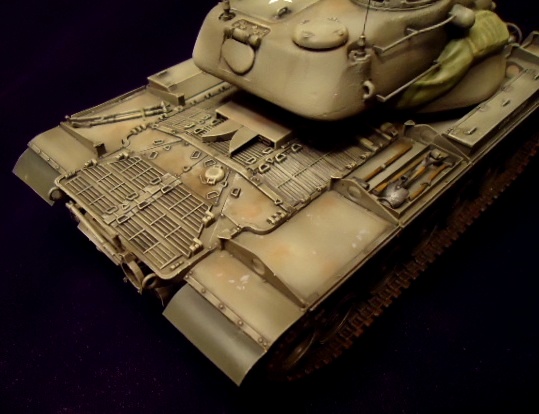
Topside of hull
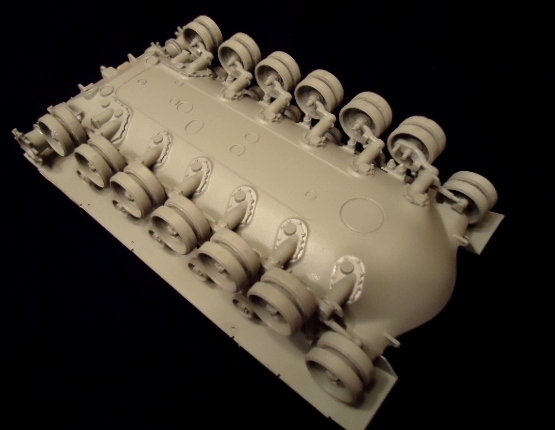
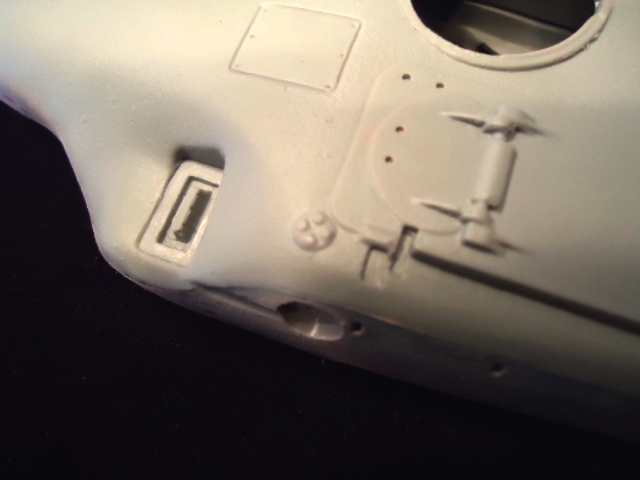
Underside of hulll
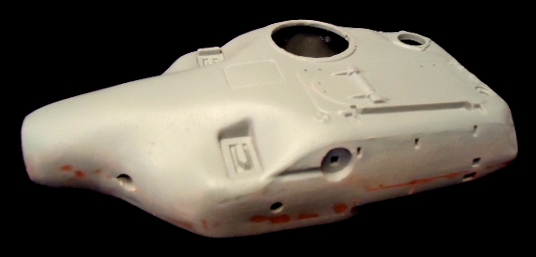
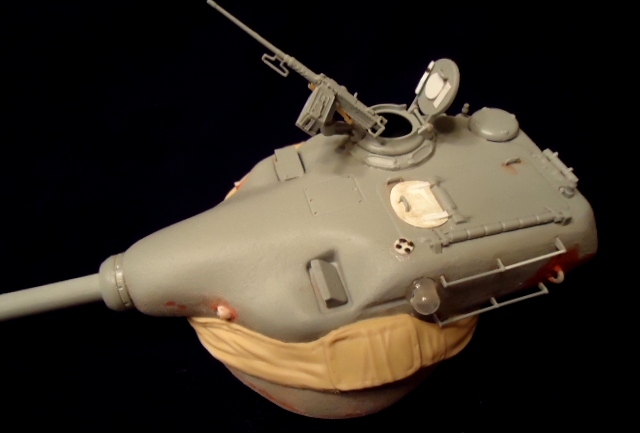
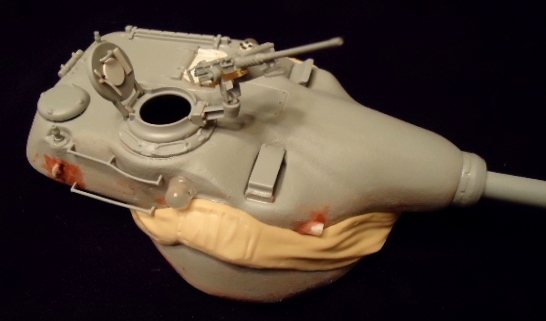
assembled turret
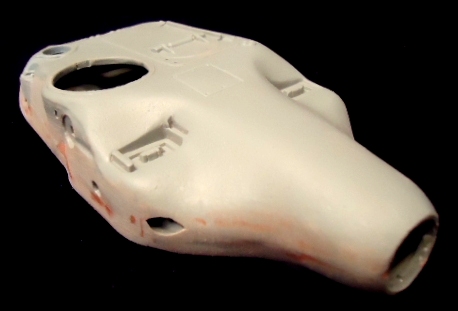
assembled turret

Turret base
Turret detail
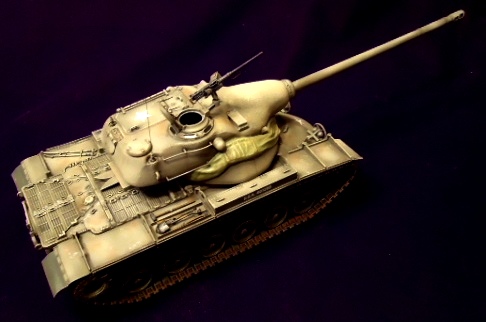
Completed turret
Completed turret
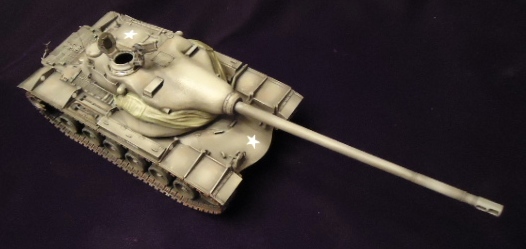
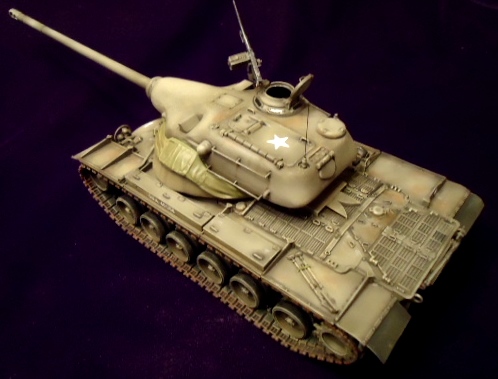
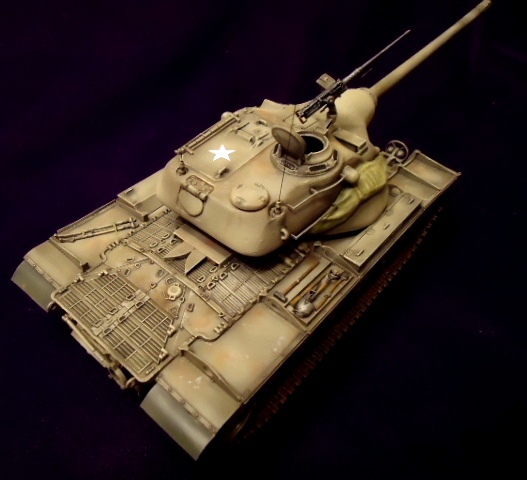
Completed model
Completed model right side
Completed model left side
Completed model right side

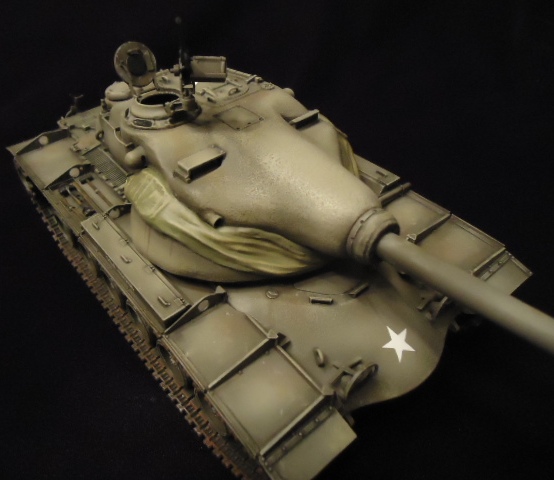
closeup of mantlet
Completed model right front
Completed model turret close up
Comments
Add new comment
This site is protected by reCAPTCHA and the Google Privacy Policy and Terms of Service apply.
Similar Reviews