
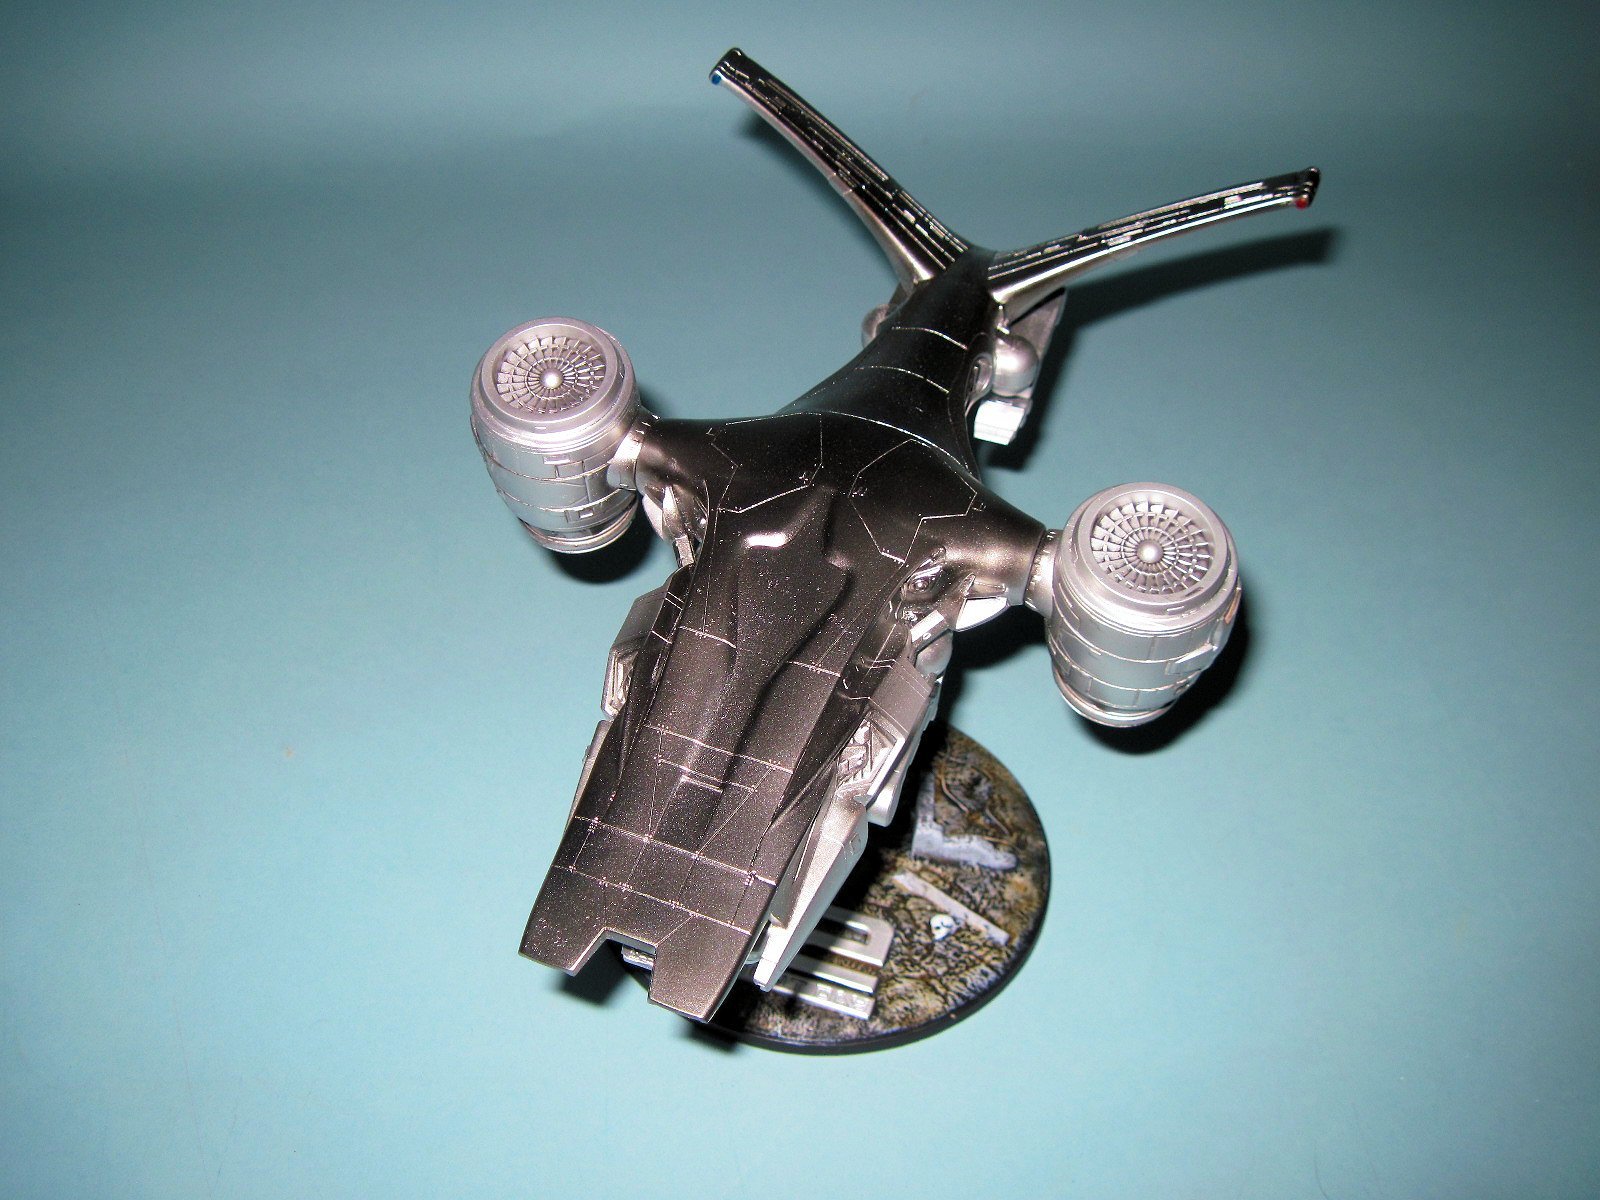
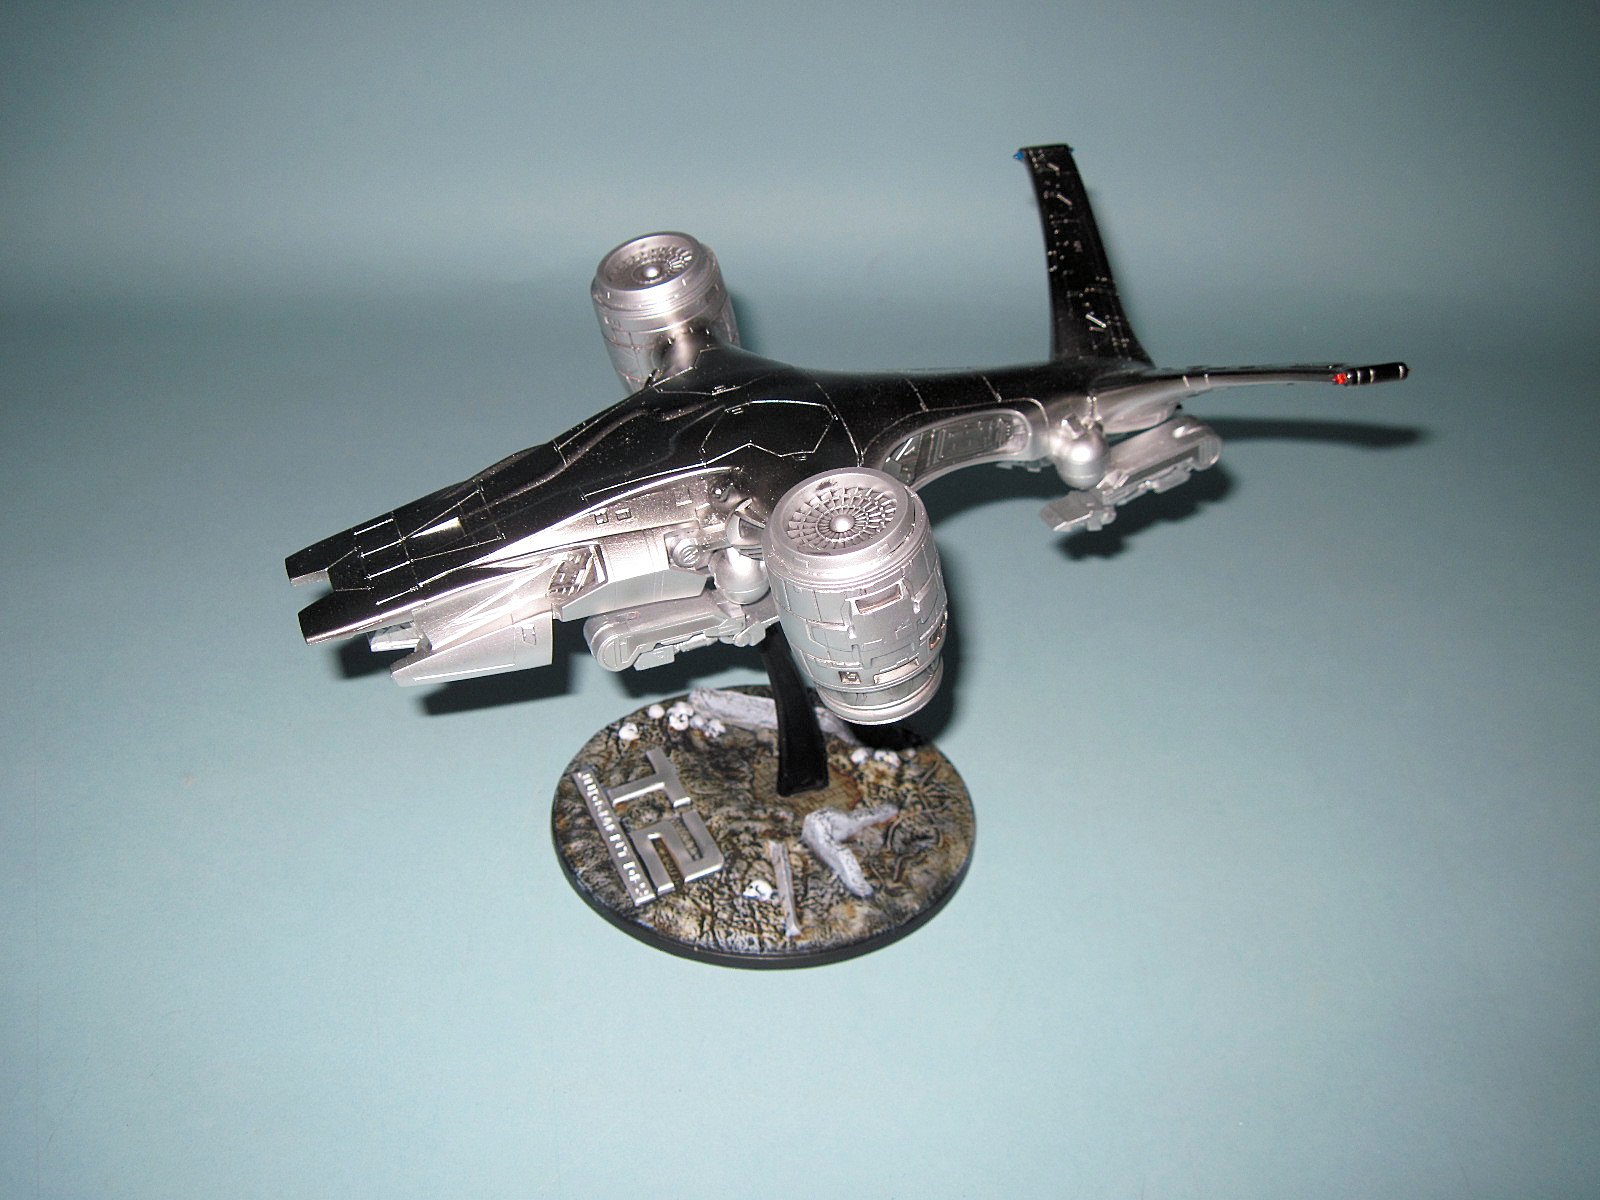
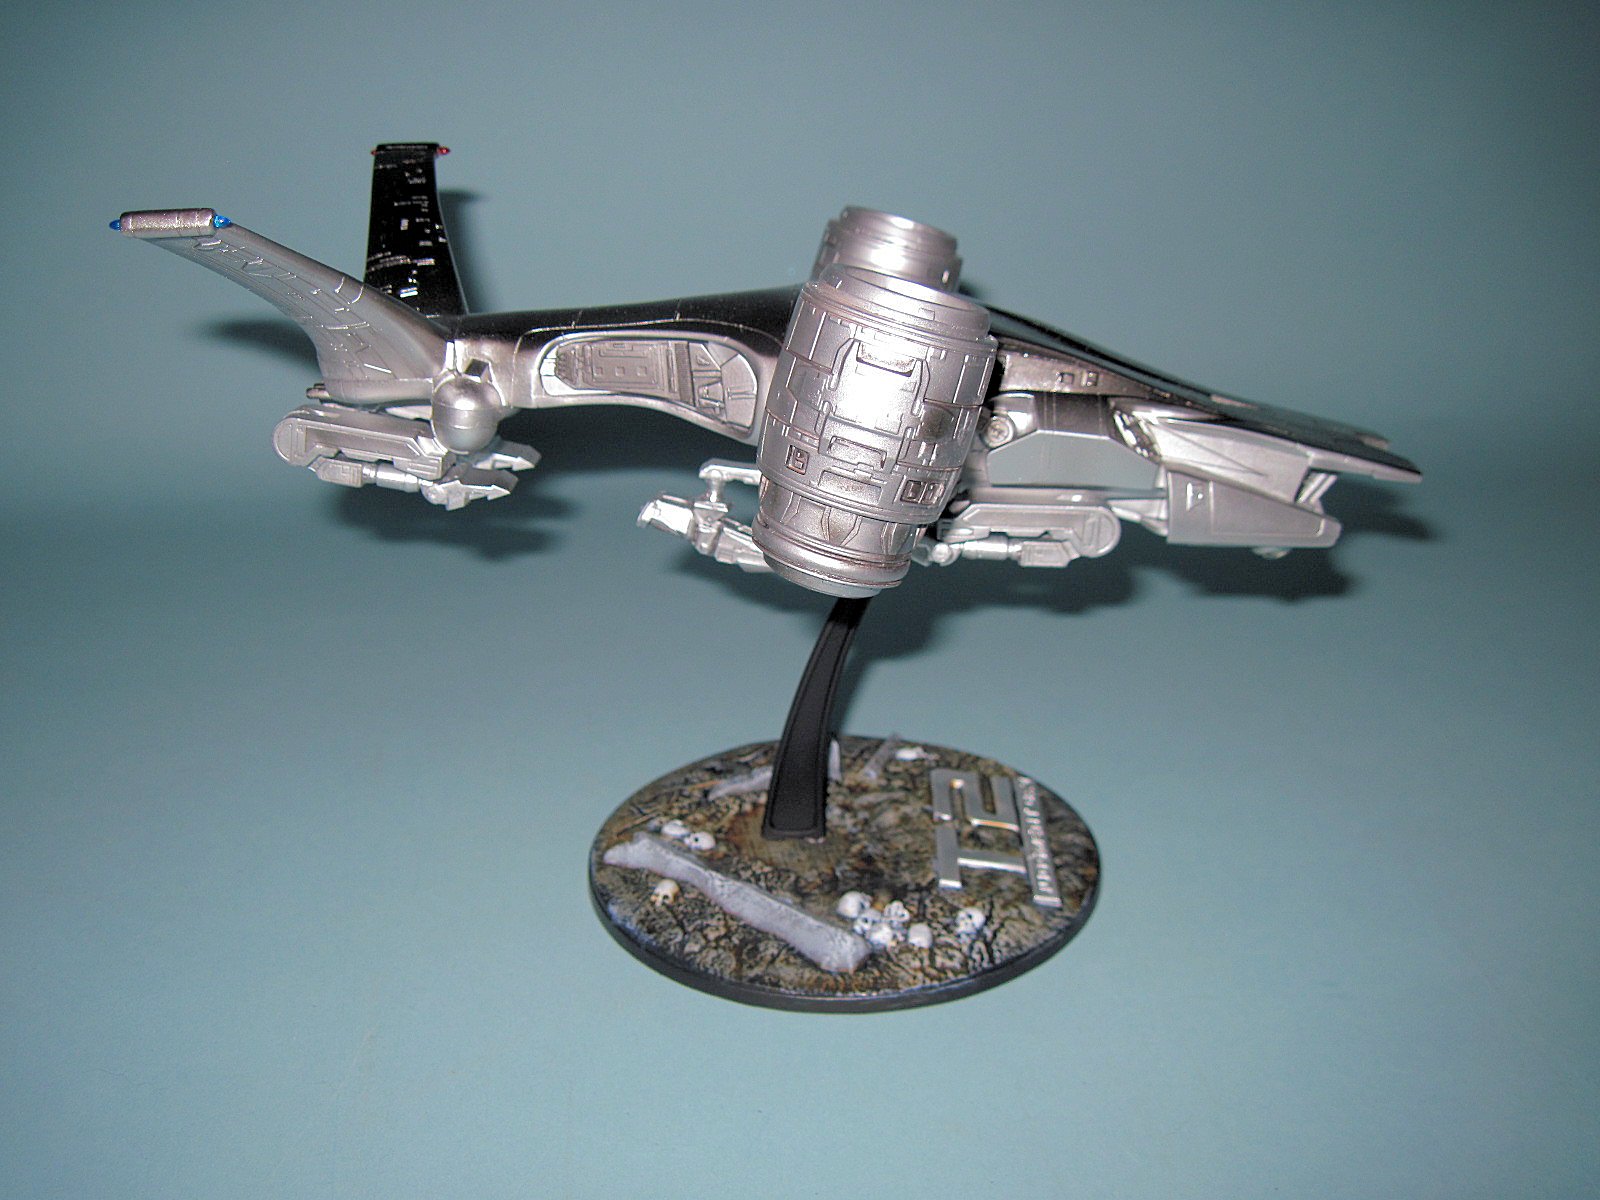
T2 Aerial Hunter Killer
The Terminator series of movies is iconic especially considering that 2014 is the 30th anniversary of the first movie. There haven't been many mainstream kits of the movies. Pegasus has started their releases with the Aerial Hunter killer tank from the 2nd Terminator movie. At the beginning of the movie, the rebels are being chased by Terminators, tanks and Aerial Hunter killers. Previously, this was only released in vinyl as far as I know.
Let me say up front that the challenge to this kit will be the painting. Looking at shots of the movie on the Internet, the Aerial Hunter Killer is colored somewhere between chrome and polished aluminum. For those with the funds, one of the original props is up for auctions (starting at a mere $47,000) but it gives a great view of the actual prop and can be found here and shows the colors well.
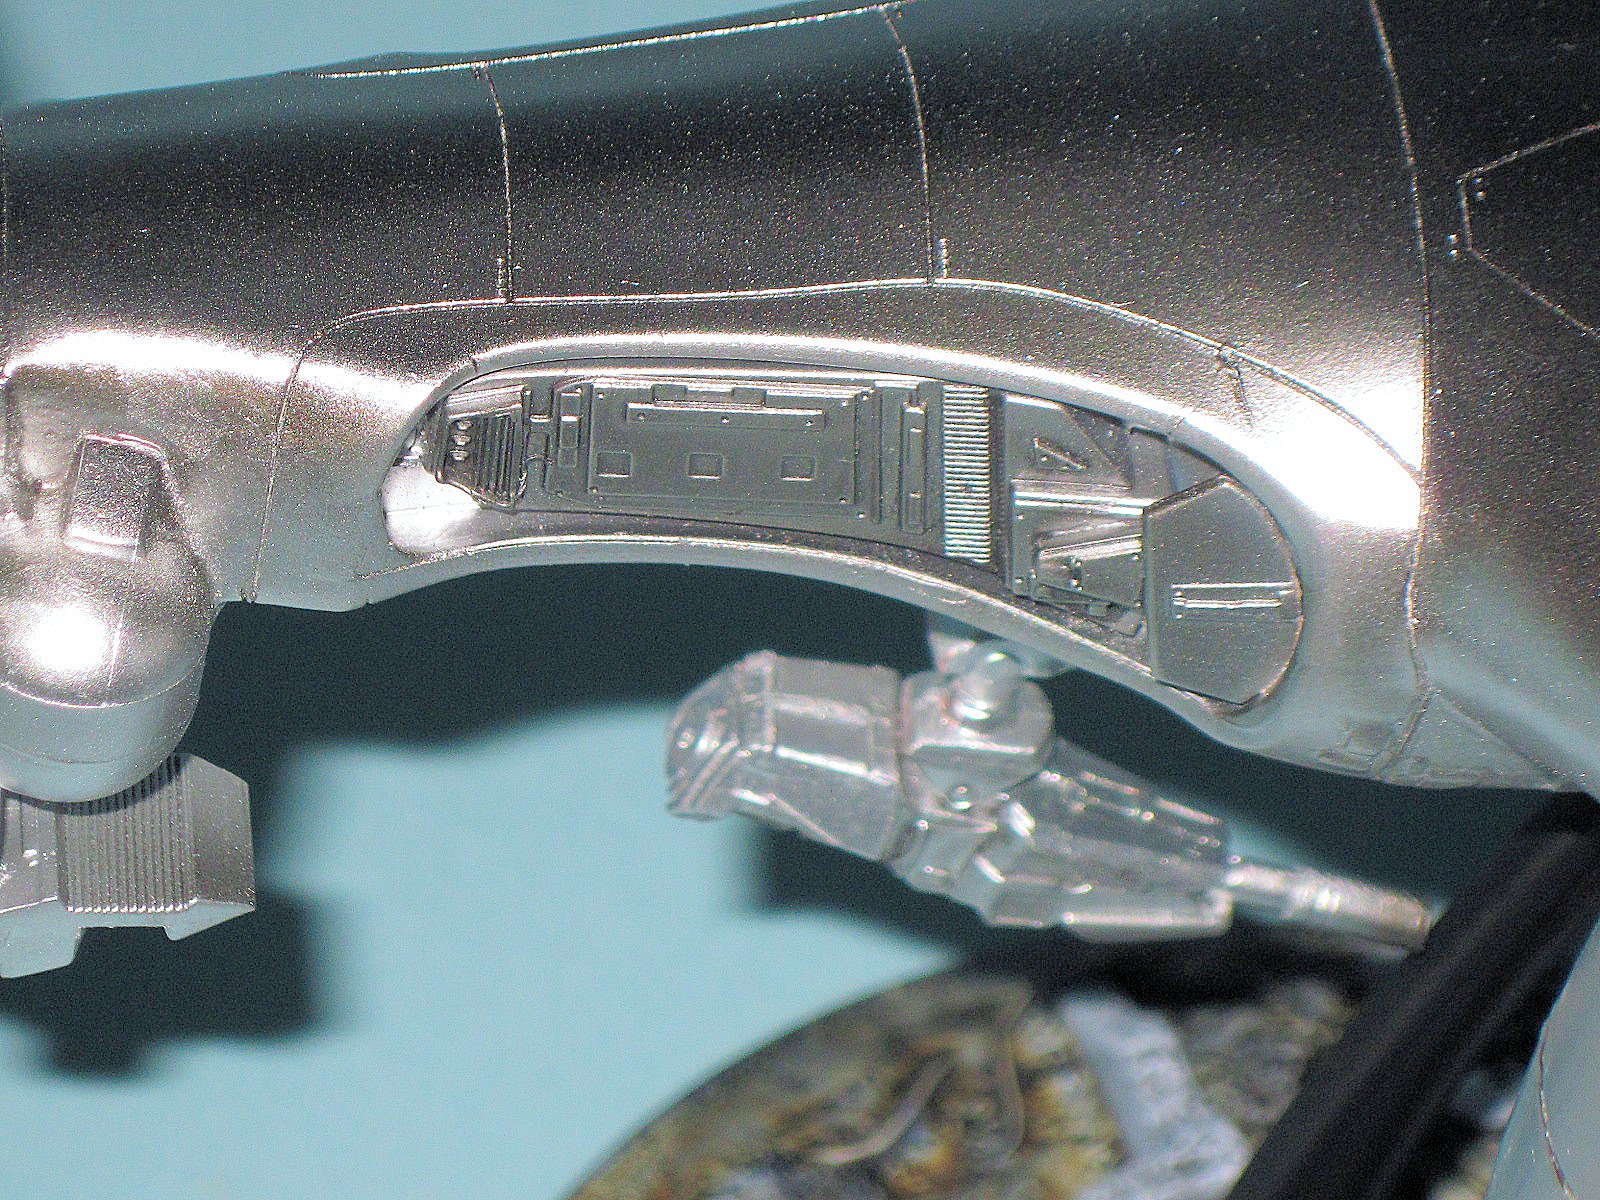
The Pegasus kit is molded in sturdy gray plastic, 66 pieces including a 2 piece base, and also a sprue of six clear parts. Panel lines are all engraved and the detail is very nice. Construction on the kit is simple and fit is good. Construction starts with the two side engine pods. There is a seam along either side that will need to be dealt with and smoothed. The four legs are next and only have the option for being retracted. Please note also that there are differences between front and back. The tail is next and instructs you to sandwich clear pieces for the light into the tail while gluing. I held these out until the end and it worked great. You can build the gun also and leave off.
There are many side panels attached to the bottom and top. Take your time and get tight fits - I didn't and had to work on them later. Once all the sides are added, the top and bottom can be joined. I started at the front and glued and clamped working my way to the rear and the seams were good. Pay special attention to get the two side cut outs (parts B18 and 19) to fit flush. I set this aside overnight to let it dry thoroughly.
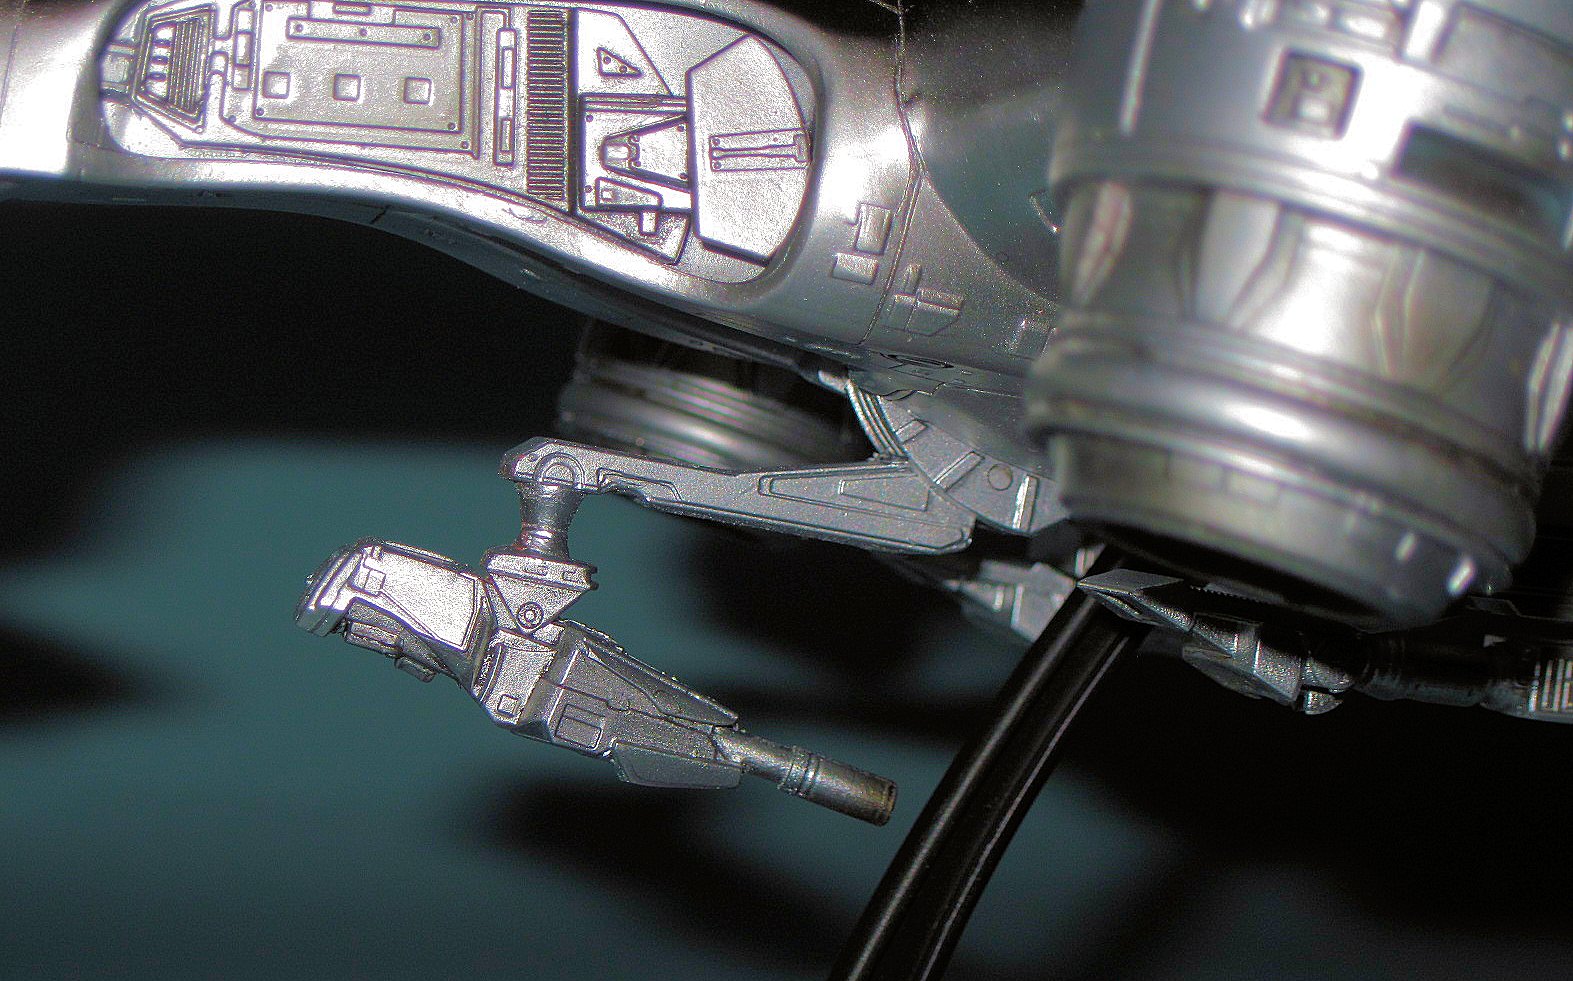
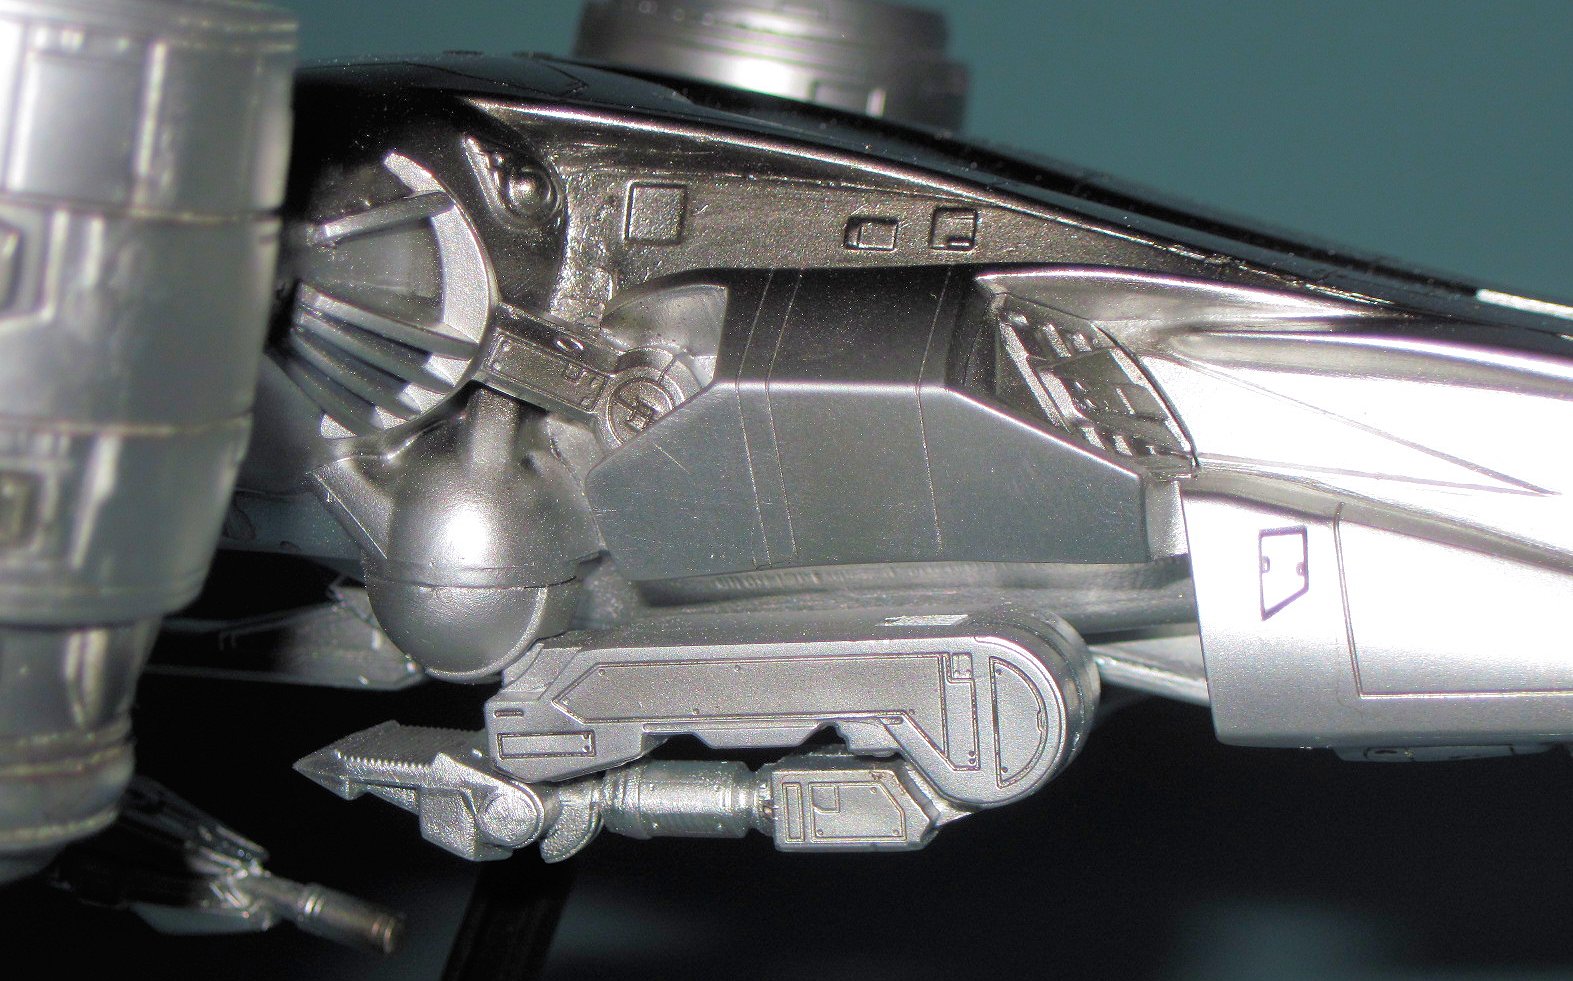
The tail is added, then the searchlights and pods for the landing gear. I left the engines off until after painting. Then the fun began. I pulled out Mastercaster sanding and polishing pads and smoothed almost everything I could find. I primed the kit with Tamiya silver lacquer and repeated and then rescribed a few lost lines. I then primed with lacquer again and polished it. I then over-coated the kit with Alclad Chrome. This was polished lightly with 12000 grit pads. I highlighted a few panels on the ship and landing gear with Alclad Stainless Steel, Polished Aluminum and straight Aluminum.
After looking at the pictures and then the kit, my paint job looked too "silver", so I repainted the entire kit with Tamiya gloss black acrylic thinned with lacquer thinner. It drives super glossy and quick. I coated this with Alclad Chrome and it had a darker shiny appearance. I toned a few areas with Jet Exhaust and White Aluminum for shading.
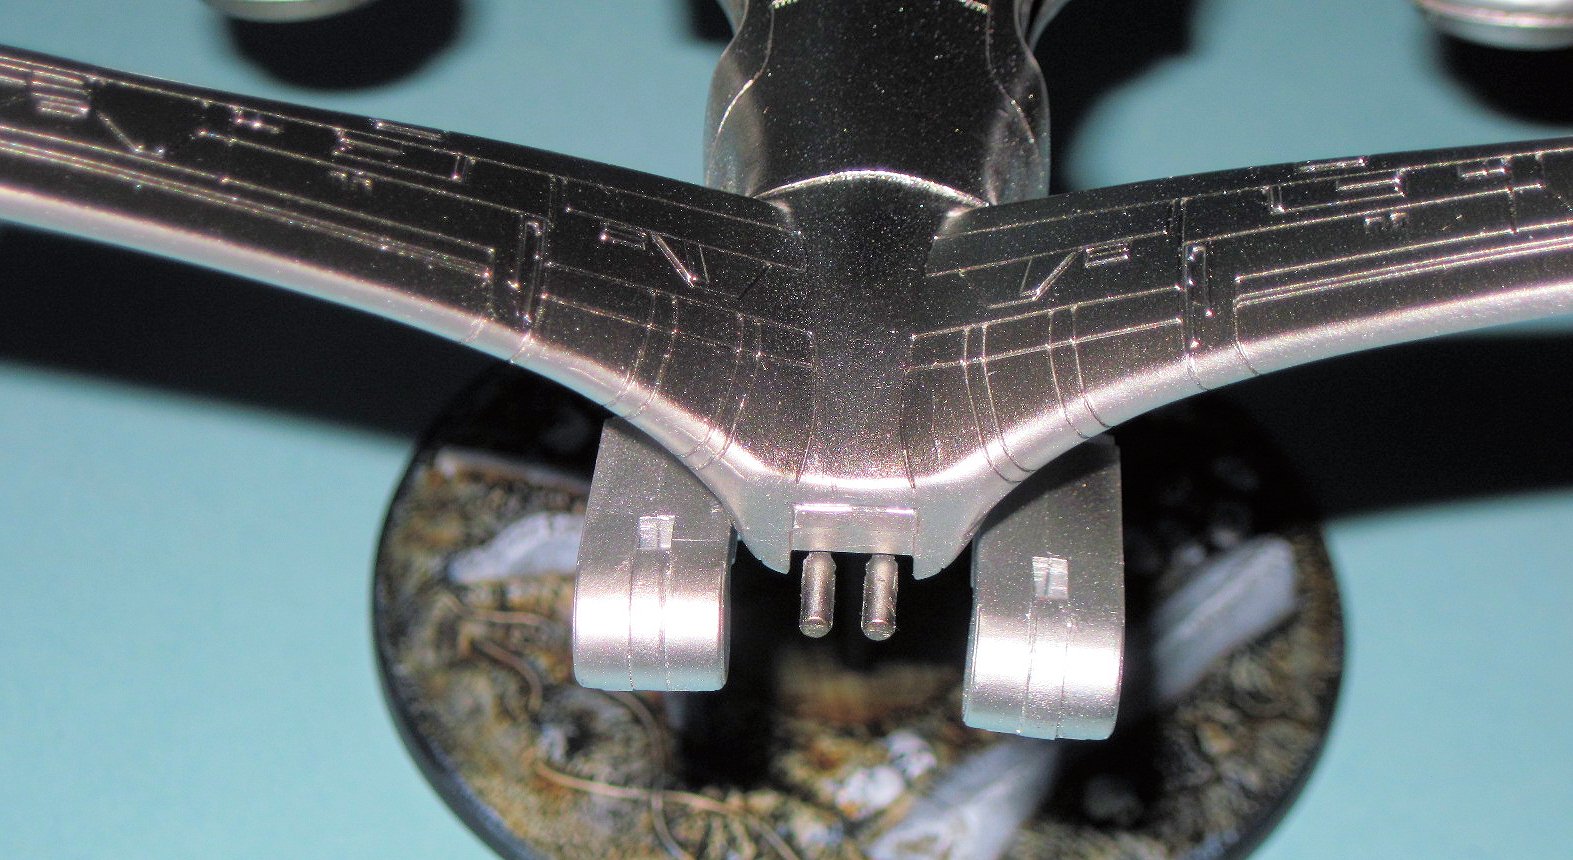
I added the engine pods & gun and they fit perfectly. Lastly I added the clear parts. The lights on the tail were cut & glued in place, then painted gloss red & blue per the instructions. The bottom lights and searchlights were added and the clear parts were a little cloudy. To remedy this, I used Future and liberally brushed it on and the parts were good.
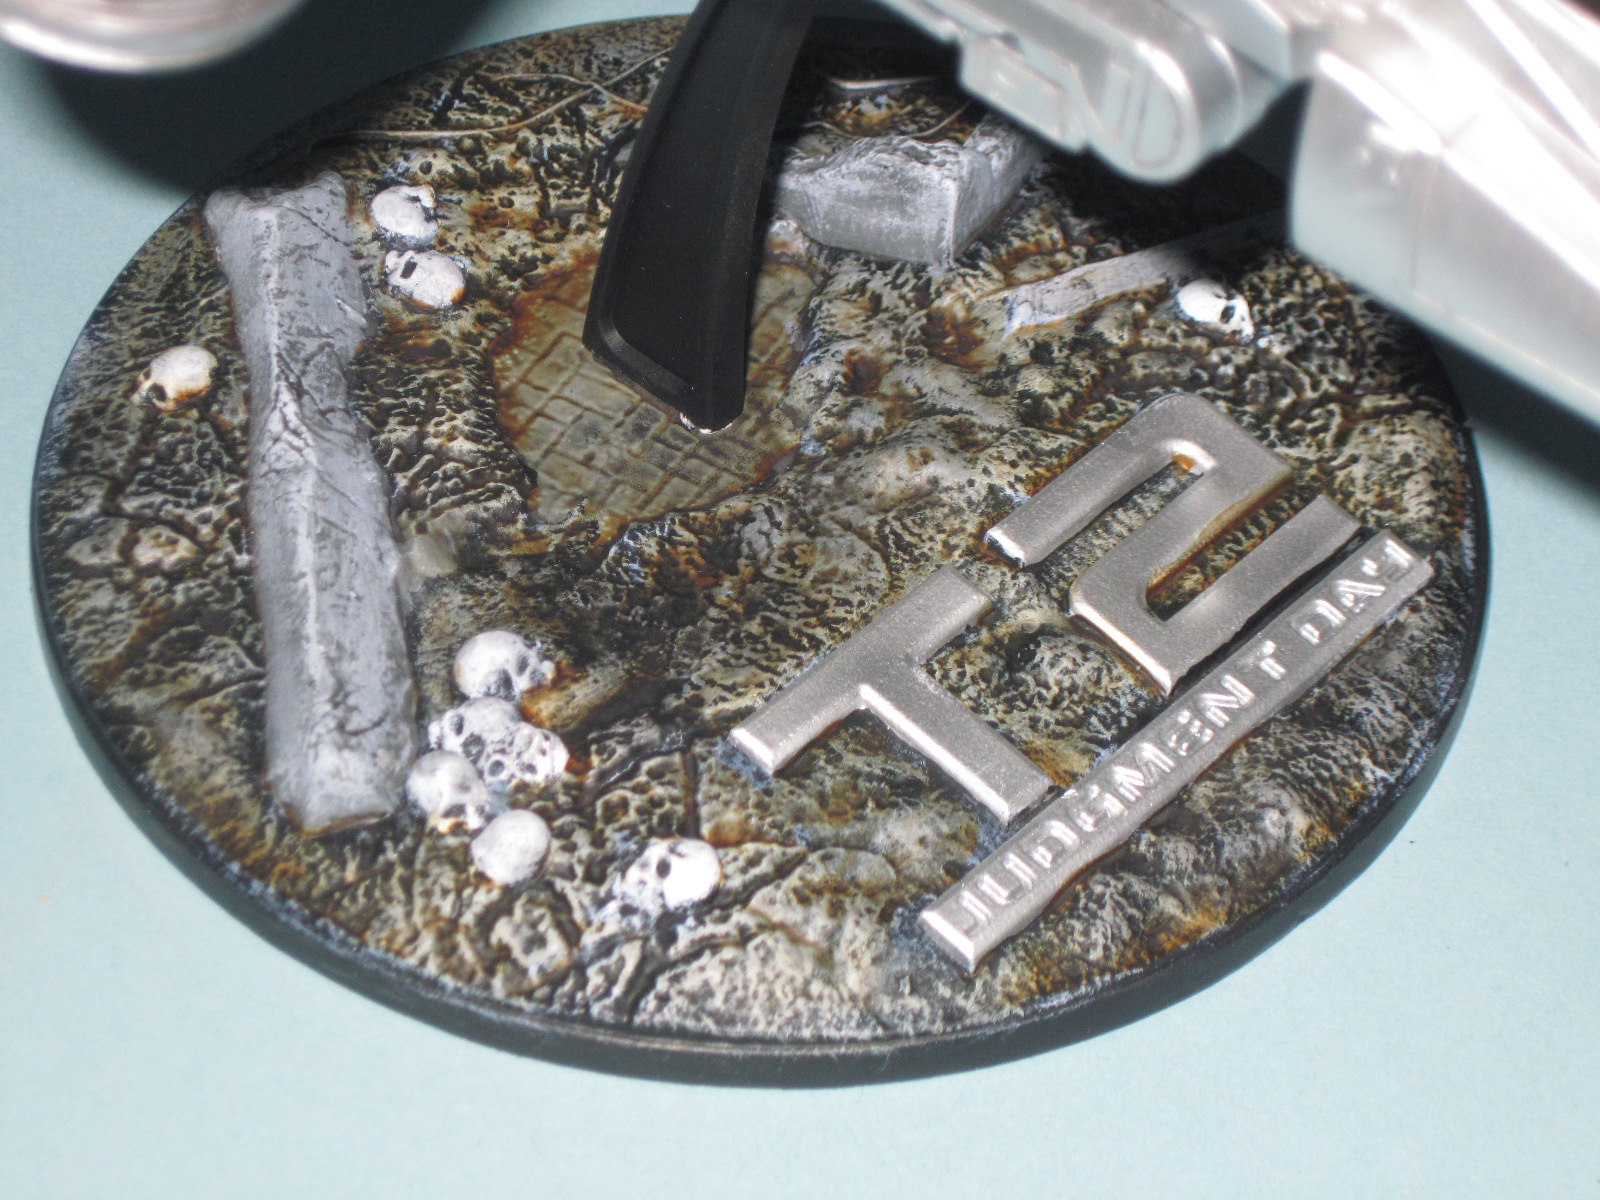
The base for the kit is excellent having debris, broken beams, many skulls molded in, and is solid. These were painted and washed multiple times, the post added, and kit glued on the top.
This is a great kit and highly recommended. Check with Steve Iverson at CultTVman and get one. The next kit out is a Hunter Killer Tank, and I want to do another of these with the lighting kit added!


Comments
Add new comment
This site is protected by reCAPTCHA and the Google Privacy Policy and Terms of Service apply.
Similar Reviews