
T-60 Early Series. Soviet Light Tank Interior Kit
The T-60 was a light tank designed for scout and reconnaissance missions that was rushed into production a month after the start of Operation Barbarossa. Over a two-year period, approximately 7,000 of these vehicles were built. The T-60 scout tank was lightly armored, lightly armed with a 20mm canon a a machine gun, that was roundly hated by the two-man crews who operated it. The light armor, less than effective gun and poor engine performance lead to its operators naming it the “brother’s grave for two”. Although it was intended to be a support or reconnaissance vehicle, it often matched up against more superior German armor where it fared very poorly. Until factories could be equipped to produce the T-34, Soviet production continued and efforts were made to upgrade the firepower to a 37mm cannon, but these plans were scraped due to a lack in ammunition, and eventually, the armament upgrades were incorporated into the T-70.
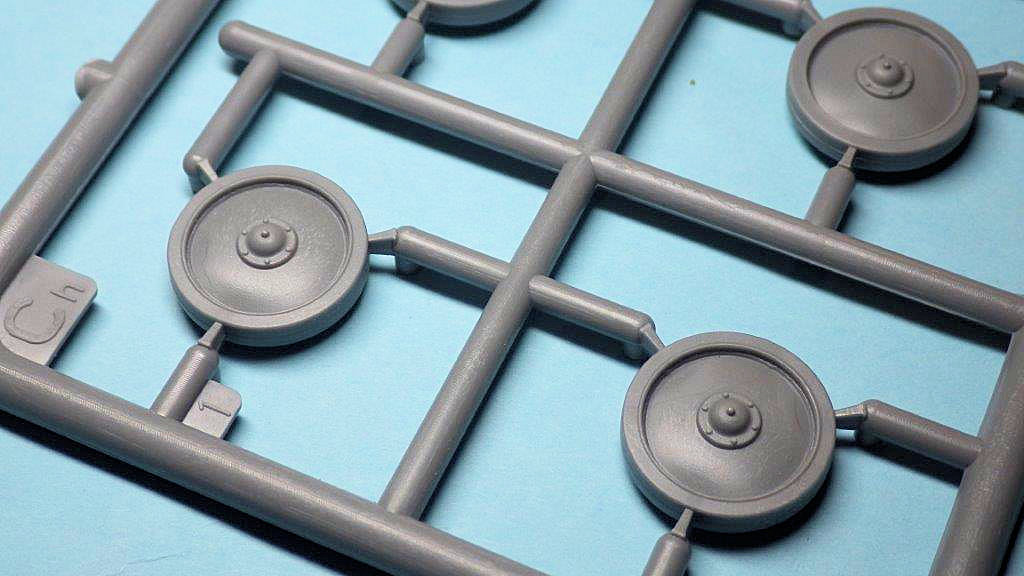
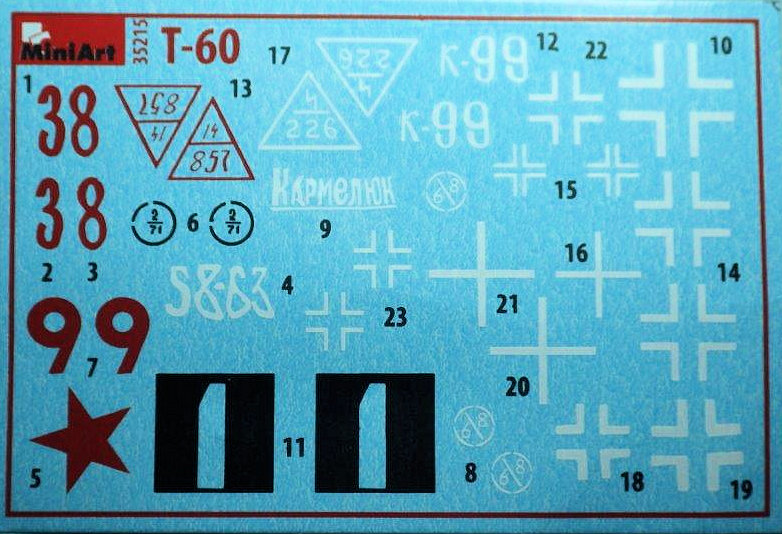
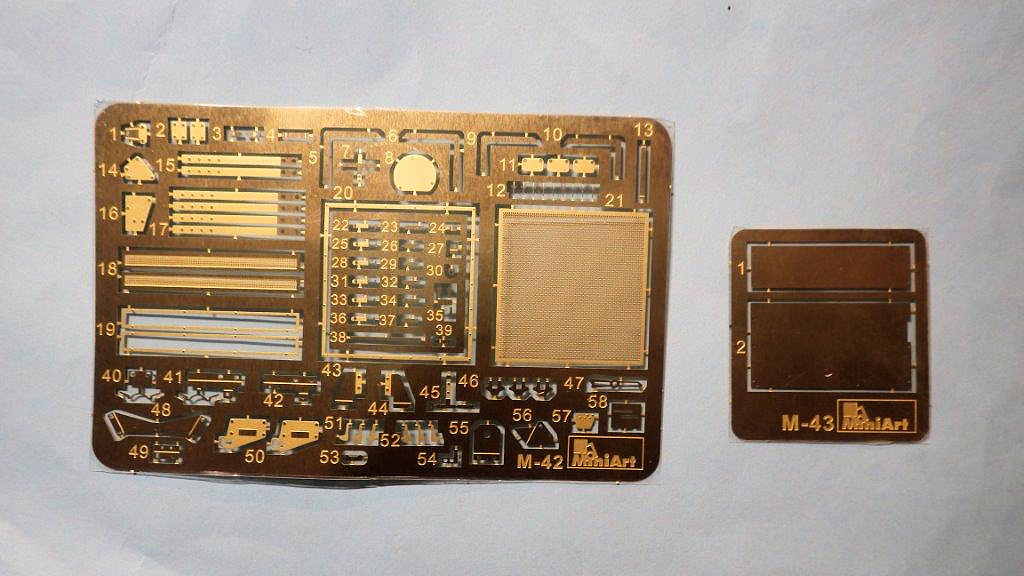
This kit is one of MiniArt’s new series of full interior tanks. Upon opening the box, you get a huge number of sprues for what is a relatively small tank. The kit includes 37 sprues molded in semi-soft grey plastic, 2 small frets of photoetch, and a small clear sprue for a total of just over 400 plastic parts and 78 photo-etch ones. However, don’t let the number of sprues overwhelm you too much, eleven of the sprues are the tracks, and a number of sprues are duplicates with a few parts that won’t be used. The small decal sheet contains markings for eleven different vehicles, seven Soviet vehicles and four captured units re-used by the Wehrmacht.
The instructions should be familiar if you have built a recent MiniArt AFV kit. The instructions come in a booklet full of black and white step-by-step drawings and a few color pages that show the various painting and marking options. For the most part the instructions are clear, but when assembling the engine and transmission, you’ll need to pay careful attention to where some hoses, and rods connect. After building the parts, it seemed obvious, but reading the instructions, not so much.
The instructions also frequently show subassemblies from different angles, sometimes upside down and other times reversed. Also, the modeler needs to decide early on which finished version to build because there are certain parts that either need to be added, or removed depending the finished product, and the instructions don’t identify which part goes with which version. This is only revealed in the color painting instructions. In some cases, I built parts as a sub-assembly because the kit instructions would start on a part, then switch to another part, before moving back to the part you originally started on. Case-in-point, are the mud guards. You start by removing some plastic part guides and adding photo-etch tool brackets, then you go back to working on the turret, before finishing the work on the mud guards. I just built out the mud guards, which are extremely thin and fragile, before moving on to the next subassembly.
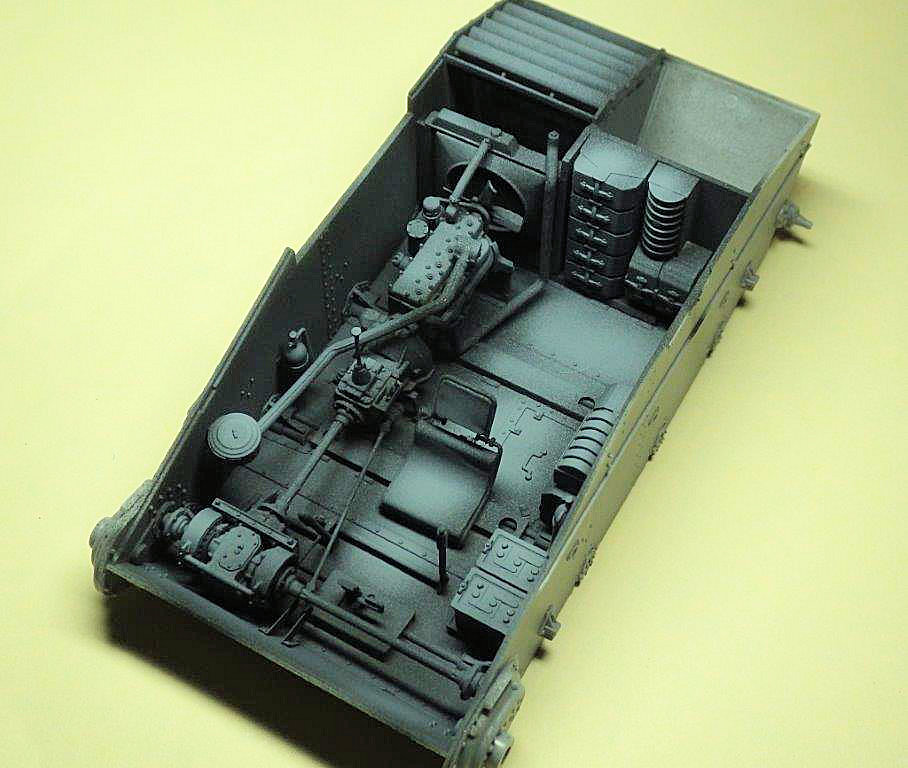
Construction starts with the transmission and engine. I couldn’t find any examples of what the T-60 engine looked like, so I’ll assume Miniart did more homework than me. Either way, what’s provided looks awesome. There may be the need to add some additional wiring to the engine, but building it as provided results in a great looking part. The transmission looks great too. It’s hard to believe everything was just out in the open like that, but the T-60 was a simple design and maybe not having a firewall between the engine and the fighting compartment helped keep them warm during in the winter. The engine and transmission consist almost entirely of plastic parts, with just a few PE details. This makes assembly very simple, and at least for me, enjoyable, and you’ll find that the interior goes together extremely quickly. You may want to paint some assemblies separately before putting everything together inside, because once it’s all in there, getting it painted will be tough.
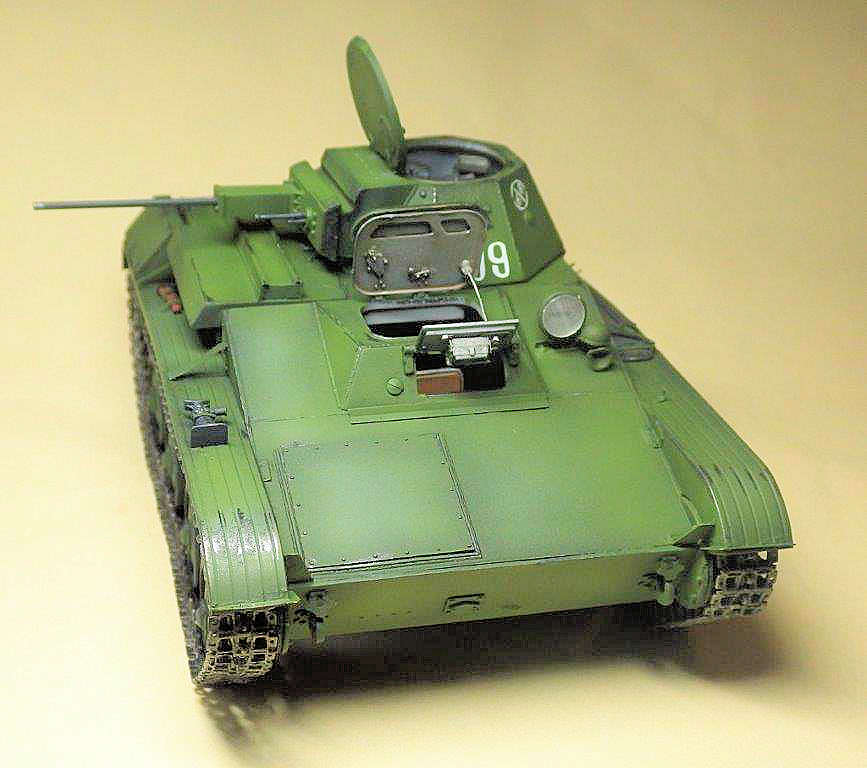
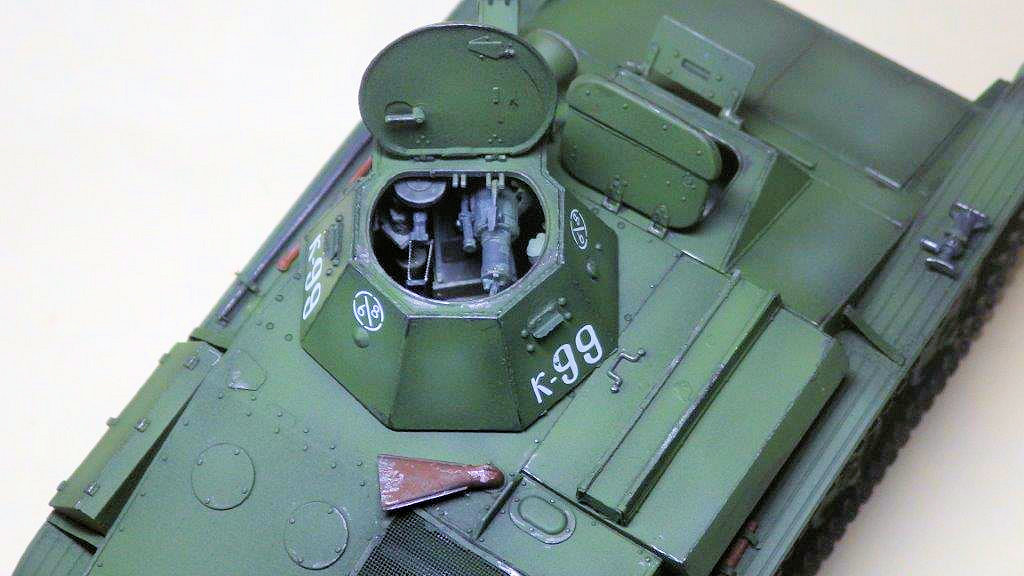
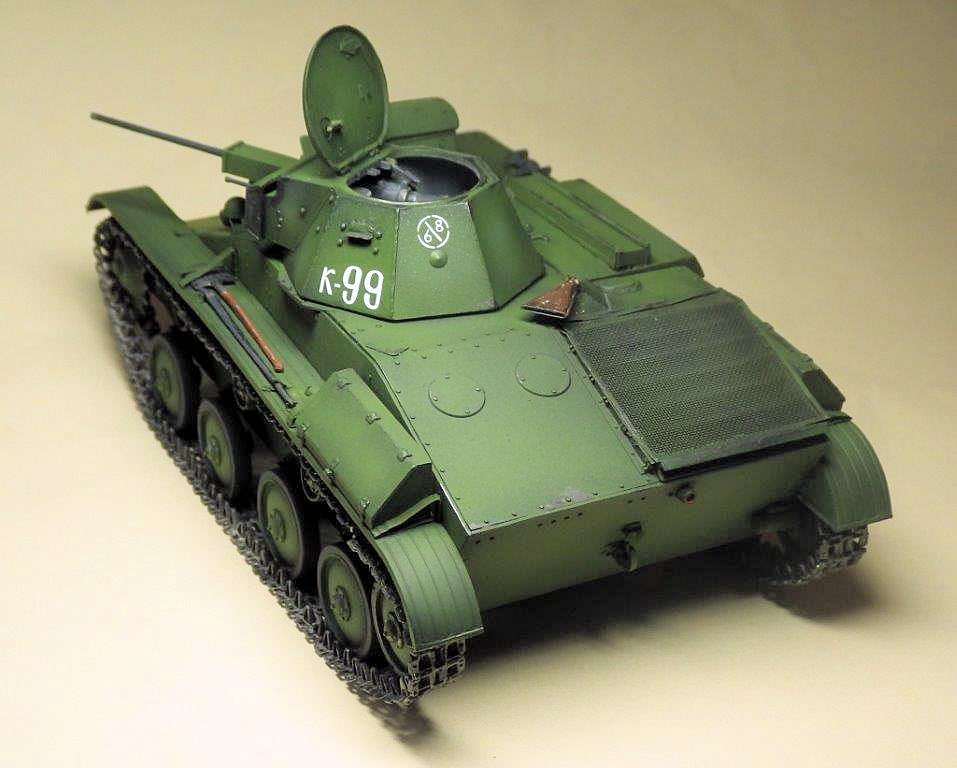
The hull assembly is pretty simple, and the driver’s vision port and hatch, commander/gunner’s hatch and engine hatch are all properly detailed and can be positioned opened, or closed. In fact, the engine hatch can be built so it opens and closes to allow you to show of the work on your engine. Due to the small size of the vehicle, even with all the hatches open, you’ll really only be able to see about half the interior details, still it’s nice to be able to show off the features since many times interior armor details are all but completely hidden.
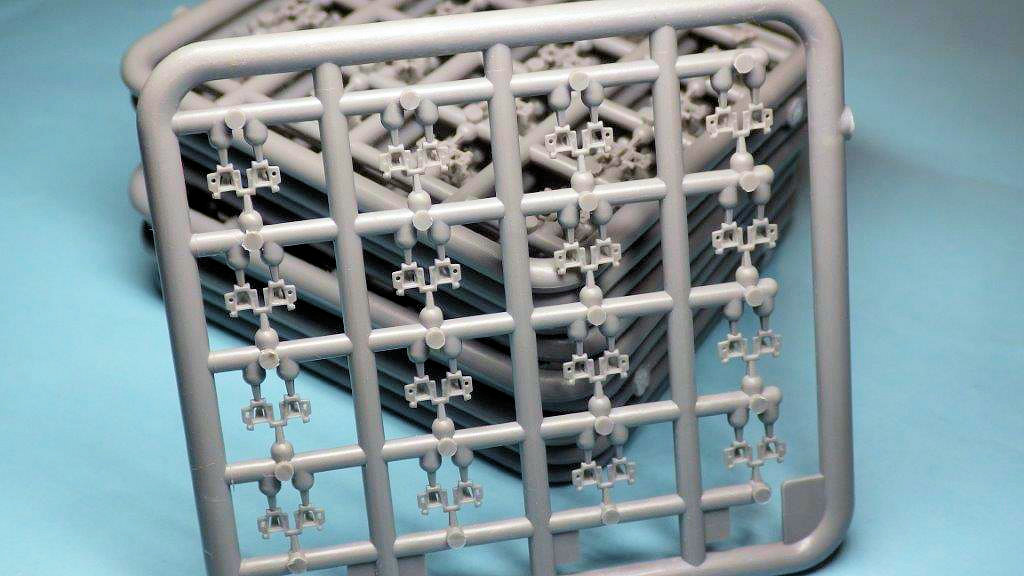
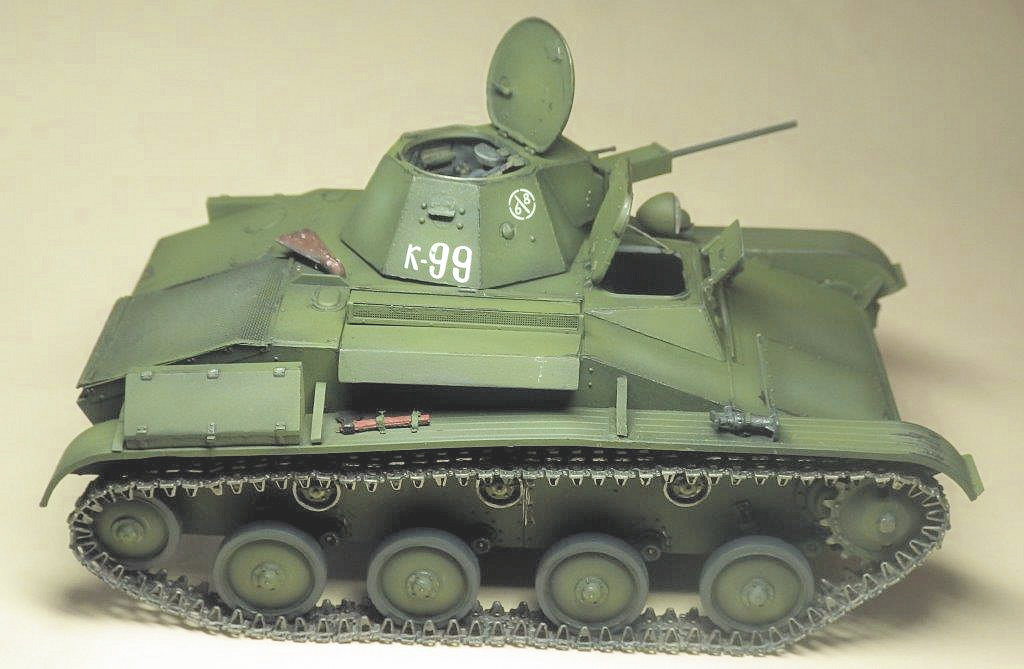
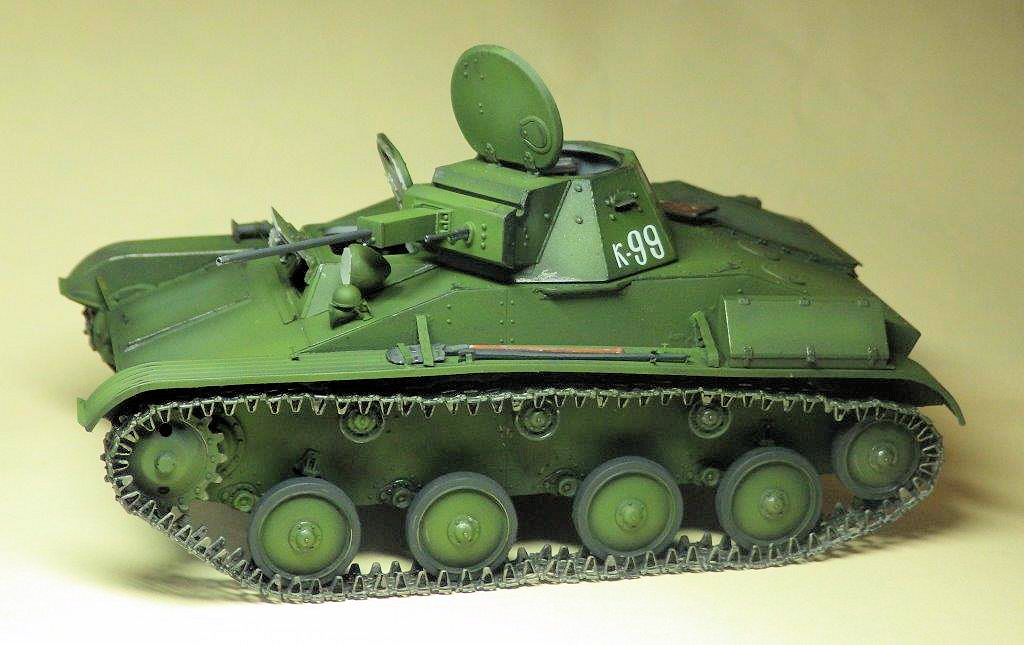
The area I had the most difficulty with was the tracks. These are provided as individual track links in plastic. There are 85 links per side and each link needed a little clean up, but nothing major. Overall the details are great; however, they don’t fully attach and need to be glued in place part-by-part. I’ll admit that tracks are not my specialty, but these were a little more difficult to work with compared to others. This may have been just due to the size, since they are not very large to begin with. The end product looks nice and 85 links allows for just enough sag to make them look realistic.
Overall, the fit of the kit is excellent. The parts are well-detailed and relatively flash-free. Assembly, other than the tracks and a couple other small details, was simple and straight-forward. While the instructions can be confusing in places, as long as proper attention and care is taken, you shouldn’t have much trouble.
I really enjoyed working on this kit and I can’t recommend the kit high enough. It was fun to build and the finished product is very nice.
Thanks to MiniArt and IPMS/USA for the review kit.


Comments
Add new comment
This site is protected by reCAPTCHA and the Google Privacy Policy and Terms of Service apply.
Similar Reviews