
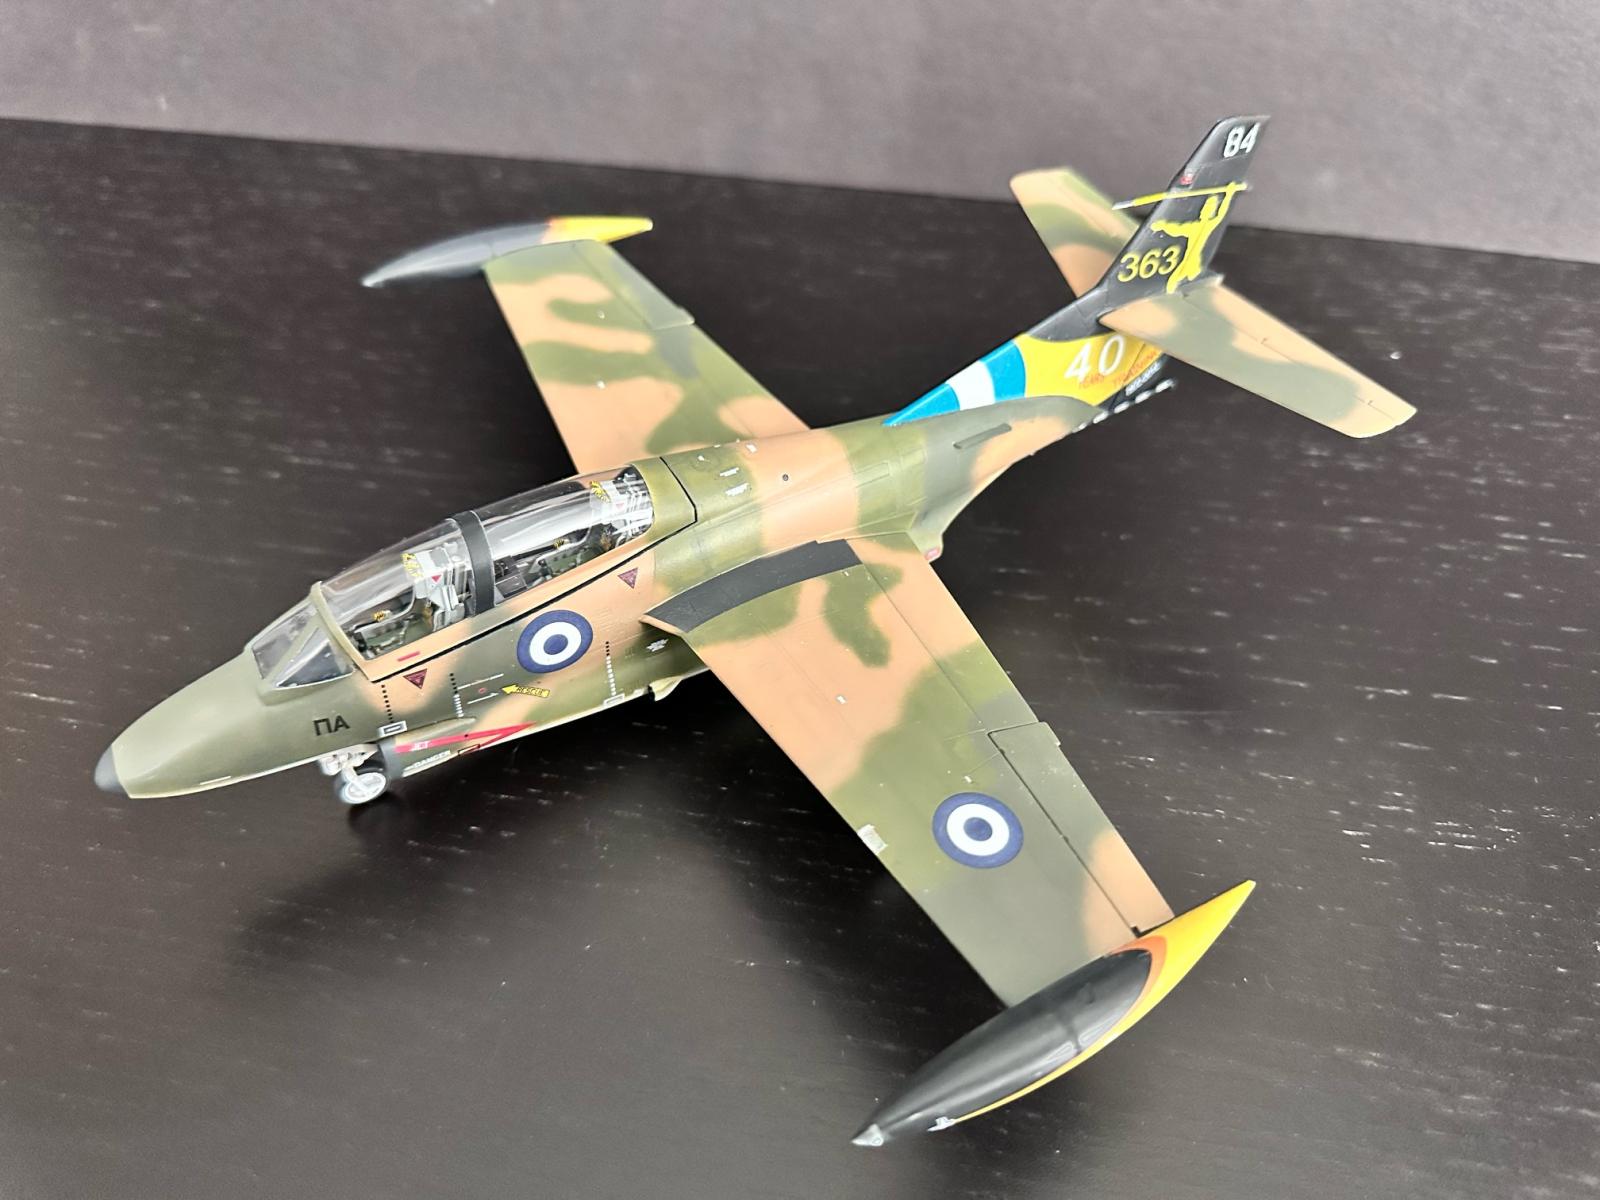
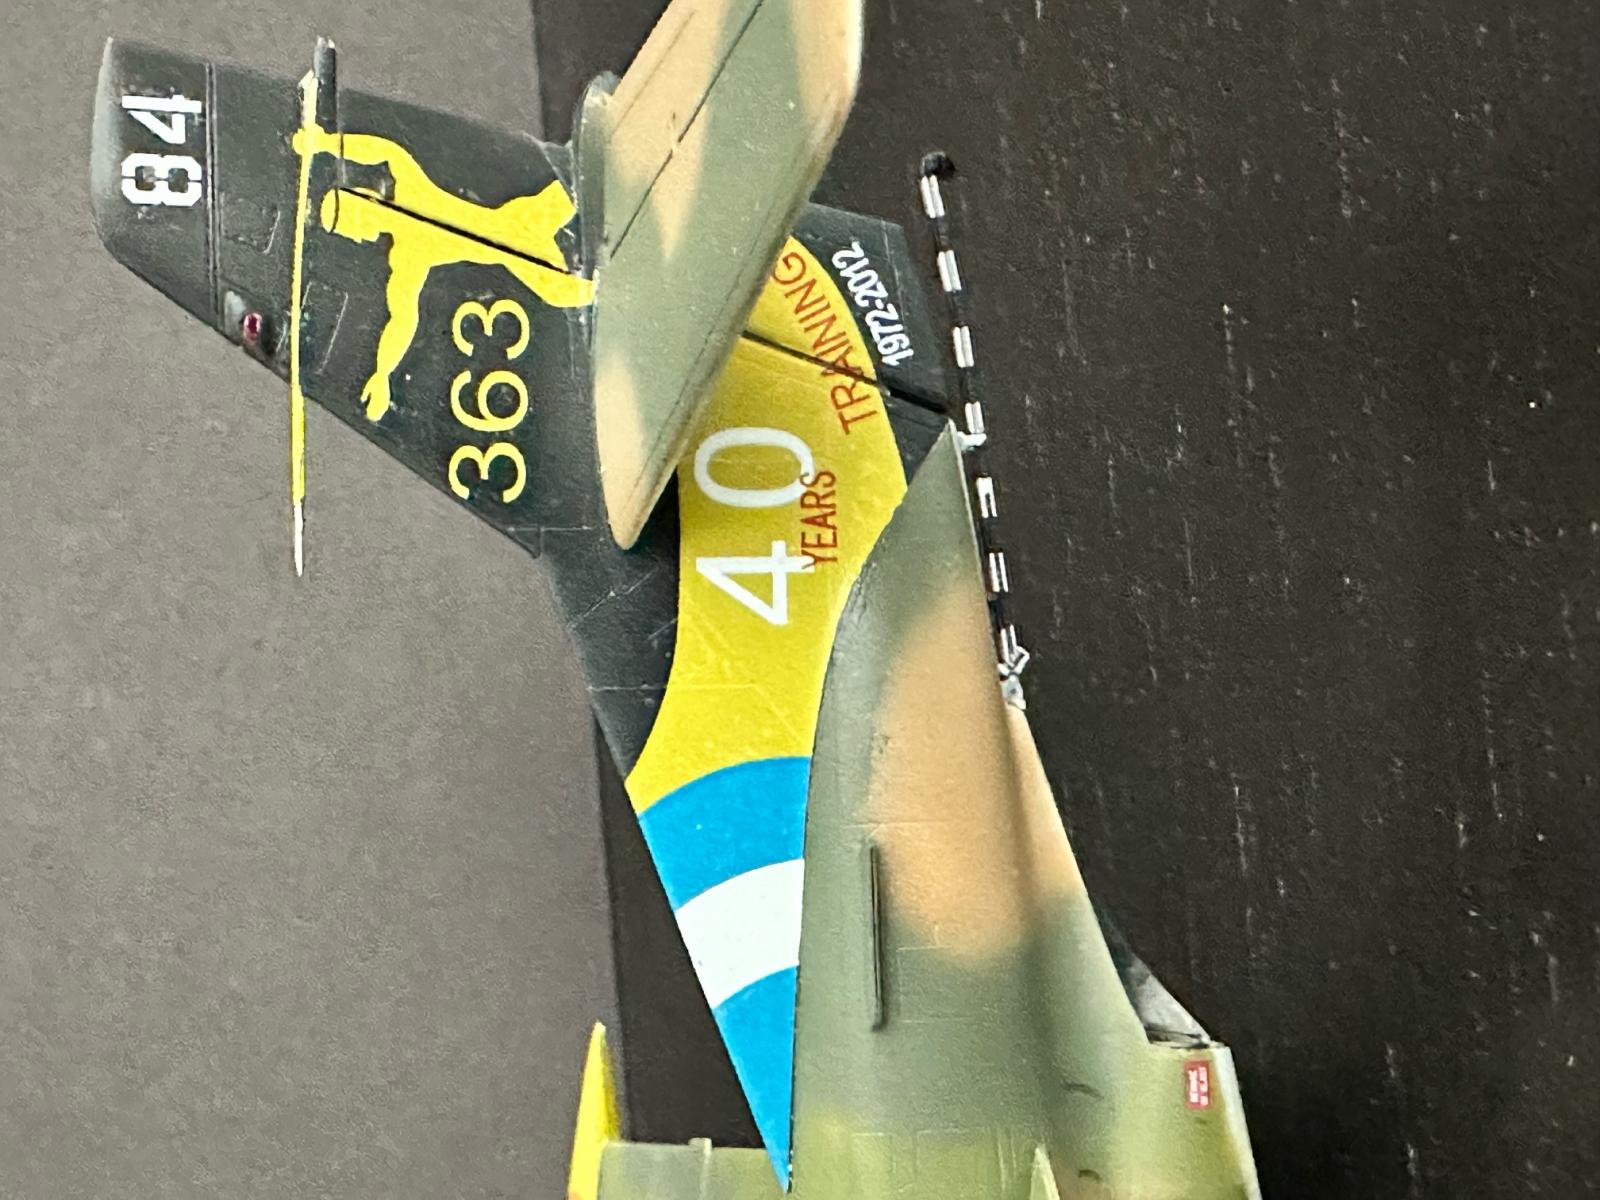
T-2 Buckeye "Anniversary Markings"
This is a re-boxing of the Two Bobs kit first released in 2009. Special Hobby has since issued three versions. In this the “Anniversary Markings”, version we get a US Navy bird celebrating the American Bicentennial and a Greek AF, T-2 marked to commemorate 40 years of service with that organization. The T-2 first flew in 1958 and was the backbone of the Navies jet training syllabus till its replacement in 2008. The Hellenic or Greek AF received a total of 40 T-2Es and is just now in the process of phasing the last out of service. Venezuela also used this venerable trainer. In total 609 were built giving thousands of military aviators their first experience of jet flight.
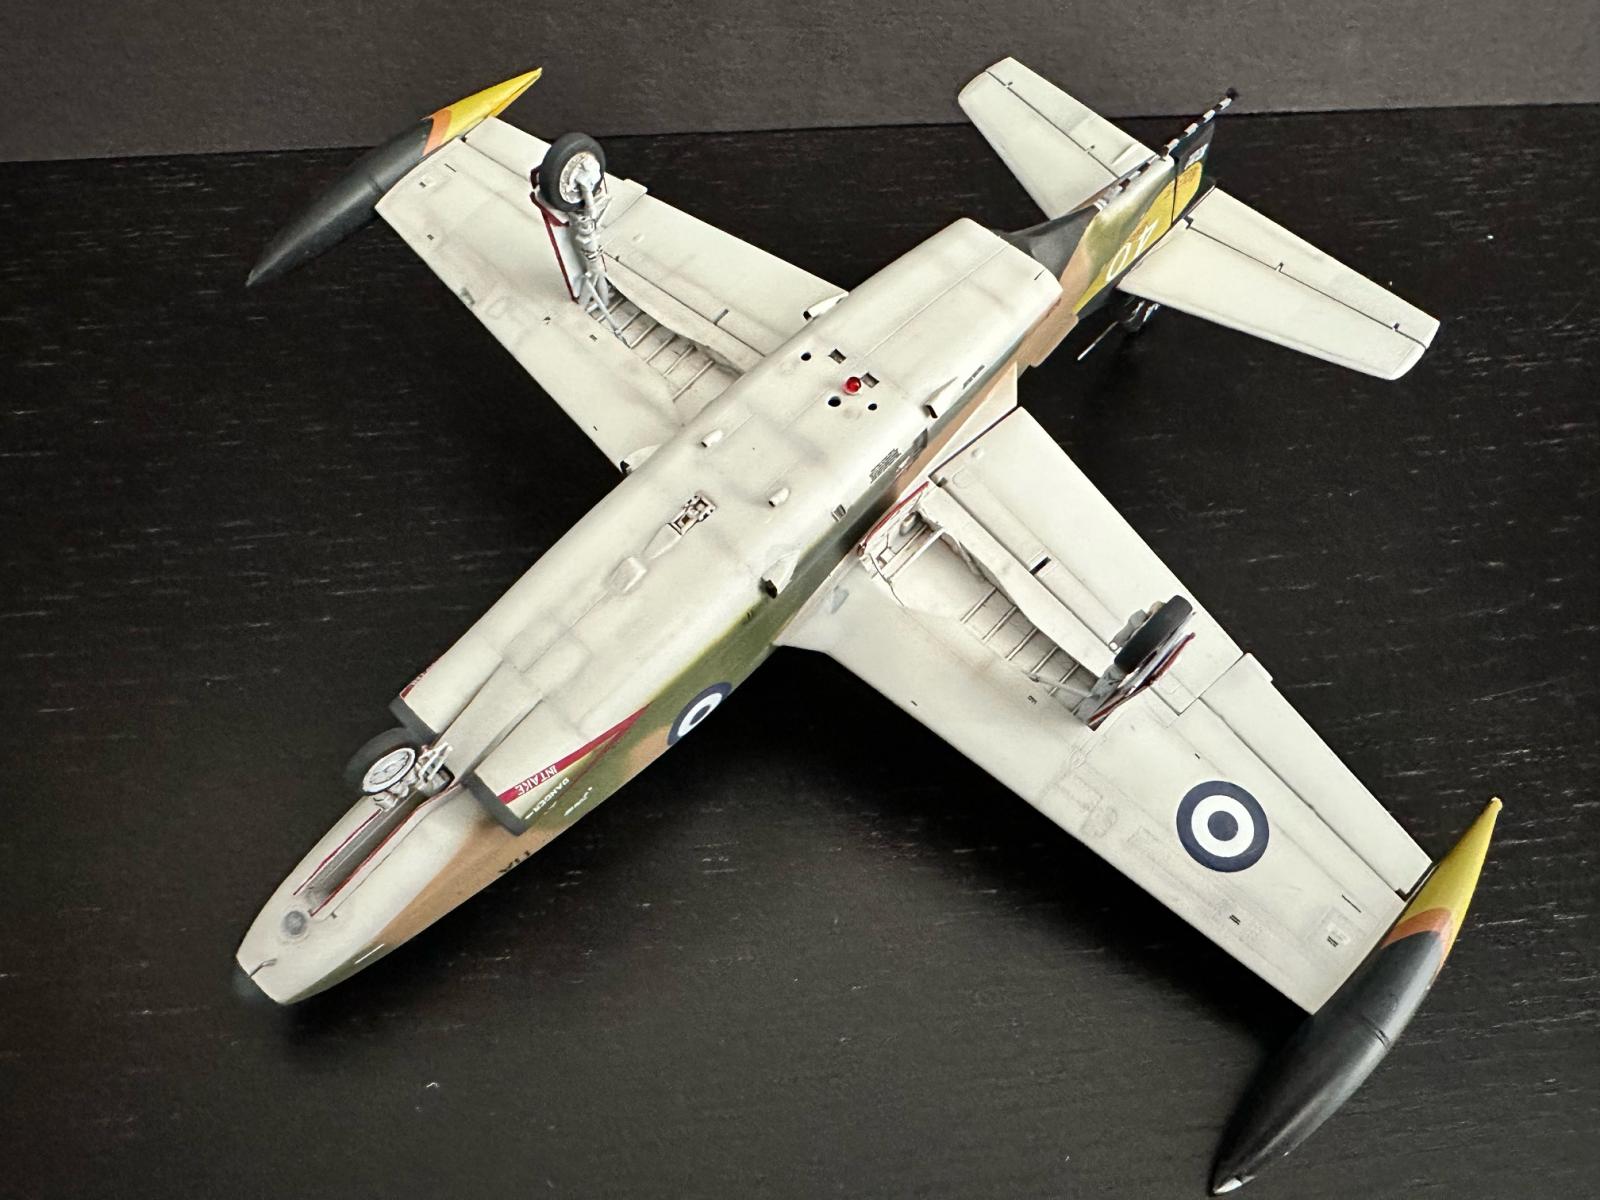
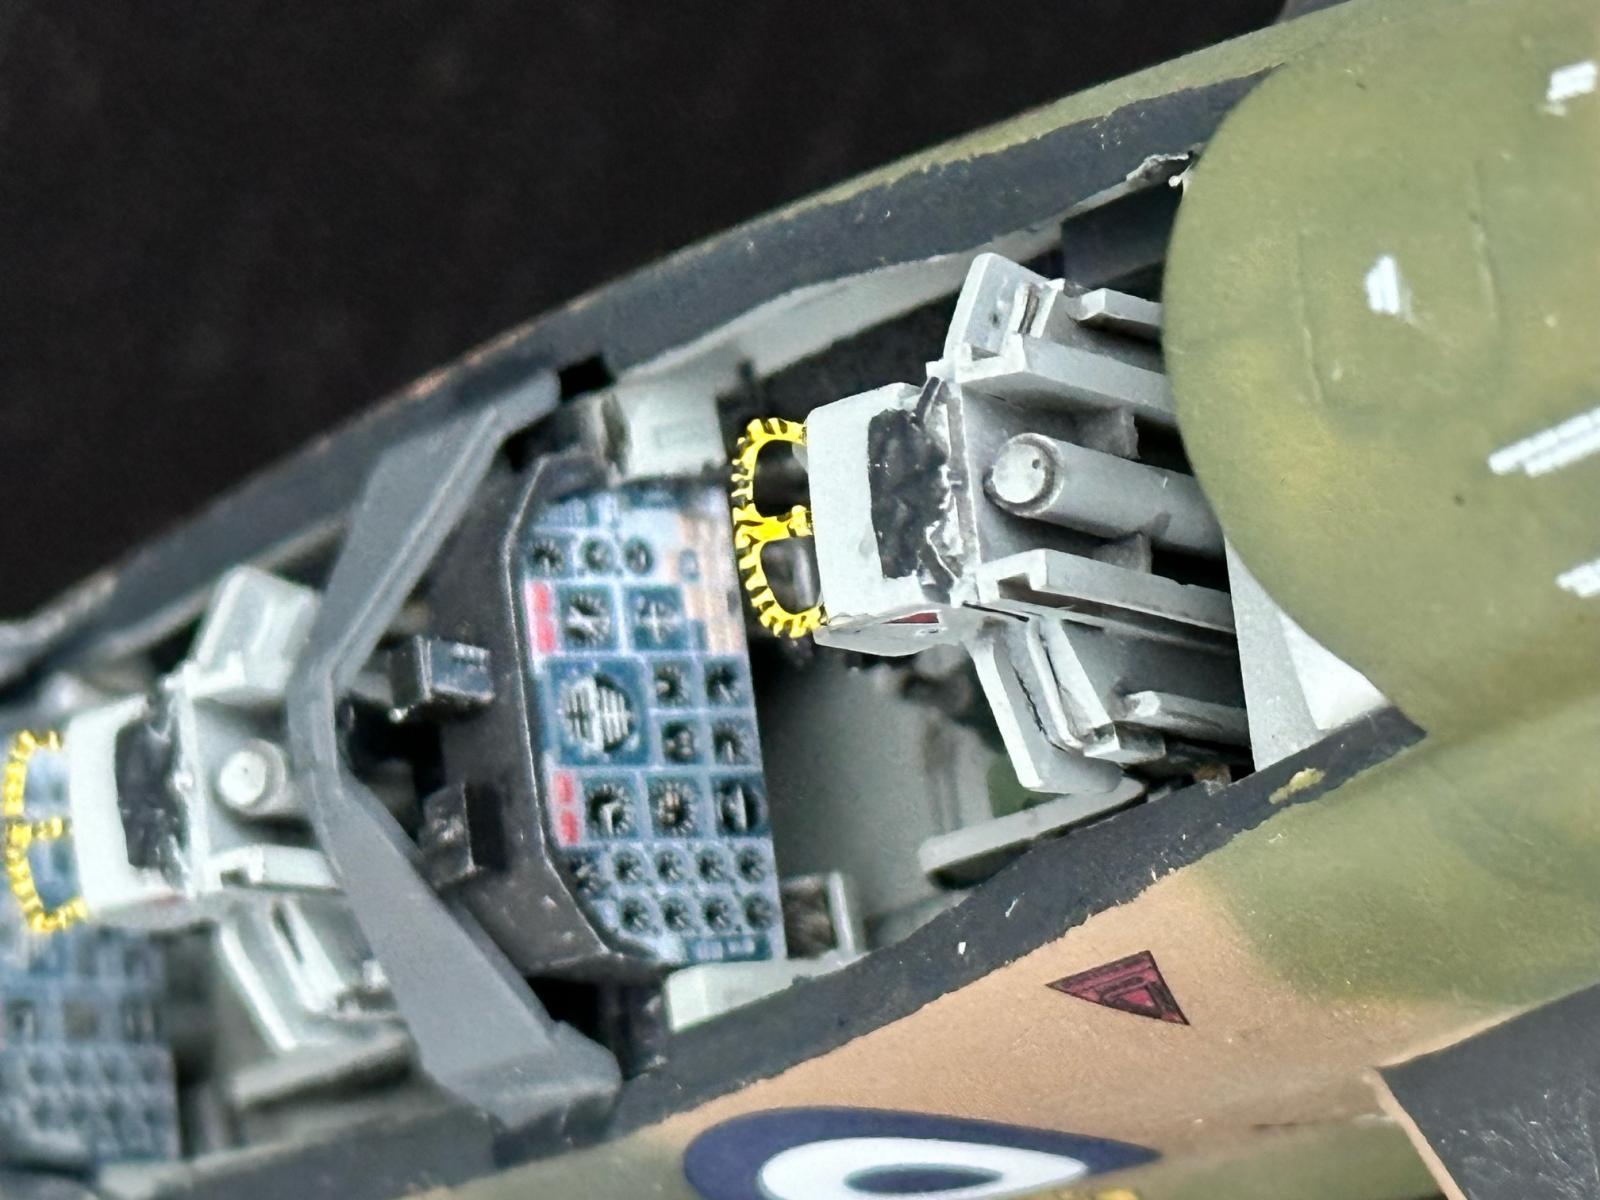
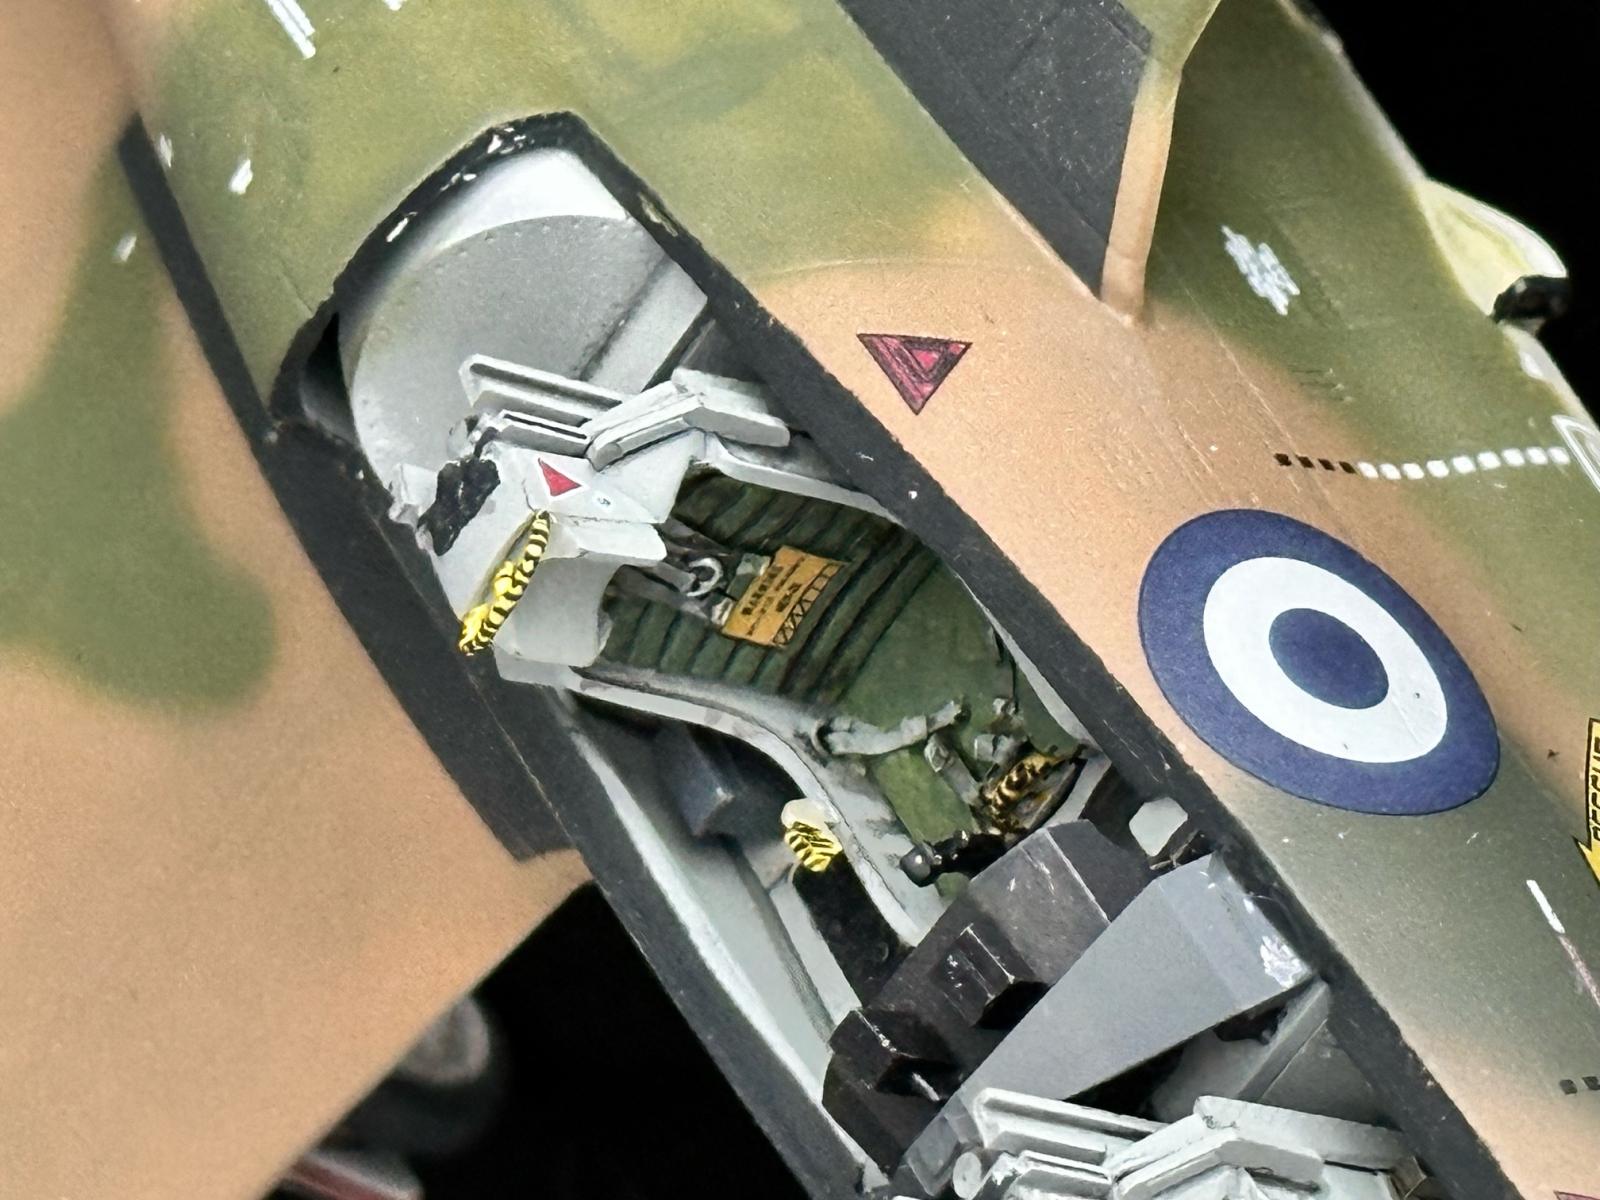
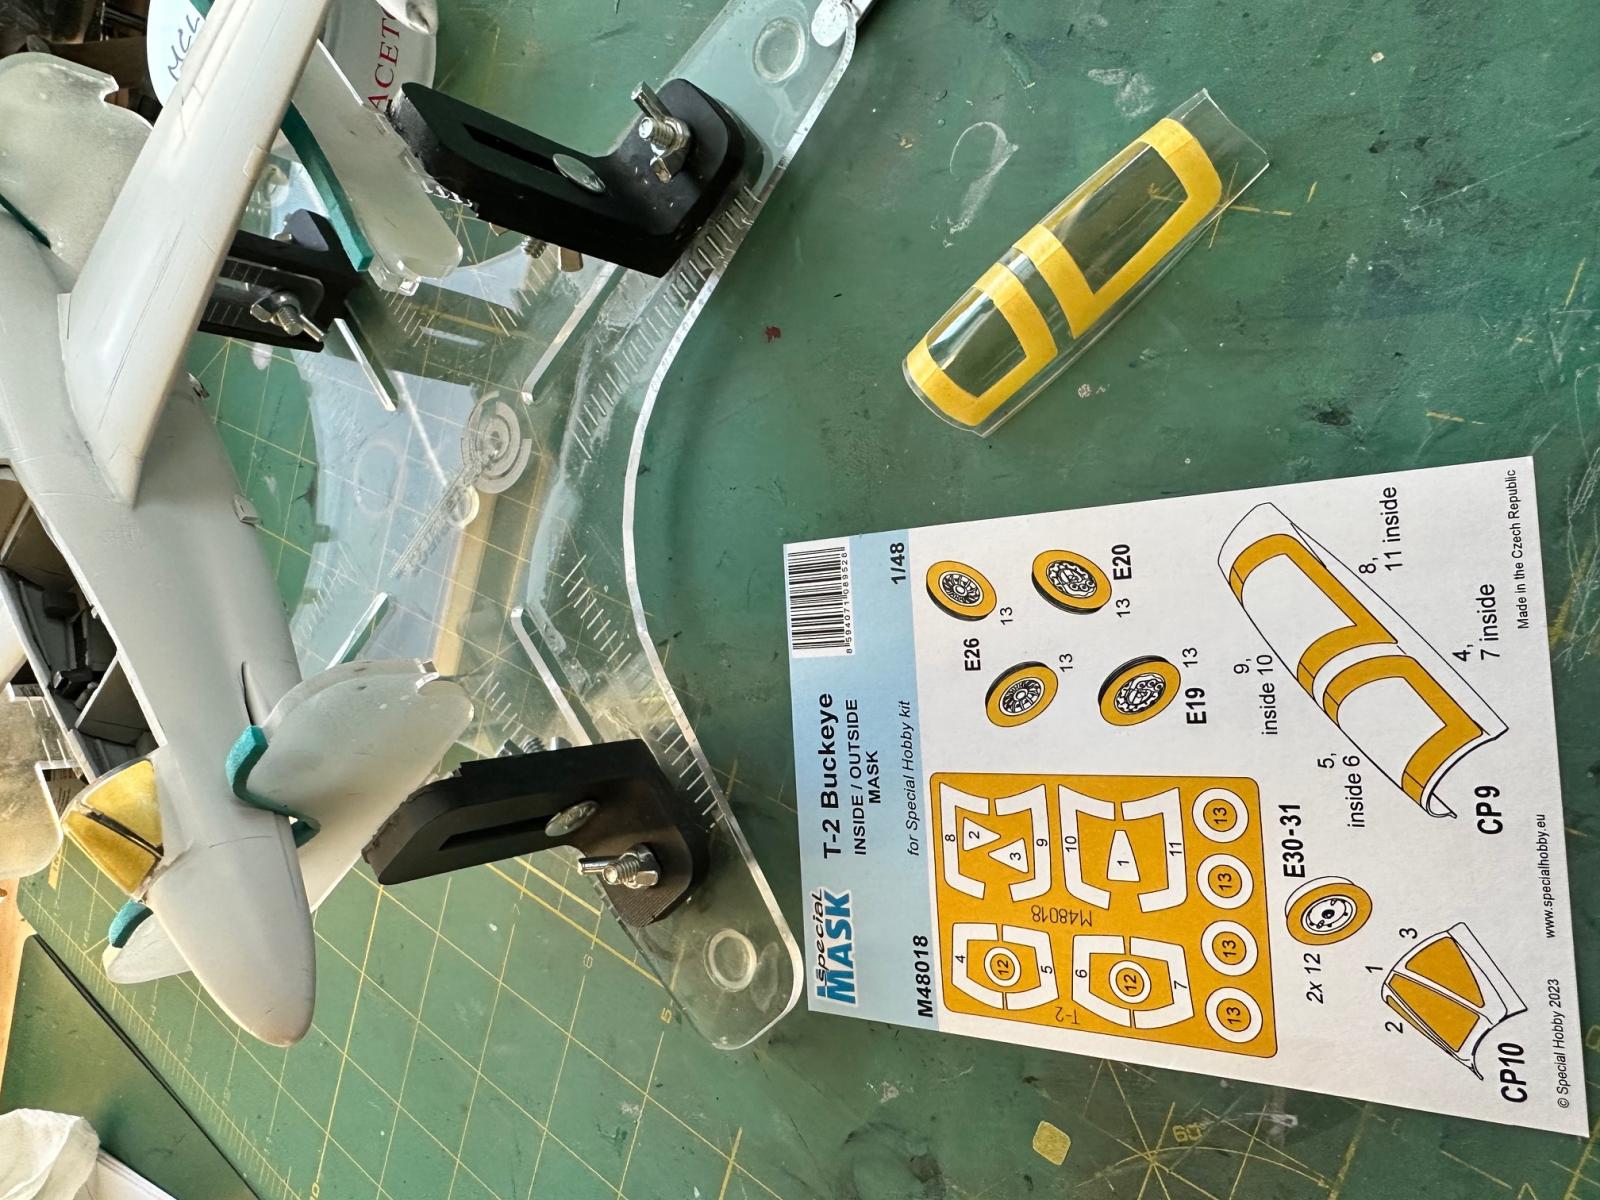
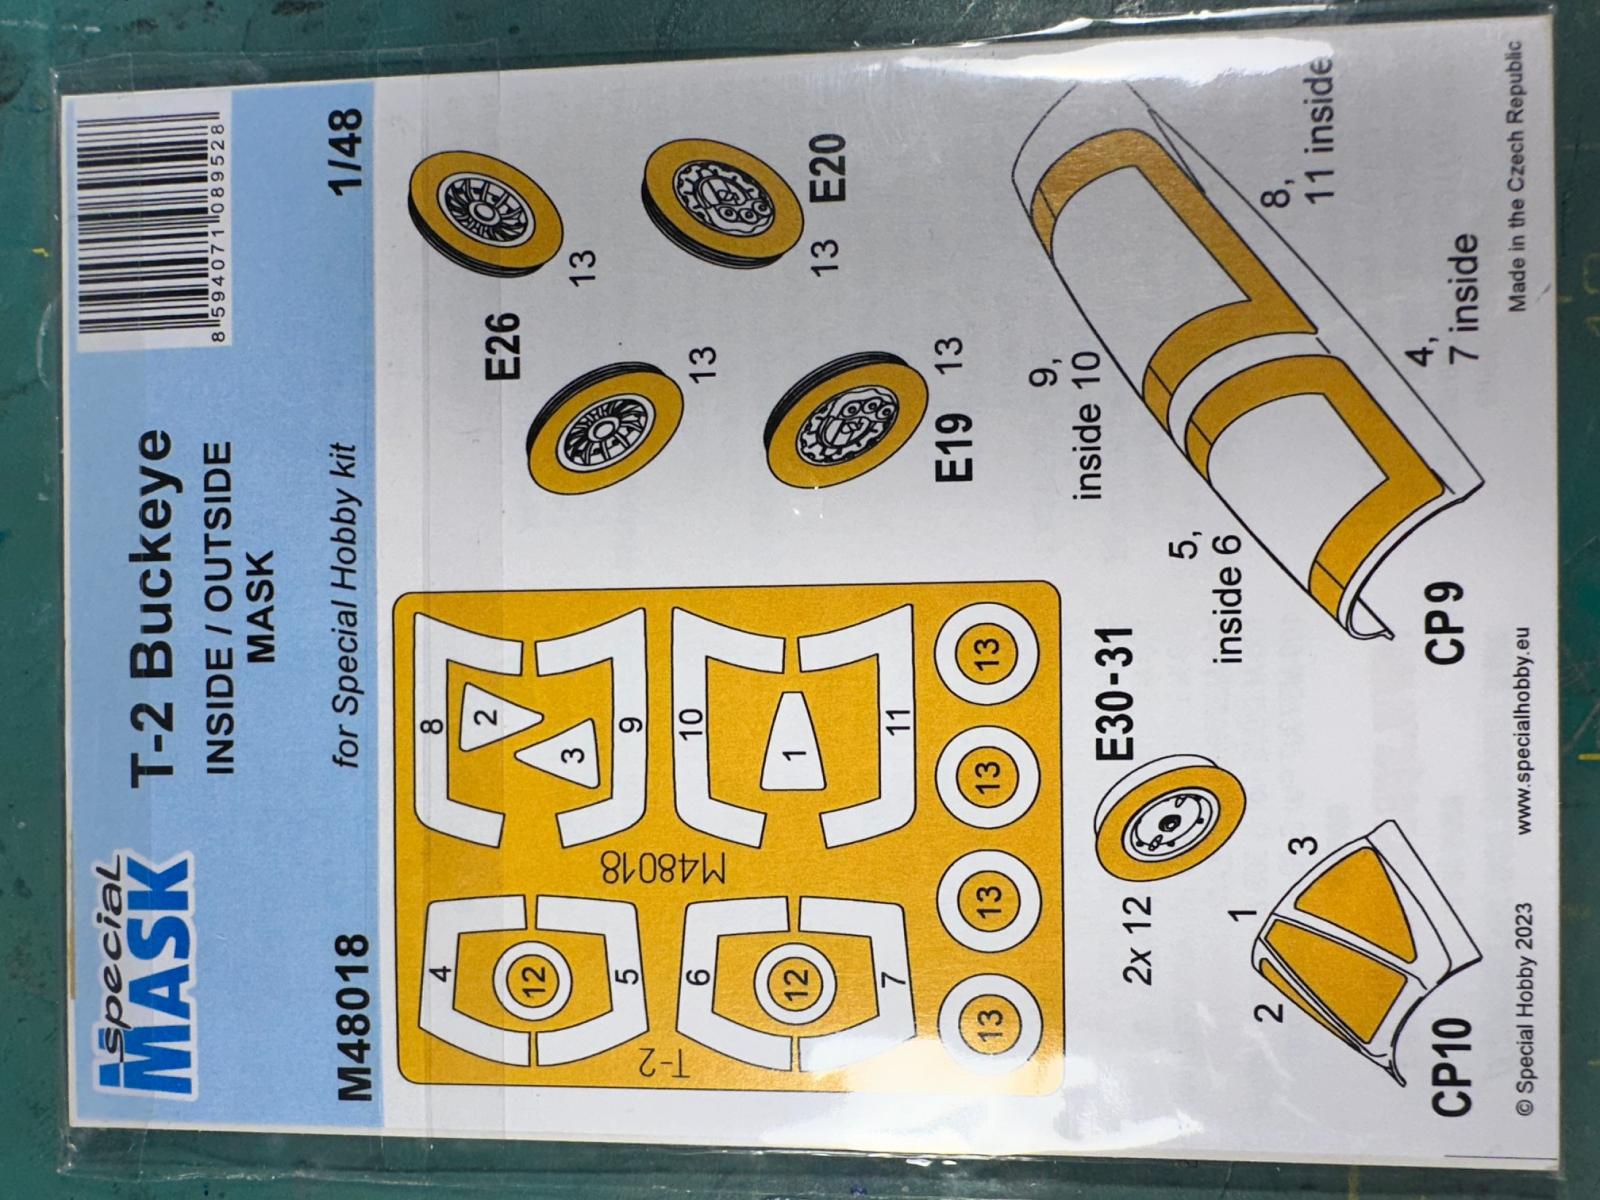
In this boxing comes a combination of injected plastic (including canopy), cast resin, color photoetch, canopy and wheel mask set and a colorful decal sheet. All the parts are up to current standards in terms of surface detail and casting quality. After reviewing the instructions, I decided to fit up the parts to ensure alignment and I found a couple tricky areas. The fuselage is in two halves with a third section for the flat bottom part. That interface is not great and can create a step difficult to level out. The engine intake ducts are done in two sections (forward and rear) on each side that must align on the inside. I assembled them in their respective fuselage halves before joining them. A lot of plastic was ground away to make this happen. The most difficult part of the build was making the front instrument panel coaming fit under the windshield. The Greek AF T-2 have a gunsight in the front cockpit. If you assemble the kit as designed, the windscreen will not fit over the gunsight. This problem is compounded by the photoetch instrument panel that is slightly taller than the plastic panels and the cockpit floor that rests on the nose gear door. After removing as much plastic from each part to make it fit, the gap under the instrument panel would be difficult to get a pilot’s feet under. If you want to avoid this hassle, build the Navy version. The flying surfaces are all separate and need thinning to be scale accurate. I pinned all those surfaces with brass wire to make sure they didn’t pop off during later stages of assembly. Lastly, the main gear legs should be fit before any finish work is done. They require a bit of trimming to make sure you can get them into the gear bay after the wing is assembled. If I had to do it again, I think I would drill and pin them with wire to pivot like the real thing.
I used the Mr. Color aqueous paints recommended in the instructions and found they worked very when cut with Mr. Color leveling thinner. The Greek birds have a tight soft- edged camouflage pattern that is best done with masks. I lost so much time just getting the airframe together, I free handed the camo pattern. Speaking of masks, the set included in the kit fit perfectly and include inside masks for the canopy. You need to check references as the painting directions are not accurate. The horizontal stabilizers and elevators are the same black as the tail. I didn’t catch that detail in time to fix it. The good news is there are numerous photos and some video of this aircraft online. I just didn’t look hard enough. The decals, in general, get the job done. The only glitch I found was the yellow sections didn’t have enough color density over the near-black background on the tail and the tip tanks. I was surprised that the one-piece decals on the tip tanks wrapped all the way around and with a little patience and setting solution laid down just fine. Final assembly also needs close attention. The ejection seats sit to low in the cockpit and a raised canopy is attached by a single jack to a center support. The nose gear doors could use some hinges to position them at the rear of the opening.
So, you might have gathered this kit is not the precision fit that many manufactures are spoiling us with these days. There was a lot of filler and scribing before it was ready for paint. Best advice I can give, with good references at hand, test fit everything. This kit will test your skills, so I recommend it only for intermediate and above modelers.
Thank you, Special Hobby, for the review sample and IPMS for sharing it with me.


Comments
Add new comment
This site is protected by reCAPTCHA and the Google Privacy Policy and Terms of Service apply.
Similar Reviews