
Sukhoi Su-30MKK Flanker G
The Aircraft
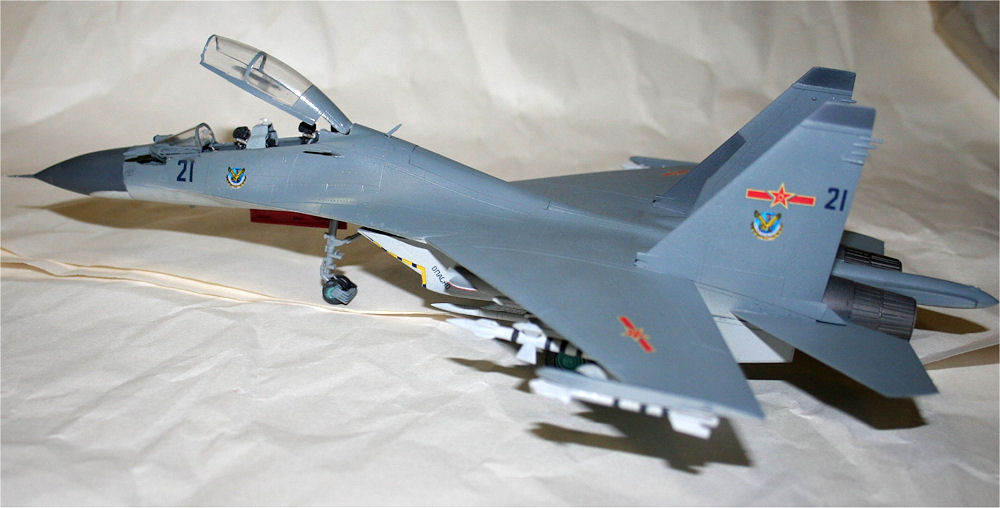
The Su-30 is a two-seat version of the Su-27. The mission is long-range all-weather strike fighter. Think F-15E vsx F-15C in the US inventory. The MKK is currently operated by the Peoples Republic of China, Indonesia, Vietnam, and Venezuela. There’s going to be a wonderful aftermarket decal sheet for this kit!
There’s also a newer version, the Su-30MK2, which has maritime strike capability added.
There’s also a suspiciously similar aircraft called the J-16. China claims this is all-Chinese technology, but the Russians aren’t so sure.
The Kit
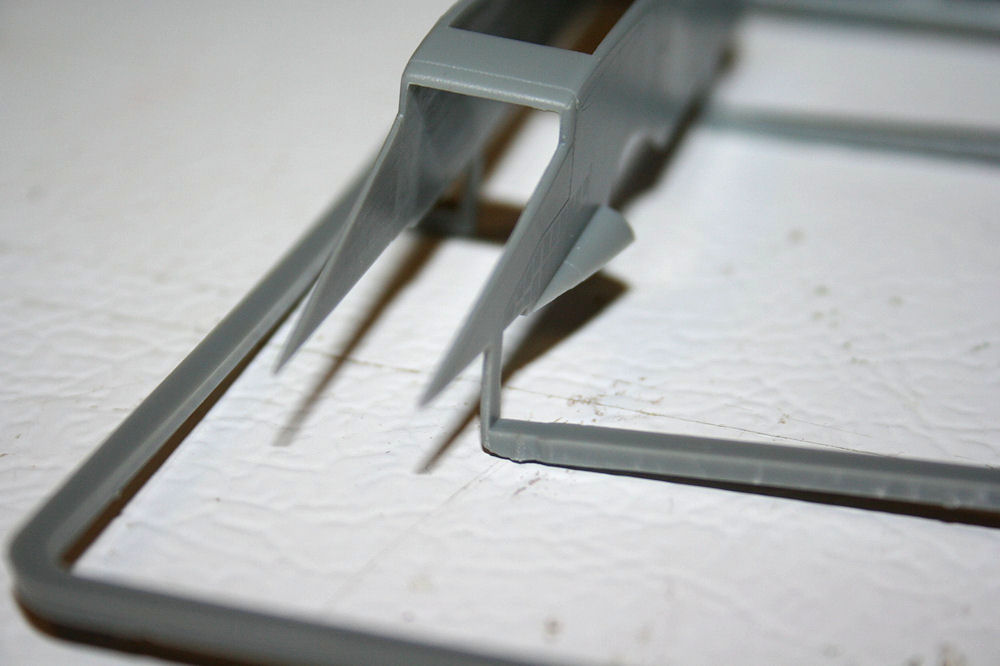
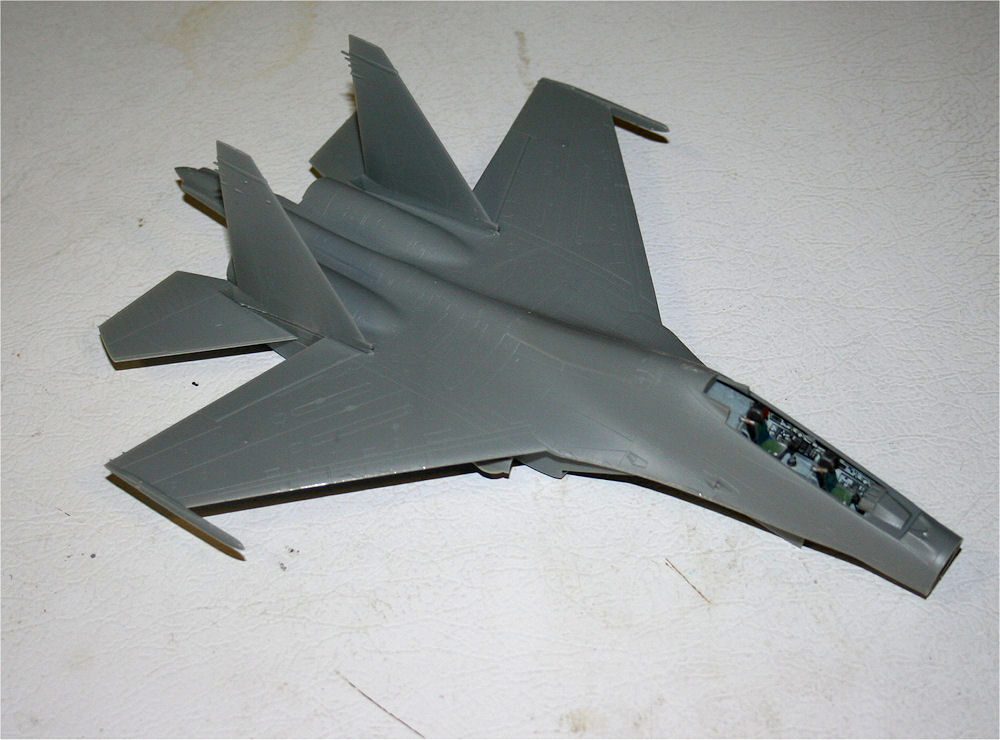
When I opened the box, I was impressed with how well Trumpeter had packed the parts. The fuselage halves (top and bottom) had a rubber ring holding them together, a piece of foam protecting the rear “stinger,” and sprues around the wingtips to prevent damage during shipment. Also, several of the delicate parts were wrapped in the foam, including the clear parts.
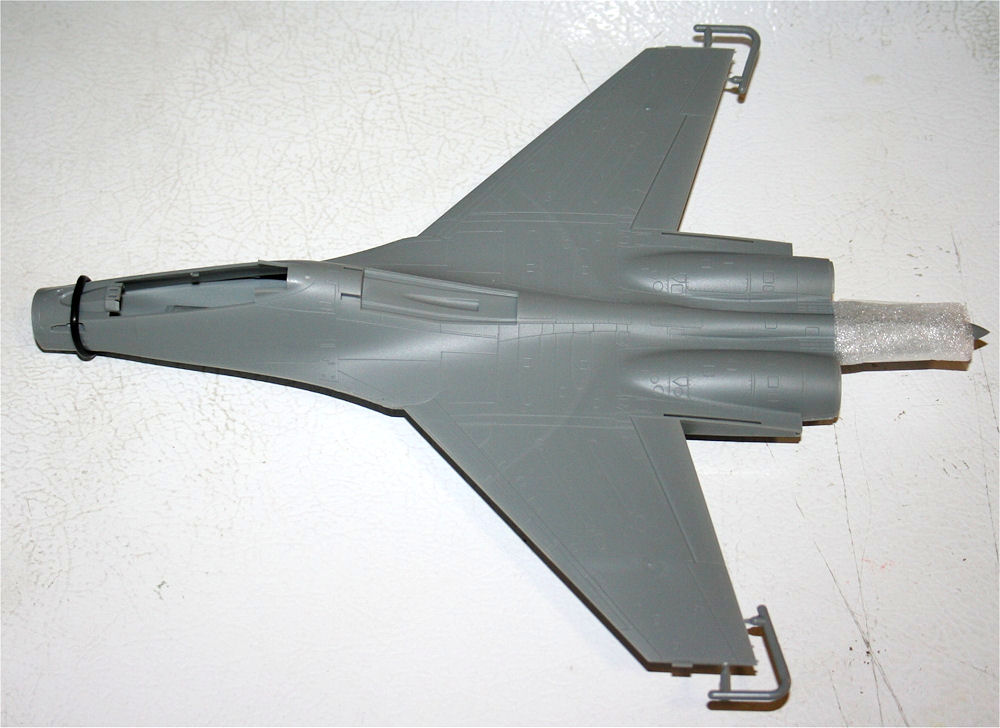
The general parts were well molded, with no flash, no voids, and no warpage. I was also gratified to see how the sprues went into the intake trunks. The sprues go into a place where they can’t be seen once the parts are assembled. Superior engineering, and I’m thinking I remember this from a Hasegawa kit.
The one exception to this was a mold line right down the middle of the windscreen and canopy. I was able to sand this off with #1500 sandpaper and fix the scuffs with Future.
Assembly
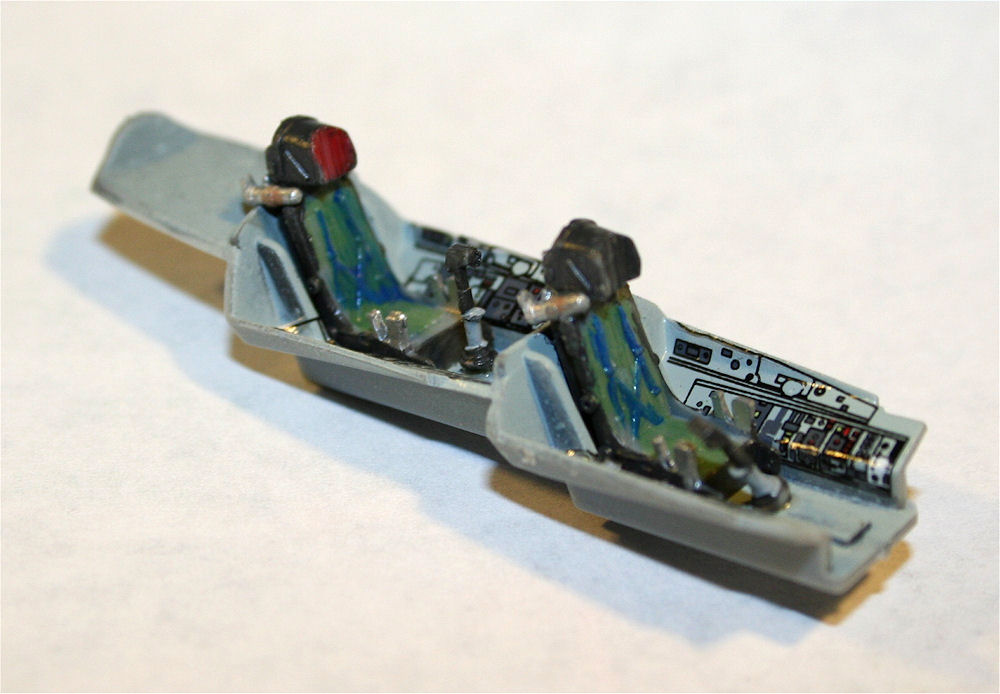
The instructions were pretty good. I had some problems figuring out which decals went where in the cockpit. I referred back to my Su-27 kit and got the decals in the right place.
The general assembly went well, with all of the parts fitting fine and playing nicely with the other parts. I was impressed at how well those large castings of the top and bottom fuselage/wing assemblies went together. No putty needed, just a scrape along the edge. I left the airbrake closed, as most of the photos of the Su-30s I found on the internet didn’t show it open, except for landing.
I put the windscreen and canopy on the fuselage and created a mask using Tamiya tape. This allowed me to paint the canopy and fuselage top in one step, and also made sure I wouldn’t paint that nice interior by accident.
Paint and Markings
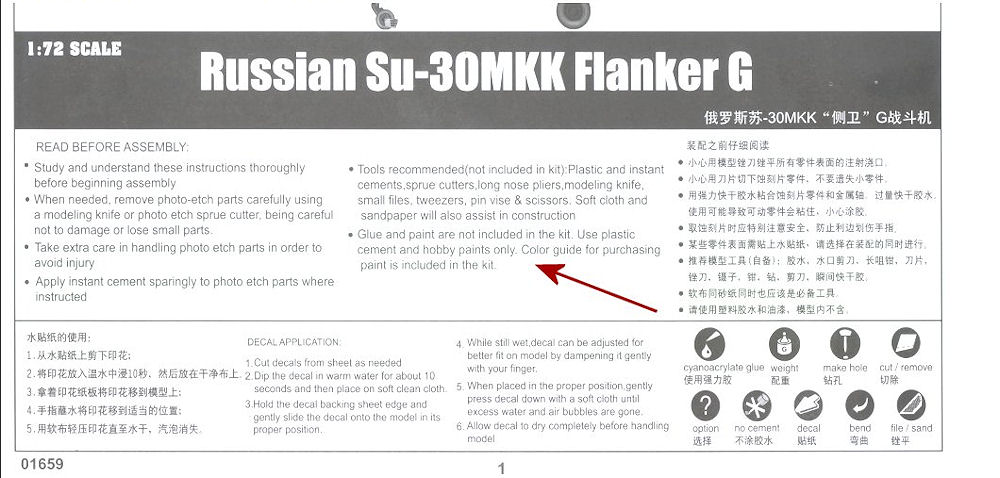
This is where the project came to a halt. There wasn’t anything telling me what colors went where. No color references. No decal placement diagrams. I found a sentence on the front page of the instructions saying that there was a separate sheet with color references and telling you which paints to buy. It was apparently missing.
I sent a request to Stevens International, asking for a scan of this sheet. They replied quickly, saying they had to pass this request on to Trumpeter in China for this.
Then I found the thing that saved the project. The website https://www.1999.co.jp/eng/ has the Trumpeter Su-30, and they post scans of all the instructions, including the missing color/markings references. I did a copy/print and was thankful.
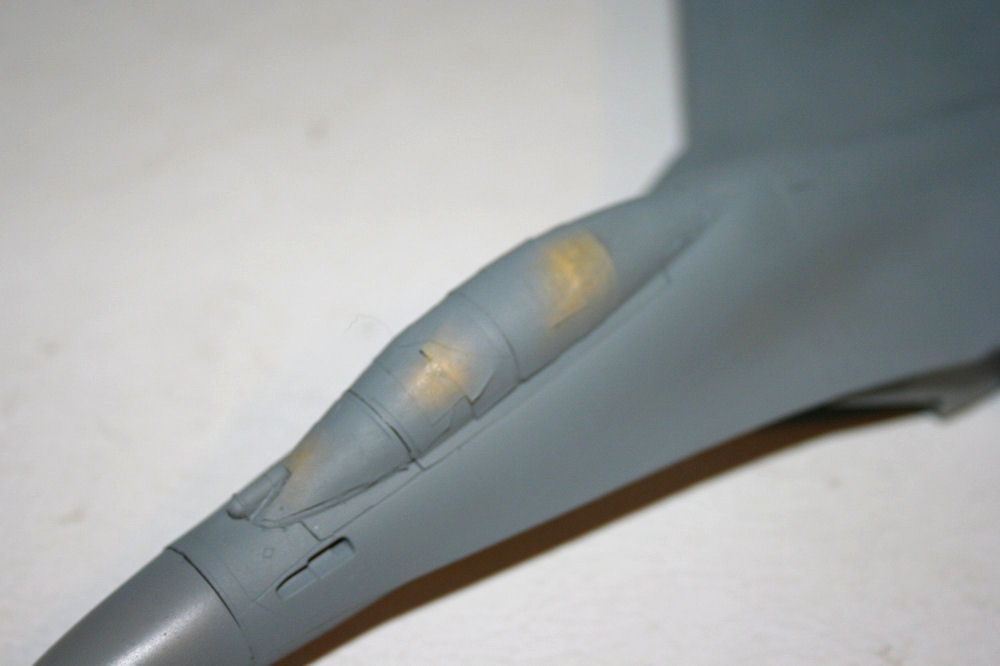
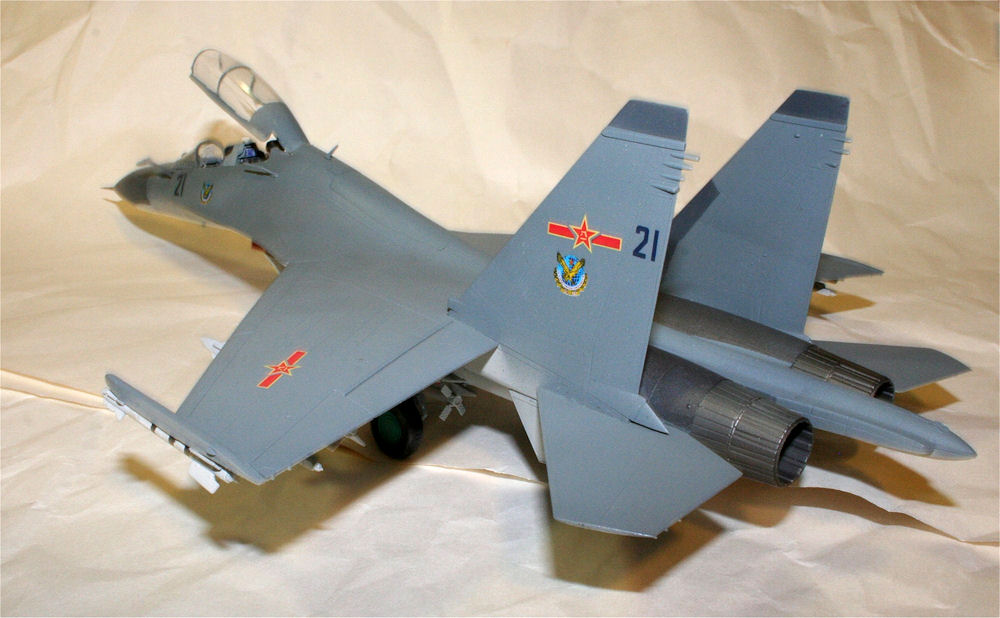
Of course, that was not the end of the color problems. The blue-gray that the color profile shows doesn’t match the color callout from the Gunze paint. I used the Model Master version of the color (FS 35237), and Flanker Gray for the underside. The nose cone is Gunship Gray 36118, with a couple of places where the gray comes onto the nose cone on the bottom.
I put a coat of Future on the entire aircraft, then applied decals. There are 4 decal sheets with this kit, and they include every little panel warning, no step, and ground point marking on the entire aircraft, as well as missile markings. I painted the stripes on the missiles, put on the national markings and individual aircraft identifiers, and the intake warnings. At this point, I called that enough. Sometimes you can overdo the markings.
Finishing Touches
I put on another coat of Future to protect the decals, then assembled the landing gear. I painted the edges of the main gear doors Floquil Caboose Red. I installed the missiles and the landing gear.
I then took the mask off the canopy and finished the interior with the back instrument panel and the HUDs. I glued the windscreen back on, but left the opening part of the canopy off until almost last. I added the two air sensors near the rear cockpit, the antenna behind the cockpit, and the part which may be an air-to-air refueling point.
I put the canopy on in the open position to show off the interior.
The last thing I did was put on the pitot tube.
Overall Evaluation
Recommended. This is an interesting aircraft, and the kit does it justice. As with Soviet aircraft, it might be difficult to get detailed info on shape, but this one looks like the photos I could find, even the photos of the J-16. The build took longer than I liked because of the color problem, but we now know how to fix that.
Thanks to Stevens International and Trumpeter for providing an interesting model. And thanks to IPMS/USA and Steve Collins for allowing me to build it.


Comments
Add new comment
This site is protected by reCAPTCHA and the Google Privacy Policy and Terms of Service apply.
Similar Reviews