
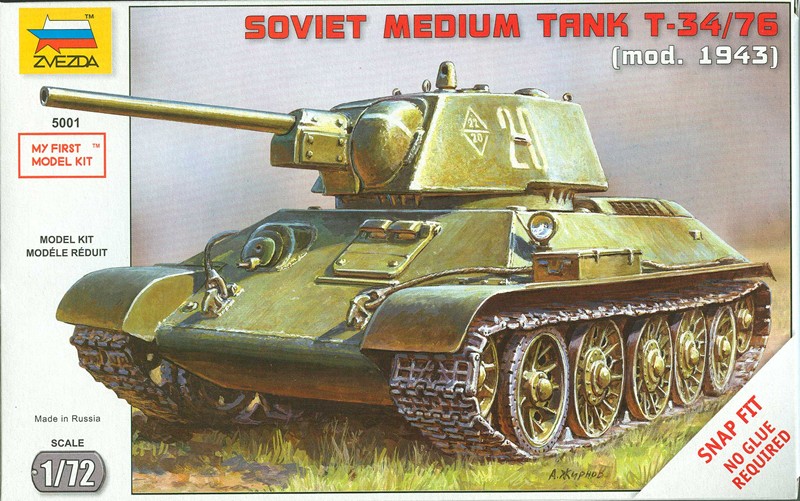
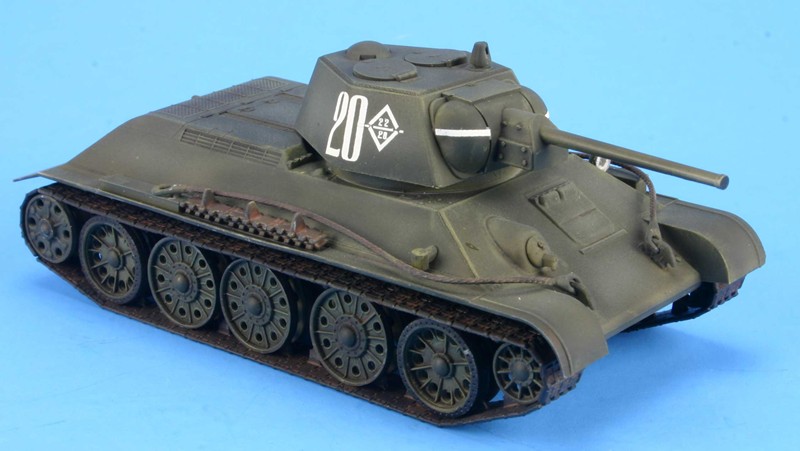
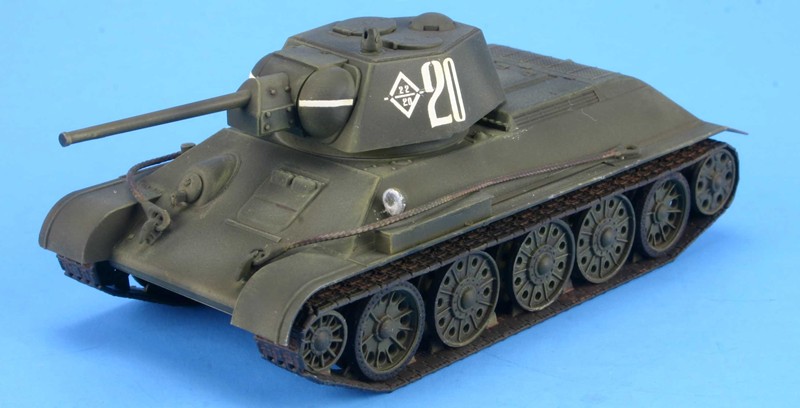
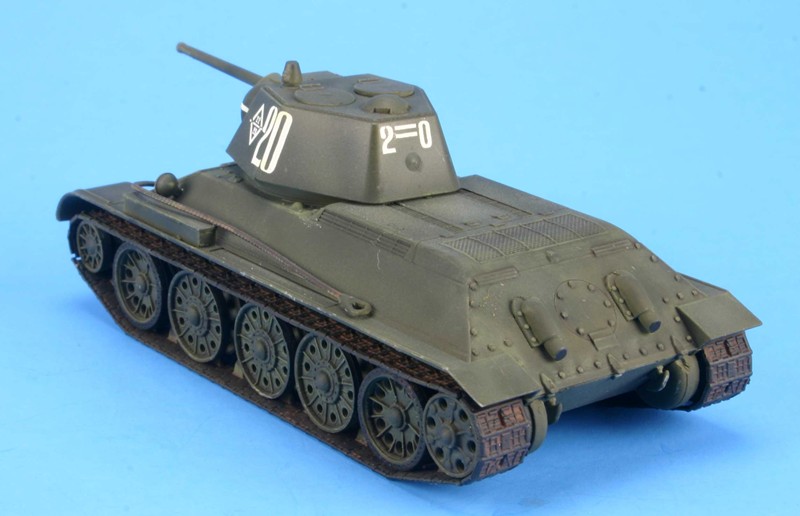
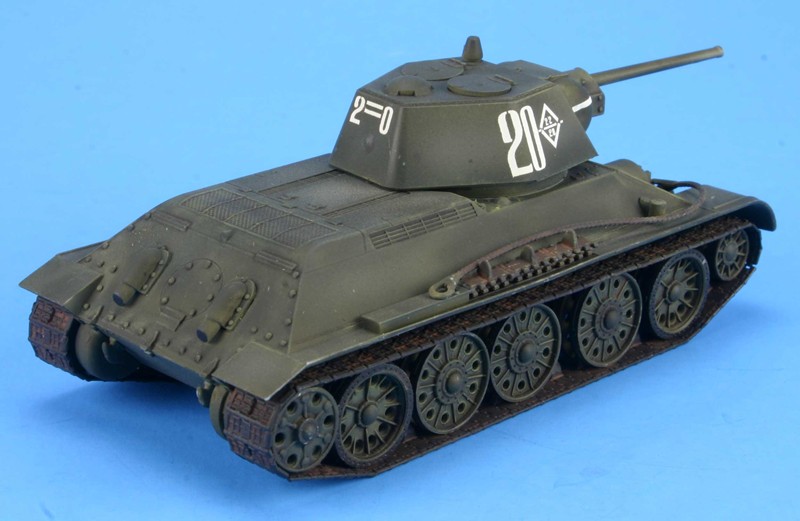
Soviet Medium Tank T-34/76 Mod 1943 (Snap-fit)
This kit is listed as “My First Model Kit” and I wanted to get my grandson into modeling, so I thought this should be a good kit to introduce the hobby to my just turned 6 grandson. Well, things did not go as I had hoped. There are no age recommendations on the box, but most of the other kits on the shelf state 8 years old or older even for the snap tight kits. Now I know why. My grandson’s fine motor skills were not developed enough to handle a sprue cutter and his attention span was not long enough even to handle this kit (from start to finish no more than 2 hours). So I ended up finishing the model myself and getting him introduced to the painting and decal portion of the project. Below is listed what was done and how:
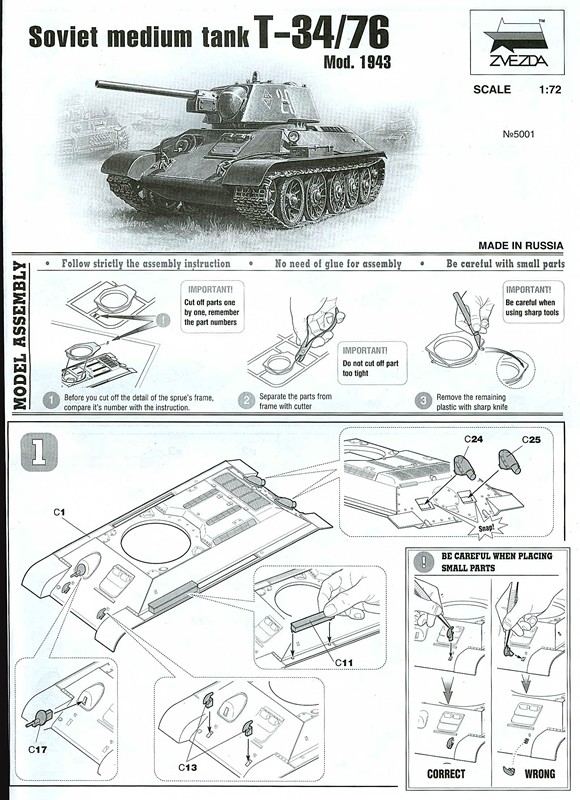
Step 1. In this step the tow cable brackets, the exhaust pipes and a spare box are added. The first thing we ran into was that one of the snap wings of the exhaust pipes broke under the pressure of snapping it into place. We glued that piece into place. The tow cable brackets are a press fit, not a snap fit, so the receiving hole in the upper chassis hull needs to be enlarged before it would allow the piece to slide in with minimum pressure.
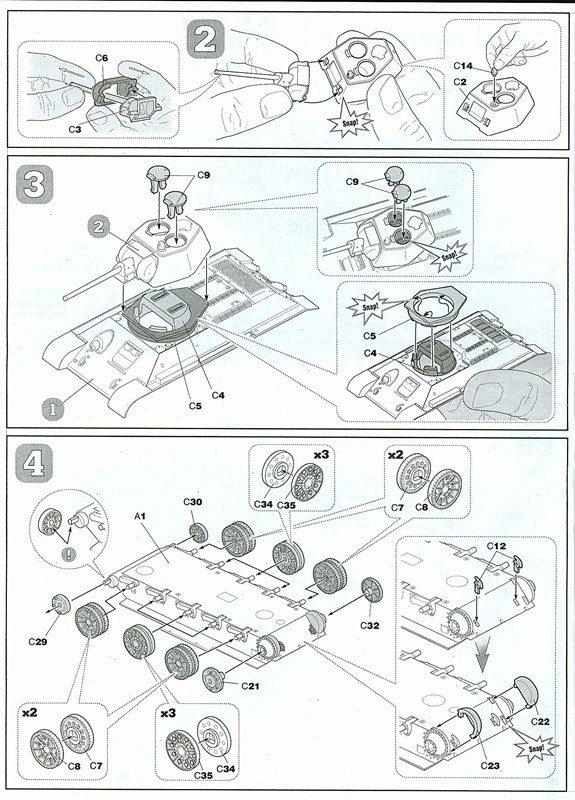
Step 2. This step adds the periscope and the gun and gun mantlet to the turret. The gun barrel does not have the gun opening drilled out. You may want to do that before attaching to the turret.
Step 3. This step mounts the turret to the chassis. Here you insert the retaining piece (C4) into the chassis hull opening from the underside and snap the bottom turret plate over the snap wings trapping the hull chassis between the two pieces. This allows the turret to rotate. Then the turret previously assembled in Step 2 is mounted on the bottom turret plate and the hatches (C9) are inserted into the retaining piece (C4) through the two hatch openings in the top of the turret.
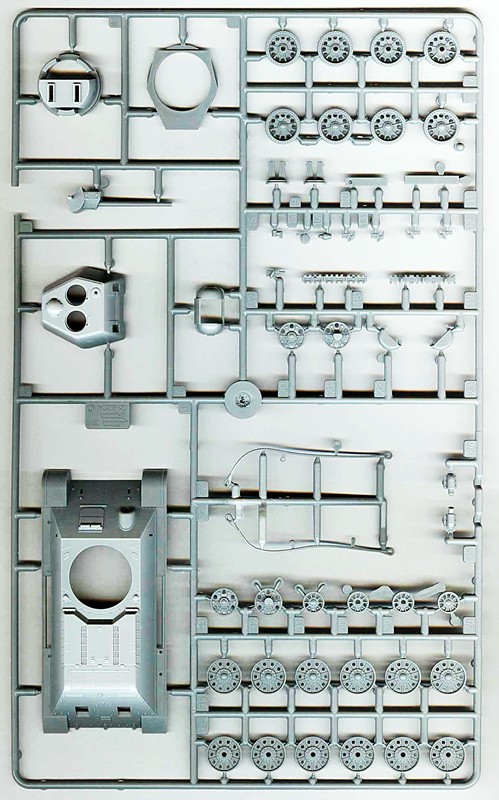
Step 4. Even with a simple kit in a small scale you still run into the bane of all armor modelers, the road wheels. These had a very visible mold seam around the middle of each wheel. This will require a lot of effort with a blade and sanding stick to get them presentable. The rest of the step was to insert the forward tow cable brackets and the drive shaft covers. Again the holes were enlarged to allow for an easier press fit.
Step 5 & 6. These steps cover the installation of the tracks and the inner sections of the idler wheel and drive sprocket. The tracks are made up of 4 parts per side; an upper run, a lower run, a curved idler section and a curved drive sprocket section. The two curved sections are designed to snap onto the appropriate idler or drive sprocket and then mate up with the two straight sections. This design will allow you to dry assemble the tracks off of the model; paint and weather them, and then install them on the finished model.
Step 7. This step mates the upper hull to the lower chassis. The snap wings are molded onto the lower chassis and slip inside the two holes in the fenders of the upper hull. This assembly is easy and will hold the two parts together. However, the snap wings are too small and don’t fill the hole completely and would require a lot of filler to smooth out.
Step 8. This step attaches spare tracks, tow cables and another spare box to the upper hull. You probably should paint the tow cables and spare tracks off of the vehicle and add them after painting the model.
Step 9. This final step covers the adding of the radio antenna bracket and the head light. Once again the holes had to be enlarged to get the parts to fit without excessive pressure.
Painting and Decal
The paint colors listed only Model Master Enamels. The instructions did suggest that the model be washed before painting and it needed it. There were only two suggested paint schemes, a dark tan/dark green two tone camouflage and an all dark green one. The decals only have Zvezda’s name on them and they were satisfactory for this kit.
Conclusion
As a First Model Kit, this one has some problems, the fit of the press fit pieces is very tight and requires a lot of pressure or hole reaming before they fit together without the fear of breaking the part If the young modeler can handle a sharp blade, then this kit would be okay, but if the young modeler is handling a sharp blade than this is probably not their first model.
As kit for an experienced modeler this would not be a good choice for a contest entry as too much work would be required and there are other kits on the market that would make a better model. However, if you wanted an easy one or two day project this kit fills the bill quite well. With a little work and weathering it can turnout quite nice.
Thanks to Dragon for the review sample and IPMS/USA for the review space.
This model can be found at most hobby shops, online hobby shops and at https://www.cyber-hobby.com

Comments
Add new comment
This site is protected by reCAPTCHA and the Google Privacy Policy and Terms of Service apply.
Similar Reviews