
Snap-Tite 2018 Mustang GT
Sometimes experienced modelers get so bogged down with the extensive projects we are working on, we forget to lift our over-taxed heads from the work bench, remove glasses and opti-visors, and smell the sweet success of a quick, easy build. So, while browsing the IPMS review list one day, I came upon this kit and “snapped” it up. My thought was to have my wife build it, but she took off in our (real) ’65 rag top Mustang instead, and left me to it.
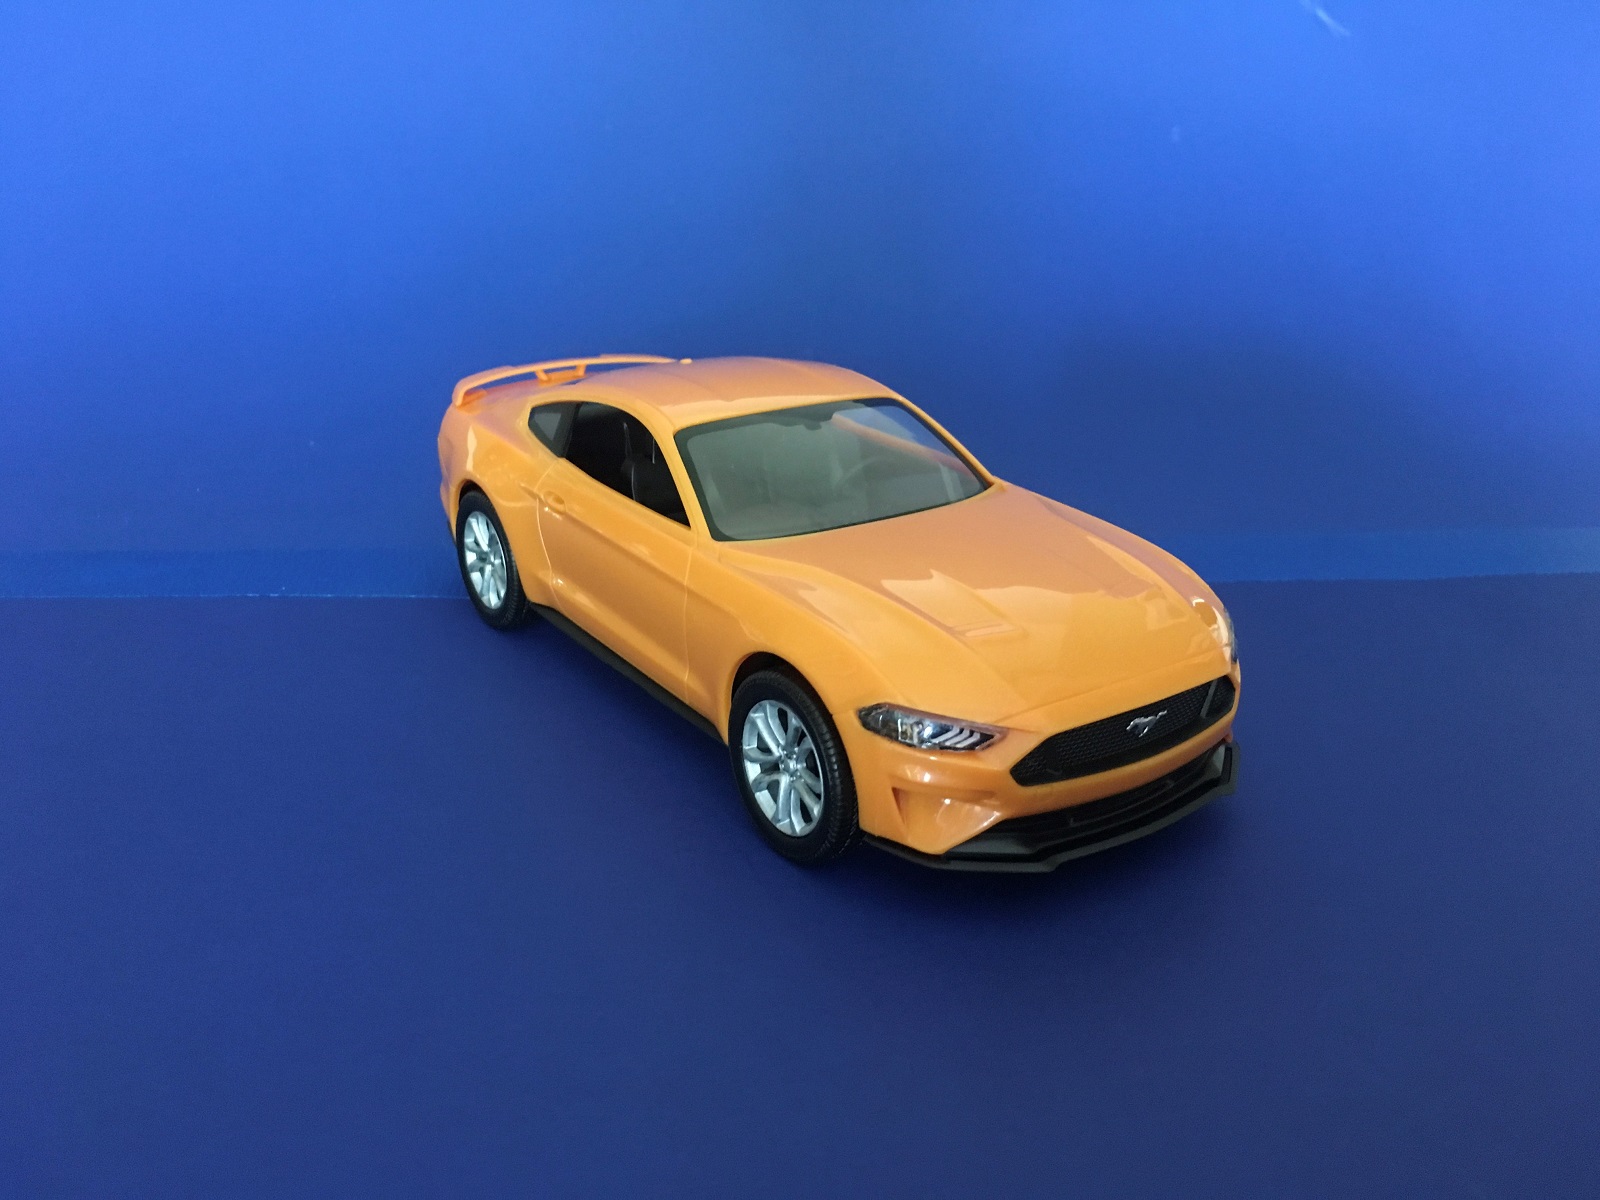
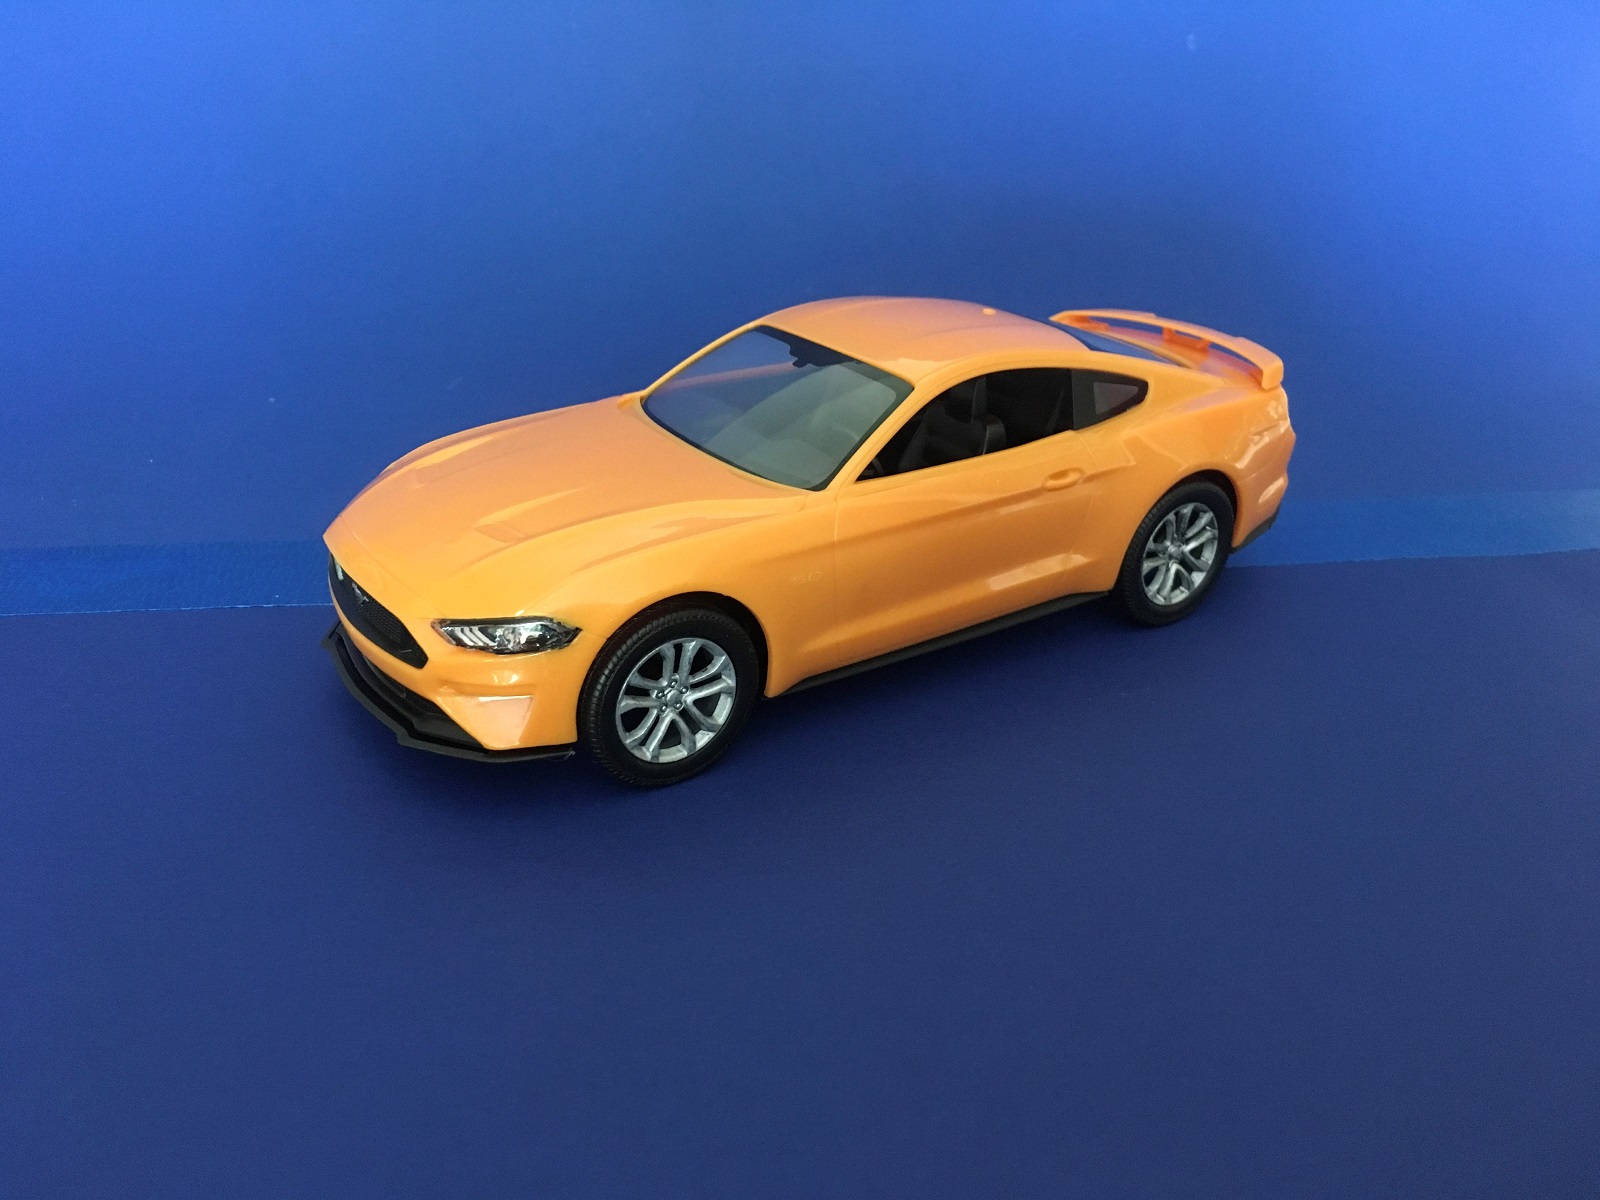
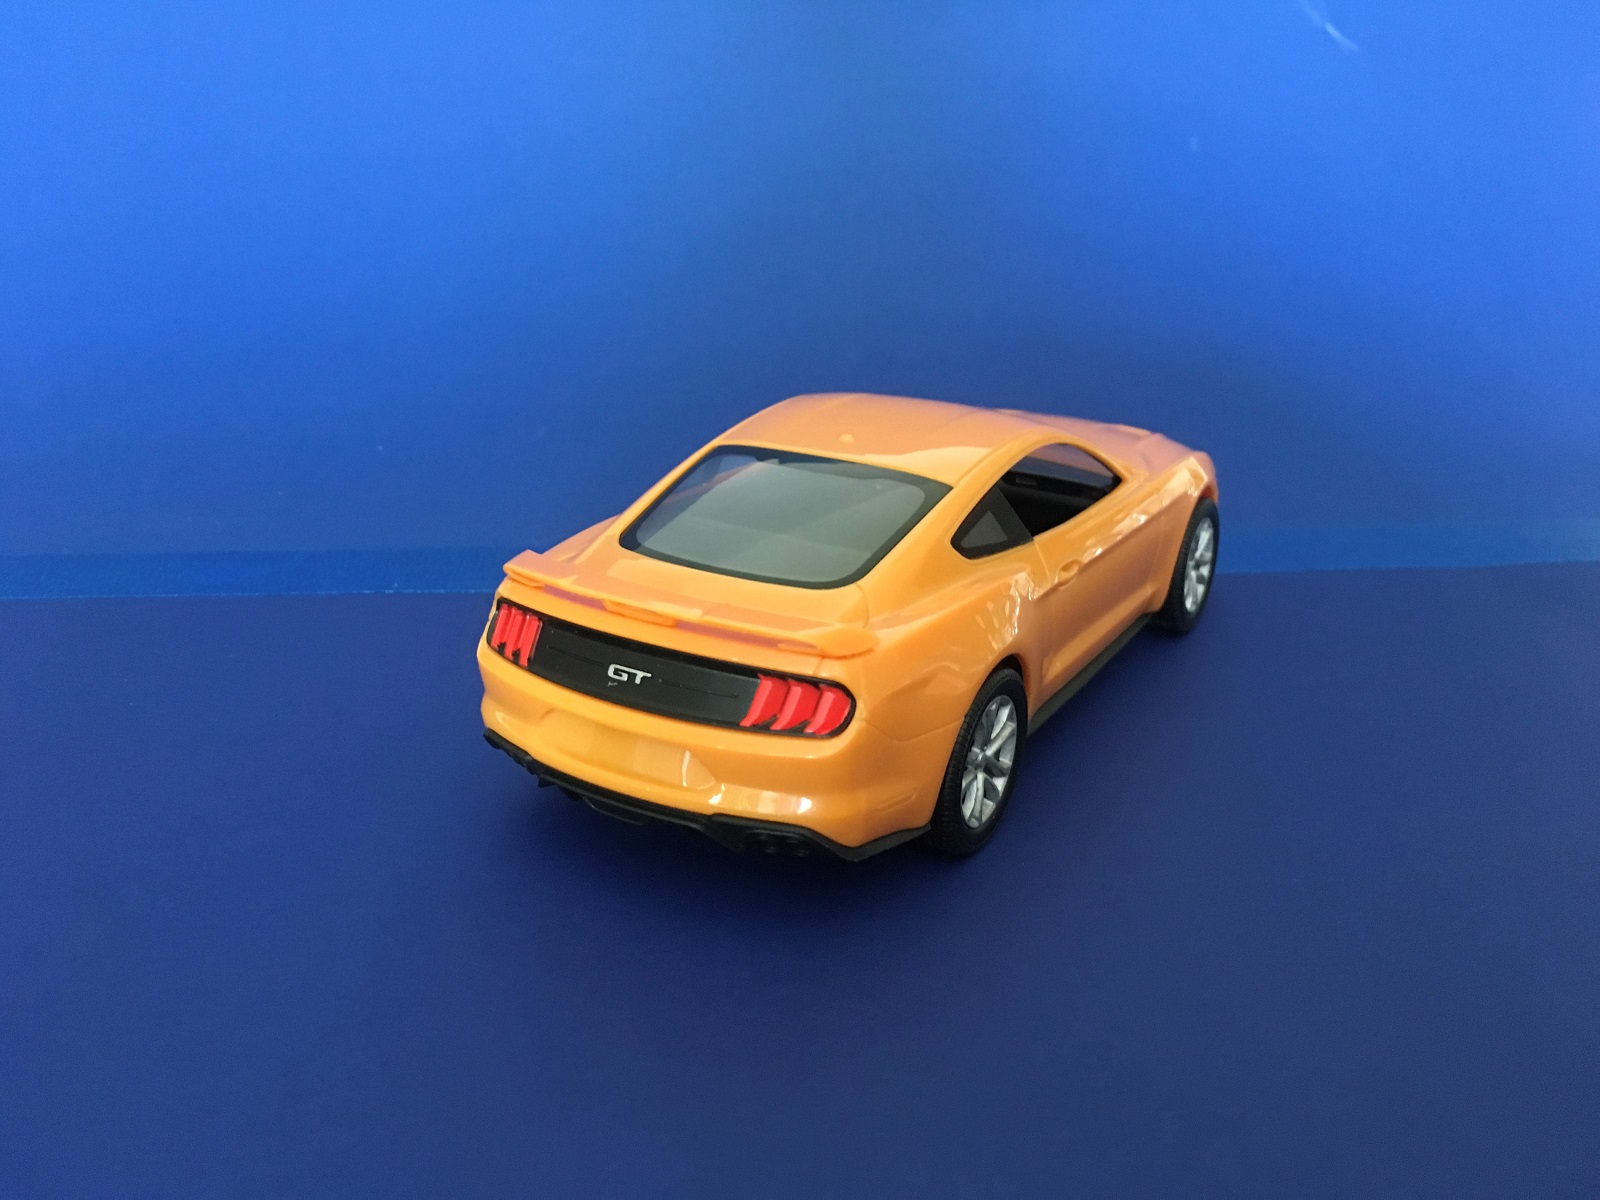
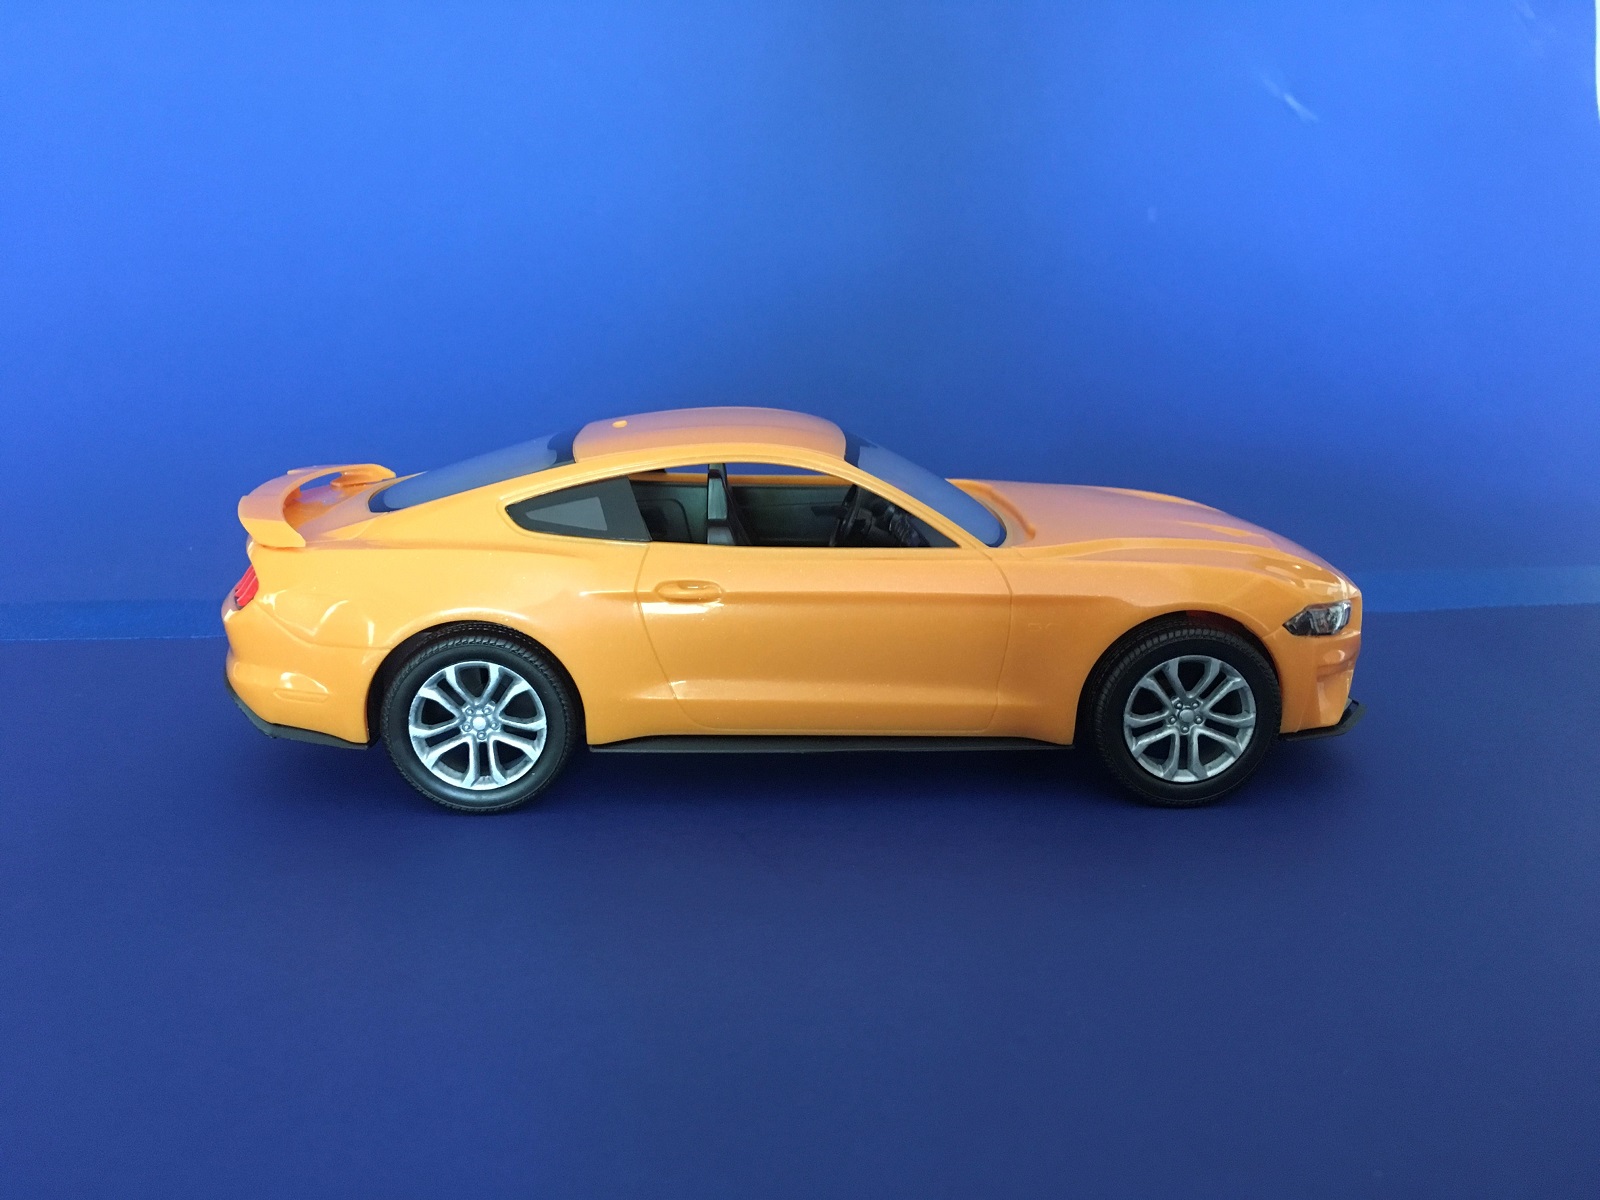
The Revell Snap-Tite 2018 Mustang GT is a nice representation of the styling changes being made to the existing 2017 Mustang. The car will soon to be released this Fall. The main omission on the Snap-Tite model are the rear vision door mirrors.
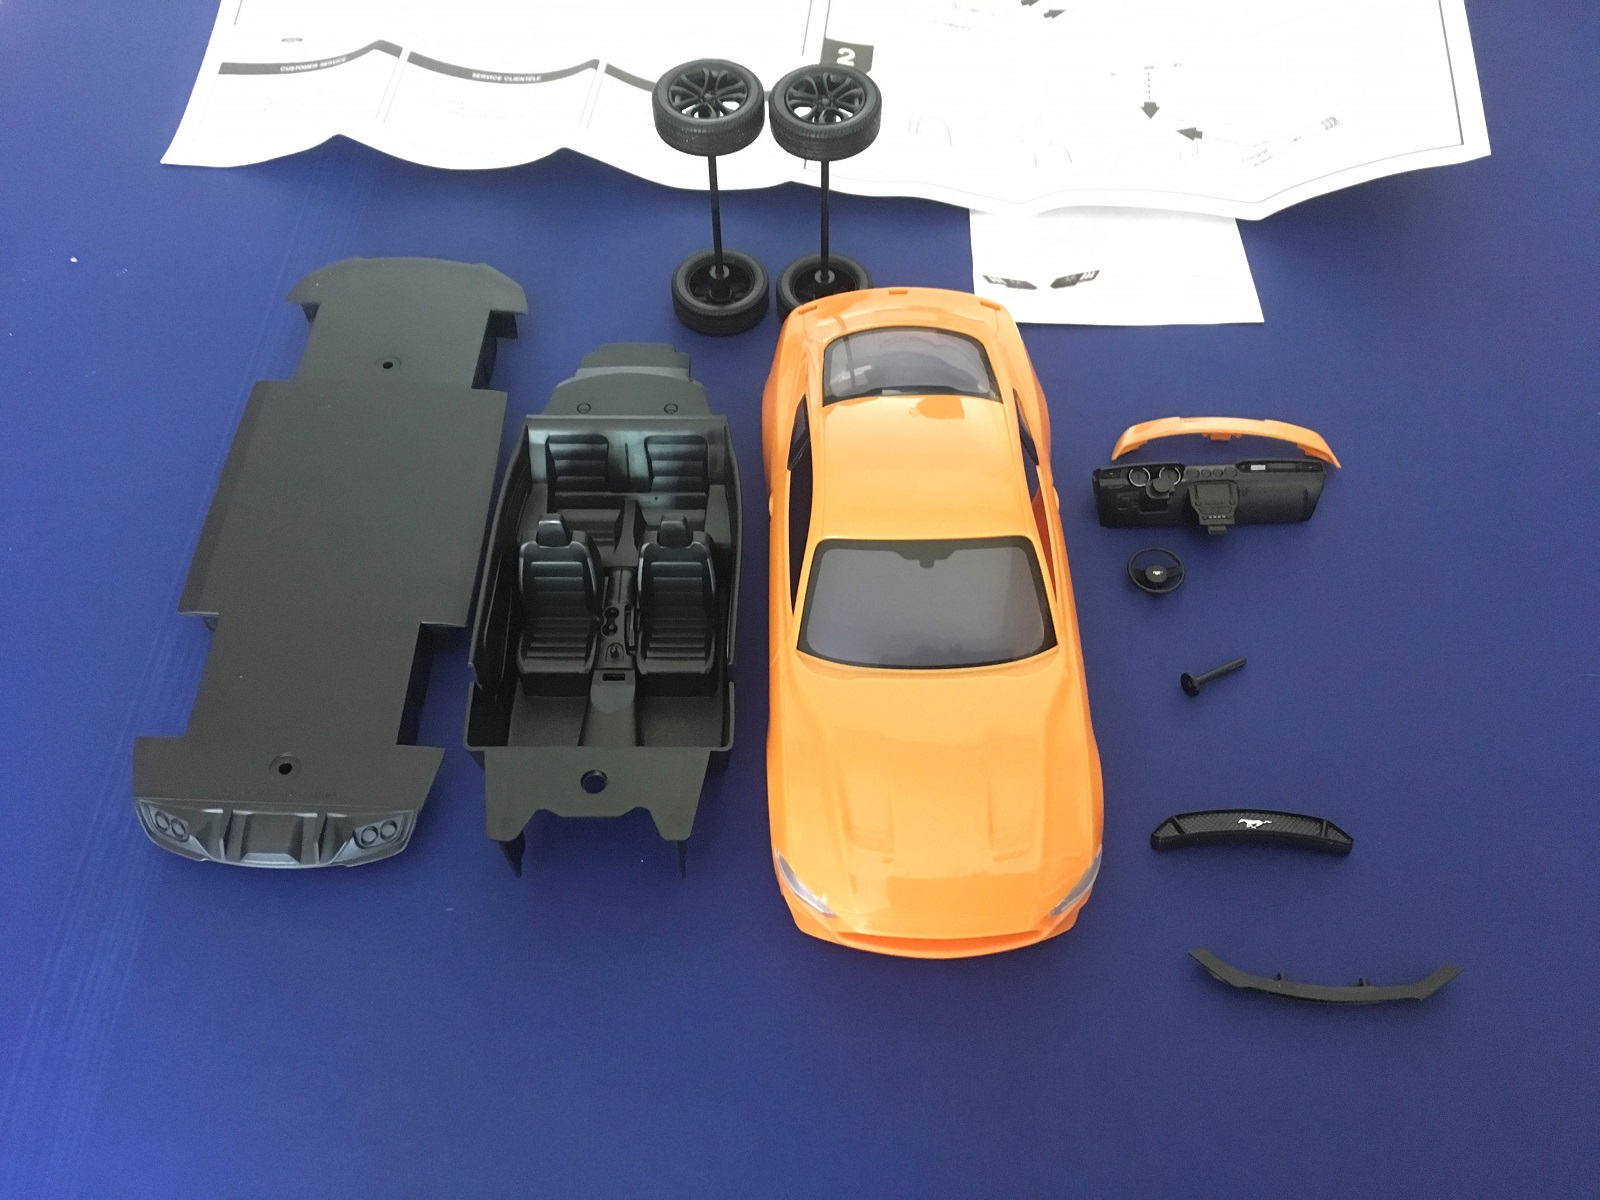
The model is nicely packed in a compact, end opening box with the body supported by nice clear plastic sleeves. All parts are contained within plastic bags for protection, and do not have to be removed from sprues. The instruction sheet is easy to follow in six steps. The main box top picture actually shows a 2015 Mustang, but the text says 2018. The pictures on the sides of the box shows the correct 2018 model.
Construction takes just a few minutes, and is designed as an entry level model for kids, or beginners to put together and play with.
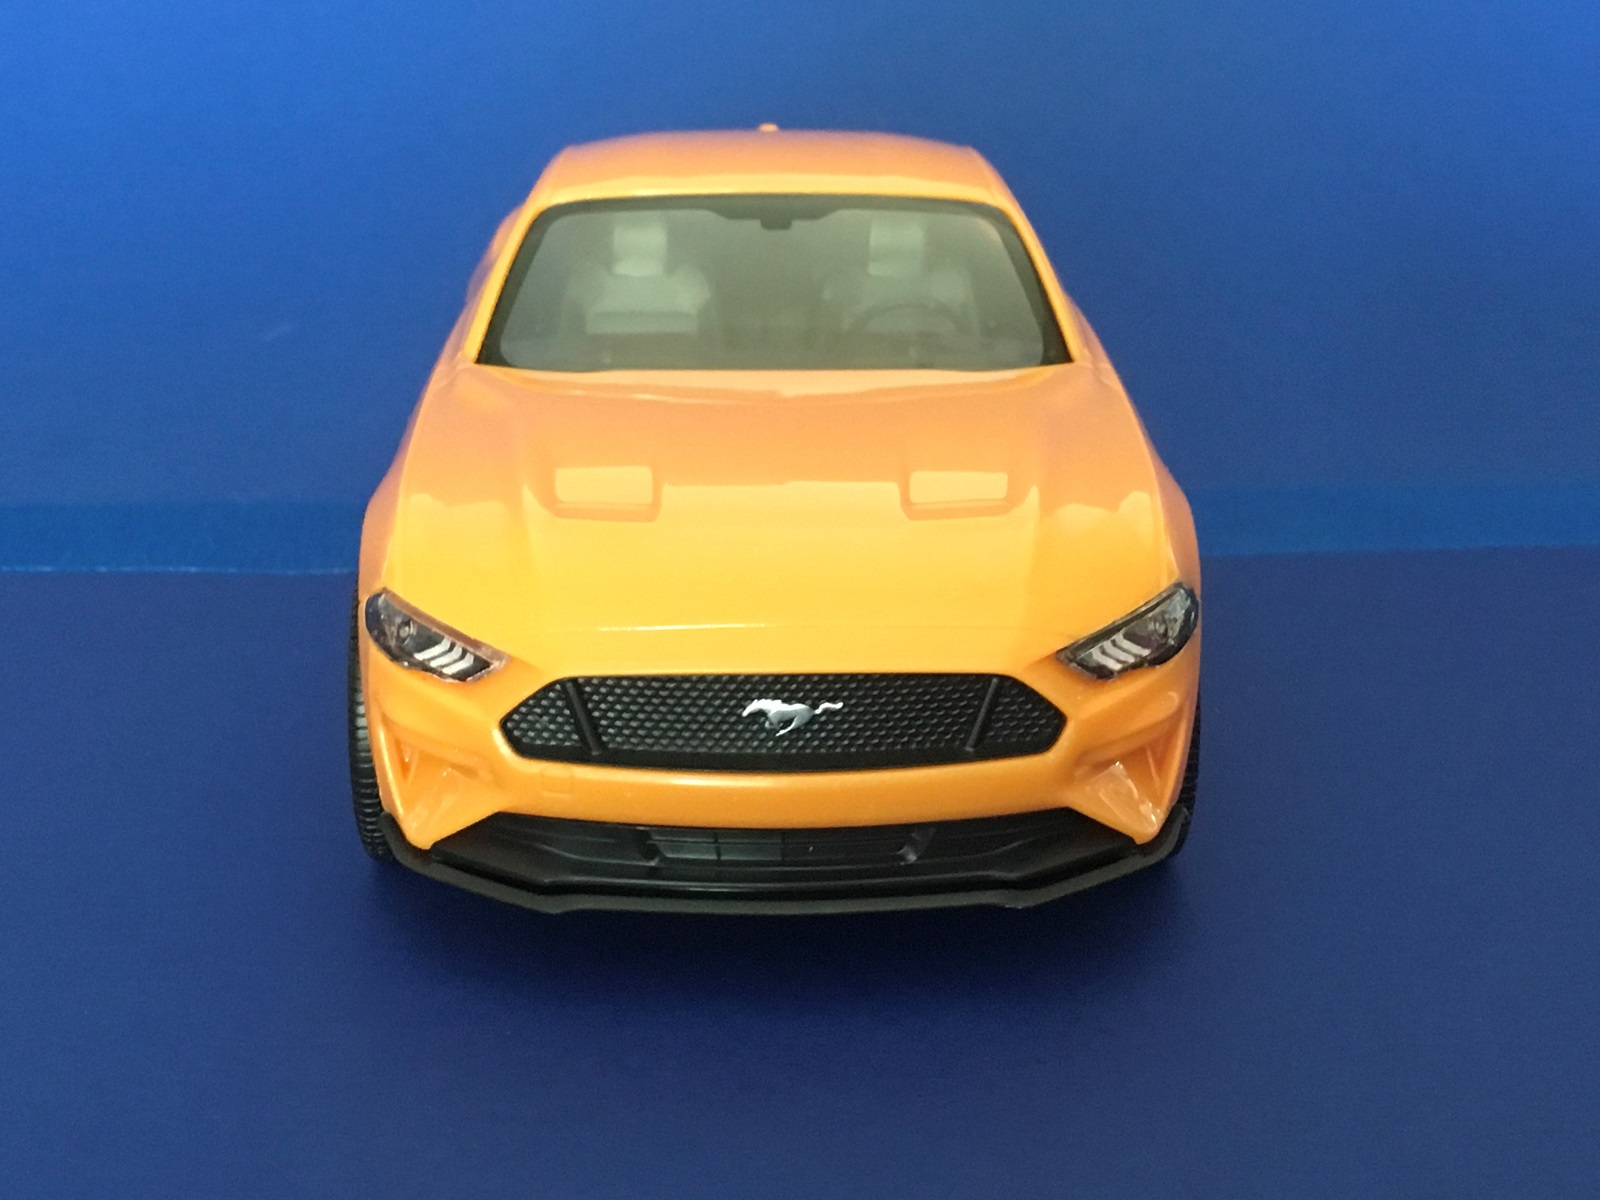
OK, I had to complicate things! I detailed the headlights that are simply painted silver, with no representation of the LED tri-bar lights and round headlights. I found a nice picture online showing the front of the real thing and photocopied the head light. I shrunk the picture down, cut out the light and after sanding off the silver paint and polishing, glued it to the inside of the clear headlight with Future/Pledge Floor Wax. The whole process took about 30 minutes, and looks much better. I also used a silver marker pen to go over the GT on the trunk lid, around the instrument bezels and the Pony on the steering wheel. I painted the wheels Aluminum.
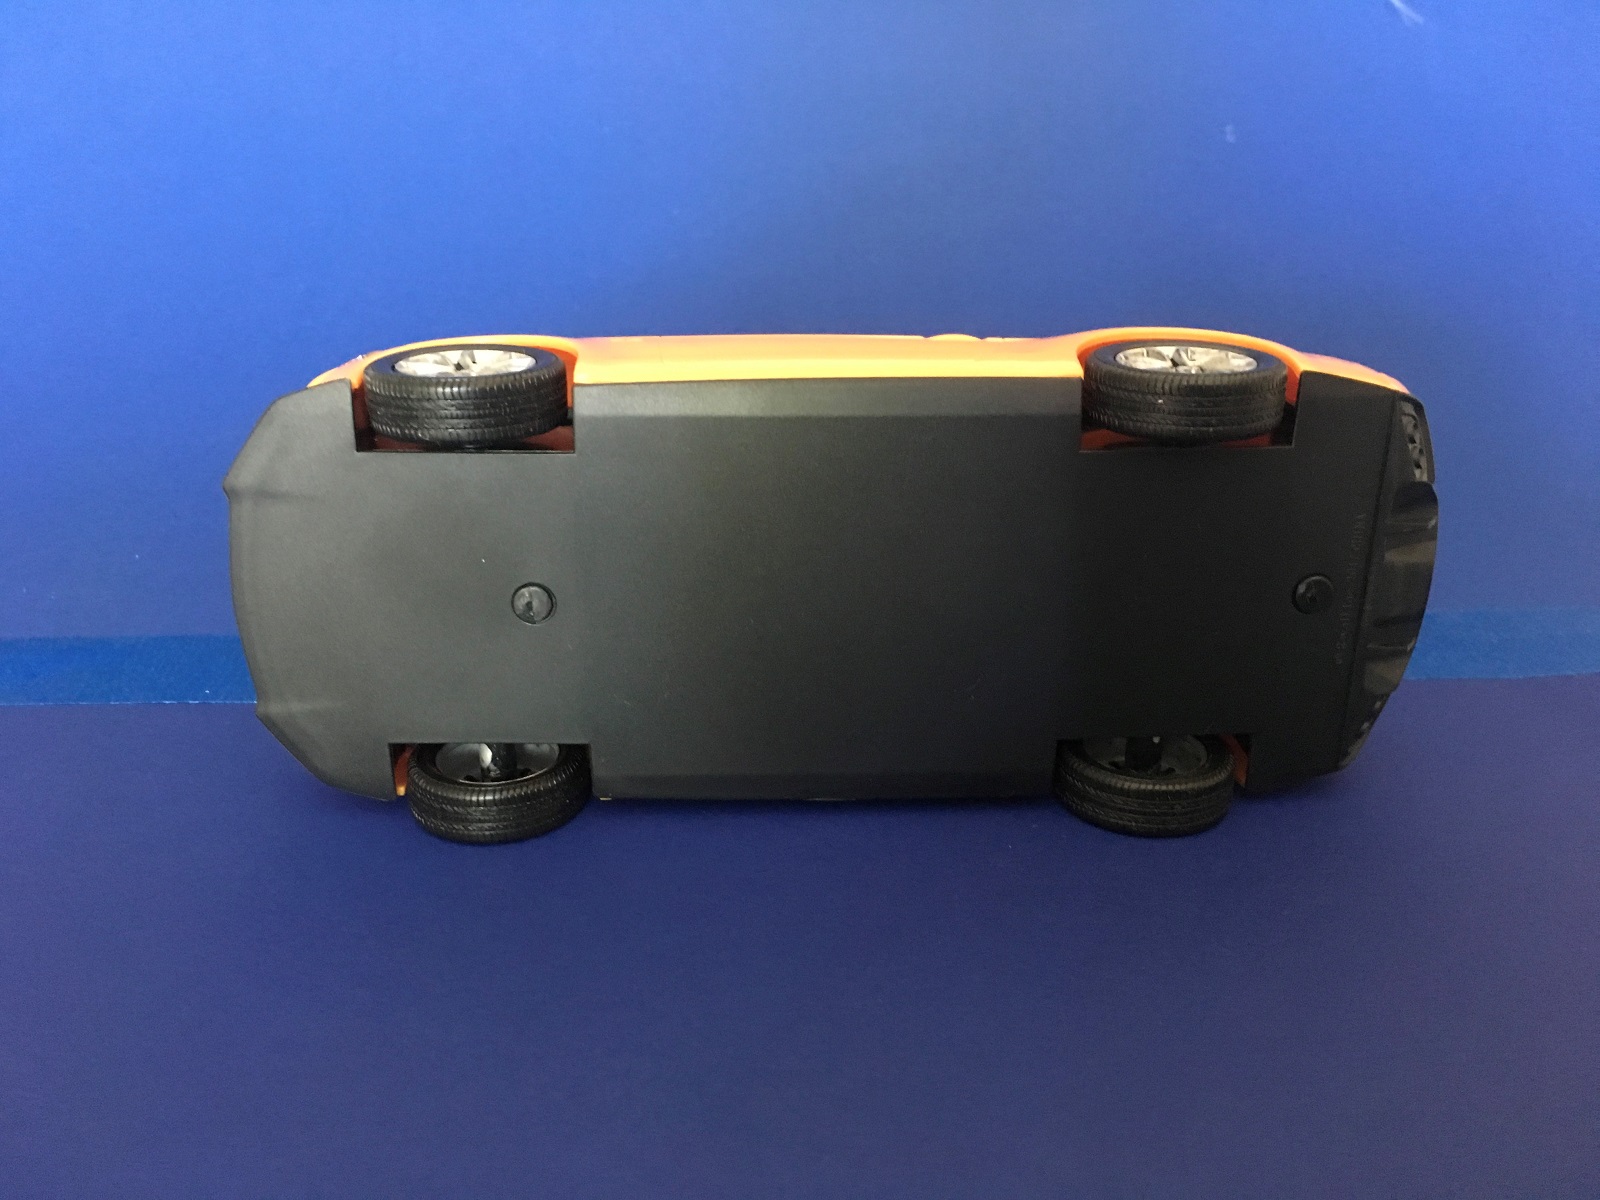
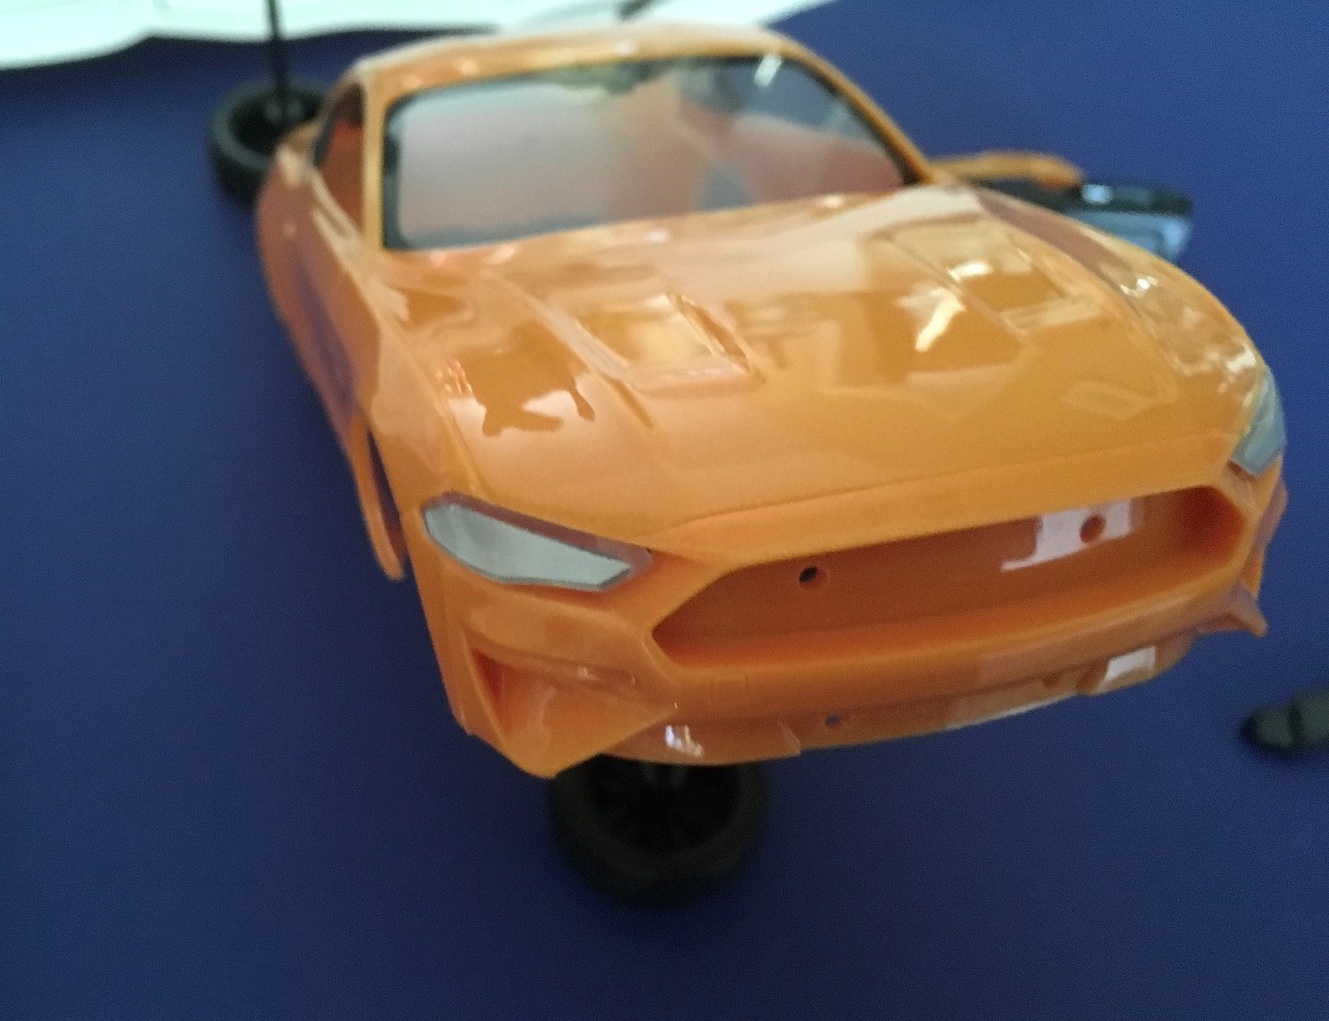
I assembled the car per the instructions. The wheel axels snap into slots in the lower body part. The cabin assembly is finished with the instrument console and steering wheel, and then fitted into the upper car body. The top and bottom body parts are then mated together. Two pins secure these parts, and you’re done - Time to play!
While this model is aimed directly towards kids, I found it a fun escape from my normal model interests. I had built the previous Snap-Tite 2015 Revell Mustang, and included a picture to show some of the differences. I also modified the lights on the ’15.
I would very much like to thank Revell and IPMS for the chance to build and review this great kit.


Comments
Add new comment
This site is protected by reCAPTCHA and the Google Privacy Policy and Terms of Service apply.
Similar Reviews