
Sidewinder Show Rod by Tom Daniel
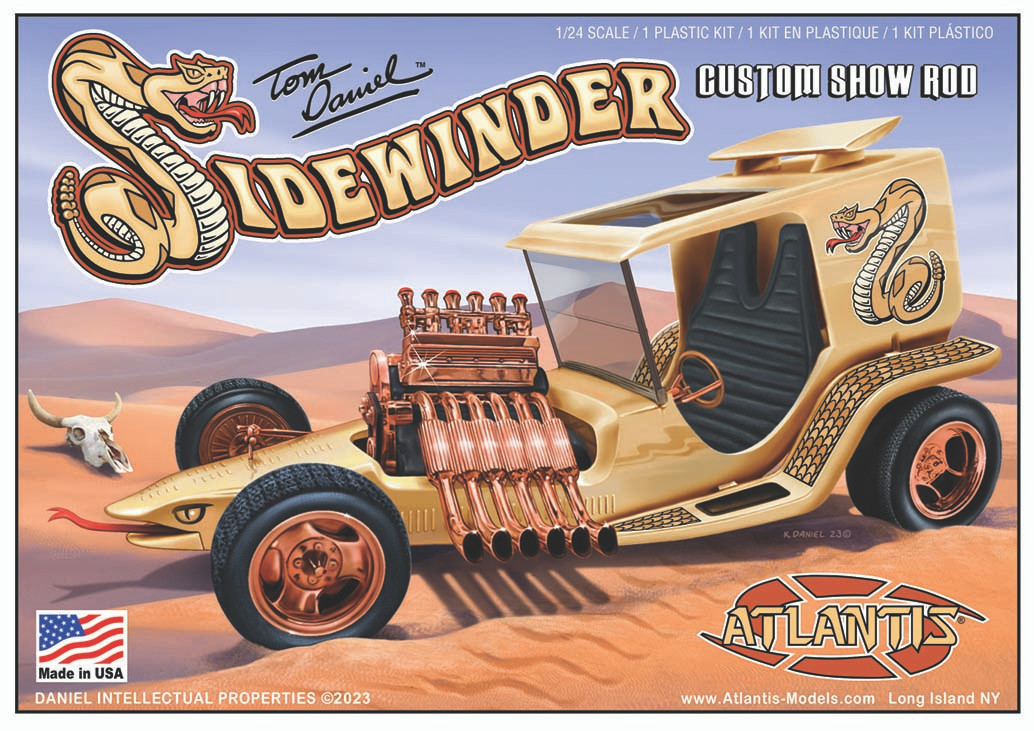
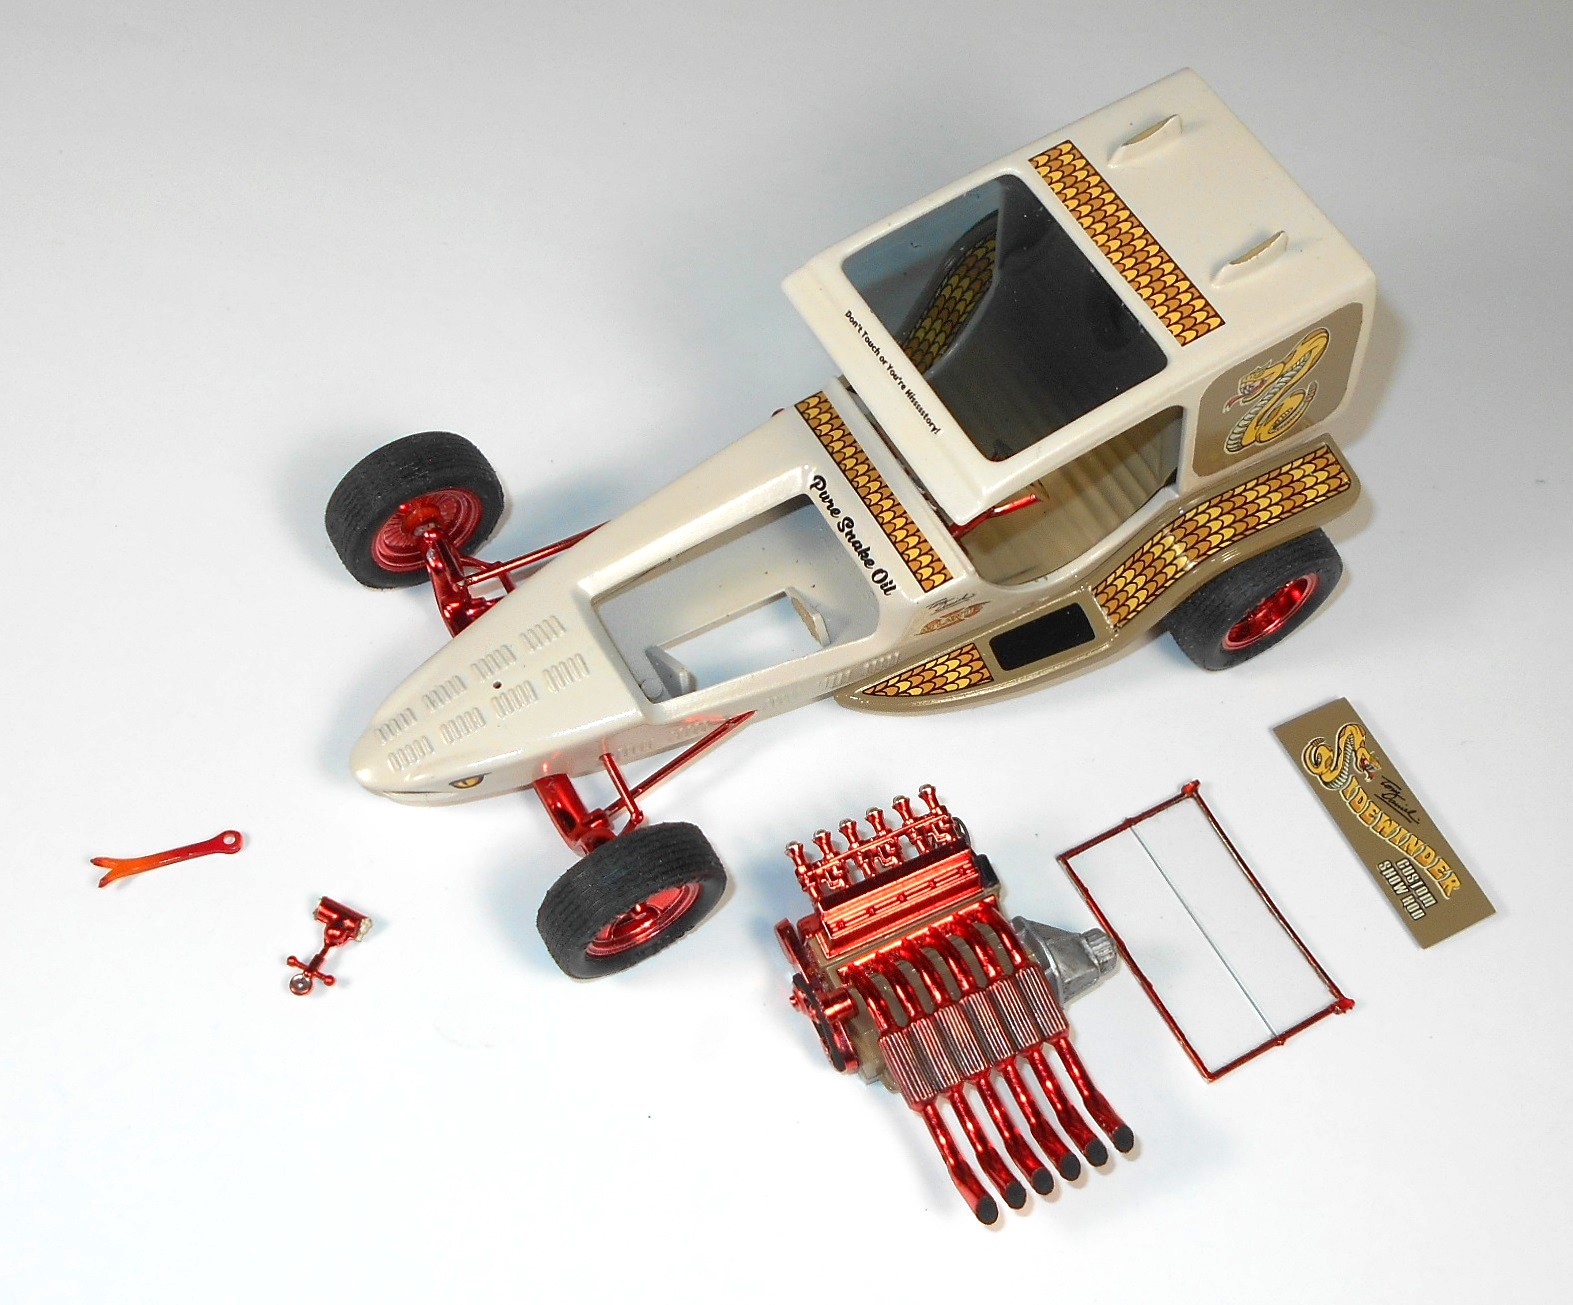
I was simply elated when Atlantis Models not only rescued the tooling for the Sidewinder Custom Show Rod from the boneyard, but released it with special burnt copper brightwork and a spectacular new set of decals, designed by Tom’s son Kelly Daniel. It’s kit number M2210 and has around 40 pieces in 1/24 scale kit.
Fig 1) I’ve always loved Tom Daniel kits and this one hasn’t been seen since the 90’s. It’s nearly a clone of Tom’s “Rattler” model kit released in 1975 with some notable improvements. This kit would look great right out of the box and could be built in an evening.
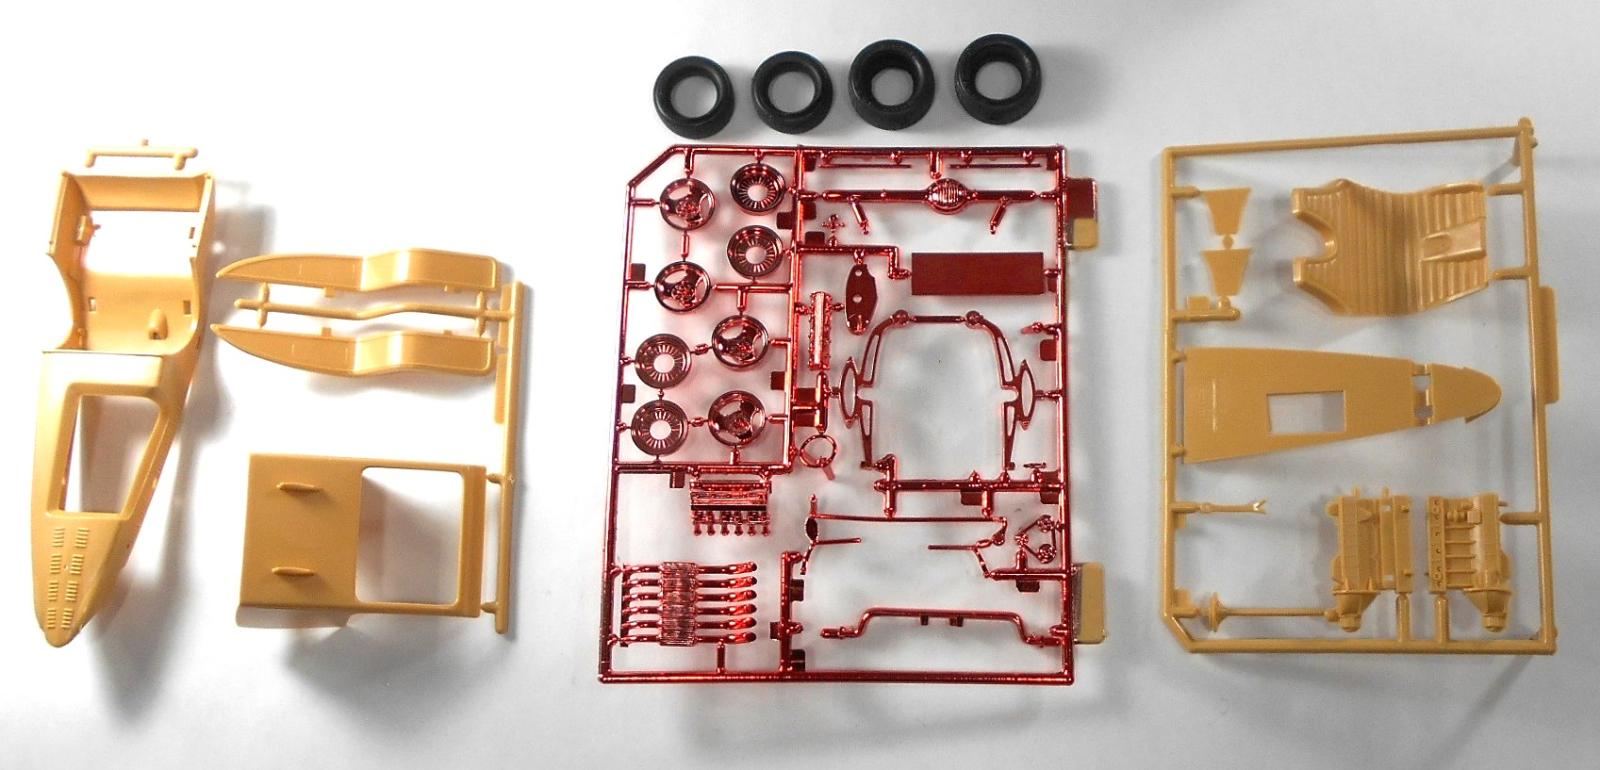
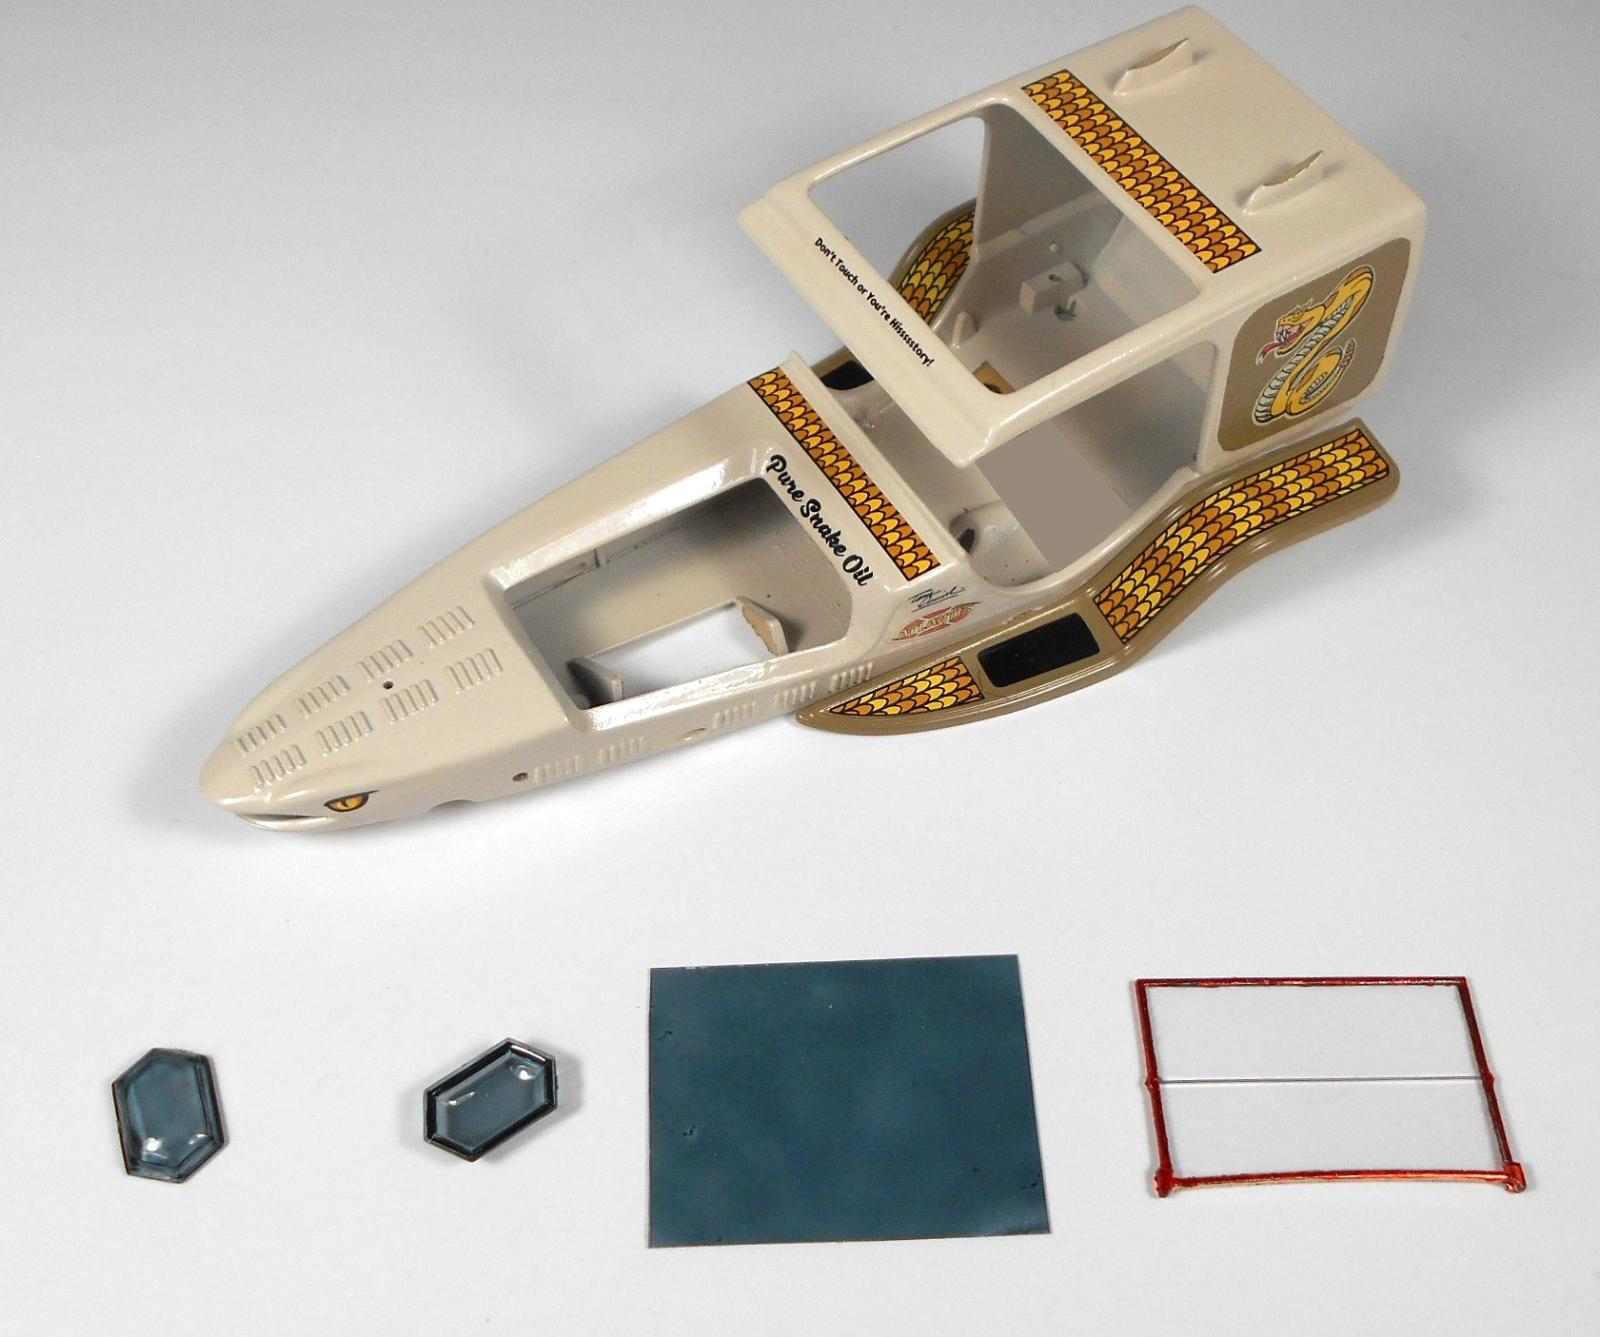
Fig 2) Molded in color with burnt copper plated parts, soft rubber tires, clear window parts and waterslide decals. I would rate this an easy builder for the novice but as Tom Daniel once quipped, “It is good material for kitbashing.” With that permission, I added a few touches of my own to give it a different vibe but left most of it as is to relive those days long ago when the Rattler kit was all the rage.
The model is very basic and easily constructed. It consists of the main body, cab, front and rear suspension and wheels and a tricked-out Pontiac inline six with custom headers.
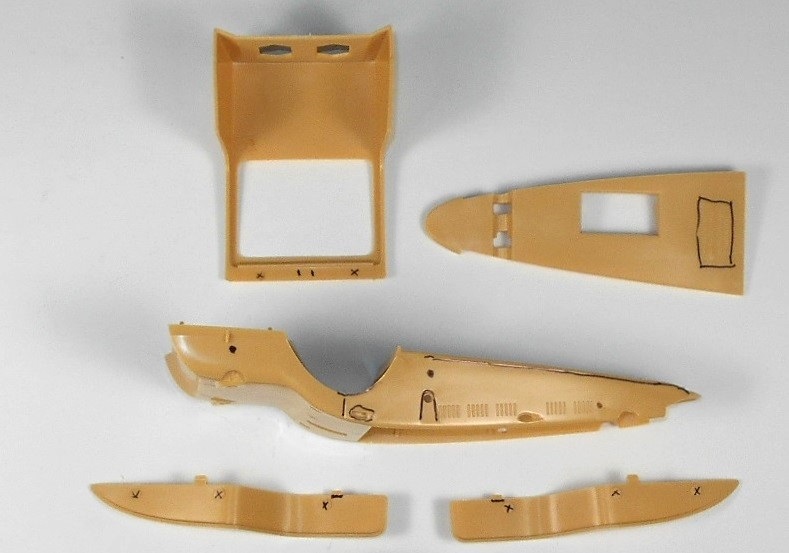
Fig 3) I decided to make a few modifications to my model, so I deviated a bit from the instructions which start out adding the instrument panel to the interior area. These were strictly my changes, just to demonstrate how versatile this kit is to customize.
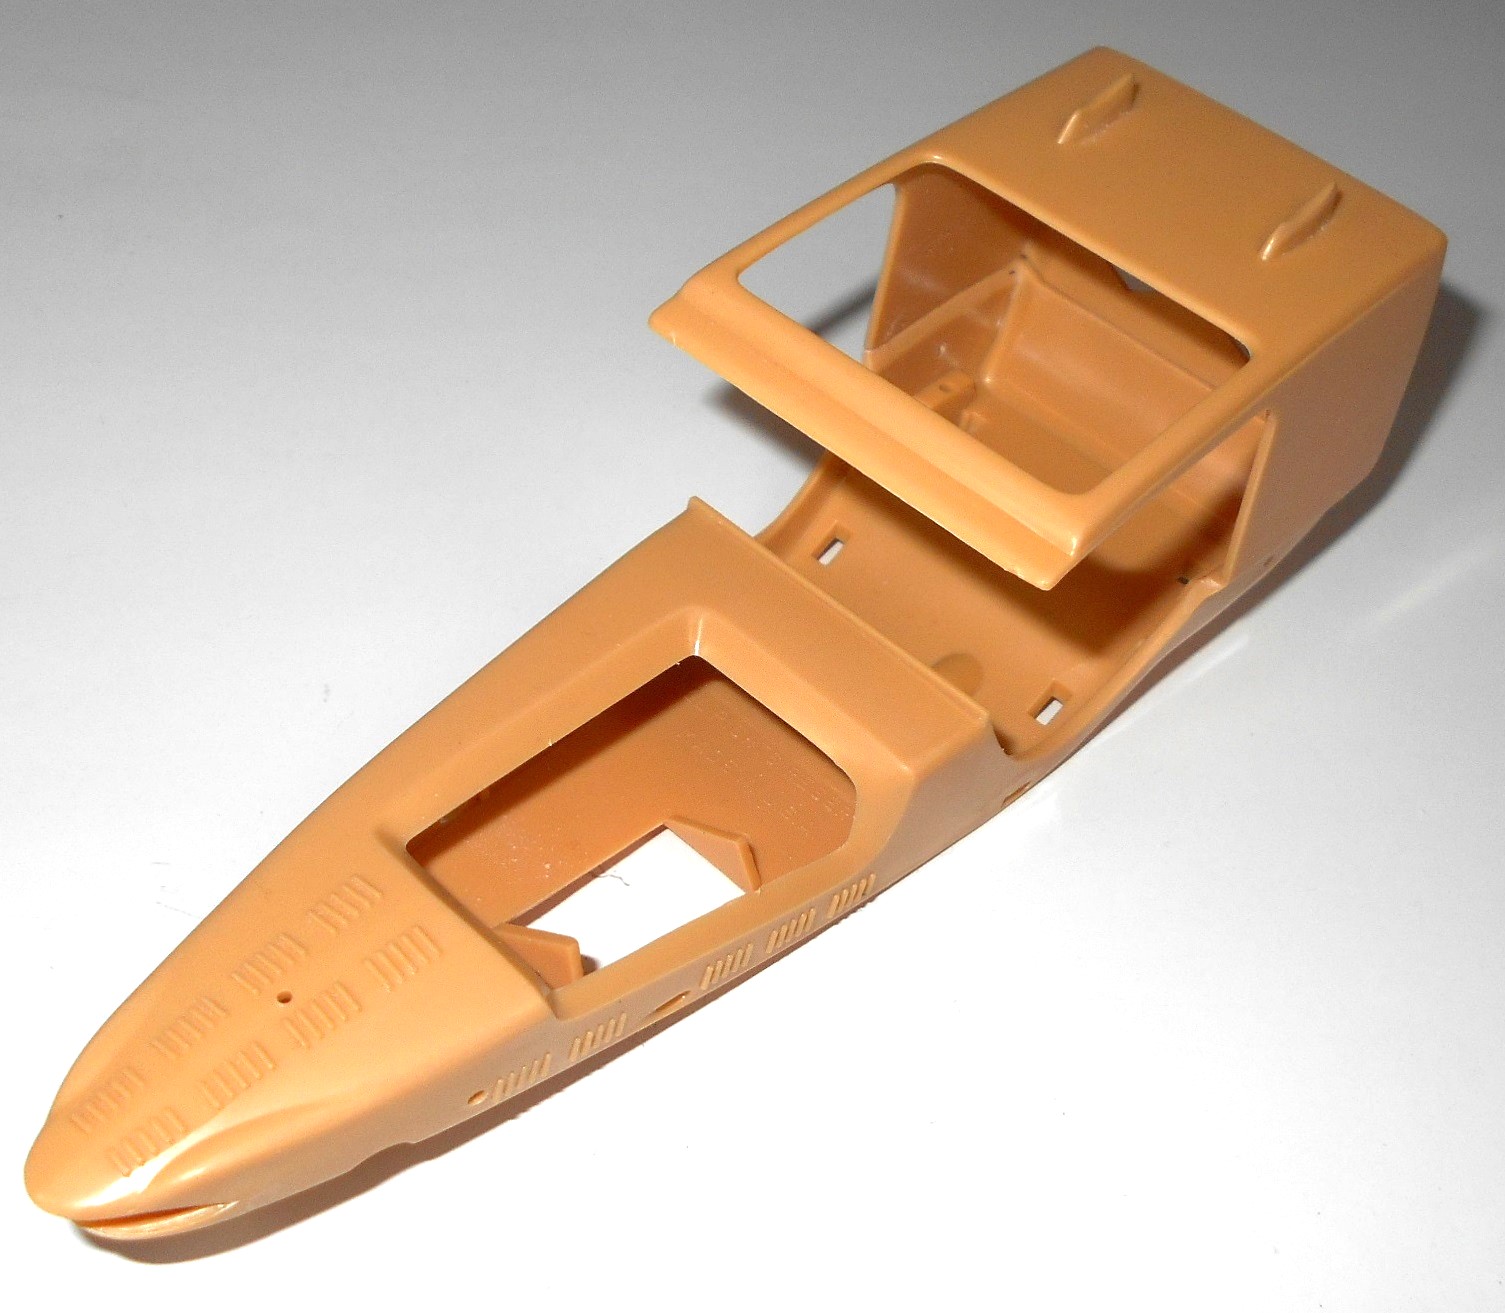
It’s an old mold design (1970), so you may want to clean up the parting line flash and ejector pin marks. I wanted to move the fenders in tight to the body so I marked the rear fender contact point under the stop rib (which I removed) and drilled a hole there to accept a post. Glue a corresponding post to the underside of the fender. Relocate the hole for the steering mechanism about ½” above the original mount for fender clearance, and scrape off the copyright on the lower body panel.
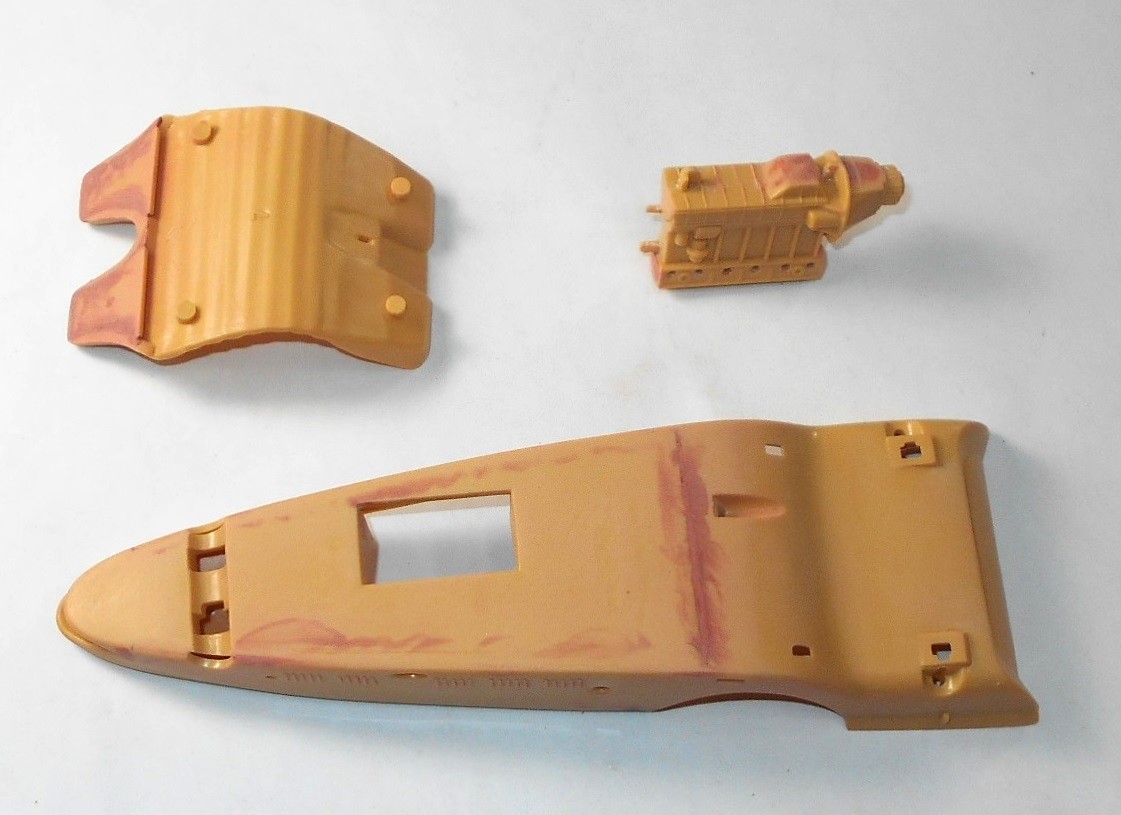
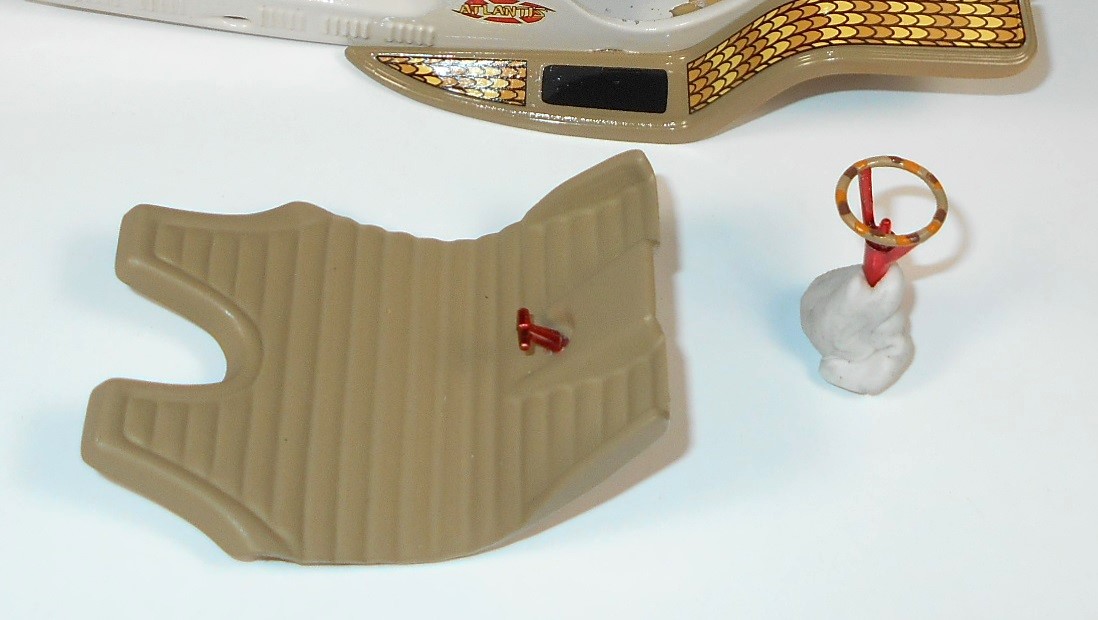
Fig 4) Install the lower panel to the body, the pads to the back of the seat and glue the engine halves together. Then add putty and sand the seams smooth.
Fig 5) Glue the top to the body and clean up the joint between the two.
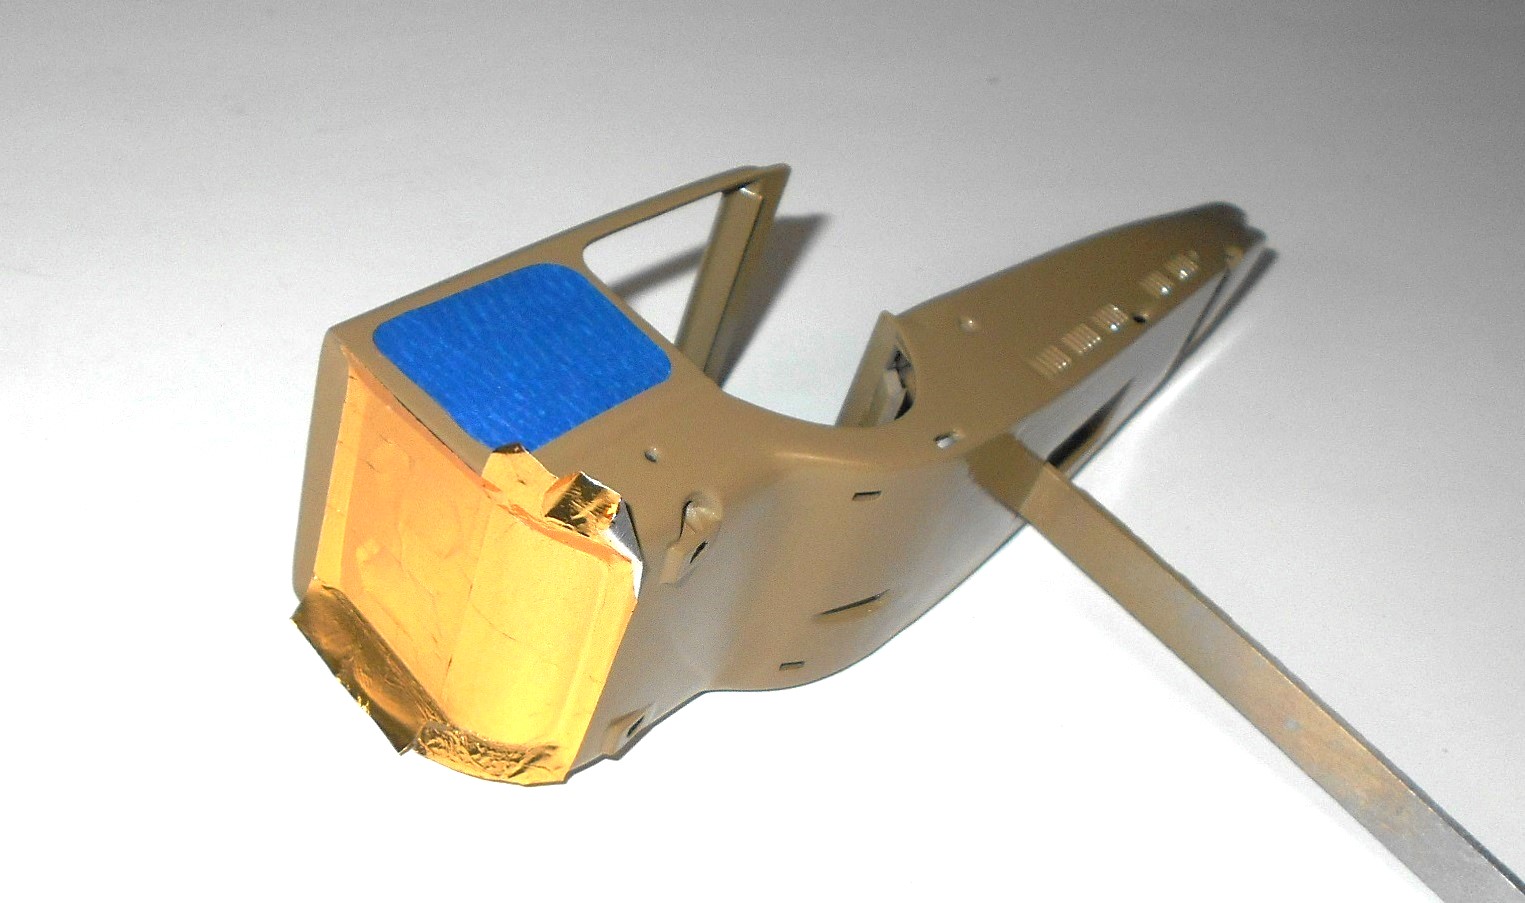
Fig 6) A few gauges were added to the dash from Best Model Car Parts and the instrument panel was added to the underside of the dash then taped off. The body was painted a dark sand color along with the roof top spoiler, engine, seat, and fenders. After the paint dried, the back end and side panels were masked off to provide a tutone paint scheme.
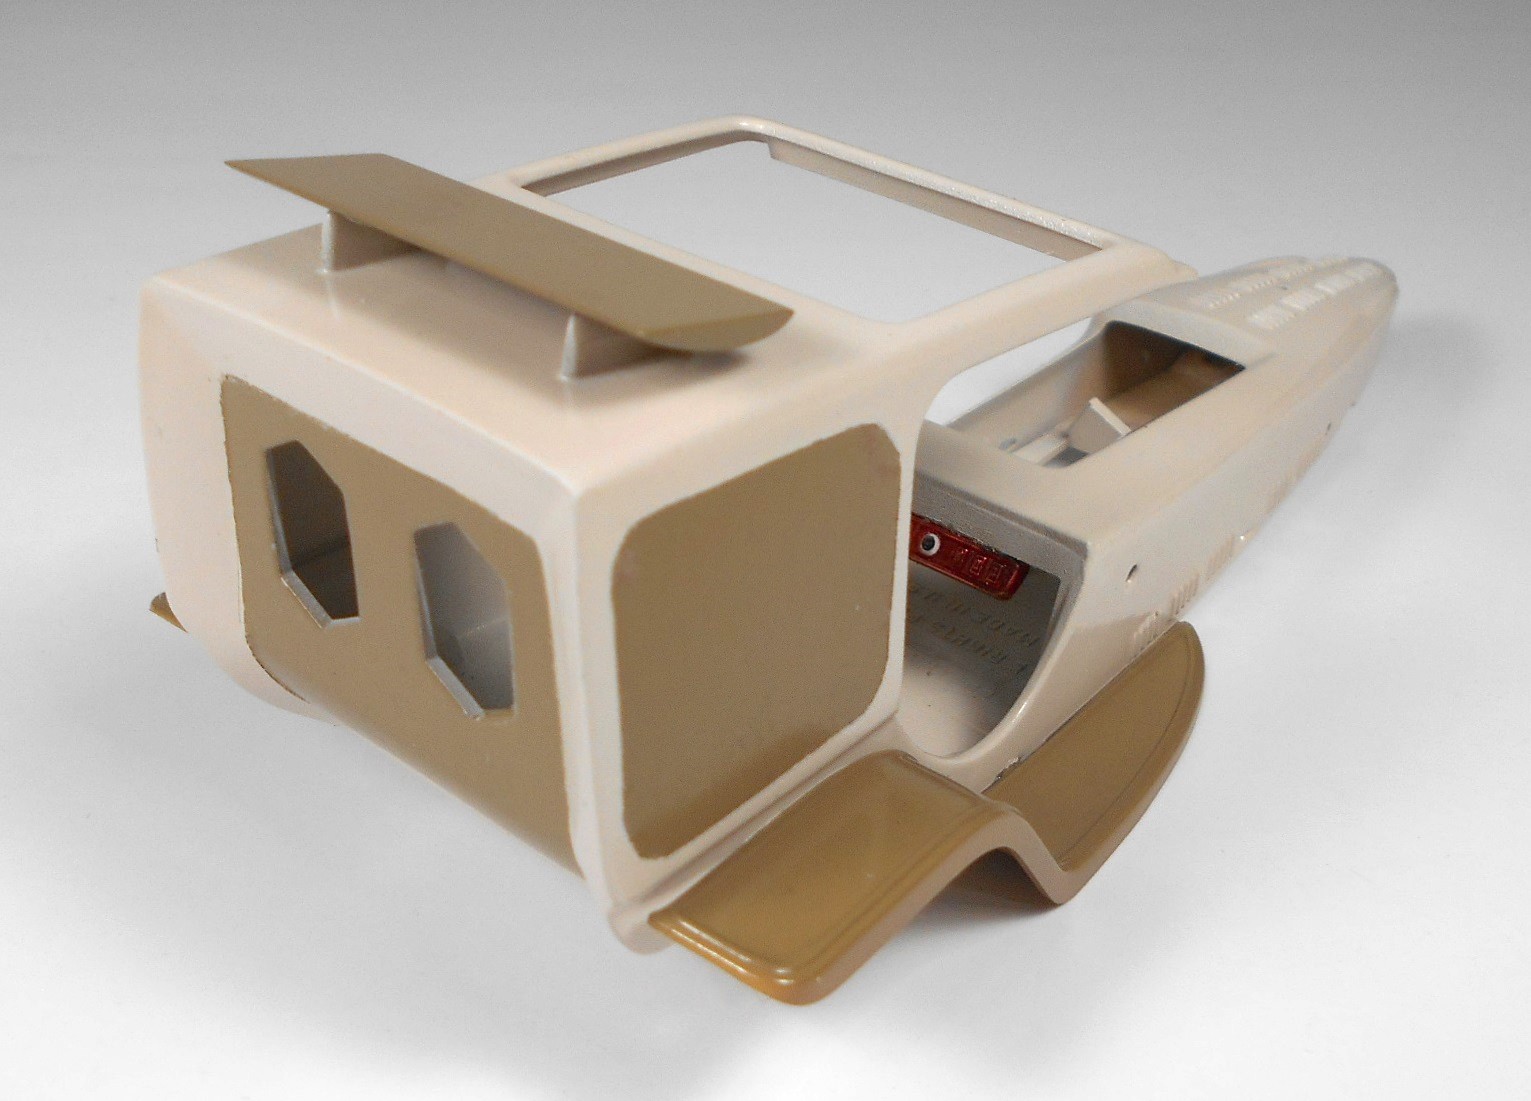
Fig 7) The body was then painted with a light sand color overcoat and allowed to dry. The fenders are glued to the body. This mockup shows the uncovered dash and multicolored paint scheme.
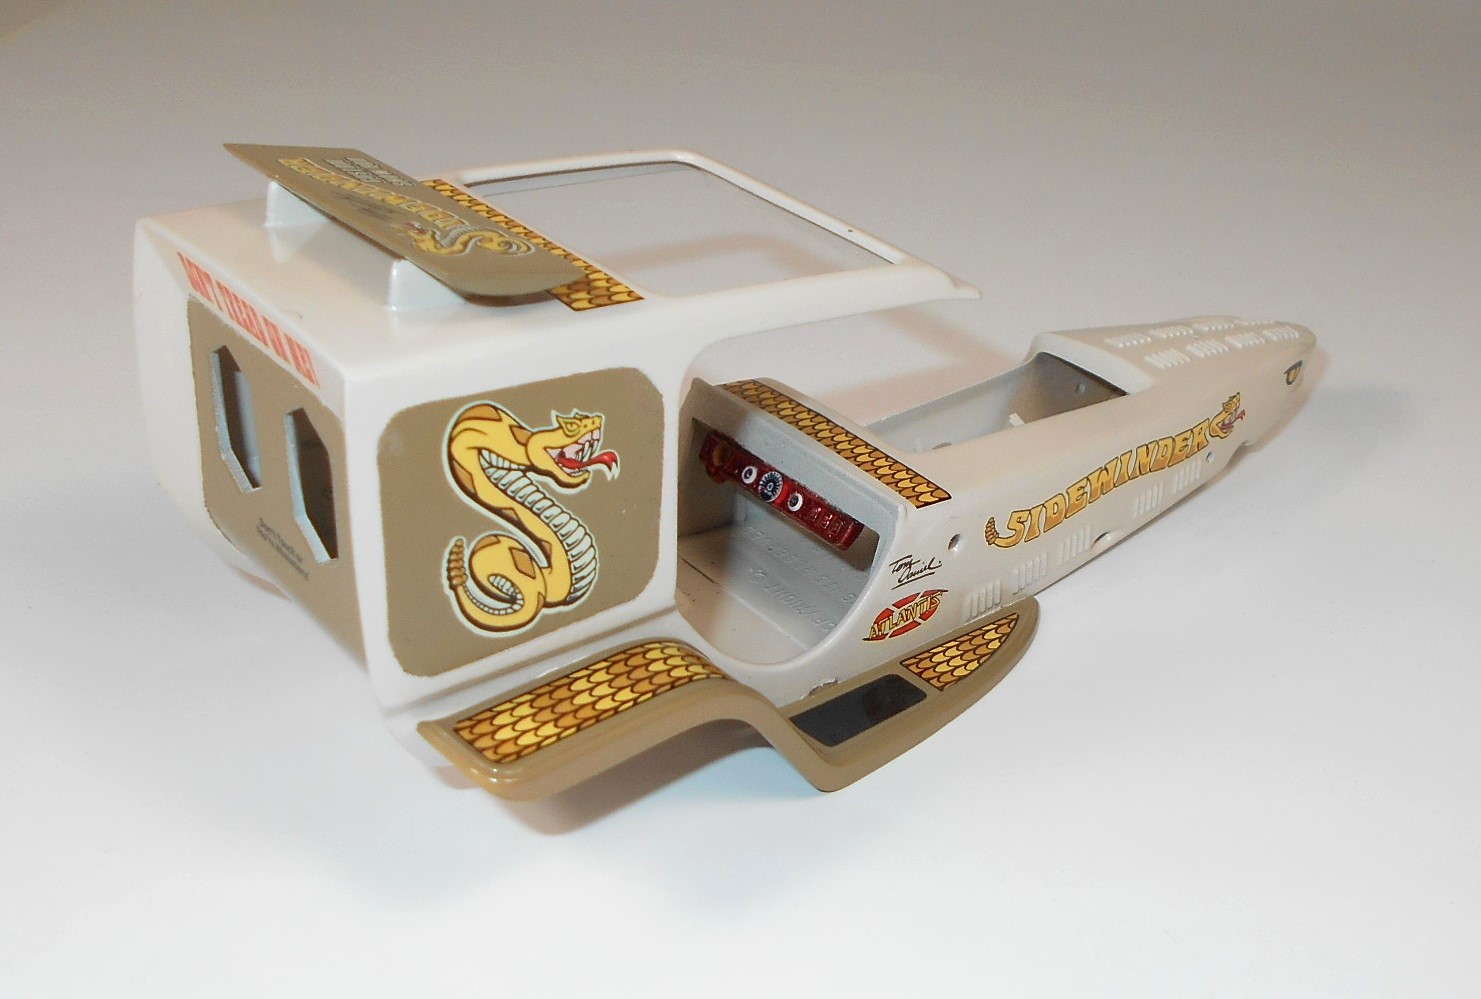
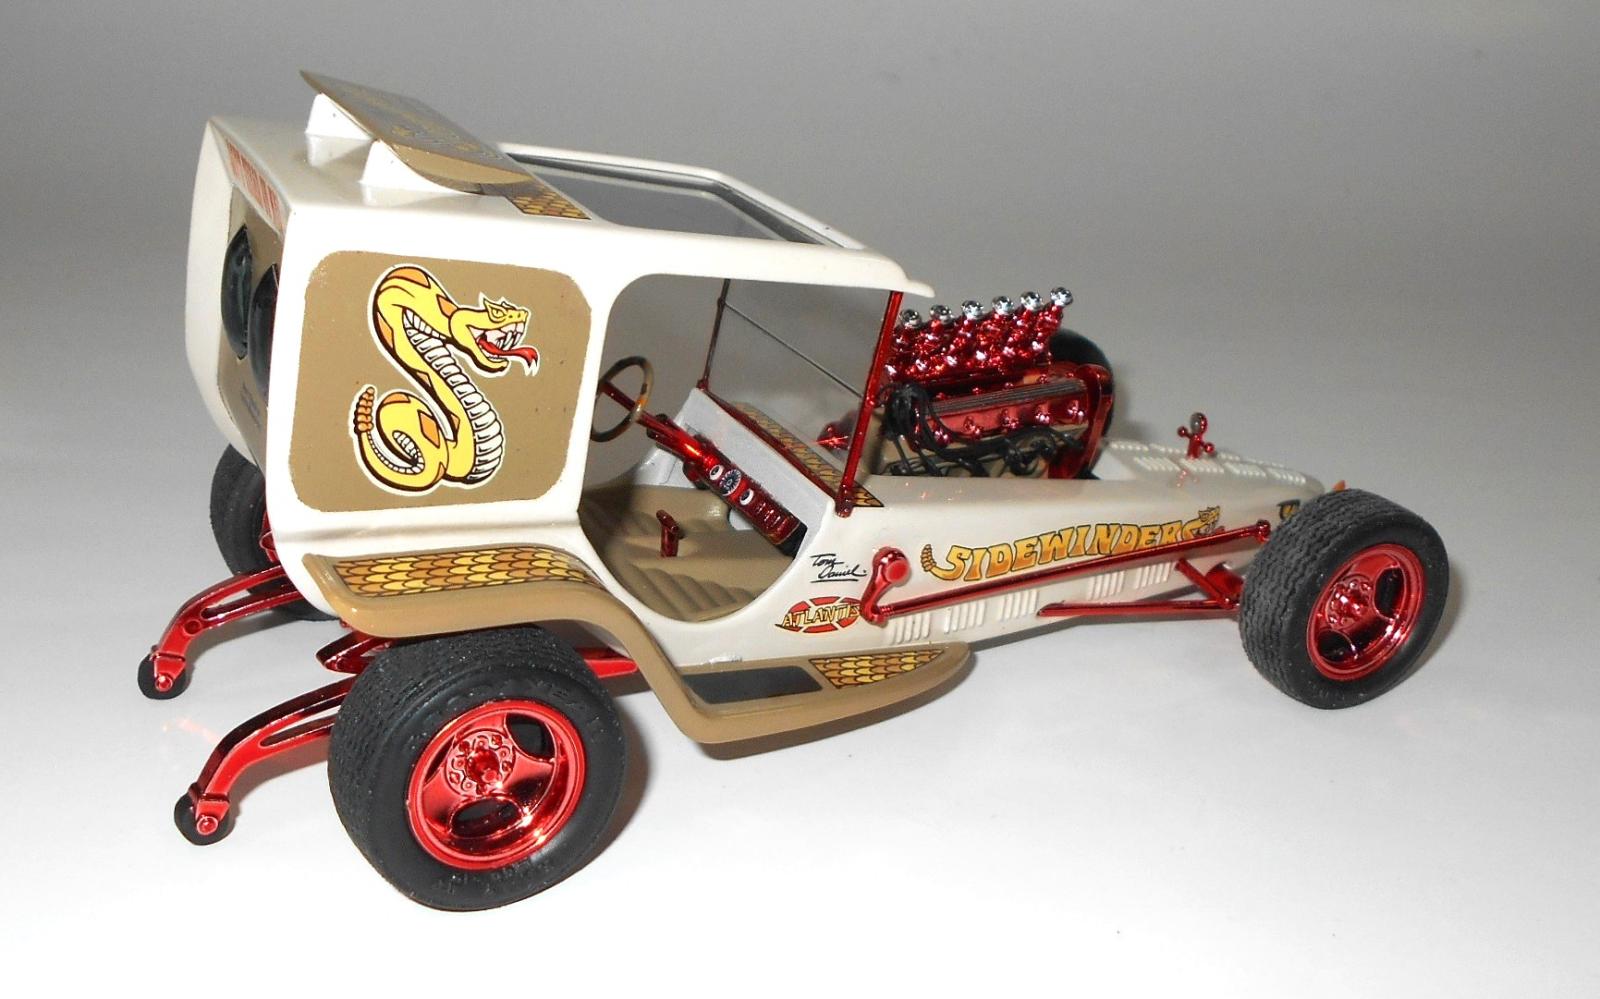
Fig 8) The decals are a great change to the old “Rattler” kit giving it a whole new persona. They come off the backing paper well and don’t need any setting solution to help them adhere.
Fig 9) Use a square clip of acetate to create a shaded sunroof and spray both it, and the rear bubble windows, with black tint paint. In order to dress up the windshield, the frame was covered in Bare Metal Foil then painted with a red tint paint.
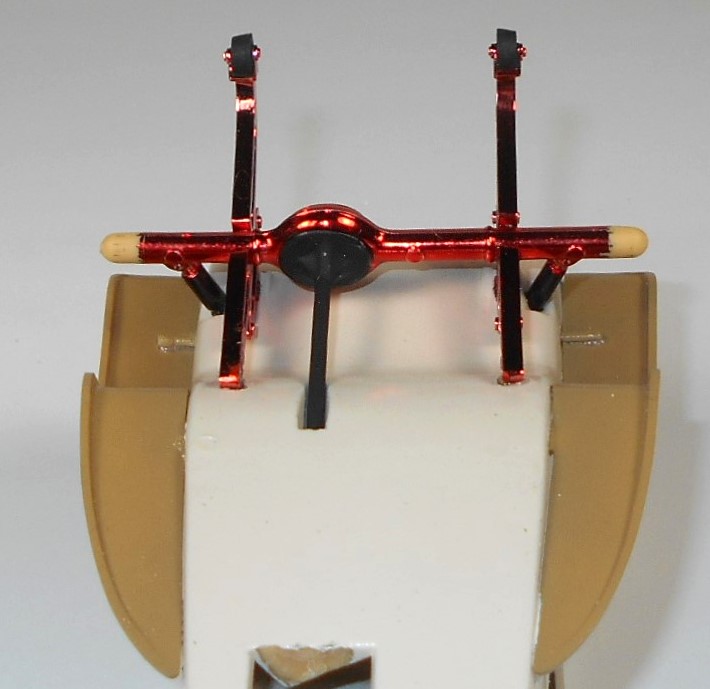
Fig 10) The seat gets a coat of flat clear then the shifter is added to the console. Slip the seat into the body and add some glue where it rests on the mounts that are located on the sides. The faux “snakeskin” covered steering wheel gets glued into the receiver on the dashboard.
Fig 11) The wheels and tires are great looking choices for the Sidewinder, extending the burnt copper brightwork to the wheels. The soft rubber tires also have side script markings that can be picked out. Unfortunately, the inside edge of the tires have some flash that should be removed and sanded off for a nicer appearance. The inner and outer wheel halves simply sandwich the tires together.
Fig 12) The plated suspension pieces fit together nicely and fit into their location points perfectly. There’s also a faux driveshaft that fits into a notch mid-body.
Fig 13) The front axle anchors the suspension and it has a keyed post that only allows for proper installation because there is a left and right side for its attachments. Attach the front axle and wheels with some slow setting glue to ensure they are all symmetrical and that all four touch the ground.
Fig 14) What happens when the creative mind of Tom Daniel is given a Pontiac inline six to power his Sidewinder? A picture is worth a thousand burnouts! Six Weber cards and tuned headers really let this mill live up to its full potential. I also added a scratch-built wired distributor for realism. The engine sets on a pair of raised mounts in the engine bay and will still fit snugly into the opening. Add in the remaining pieces, including the water meter, windshield, rear air foil, and finally that wicked looking serpents’ tongue for one spirited ride!
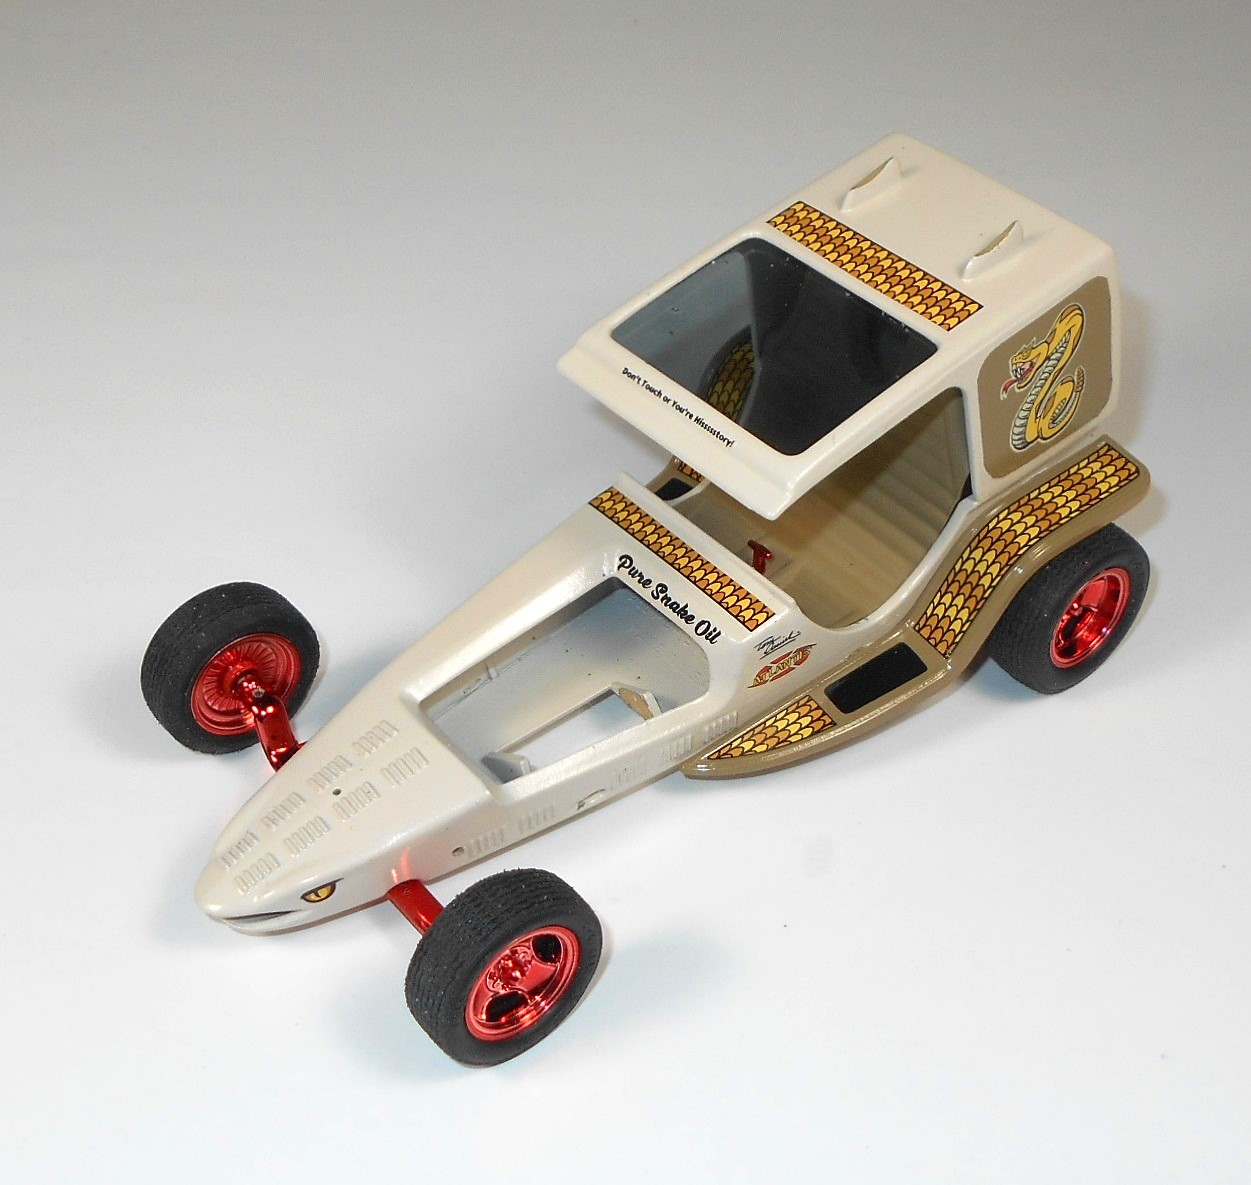
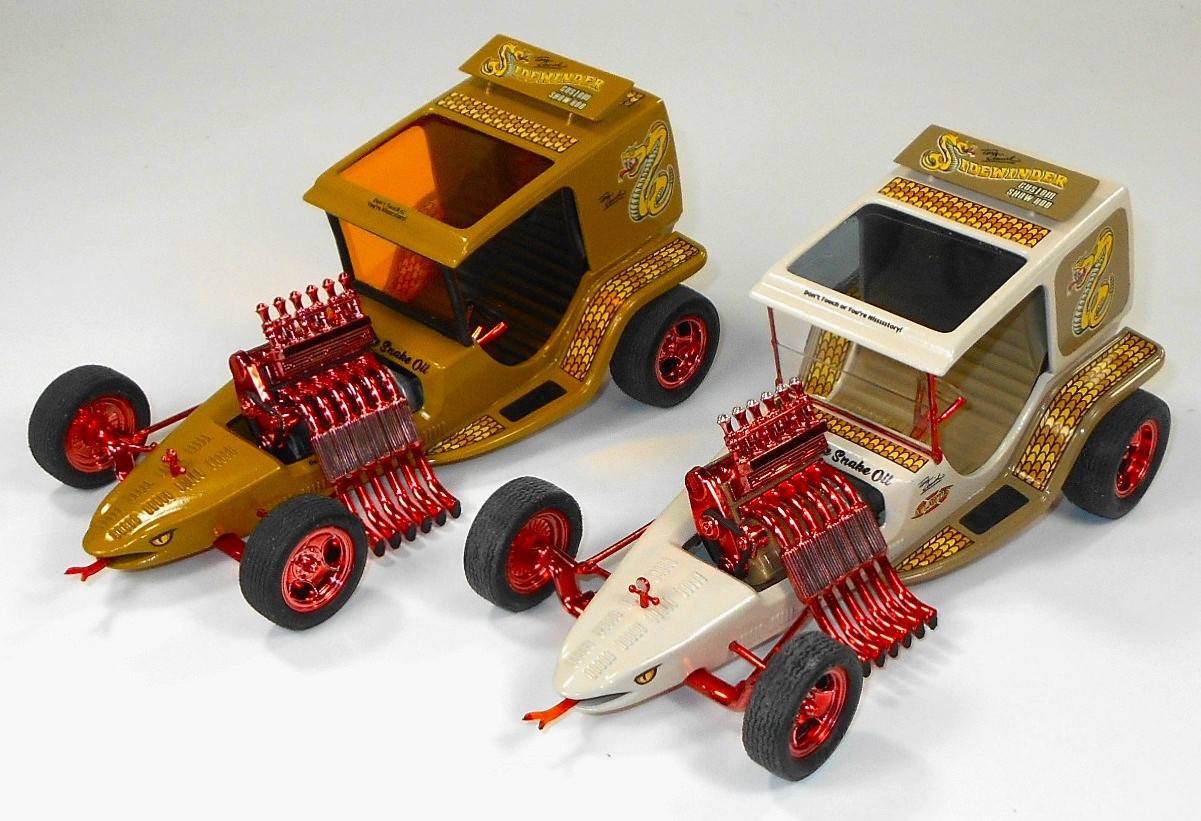
Fig 15) I’ve already built this kit in two different color schemes but the possibilities are endless. Imagine it as a sleek black chopped coupe. Just open up the engine bay and drop in your favorite big block. Add some lights and cruise the strip, just like the good ‘ole days!
Fig 16) The best thing is that no matter how you build this kit, it will look great and instantly transport you back the golden era of fun modeling.
Thanks goes to Atlantis for making this kit available and IPMS for allowing this review.


Comments
Add new comment
This site is protected by reCAPTCHA and the Google Privacy Policy and Terms of Service apply.
Similar Reviews