
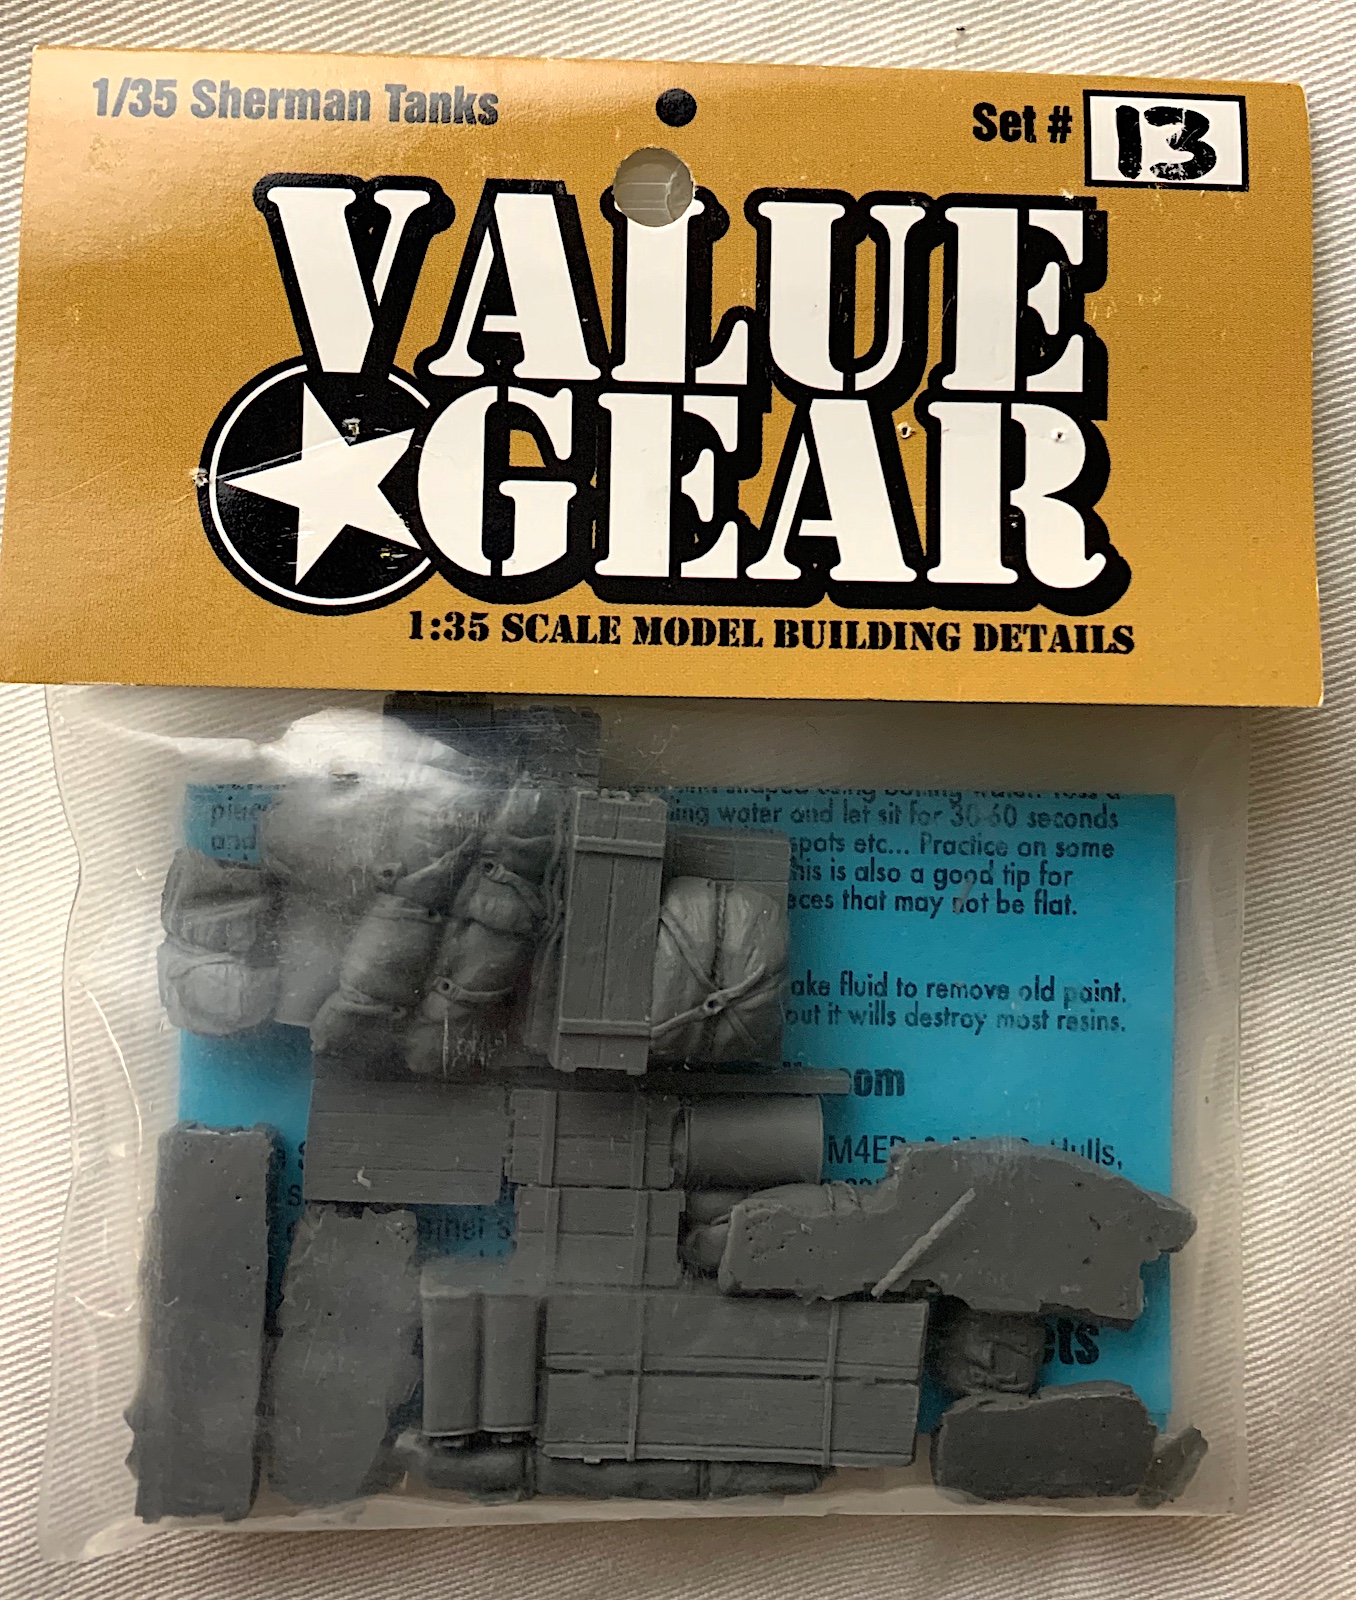
Sherman Engine Deck Set #13
I’m sure I’m not the only one who has ever looked at a kit and said, “That looks easy. I’ll just whip that together in the next day or two.” That’s pretty much what came to mind when I looked at the Value Gear Sherman Engine Deck Set. After all, how hard can it be to paint up some stowage and slap it on a tank? You can guess where that idea went.
This particular set, Engine Deck Set #13, contains the following eight individual resin pieces specifically designed for the Sherman:
- Single musette/field bag
- Double musette/field bag
- Single long crate
- Pair of tarps, small
- Pair of tarps, larger
- Bundle of crates, fuel cans, tarp and axe
- Bundle of crates, oil can and small tarps held up by a board
- Large bundle of crates, tarps, sacks and oil can
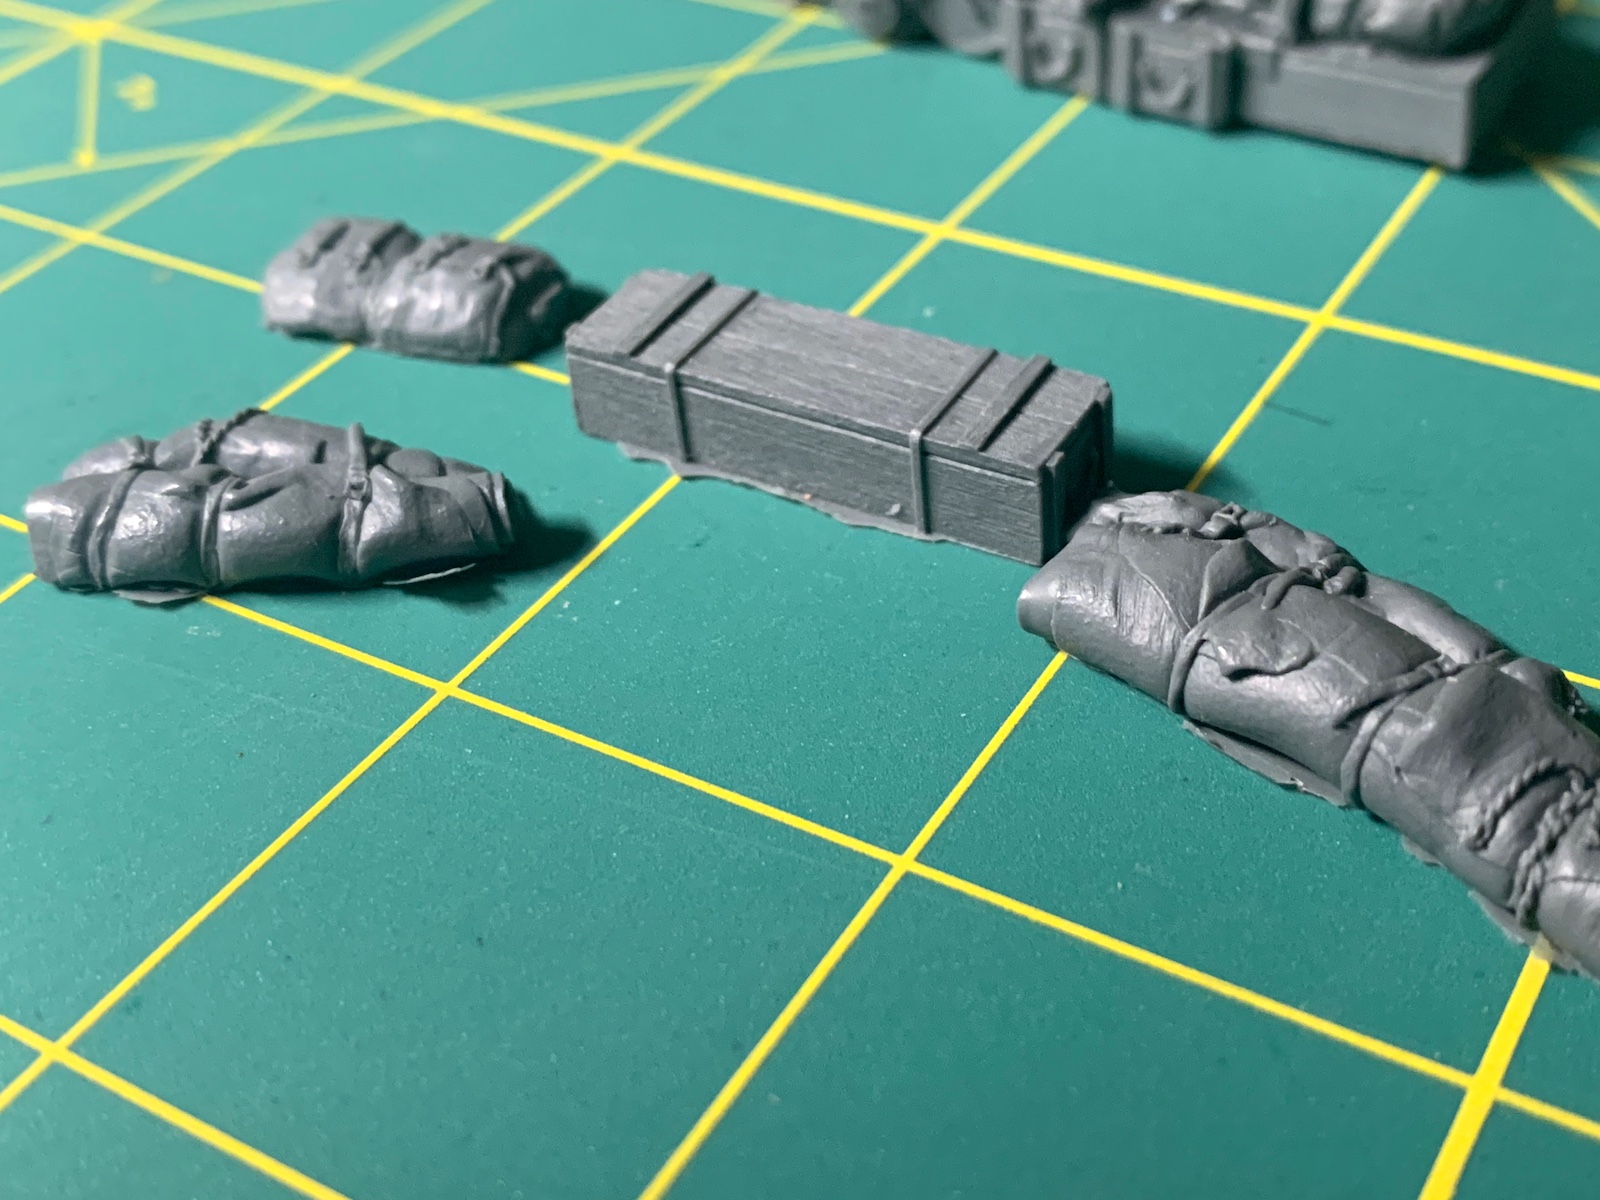
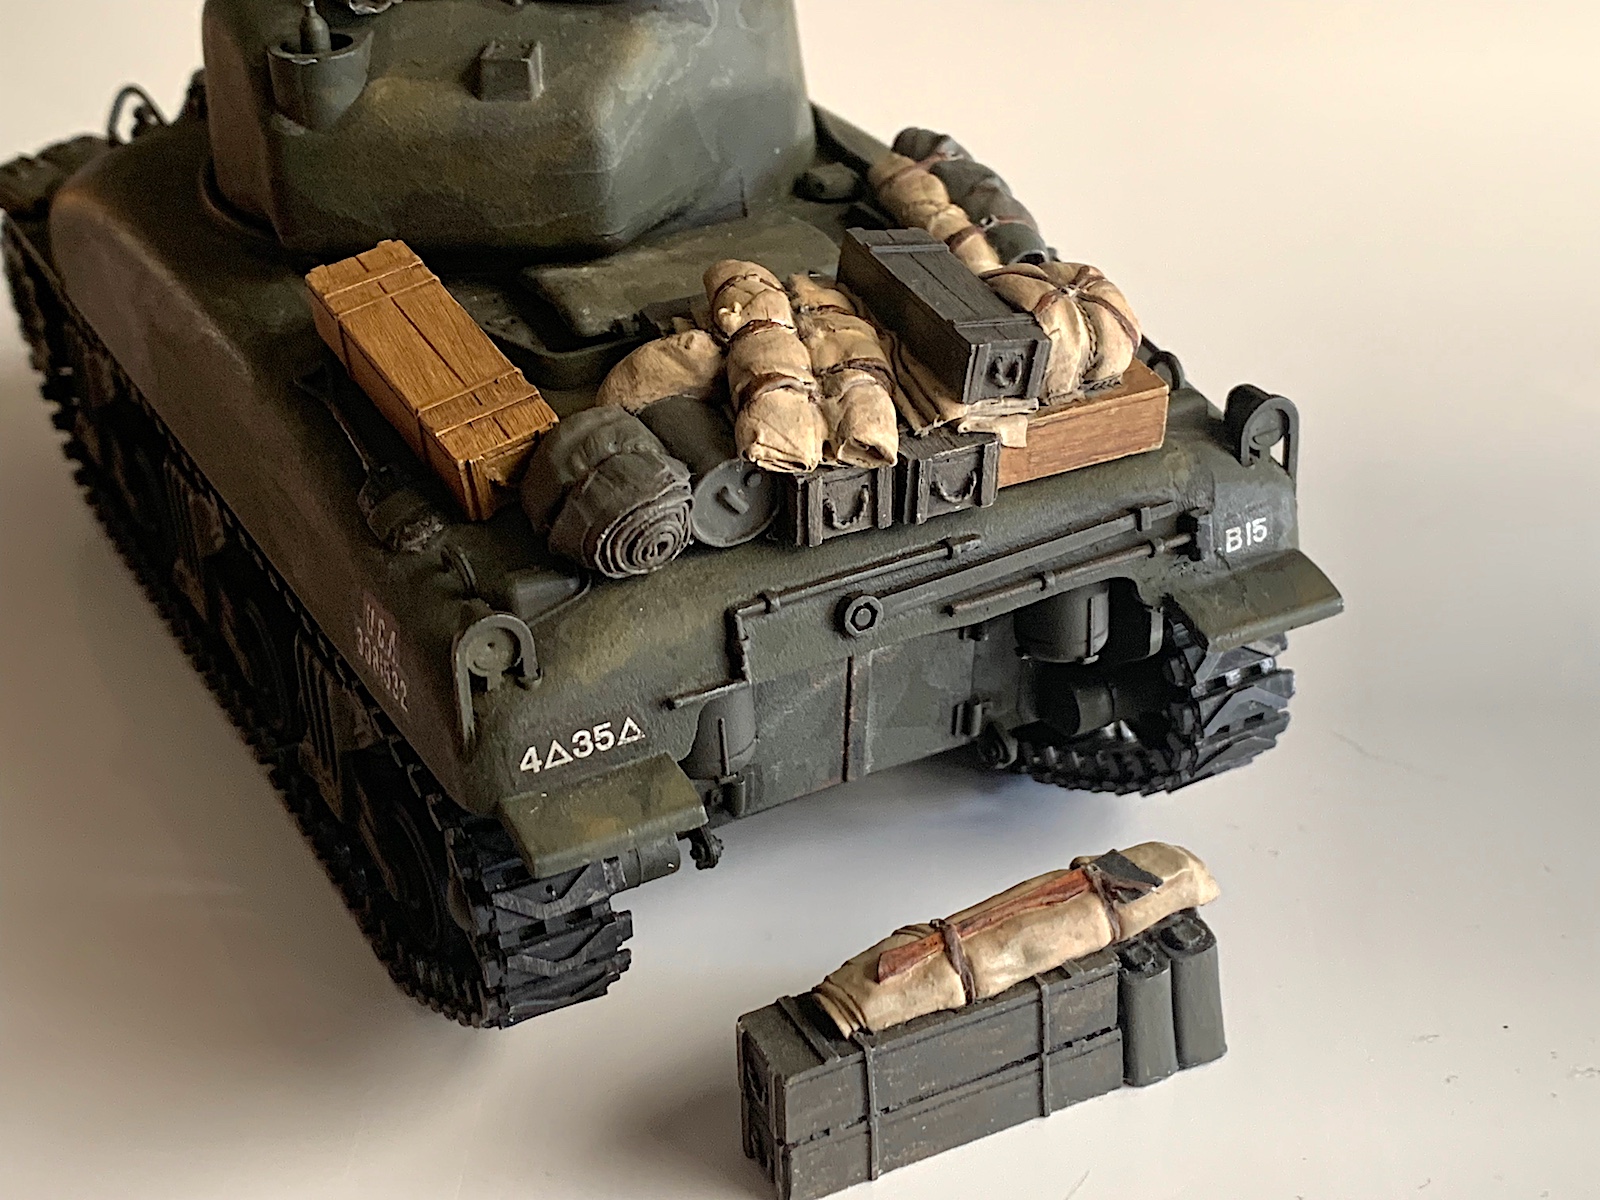
In looking at these scale pieces of stowage, they all are well molded and deserve a modeler’s best effort. In fact, these cast resin parts are quite impressive with an amazing amount of detail. The jerry cans have the properly debossed lettering. The ammo crates have ample woodgraining plus proper rope handles. All straps have clear buckles. Heck, even the little round oil cans have the original style hexagonal caps.
I’m far from an expert and my skills have a long way to go to be able to produce the kind of result I see at contests, however, with enough time and experimentation, I think I did these little detail pieces justice. It only took a bit of experimenting and a lot more time than originally expected.
Like all resin parts, these started off with a bath of warm water and mild dish detergent and then went for a quick wipe with acetone. The acetone rub may be overkill but having been burned once by some waxy resin parts in an old kit, this has become habit. There was only the slightest of flashing that needed to be removed to make sure the parts sat flat and that was done quickly with a hobby knife. After the cleanup, I shot all parts with a basic lacquer based primer making sure I didn’t fill in any of the detail the manufacturer worked so hard to create. There are a few straps on tarps that are not as pronounced as others and the graining on the wood crates are so fine that a thick coat of primer could have easily turned those into flat surfaces.
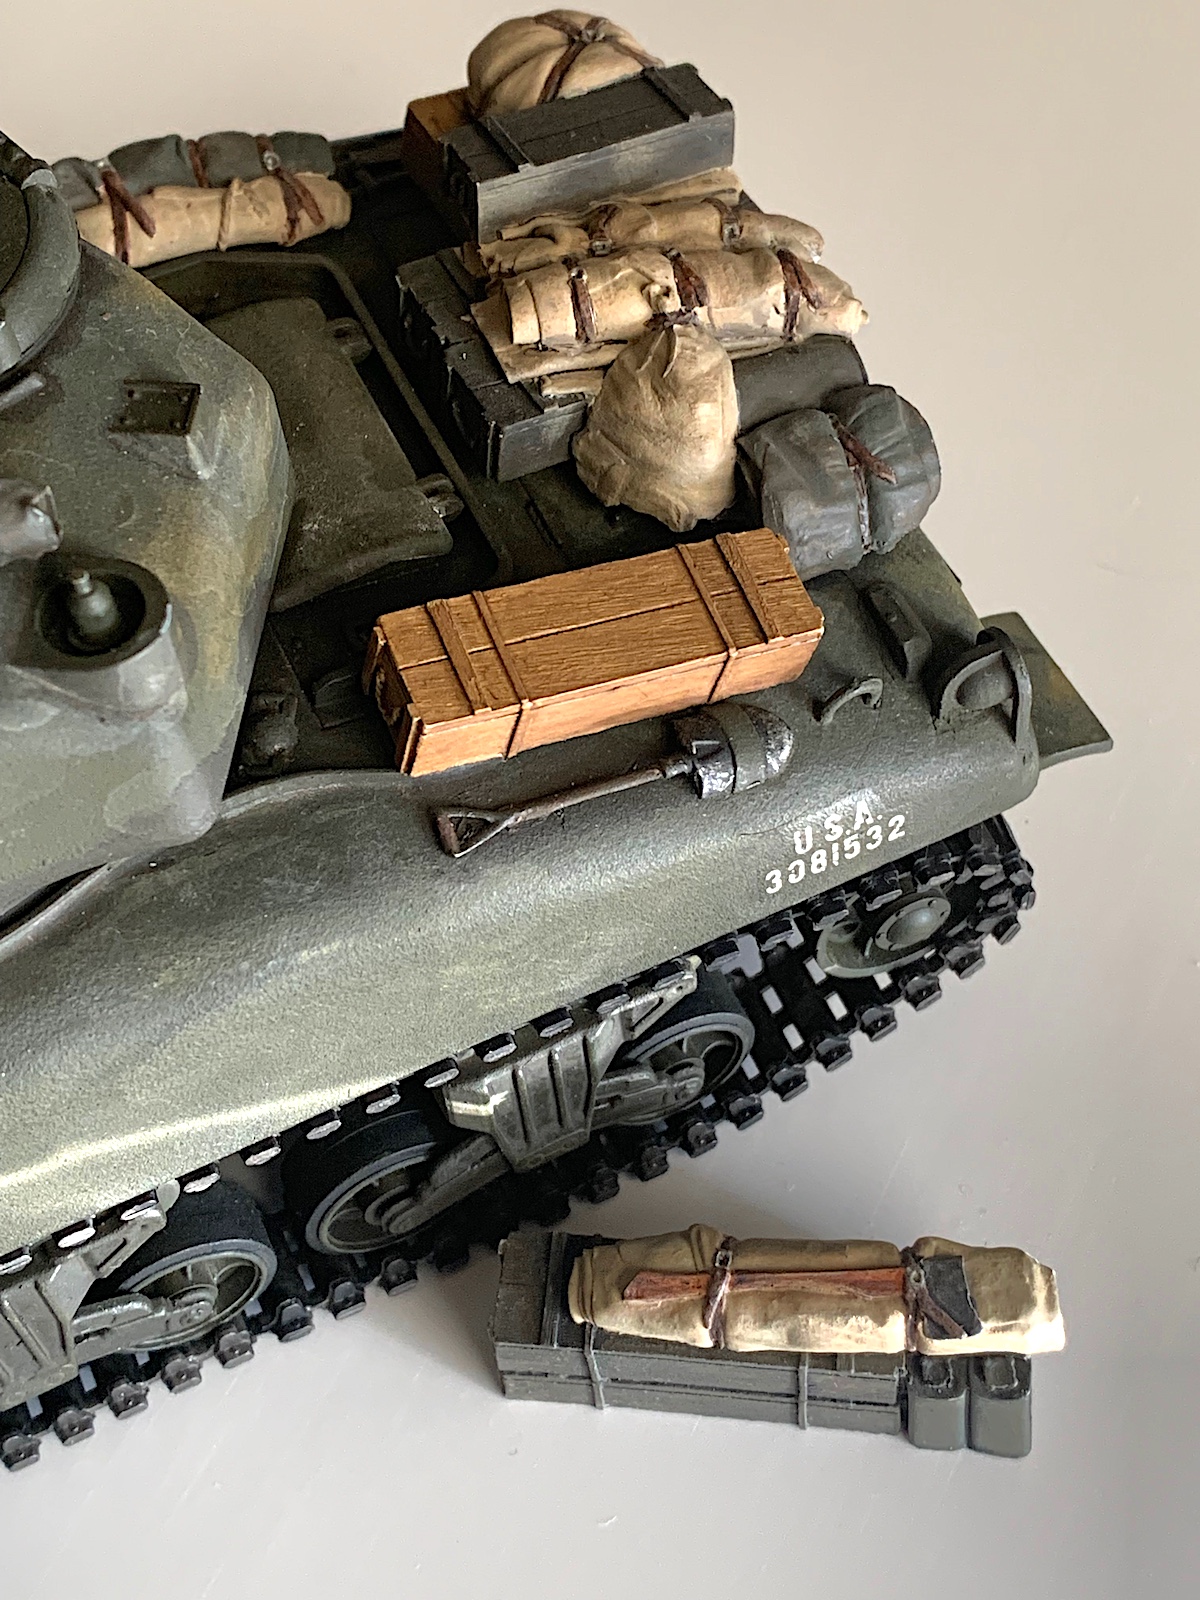
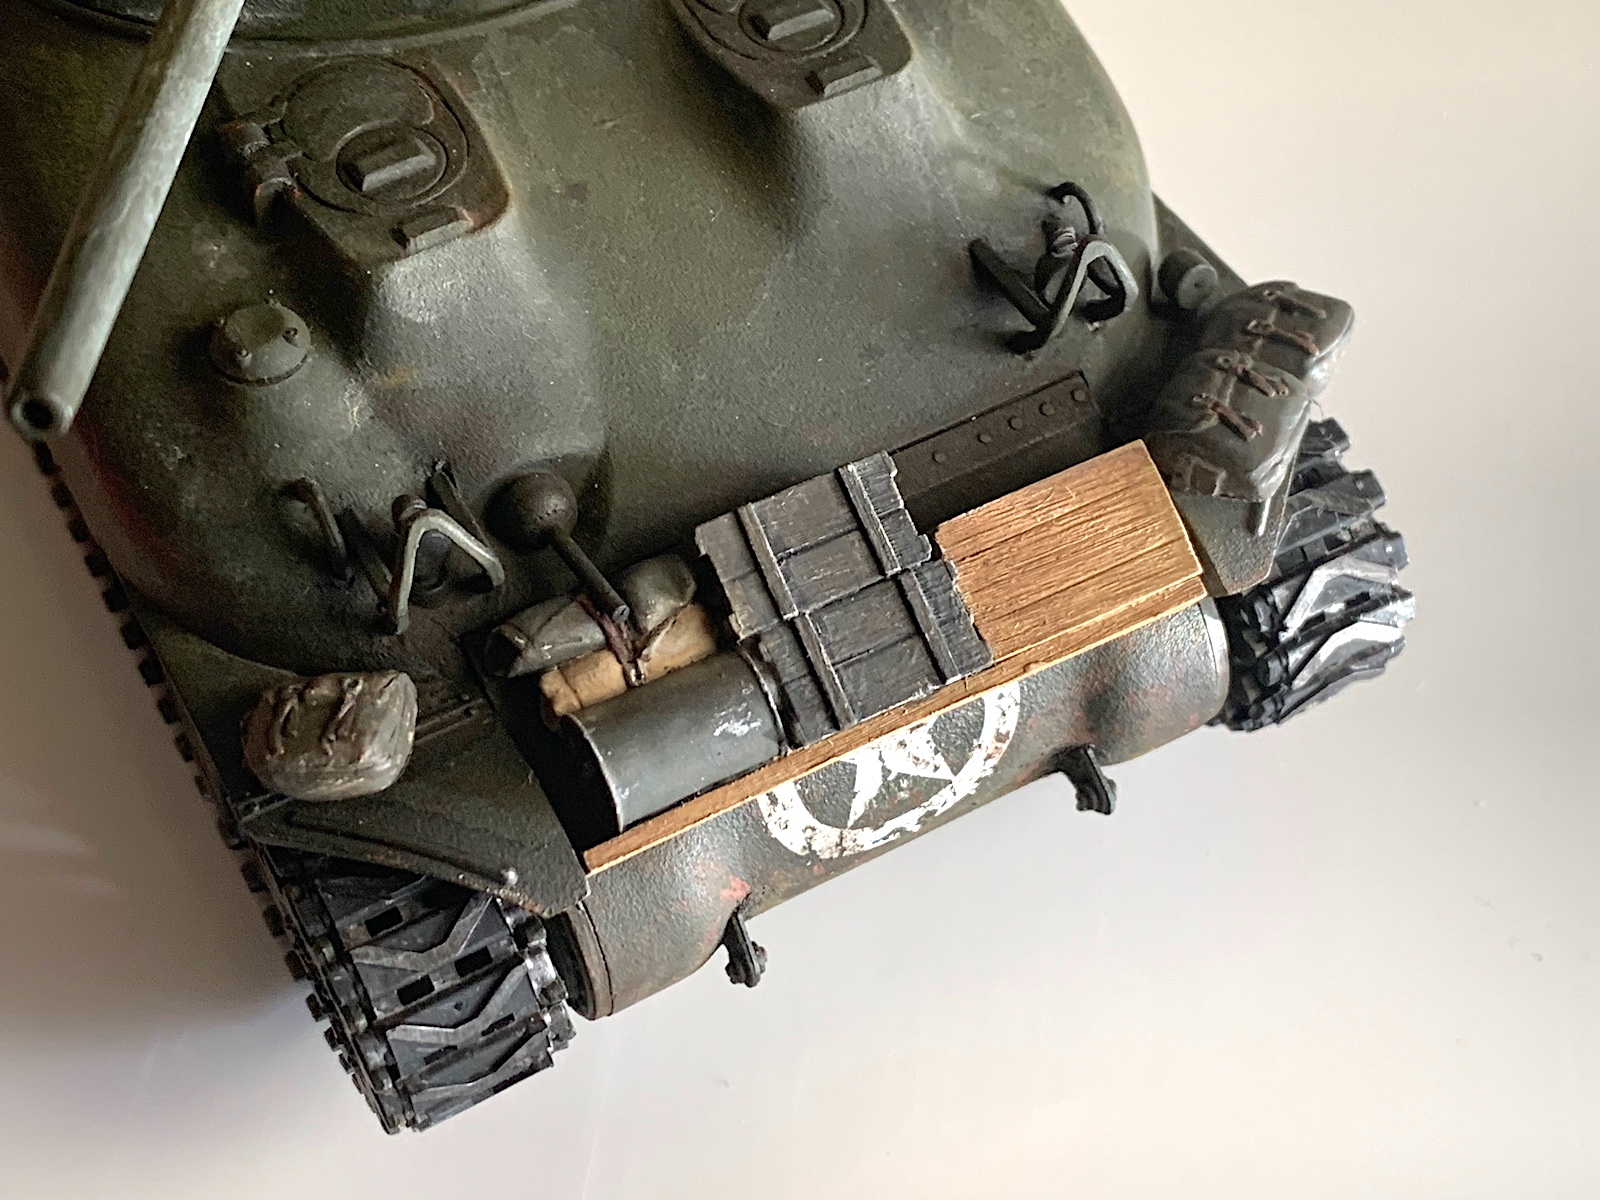
With priming done, came the next decision on base coats. Since I wanted some variation in colors, I decided to cover all surfaces with a basic light tan even though half of the items would be green in color. Inconsistency is something I’m good at and it proved to be a strength when hitting some of the crates and cans with their primary green. It gave enough of a worn effect to make me happy so I followed with a quick black wash. The wood crates that would end up being bare wood in appearance were brushed quickly with a medium brown over the base tan using a dry brush technique. Again, speed and inconsistency in application was my friend. Once dry, I gave these crates a quick wash of dark brown to bring out the wood grain and provide contrast on details such as the rope handles on either side of the crates.
So where did most of the time get spent; the straps. I know for the 1/72 guys out there you’ll be rolling your eyes when I say these were a challenge. But for me, the 1/35 scale straps and buckles caused plenty of pain. My original plan went like this; sharpen an aqueous pencil, carefully color each strap, coat with Dullcote. What could go wrong? Plenty. The Dullcote reconstituted the pigment on the straps and they all ended up looking speckled.
Okay, it was time to stop and think. The straps themselves are a bit thick and likely out of scale, so what this meant to me was, that after painting the sides of the straps, the underlying objects was going to need touchup. Not being one to enjoy this kind of work, I stumbled upon the suggestion of using a wash. I read one article about painting just the top of the strap and then letting a wash take care of the sides, so I gave that a go. What resulted was a wrong colored strap with a heavy dark wash line at the crease. This didn’t work. Where the straps were shallower, the wash did crawl up the side but then it looked like a gal who went a little heavy on the eyeshadow. Off came the wash and on to another approach.
This time, I carefully painted the sides of the straps getting as little overpaint on the underlying objects as possible. To address that overpaint, I would come back with some touchup. The touchup was done by brushing in a much thinner version of the paint, letting the paint sort of run to the object’s edge against the strap. Guess what, good idea gone bad. This time the paint had more capillary action than expected and it sucked up the edge of the strap in many places. What the heck? Off came the runny paint.
At wits end, I just figured forget any technique, just paint the darn things with the smallest brush I can find. That’s what I did. The results aren’t show worthy but were plenty good enough for the shelf above my bench.
I think it is worth mentioning, as an owner of a resin 3D printer that yes, you can find and print stowage items yourself. However, for the current price of Value Gear accessories, it would be hard to justify the time and effort you would have to invest. Hats off to Value Gear for living up to their name.
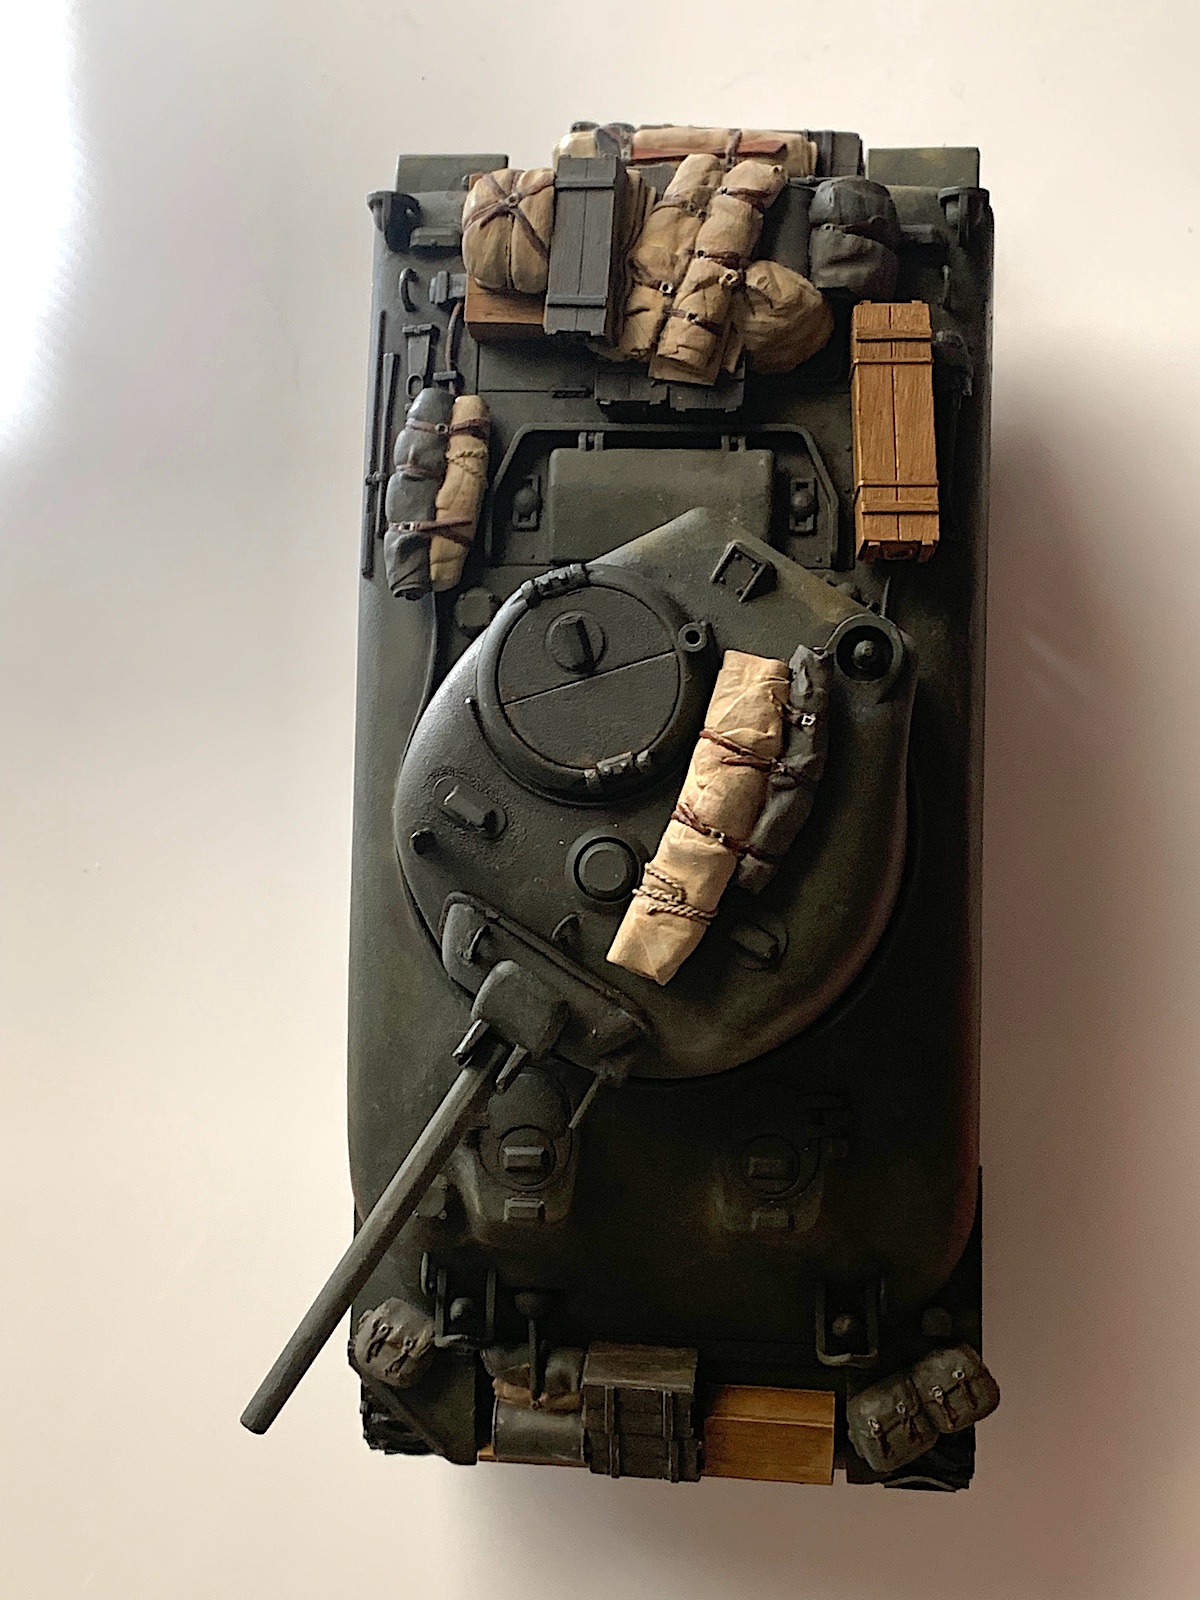
The take away from this was the same lesson we learn over and over again in this hobby. Some things just require patience and no technique can fix that. The stowage kit itself adds quite a bit to the Sherman as a subject and I can’t imagine ever building a piece of armor again without adding some sort of comparable, add-on detail. But now, the tank seems to want a base and maybe a few figures. I bet I can whip those together in a day or two.
Thank you to Value Gear and IPMS/USA for providing this kit to review.

Comments
Add new comment
This site is protected by reCAPTCHA and the Google Privacy Policy and Terms of Service apply.
Similar Reviews