
SH-3 A/D Sea King
AFV Club is a Taiwan-based venture, founded by a hobby shop owner in the late 1980’s. With a growing catalogue of kits in various scales and genres (armor, aircraft, ships, figures and accessories), AFV have made a name for themselves as a niche supplier of subjects. This little gem is no exception.
The Sea King, entering service in 1961, was Sikorsky’s first truly amphibious helo and one of the first to use twin turboshaft engines. Originally intended as an ASW bird, the type has had a long and illustrious history doing SAR, transport, medevac and AEW duty. The USMC has operated Sea Kings under HMX-1 as presidential transports that serve as “Marine One” when the President is onboard. As recently as 2009, some 600 Sea Kings remained in service with multiple military and private operators.
AFV’s offering (which consists of two complete kits in this case) is meticulously engineered, with petite engraved detail and multiple configurations and display options (for example, rotor and tail folded and stowed for carrier duty). The two kits and the colorful decal sheet permit you to build any two of these four options:
- HS-4, USS Iwo Jima (LPH-2), April 1970 (recovery vehicle for multiple space missions)
- Indian Naval Air Station (INS), Mumbai, 1980
- HS 50, Royal Canadian Navy, HNCS Bonaventure, 1965
- HC-1, USS Coral Sea (CV-43), 1972
Construction is straightforward. I added very little to the base kit with the exception of some seat harnesses (sliced tape) and control sticks (bent sprue) in the cockpit. AFV provides the entire nose section molded in clear plastic, so some judicious masking of the clear areas is necessary, but the overall process is much less fiddly than trying to install tiny sections of cockpit glazing. Fit overall is excellent. I used a dab of filler where the clear nose section meets the upper fuselage, but a little sanding of the part might have prevented the need to do so.
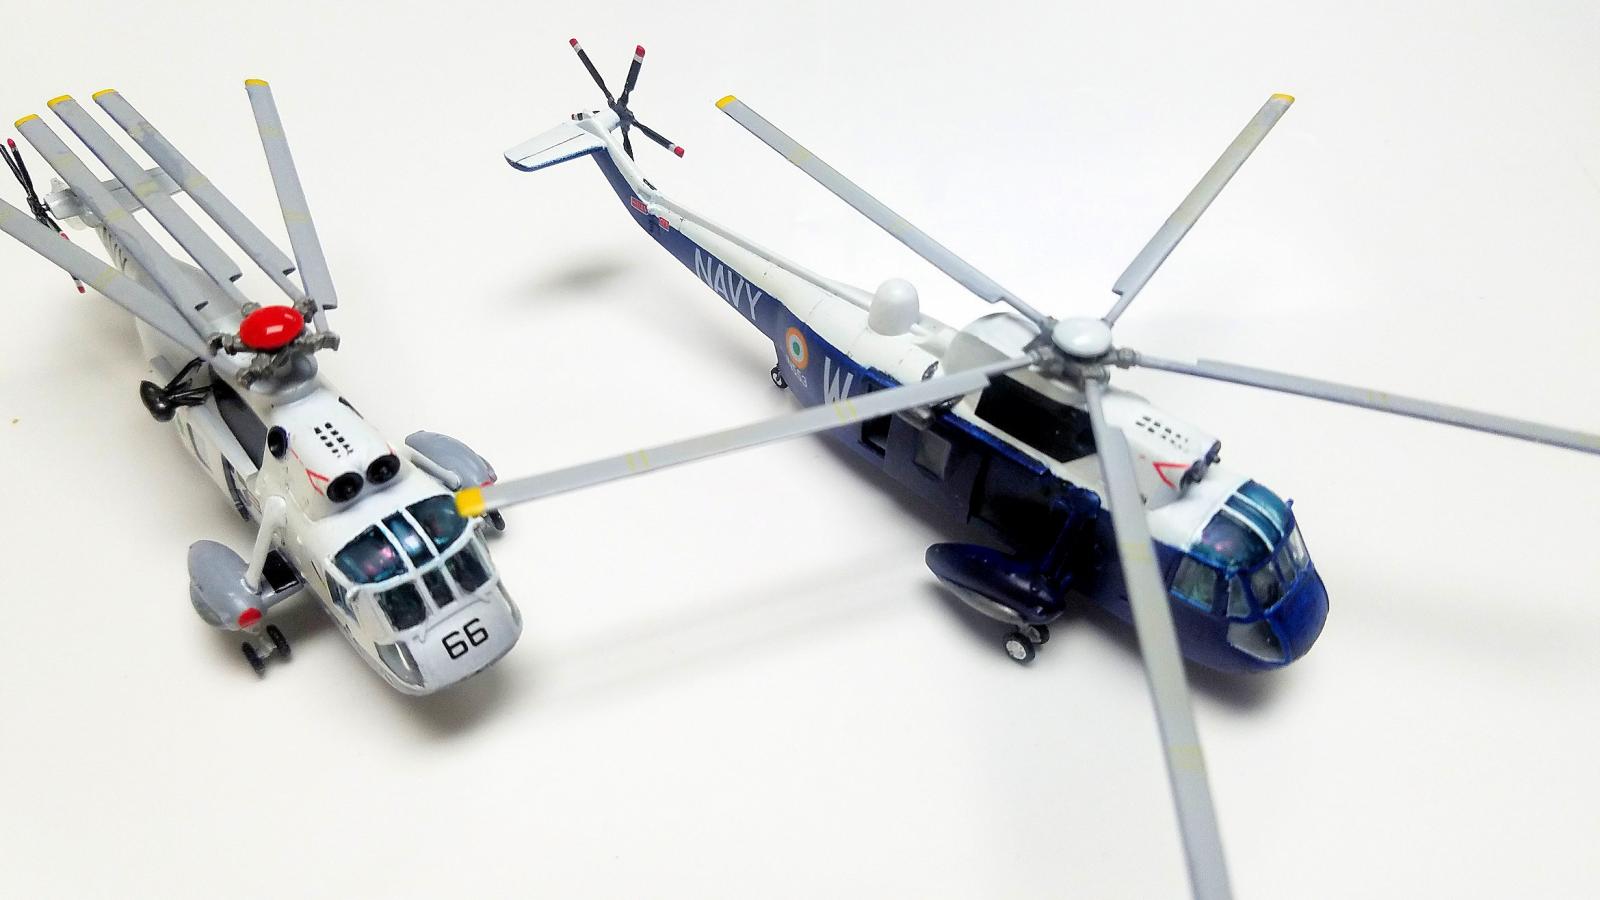
I elected to build the first two variants listed above, the HS-4 bird (“Old 66”) and the INS Mumbai variant. I mixed the Indian helicopter’s blue lower hull using various Acrylic Vallejo colors. I pre-painted the rotor blades light gray (upper surface) and black (lower side) and assembled them to the two different rotor hub assemblies. The stowed rotor assembly is finicky; make sure you pay careful attention to the orientation of the blade hinges that are added to the partial hub used for the stowed configuration. While I did that successfully, I managed to paint one set of blades upside down, which I fixed by installing the complete rotor assembly upside down rather than redoing all of the painting and masking. Once you install the rotor hub fairing, this isn’t noticeable.
It seems that each kit I build provides me with a new opportunity to mess things up. Let me tell you the tail rotor story. I painted each rotor flat black, and then realized that I failed to plan for the red/white/red warning stripes at the tip of each rotor. Rather than try to paint white over black, I decided to strip the black acrylic paint off and shoot a white base coat. I set both rotors in a bath of what I thought was water and Lysol. Instead, I absentmindedly used brush cleaner. I came back an hour later to find SH-3 tail rotors as imagined by Salvador Dali – they had melted into abstract, gummy lumps of plastic.
I tried to salvage the hub assemblies and scratch build new blades using airfoil strut material, and things went from bad to worse. Eventually I gave up and contacted Mr. Pei, who brings AFV samples into the US for the Reviewers’ Corps. Three days later I had a complete replacement kit in my hands – thank you, sir!
The only other part of the build that gave me fits was installing the main landing gear into the sponsons. I think the design is intended to provide a small attachment location on each side of the sponson where the trunnion assembly sits. For whatever reason, mine would not fit. I tried removing a small amount of the trunnion but apparently overshot, which meant that the gear assembly now wanted to fall completely into the sponson cavity. This led to one of those three-handed modeler moments; I finally overcame it with some 30-second, gap-filling CA adhesive. As with the tail rotor, I claim responsibility, but I suggest that you check the fit early in the build process and avoid my detour.
Once assembled, you have two petite helicopters to display. I spent about 25 hours at my usual reptilian pace, but a competent modeler who can read labels on solvent bottles will finish sooner. My thanks to AFV Club, to Captain Pei, and to IPMS/USA for the opportunity to build these kits.

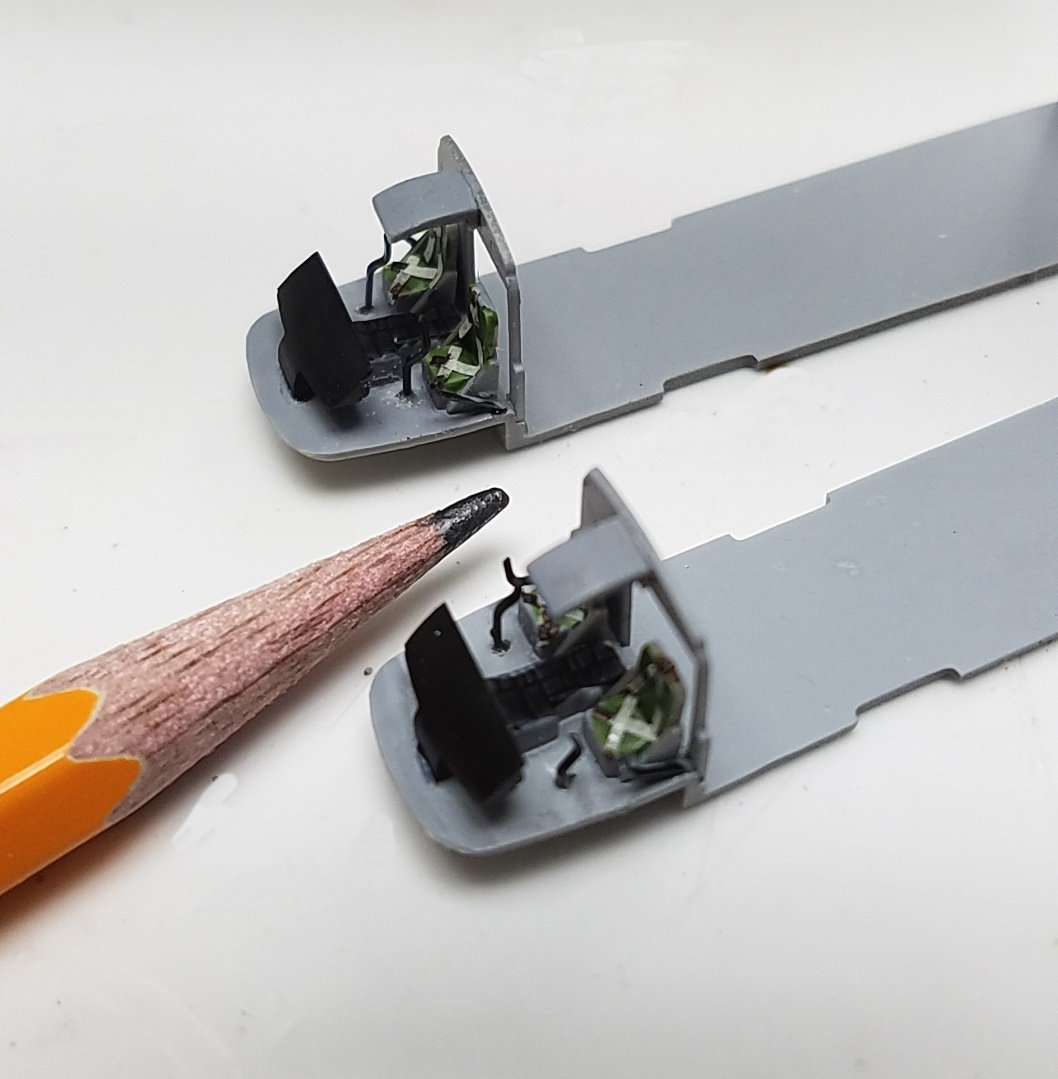
Cockpit Assemblies-Pencil Shown for Scale
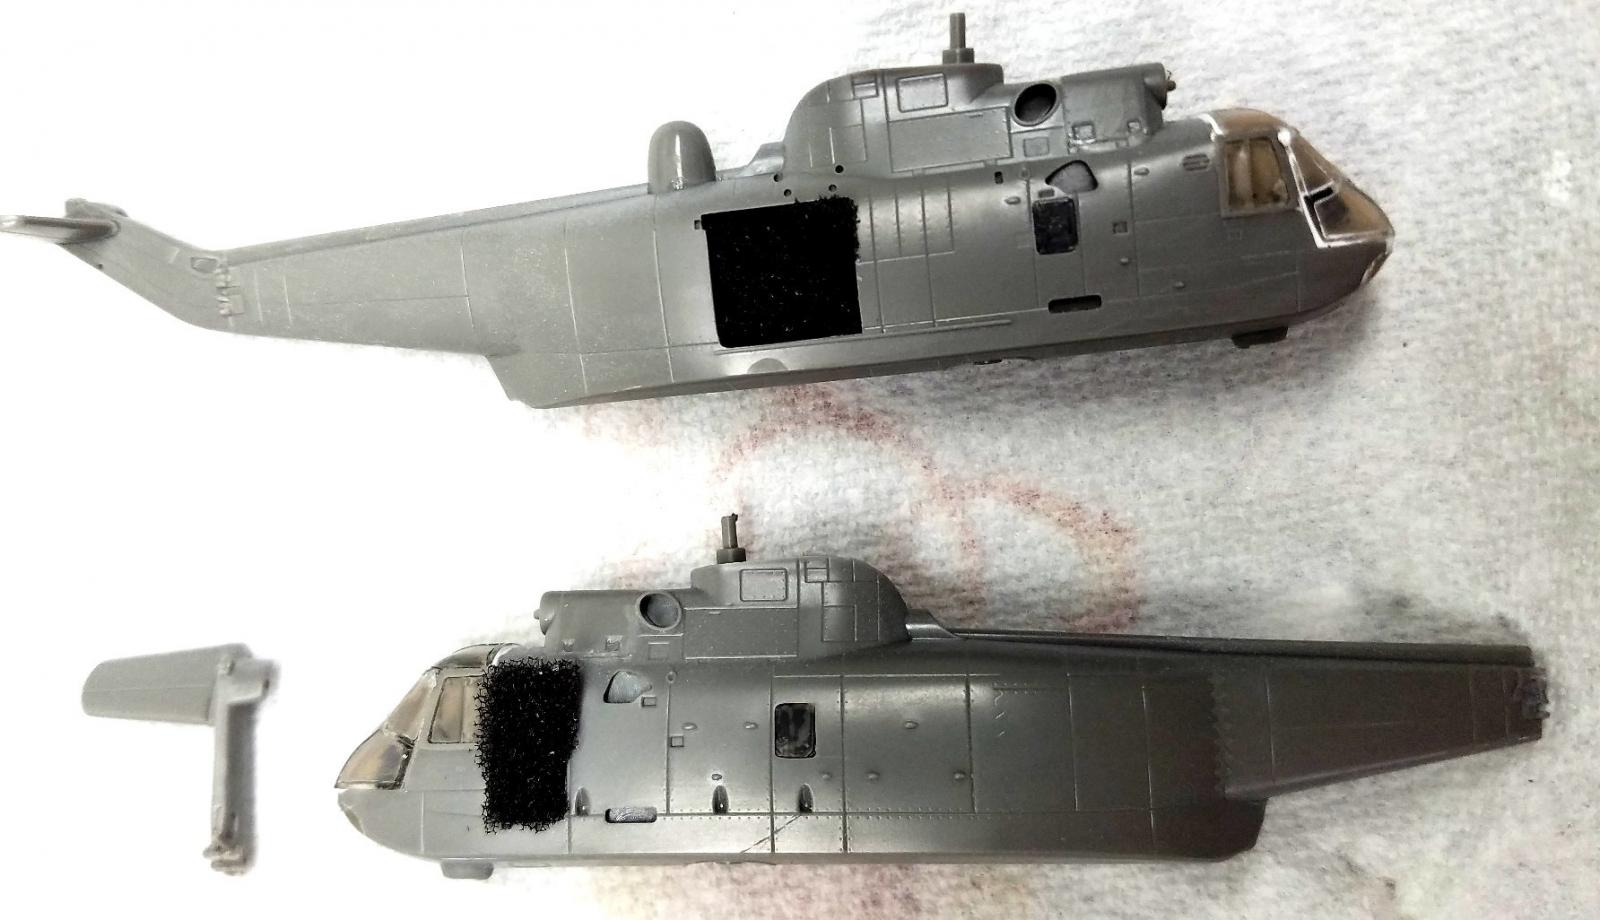
Fuselage Assembly- Note Filler at Canopy Joint and Tail Boom

Tinting Canopy Overhead with Food Coloring and Future
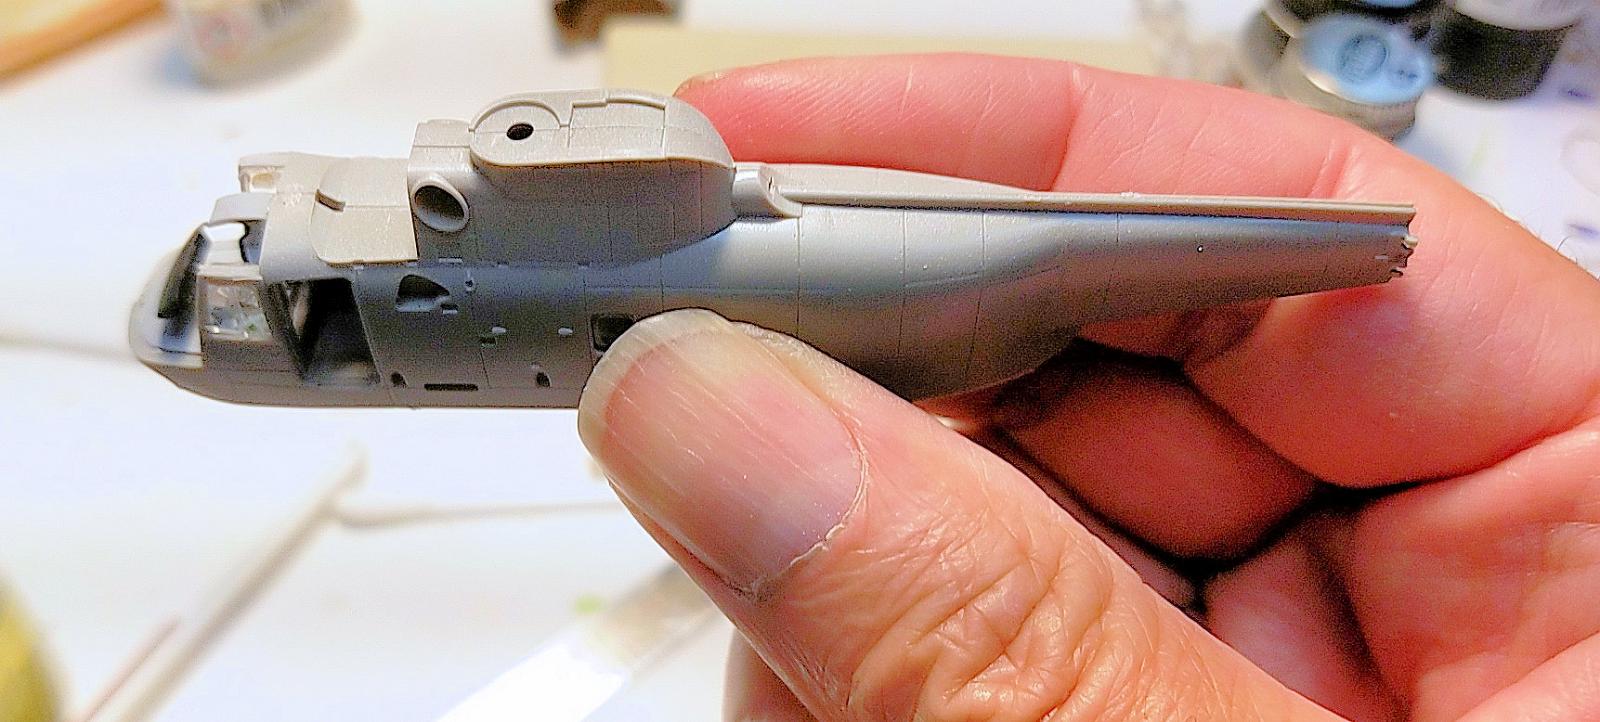
Fuselage Assembly
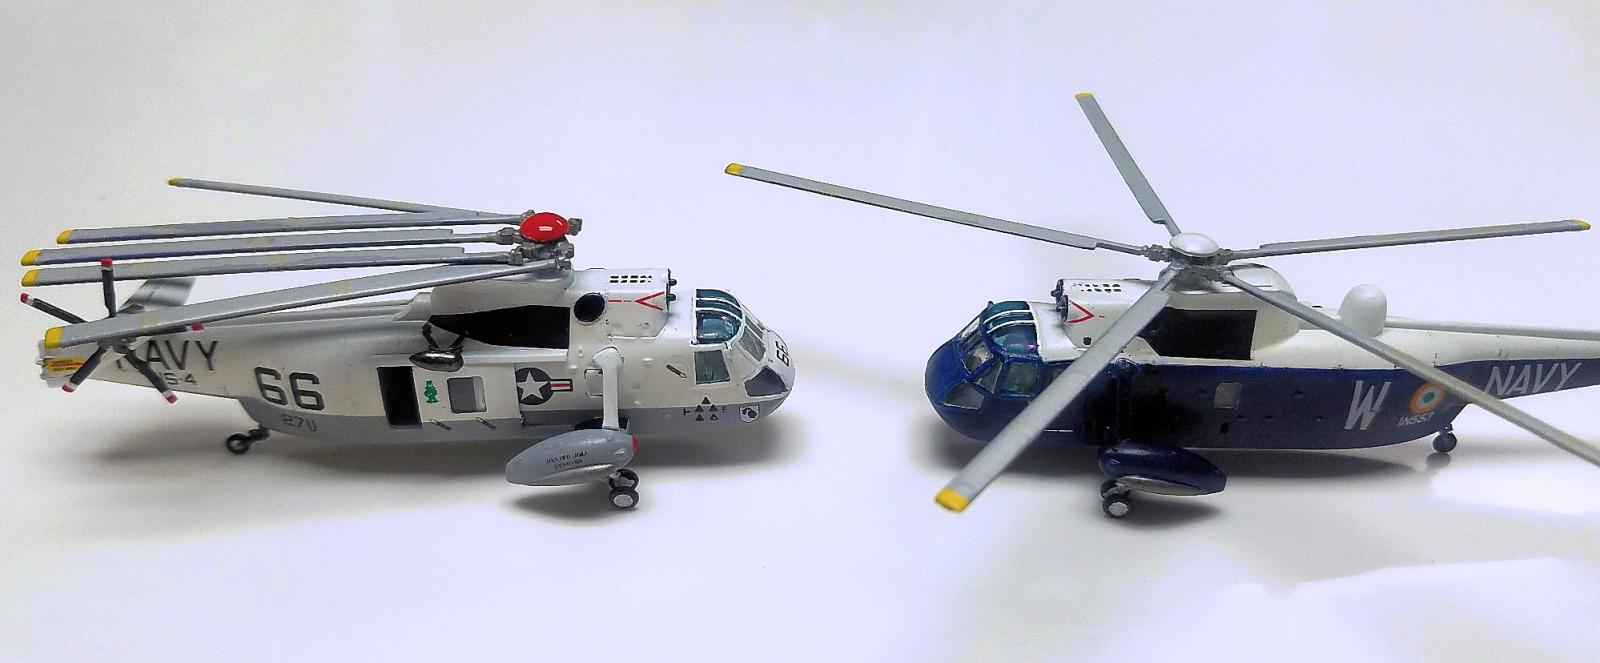
Side by Side INS vs. USN
Rear View of USN Sea King
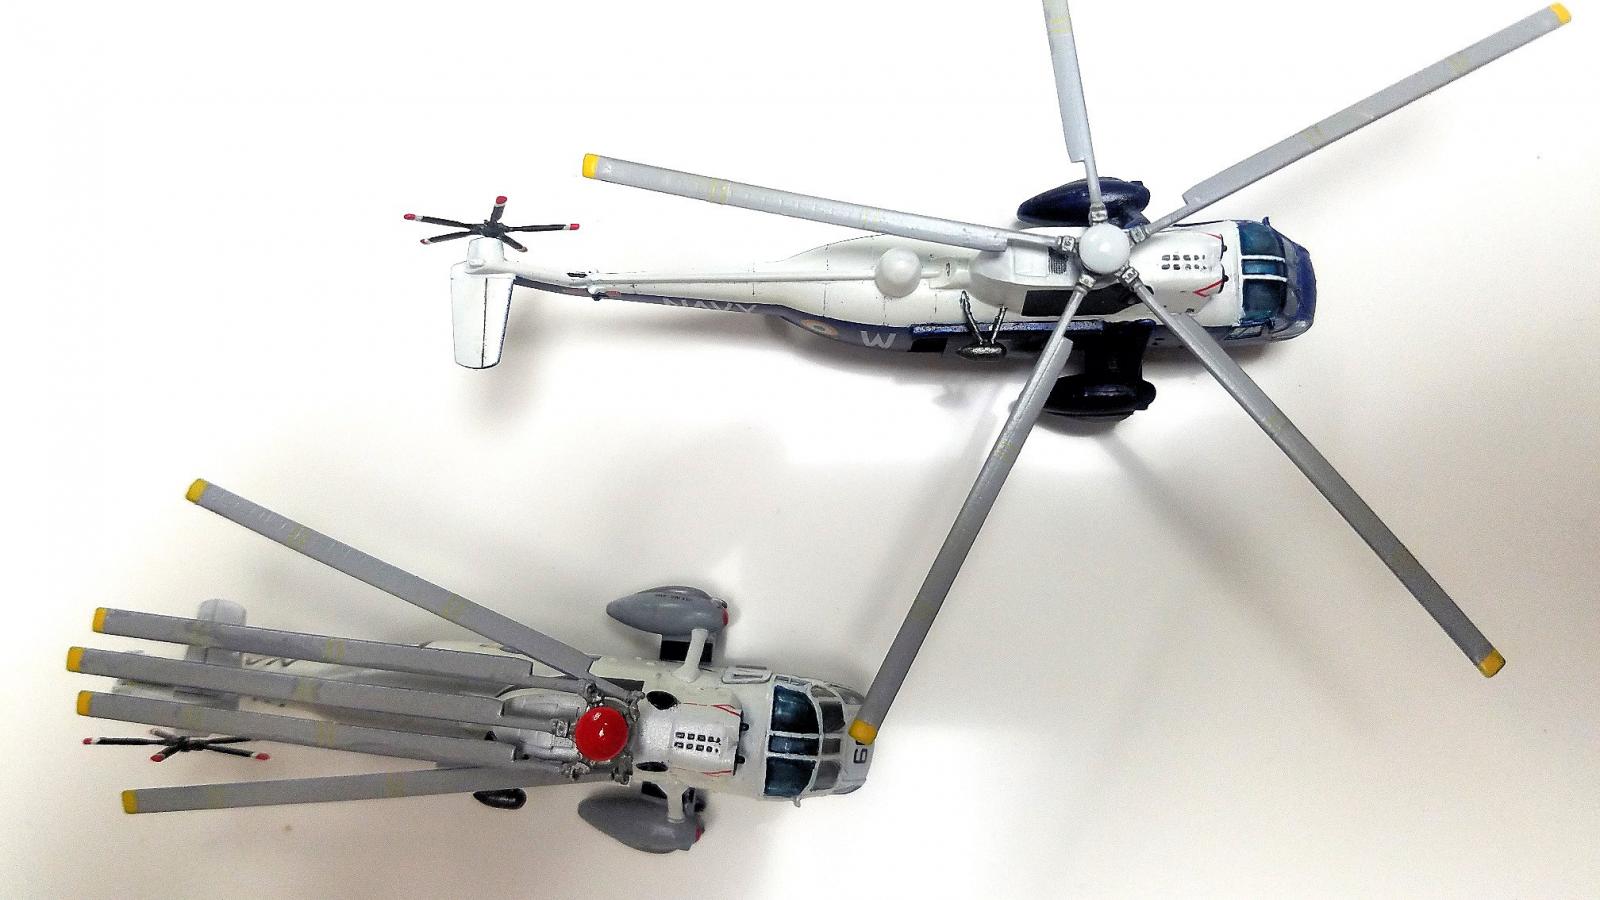
Overhead View
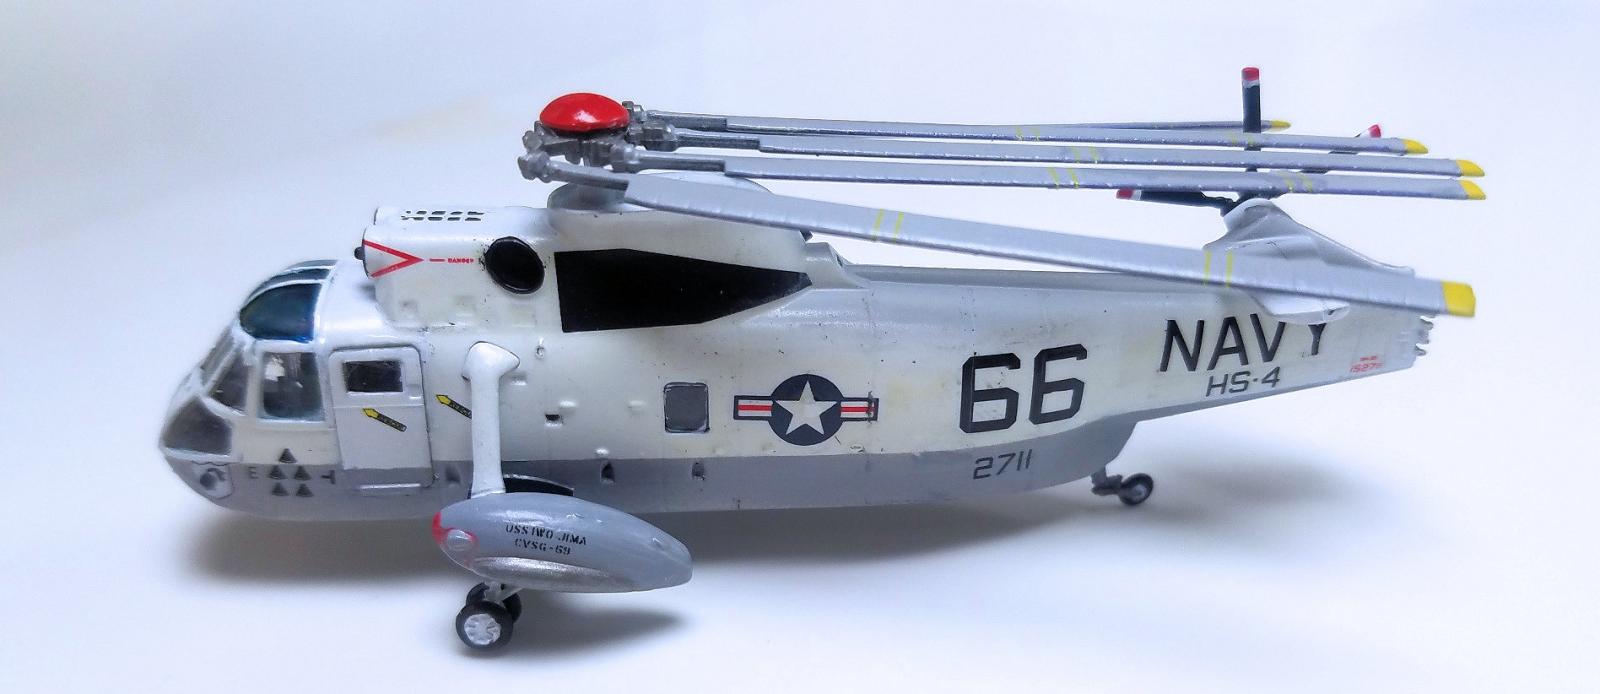
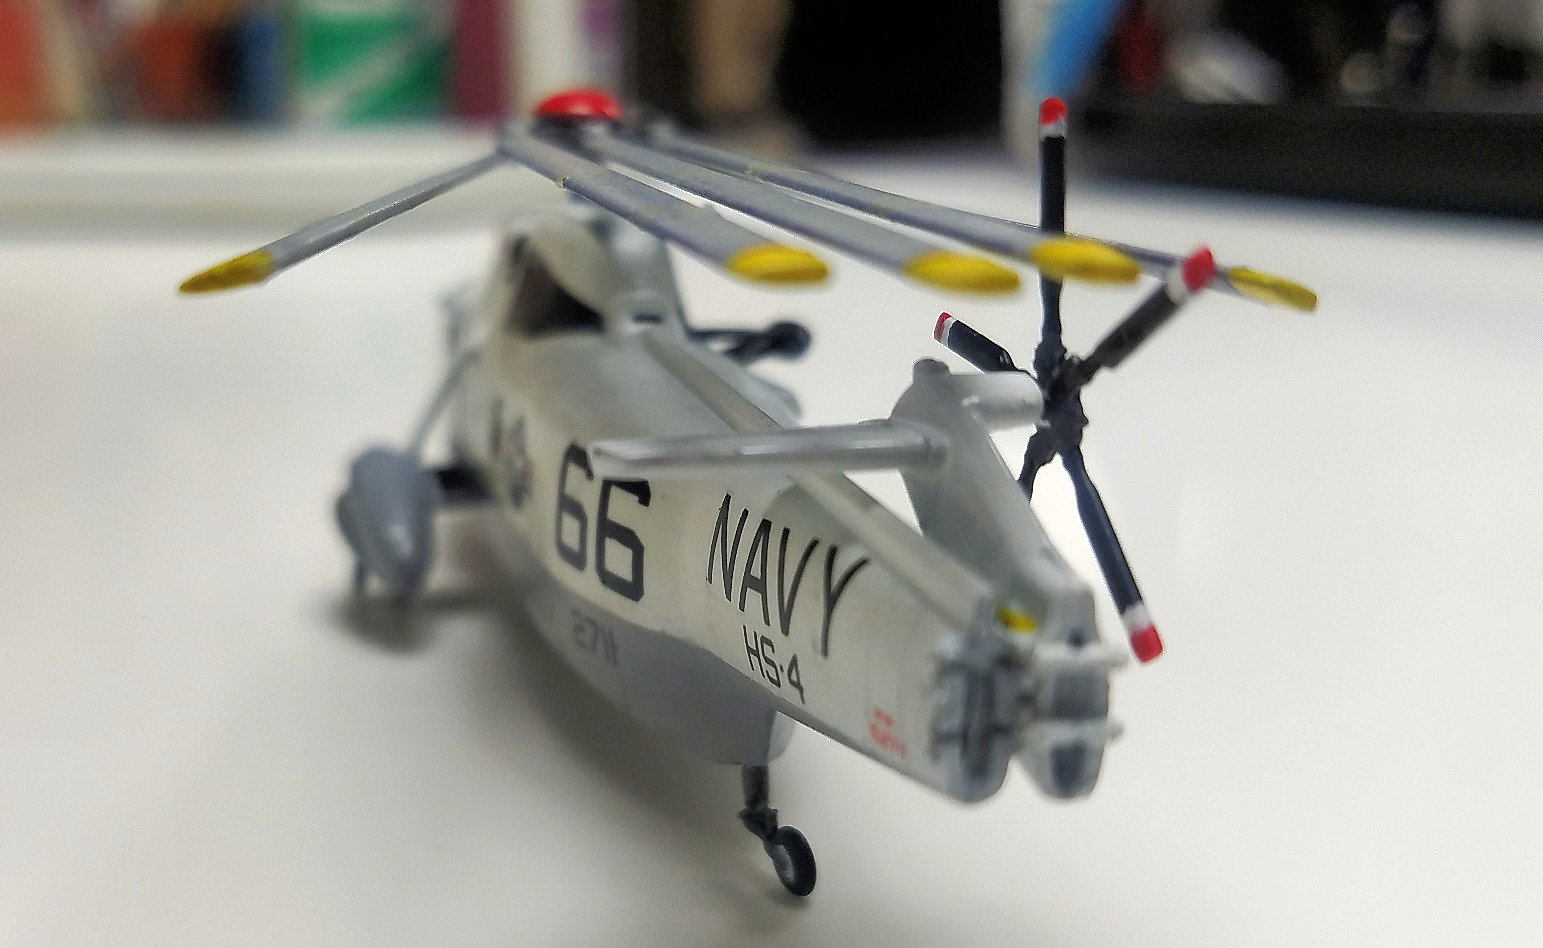
Old 66 Port Side
Nose to Nose
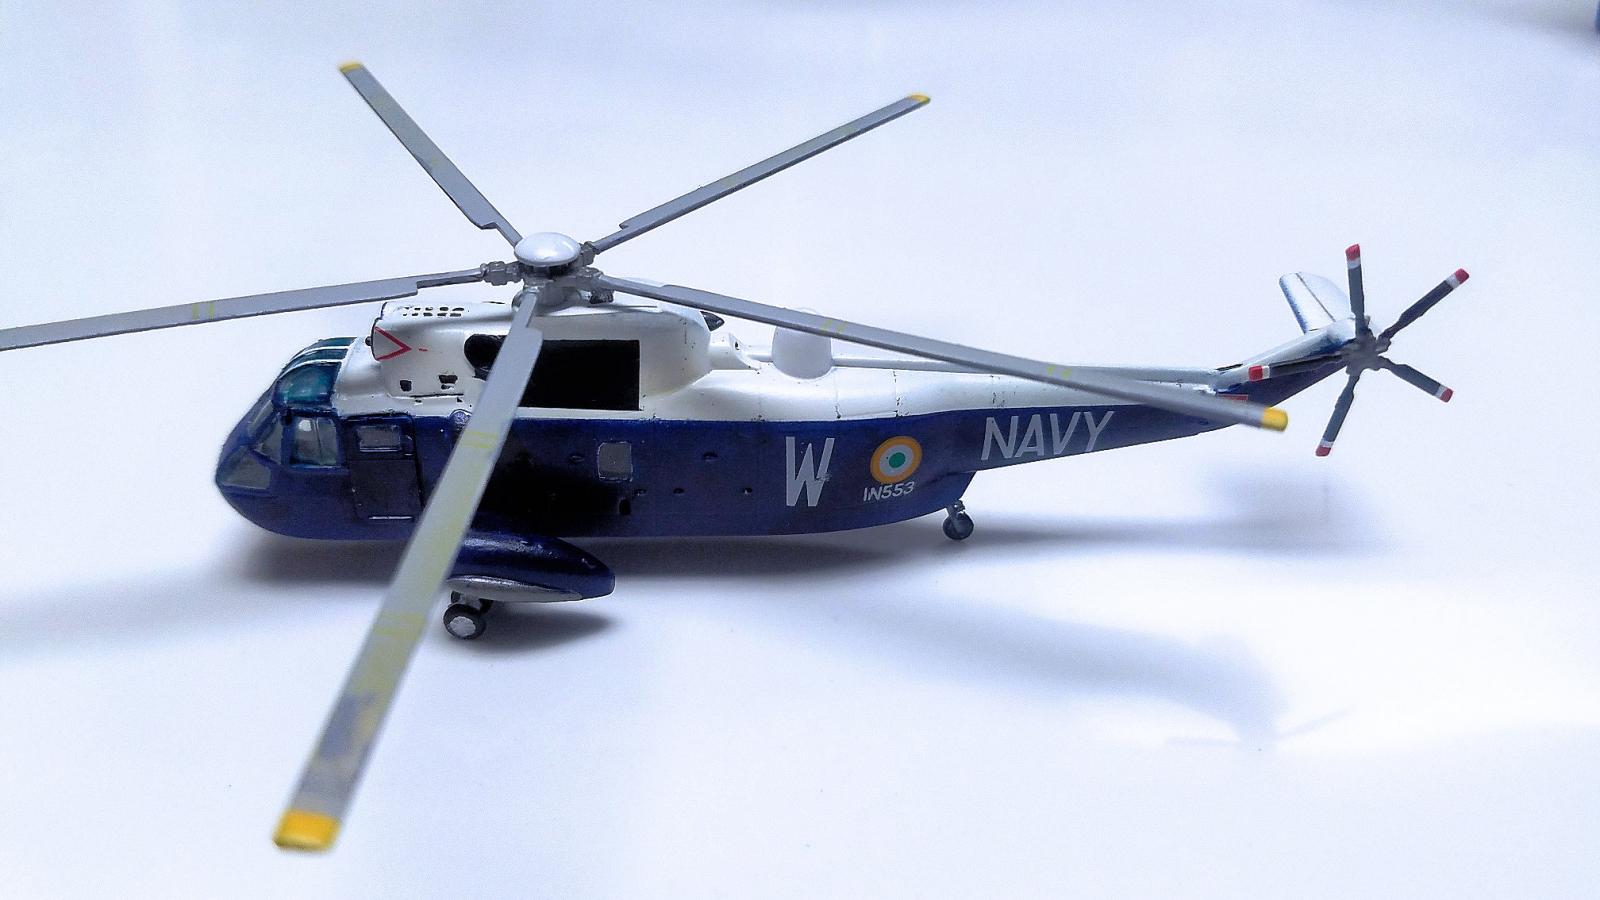
INS Sea King Port Side
Reviewer Bio
John Noack
Modeler since my Dad and I built Aurora biplane box scale kits at the kitchen table. Joined IPMS in the early 1980's and I've held a variety of leadership positions on the Board. I'm a retired VP of Aerospace Engineering, living in the Centerville (Dayton) OH area. I am a Docent at the USAF Museum, a musician in several bands, member of IPMS/WFSM, and a widower.
My tastes are eclectic. When I build aircraft it's usually in 1/72, but I also dabble in submarines, autos, and scratchbuilt Steampunk vehicles.
Comments
Add new comment
This site is protected by reCAPTCHA and the Google Privacy Policy and Terms of Service apply.
Similar Reviews