
Sexton II with CDP Tracks (Canadian Dry Pin Tracks) – Smart Kit
First off, I’d like to apologize to Dragon USA and IPMS for the extended delay in getting this kit review completed. My sincerest apologies go out to both.
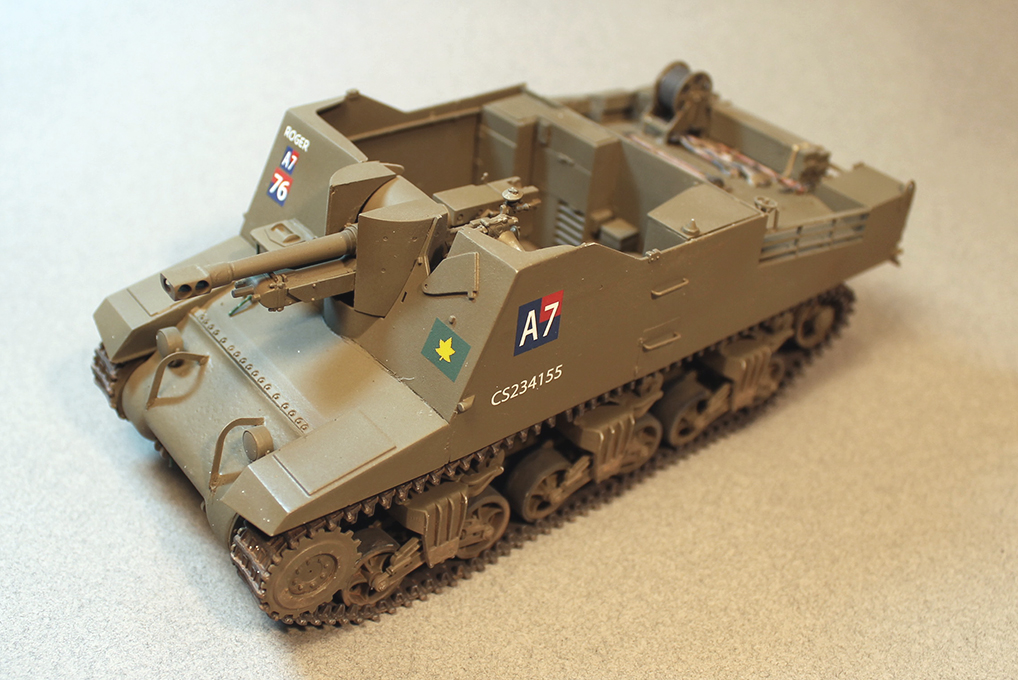
The Sexton II was a British SPG, based on the Grizzly tank hull and carrying the 25 pounder artillery gun. It was produced in Canada by Montreal Locomotive Works from 1943-1945.
The Kit and Construction
The Dragon kit is a very nicely detailed replica of this SPG, with many small extras that lend greatly to the end product. One very nice features of this kit is that there are many, many extra parts leftover once the Sexton II itself is completed. These would be great for the diorama builder or to throw on this and other vehicles.
When you first open the box, the number of sprue is a little surprising. There are 11 plastic trees and one PE fret, as well as the main hull. You’ll also notice that there are multiple trees marked “B” (2 of them) and multiple “C” (3 of them). These are differentiated on the instruction sheet as “B” in blue type and “B” in black type and for the “C’s”, there one “C” in Blue, one “C” in black and one “c” in lower case. This does lends itself to some confusion when searching for parts. As usual, the Dragon instructions illustrate the sprue layouts and designate the unused parts with a blue highlight.
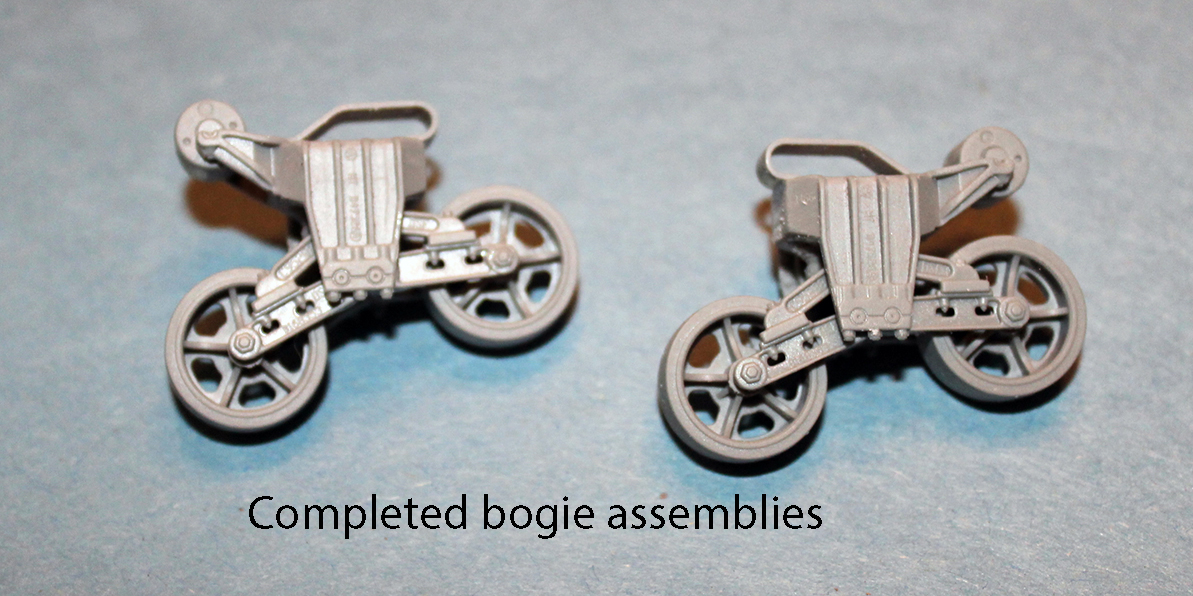
The first few steps (1-6) have you building up the bogies (lots of parts for each unit; 11, to be exact), the lower hull (interior and some exterior) and installing the completed bogie assemblies onto the hull. There’s also a 1:1 drawing to show the proper placement and angles of the PE headlight “bash bars”. You’ll need to measure out locations and drill some locating holes for the headlights though, as none are provided. So far, so good. The next steps add the rest of the interior, sans the gun itself, though the trellis for the gun is installed, along with shell lockers, radio housing and other bits.
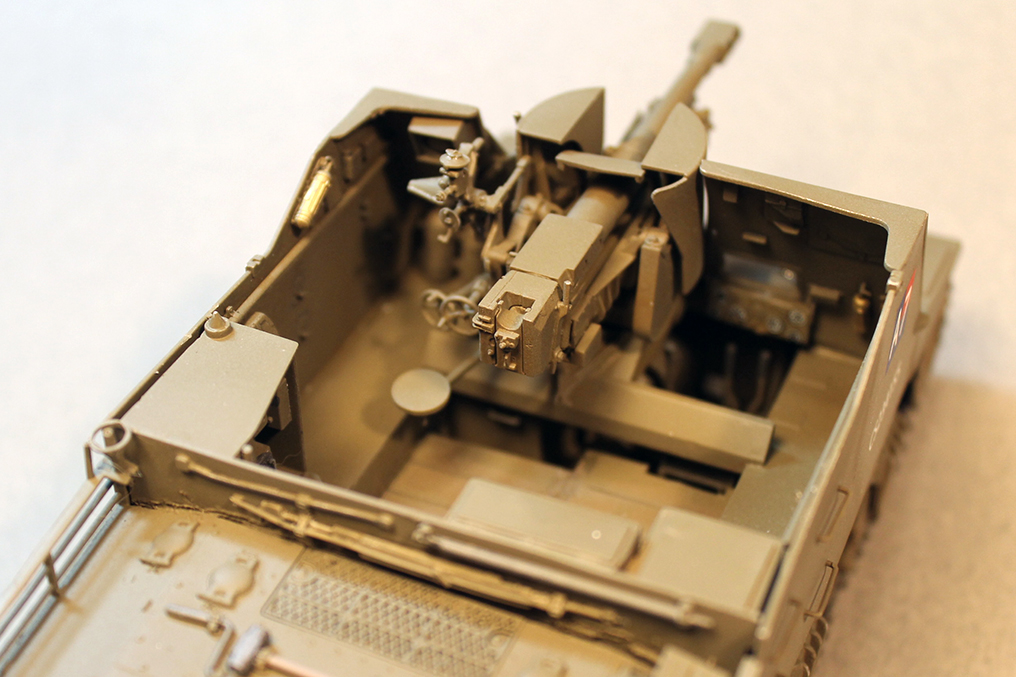
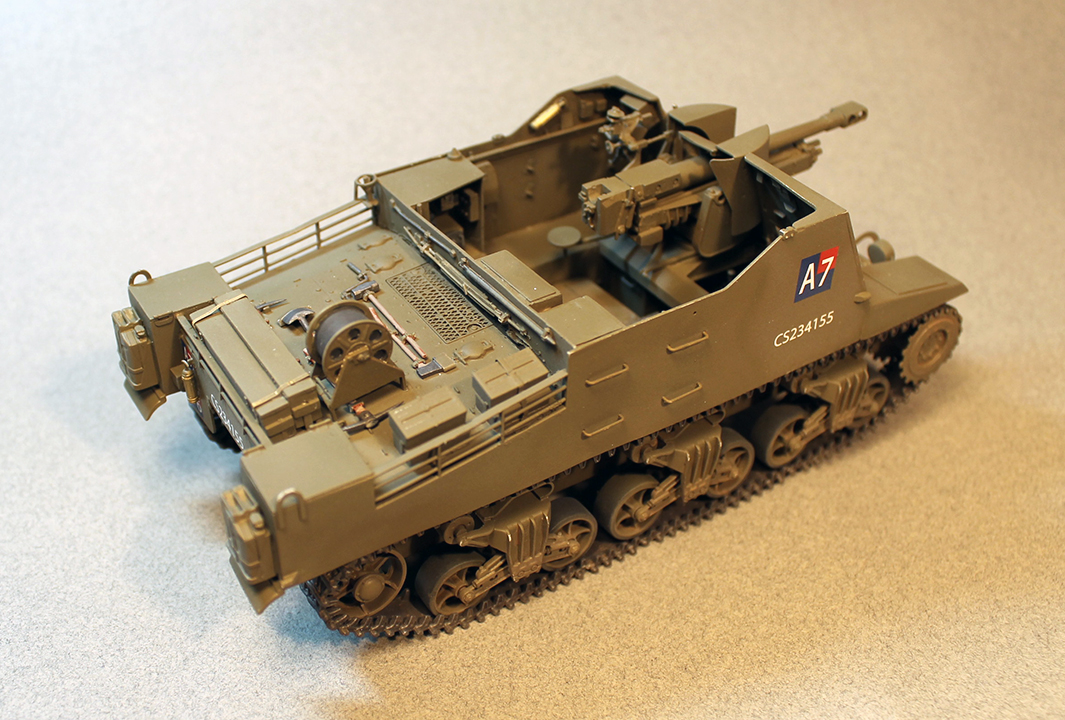
The gun (the 25 pounder) is a small kit unto itself. It goes together relatively well with the exception of the sighting mechanism. The instructions are somewhat vague on placement and the pictures unclear as to the orientation of several parts. It wasn’t until late in the build, when the completed gun assembly was installed, that I realized I had gotten it wrong. Fortunately I was able to work the glue joins apart, with minimal damage, and reassemble it correctly. The small contact patch for gluing warranted adding a small piece of brass rod as additional support.
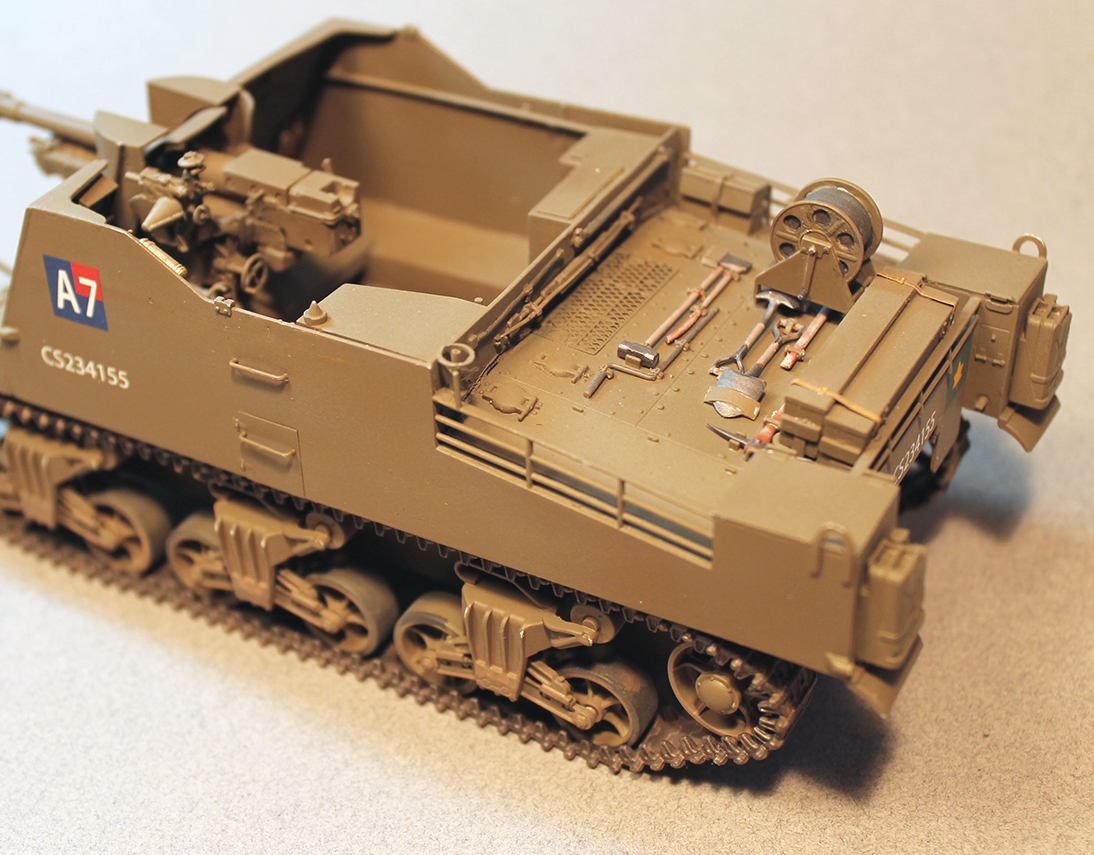
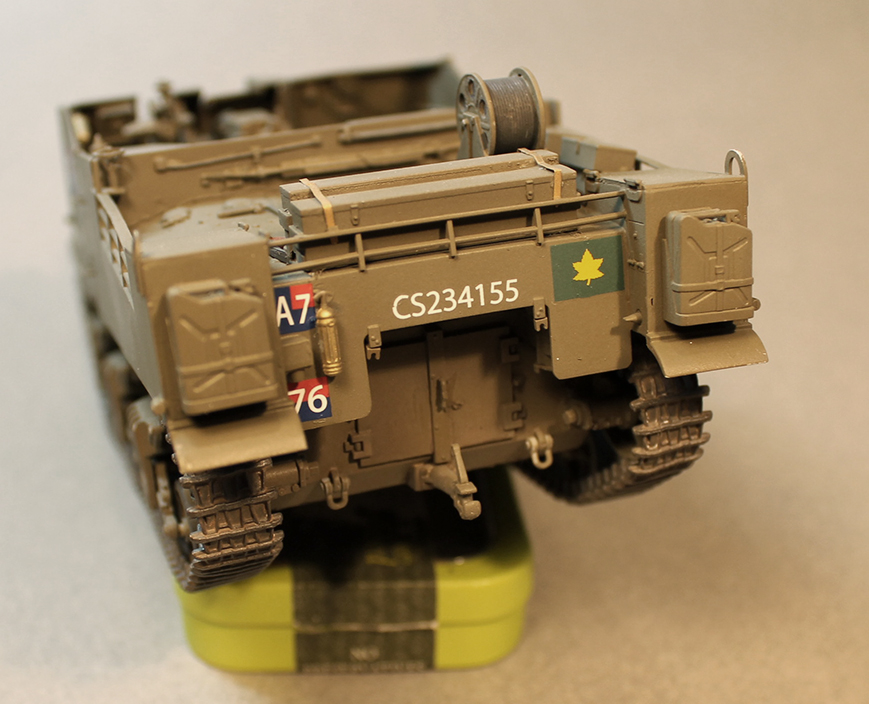
The tools included with the kit (added in step #11) are very nicely molded and look great with some paint and weathering. Unfortunately there are no tow cables or even cable ends in the kit, though this is visibly prominent in almost all of the reference photos that I found.
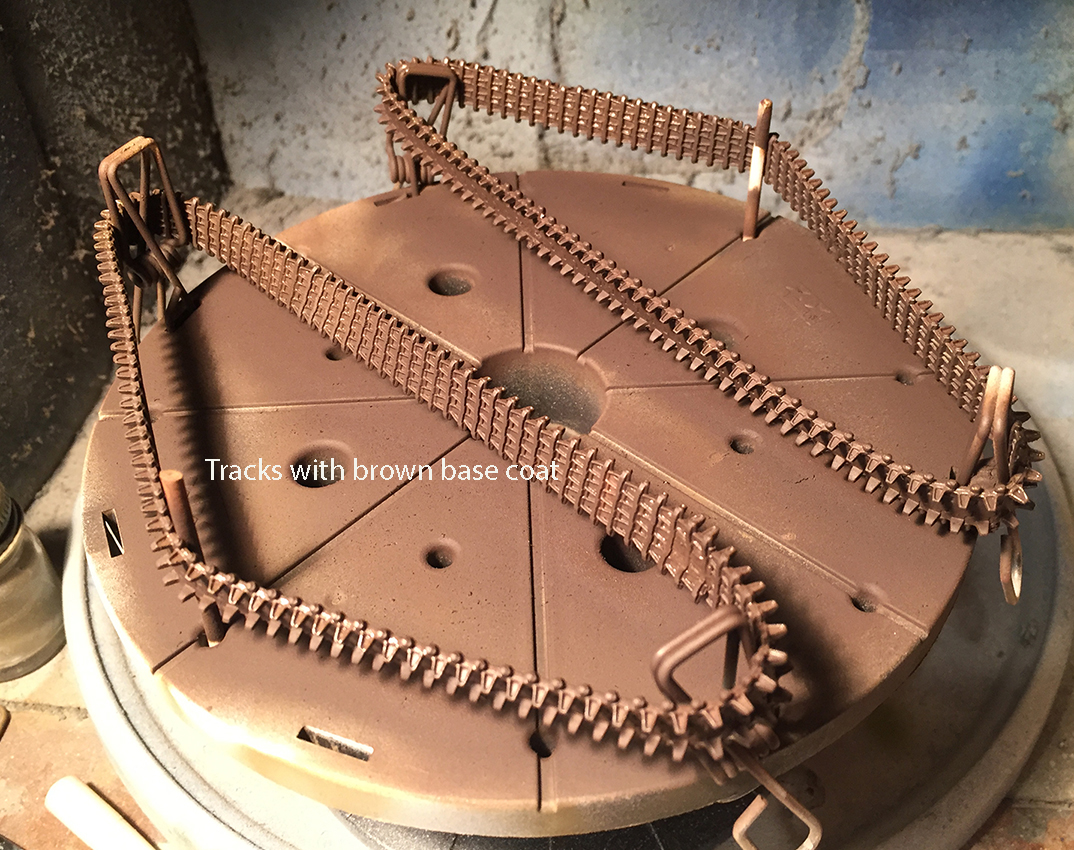
The ends of each piece of track, supplied as 4 two piece sections, were glued together with Tenax-7 and bonded very nicely after some dry time and a little clamping pressure. The detailing is quite good and they lay down nicely on the drive wheels. These were painted with acrylics, which had no paint adhesion or drying issues (I’d used enamels on this type of track before and the paint never really dried completely).
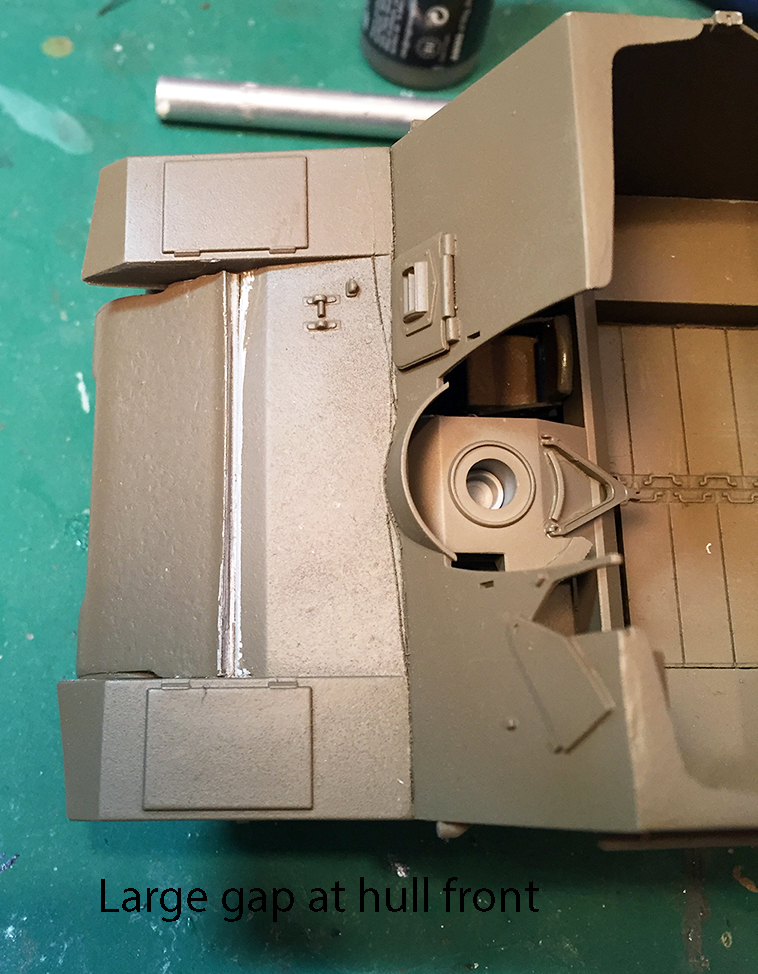
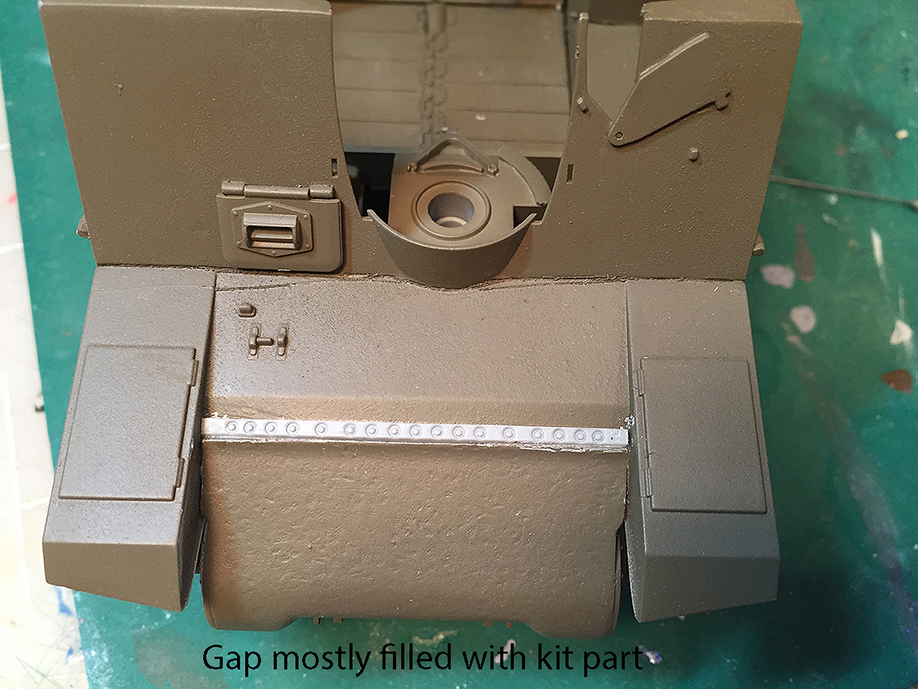
For me, the problems really started with steps 12-18. These steps include mounting the fighting compartment sides, back end and front. This is where I struggled for a long time, trying to get all of the pieces to fit as they appeared they should, but just wouldn’t. I disassembled and reassembled the various floor sections, side parts and front section multiple times and each time came up with something out of place and the parts not seating correctly. Ultimately, with scrapers, x-acto blades, sanding sticks and lots of clamps (see photos), I was able to get things to stay in place in a reasonable fashion, though there were still several large gaps and alignment issues even after all of the additional work. After some internet research, I found that this family of kits (Sextons) does suffer from fit and alignment issues, based on several other build reviews. I would recommend spending some time looking up and reviewing these articles to help mitigate the fit challenges.
I chose to finish the Sexton II in a faded OD scheme as opposed to the RLM 82 Light Green that the instructions define (didn’t match any color references that I could find). I used AMMO of Mig paints (further review to be published on these paints soon), with the kit markings for the 23 Field Regiment (SP) RCA 4, Canadian Armoured Division, NWE 1945. I sprayed some Testors Metallizer sealer as my pre-decal gloss coat as this dries very quickly (started decaling about an hour after spraying). The decals conformed nicely, using Mr. Mark Softer setting solution and warm water. There was then some minimal weather applied prior to shooting the pictures.
Conclusions
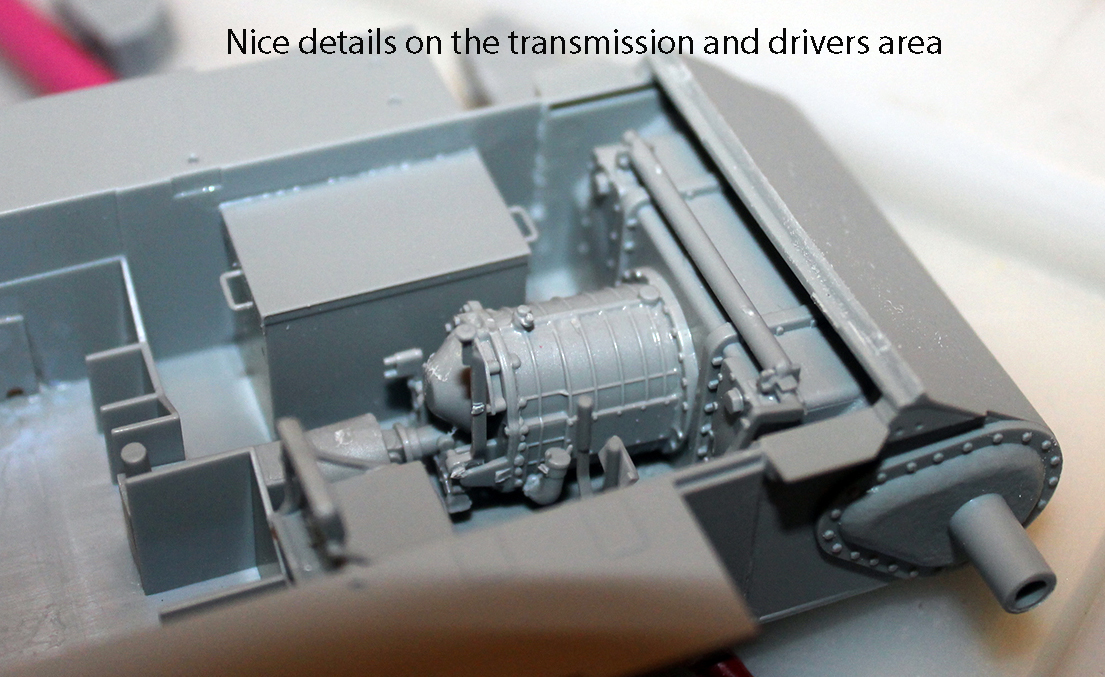
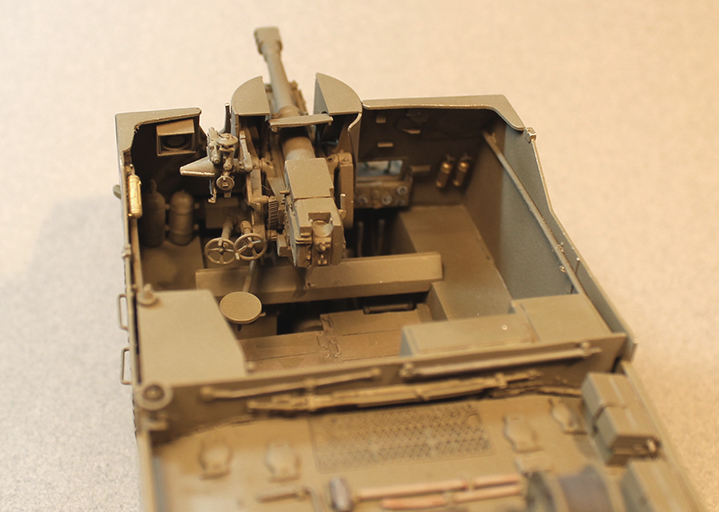
This kit was one of the more difficult kits that I’ve assembled and would only recommend it to an intermediate to advanced level builder. For me, the instructions had many vague placement drawings and could have used additional detail color information. Once completed, the details show nicely and the open fighting compartment is ready for additional detailing and accessories (no shells or small arms are included in the kit).
Thanks to Dragon USA and IPMS USA for the opportunity to build this kit.


Comments
Add new comment
This site is protected by reCAPTCHA and the Google Privacy Policy and Terms of Service apply.
Similar Reviews