
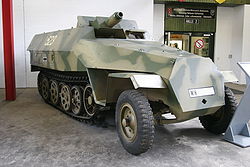
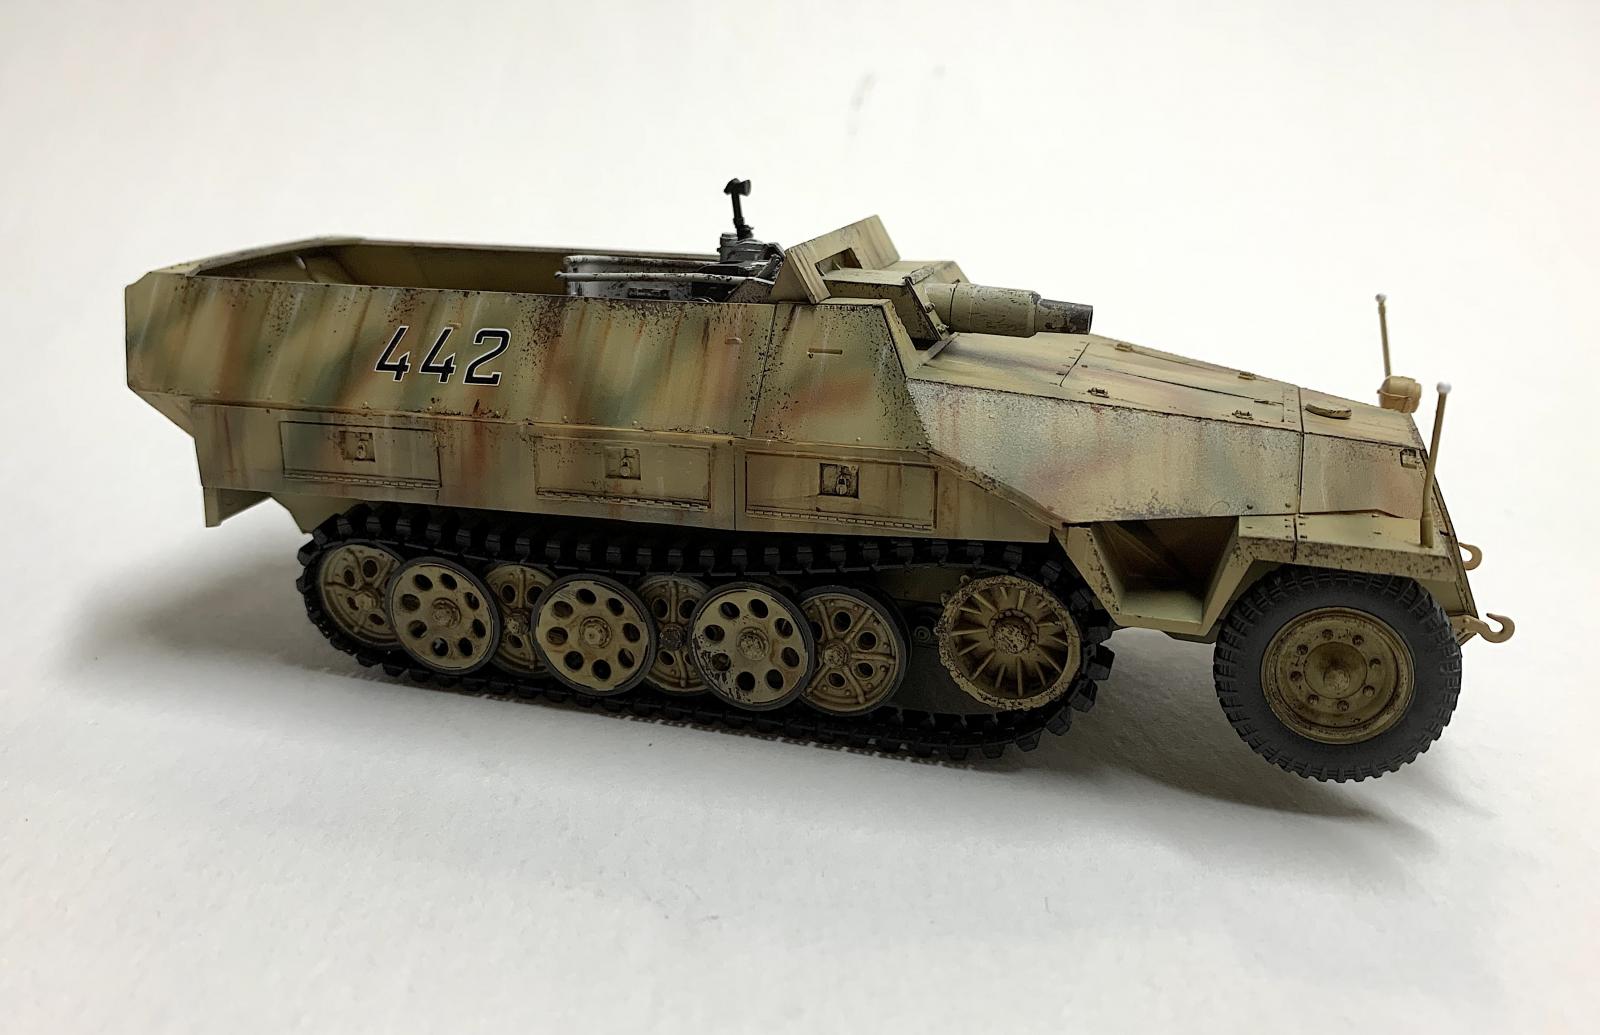
Sd.Kfz.251/9 Ausf D (Early)
Brief History from Wikipedia
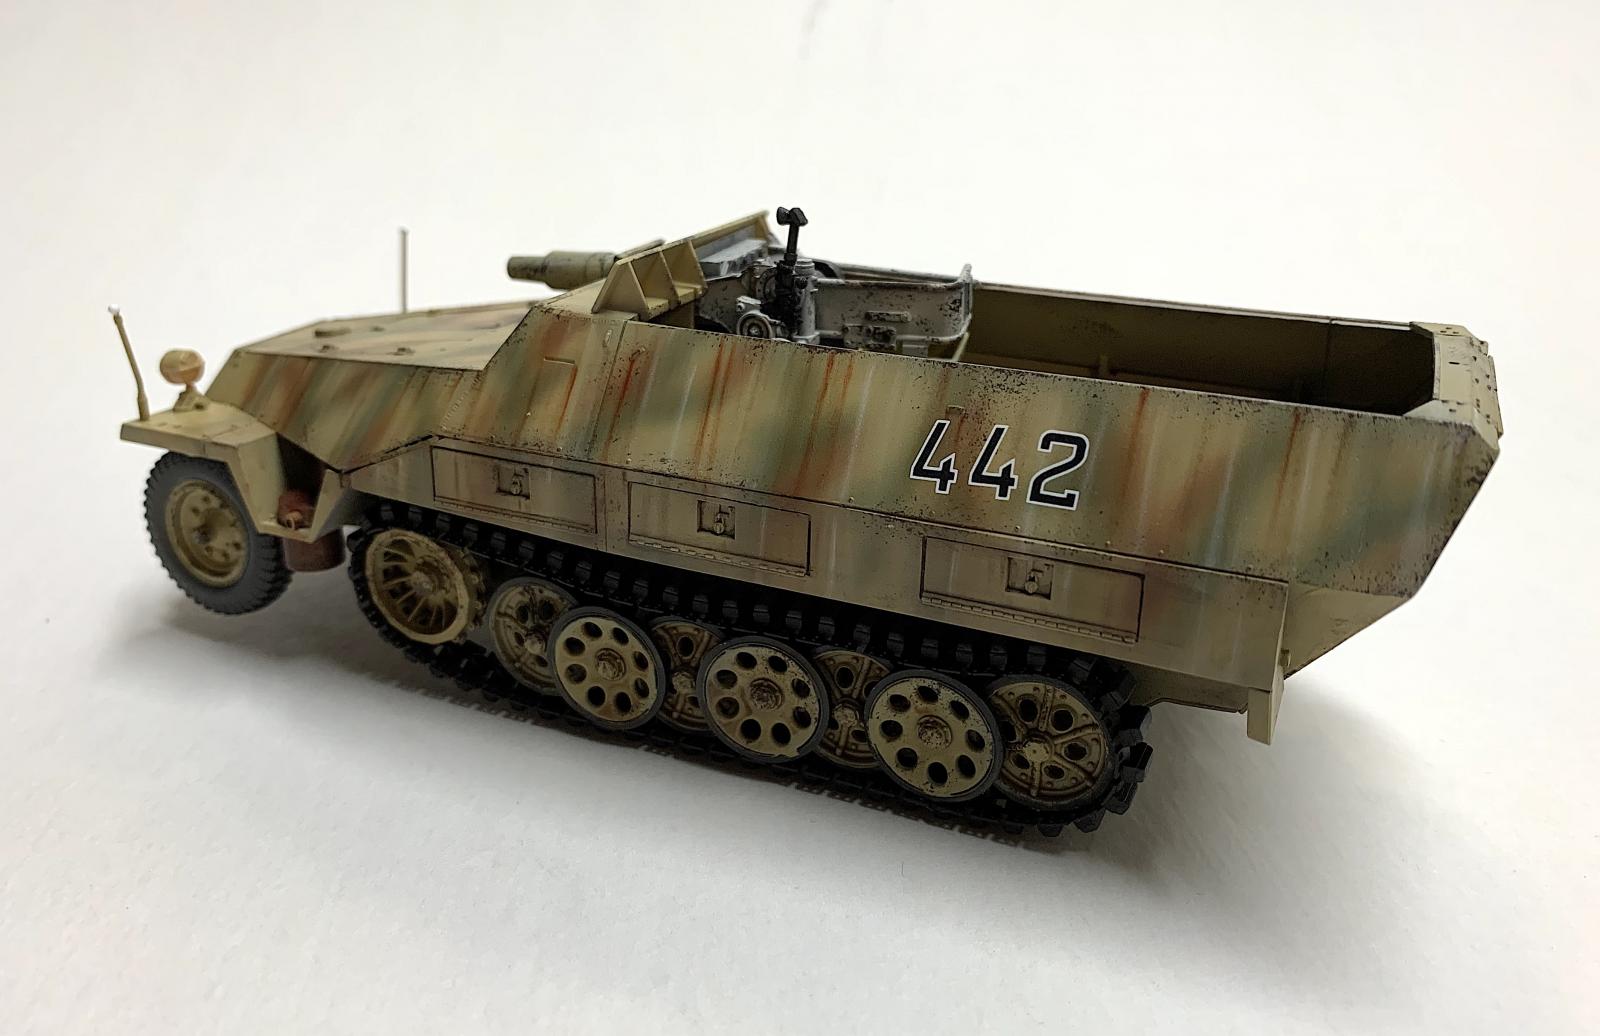
The Sd.Kfz. 251 halftrack was a World War I German armored fighting vehicle designed by the Hanamag company, based on its earlier unarmored Sd. Kfz 11 vehicle. The Sd.Kfz. 251 was designed to transport the Panzergrenadier (German mechanized infantry) into battle. Sd.Kfz. 251s were the most widely produced German halftracks of the war, with at least 15,252 vehicles and variants produced by seven manufacturers. Some sources state that the Sd.Kfz. 251 was commonly referred to simply as "Hanomags" by both German and Allied soldiers after the manufacturer of the vehicle; this has been questioned, and may have been only a postwar label. German officers referred to them as SPW (Schützenpanzerwagen, or armored infantry vehicle) in their daily orders and memoirs.
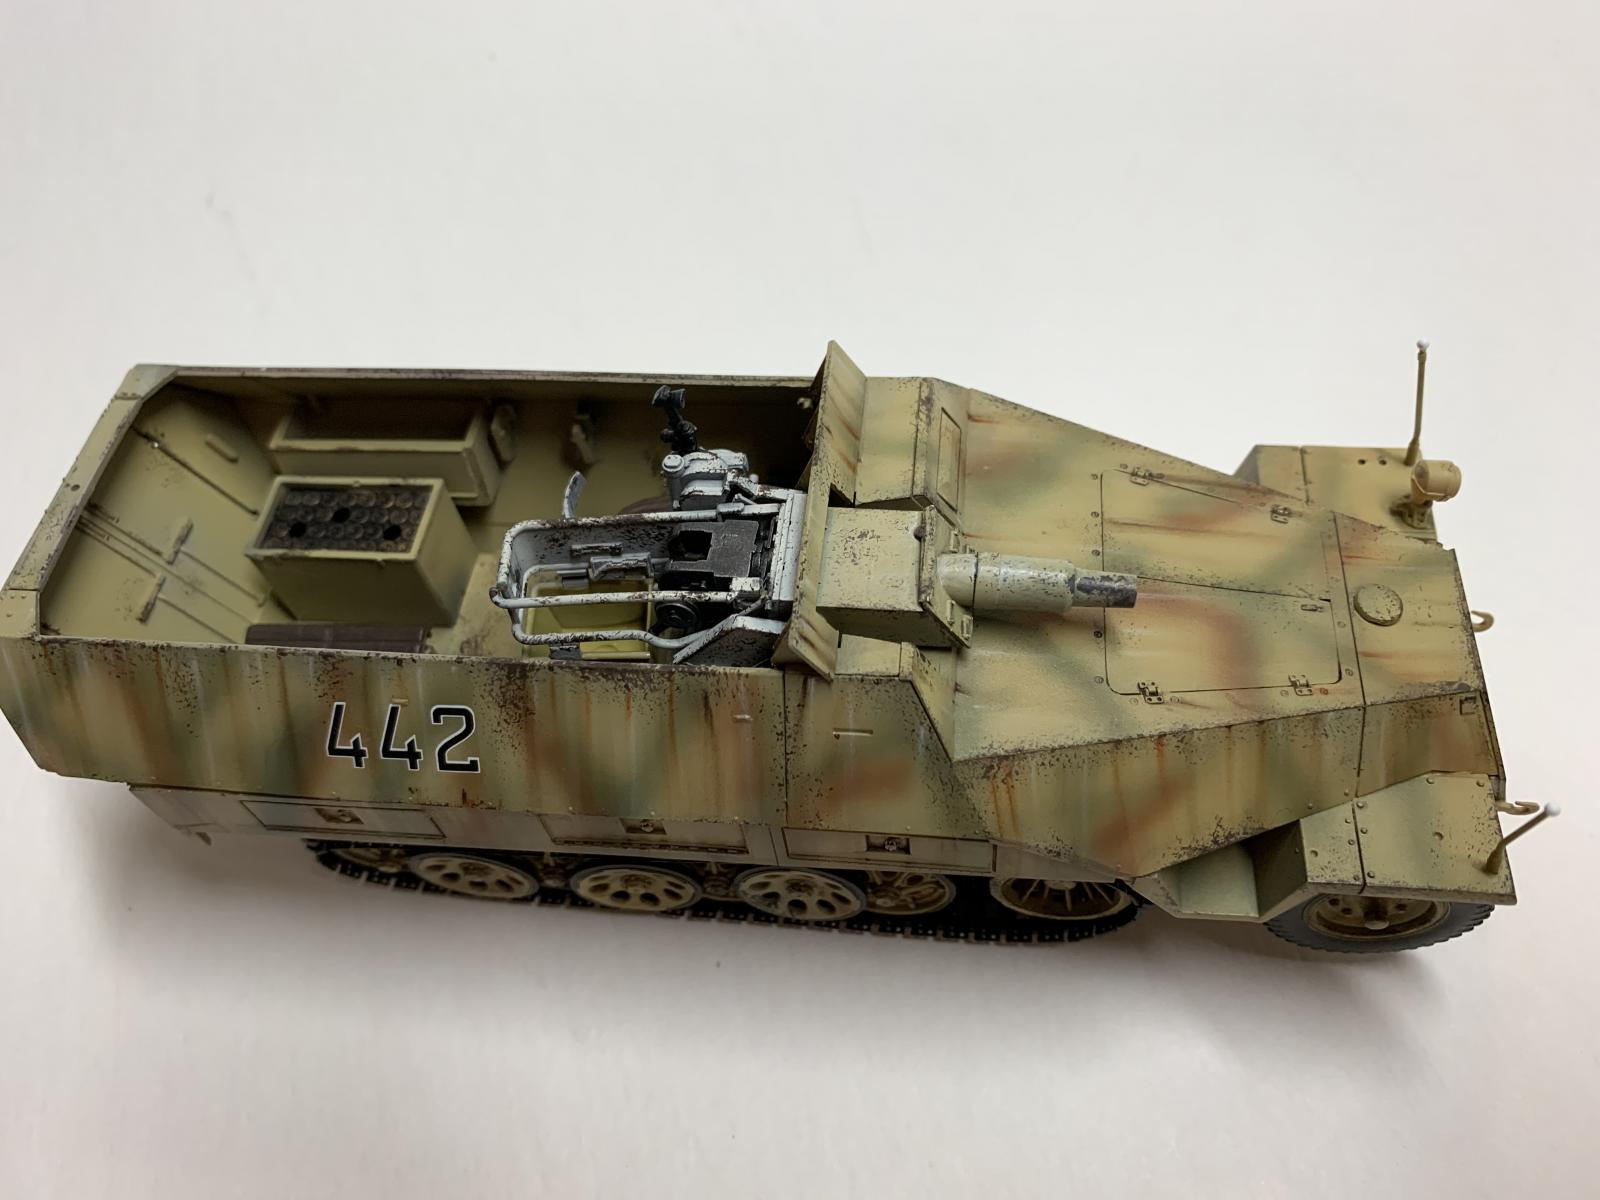
Sd.Kfz. 251/9 - Schützenpanzerwagen (7.5 cm KwK37). Equipped with a 75 mm L/24 low velocity gun, using the same pedestal gun mount employed on the Stug IIII. Nicknamed "Stummel" ("stump"). In 1944, a revised modular gun mount was introduced to facilitate production that also incorporated a coaxial MG42. This universal gun mount was also used to create the Sd.Kfz. 250/8 variant and the Sd.Kfz.234/3.
The Kit and What is in the Box
There are eight plastic bags containing ten plastic sprues in three different colors. a spun aluminum gun barrel, a small PE fret, and a pair of vinyl tracks. A small decal sheet is also provided.
Also included is a nominal 8" by 12" color box art picture suitable for framing or just tacking to the wall for color and front end detailing reference.
The Instructions
The instructions are provided in a 16-page, glossy paper booklet. The cover page includes small box art image and a brief history of the vehicle. Page 2 has a color list noting six paint choices from four different manufacturers. The bottom of the page has illustration for four options of workable track available from AFV Club.
Construction is detailed from page 3 through page 12 in 25 steps. Each step is shown in exploded views and several smaller views with part numbers noted, and paint colors sometimes noted. The parts list is shown on page 13 with instructions noted for obtaining replacement parts. The tiny gun barrel was included in the plastic bag with sprue "DD".
The last three pages show in color four camouflage schemes for this vehicle. Reading the instructions and planning the painting sequence is important to complete the assembly.
Construction
Open top military vehicles often present some real challenges when it comes to painting and this kit is no exception. I painted the various subassemblies in a progressive manner for this build/review.
Lower Hull
In the second part of Step 1 the two hull sides are fitted to the lower chassis. Each hull side has three tabs that fit into slots in the chassis. Either some of the slots were too small or the tabs too large. I enlarged the holes slightly to accommodate the tabs and things began to fit in place, but it was still a bit tight. Same for the rear axle; the forward openings needed to be enlarged slightly before the axle would fit in place. Once the solvent was applied at the tabs, I used finger pressure to force the parts together and felt movement as the tabs slid into place. Any misfit here would reflect into future assembly.
Step 2 addresses the drive sprocket that consists of an inner and exterior sides. The parts have full circular teeth on each half that intermesh on the inside of the mating surfaces. Here too we have another tight fit. Using finger pressure I compressed the parts, applied the solvent all the way around, and applied more pressure until the parts compressed and the teeth on both side fit together.
In Step 9 several items are fitted to the angled wall on the left side. Raised lines are provided to locate the various items, however there are more outlines than equipment to be mounted. I used a microchisel to eliminate all the lines and just winged the locations when fixing the parts in place. When mounted the two interior side storage bins there were no raised locators to help in placement.
The lower hull crew compartment was primed and painted at this point in the assembly.
Upper Hull
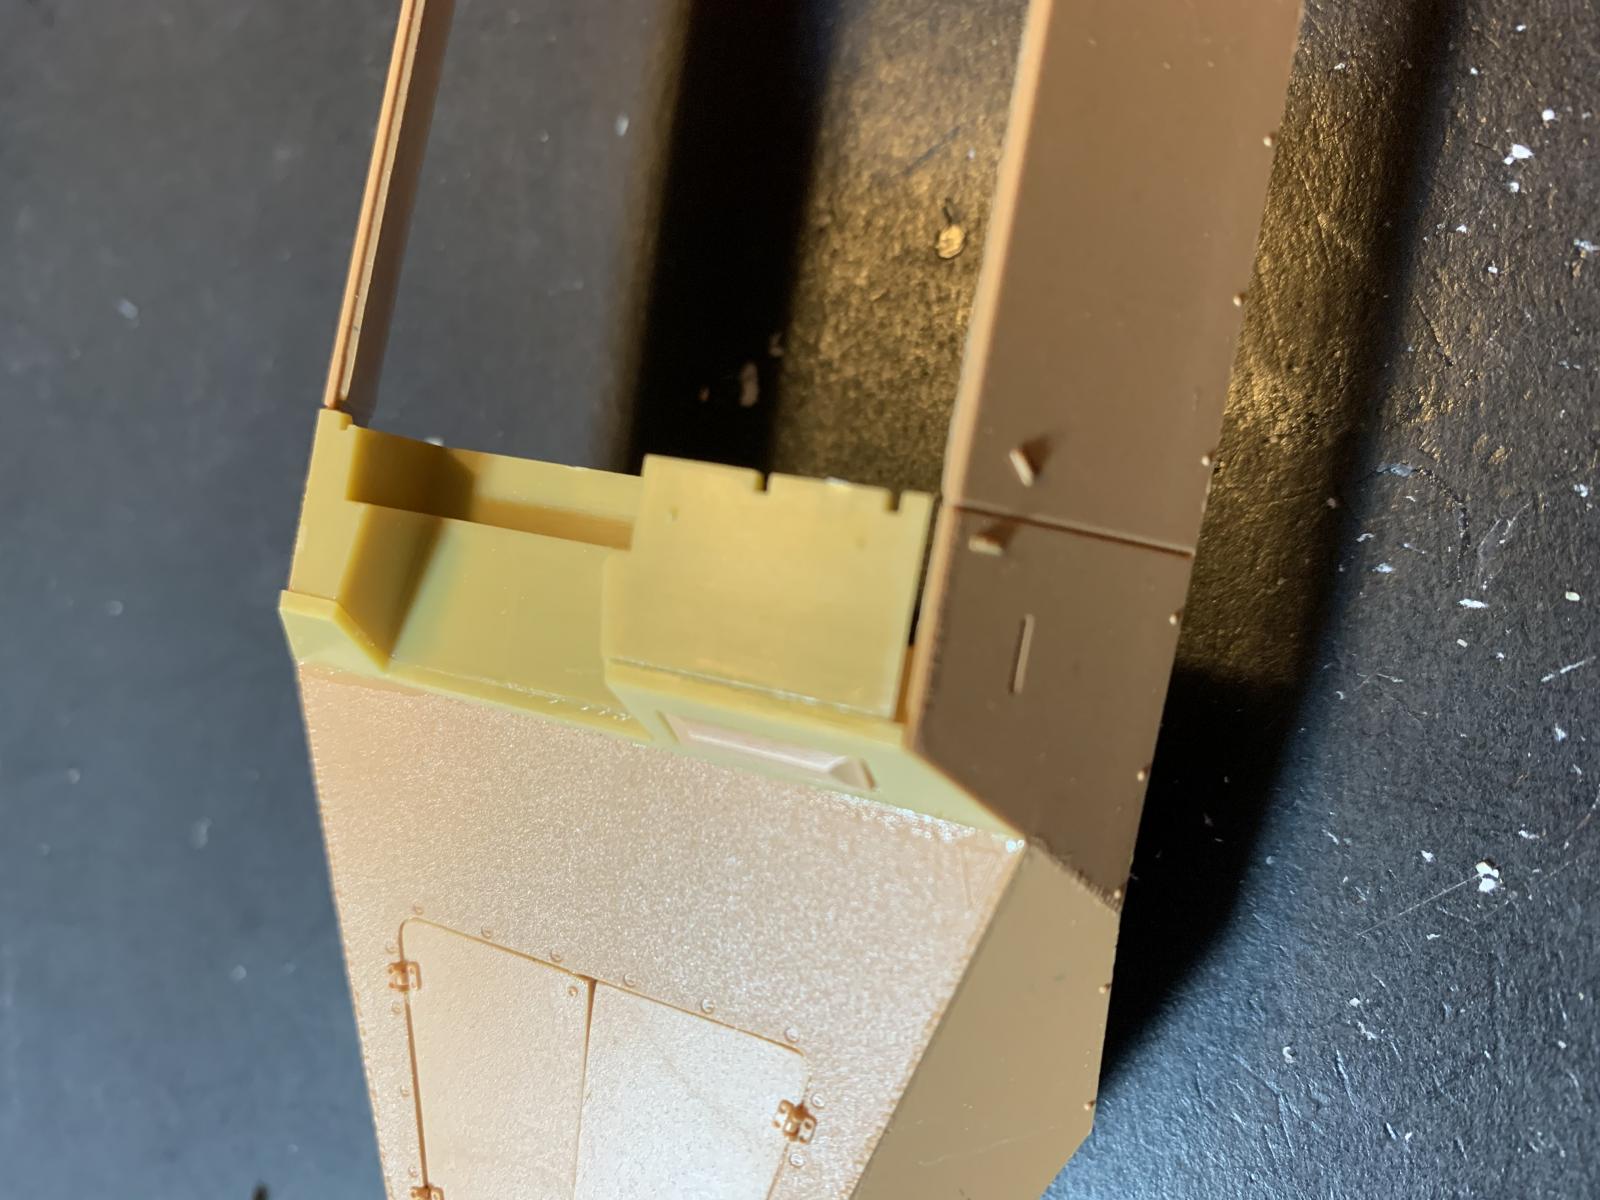
The engine compartment doors, parts D8 and D9 did not fit the opening; one side was a bit too wide. I trimmed the sides and hinges for a better fit and shimmed the hood opening shelf at the door junction with .010" plastic strip to prevent the doors from setting too low in the opening. There was a bit of effort to get the parts to fit just right. In the end it was close but not perfect.
Hull Exterior
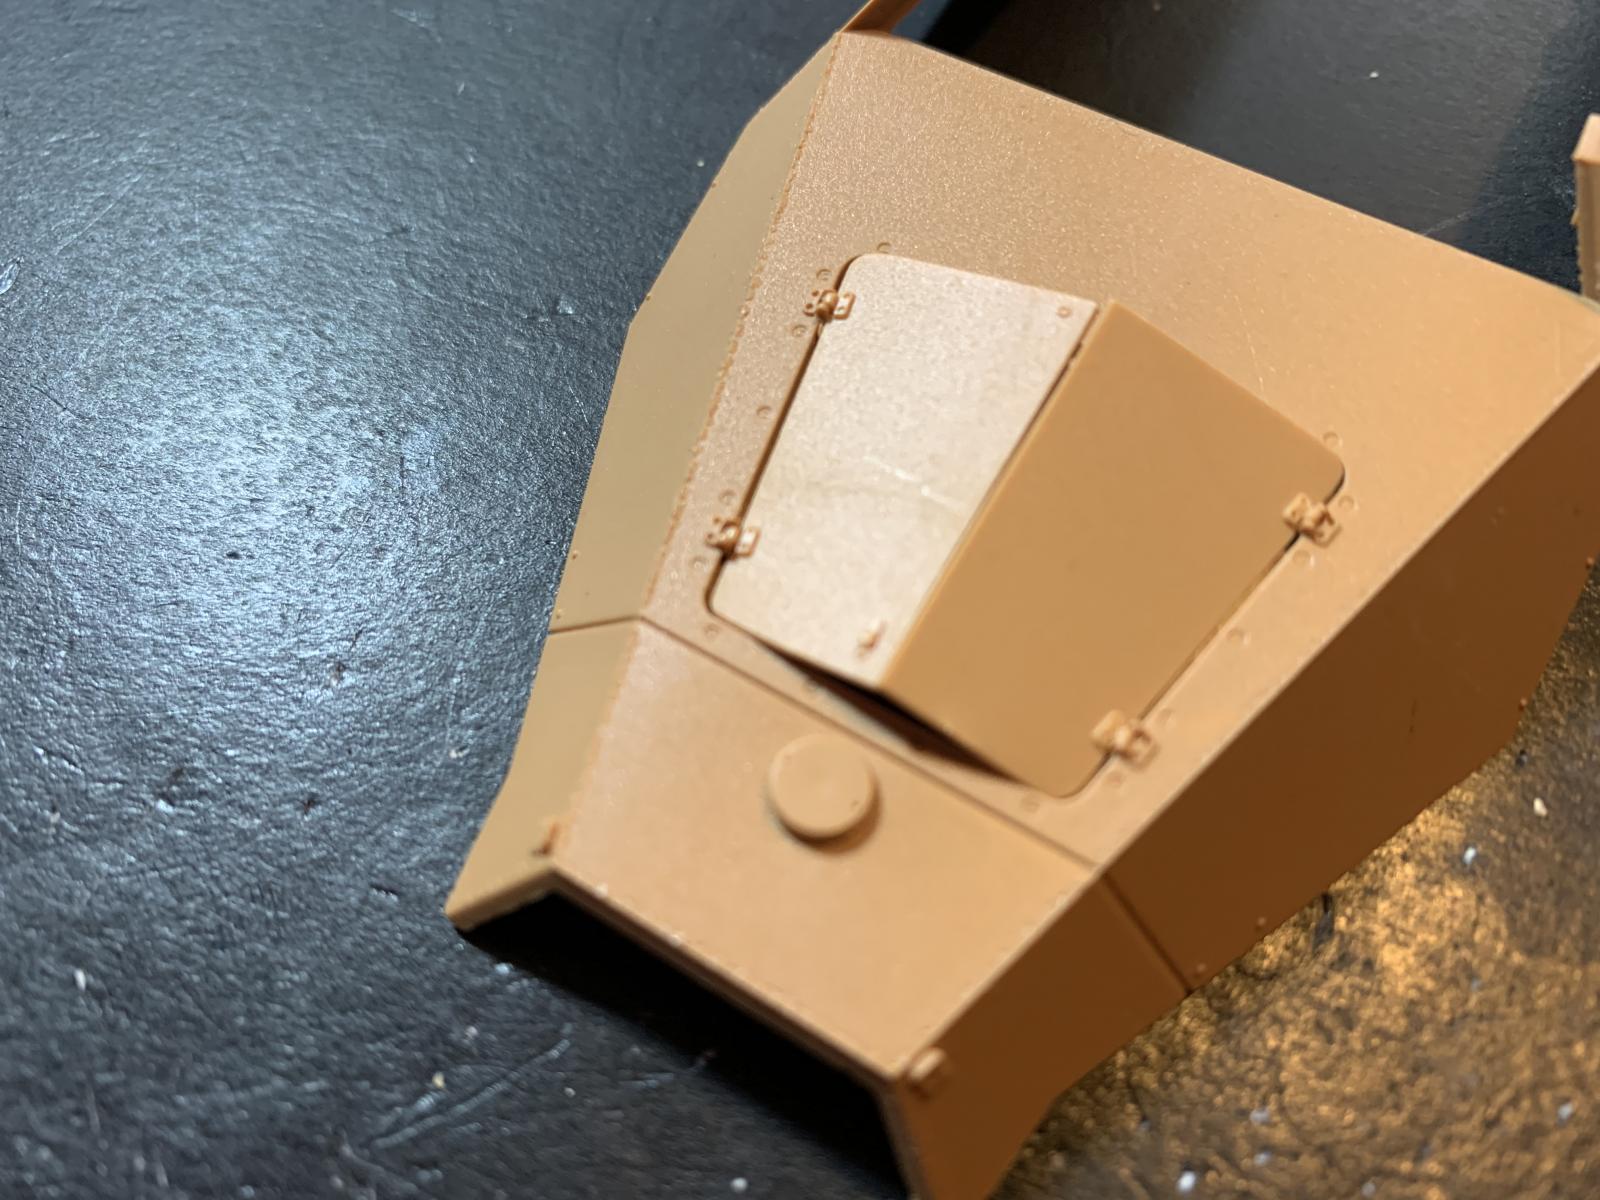
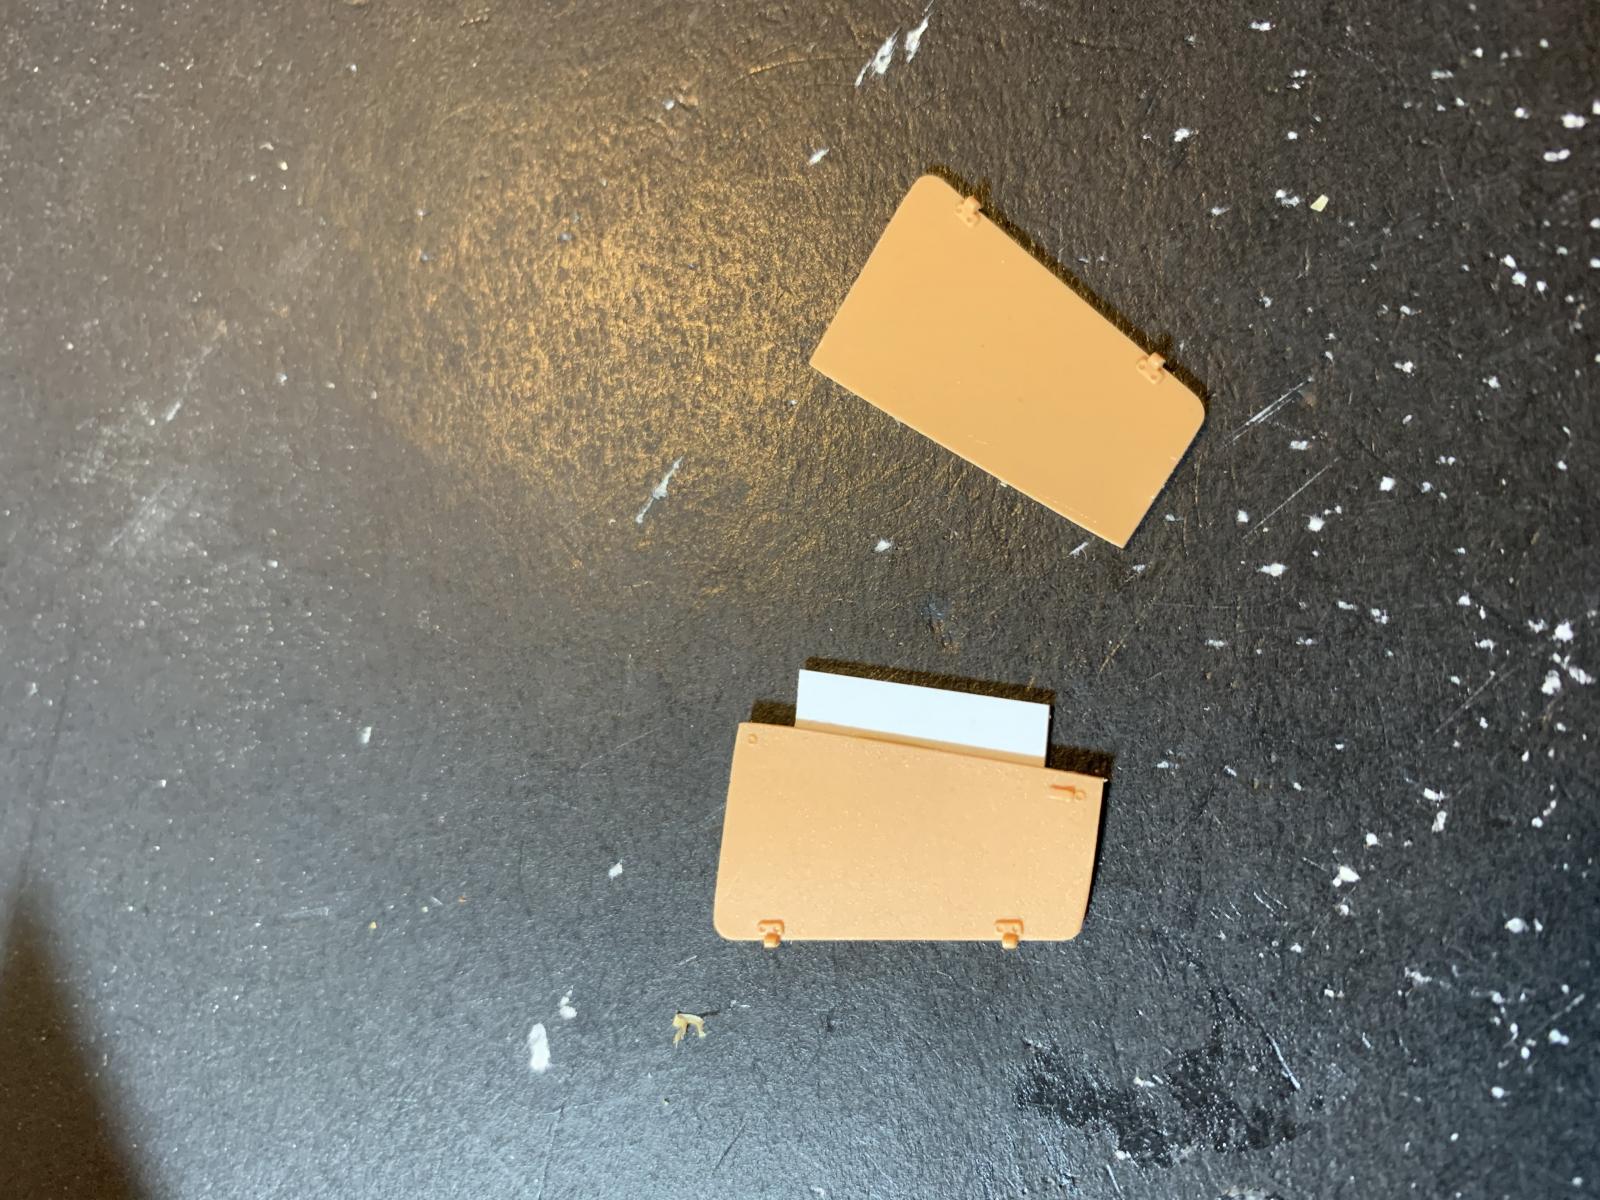
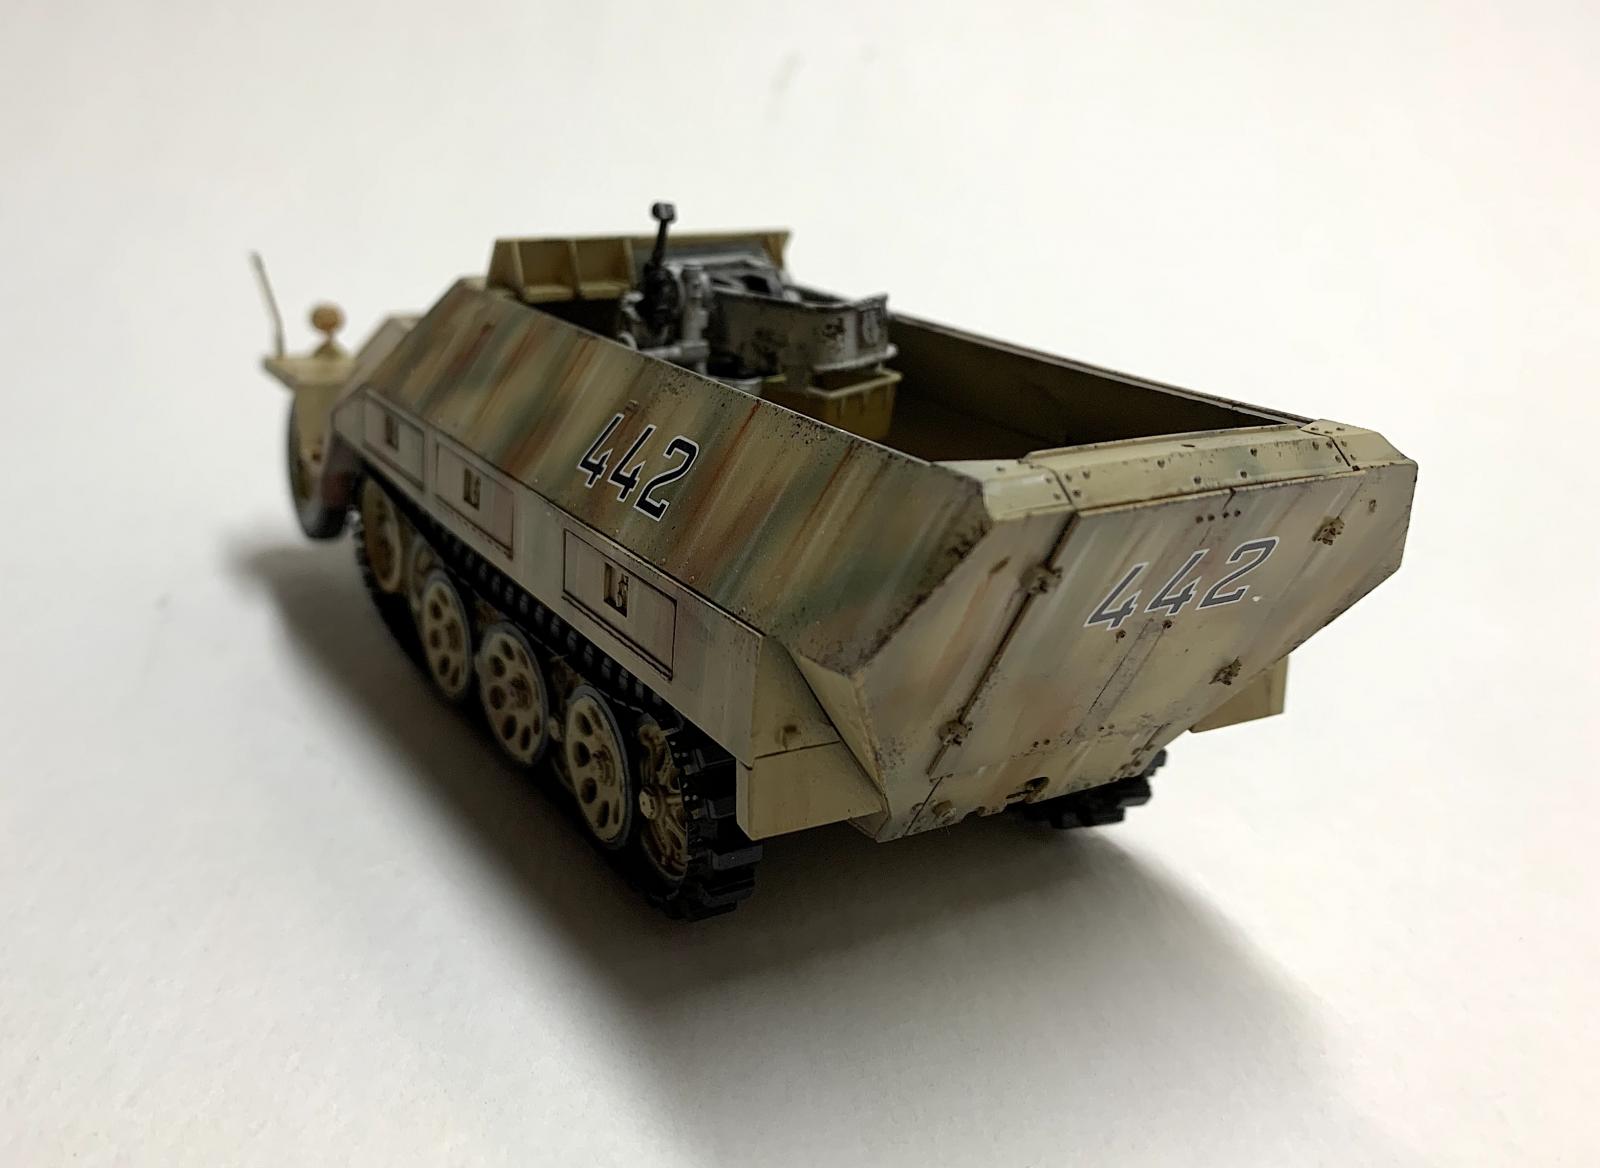
The exterior hull storage compartments are molded with one door closed and two open with separate doors that can be fitted open or closed. However, the knuckles on the left side door (parts D34) piano hinges and those on the left side boxes are not alternating but are molded opposed. Therefore, the doors will not fit in either an open or closed configuration as shown in the instructions. Parts D34 will however fit on the right side, while door parts D33 shown fitted on the right side will fit on the left side. In either case the doors will not close flush with the box sides unless the interior ledge on parts D10 and D11 is removed.
When it came time to fit the two long storage compartments on either side of the upper hull I found there were no positive locators to help with the fit. I temporarily taped the upper and lower hulls together, and using the side profiles show in the instructions as a guide I fitted the compartments in place as best I could and applied the solvent. Neither was a good fit and some filling would be required.
The upper hull crew compartment interior was primed and painted at this point in the assembly.
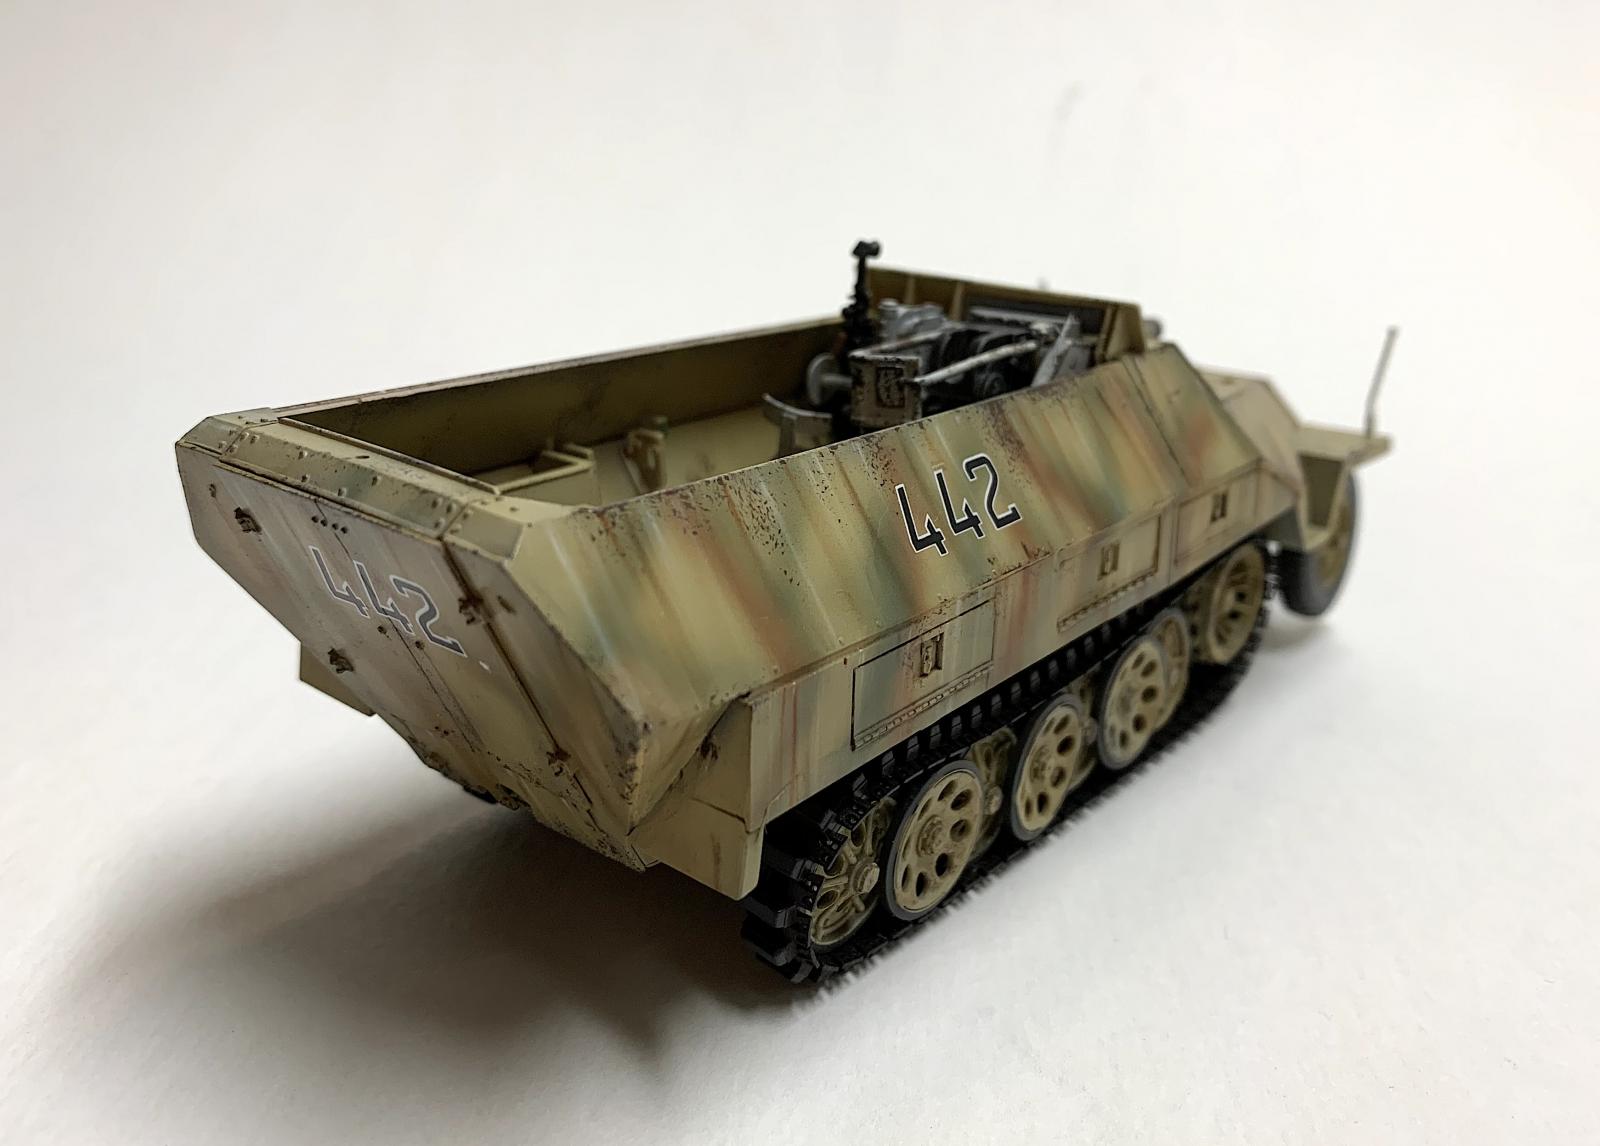
75 mm L/24 low velocity gun-The construction of the main armament was addressed in multiple steps in the instructions and was the most complicated work in the assembly. I managed to lose two of the smaller parts during the work but forged ahead with the gun undaunted.
This subassembly was primed and painted at this point.
Hull Finishing Touches
Fitting the top hull to the bottom assembly was problematic. I hooked the front of the top portion to the bottom of the hull and cemented them together, leaving the rest of the assembly loose, hoping to fit everything together once the solvent had cured. At this point the ill-fitting joins were evident. The joins were fitted and glued progressively until the top and bottom were assembled. Several significant gaps were apparent. These were filled with acrylic putty.
Tracks
First I washed the vinyl tracks in warm water with a drop of Dawn detergent using an old toothbrush to scrub all the nooks and crannies. The tracks were rinsed in clear water and set aside to dry overnight.
The tracks are handed: the right side has a round tab and the left a square tab. Both tabs were left is place until after the painting was complete to avoid mixing them. The 251 tracks have 56 links on the right side while the left has 55 links. This information was Found in Panzer Tracts No 15-2.
The tracks were then painted with a mix of Tamiya acrylics and allowed to dry for 24 hours before gluing the ends together. Quick-setting super glue was used to form the loop. Plastic solvent had no effect on the tracks. Each loop fit around the road wheels and sprockets with no issues, however I had to glue the tracks to the tops and bottoms of the road wheels for a more realistic appearance.
Now the major problem: with the tracks in place and the model placed on a flat surface, I found the two front wheels suspended about a quarter inch above the surface. Not sure how to address that problem at this stage in the work.
Painting
As the kit has three different colors of plastic parts and some PE parts I primed the model with a single color to unify the base plastic. I decanted Tamiya grey primer and thinned it with Mr. Color Leveling thinner. This was applied with an airbrush and the primer was allowed to cure for 24 hours before continuing.
The open crew compartment interior had been painted previously and was masked before the exterior was painted.
Decals
There are decal markings for five vehicles, counting the box art. I chose "442" as the subject for this build. This vehicle has "442" on the sides and rear, and that was it for markings. Simple. The model was given a few coats of clear gloss as a base for the decals and pin wash. The decals loosened from the backing sheet within a few minutes after being dipped in warm water. Each of the side numbers are attached to the center number by a narrow band of carrier film, so care is required when sliding the decal off the backer onto the model's surface. The numbers did align with little effort. MicroSet and MicroSol were used to fix the decals in place. When dry the carrier film is virtually invisible.
The model was finished with a coat of Model Master clear flat acryl. Done!
Conclusion
The most significant challenge was the assembly of the top of the vehicle was the lower hull subassembly. I could not determine where the subassemblies went wrong, but the fit was certainly off. Shimming with plastic strips, filling with putty, and sanding proved to be the answer to eliminating most of the gaps. More work than should have been required.
Another of the annoying aspects of this kit was the raised ejector pin stubs that are often located on opposing mounting surfaces of some parts. This is especially true of the smaller parts. This is a problem that is certainly not insurmountable but requires time and effort to address. The instructions are not always clear for the placement of some parts, and therefore some study and care is required to get everything to fit. Several parts have no positive locators and require effort to determine the correct placement.
I found a few parts with flash, but nothing of consequence. Some of the parts are too thick, such as the open storage boxes in the exposed crew compartment. There are some ill-fitting parts, but again those were easily corrected.
This model has potential and will require attention and patience to complete.
I wish to thank AFV Club and IPMS USA for the opportunity to build and review this kit.


Comments
Add new comment
This site is protected by reCAPTCHA and the Google Privacy Policy and Terms of Service apply.
Similar Reviews