
Sd.Kfz.251/6 Aufs.A. with Crew
Thank you to Bill and to Phil for all the work you do!
Kit
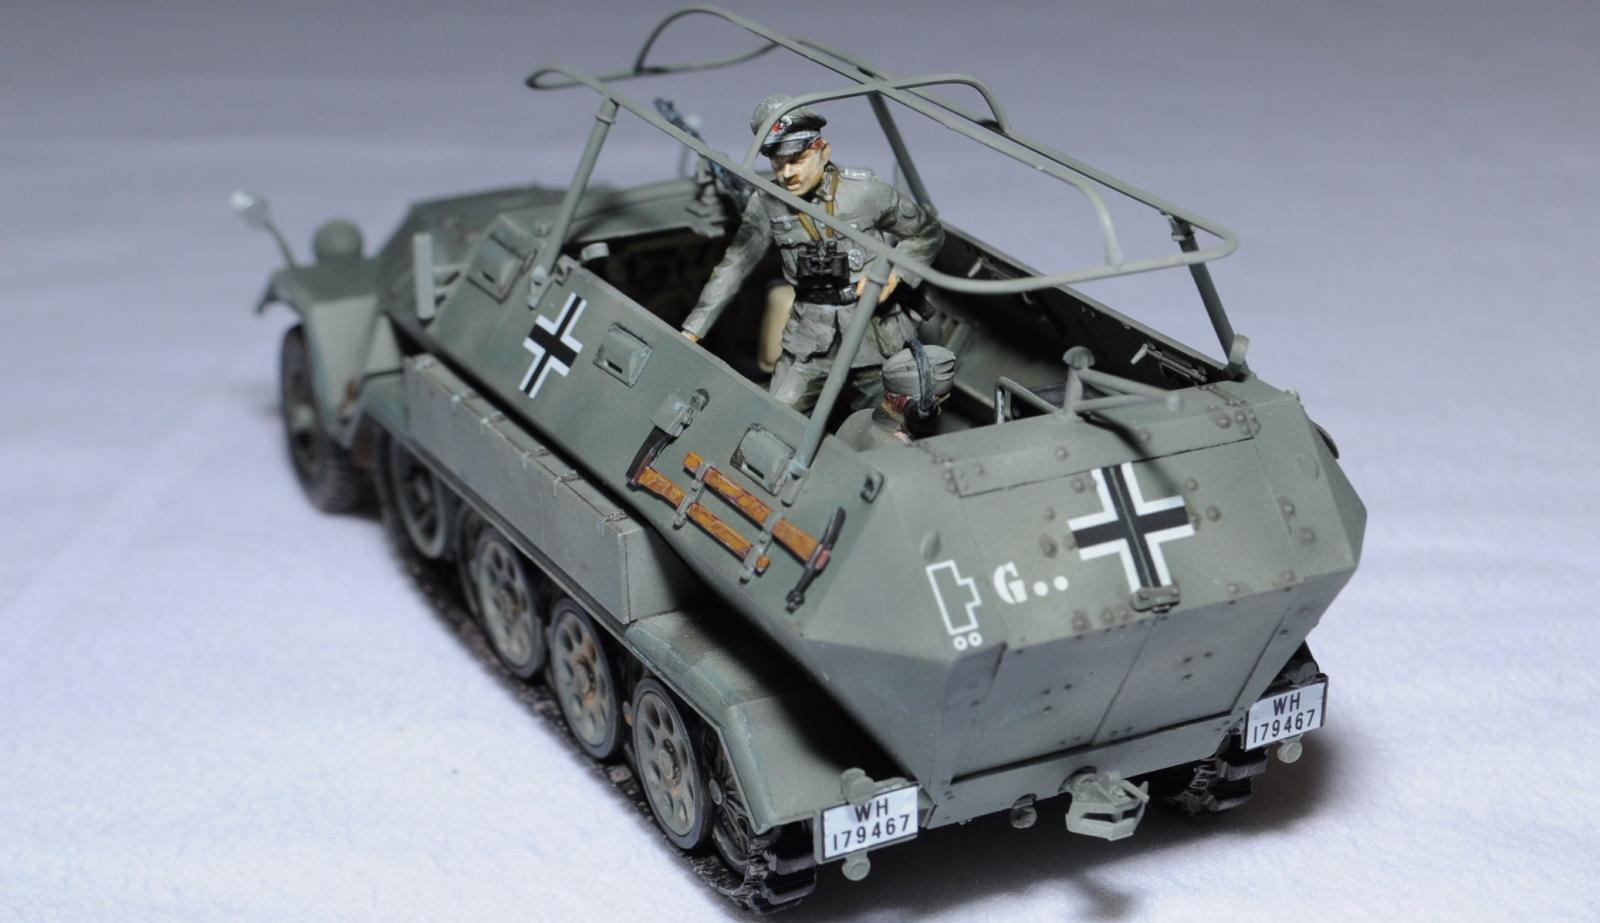
ICM Holding, a Ukrainian-based company known for outstanding quality, has produced a very nice new-mold German halftrack. The main armored personnel carrier of the German Wehrmacht, the Sd.Kfz. 251, built by the company Hanomag, was used to transport motorized infantry. The armored personnel carriers were in service with the German army throughout the Second World War and were used in all theaters. This modification, the Sd.Kfz.251/6 Aufs.A., was produced in 1939-1940.
Contained in the box is one sealed bag holding five highly detailed gray styrene sprues and a separately bagged clear sprue. Black vinyl tracks accompany the kit as well as two black vinyl tires. You also get a sprue of four detailed figures. The kit contains 334 parts which were all flash free and showed no injection marks or sink holes. Panel lines are finely recessed. Parts which are not used for this particular model are clearly marked on the sprue diagrams with pink highlights.
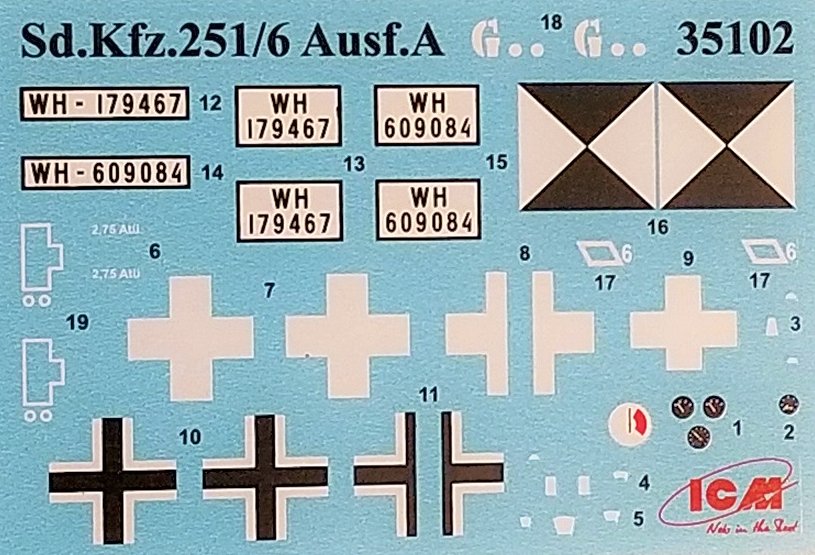
The 28-page assembly guide begins with construction of the hull, then the suspension, motor, driver’s console, interior details, idler arms & wheels. Assembly is completed with adding the top, weapons, tools, tracks & tires, decals and figures. The last page has full-color pictures of two different vehicles. The paint and decal call-outs are clearly marked. The two versions provided are Sd.Kfz.251/6 Aufs.A. command vehicle of Lieutenant-General H. Guderian, Poland, September 1939 and Sd.Kfz.251/6 Aufs.A. 1941.
Reviewer’s Comments
This kit was quite enjoyable to build. Assembly was largely straightforward and mostly free of problems. I have a few recommendations to help you make the most of this nice kit.
- All parts with a few exceptions are painted Tank Gray-Tamiya XF-63.
- There is a minor part number error in Step 29. Part E11 is actually E17 on the sprue.
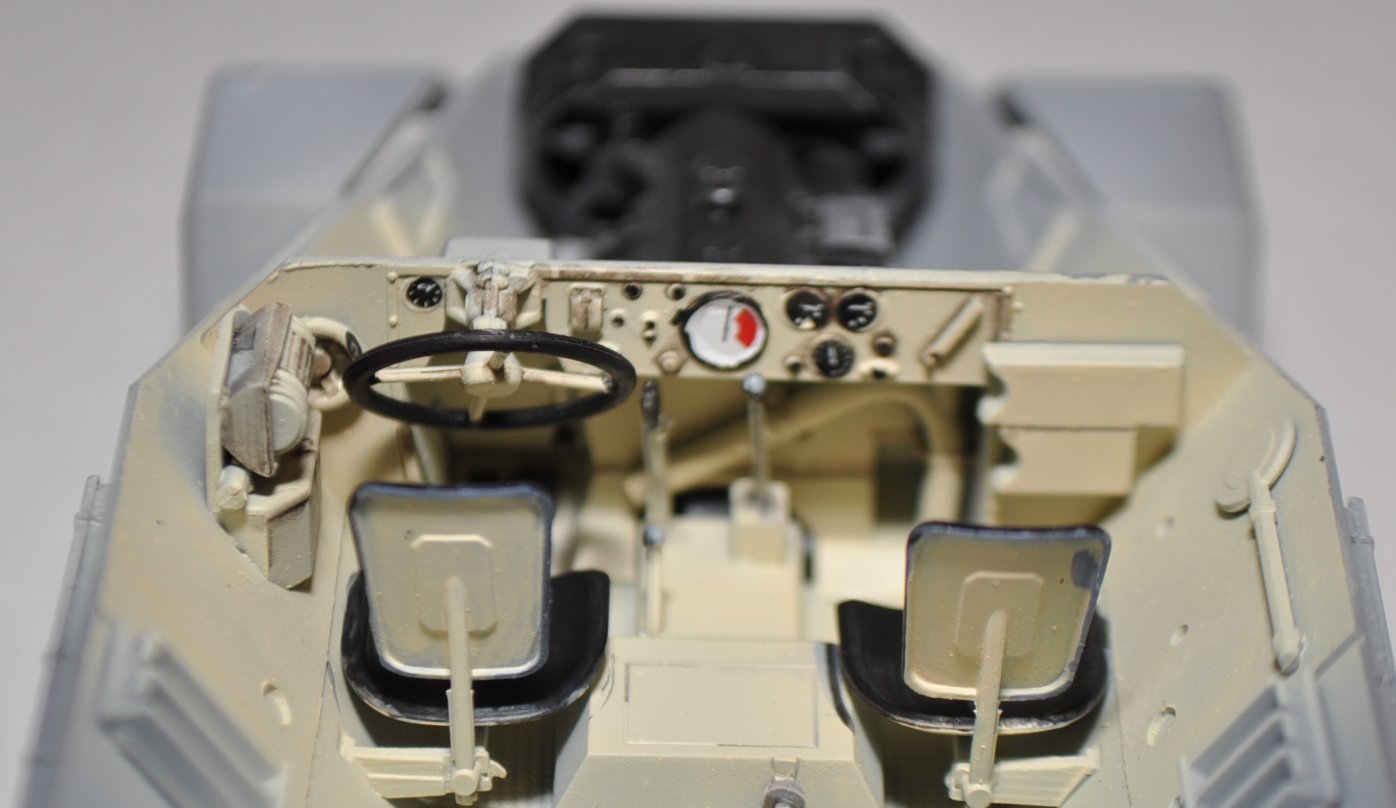
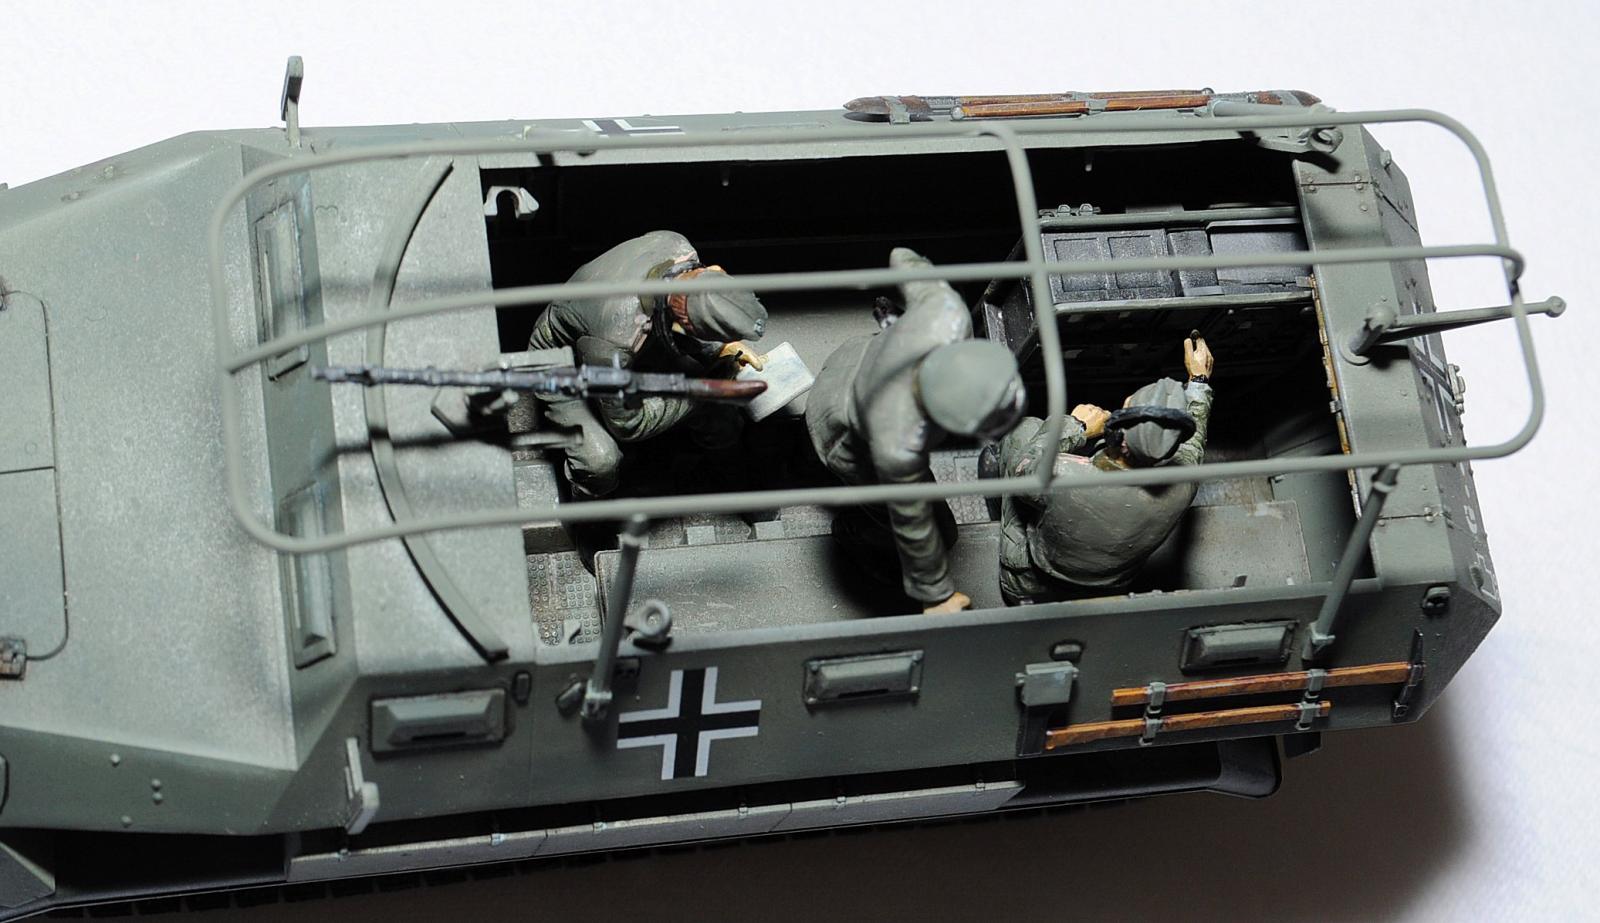
- Instructions indicate to paint the whole interior XF2 (Flat White). After conducting some research and consulting other armor builders, we believe this to be inaccurate. The visible interior of German halftracks was Tank Gray-same as the exterior. The driver console (the non-visible area) was close to a Sandgelb, or at the least more of an ivory white and not pure white.
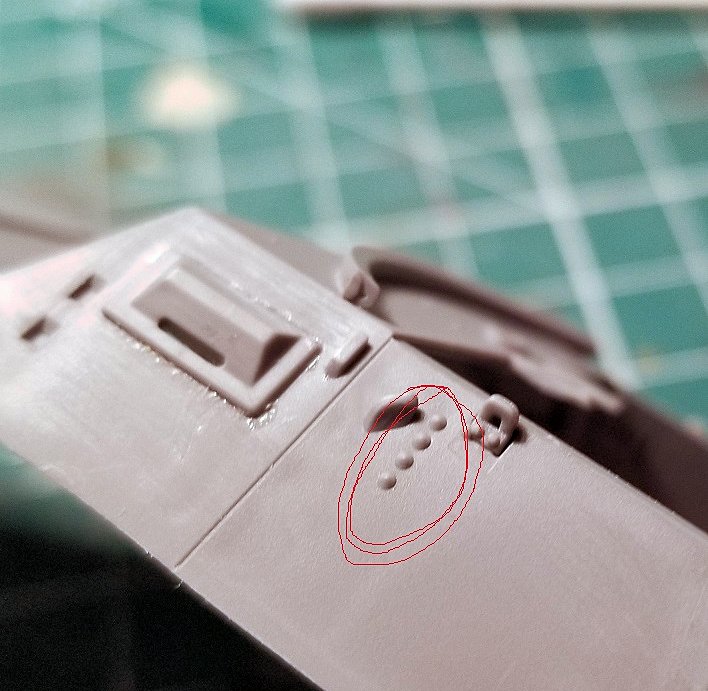
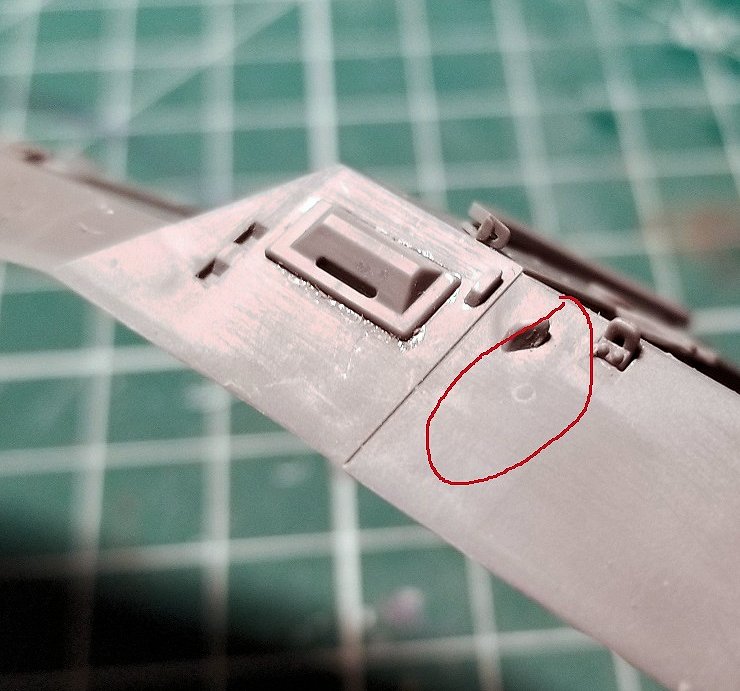
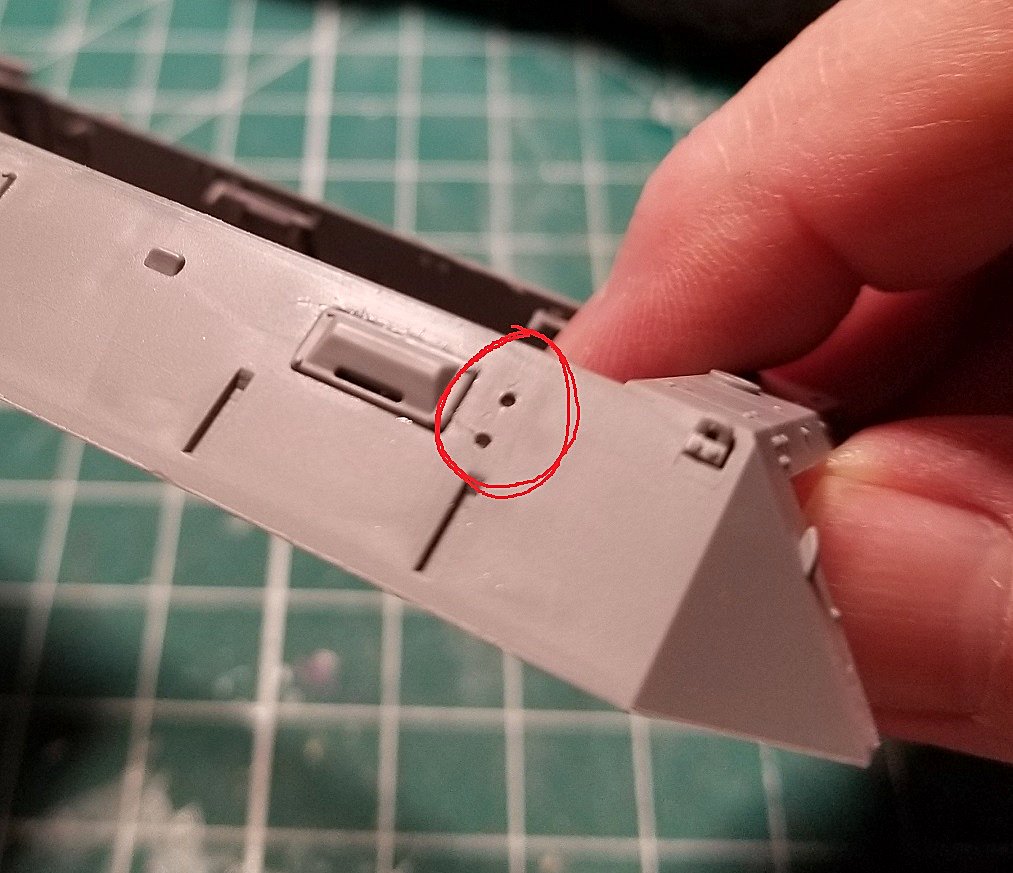
- Step 67 has you remove raised rivets on the left and right sides (see photo). It will be easier for you to remove the raised detail before installing the windows. Additionally, you are to drill holes (two holes at each of the four corners of the upper hull). The instructions tell you to use piece H17--the “Conductor” or ƜAƂͶΟΗ in Russian. This is a poor translation. “Jig” is more accurate. (see photo). The jig helps you get the holes in correct alignment for drilling. As with removing the raised detail, drilling the holes with assistance of the jig is much easier when the windows have not been installed.
- Do not install the drive wheels until you are ready to install the tracks.
- If you add a figure of the driver, you must add it prior to fixing the top hull to the bottom half. If you do not, it is impossible to install the driver figure into the seat.
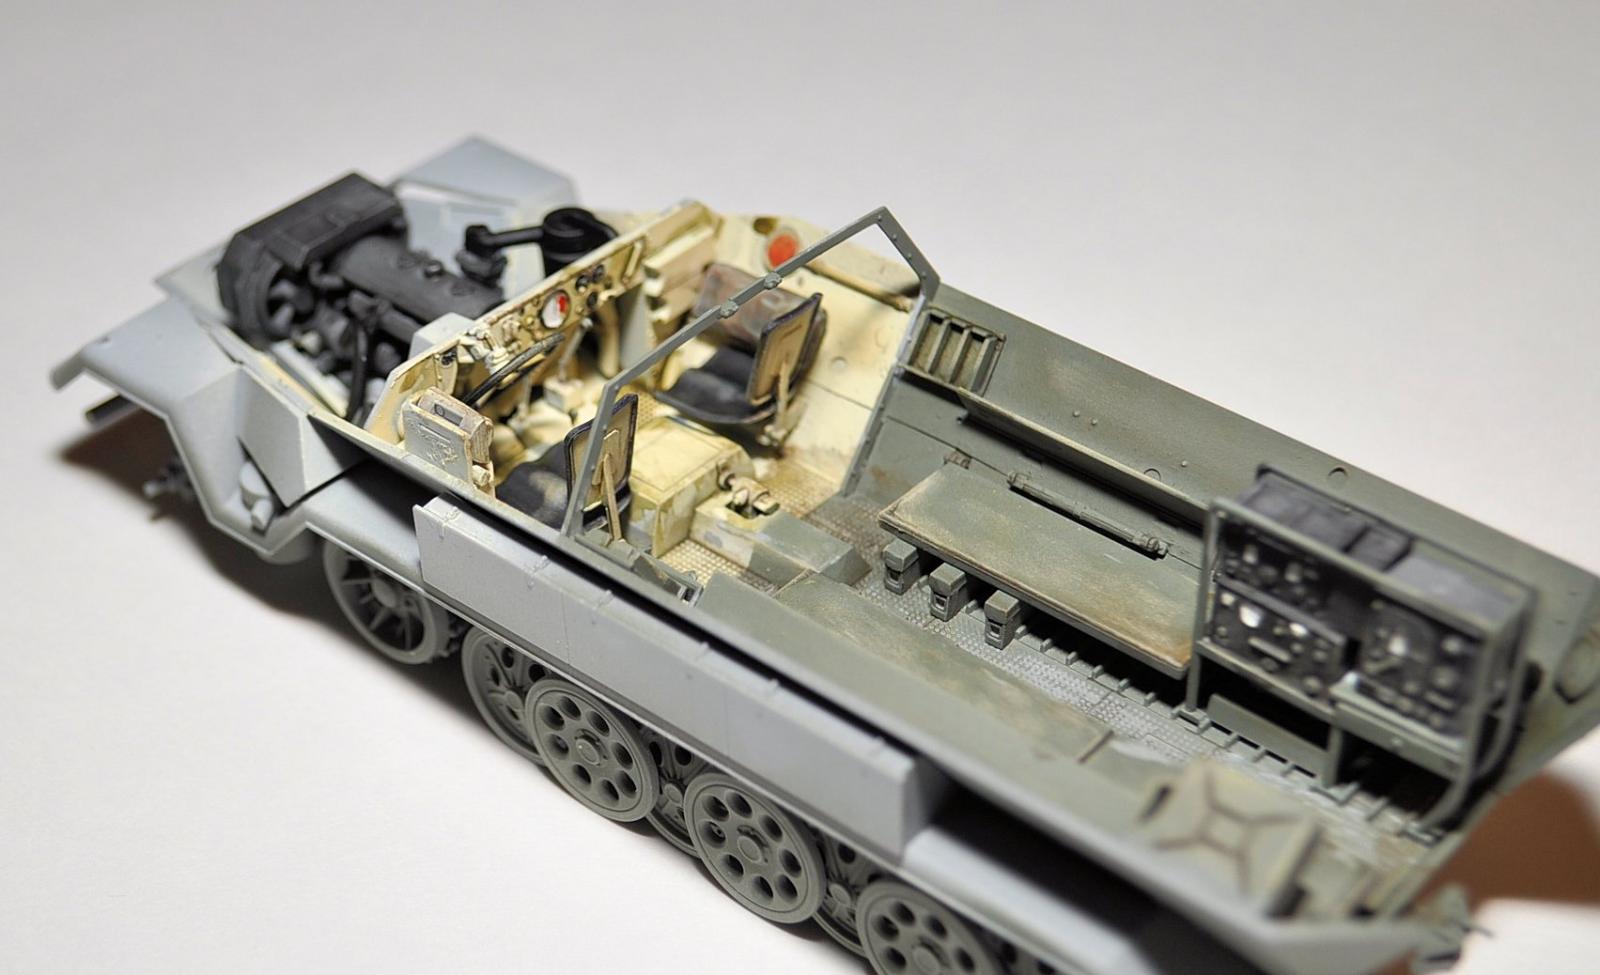
The hull assembly is straightforward and the parts fit accurately. There were no problems. The idler arms and wheels fit snuggly. If you install the drive wheels too early, you will likely find it difficult to install the tracks around the drive wheel gears. There is little space to work with. Therefore, I recommend that you install the idler arms/wheels first. Then when you are ready to install the tracks, install them together with the drive wheels.
The engine is appropriately detailed for this scale. It is covered by the hood and no option is provided for an “open” posing. The top hull fits nicely to the lower hull. I was able to remove the seam with a light sanding. Adding interior details, tools, weapons, and the radio goes quickly and all of these steps are problem free.
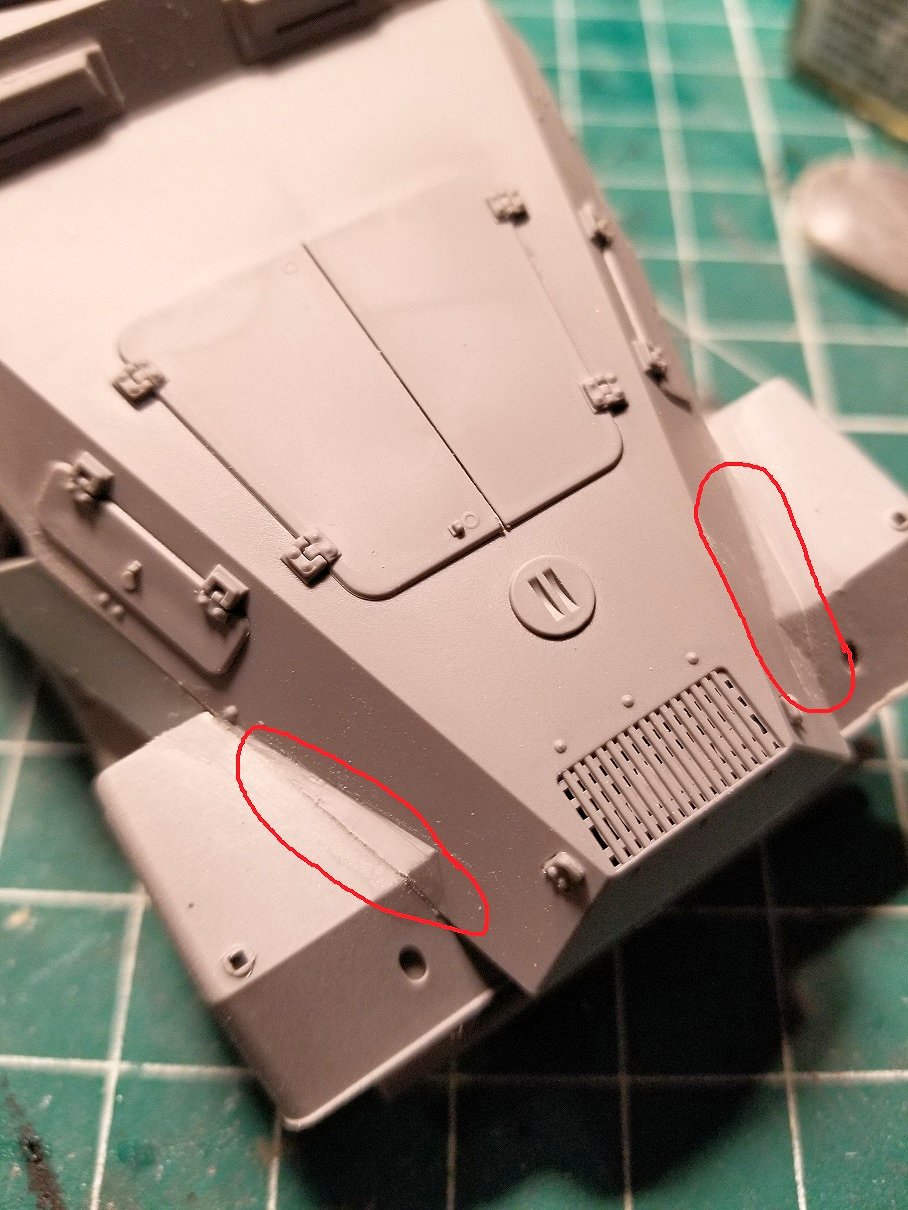
There is a visible seam on both the left and right fender. Although the seam is not horrible, its presence is not accurate to the real-life vehicle and should be filled and removed (see photos). To remove the seams, I first lightly sanded the surface to even them out. Next, I applied a bit of Tamiya white putty. Once dry, I continued sanding with finer and finer grains. Lastly, I primed and painted. The decals went on with no problems.
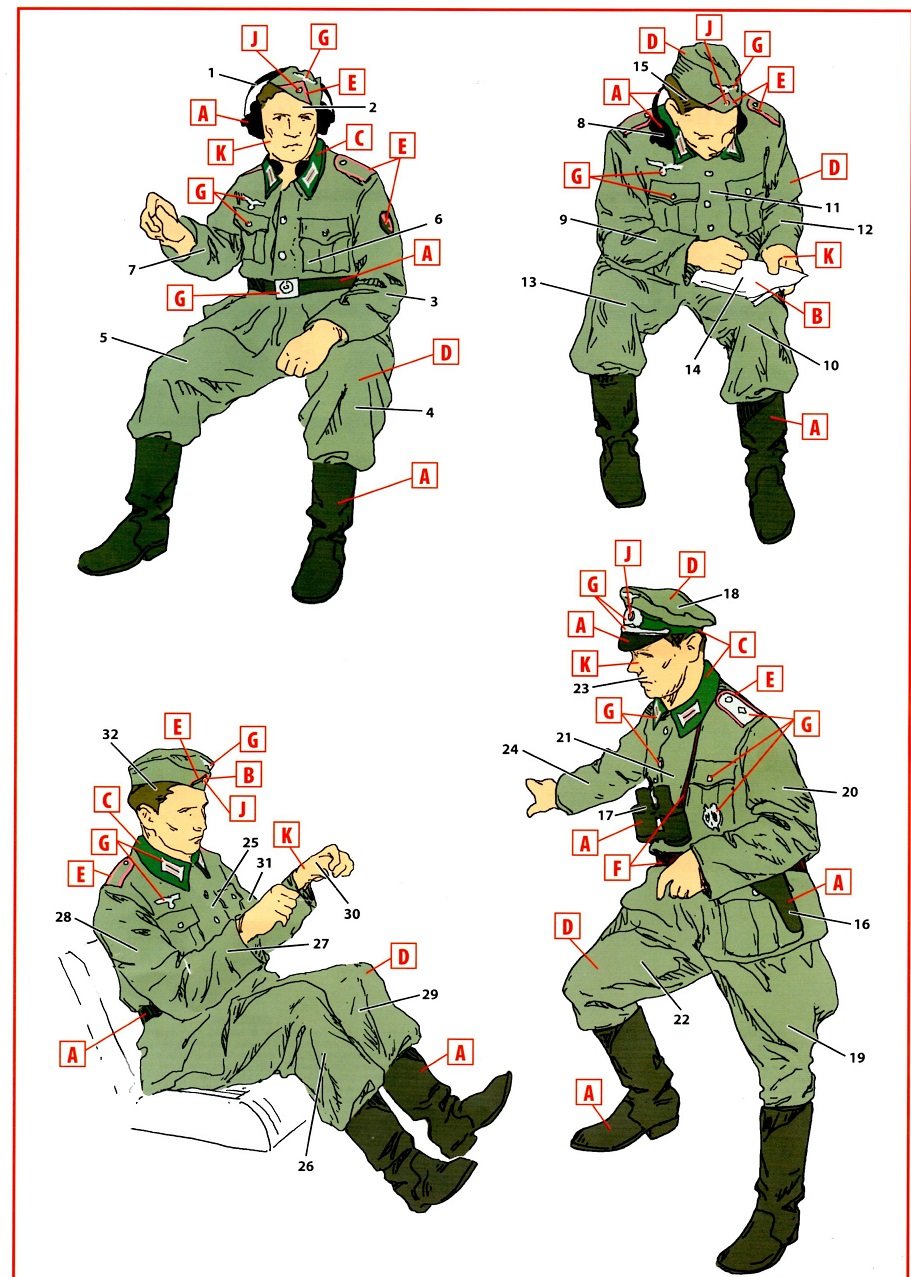
For the review sample, I built the provided figures. There are four: a commander, a driver, a radio operator and a radio assistant. The figures build up nicely and all of the parts fit precisely. There is a separately provided figure painting guide (see photo). Together with assembly and painting, the figures were completed in a total of approximately three hours.
Overall, this kit is a very nice and enjoyable to build.; it is the kind of kit that would make a great weekend project! With following some of the recommendations, you will have an easy and fun time with this kit!
Thank you to ICM for the honor of reviewing this very nice kit, and thank you to IPMS for the opportunity!


Comments
Add new comment
This site is protected by reCAPTCHA and the Google Privacy Policy and Terms of Service apply.
Similar Reviews