
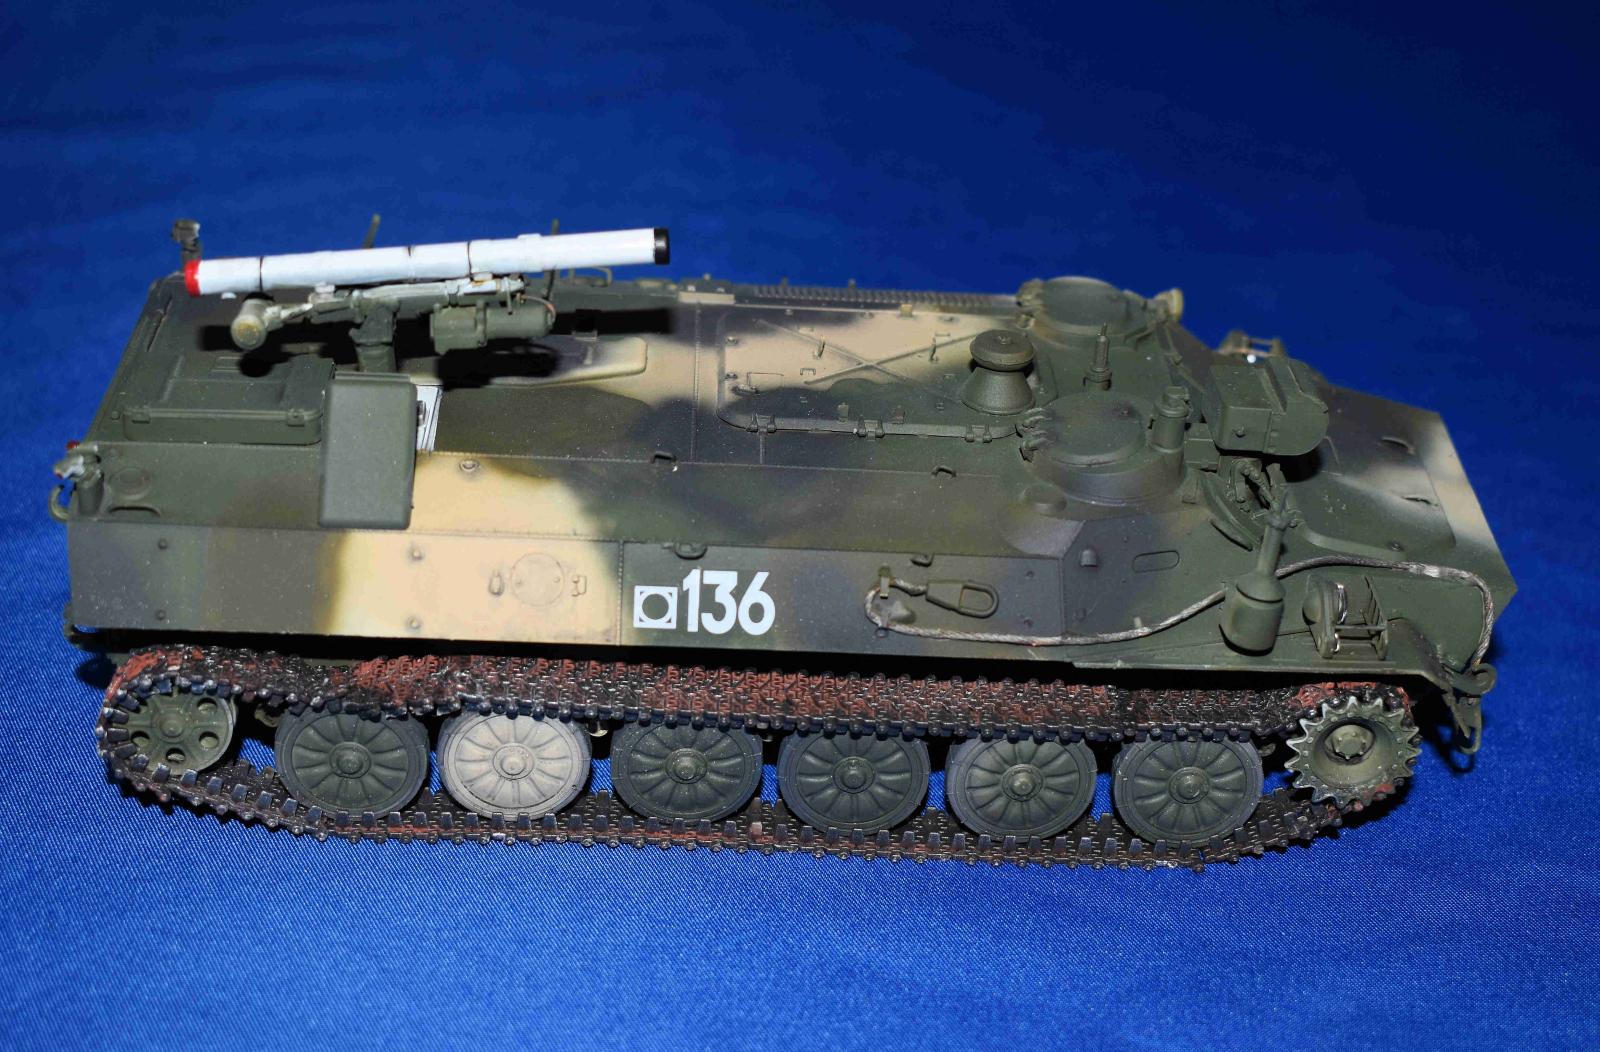
Russian 9P149 Launching Vehicle w/9K114 Shturm-S
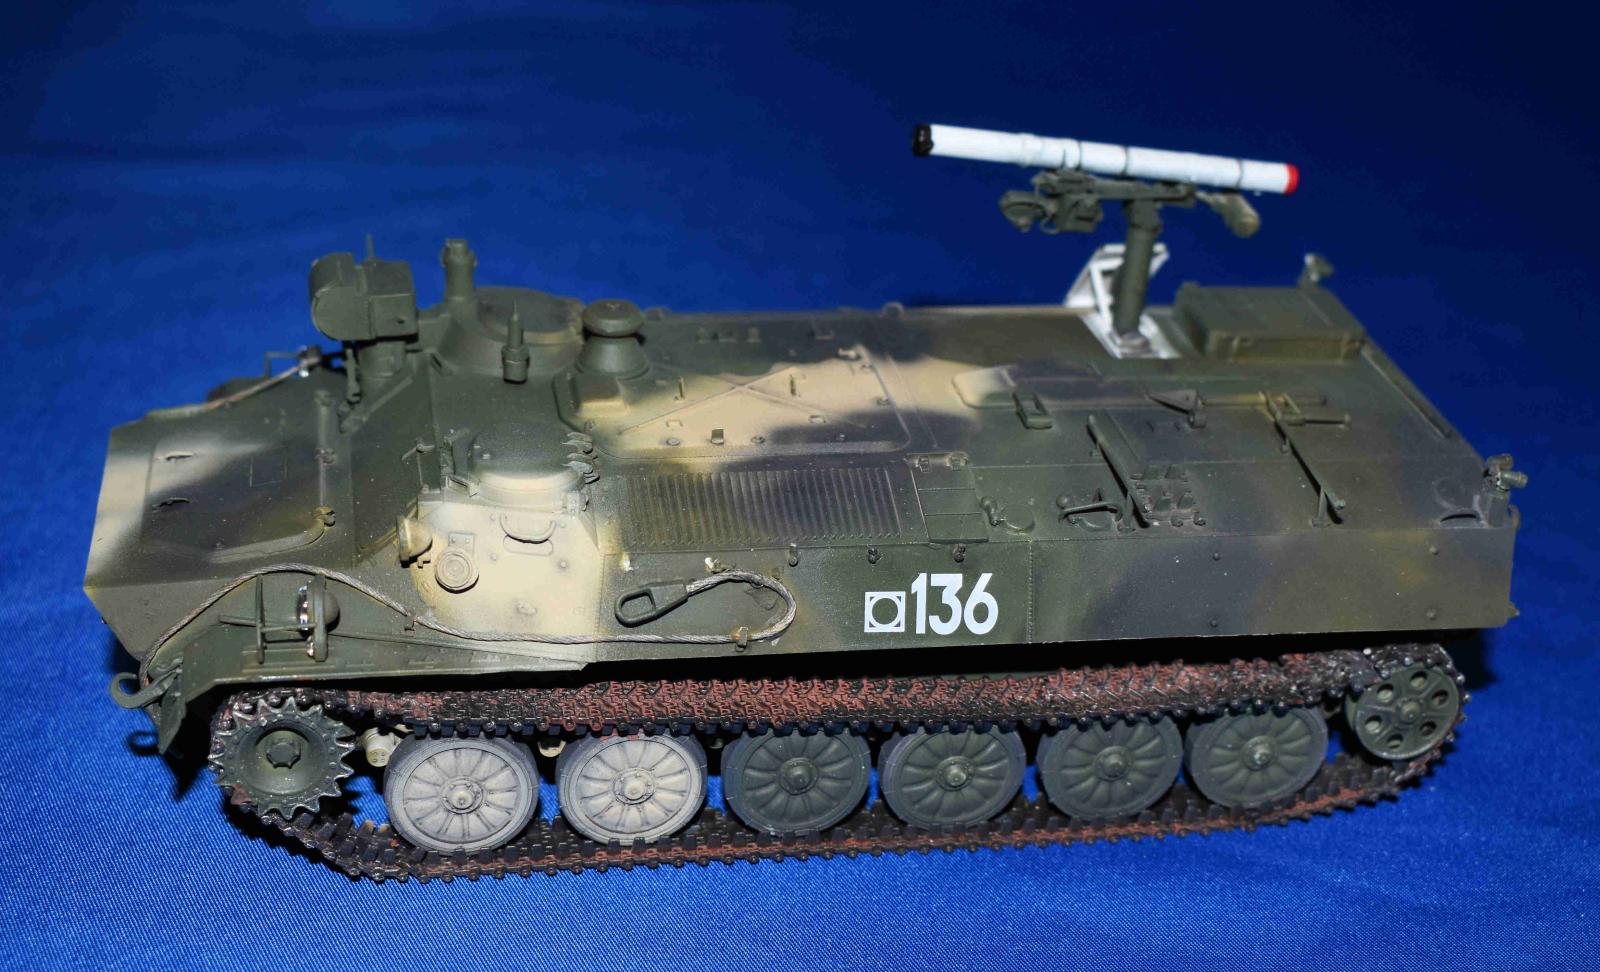
The 9P149 is a tank destroyer of Soviet origin and in this example, it is a vehicle carrying radio guided anti-tank system designated 9K114 Shturm which uses the 9M114 Kokon (Cocoon) missile. Same missile as used by the Mi-24 helicopter.
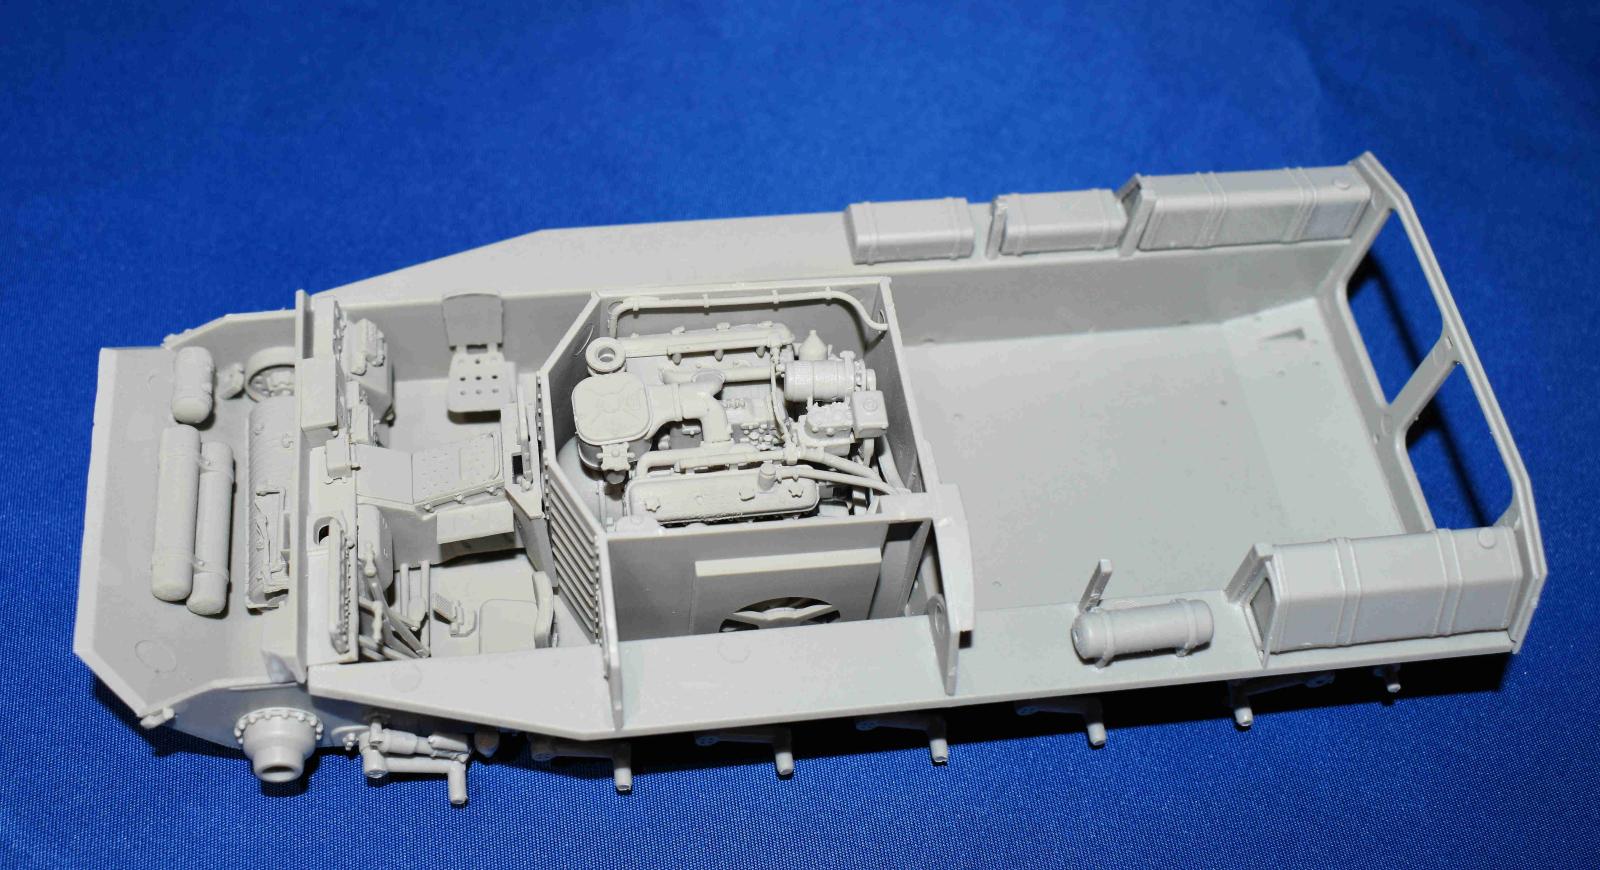
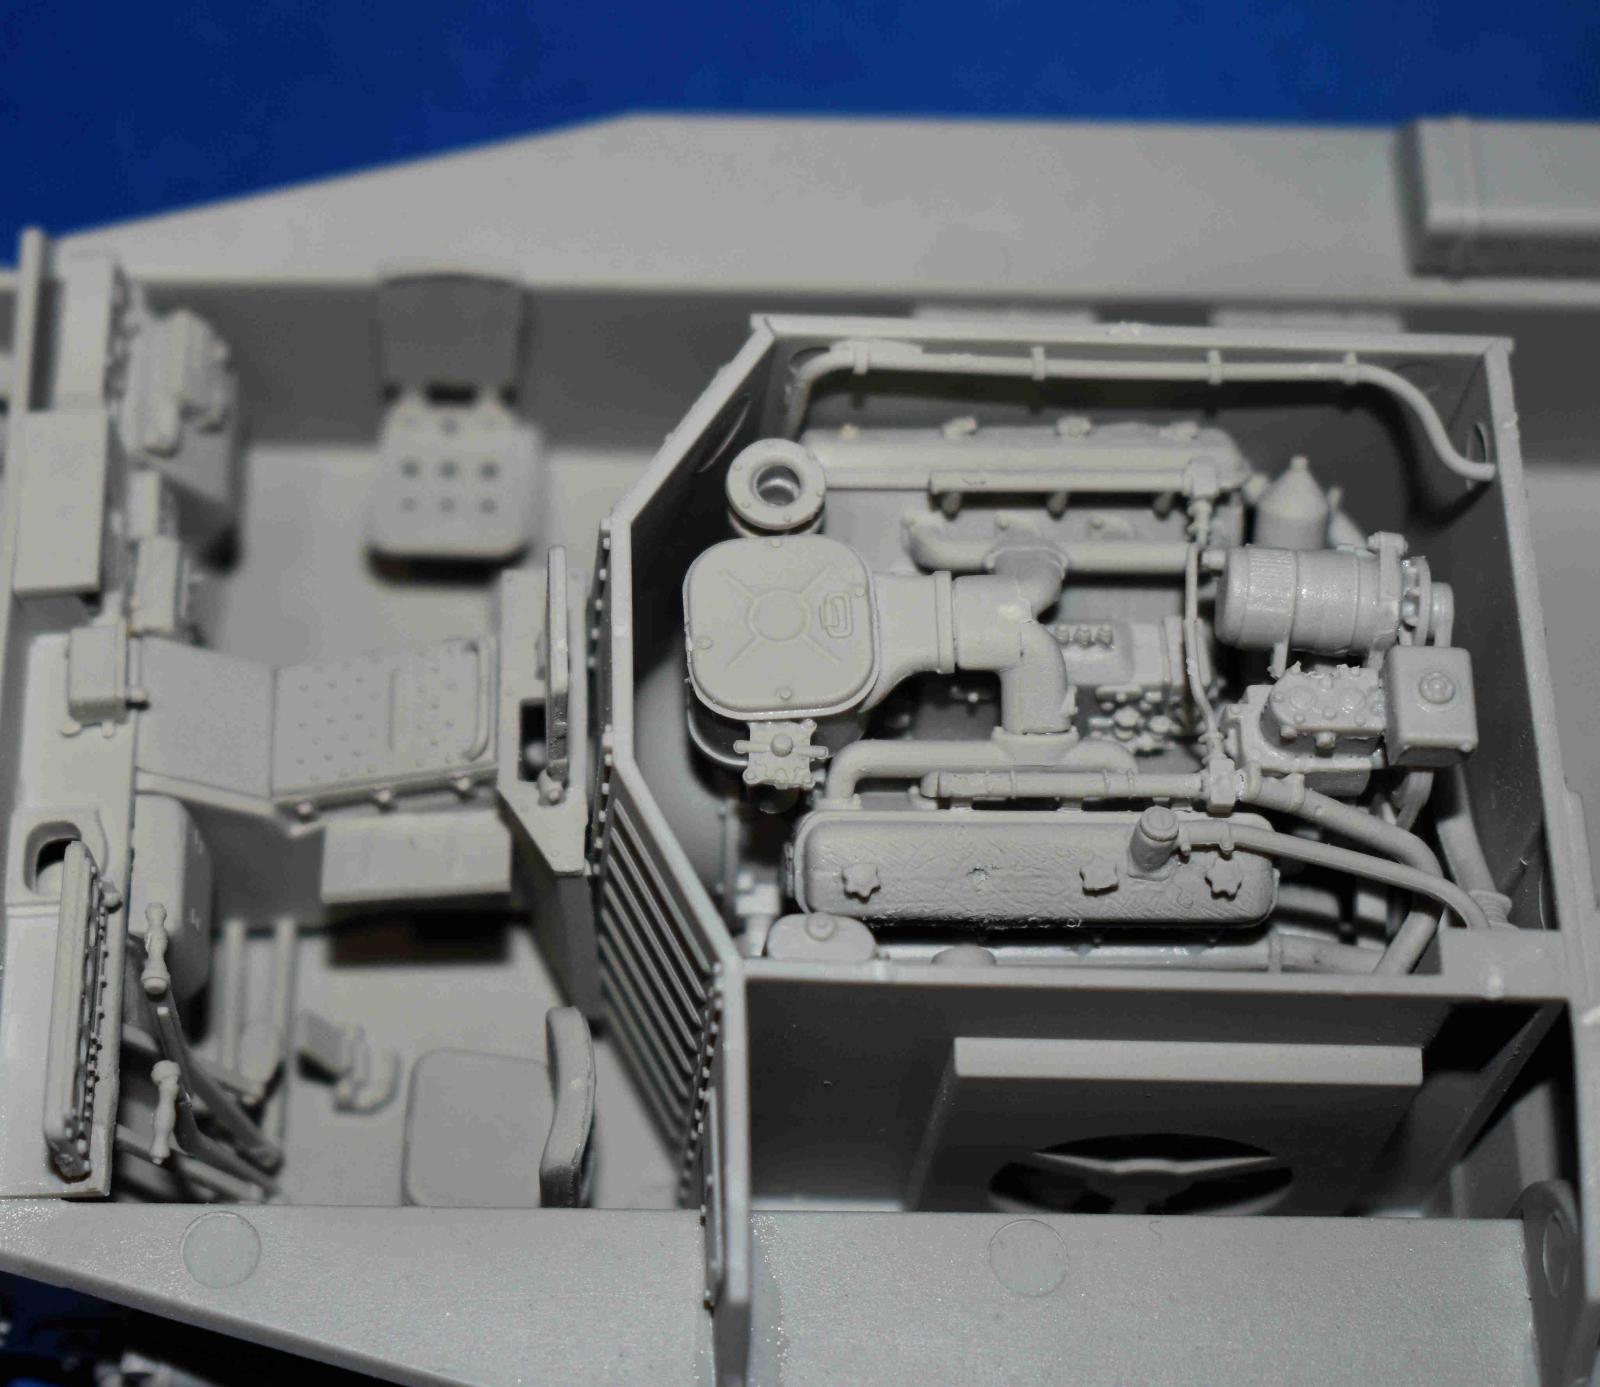
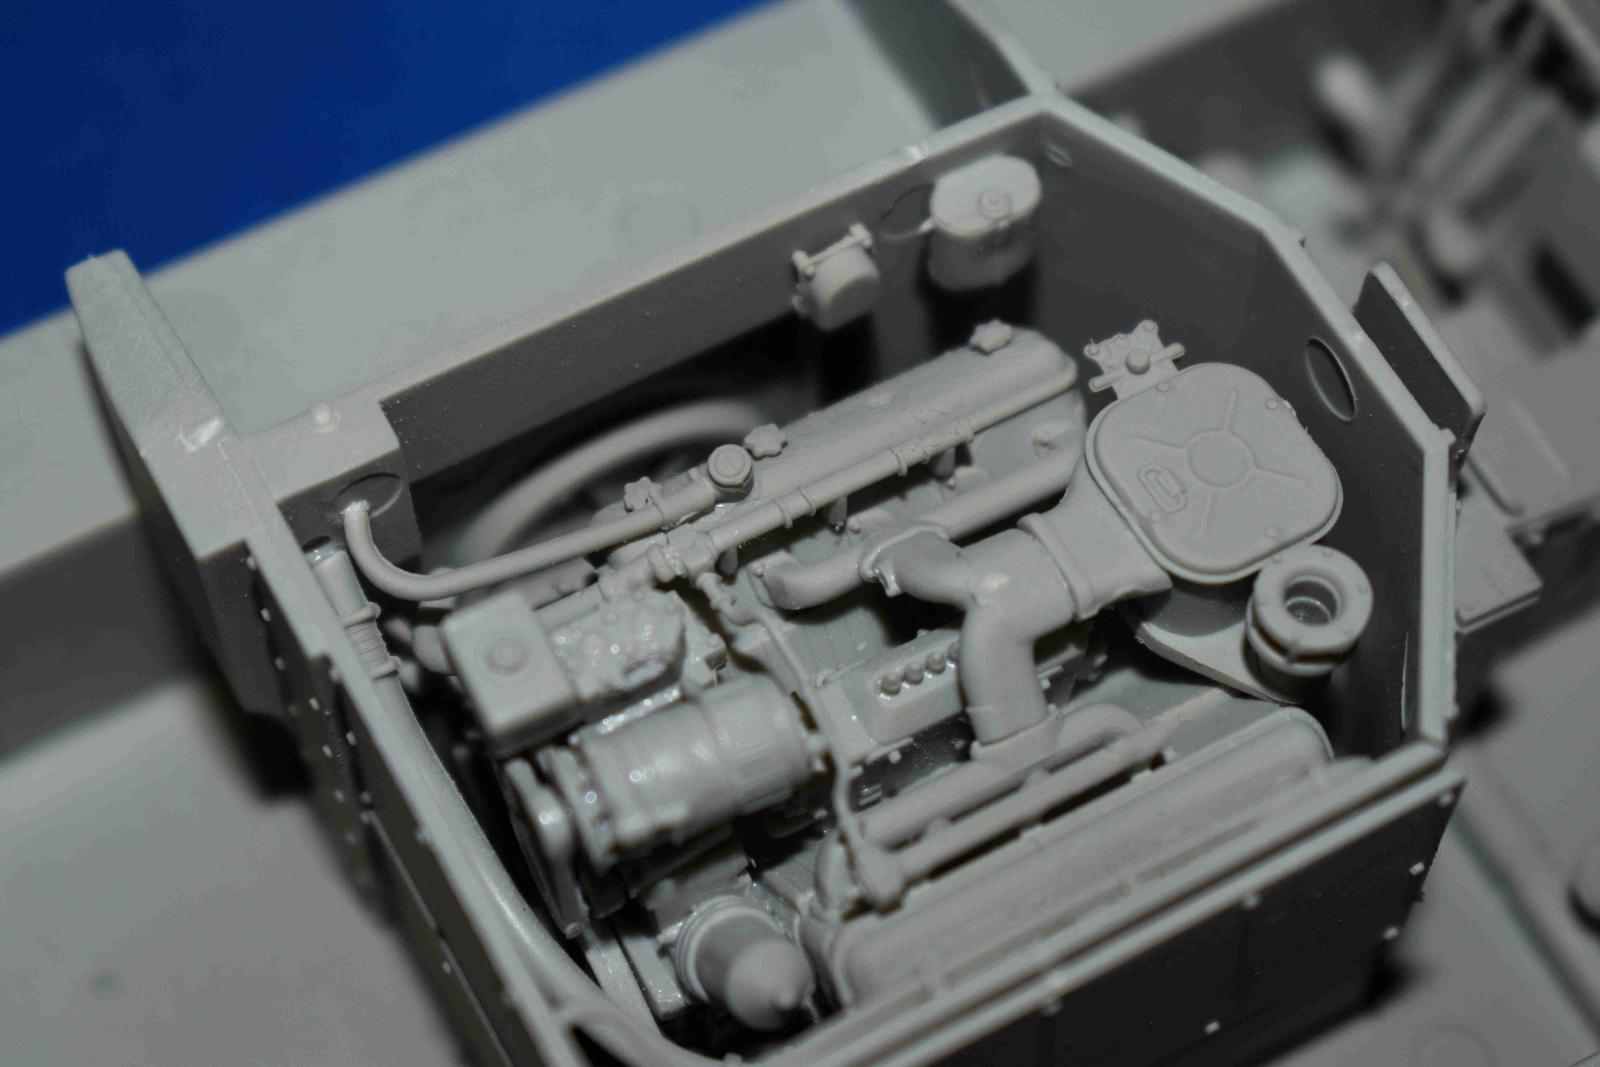
The kit comes in standard gray plastic in 15 gray sprues, two clear sprues, decals and 2 photoetch frets. Total is 790 parts many of which are very tiny as the entire vehicle is a about a scale foot long. There is an entire interior which covers the driver compartment, engine and transmission. You will decide how far you want to build the interior if you don’t decide to open the hatches. The interior is really nice but I didn’t find many references no color call outs on the instructions.
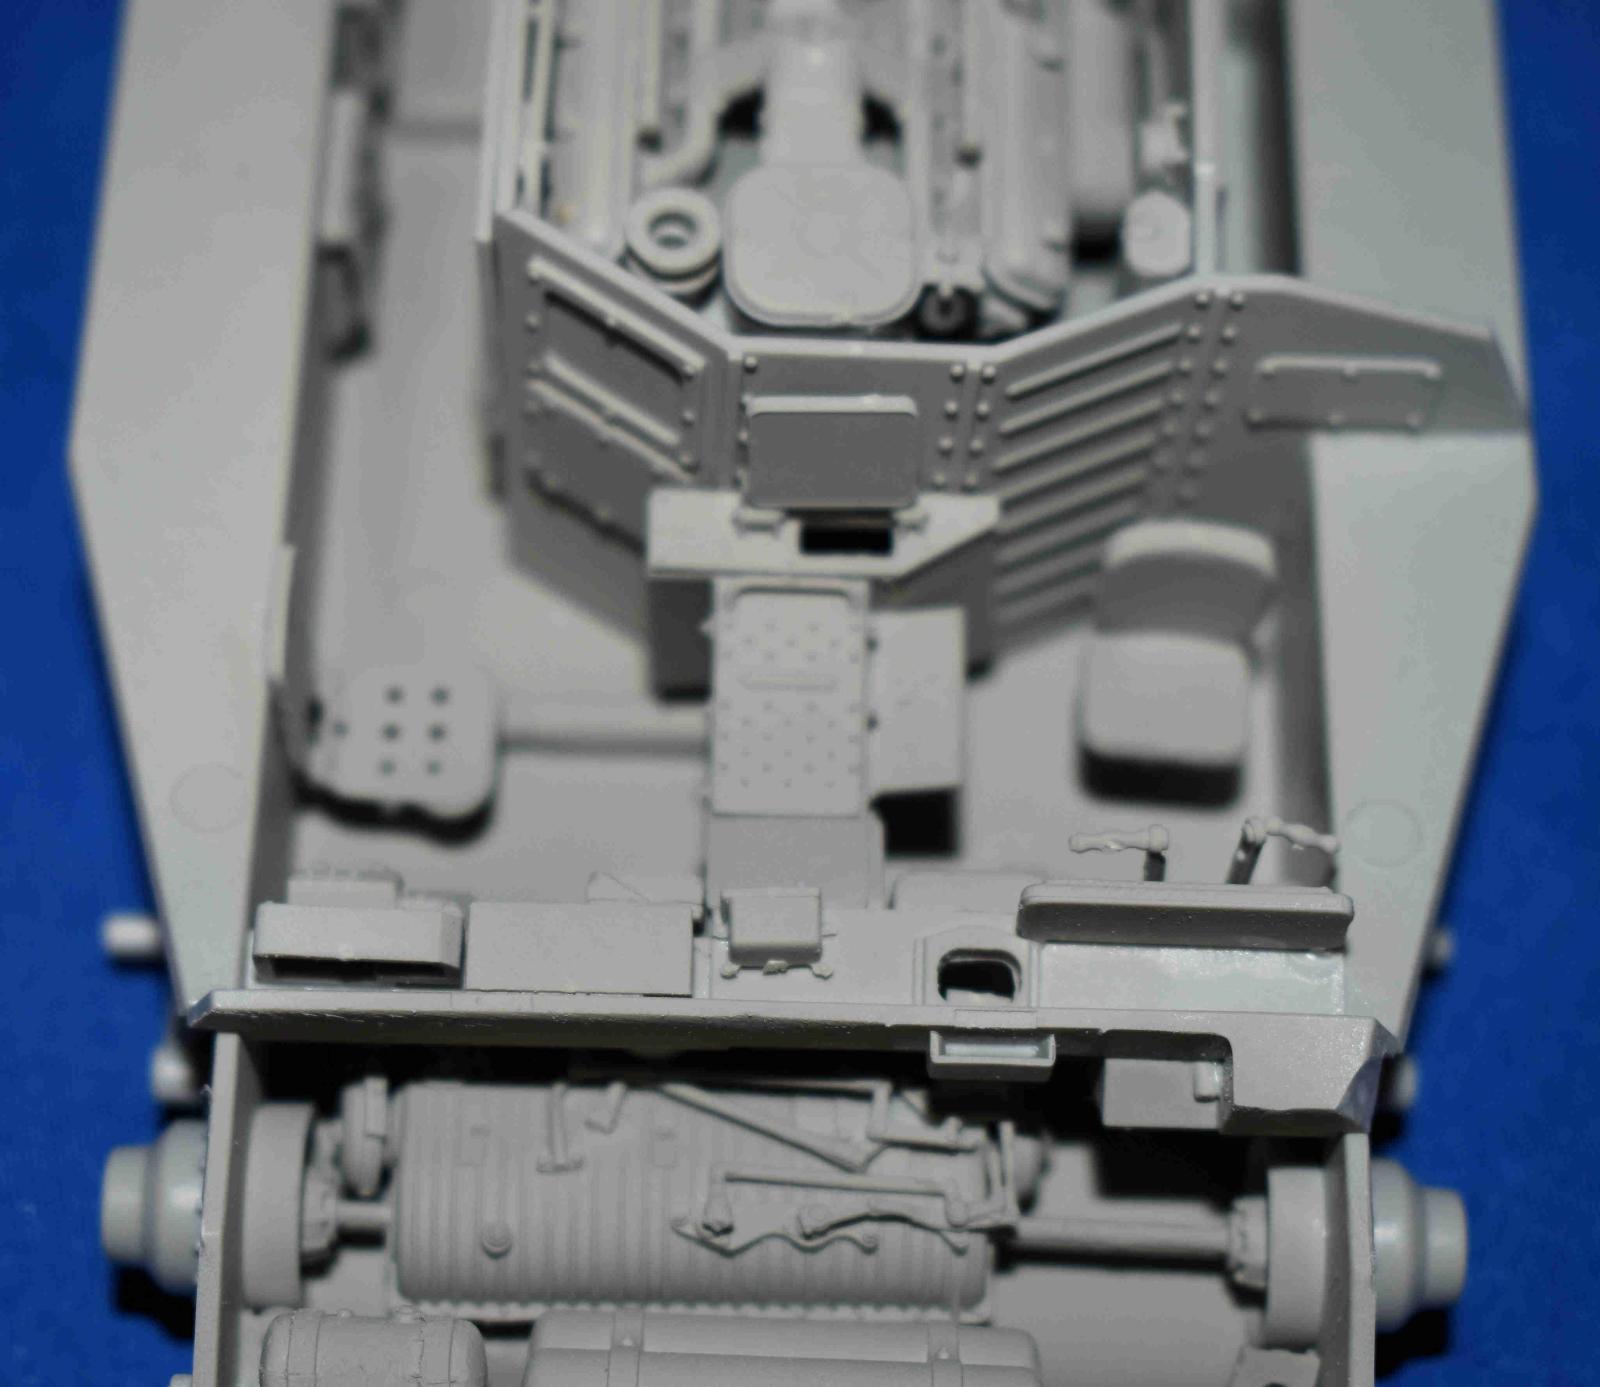
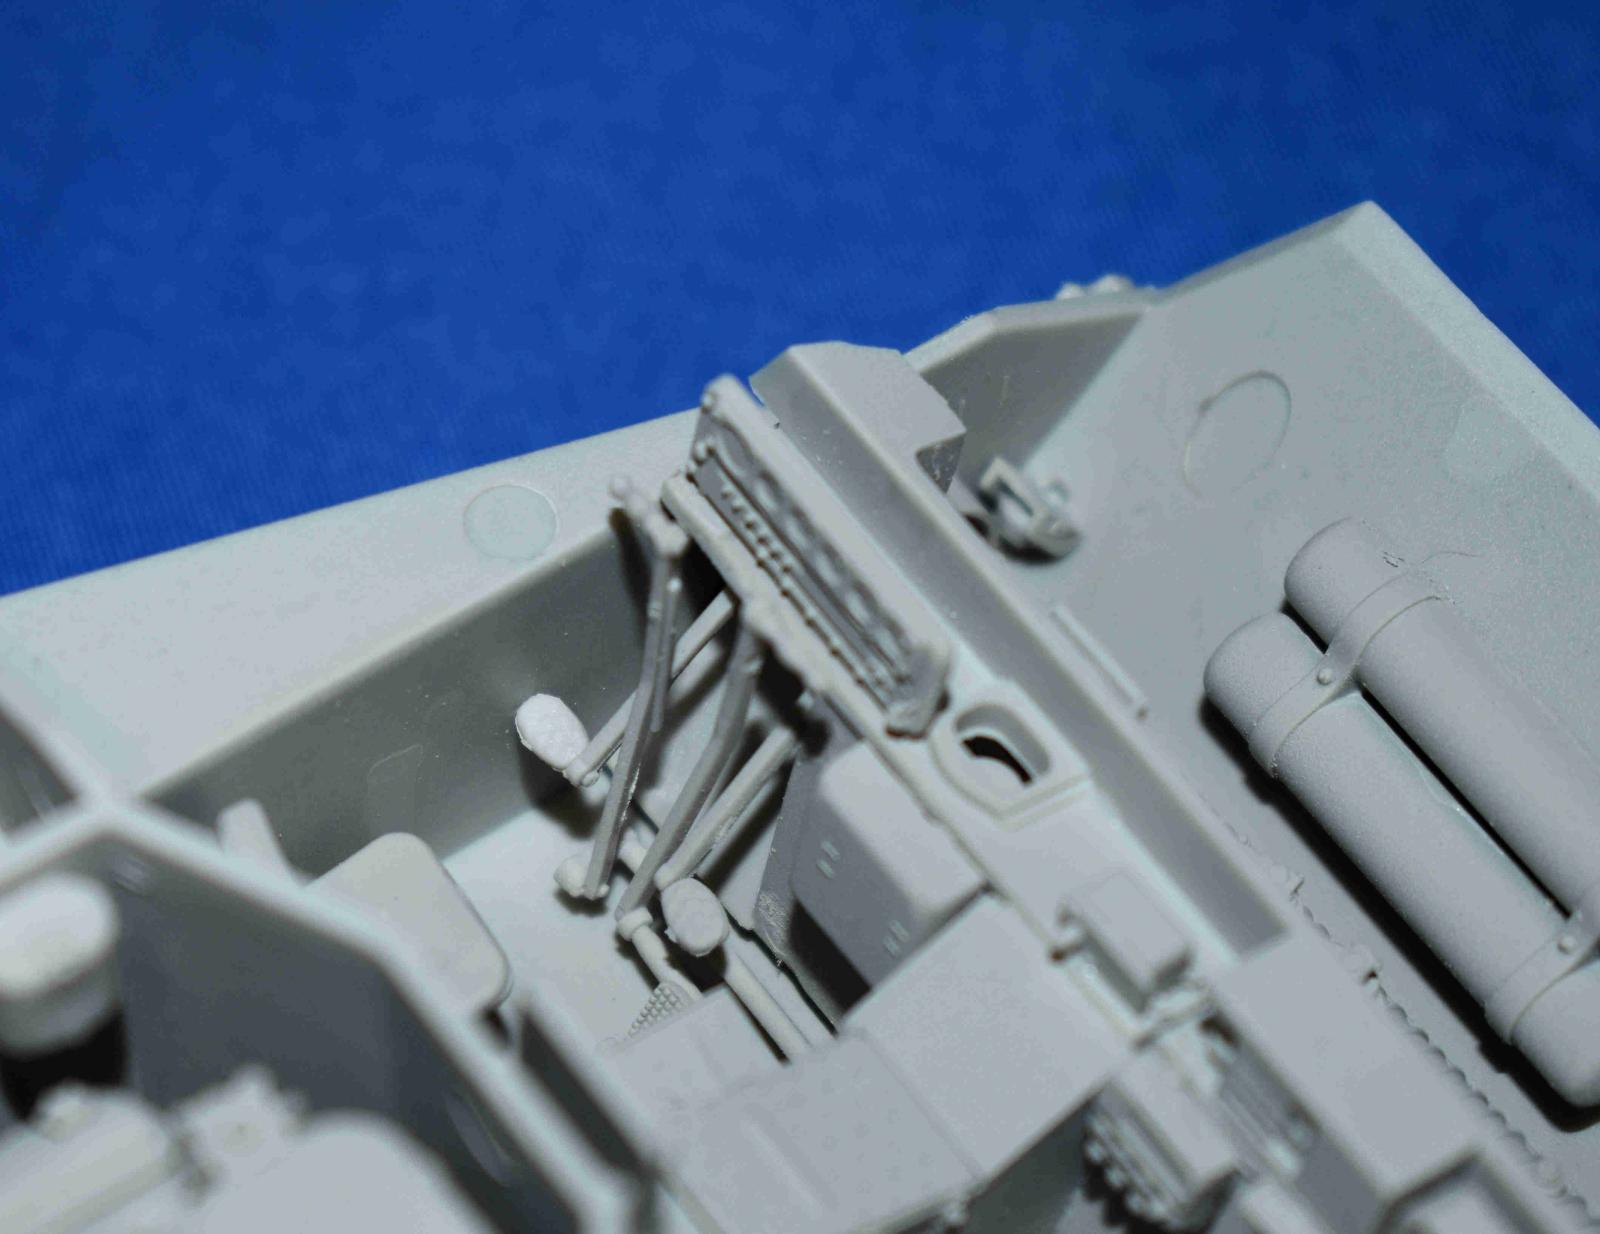
Construction begins with the bottom hull adding the interior parts. In Trumpeter fashion many smaller parts are split and need added together. The engine is a thing of beauty- almost 100 parts for the engine and compartment. There are some parts that are small but, in the end, patience and good Optivisors and the results and great. I included some interior pics for reference. Also added to the bottom, the bogeys and the fuel tanks. Finally, the tracks are added. They are link and run and are fit reasonably well.
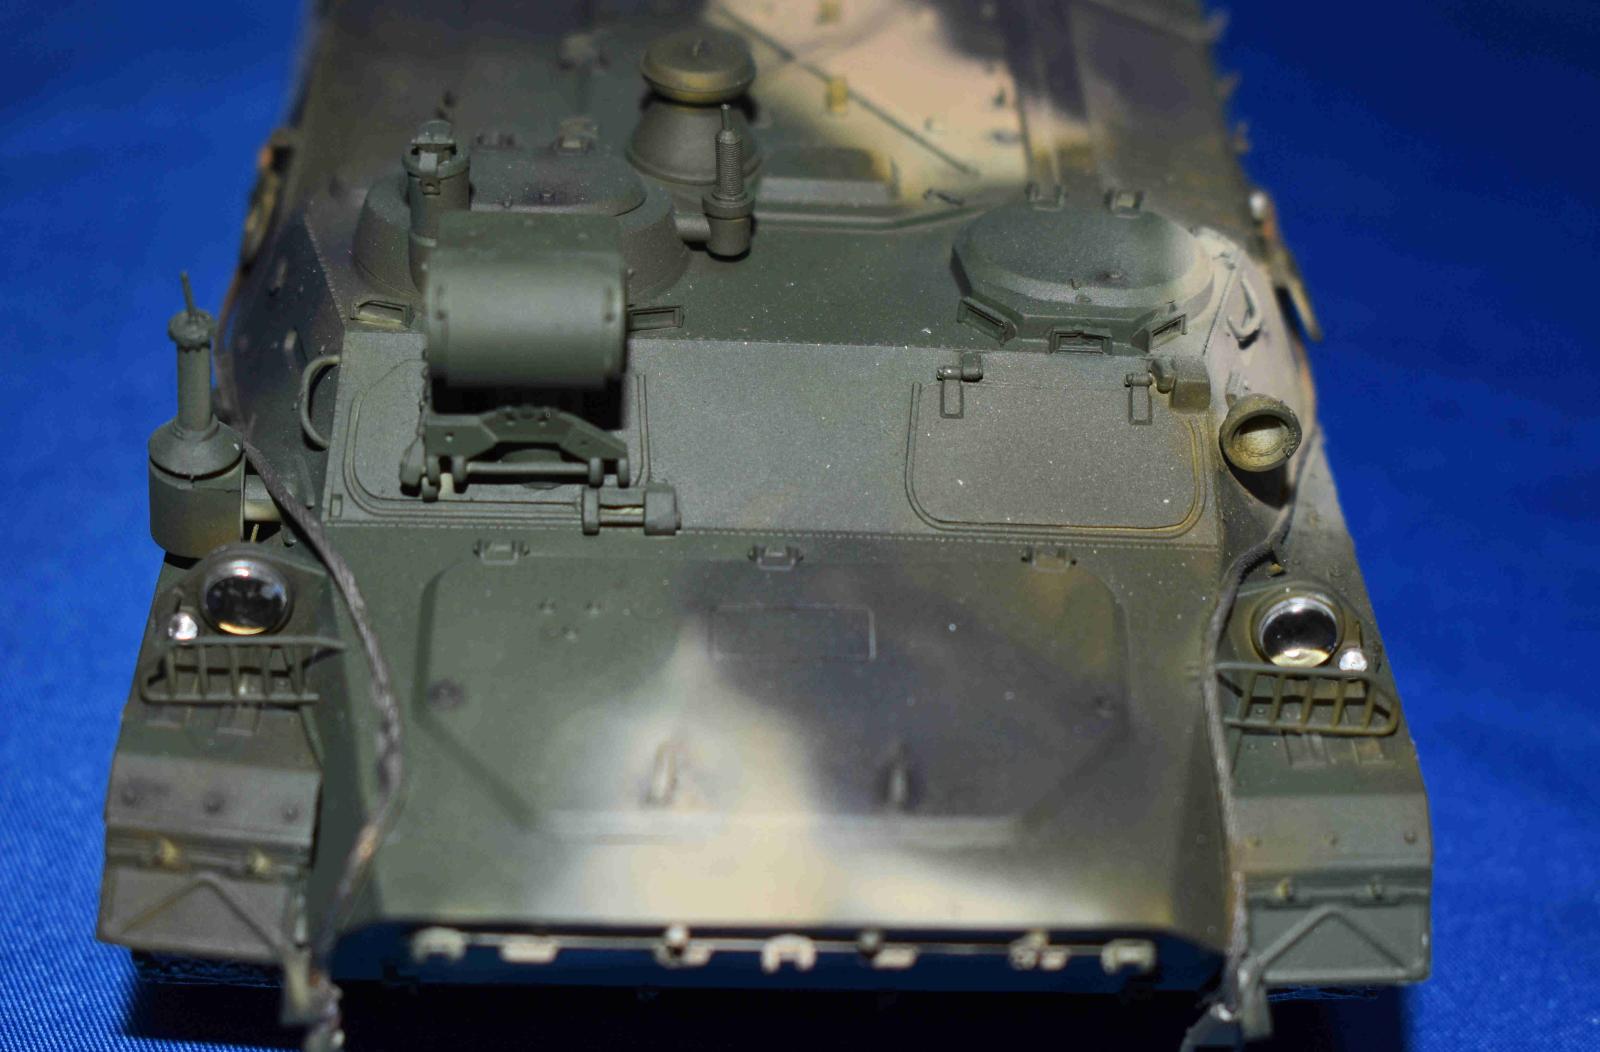
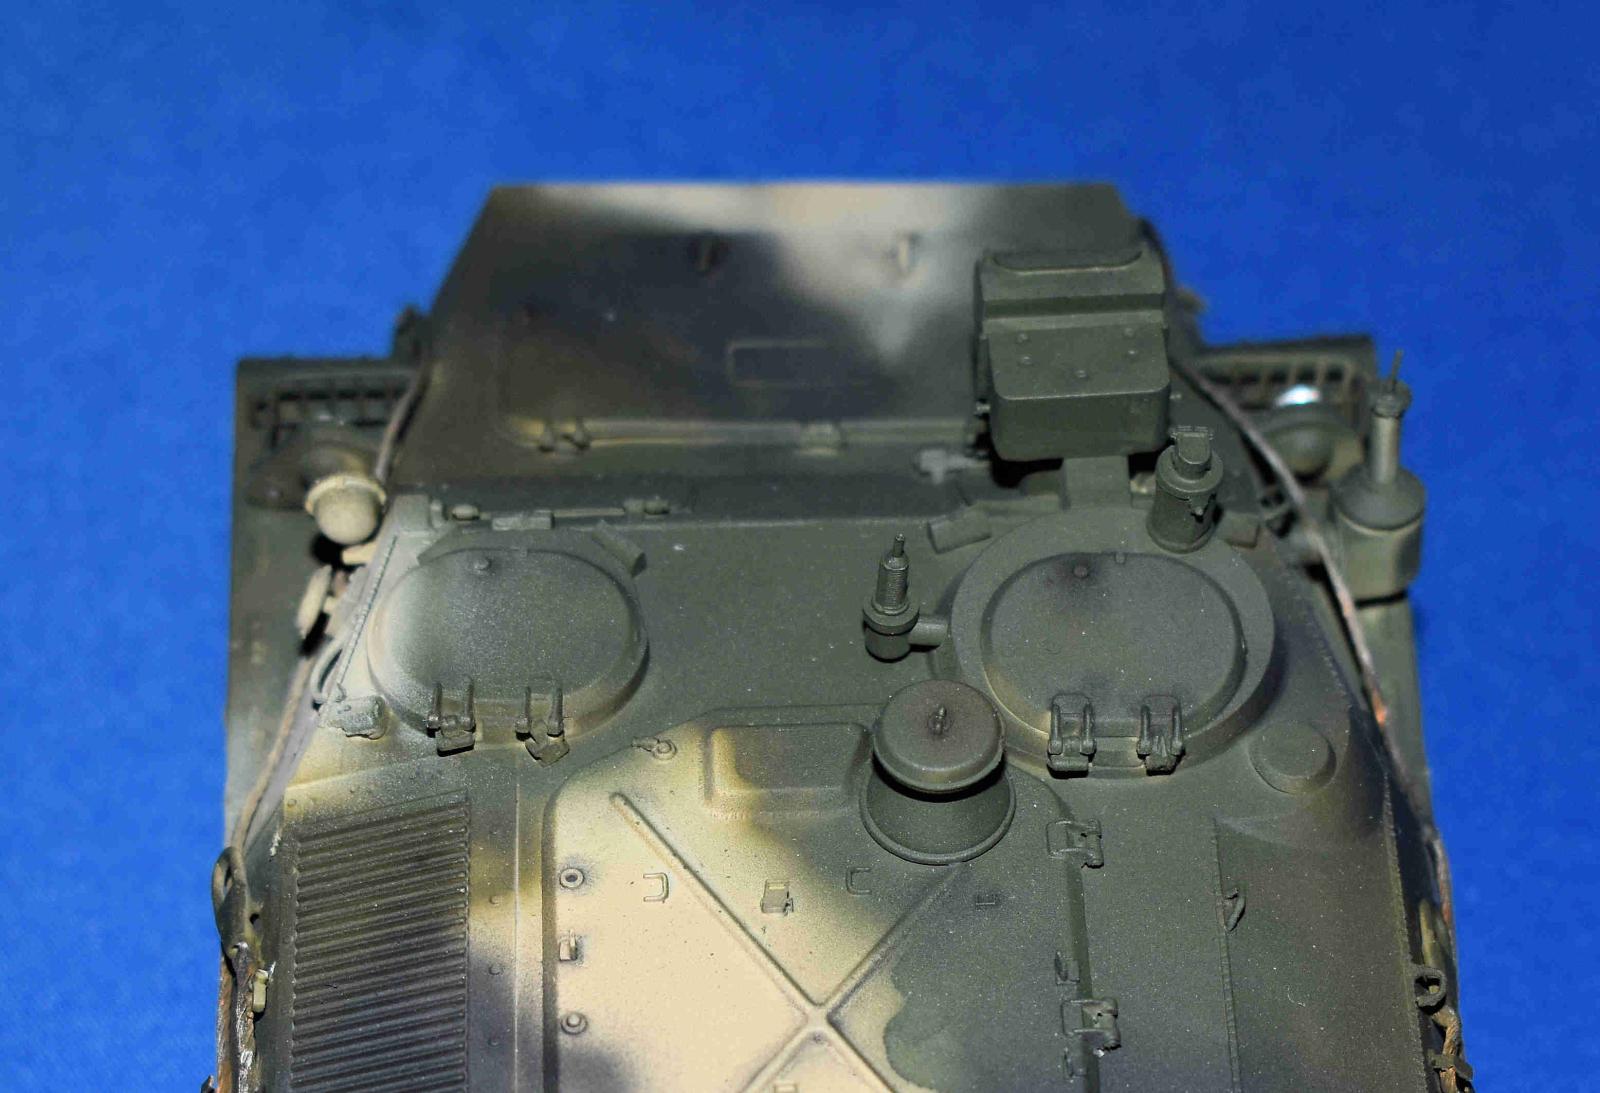
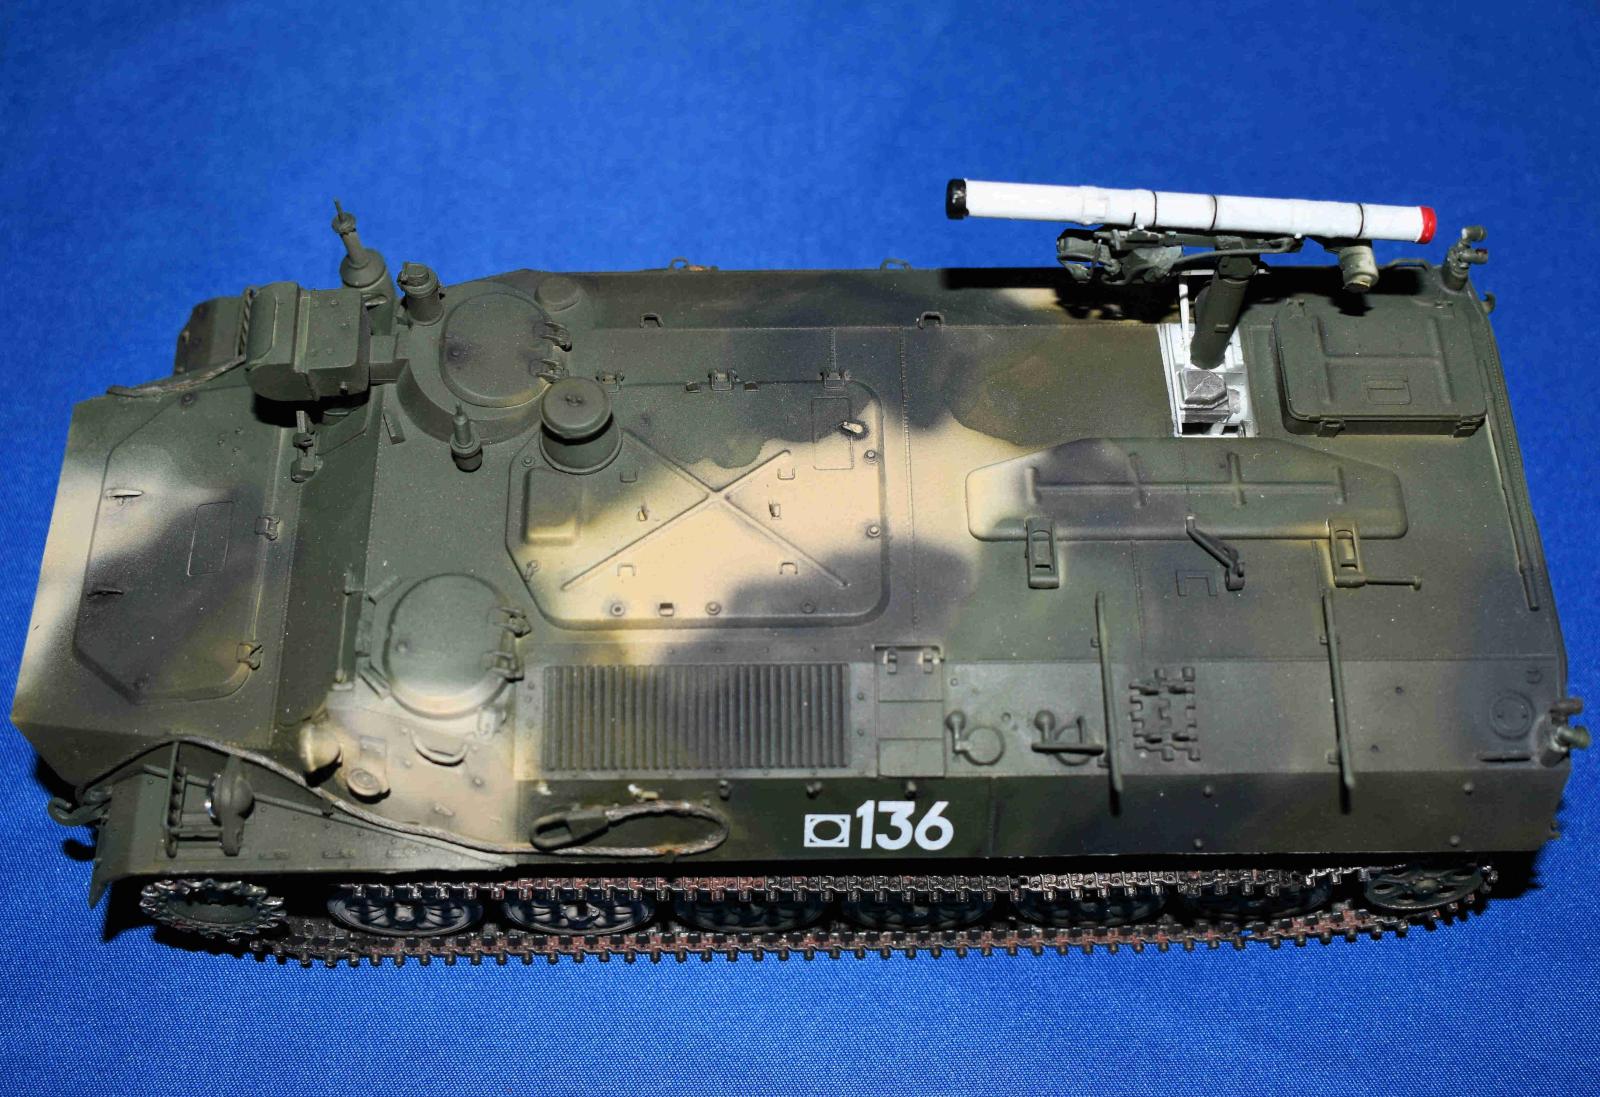
The top is next and I starts with the well for the missile which I wanted open. The hatches are installed. All of them have great interiors. They do not show an option for having them open but it could be done. Also, lots of little parts; each door latch and frame is a separate part. Make a note of all the photoetch latches and hand holds. The missile arm and system are next.
Lastly, the rear fenders which are made of 19 pieces with some less than a millimeter. Most also need bent. I tried for several days and in the end, I could not get them to stay together. I think soldering might be best BUT you would need a very small tip which I do not have so they were scrapped.
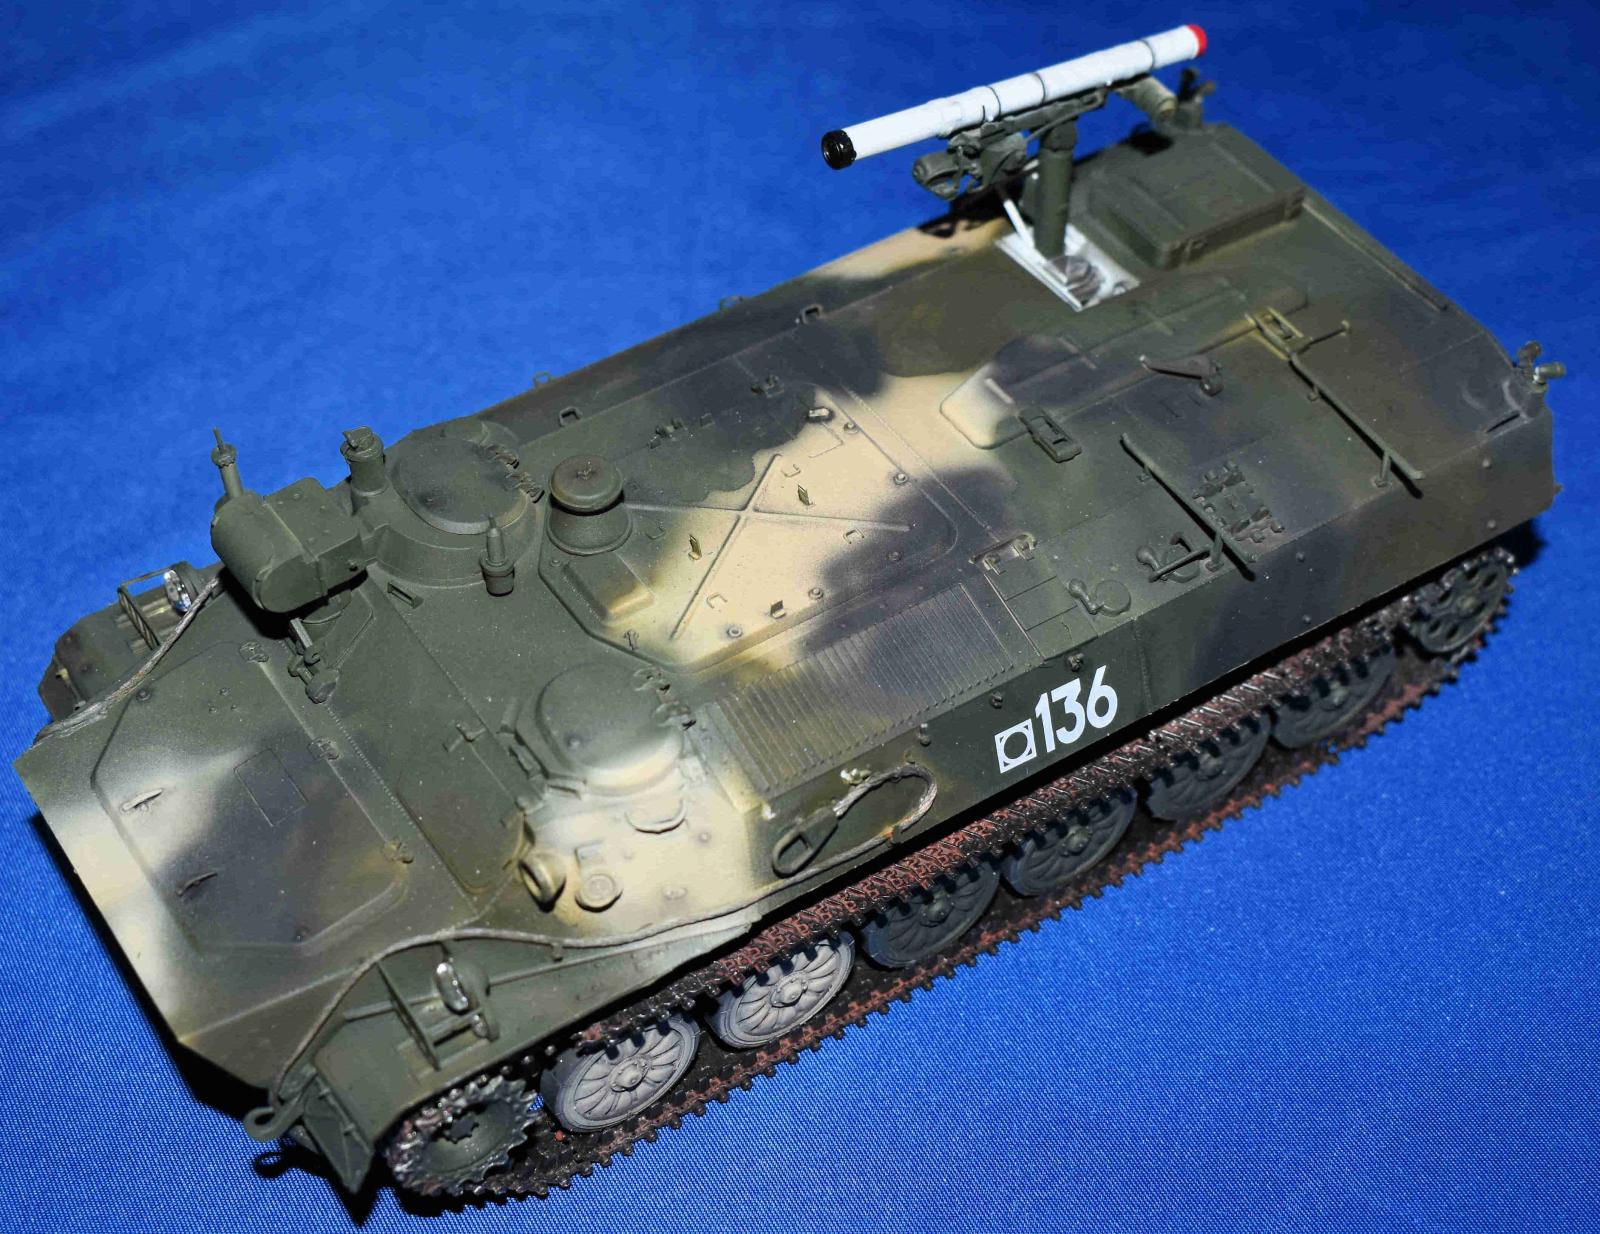
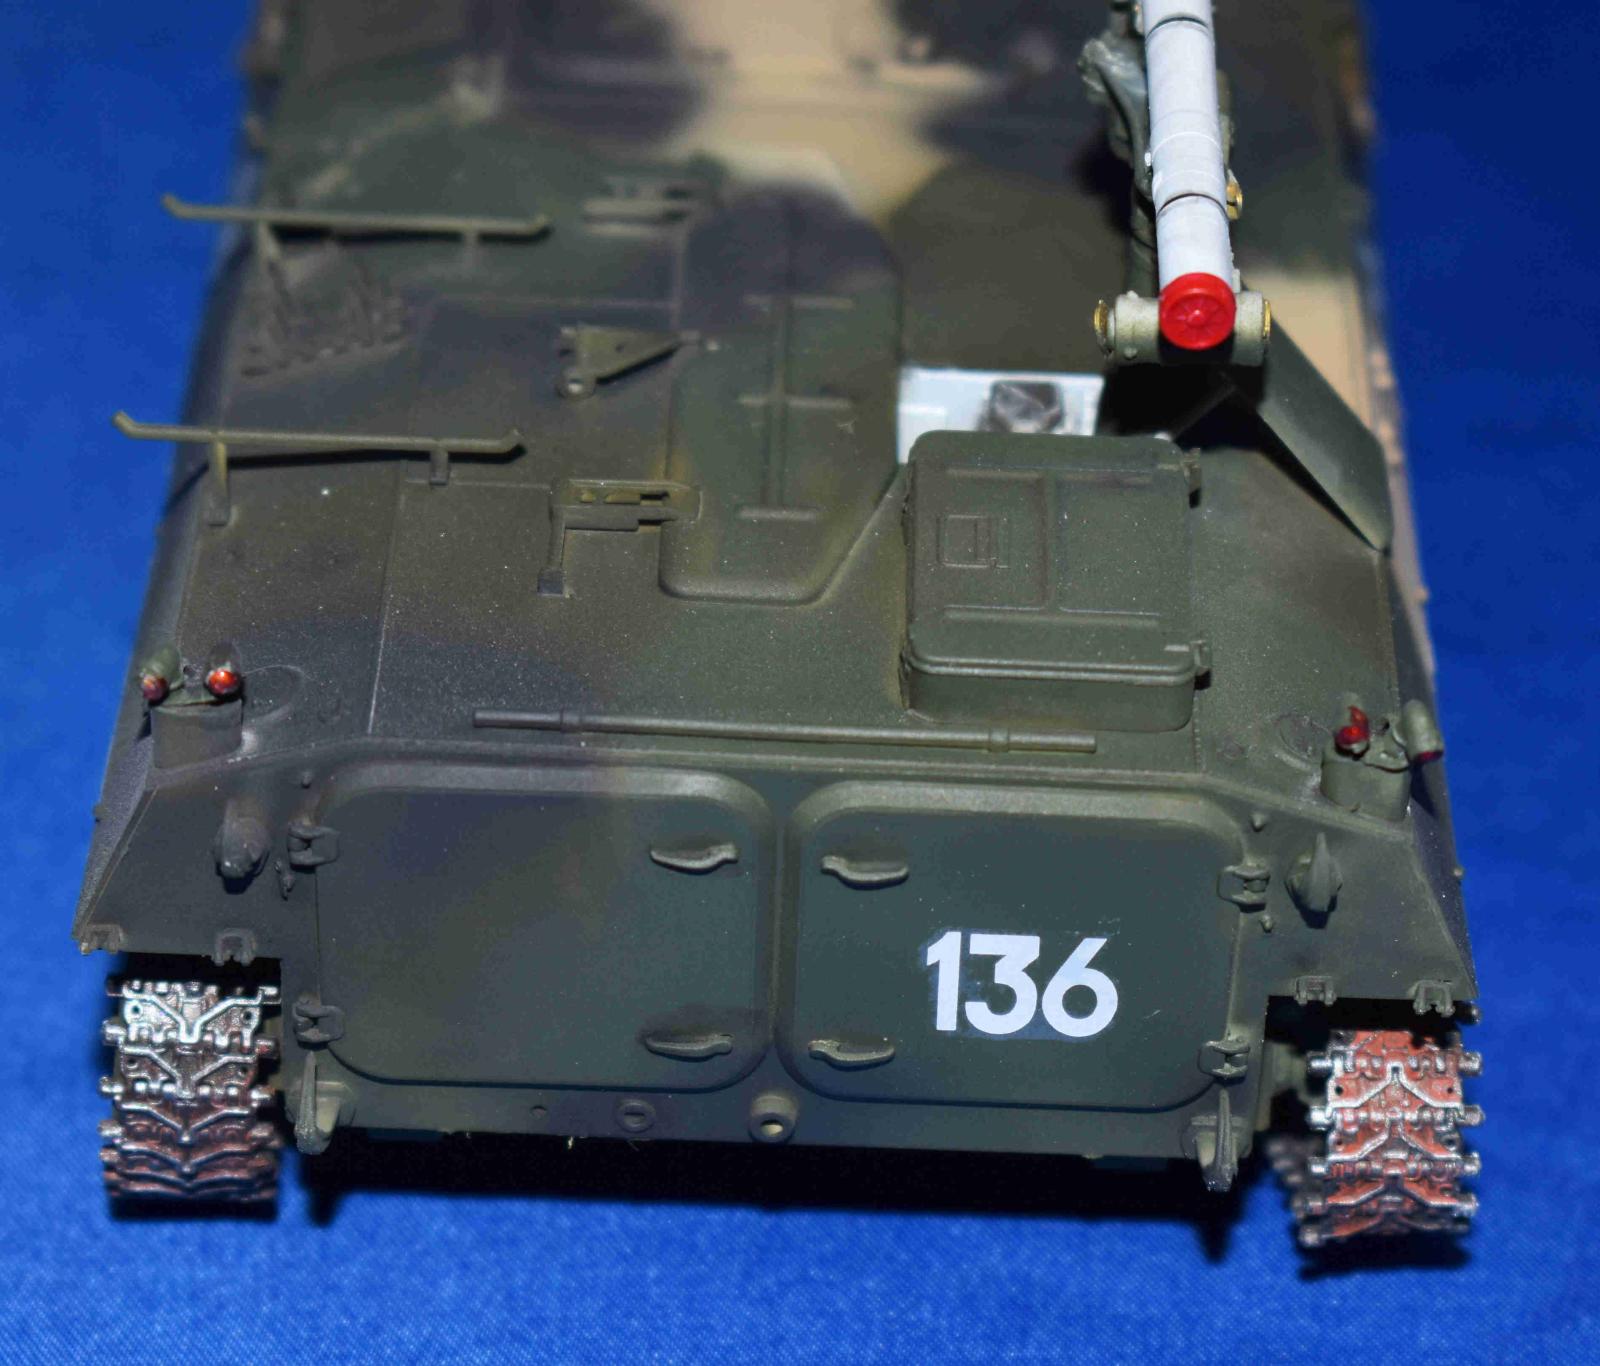
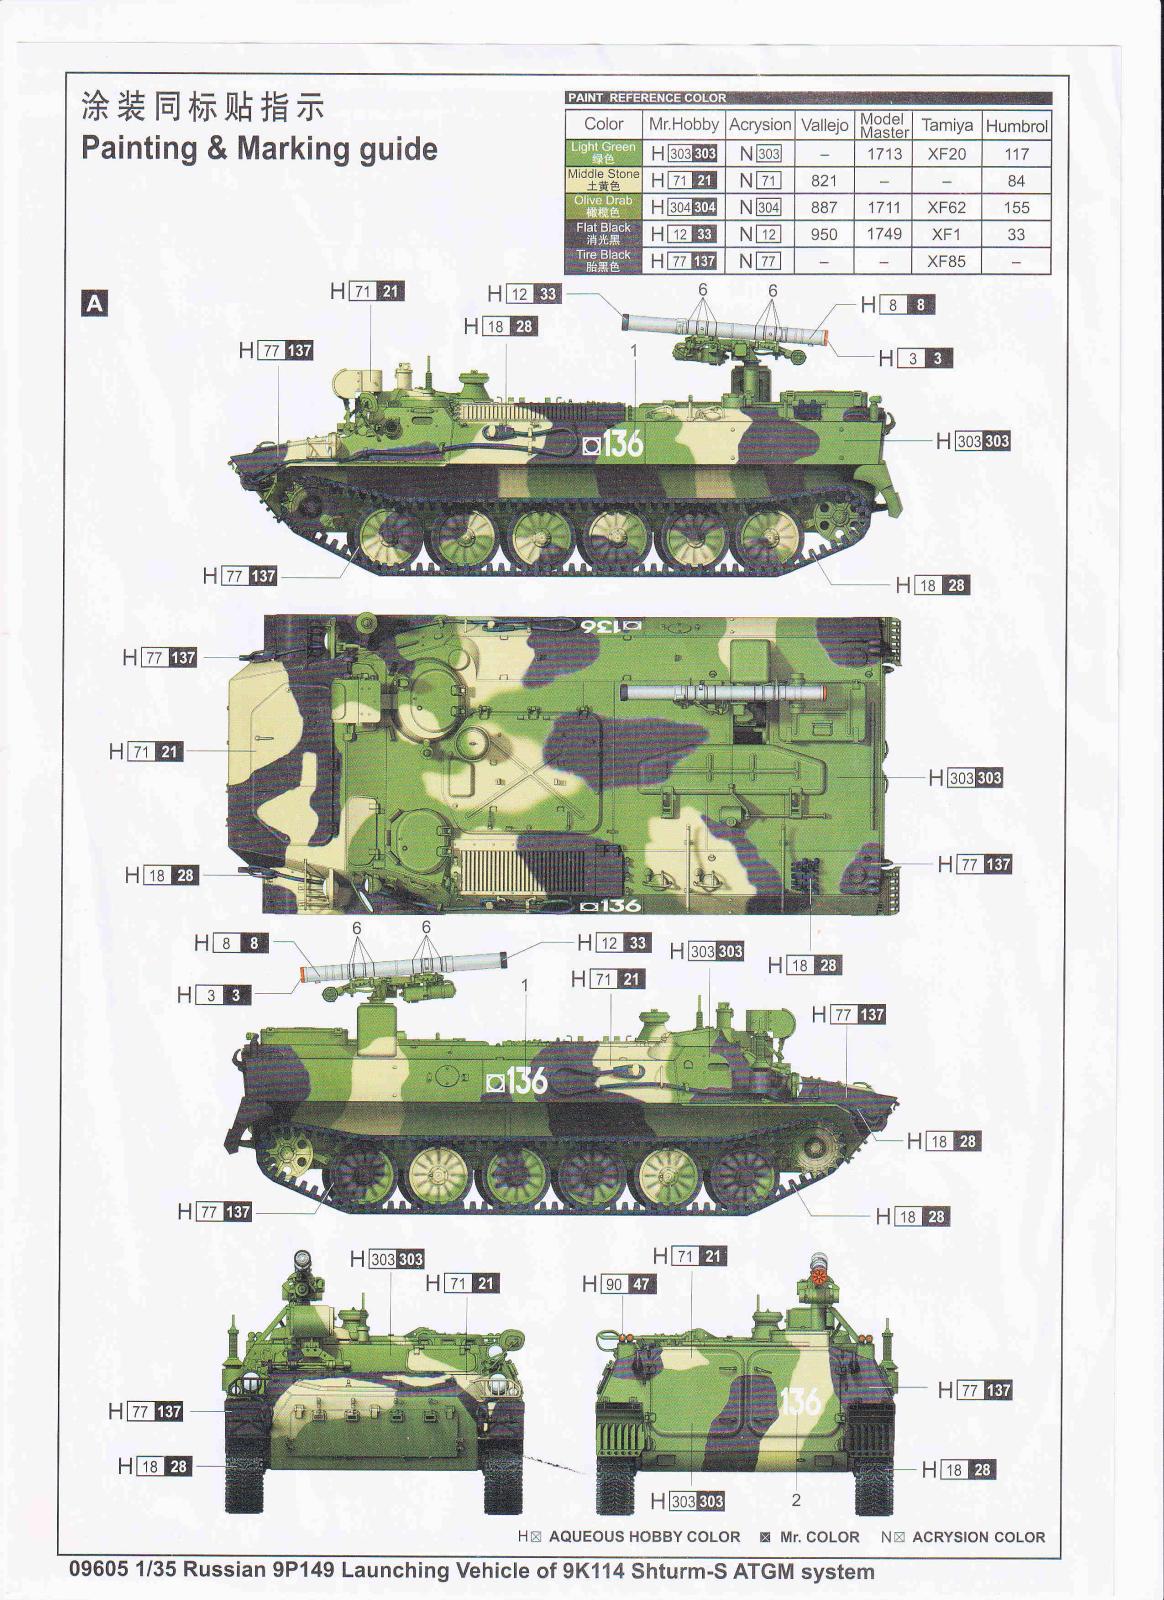
Last was to join top and bottom and this went well. There are two marking options. A solid green and multicolor option which I chose. I did not attach the bogies so painting is easy. The only thing is that there are a lot of fiddly bits so watch how you grab it. A quick clear cote and I added the decals which went on well. Once dry, I added the cables on the side
I weathered the tracks with black wash, rust wash and dry brushing. I added black oil watch to highlight the details and once I was happy, I added a little pastels and flat coated. Last were the lights and done.
This is a nice kit of a rarer vehicle. Fitis good but I do recommend experience with photoetch and lots of small parts.
My thanks to Trumpeter and MRC Academy for the chance to build this unique kit.


Comments
Add new comment
This site is protected by reCAPTCHA and the Google Privacy Policy and Terms of Service apply.
Similar Reviews