
Renault London Taxi
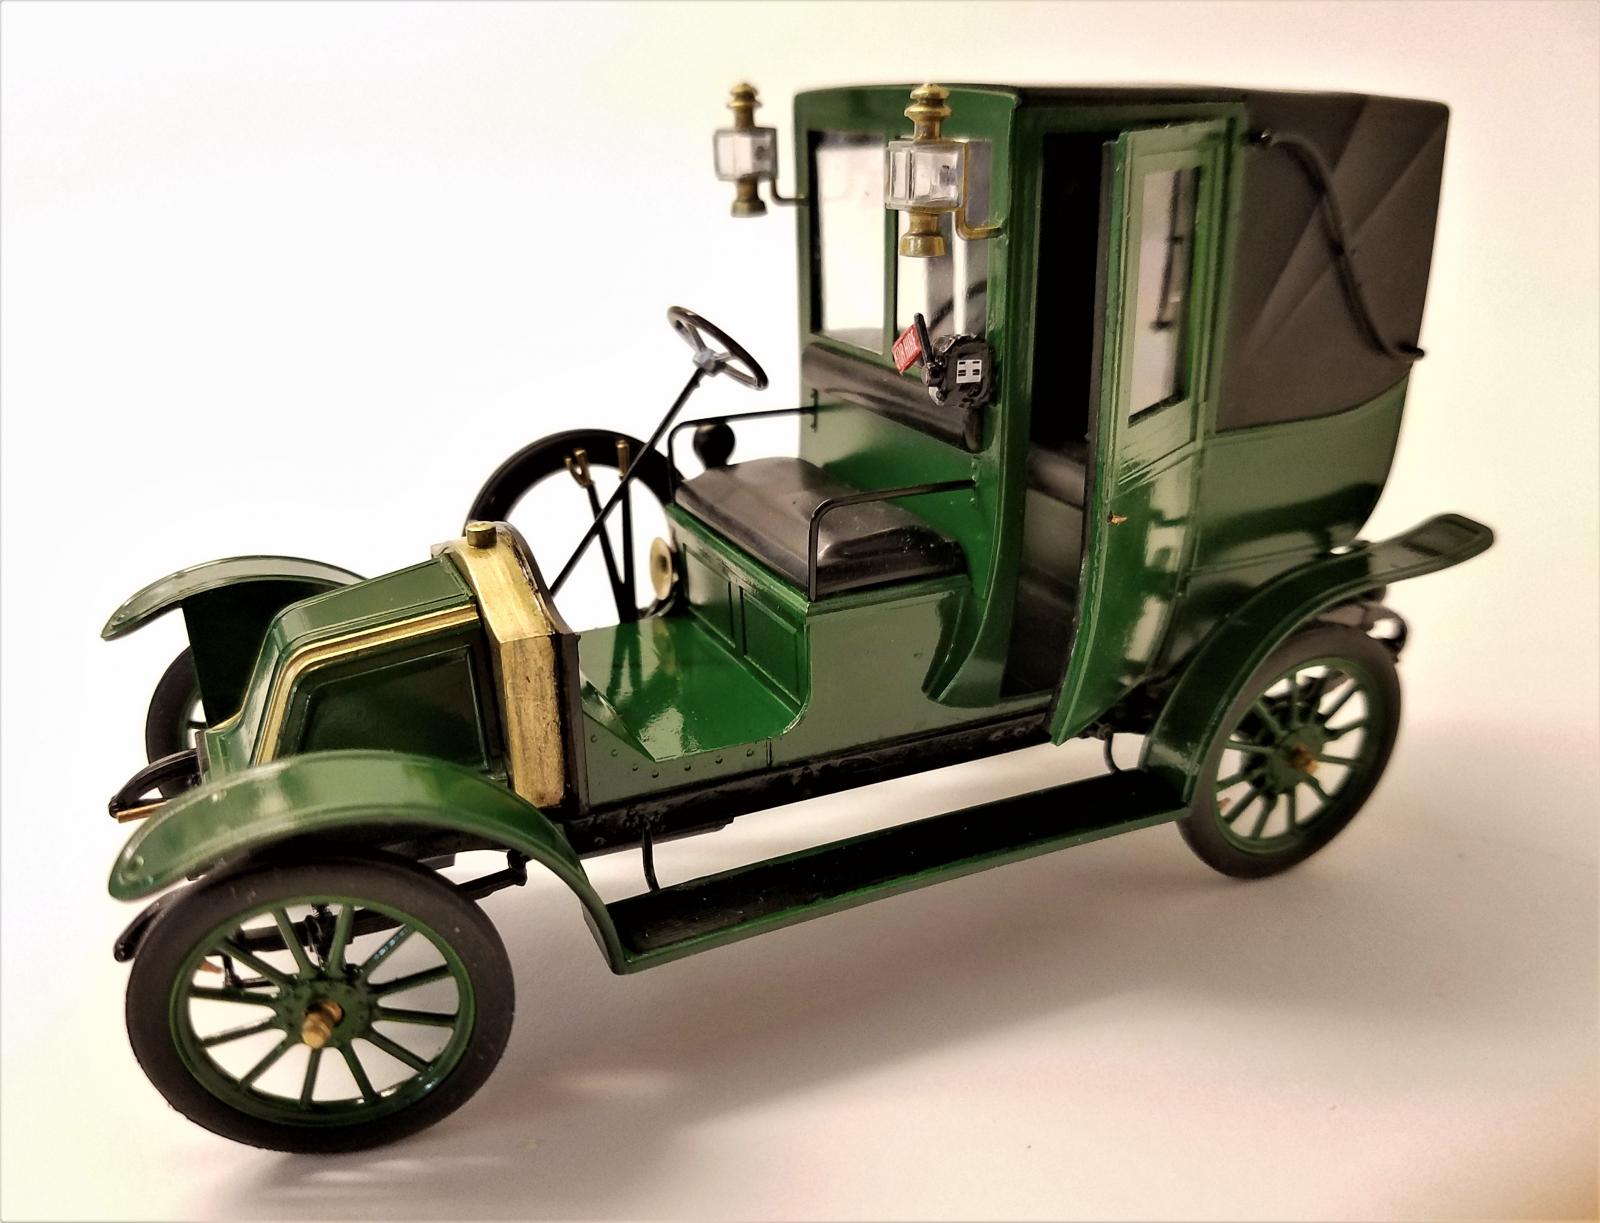
And now for something different – for this reviewer at least. I’ve always been intrigued with the bright brasswork of early automobiles and the combination of dark green paint and brass trim caught my eye when perusing the list of review items.
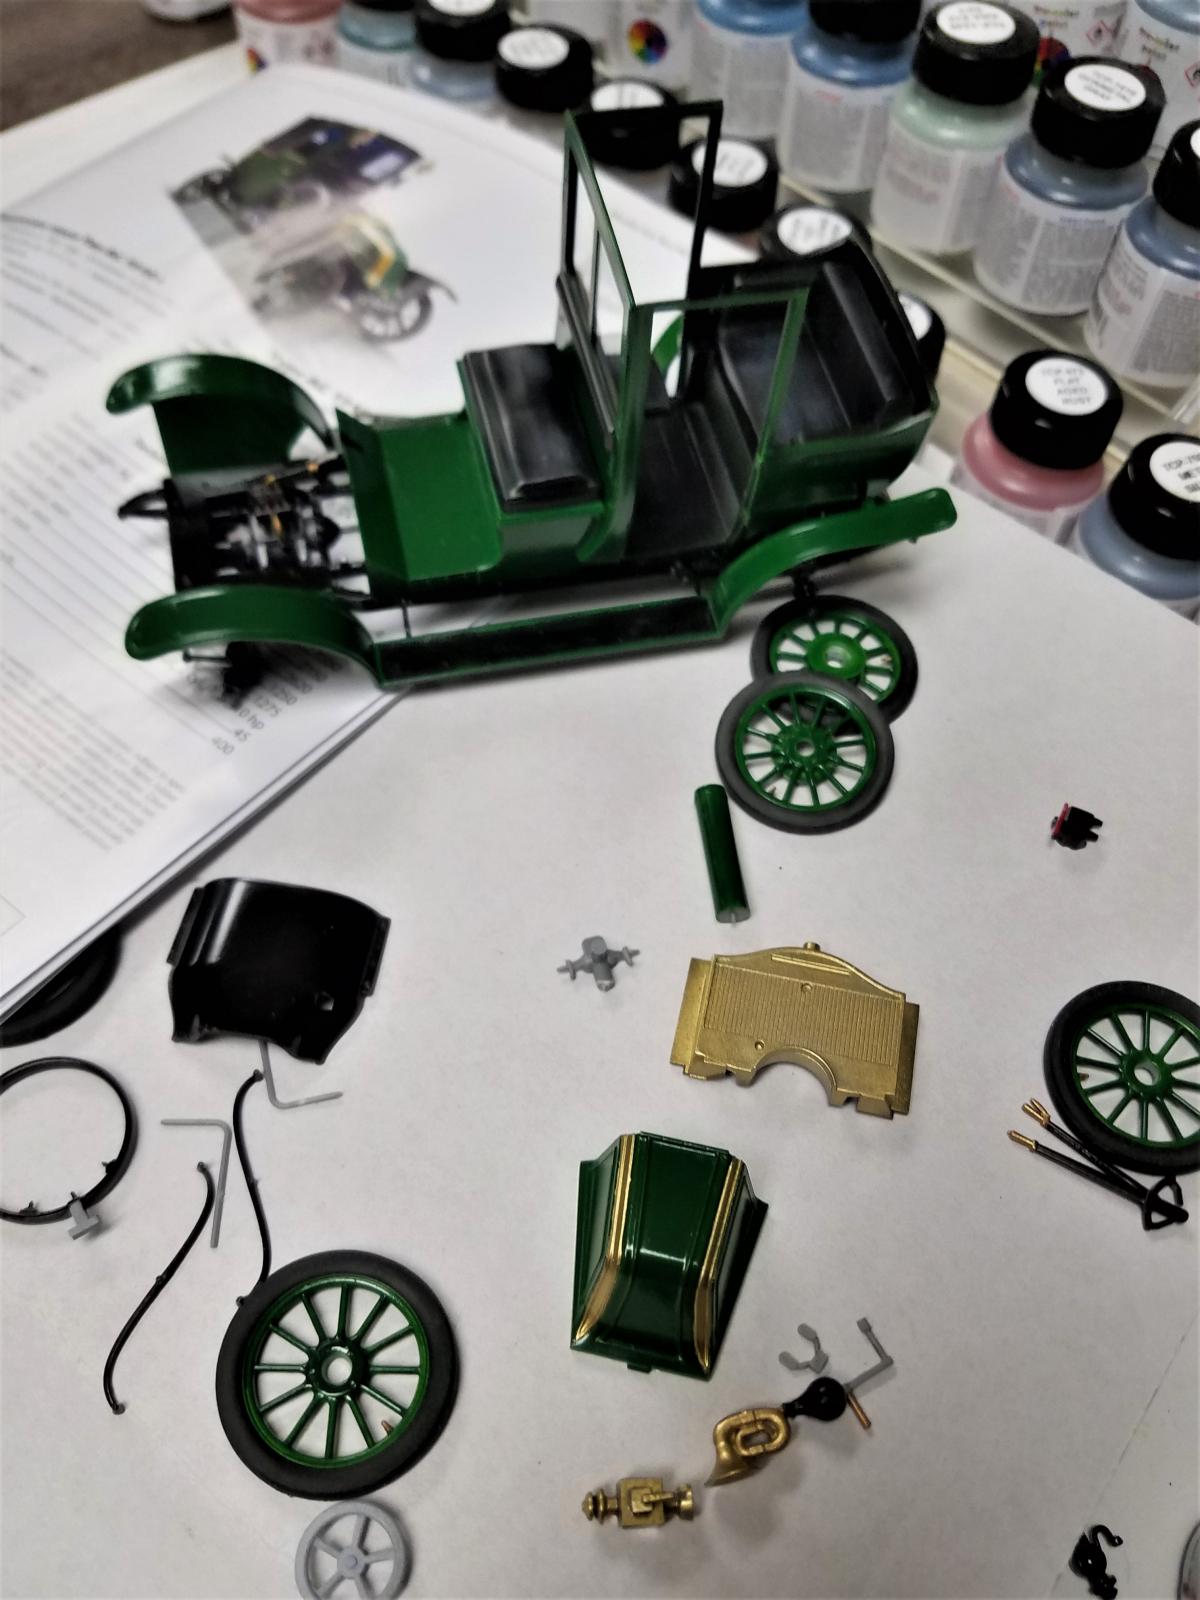
The kit arrives in a very sturdy cardboard box with separate cover in full color. Each tree is carefully wrapped, clear parts and rubber tires are packaged separately, and a very nice gloss printed instruction manual is included.
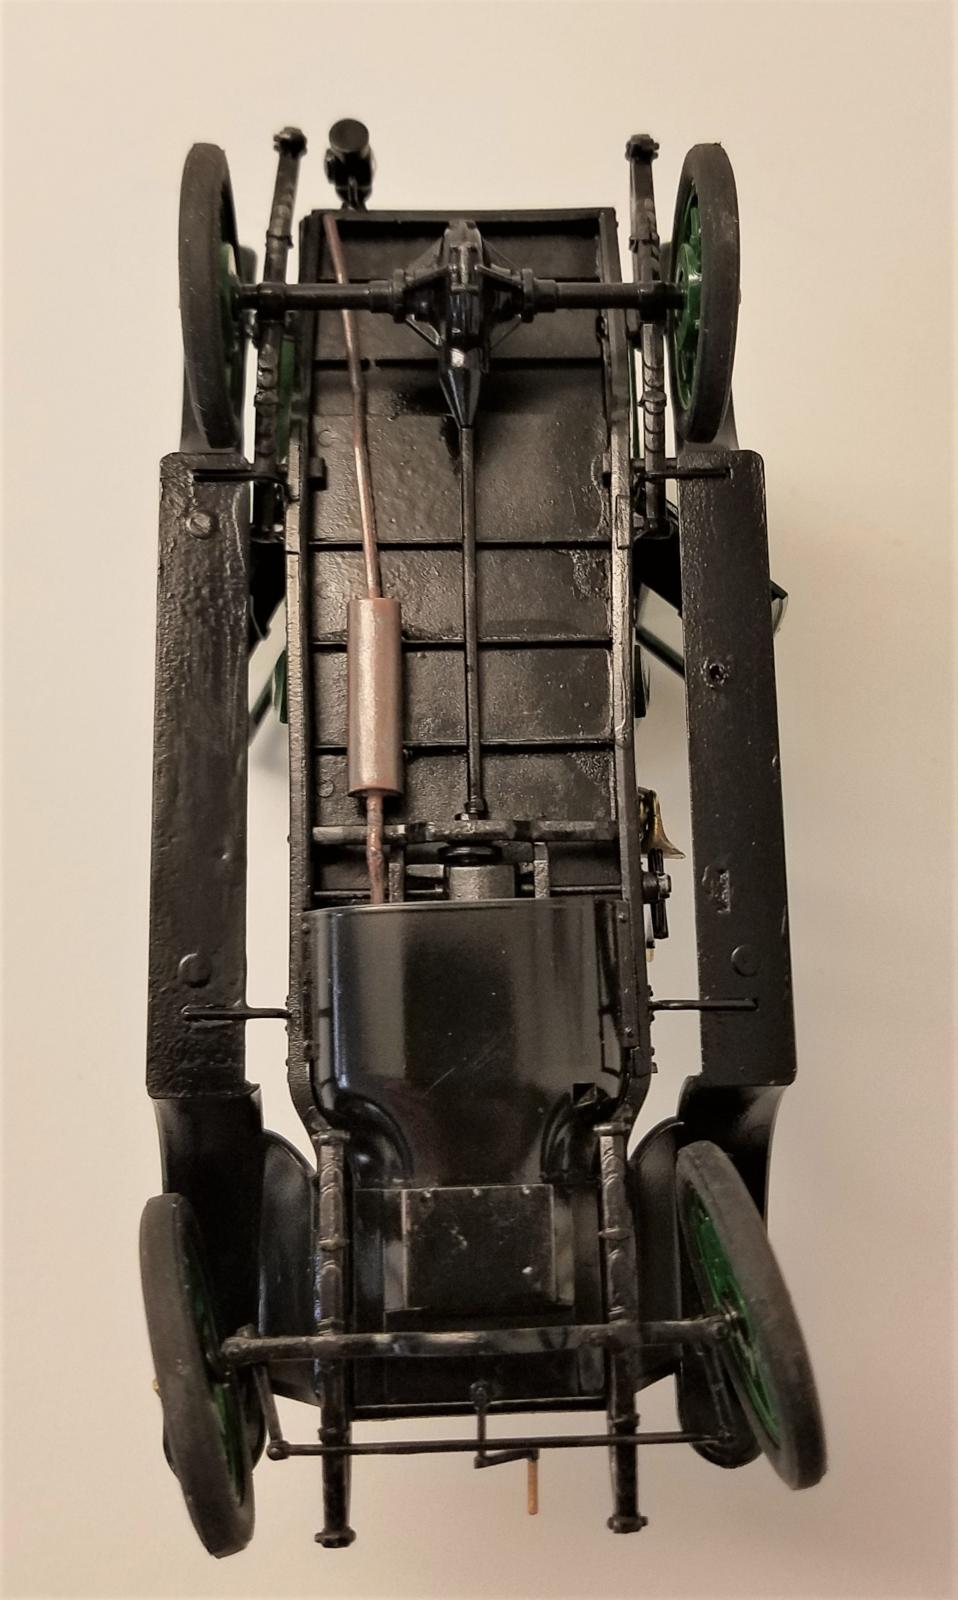
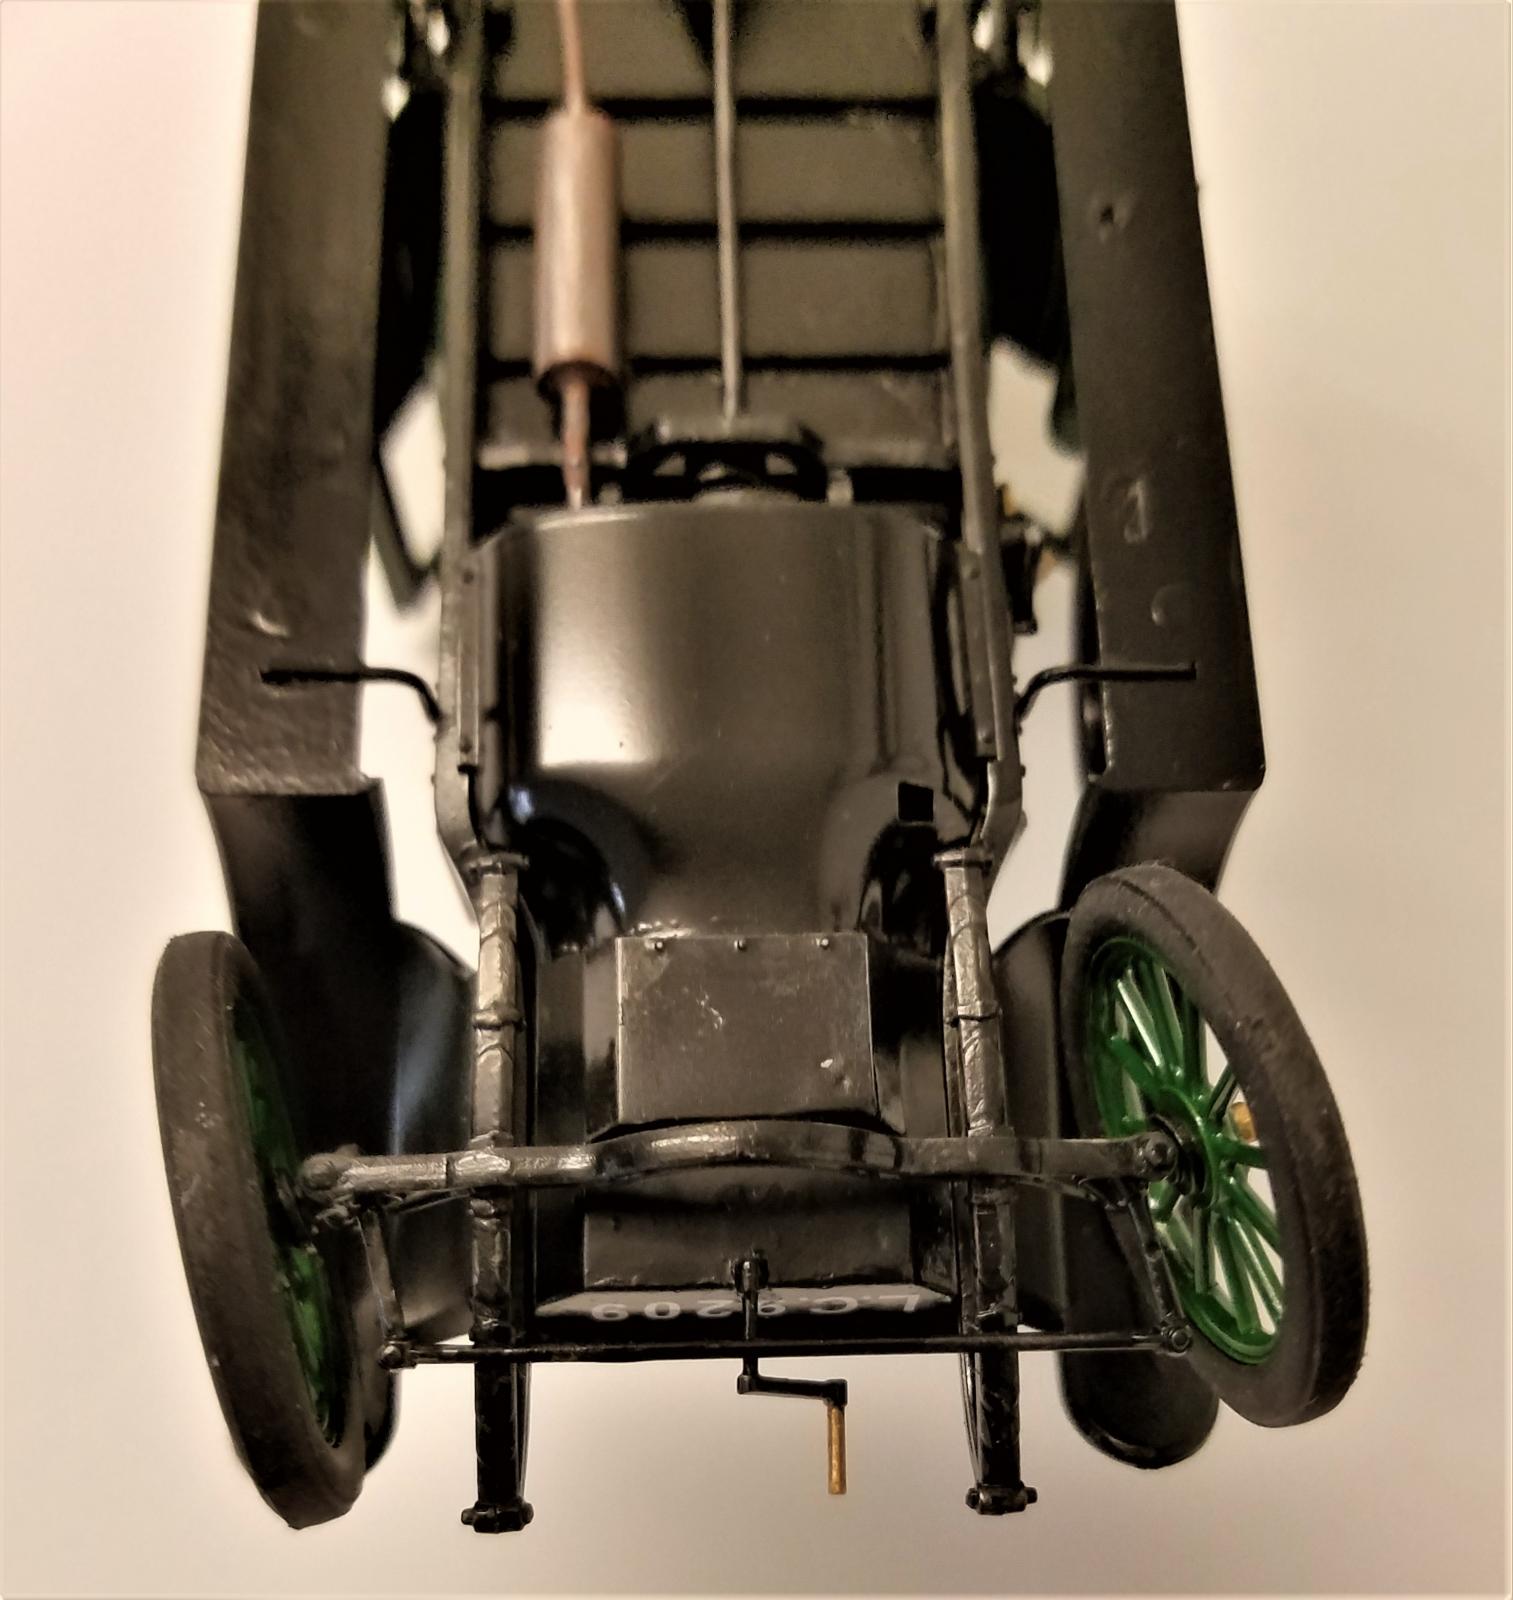
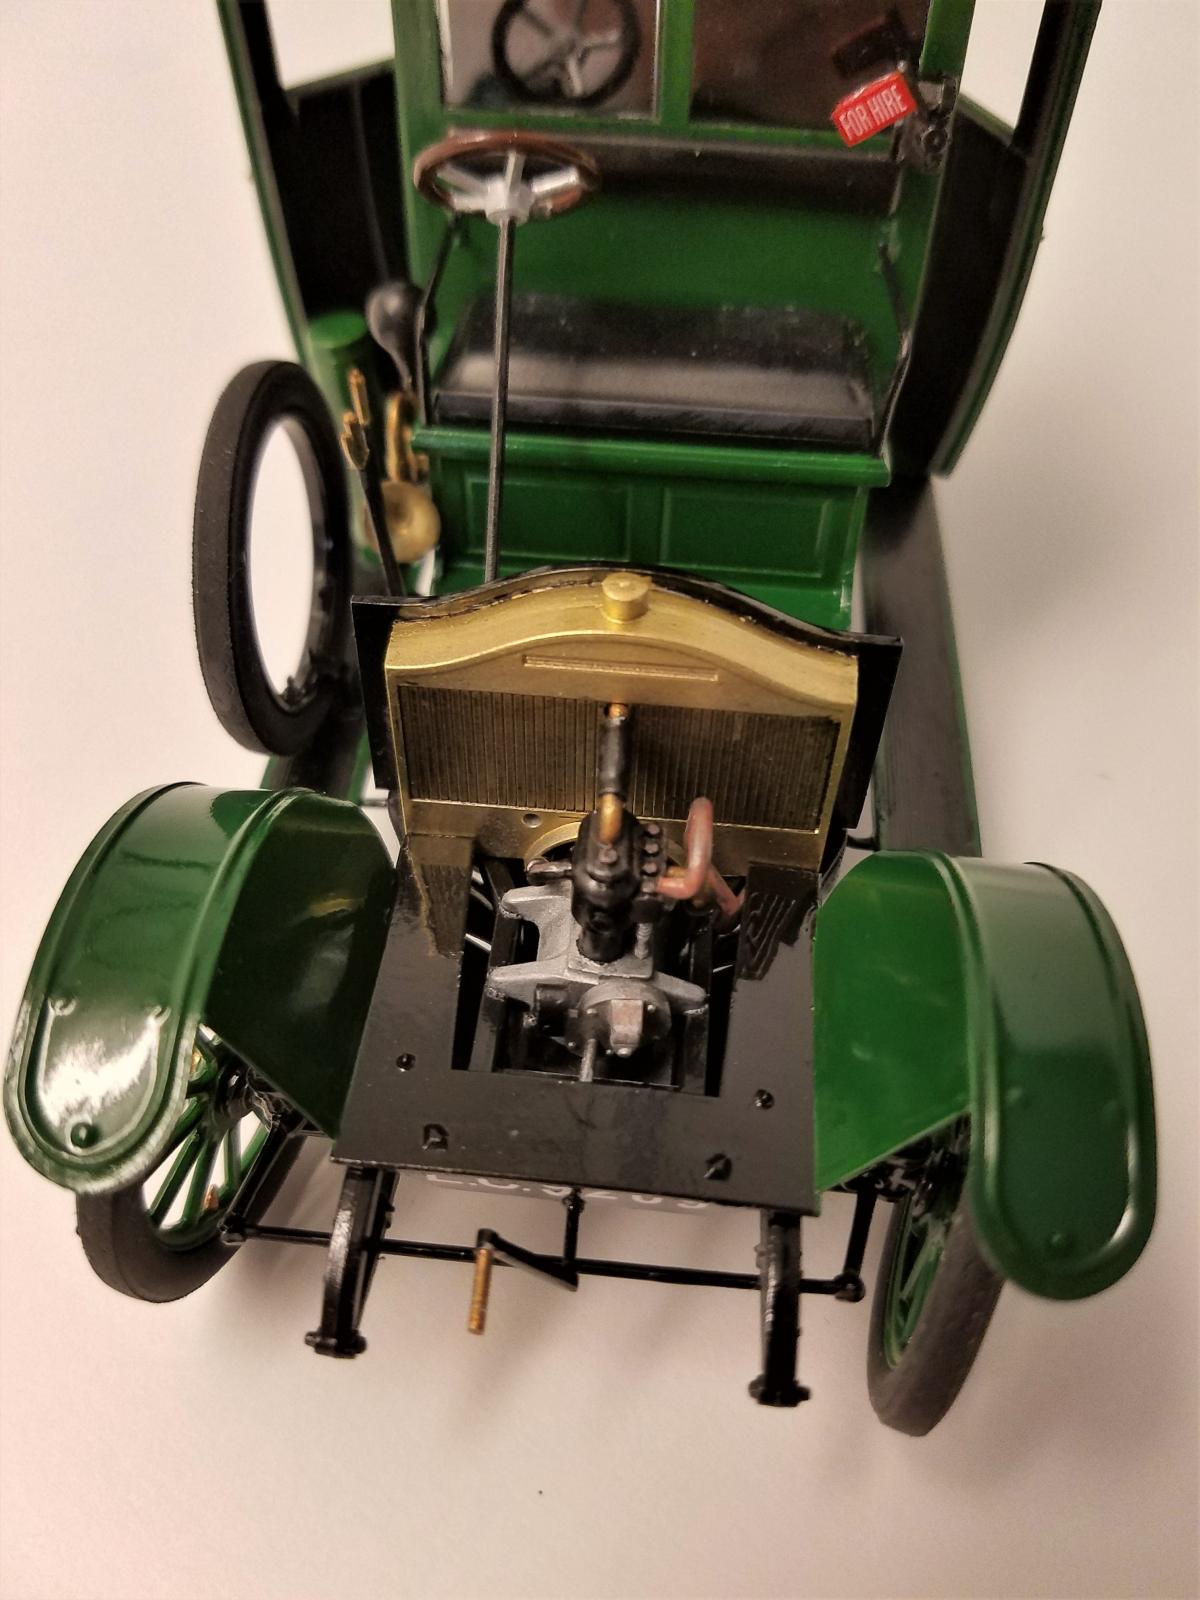
Construction is relatively straightforward, I deviated from some of the sequences to facilitate painting and avoid knocking off some of the smaller bits. The 10hp Renault engine is nicely detailed but I ran into problems attaching the exhaust pipe. Part of this is due to somewhat obscure illustration and compounding this was the fact that the pipe itself was broken during assembly. Let’s chalk that one up to builder error.
The leaf springs at each wheel are (realistically) springy and can present a challenge during chassis assembly. For some reason, one of the rear springs didn’t want to line up and you can see that it is slightly out of line in the build photos.
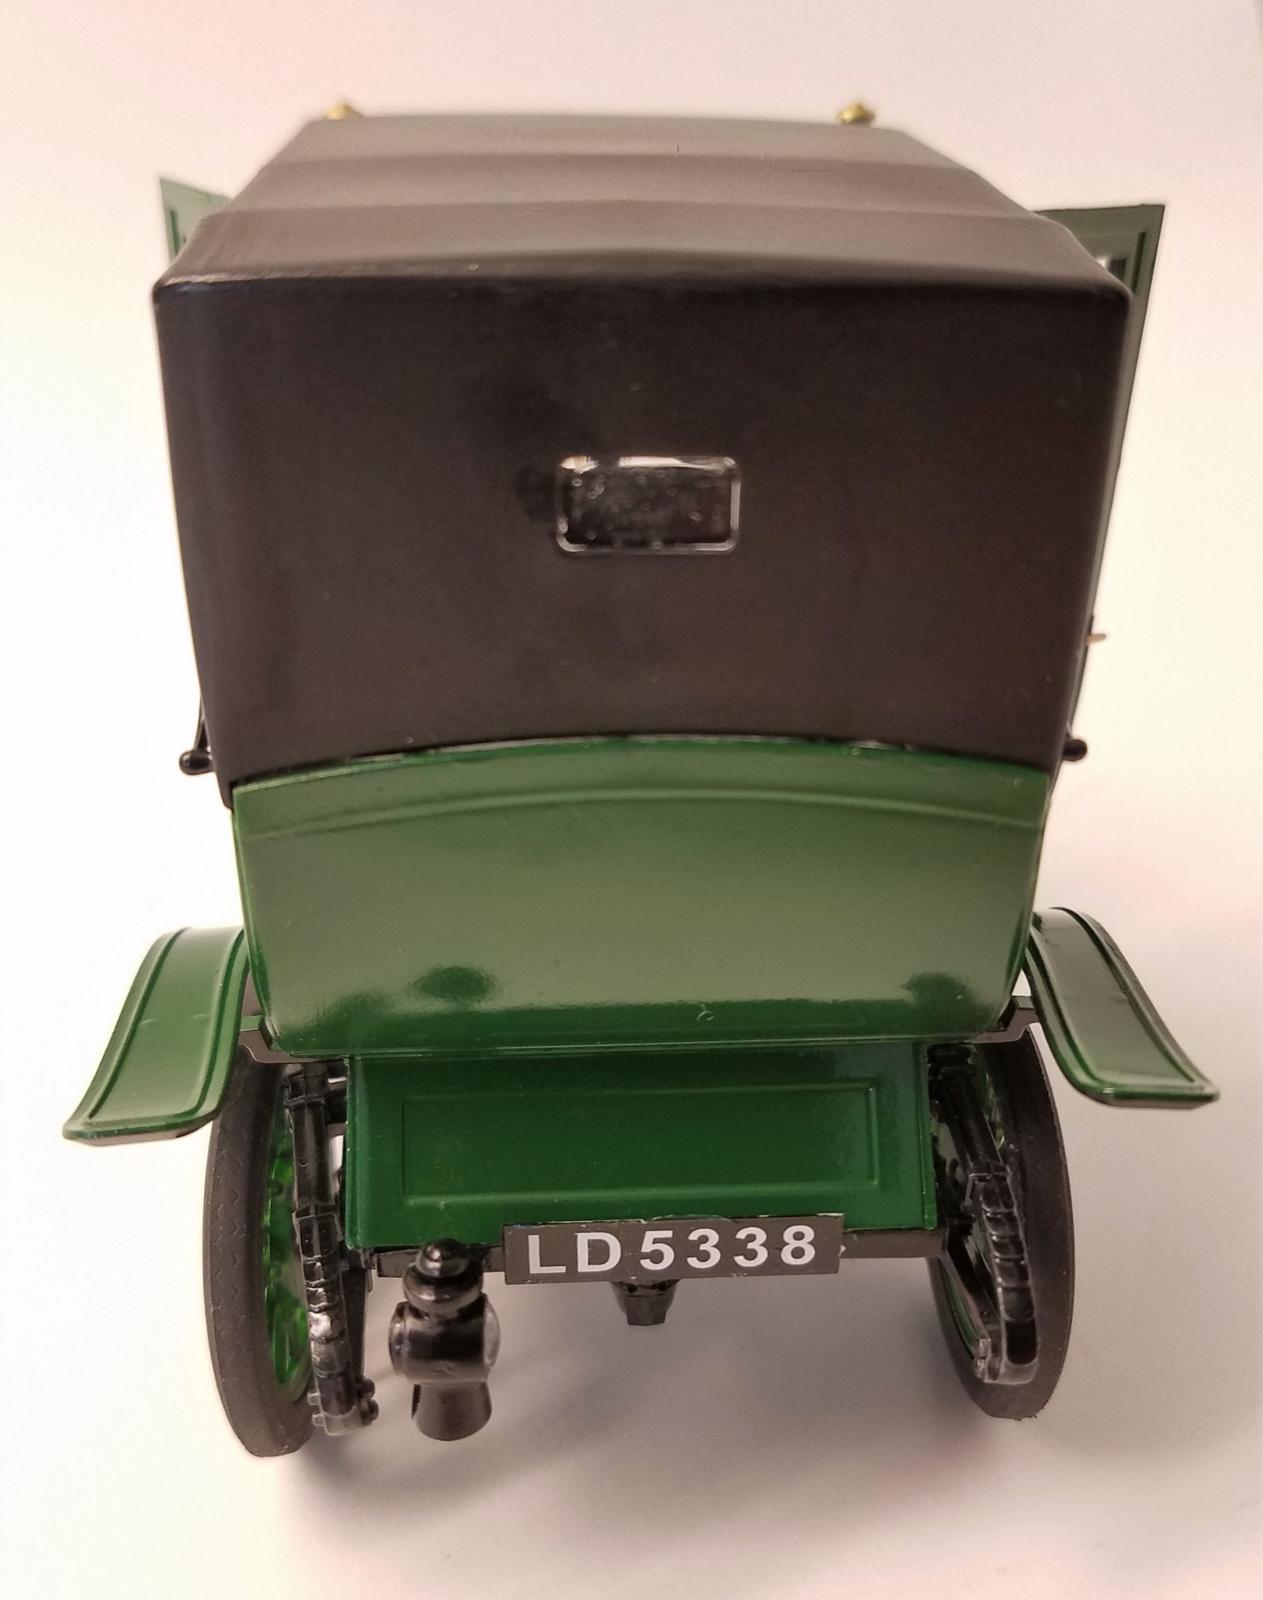
All that aside this is really a nicely engineered kit and carefully following the instructions results in a simple build. No filler was required anywhere. I mixed a dark green to match the artwork starting with Testor’s gloss green, adding small amounts of black until I reached the right shade. I used Model Master acrylic Gloss Black for the chassis components and Semi-gloss Black for the interior and the (leather?) soft roof. I dry-brushed a lightened version of this onto some of the seat cushions and roof folds.
Our good friends at Tru-Color came through at my request for a sprayable brass paint, as all that I had was some Testors brass that doesn’t airbrush well at all. I used this for the radiator, hood trim, and the front pillar-mounted lamps. Great stuff.
Once all the subassemblies were painted, final assembly began. I dipped all the clear parts in Pledge Multi-Surface finish and after they dried, used the same product to adhere them in place. If you load a brush with MSF and touch it to the edge of the clear part, it will wick into the joint and you don’t risk glue marks.
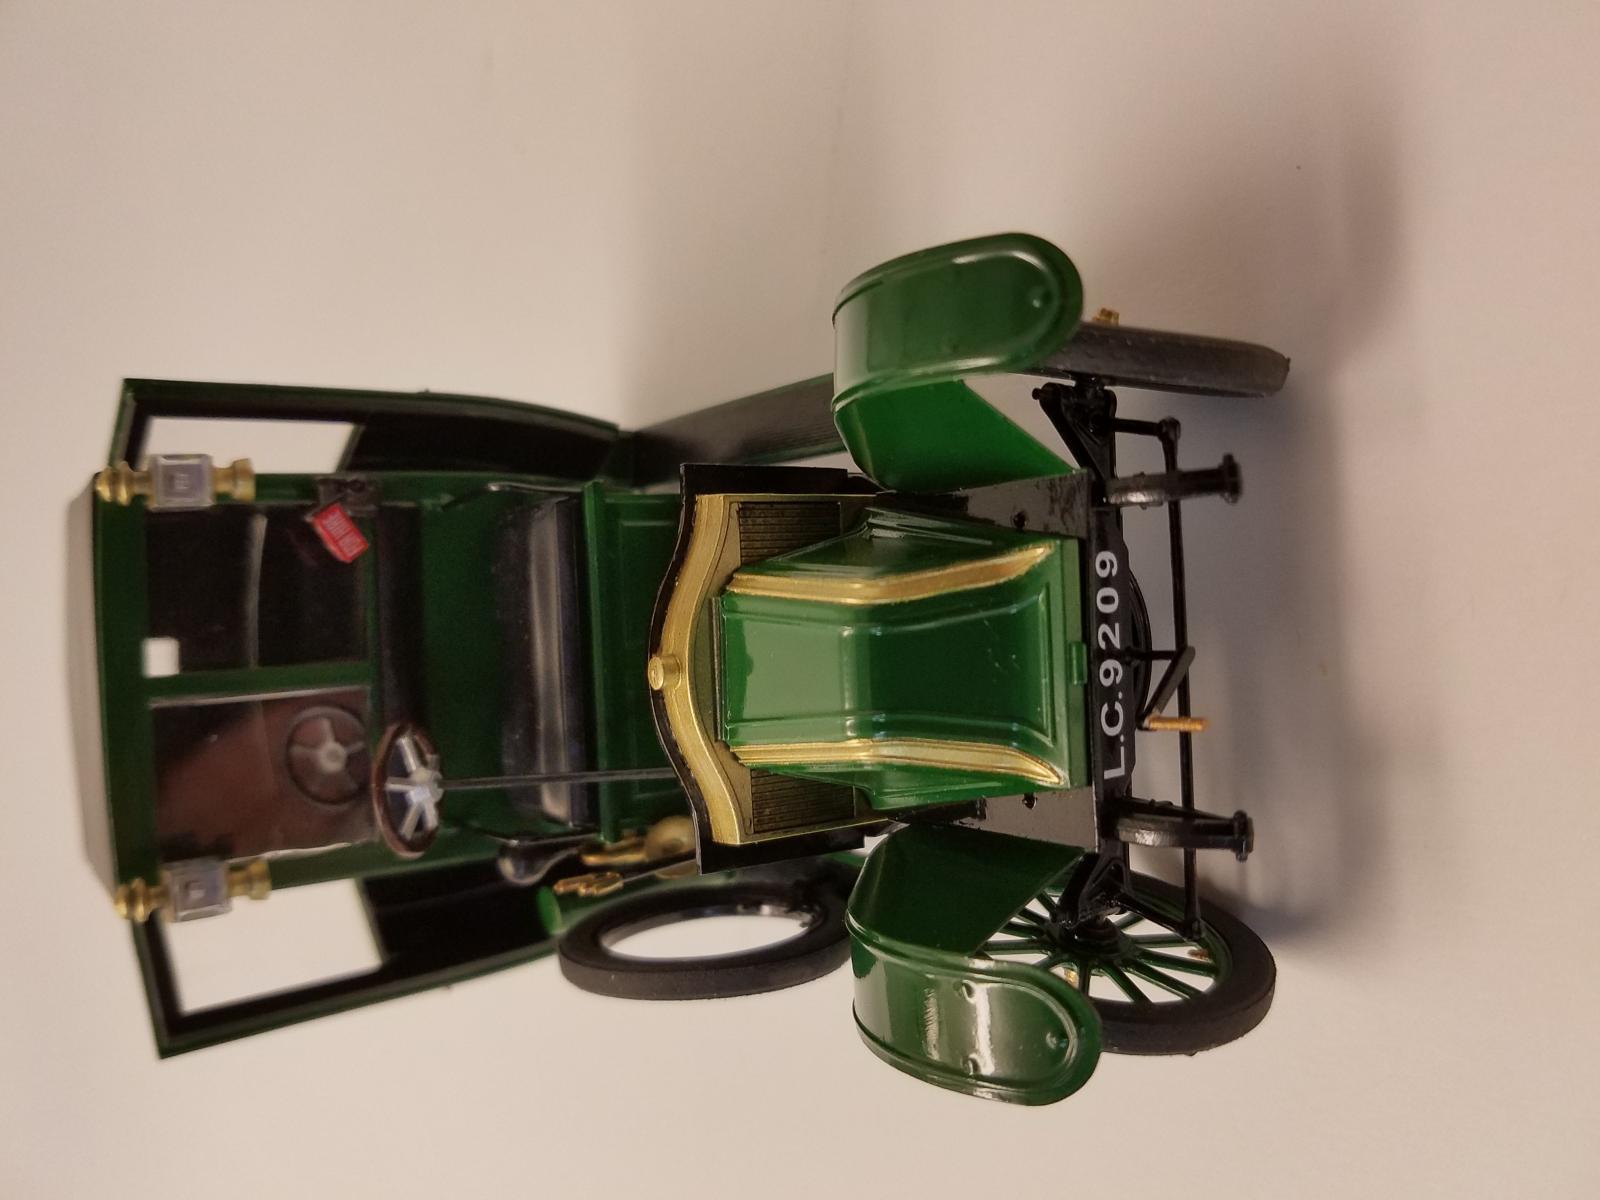
I elected to show the cab doors open. After several attempts to do this with CA adhesive, I switched to GS Hypo clear cement which worked well. There really were no fit problems other than the one leaf spring mentioned above.
I elected to articulate the front wheels by carefully sawing the front axle assembly, gently bending each wheel hub, and using CA to fix them into the angled position. I did the same with the tie rod part. I think this just adds a bit of interest to the kit.
The rubber tires were gently sanded to remove the gloss which resulted in a nice natural effect. These were stretched over the wheel hubs.
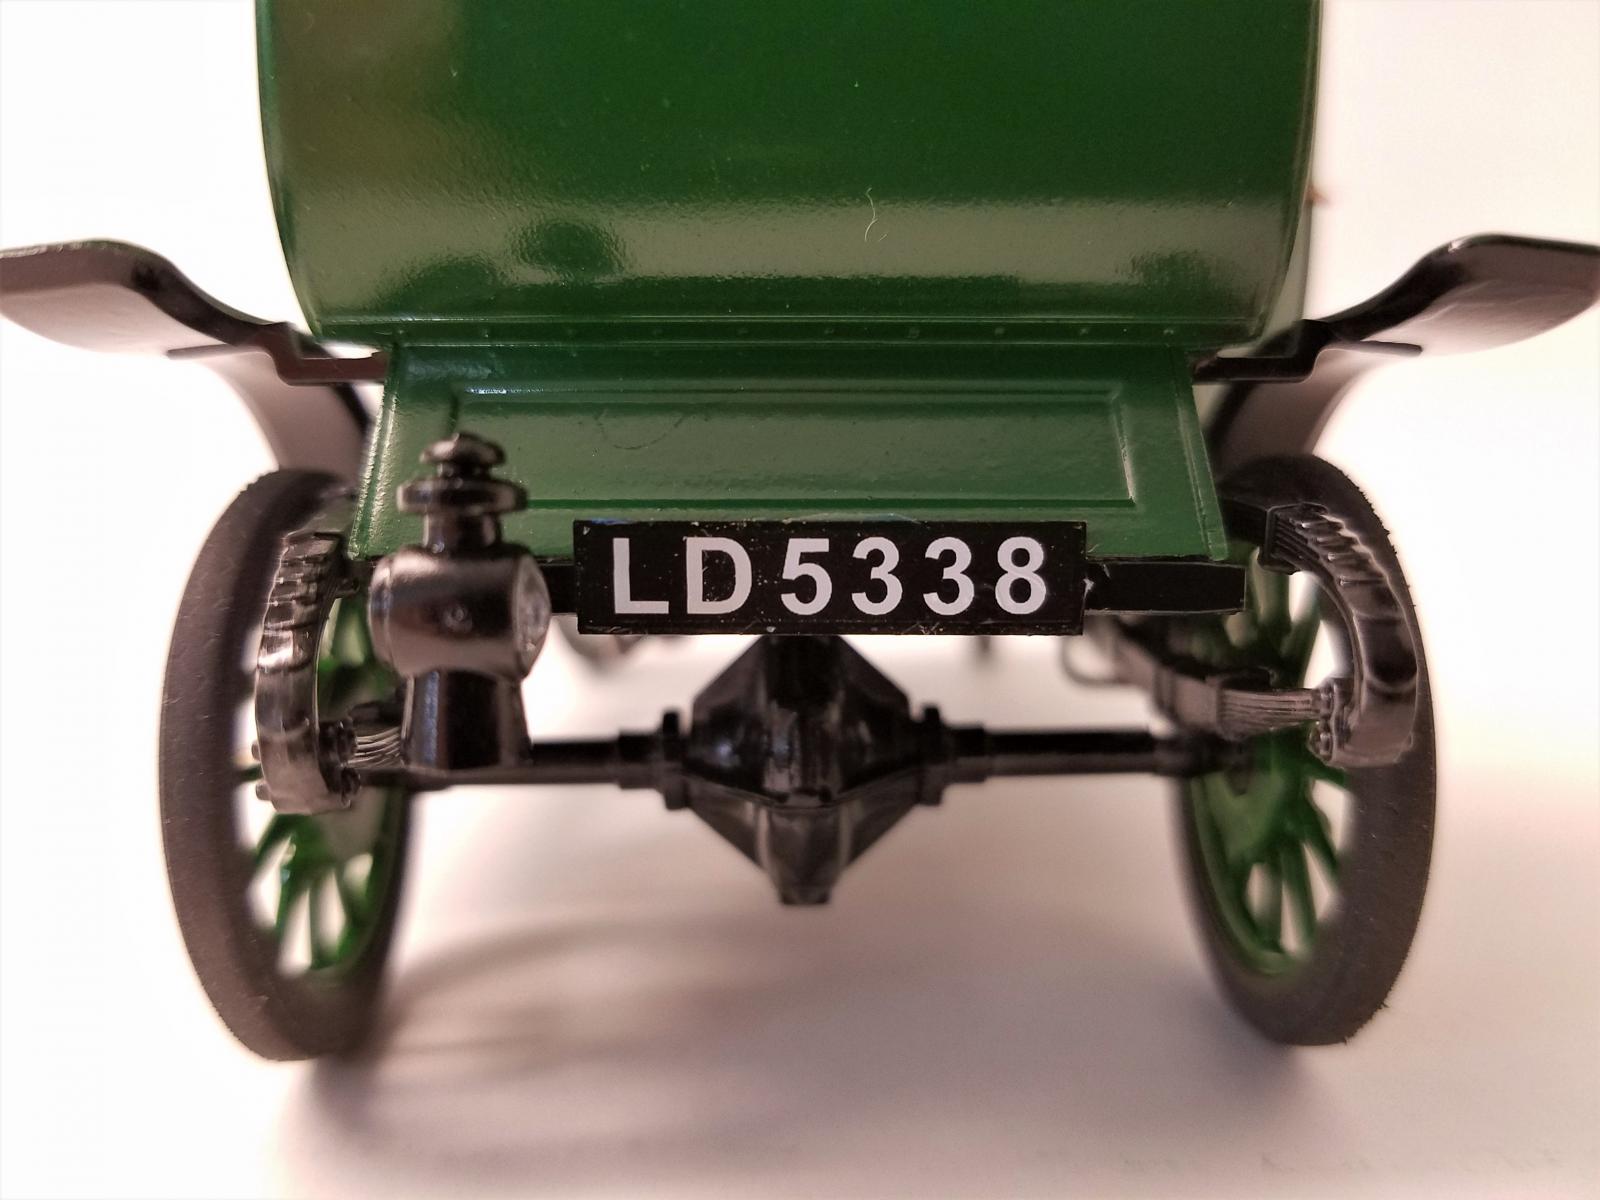
The wood spoke wheels were painted body color, brass was dabbed onto the valve stems, and I used white glue to attach each wheel. I added the remaining fiddly bits and went to apply the front and rear license plates, only to discover that the rear frame assembly isn’t deep enough for the height of the license decal. I cut a piece of Plastruct strip to size and used it as a license plate holder for the rear plate.
This was a fun build right out of the box, and as I noted, the few difficulties I faced were probably builder-induced. The finished vehicle is a nice and colorful addition to my display case and I really once again must compliment ICM for an exceptionally well-engineered kit. Thanks to them and to Mother IPMS for the review opportunity.


Reviewer Bio
John Noack
Modeler since my Dad and I built Aurora biplane box scale kits at the kitchen table. Joined IPMS in the early 1980's and I've held a variety of leadership positions on the Board. I'm a retired VP of Aerospace Engineering, living in the Centerville (Dayton) OH area. I am a Docent at the USAF Museum, a musician in several bands, member of IPMS/WFSM, and a widower.
My tastes are eclectic. When I build aircraft it's usually in 1/72, but I also dabble in submarines, autos, and scratchbuilt Steampunk vehicles.
Comments
Add new comment
This site is protected by reCAPTCHA and the Google Privacy Policy and Terms of Service apply.
Similar Reviews