
Redstone Launcher
Be aware that ordering the kit direct from Horizon will entail a postage fee. Horizon is located in Australia. Also note that Horizon is offering reduced pricing for their other 1/72nd scale spacecraft kits.
The kit instructions can be downloaded at https://www.horizon-models.com/172-redstone-launcher
Horizon Models has, in the last few years, has established itself as a source of superior models of launch vehicles for both unmanned and manned space flight.
The Redstone Launcher will be my third Horizon model and hopefully, it will not be my last. This, kit, however, is the final release in the Redstone series according to Tony Radosevic, the Managing Director or Horizon Models.
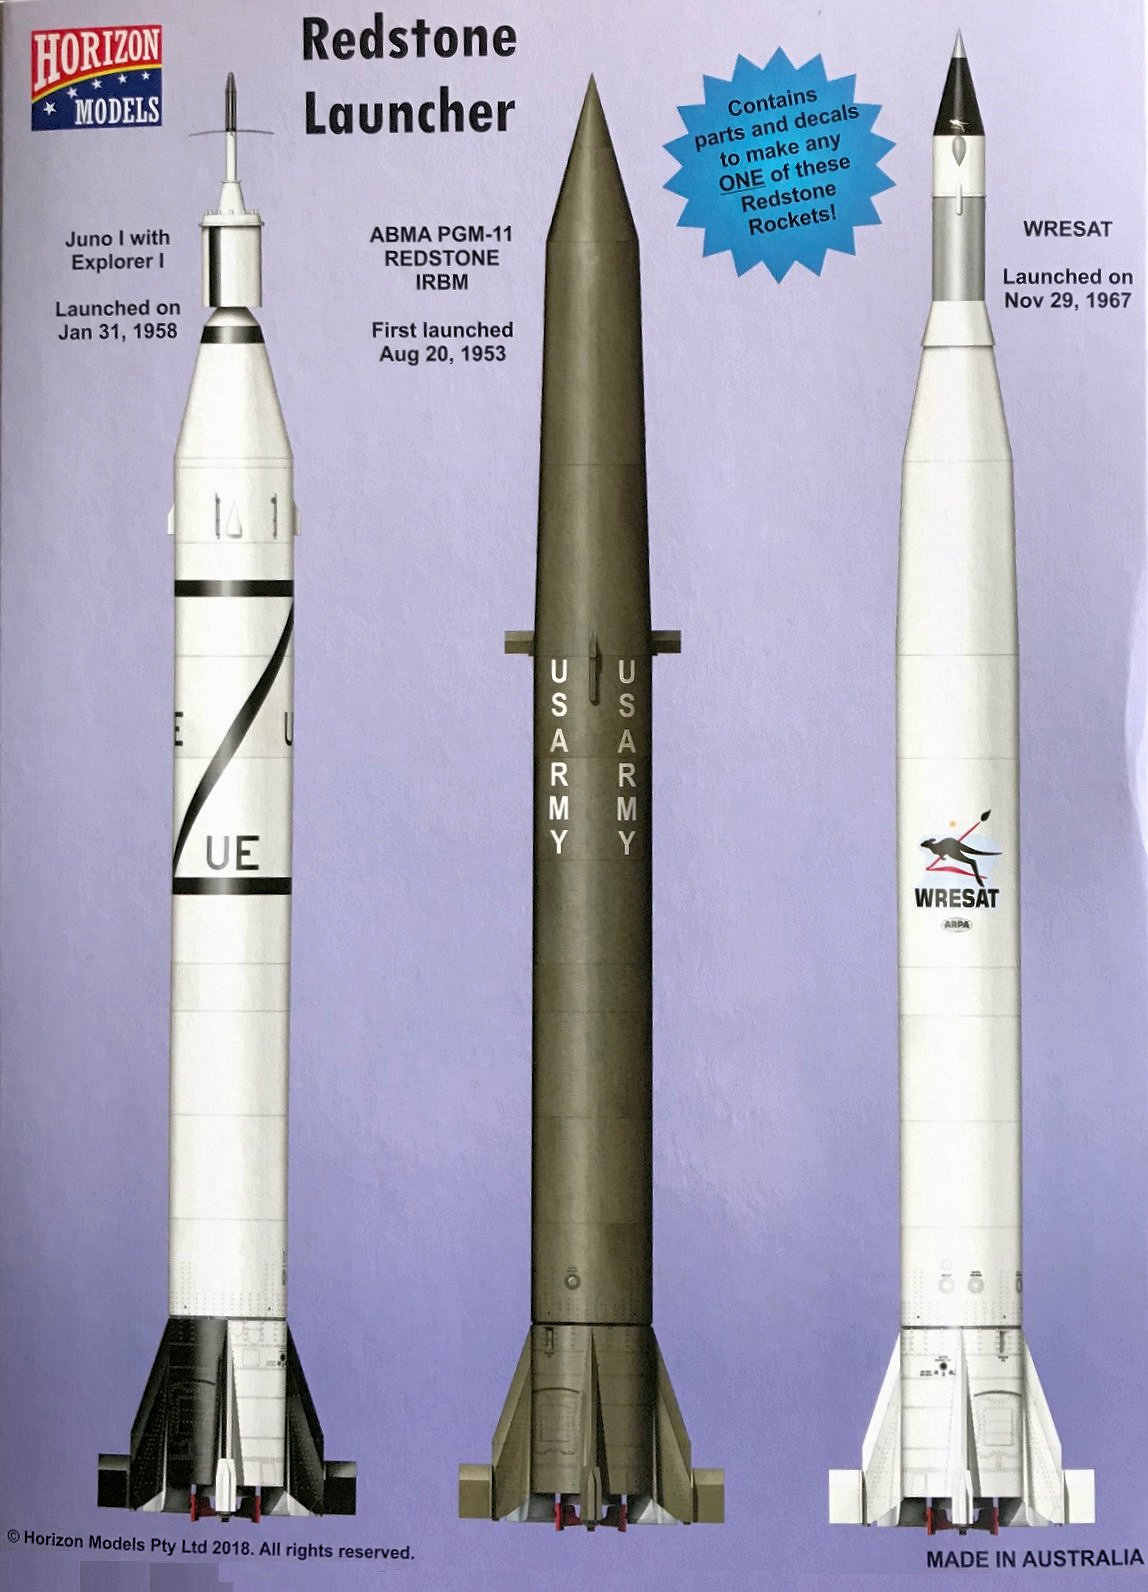
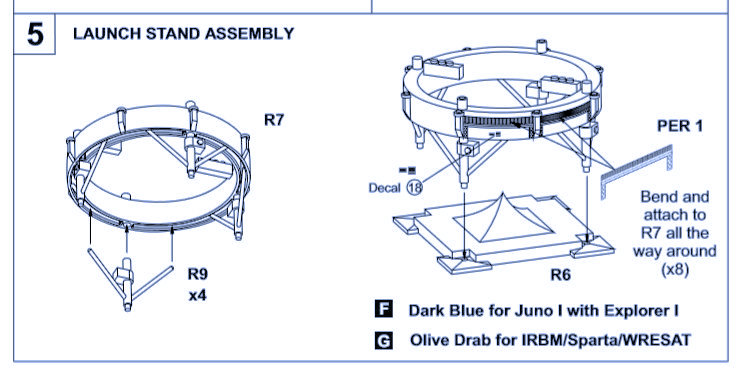
This kit contains parts for three subjects, two are launch vehicles for satellites and one as the launch vehicle configured as an IRBM. All three options are similar in that the Redstone vehicle, or a derivative serves as the launch vehicle with only the payload being different.
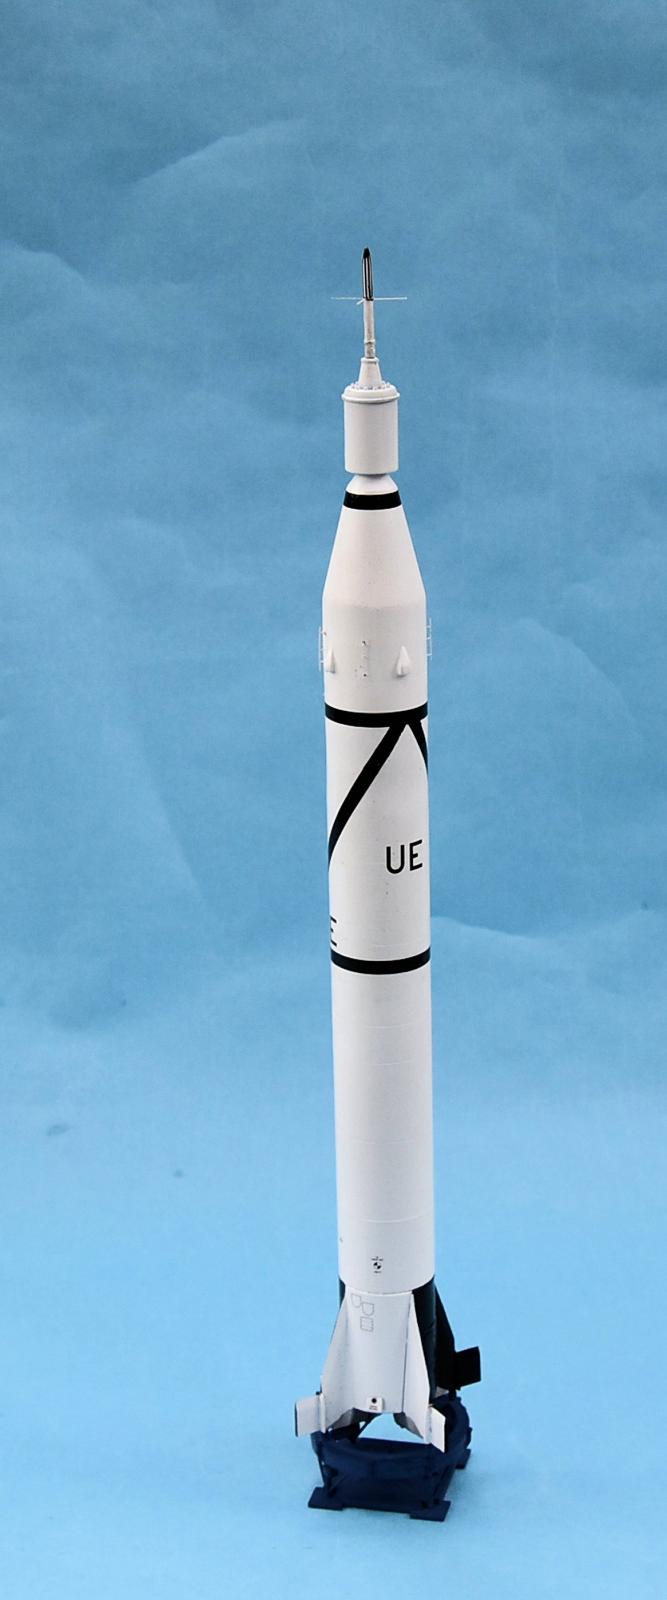
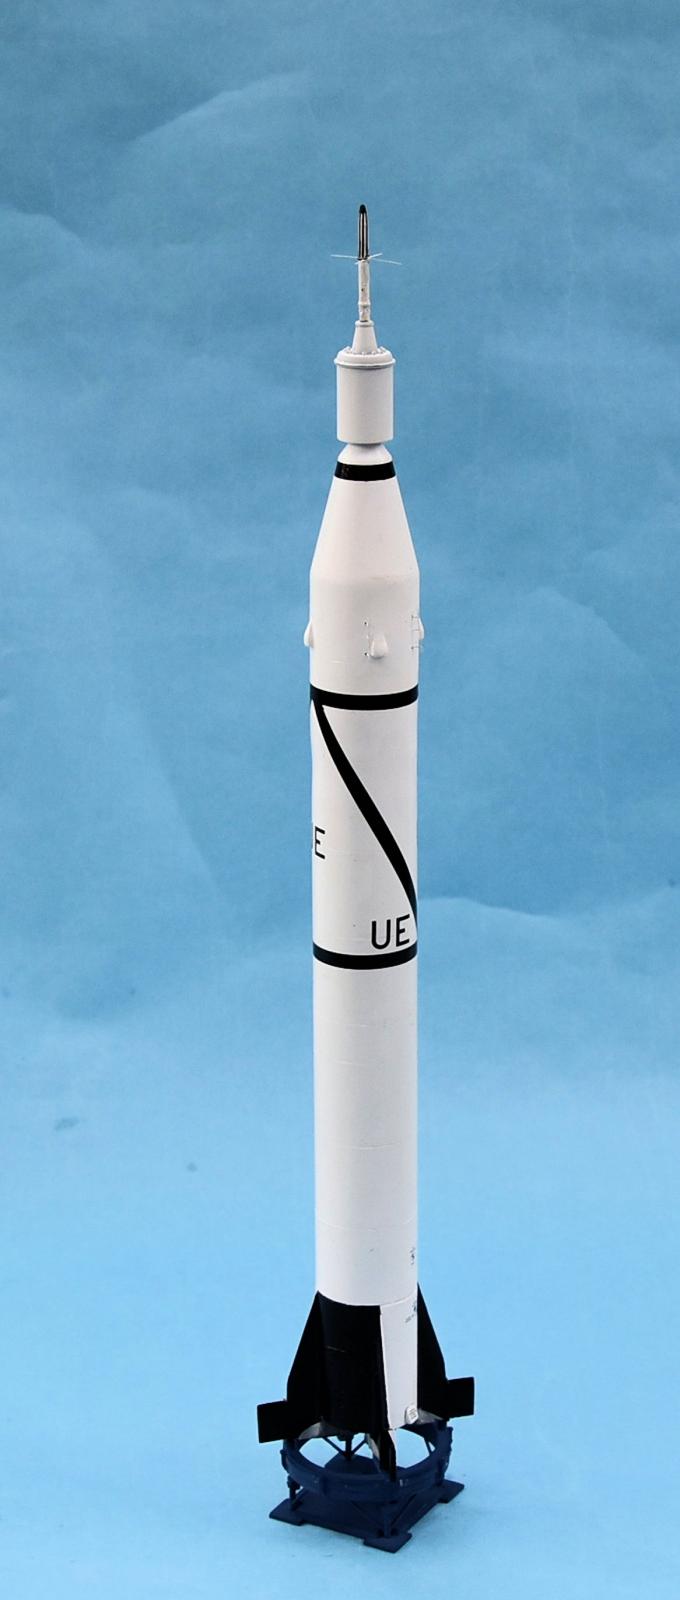
One can model the Sparta/WRESAT or the PGM-11 Redstone IRBM. I chose to model the Juno 1 with the Explorer 1 payload. The launch vehicle for the Explorer is more accurately identified as the Juno 1, a version of the Redstone rocket. The three options use the same launch pad ring upon which the rocket can be mounted, and all three use the same 1st stage launcher body (rocket fuselage).
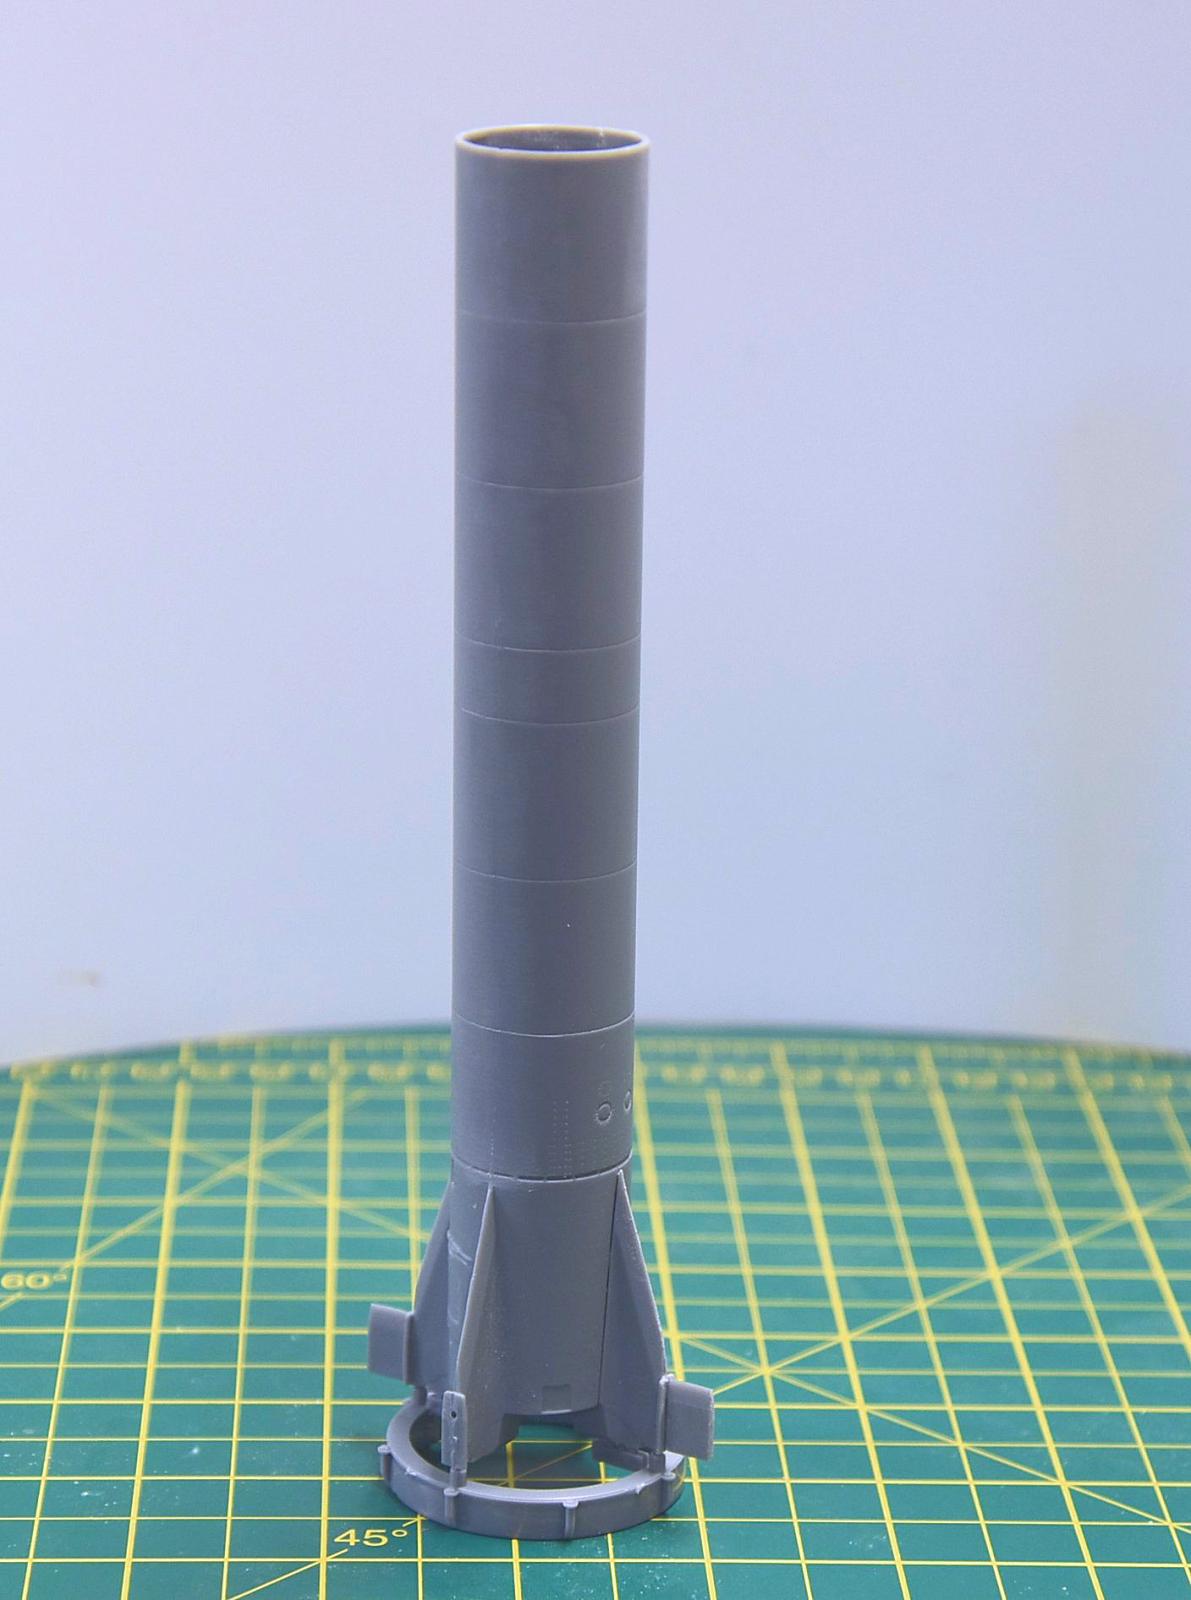
The two previous Horizon kits that I have built (Mercury Redstone and Mercury Atlas) share the same level of high quality with this recent release. The detail molded into the parts is excellent. There is no flash which with to contend and, when assembled, the detail on each half of the launcher body align with great precision.
The box art on the box top is very well done and is the work of Paul Renwick Farley, an Australian artist. The box is quite sturdy, and the back of the box provides some very attractive and useful “profile illustrations” of the three optional payloads.
The instructions are very clear, precise, and well organized. The order of assembly is logical. The instructions include excellent illustrations which the builder will find extremely helpful when painting the black panels at the base of the rocket.
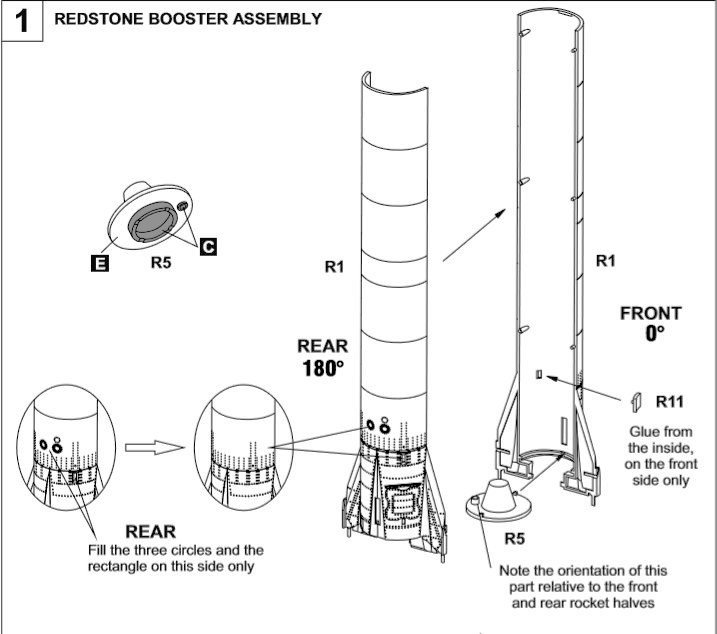
the assembly process is straightforward there are a few comments that can point out some potential issues. In Step 1, note that the Redstone launcher body consists of two parts, both labeled, “R1”. Also note that one of those parts is labeled as the “Front – 0 degrees” and the other part is labeled as the “Rear – 180 degrees”. The “front” part has a small opening into which part “R11” fits prior to gluing these two “R1” parts together.
Also, there are some molded details in the “Rear” part that need to be filled with putty prior to the application of paint. Once “R1” is attached as the instructions indicate, and once the molded details are filled in on the “Rear” R1 part, assembly of the parts shown in Step 1 can be accomplished in just a few minutes. I completed the assembly of those parts shown in Step 1 before painting any parts. In fact, I assembled the entire model, with the notable exception of the photo-etched parts, prior to the application of paint.and decals.
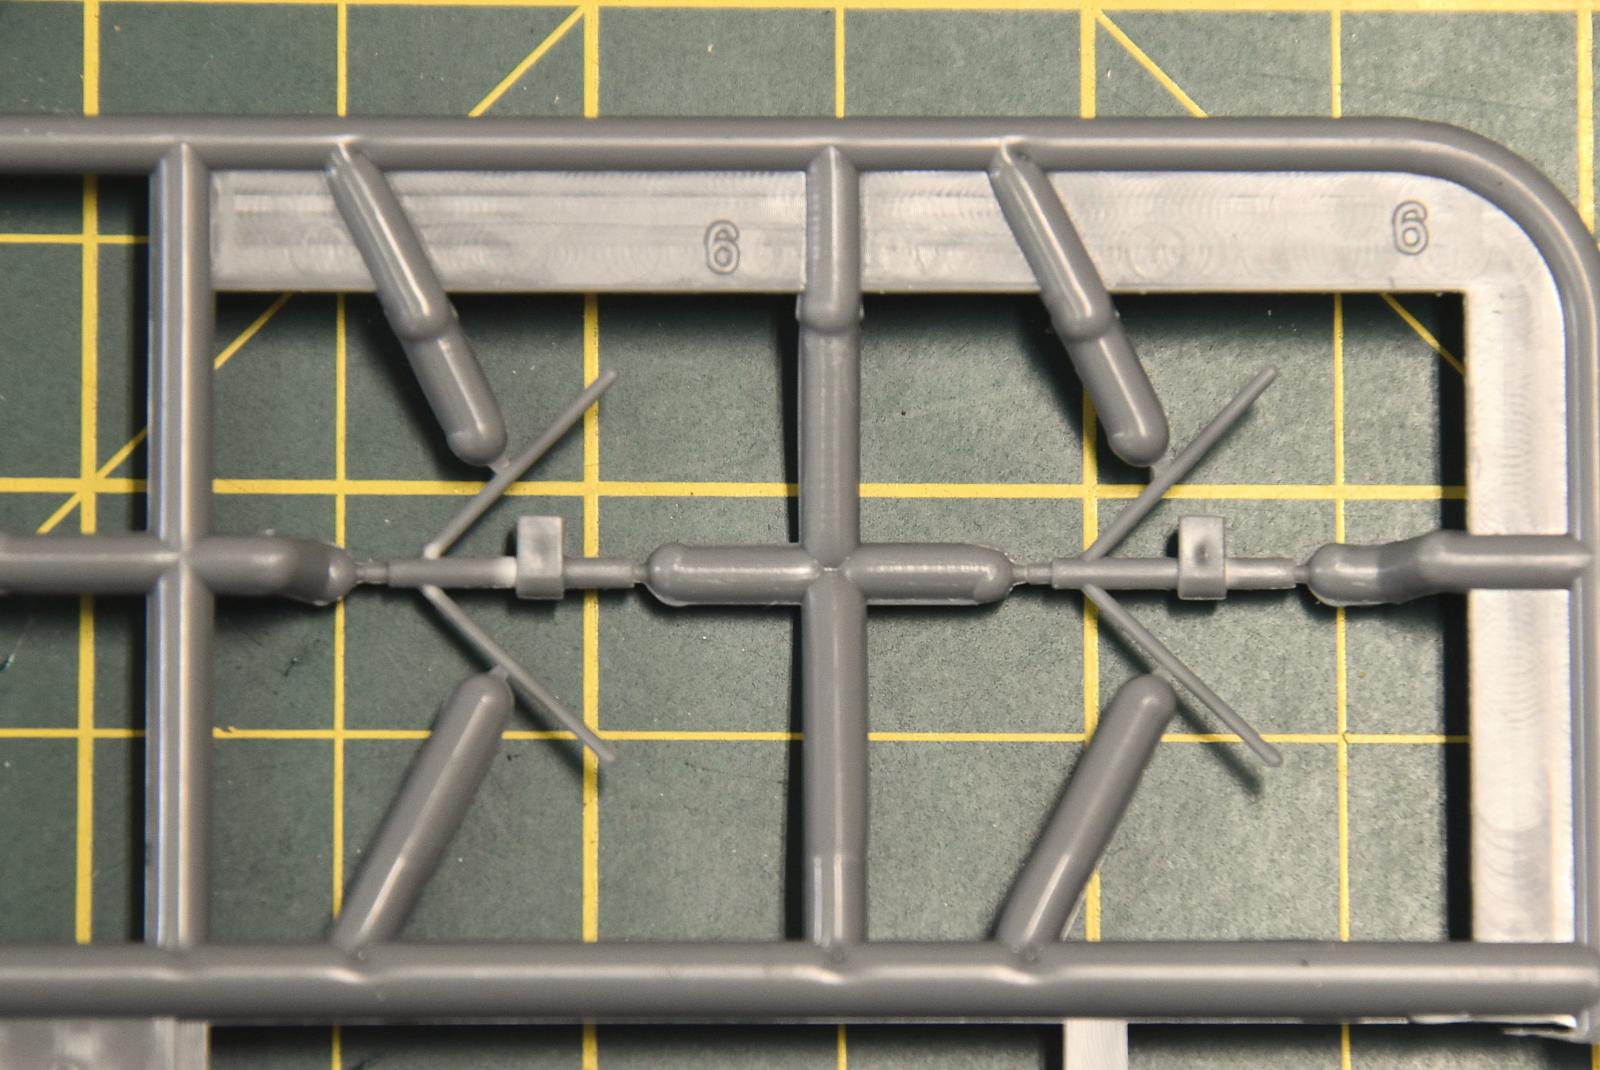
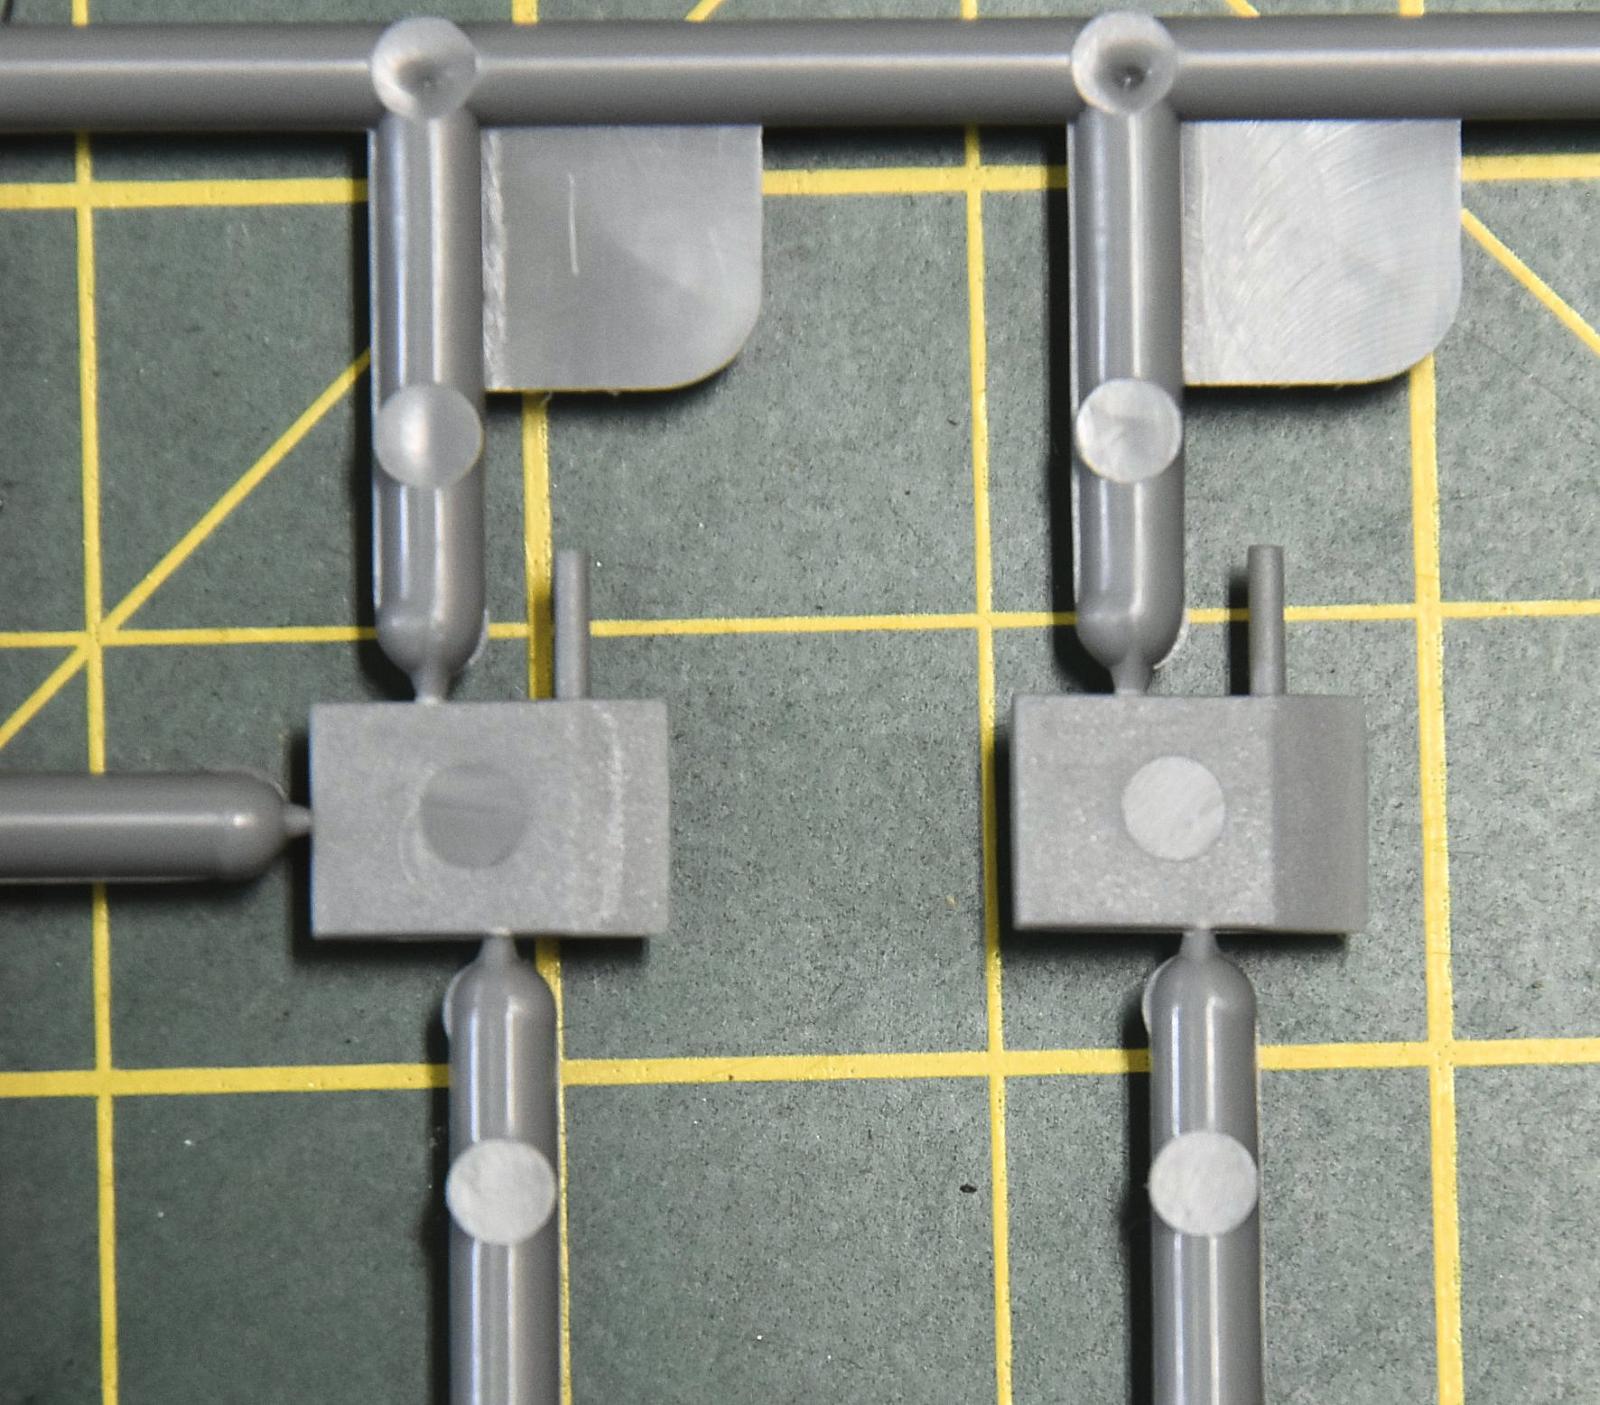
What I thought to be an issue turned out to be much ado about nothing. Step 5 shows the parts and placement of those parts on the Launch Stand Assembly. When inspecting the parts just after opening the box I had some concerns about the 4 Part R9 support structures. It appeared that all four parts R9 have a sink mark on the “inside” of the flat area (see attached image with these parts highlighted in blue) and a mold mark on the outside (the side visible to those admiring your work after the model is complete) of the part. You may relax on both counts. First, those are not mold marks on the outside of the R9 parts. As you can see by looking at the instructions that little cylinder is quite intentional. I do not know what that detail represents in “real life”, but it is clearly an intentional detail. As for the very small sink marks on the “inside” of Parts R9, you can take about five minutes to fill those sink marks with putty or realize that they will not be visible once the model is finished.
The decals are printed by MicroScale and are of high quality with excellent registration. The decals are very sturdy. During the decaling process I applied a decal in the wrong location and was sure that I’d lose it when attempting to relocate it. In fact, the decal suffered no damage due to the relocation.
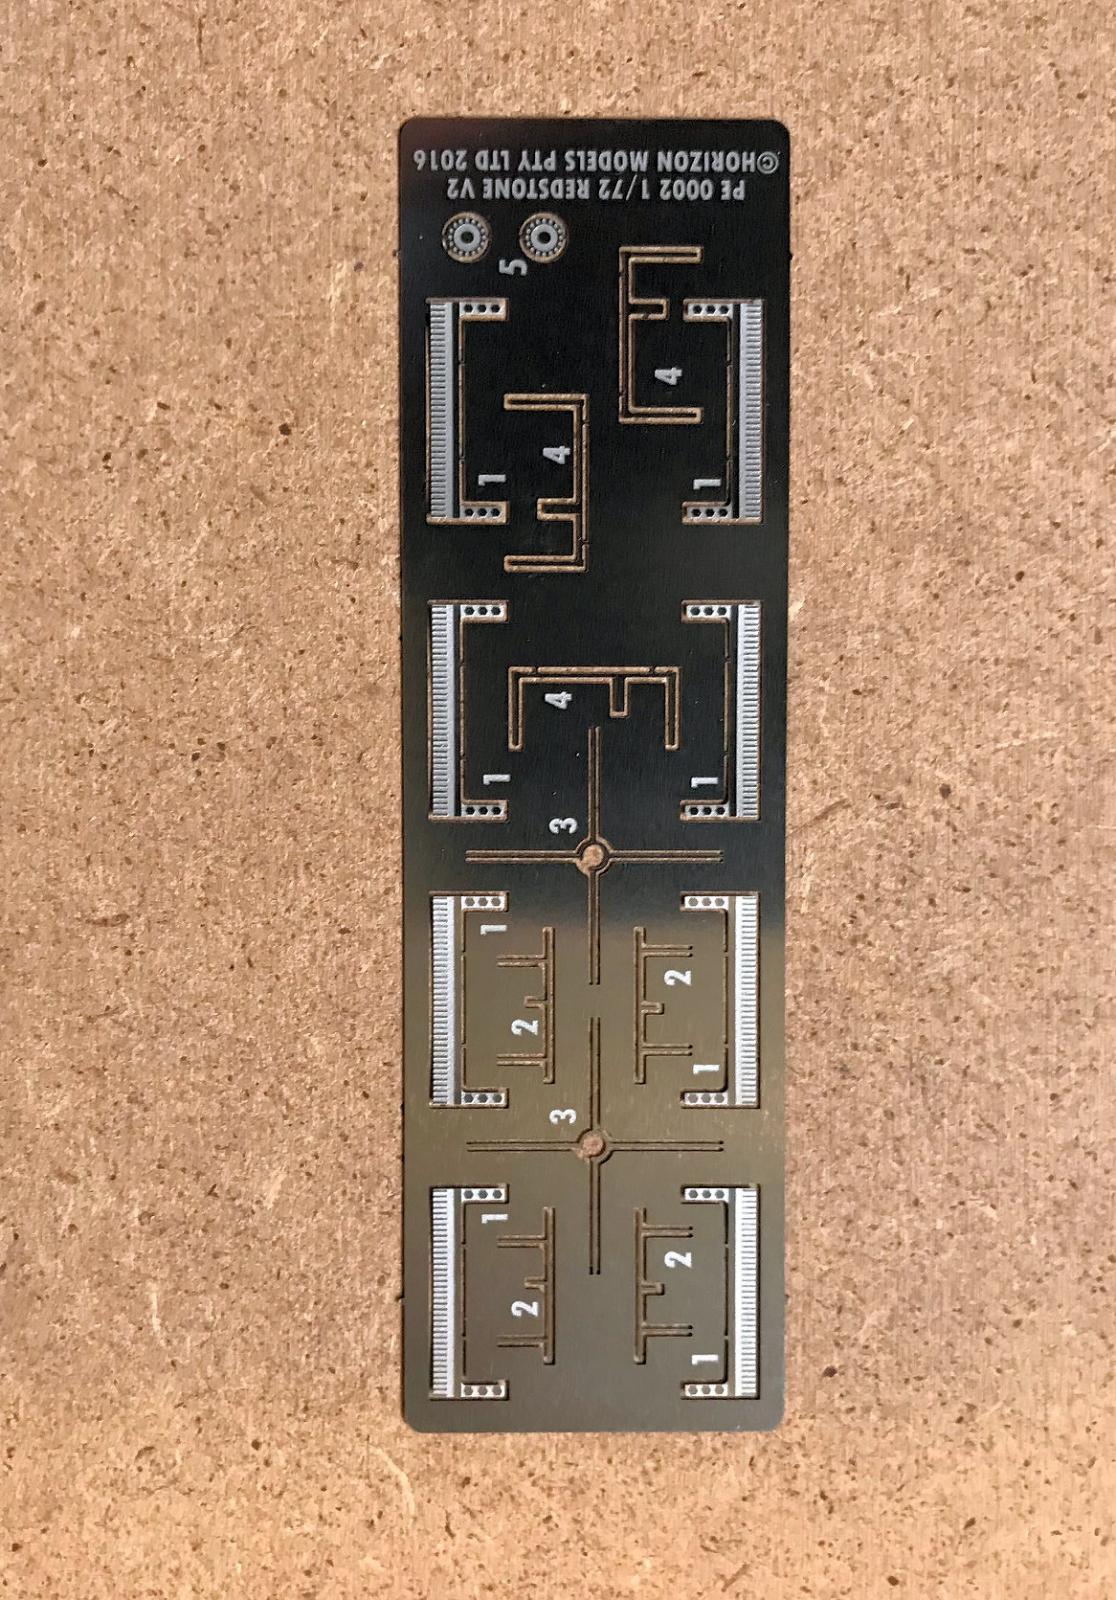
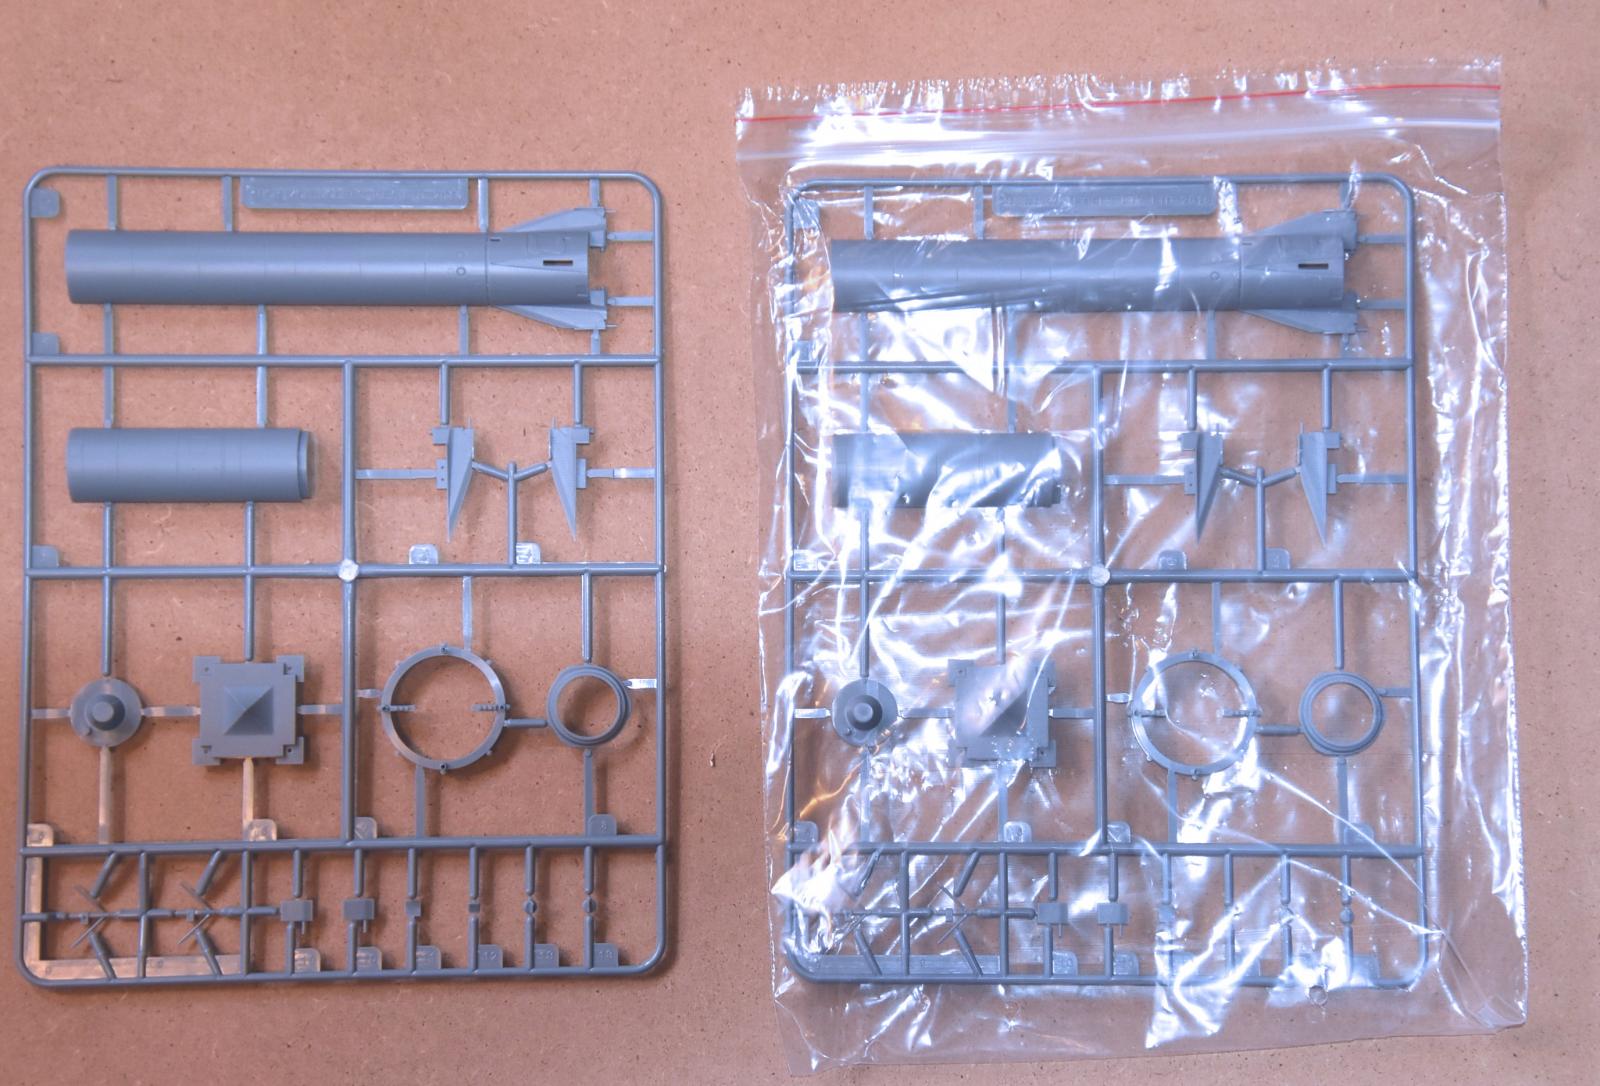
The instruction sheet is printed on eight “pages” and includes the generic “Assembly” suggestions that often accompany models, and well as some decal application suggestions. There are four parts sprues, two sprues labeled as “Sprue R” and two labeled as “Sprue L. There is a single P.E. “sprue” holding all of the P.E. parts.
“Sprue R” contains the parts for the launch vehicle and “Sprue L” contains the parts for the payloads. There is a PE sheet included in this kit and an illustration and parts list are provided for it as well. A “color code chart” is provided at the top of page two, just above step 1.
It is advisable to spend some time studying the sequence of assembly and the slight differences in the assembly process that might be impacted by one’s choice of payload.
Steps 7 and 8 are rather detailed, and that is a good thing. Both steps address the location and placement of the myriad of stencil decals and markings that are provided for this kit.
I’ve built my kit Out of the Box. Frankly, for me, there is sufficient detail provided by Horizon to negate any need for me to add to it. The build is straight-forward, but again, Read and Study the Instructions! Here are some points to note:
- In step 2, you are directed to drill out some holes in the rocket fuselage. The four P.E. antennas that will be attached to the launcher body just below the point at which the aerodynamic cone meets the rocket’s cylindrical body are NOT spaced evenly at the midpoint between the four “arrowhead” shaped “blisters” that are molded on the launcher body. It’s not hard to locate where you will drill out the mounting holes for the P.E. antenna, but it is recommended that this be done before assembling the launcher body. Look at the locating pins on those parts that will be attached to those holes and pick a drill bit that will pop out a hole of the proper size.
- Pay attention to the “Rear” and “Front” identification of the fuselage halves, parts R1. Just study the instructions and you’ll see which is Front and which is Rear.
- The decals are fantastic. I used nothing but distilled water to apply the decals. You’ll note that the decals are printed by MicroScale and the quality certainly shows.
- The most time-consuming aspect of this build was actually waiting for the paint to dry before moving on to decaling, which also took some time. Actual construction isn’t difficult nor is it time consuming. I did not use filler putty anywhere on the model but did close a gap or two with stretched sprue. The need for filler was my fault and not the fault of misaligned parts or poor fit.
- During my previous build of a Horizon kit I viewed the plastic as a little soft. That is not the case at all for this Redstone. The parts are easy to sand respond well to “tube glue” or liquid glue.
This kit is highly recommended due to the quality of the molding, the excellent fit, the superior decals and the excellent instruction sheet. Thanks to Horizon Models for the opportunity to review this model.


Comments
Add new comment
This site is protected by reCAPTCHA and the Google Privacy Policy and Terms of Service apply.
Similar Reviews