
Pz.bef.wg. 35(t) German Command Tank
Short History
The Panzerkampfwagen 35(t), commonly shortened to Panzer 35(t) or abbreviated as Pz.Kpfw. 35(t), was a Czechoslovak-designed light tank used mainly by Nazi Germany during World War II. The letter (t) stood for tschechisch (German: "Czech"). In Czechoslovak service, it had the formal designation Lehký tank vzor 35 (Light Tank Model 35), but was commonly referred to as the LT vz. 35 or LT-35. Four hundred and thirty-four were built; of these, the Germans seized two hundred and forty-four when they occupied Bohemia-Moravia in March 1939 and the Slovaks acquired fifty-two when they declared independence from Czechoslovakia at the same time. Others were exported to Bulgaria and Romania. In German service, it saw combat during the early years of World War II, notably the Invasion of Poland, the Battle of France, and the invasion of the Soviet Union, before being retired or sold off in 1942.
What’s in the Box?
The kit has 8 sprues, 6 of them being molded in light gray plastic, and the track links in black. There is also 1 piece of rope for the tow cable, and one photoetched fret containing the front mud flaps.
The marking options are as followed:
- German 1st Light Tank Division, Poland, September 1939
- German 6th Panzer Division, France, May 1940
The Build
I have honestly never been an armor guy, and both of my armor builds that I can account for have both been IPMS review items, so I would definitely say others are rubbing off on me and pushing me to pursue other subjects. The build takes place over 11 extremely easy and simple steps making this a quick build for those of you who have not had a chance to check this bad boy out. The first step has you basically creating the bottom hull of the 35t, followed by a very monotonous task of adding wheels, sprockets, wheels, and you guessed it, more wheels. Once you have completed the first 2 steps, it’s on the upper assembly and suspension. I will warn you now that careful sanding and fitting is required for the suspension, or you will have problems with track alignment and the suspension racks sitting flush along the sides of the hull. The track links were a mix of length and individual assemblies. The tracks went together without any problems, and I had all cleanup and assembly completed in about 45 minutes. Once the tracks and hull assembly are all completed, you can fuse the upper tank assembly with the side skirts and the lower assembly, and complete the turret in the final 4 steps. The two PE mud flaps would definiitely be the con to this kit, as they were extremely thick to scale, and hard to work with even after heating them up a couple of times on top of the folding instructions to bend them. I ended up breaking one, and just discarded them both. The commanders cupola is made up 6 pieces and requires precise alignment as well, so BE CAREFUL. The final part of assembly for me was the hand tools and towel antenna, which, despite how frail it was, is actually easy to assemble. Do not use the small alignment holes found on the upper half of the tank for these, as they are very inaccurate.
Finishing
I used Model Master Paints to paint the kit. To darken the tank to a more practical look, I mixed RLM 61 with a drop of flat black. Once I was satisfied with the color, I dry brushed some Model master steel on the track assemblies to give them a weathered and used look. To seal the model for decaling, I used Testors Dullcote which I thinned with Testors thinner 50/50 to achieve a flat mat look I was totally content with, and helped the decals along with a light brushing of micro sol/micro set. And the final touches to my tank were weathering with raw umber and turpenoid to wash the nooks and crannies, and I used K4 pigments and the respective thinner to dust and mud the tank.
My thanks to IPMS and Academy/MRC for giving me the opportunity to review this awesome and simple kit, and continued the trend for me to enjoy armor more and more.

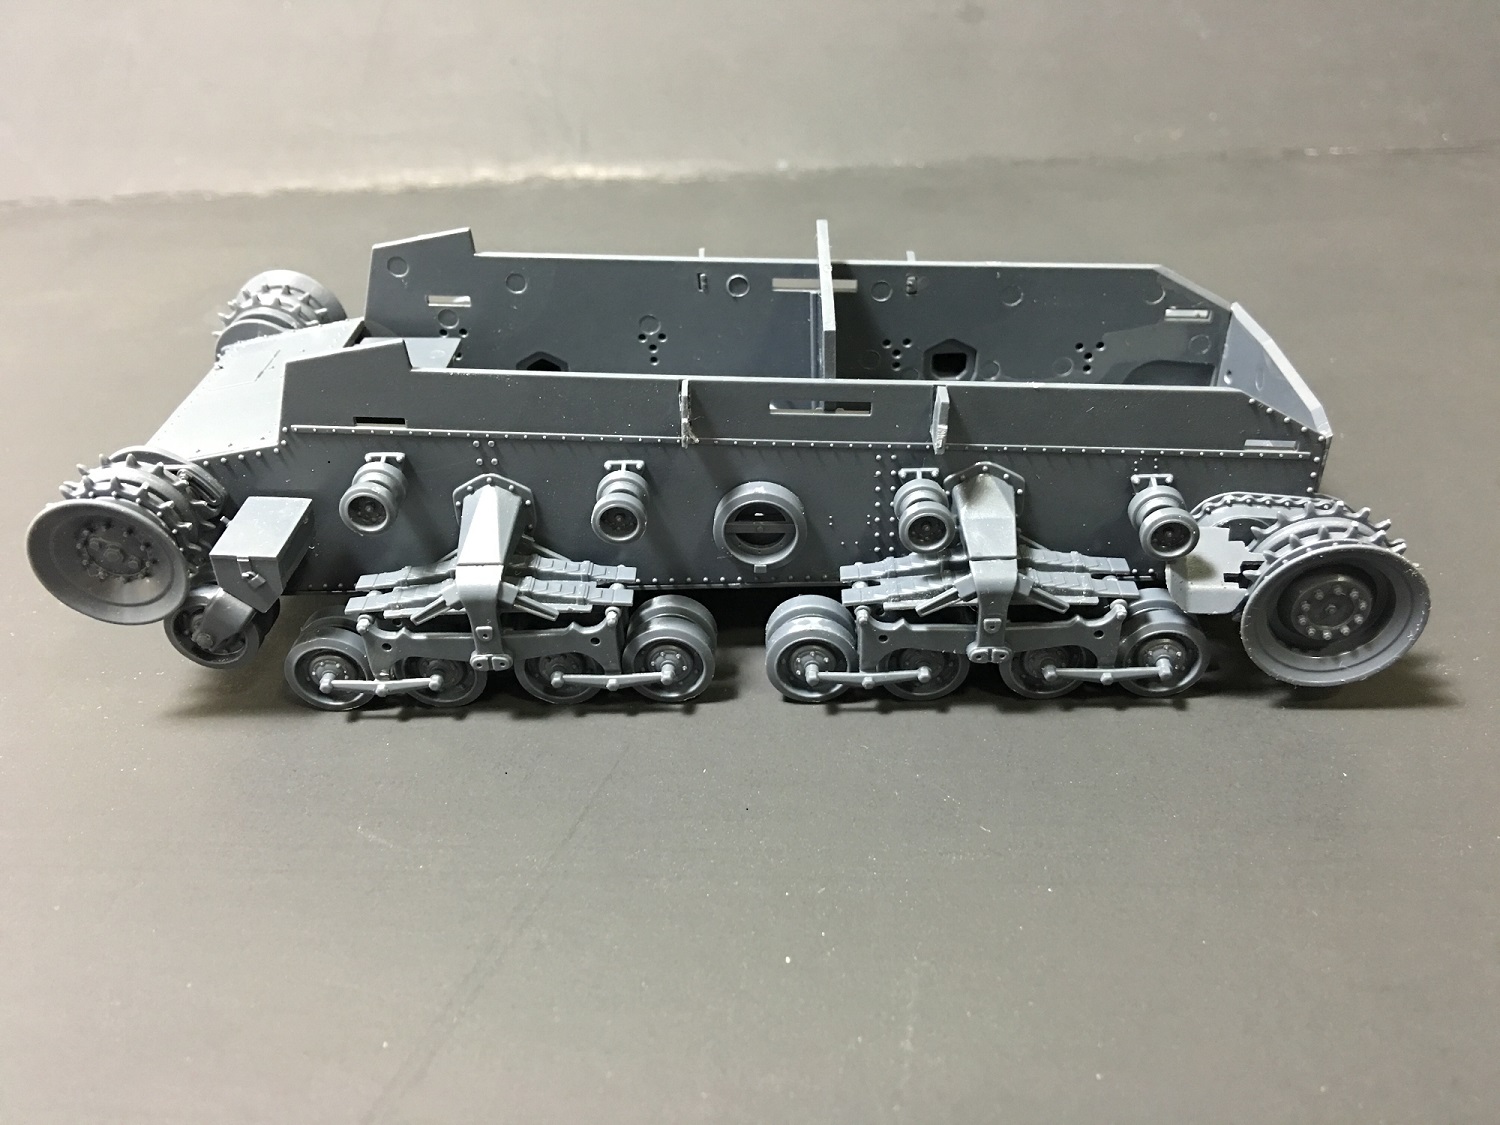
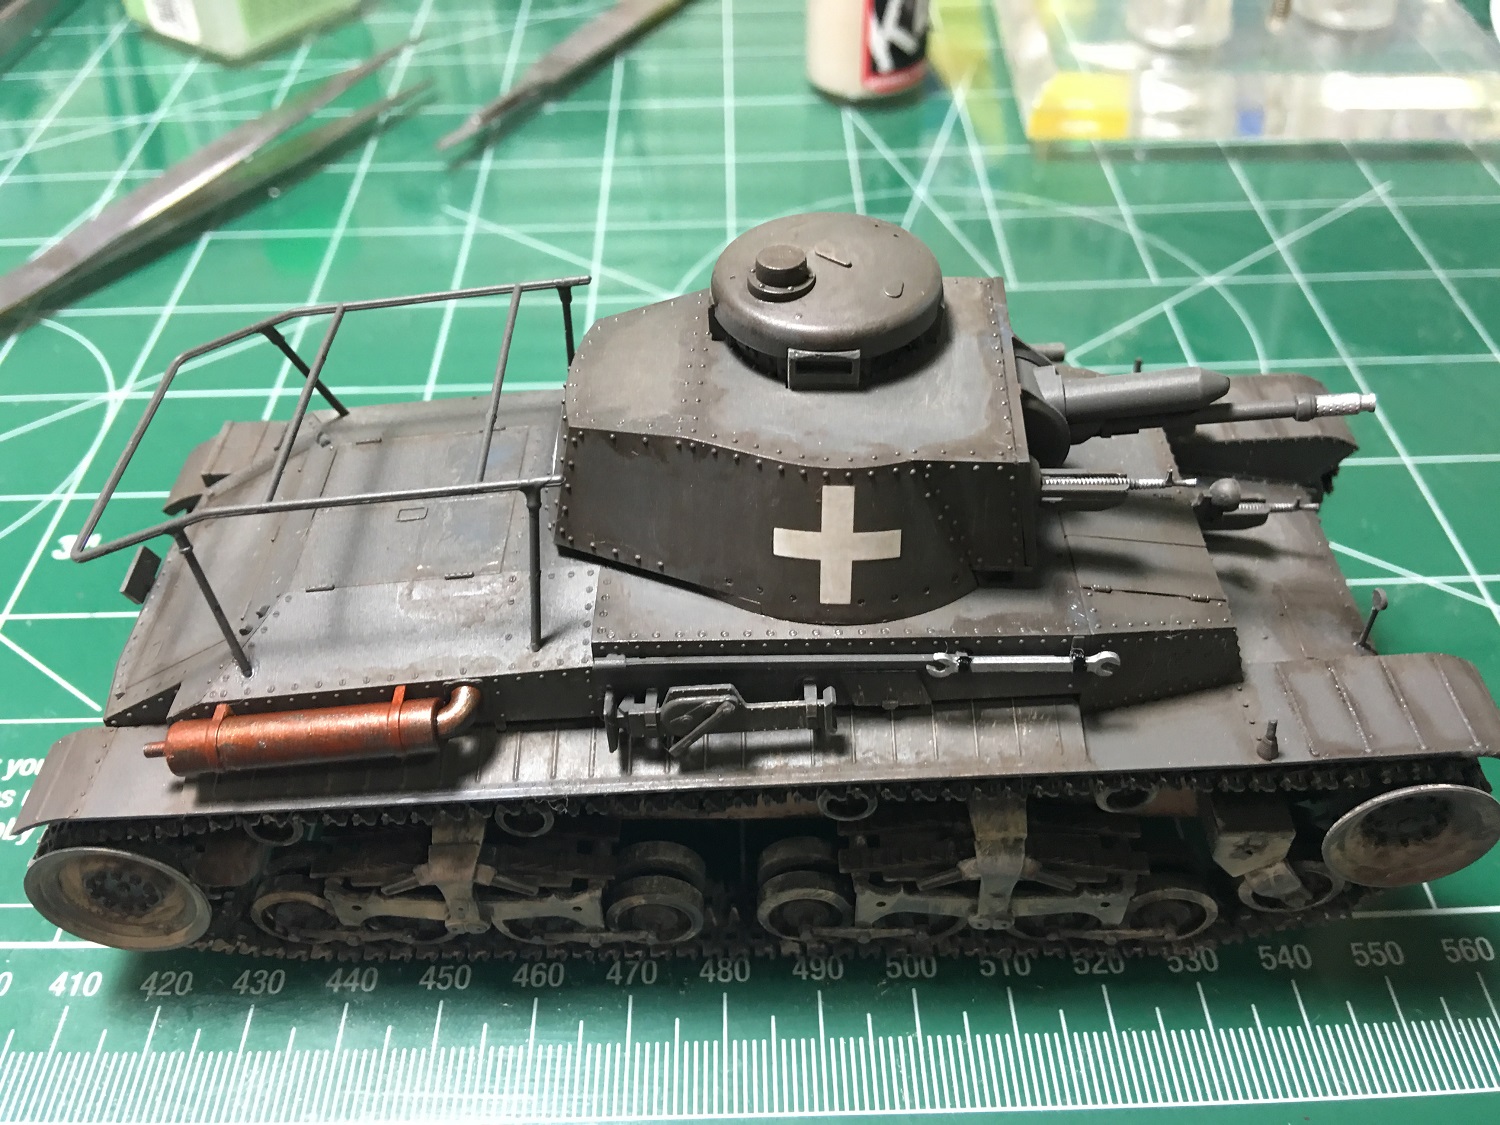
In-progress photo of the hull
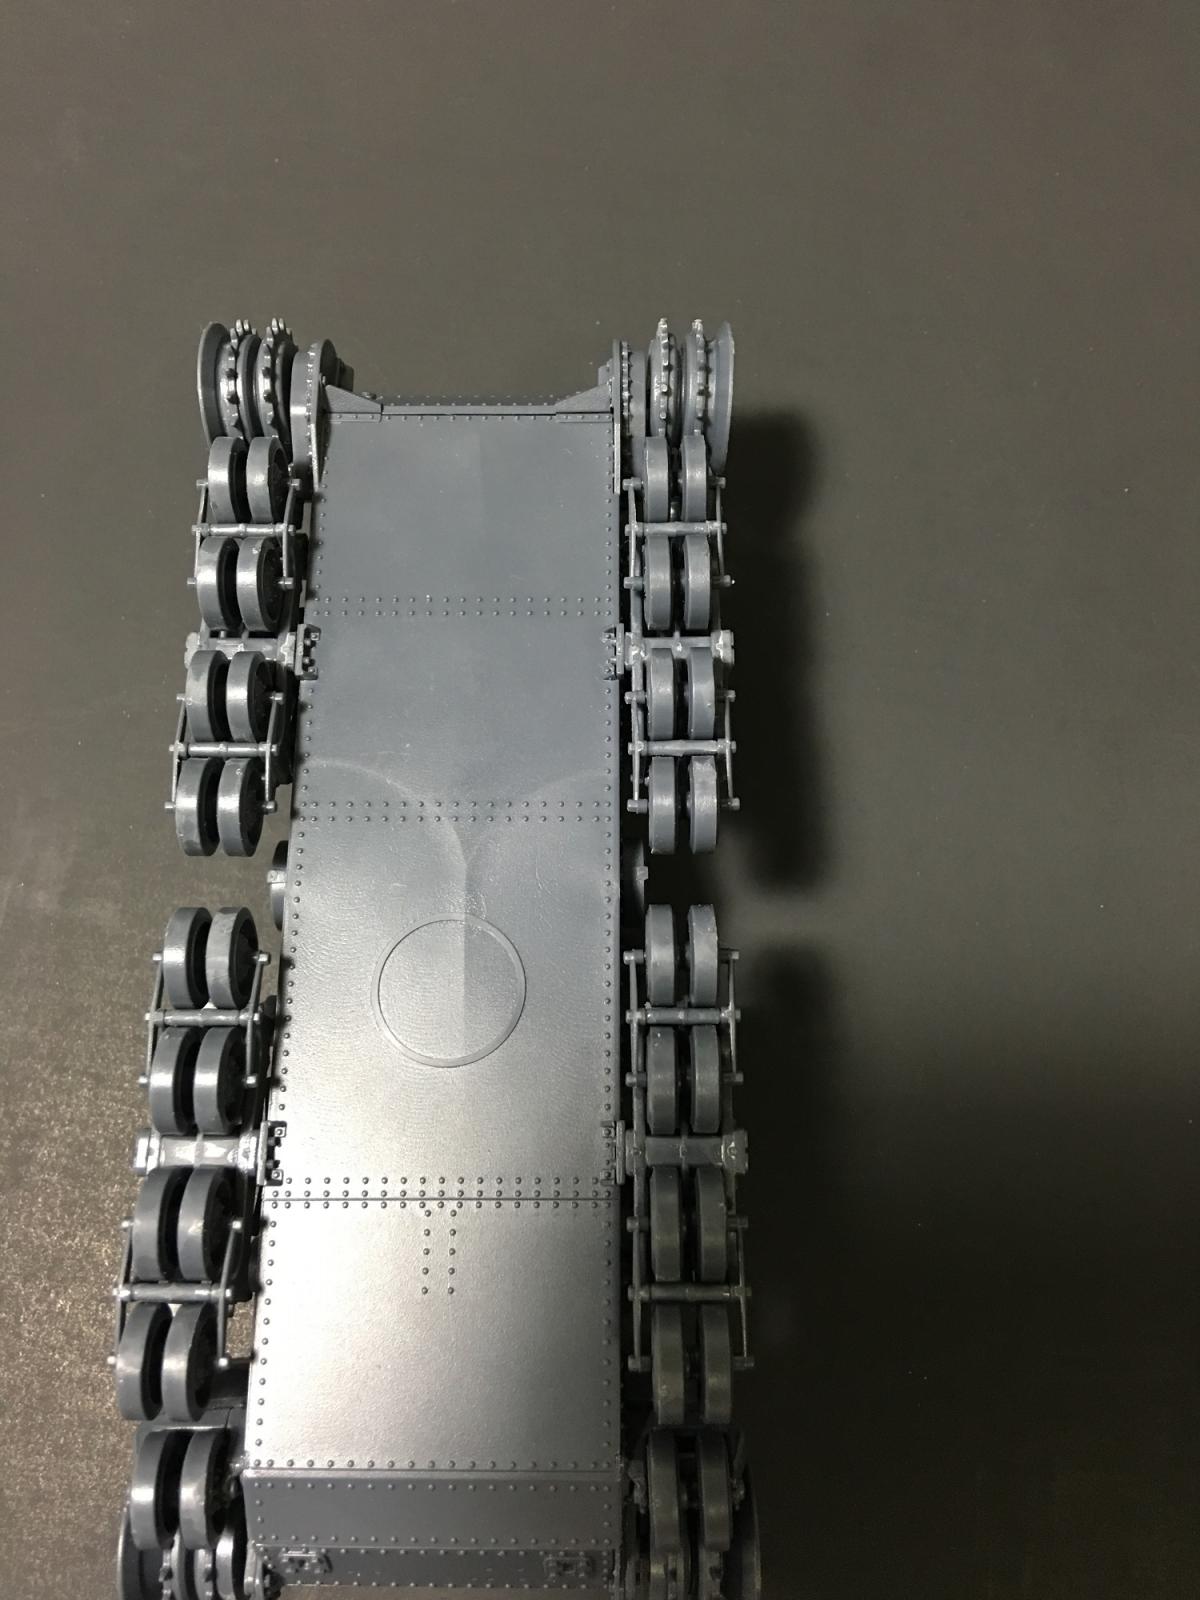
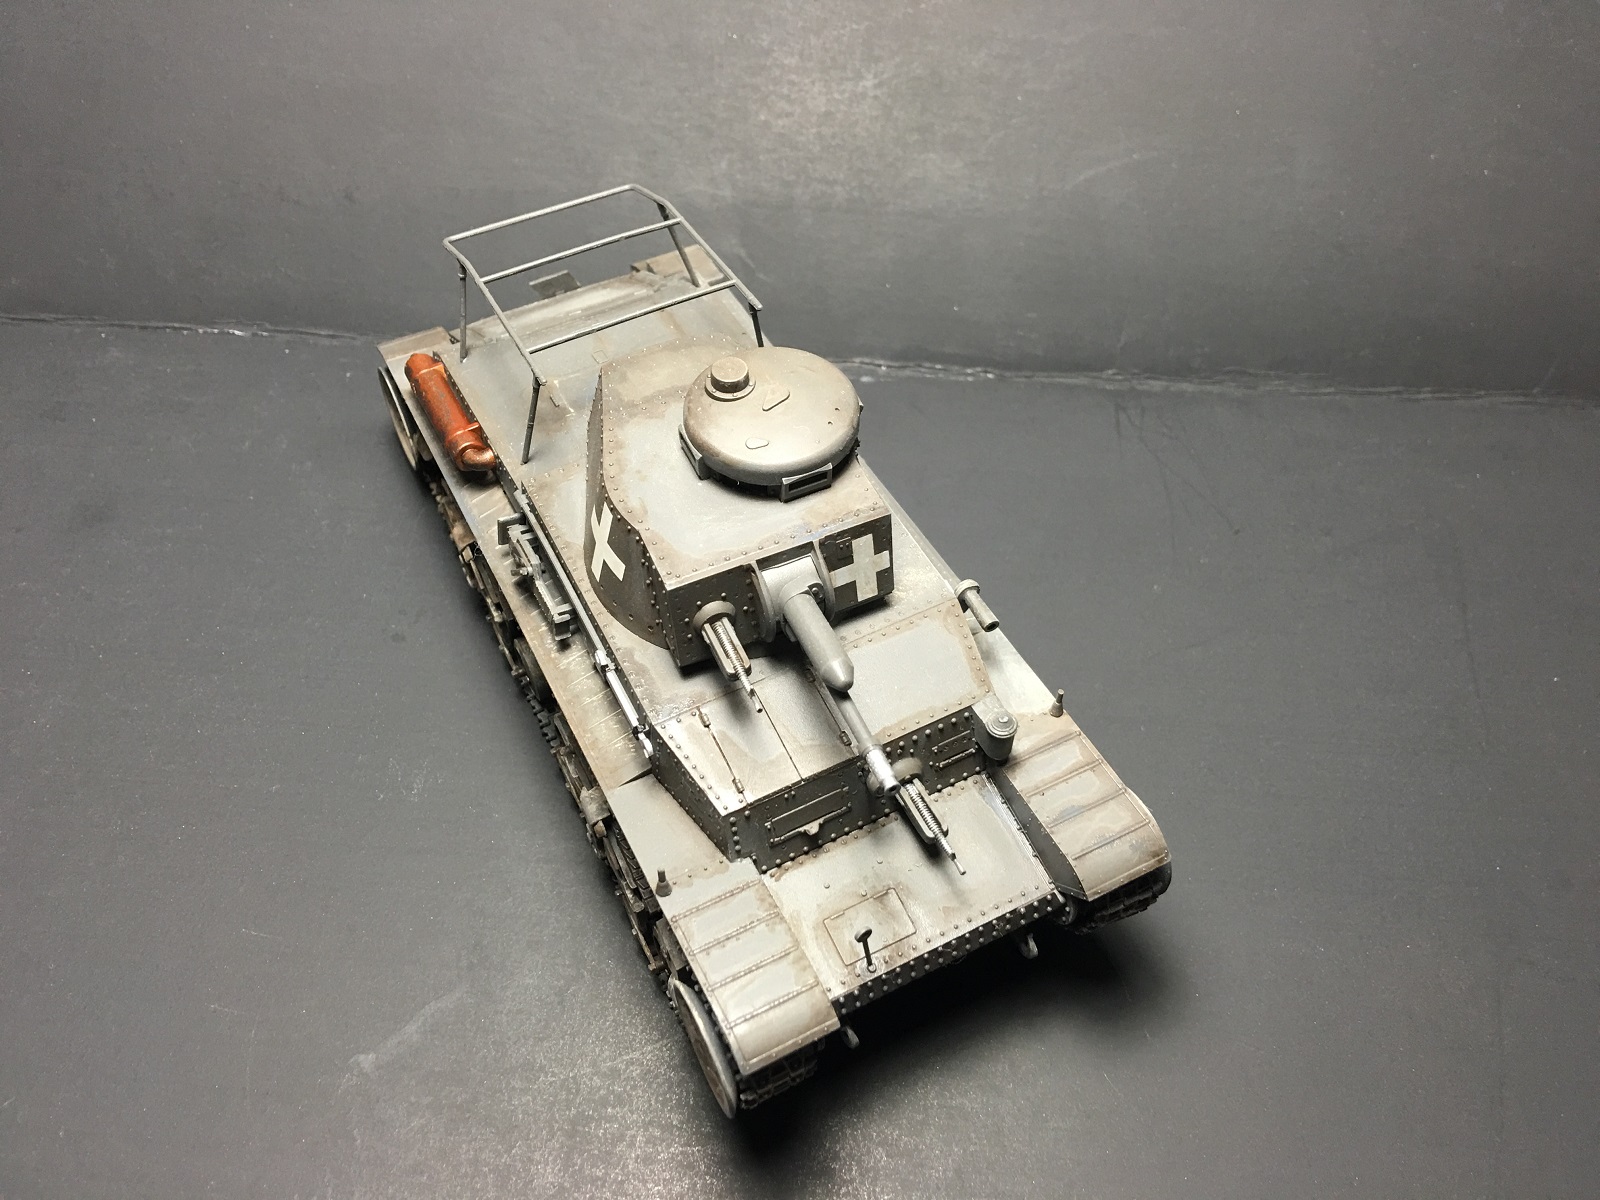
Underside of the model
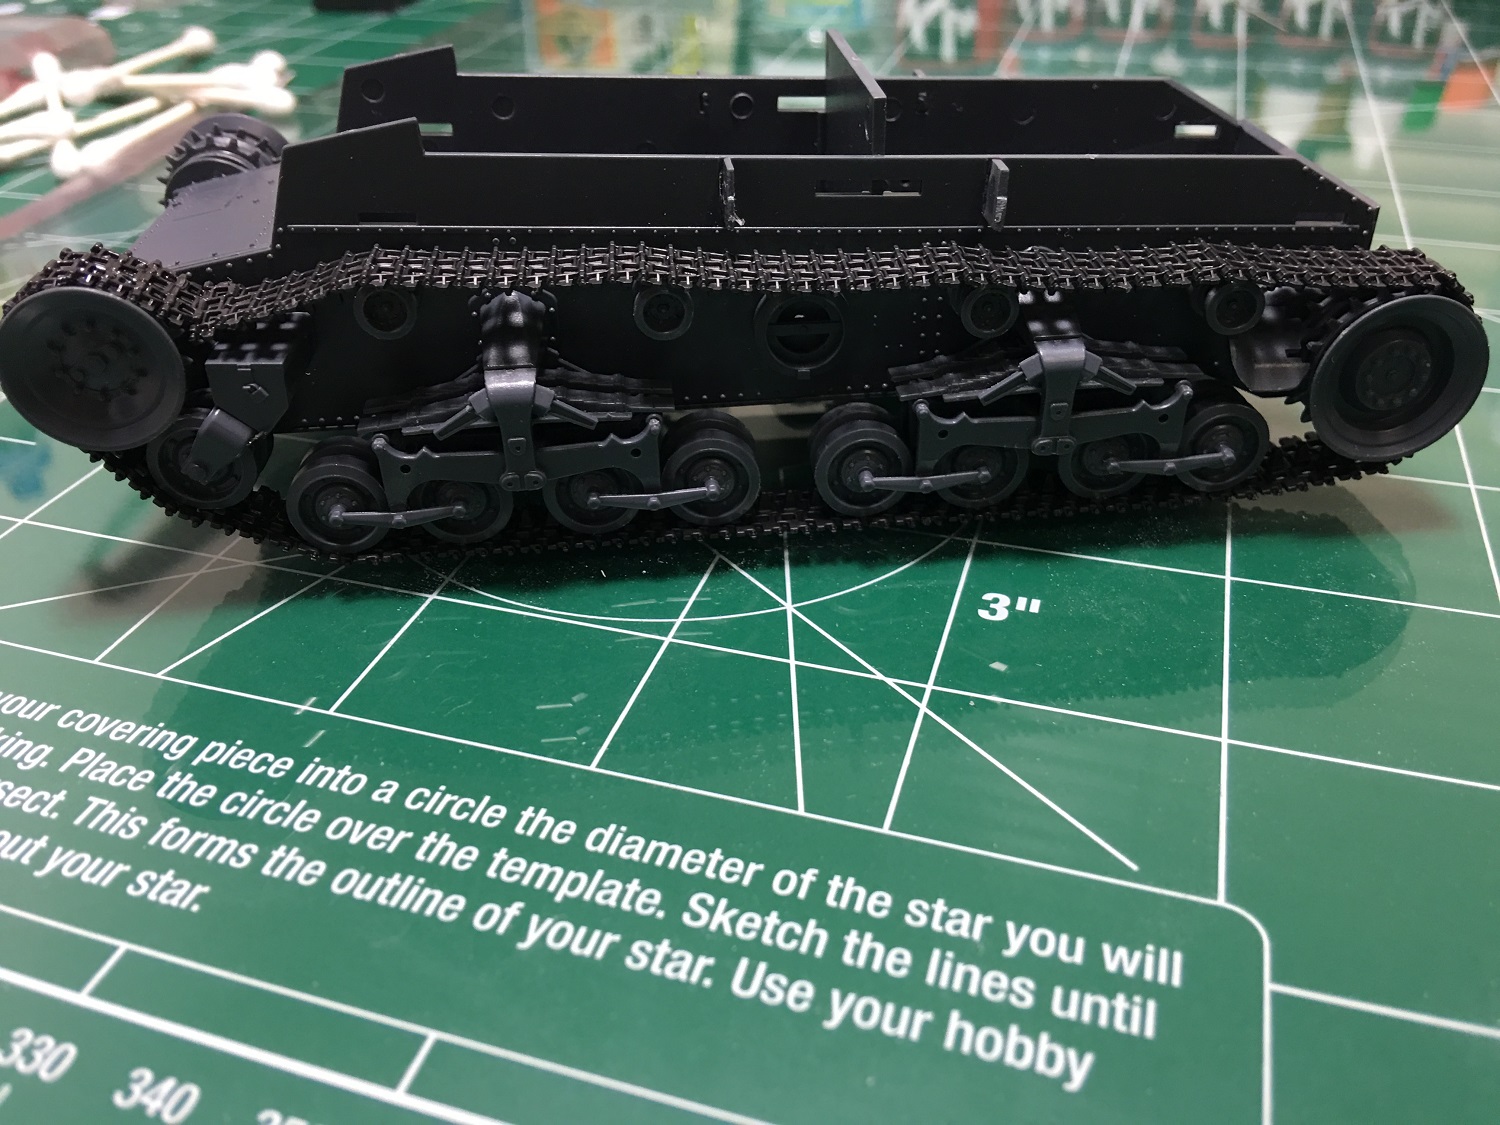
Side-view in-progress shot of chassis with black pre-shading
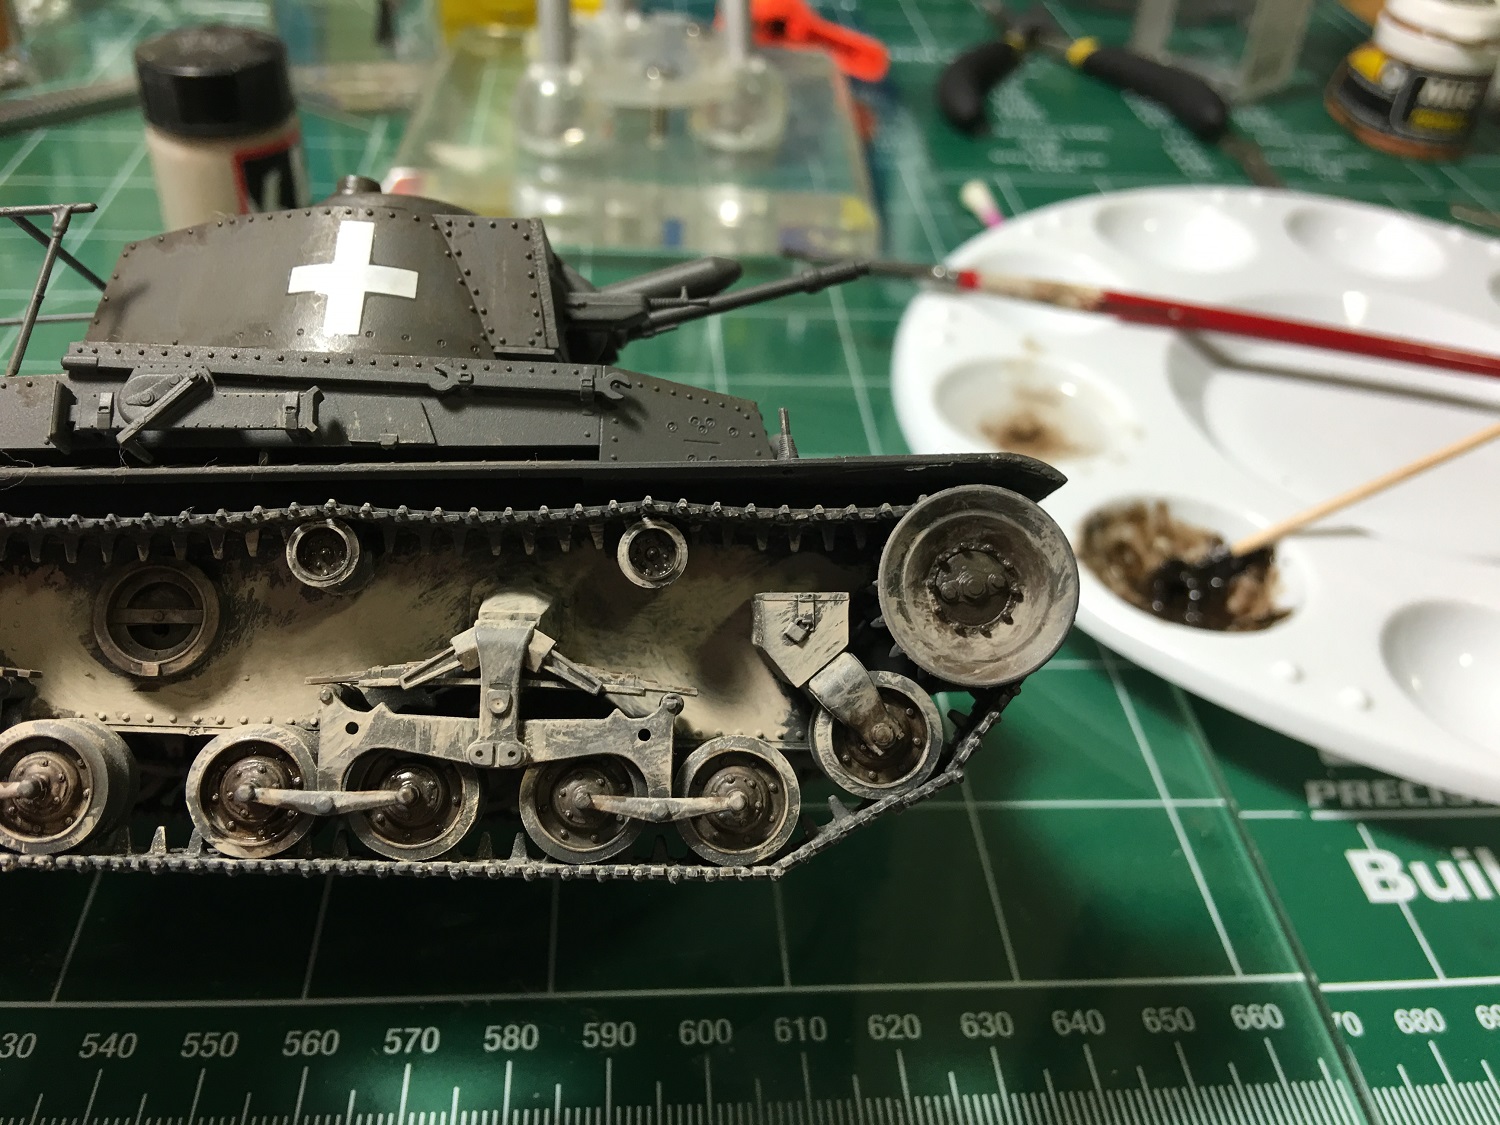
After weathering of road wheels and tracks
Weathering completed
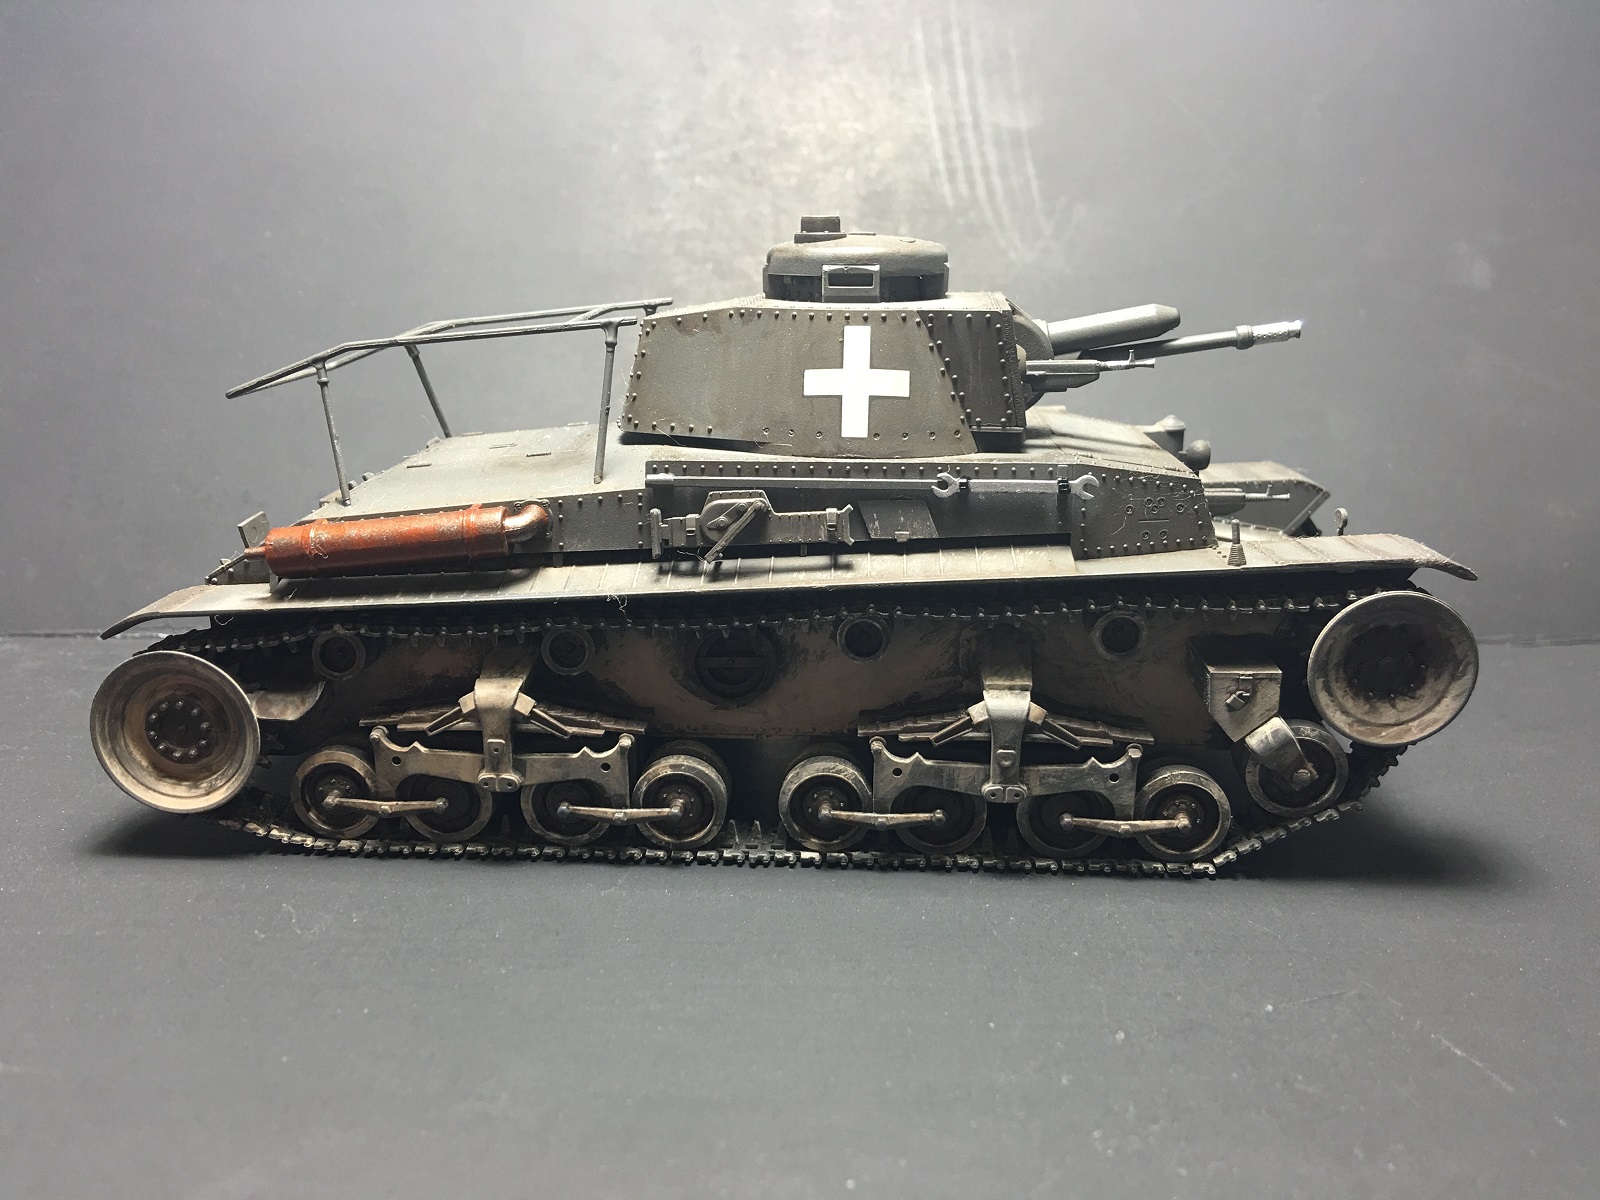
Right side view of completed model
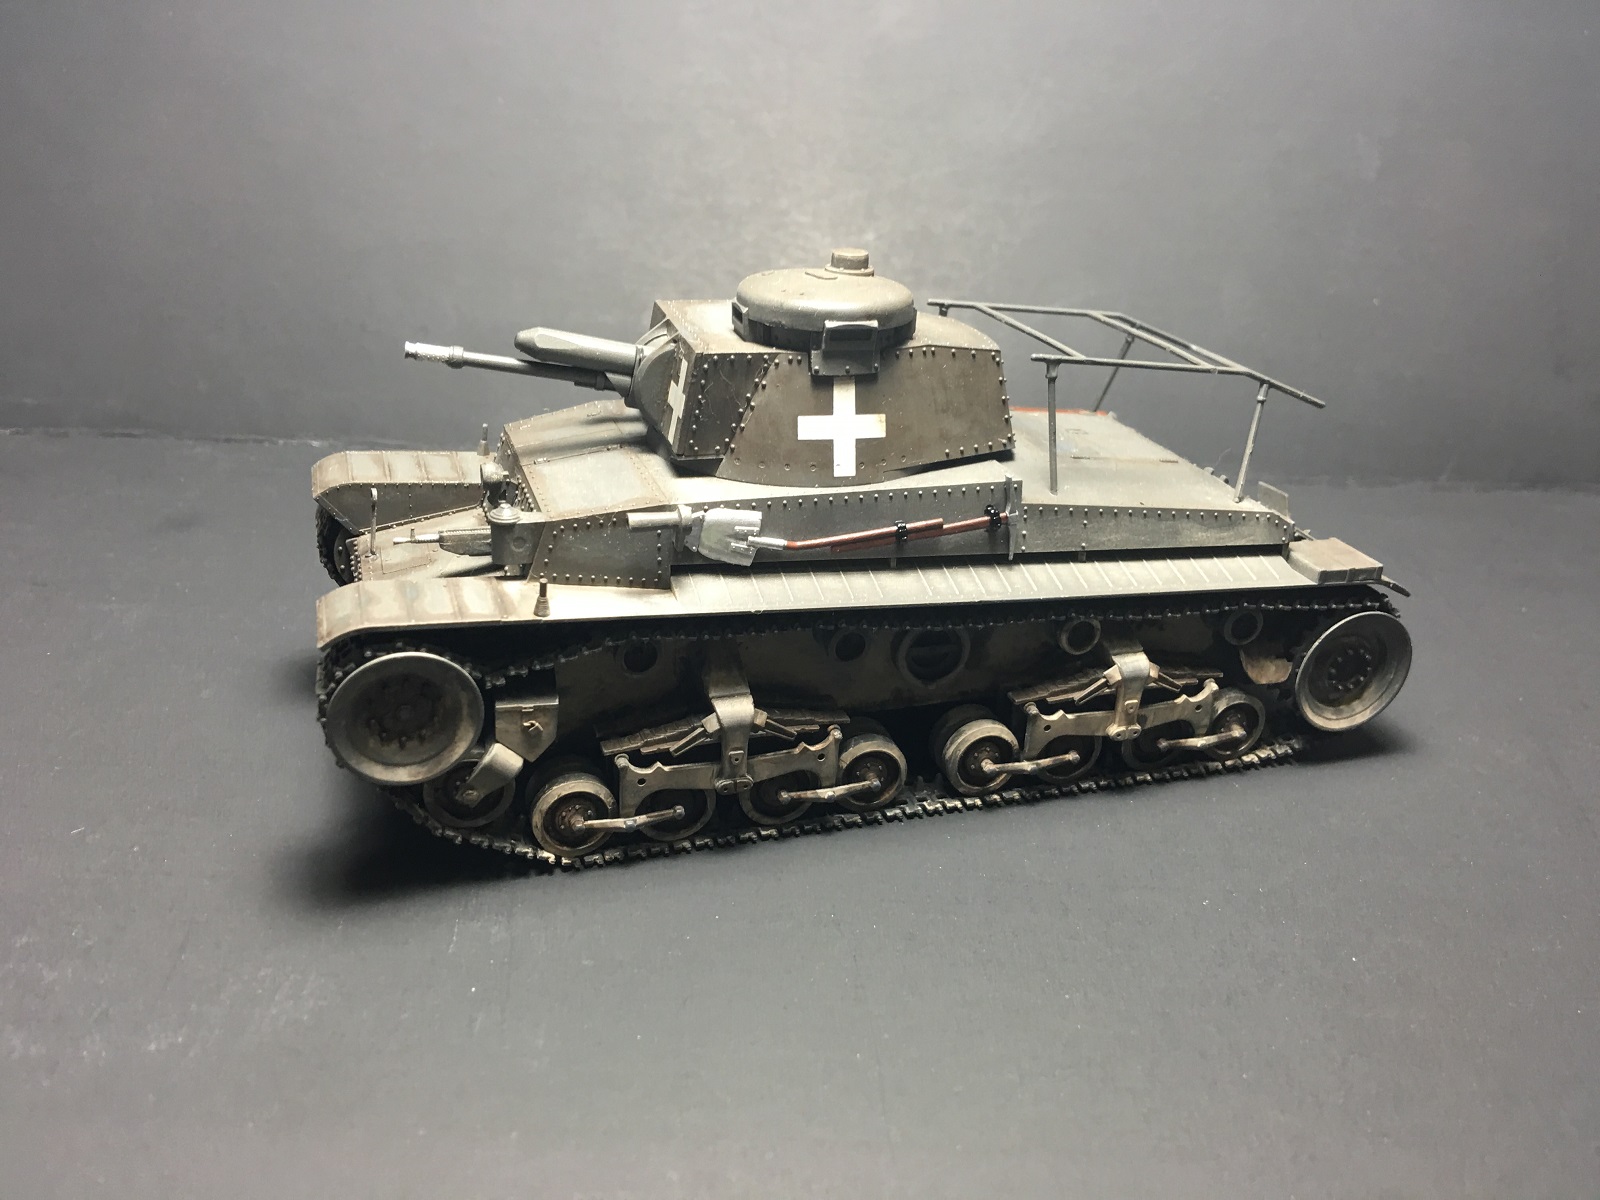
Right side of completed model, illustrating stowage of pioneer tools disregarding the alignment holes in the hull
Comments
Add new comment
This site is protected by reCAPTCHA and the Google Privacy Policy and Terms of Service apply.
Similar Reviews