
The Parthenon
The best way to start this model is to clip all the parts and mark them with the call out number as not all the columns are the same. Some are taller and others are shaped differently. Then clean up all the molding lines and paint these parts. The painting is problematic as they call out some colors like Marble and ask you to mix the following colors Flat Skin Tone Warm, Flat light flesh and flat white. There are no percentages and then to top it off they say the Pentelic marble is an impeccable white with uniform, weak yellow coloration along with a photo of what the real marble looks like. I just painted the base a general white with a subdued dark wash to show the seams and slight textured surface of the base.
Speaking of the base, my sample was warped. I tried to use hot water to soften the plastic so I could get the base to lay flat on a level surface. That was not successful, so I tried hotter water, that was not successful, so I went to boiling water and that was so successful that the base was totally ruined as it became so soft that just sagged everywhere. So when a replacement base was obtained it too was warped, so I obtained a piece of Plexiglas and epoxied the base to it. That solved the warp problem.
The columns are supposed to be Press + Click. I found that it is better to clip off a small portion of the tab and glue the columns into them base after painting them.
- In step 2 the statue of Athena is glued in place. Later in step 5 you can remove part of the outer wall so you can see into the inner chambers. If you decide not to do this, then you can skip the inner columns and the painting of the walls as you can see very little thru the doors.
- Steps 3 thru 6 continue to build the inner structure.
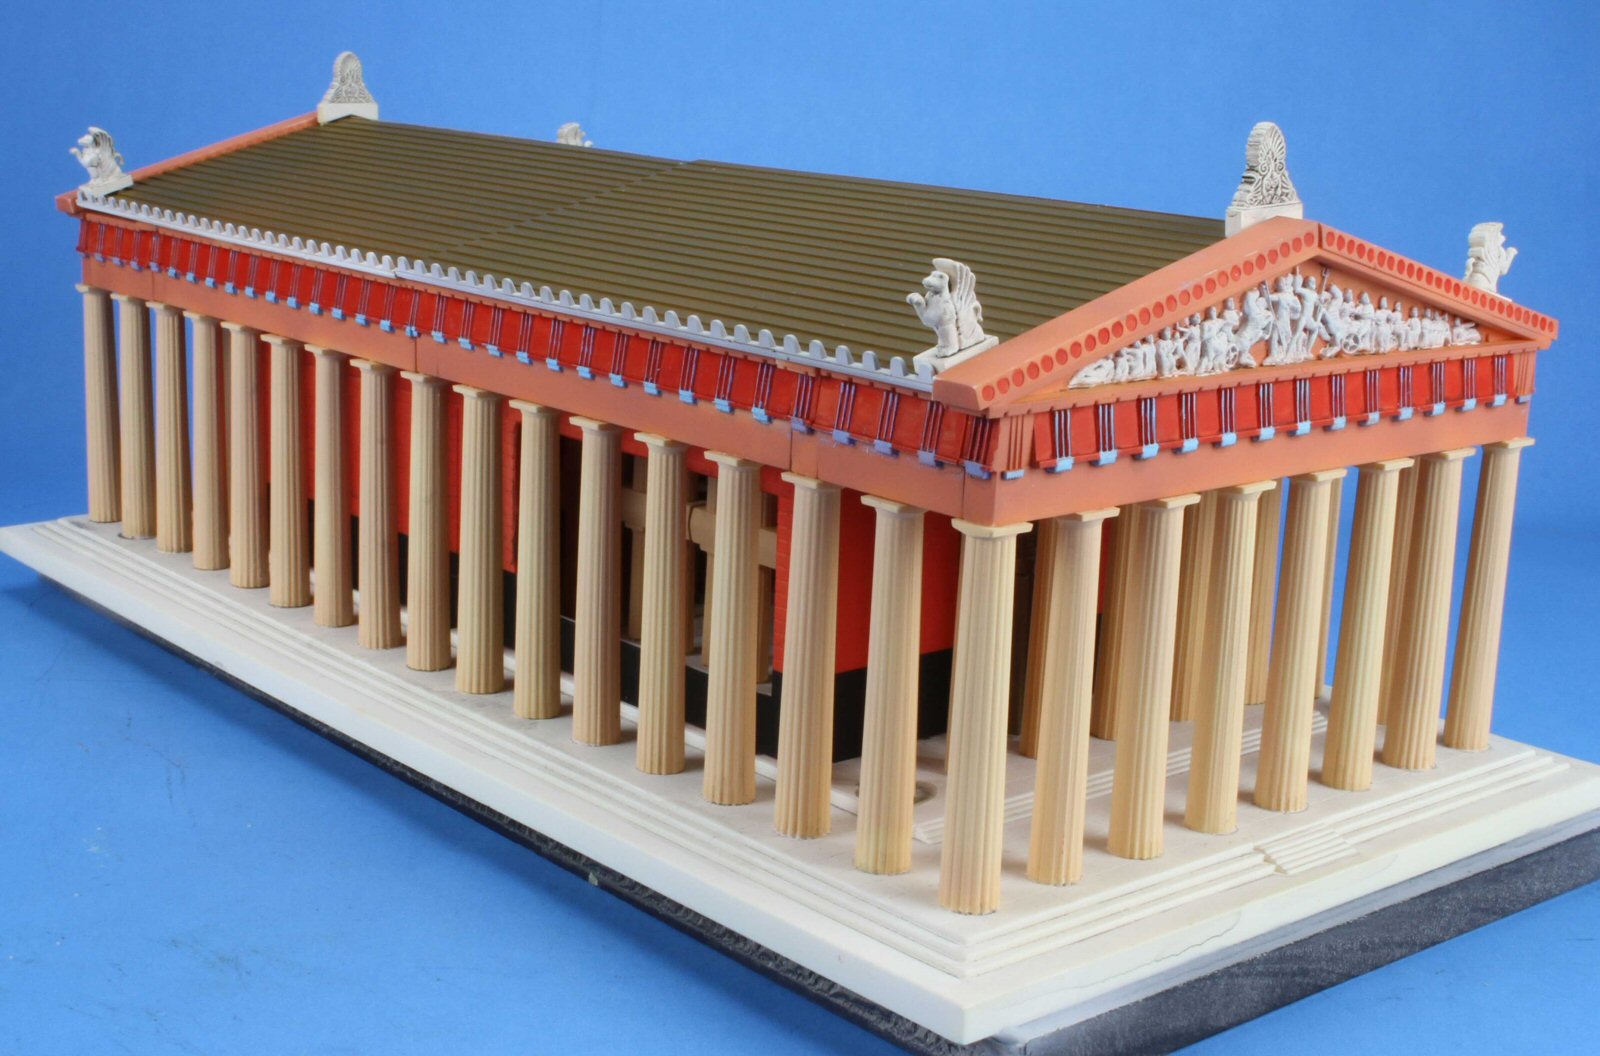
- Step 7 adds the inner roof, oddly there are no paint colors called out, so I went with the Gold paneling. Again, if you don’t open up the walls, there is no need to paint this inner roof.
- Step 8 & 9 add the first set of columns and the corresponding crossbeam. It is decorated with the figures, but you can’t see it when the main roof is added, so I just gave it a plain coat of paint.
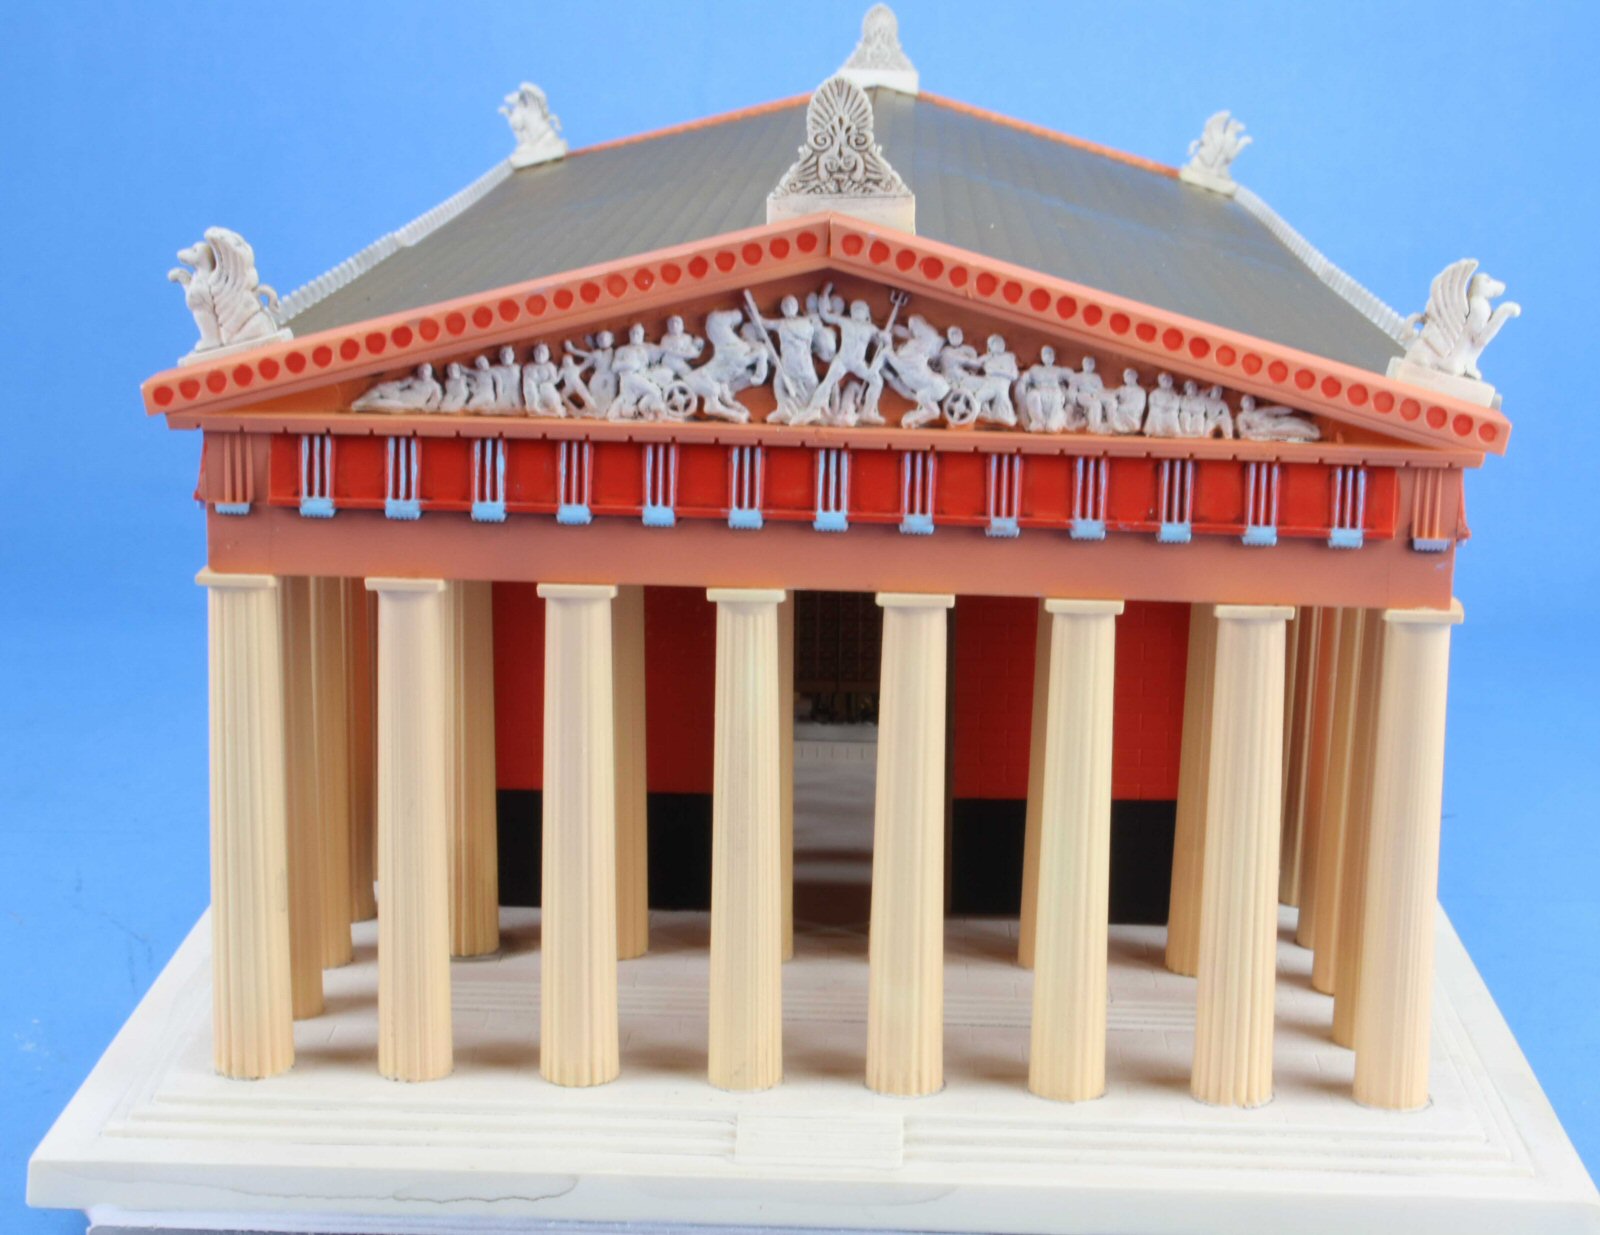
- Steps 10 & 11 add the outer columns and the visible crossbeam. Here the figures are visible, and the instructions have minimum painting suggestions. I just painted them an off white and then a wash to show off the 3D figures.
- Steps 13 & 14 repeat Step 8 & 9 on the opposite end of the structure.
- Steps 15 & 16 repeat Steps 10 & 11 on the opposite end of the structure.
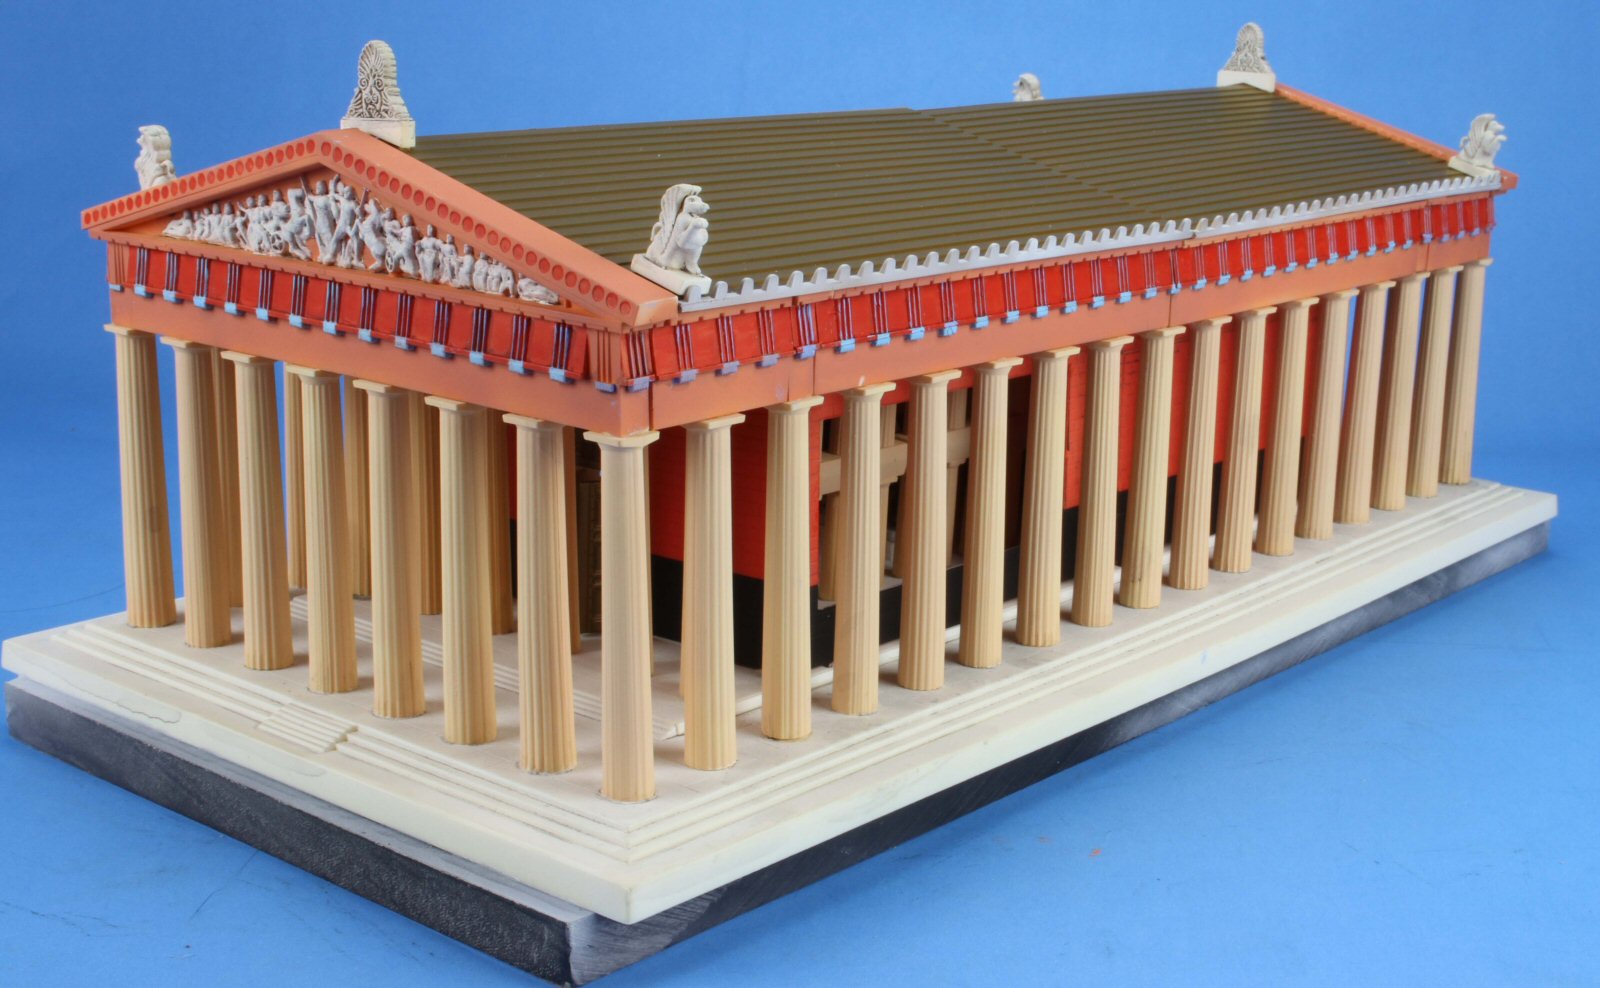
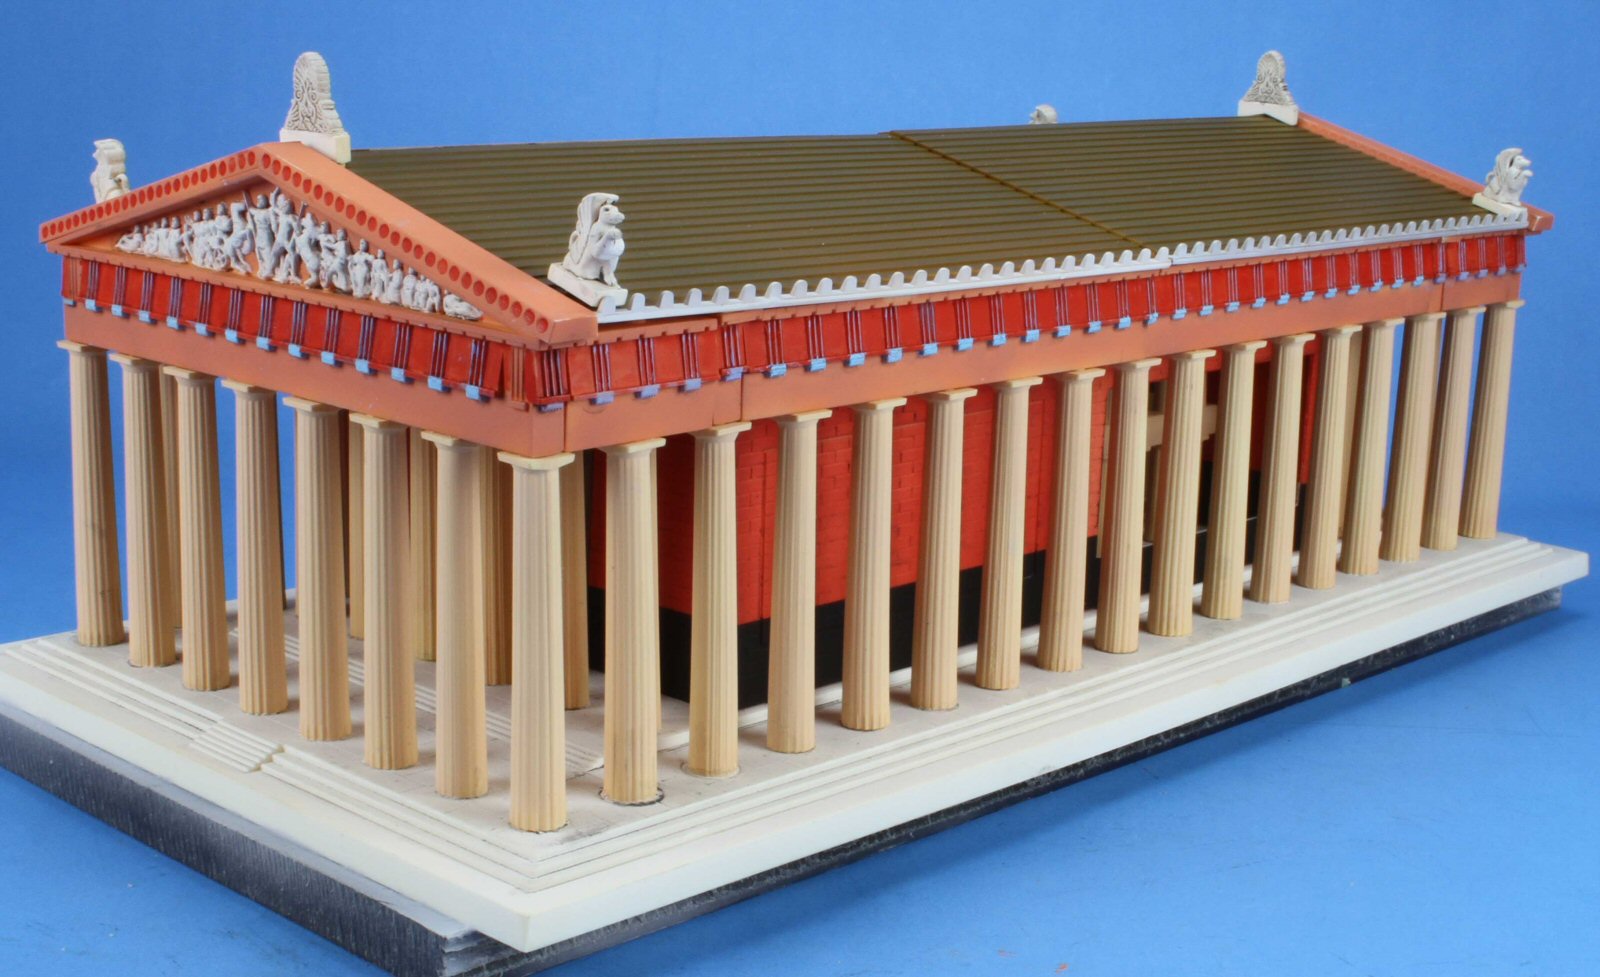
- Steps 18 thru 21 build the outer columns and the crossbeams along the side of the structure.
- Steps 22 & 23 add the outer roof supports.
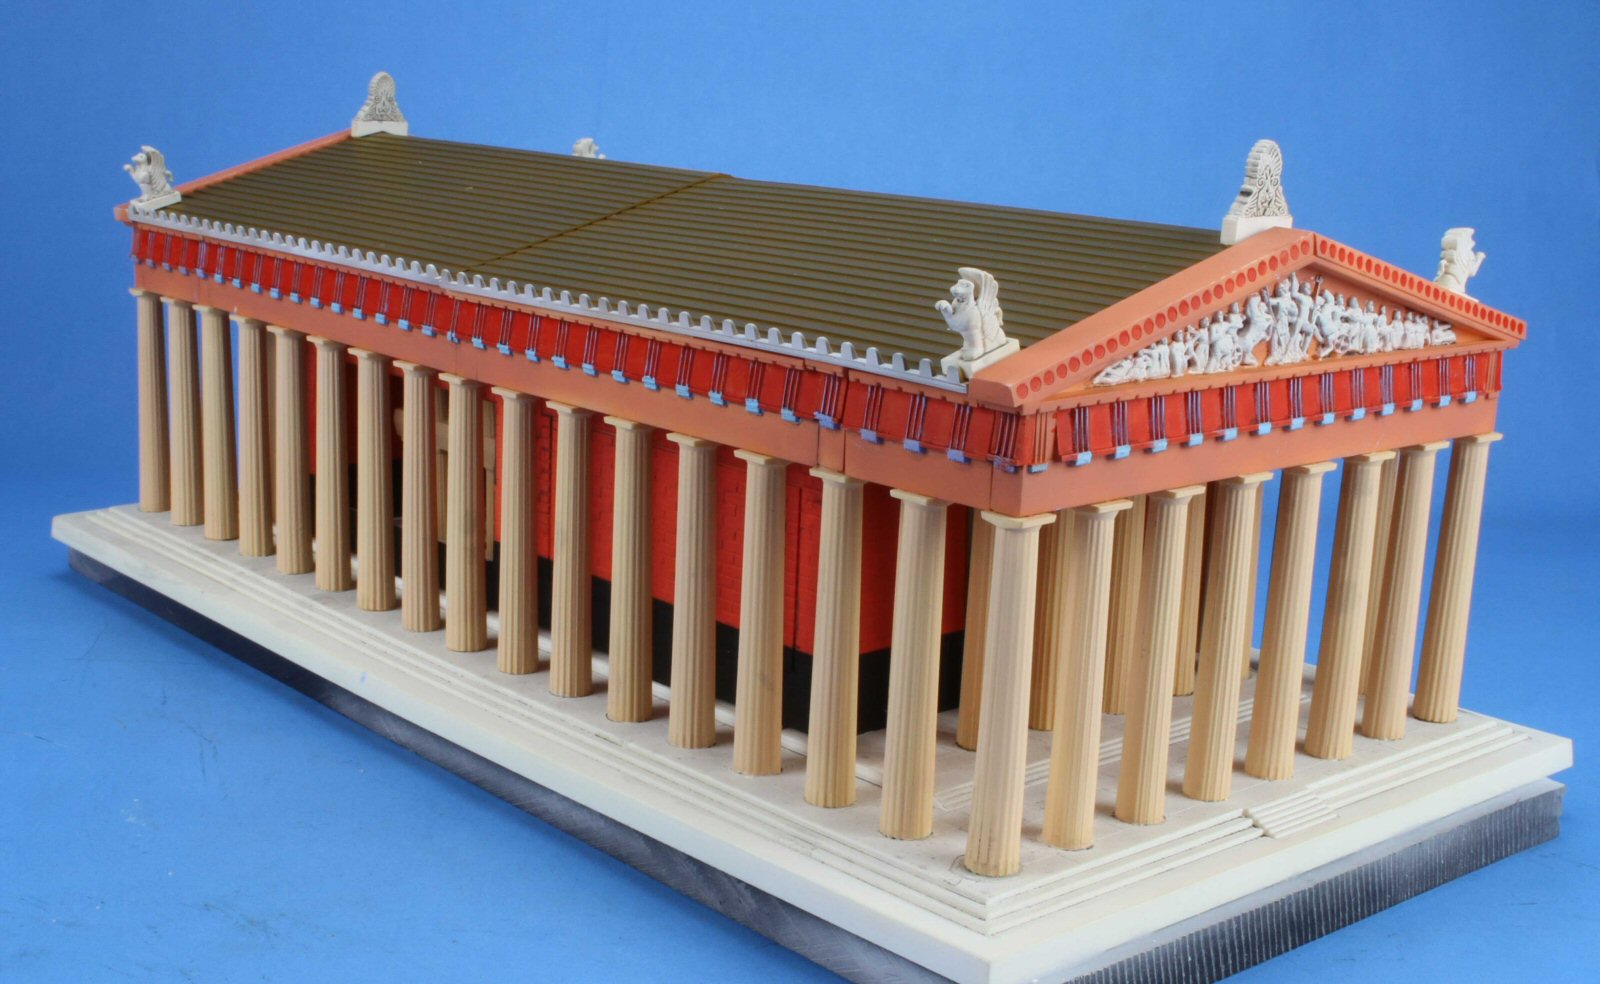
- Steps 24 thru 26 add the outer roof and the 6 ornamental statues. The outer roof will need to have the locating holes drill out and the statues will need to have some of the pins clipped off so the roof can fit onto the roof supports.
The instructions has some painting suggestions using Testors paint only. But other than the marble color, the rest can be converted to whatever favorite paint you use.
The only real complaint that I have run across is the outer roof. It is depicted with horizontal strips, but the actual roof was made of vertical tiles. So there is room for improvement if you want to use your scratchbuilding skills. Also the ambitious builder could install some LED lights to illuminate the inner room with the Athena Statue.
Thanks to Italeri, Hobbico and IPMS for this review kit.

Comments
Add new comment
This site is protected by reCAPTCHA and the Google Privacy Policy and Terms of Service apply.
Similar Reviews