
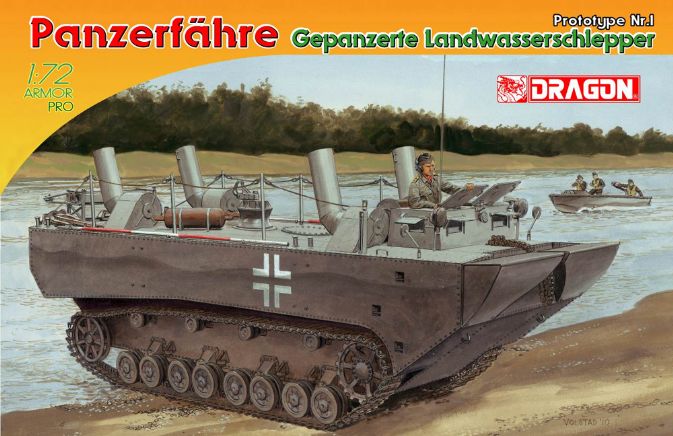
Panzerfahre Gepanzerte Landwasserschlepper Prototype Nr. 1
According to Dragon Model’s web site, this model represents “a vehicle whose main function was combat supply on land and in water. It could tow an amphibious trailer, or alternatively it could work in tandem with another Panzerfahre as a floating ferry platform capable of carrying a 24-ton load.” However, other than the prototypes, no other vehicles were manufactured. Yet we get a lovely injection-molded kit of this weird vehicle!! The Golden Age of Modeling, indeed!
The Kit
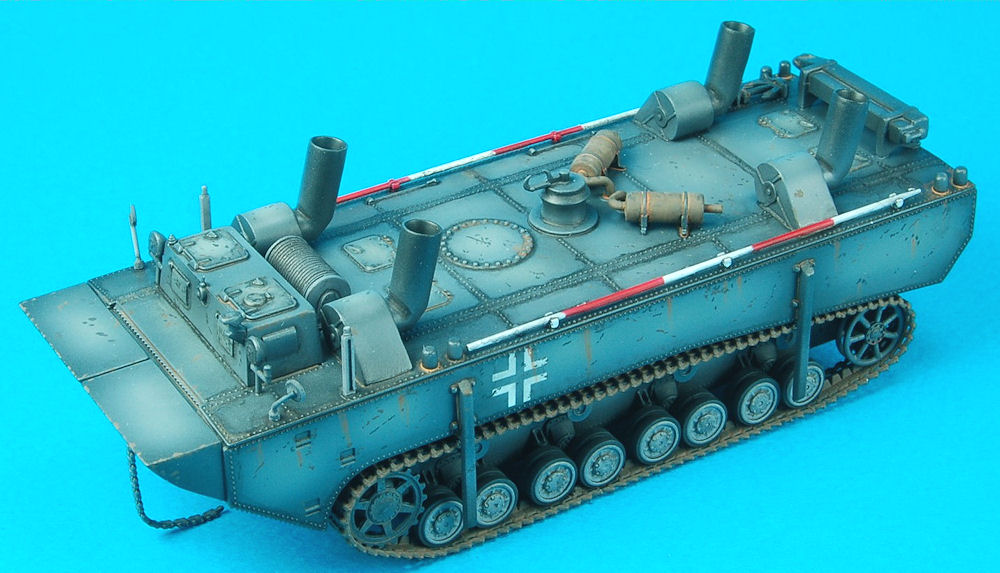
Thanks to the fact that this vehicle was basically a floating box, there aren’t many parts to it: just over 90, the largest by far being the upper and lower hull parts, D & Z. The majority of the remainder is for the Panzer IV-based road wheels, drive sprockets, and idler wheels, and the track return rollers. And speaking of track, there are two track pieces, one per side, and manufactured out of Dragon’s DS 100 “rubber” material. Detail on all the parts is very good for the scale, and there were no ejection pin marks or sink marks on any of the parts in my kit.
I followed Dragon’s sequence for building the kit, with a few exceptions. In section 1, I did not glue the center of the road wheels, putting these aside for separate painting and to add at the very end, once everything had been painted. This easily allowed me to paint the road wheels, part K3, in a black/rubber color without having to worry about masking off the centers. In Section 2 and Section 4, I left off the chains, parts A4, painting them separately and installing when everything else was assembled to avoid the risk of breakage as I handled the model during construction. This also occurred with parts A6/A8, wing mirrors, and parts B20/21 in Section 4, again to avoid the risk of snapping them off later during construction.
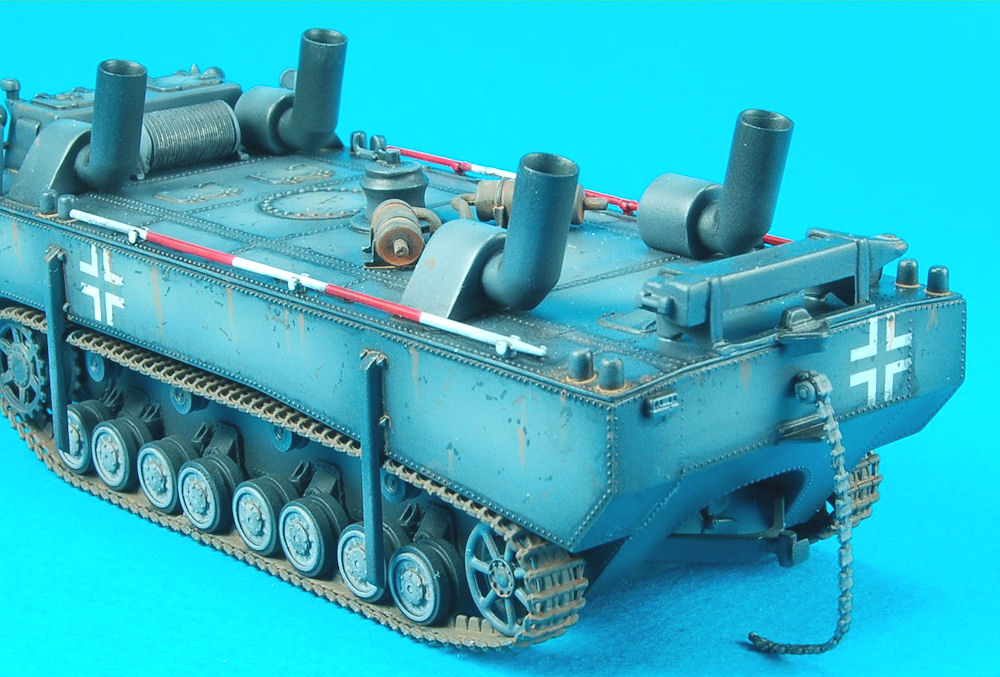
In Section 3, I took an appropriately sized drill bit, and drilled deeper into parts B33/44/45/46, funnels, to give them more scale depth. Also in Section 3, parts A12/13 were carefully removed from their sprue, cleaned up, and painted white, then masked and painted red, and installed on the model after everything else had been painted and installed.
The only major issue I had during construction of the kit was with the DS100 tracks. I had presumed (though it doesn’t actually say) that the tracks could be glued together with standard plastic cement. I have built other Dragon Model kits in 1/35th scale with such tracks, and have used my favorite model cement, Tamiya Thin, in the green-topped bottle. So I tried the Tamiya thin liquid glue on this model’s tracks, which turned out to be a huge mistake. The watery cement literally dissolved the DS track ala the parts of the spaceship “Nostromo” in the movie Alien, when the Alien’s acid-for-blood hits the spaceship’s structure and burns its way through multiple decks!! Thankfully, I was able to save most of the track, and then went to Plan B and used the more viscous glue, Tamiya’s orange-top bottle. Testor’s thicker cement in the black squeeze bottle with the needle tip applicator most probably would have worked as well. Per Dragon’s instructions, you have to test fit the tracks carefully; if too short, give them a careful stretch, and if too long, cut a length off. I proceeded carefully once I recovered from my disaster, and the tracks on my model look great.
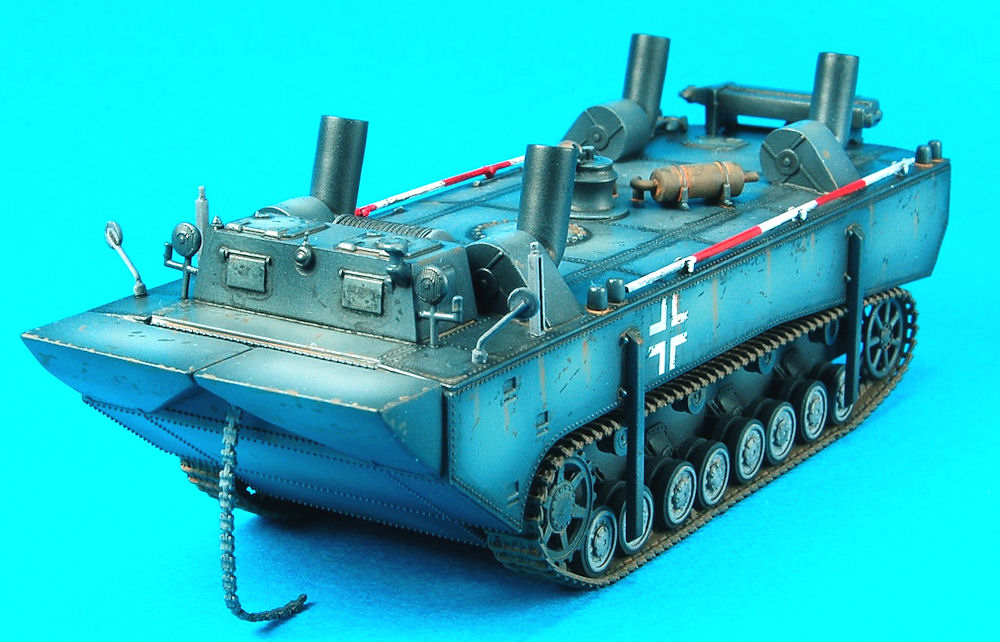
I painted the model using various shades of Tamiya’s XF-63 Panzer Gray, using the pre- and post-shading method of paint application. Normally I use Mr Color Self Leveling lacquer thinner to thin my Tamiya paint. I did this for most of the model, but made sure I used Tamiya’s alcohol-based thinner on the track area, as I had heard that harsh solvents might damage the track, as the thin glue had. Following this, I brush-painted the tracks with Vallejo’s track color – again, a water-based paint to avoid potential issues with the tracks. Once the paint was dry, I applied Tamiya Gloss clear, followed by the simple White German crosses, which were the only markings the kit came with. This makes sense, as the kit was a prototype only, so no vehicle numbers would have been necessary, nor divisional/tactical markings. The markings were sealed in more Tamiya gloss clear when dried. I then applied some thin coats of Testor’s Dullcote and began applying various pin washes using oil paints and mineral spirits – black to pick out the details, and a couple of rust shades for added highlights. Finally, everything was sealed with some thin coats of Testor’s Dullcote.
All in all, this was an excellent little build project, with the only area of concern (solved) being the DS100 tracks. With a little care and patience, this model would be suitable for anyone with a couple of small-scale armor models under their belt, and builds into a wonderful little model. The finished vehicle certainly is “different”! My thanks to Dragon Models USA for providing IPMS/USA with the opportunity to review this kit.

Comments
Add new comment
This site is protected by reCAPTCHA and the Google Privacy Policy and Terms of Service apply.
Similar Reviews