
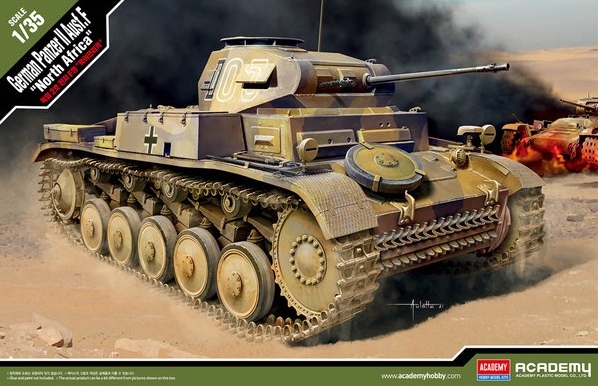
Panzer II Auf. F North Africa
Boom. And just like that a Academy Panzer II model kit landed at my door. So The adventure begins. I have built many models of armor but was not a fan of early German subjects. This kit looked interesting and as a new molded kit I was curious what new technologies have been used on this kit. This review will read like bullet points for easy reading.
Un-Boxing
The box itself has very nice art on it. Paint call outs on the side have seven manufacturers listed and are a big plus in my book. The manufacturers are: Humbrol, GSI Creos, Life Color, Model Master, Revell, Vallejo and AK. The kit is a skill level 4 (out of 5) and is clearly marked on the box. The box itself is top opening and very stout.
Inside the Box
There is a warning / safety sheet in the box and a download site for instructions if lost. Instructions are in color, very nice! Clear special instruction markings i.e. no cement. A quick tutorial is given on handling photo-etch parts. Page one has an addendum for optional photo etch parts on step 14, 16 and 22. A new item is that red lines are showing where to apply glue and red arrows for aligning of parts.Individual steps are not over crowded on pages. Track assembly shown in different colors for clarity of link and length track. Optional versions are marked and highlighted. You need to decide the version you want before starting. Paint colors called out in triangular marks. Lots of close up views and measurements are actual length. Diagrams show both sides of assembly, not tagged with “opposite” icons. Accuracy looks good i.e. stowage boxes have brackets to separate them from sponsons. (anti-rust) I suggest study of instructions and to cross out steps not used. Color profile pages are VERY NICE! (Designed by the DEF model company for Academy.) Six decal versions are shown including one captured version. Back page has parts layout and list of unused parts.
Kit Parts
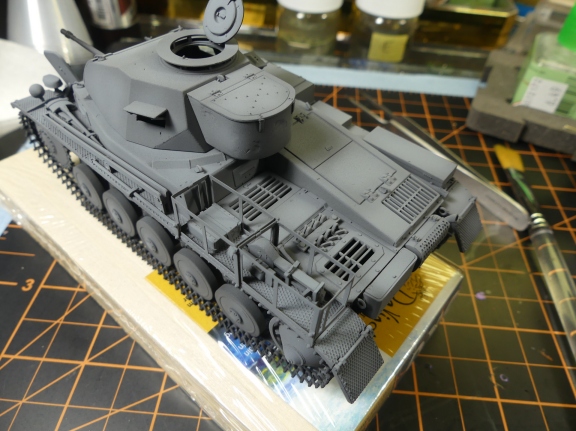
No flash on parts that are a problem. Sprue runners have the runner letter cut out for easy location. Kit is molded in an Africa mustard color. Lots of slide molding of parts! Very crisp detail! The wheels are molded off center so seam is not in the center of wheel so no sanding necessary. On closer inspection there are extra bolts molded on sprue runner not mentioned in instructions. Slide molded hollow gun barrels. Poly caps for wheels. Thread for cable, a bit too small.
Decals
Close on register not exact. Decals printed in Korea and are thin.
Assembly
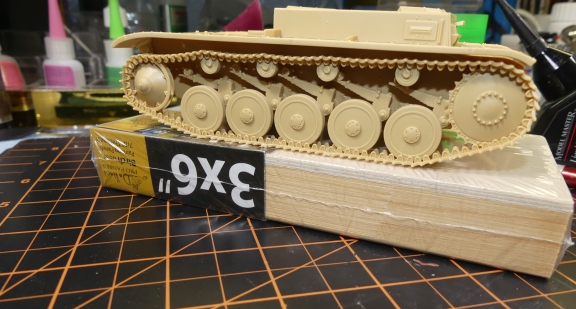
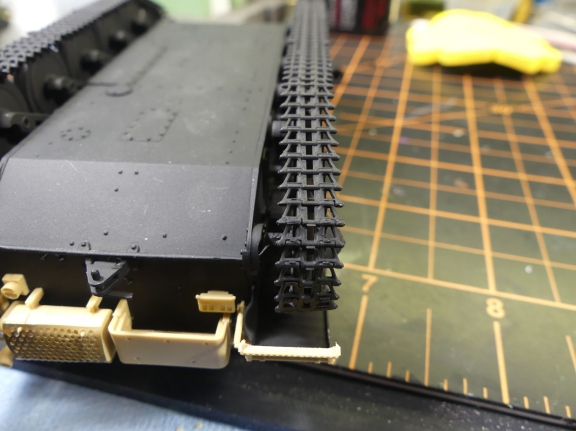
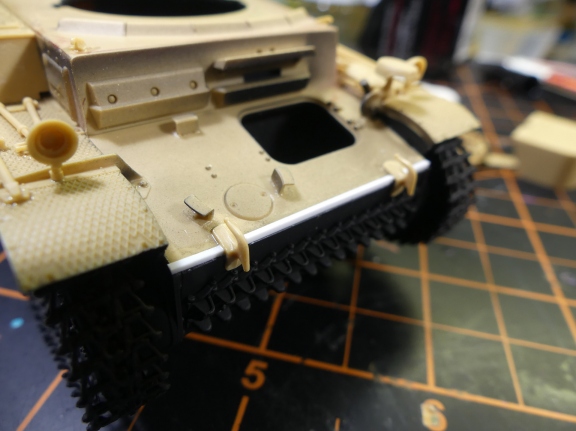
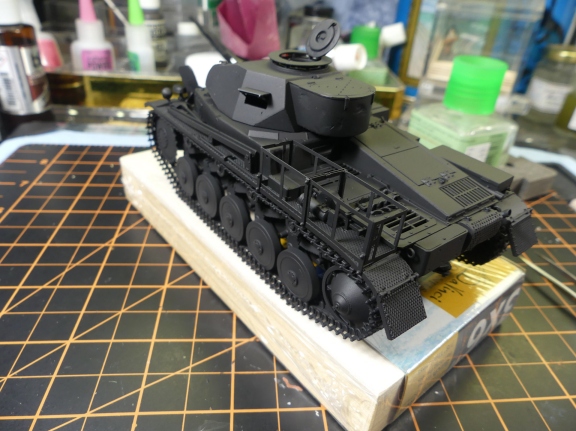
Kit gives you interior bulk heads for straight hull. Wheels fit tight on some pegs and loose on others. Not easy to align wheels but must be done to accommodate tight track. Rear sprocket way offset! Not sure what is going on here. Track fits NICE together with no knock out pins. No clear parts? Booo. The lower hull took about 7 hours to assemble. The upper hull fit on glacis fits strange and has a gap. Springs on rear mud “flap” have no locating pin on hull.
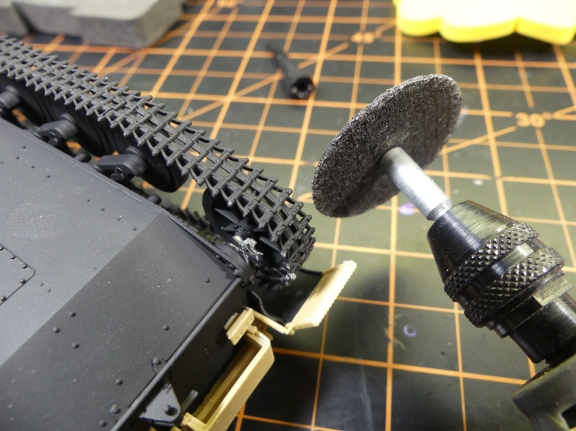
Track Problem
Idler wheels stuck out too far and made the track angle out. The solution was to cut out a section of idler pin with a Dremel cut off wheel the squeeze in the idler and super glue it.
Upper Hull
Cupola ring part numbers backwards C35 and D10 I used Dremel tool to dent rear turret basket. Tow cable too small in my opinion.
Painting
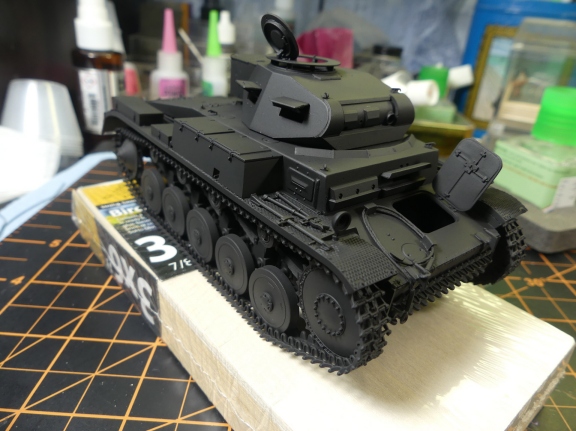
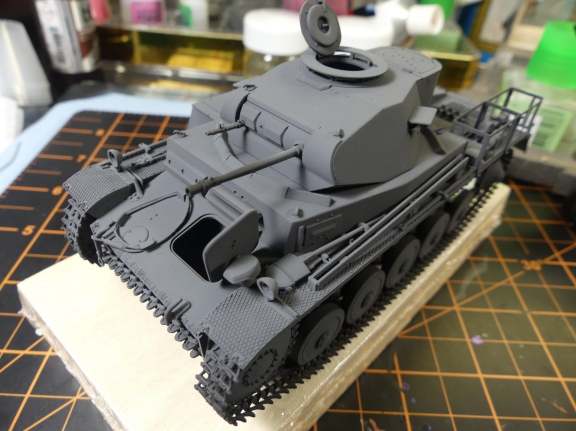
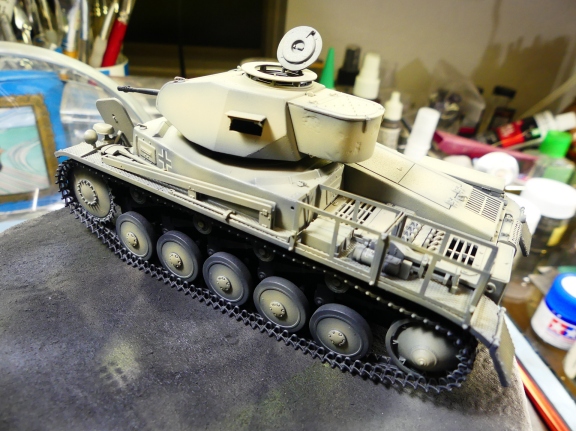
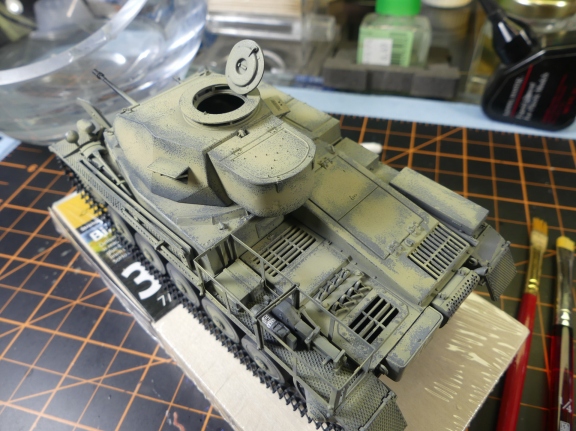
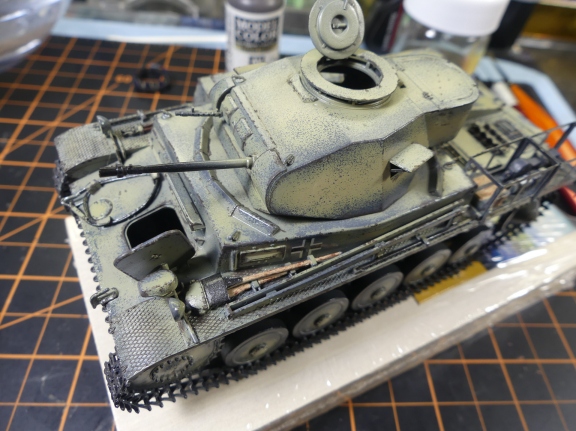
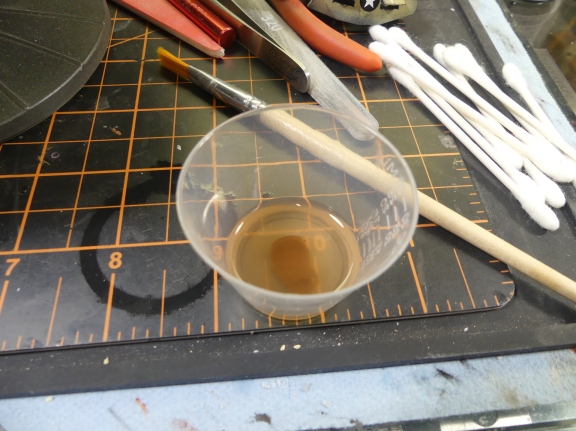
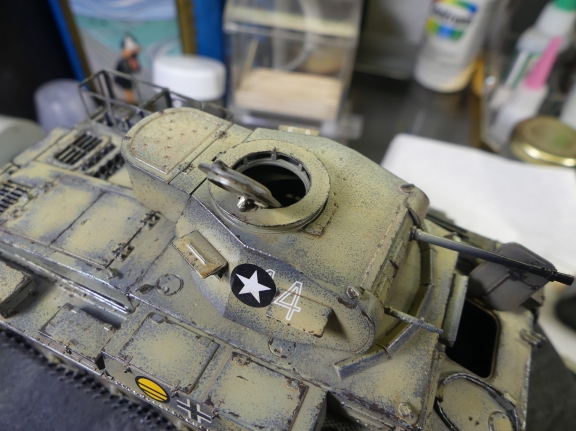
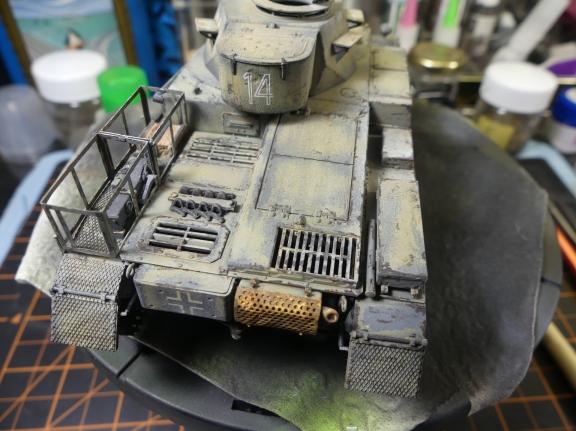
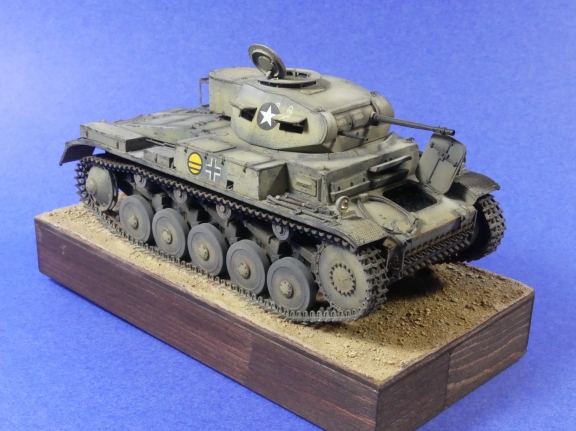
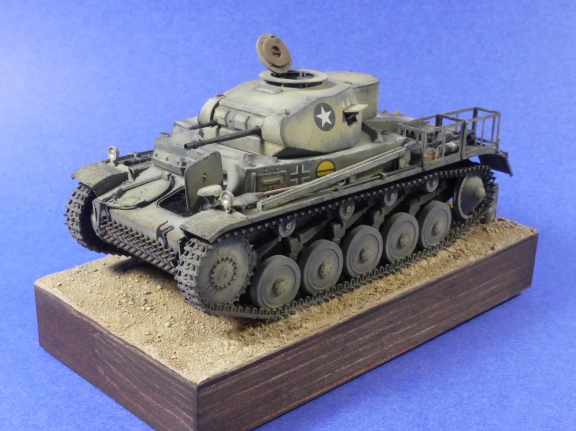
Primed all parts in Stynlrez black primer then painted with Tamiya German Gray leaving the black primer as a shadow (modulation technique). I then used Tamiya XF-53 Neutral Gray for highlight of panels. Next I clear coated with Pledge Floor Care with Future Shine. I applied German markings then over coated with clear. I decided to apply the hairspray technique as the photos of the real tank showed extensive chipping and fading. A light spray of Tresume hair spray then let it dry. When dry I sprayed a light coat of XF-88 Desert sand and when dry used a wet brush to Scrub the surface. I then applied the American captured decals. Chipping was done with Vallejo 70822 German brown. After painting tools and details I clear coated again. A wash brown wash from Abtielung oil paint was spread over the whole tank. Testors Dull Coat was sprayed over the whole tank. The final detail was using ground pastel chalk for the dirt and dust.
Conclusion
This was a great kit and even though not my usual subject I had a great time building it due to the excellent engineering from Academy Models Thank you to MRC / Academy Models and IPMS/USA for the review sample and keep up the good work!


Comments
Add new comment
This site is protected by reCAPTCHA and the Google Privacy Policy and Terms of Service apply.
Similar Reviews