
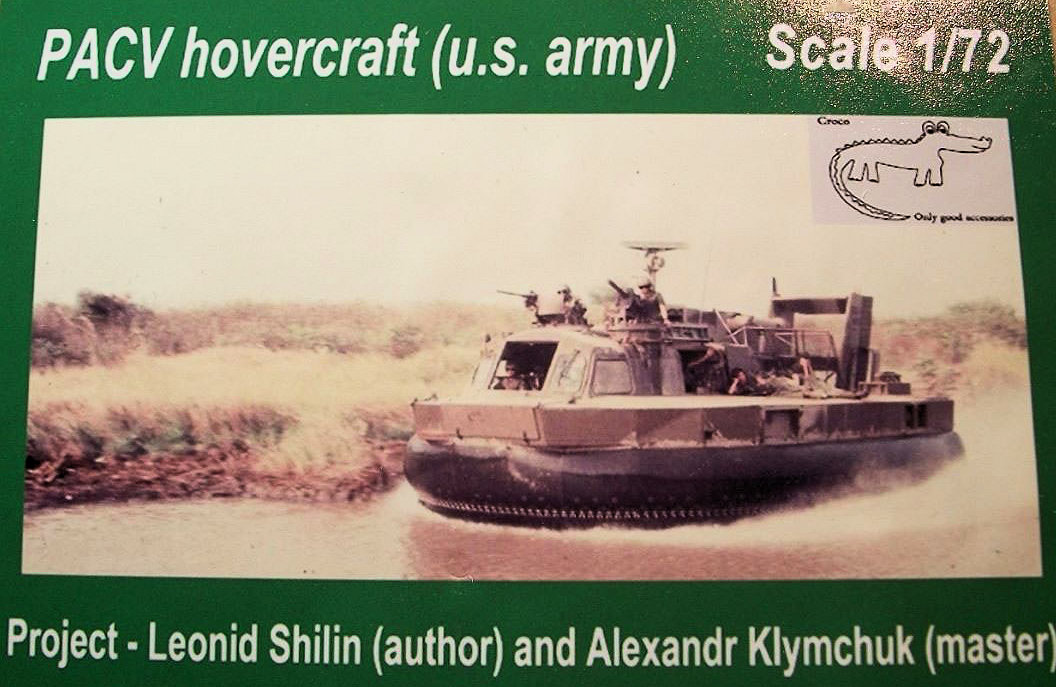
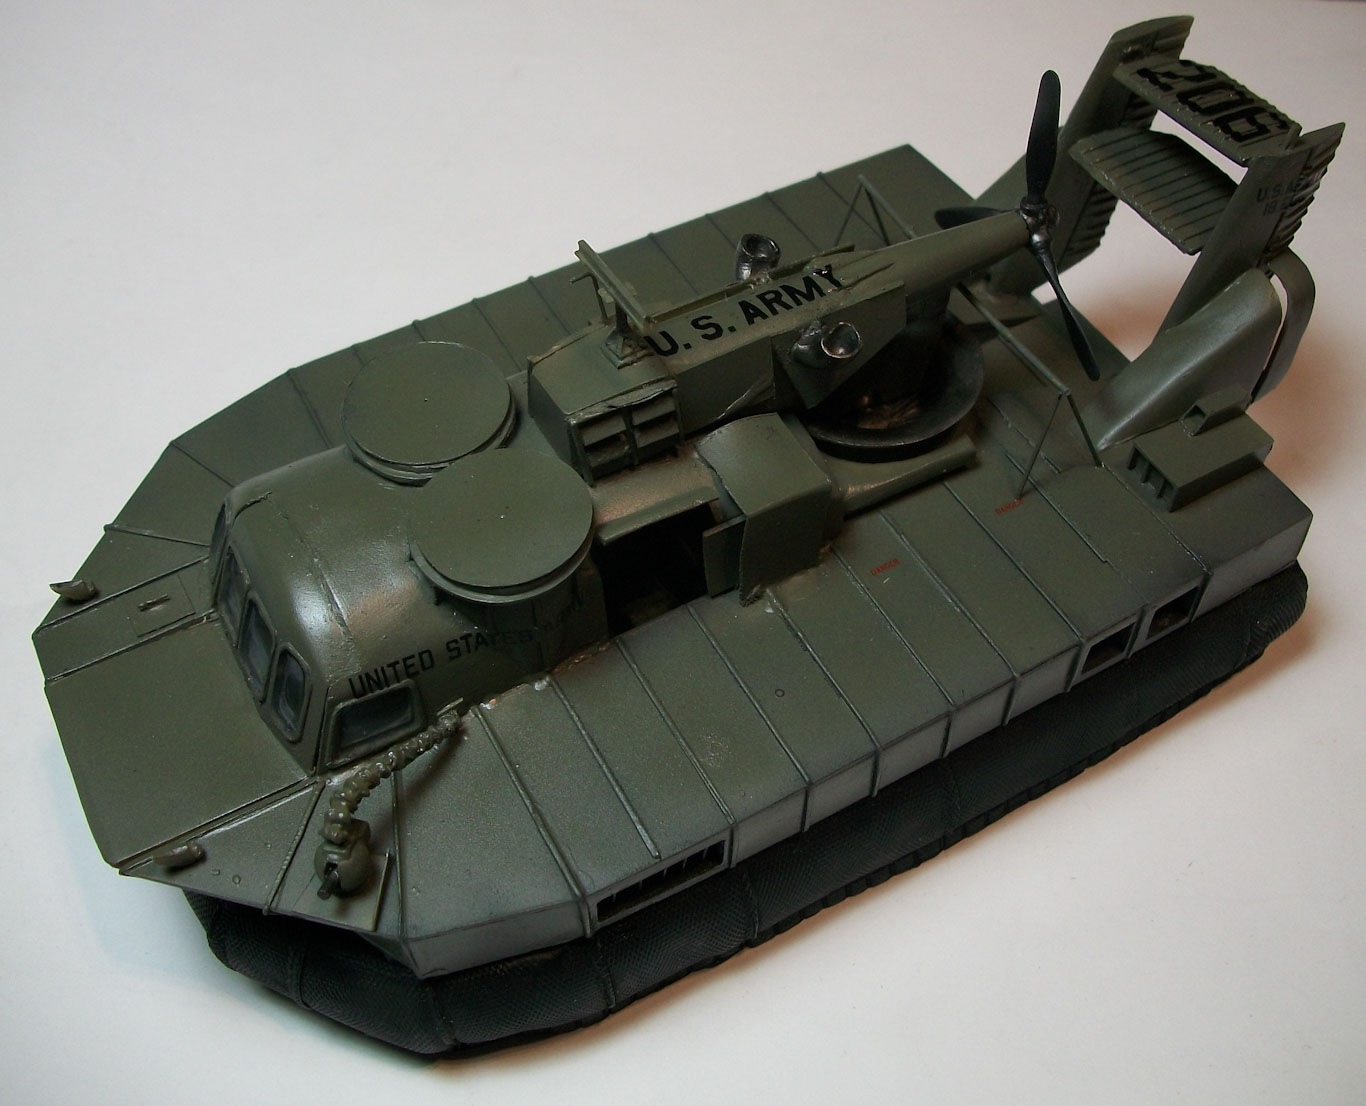
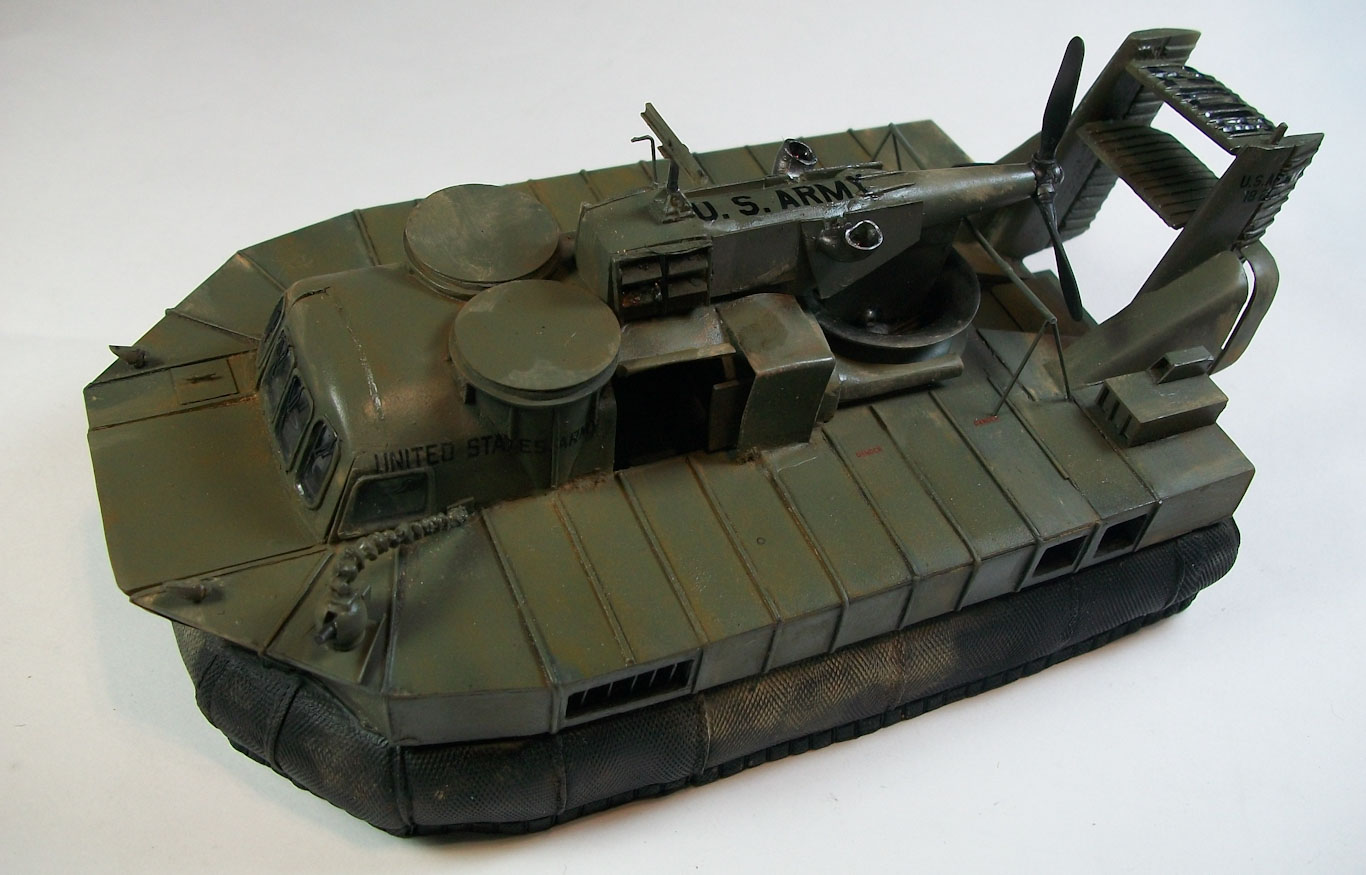
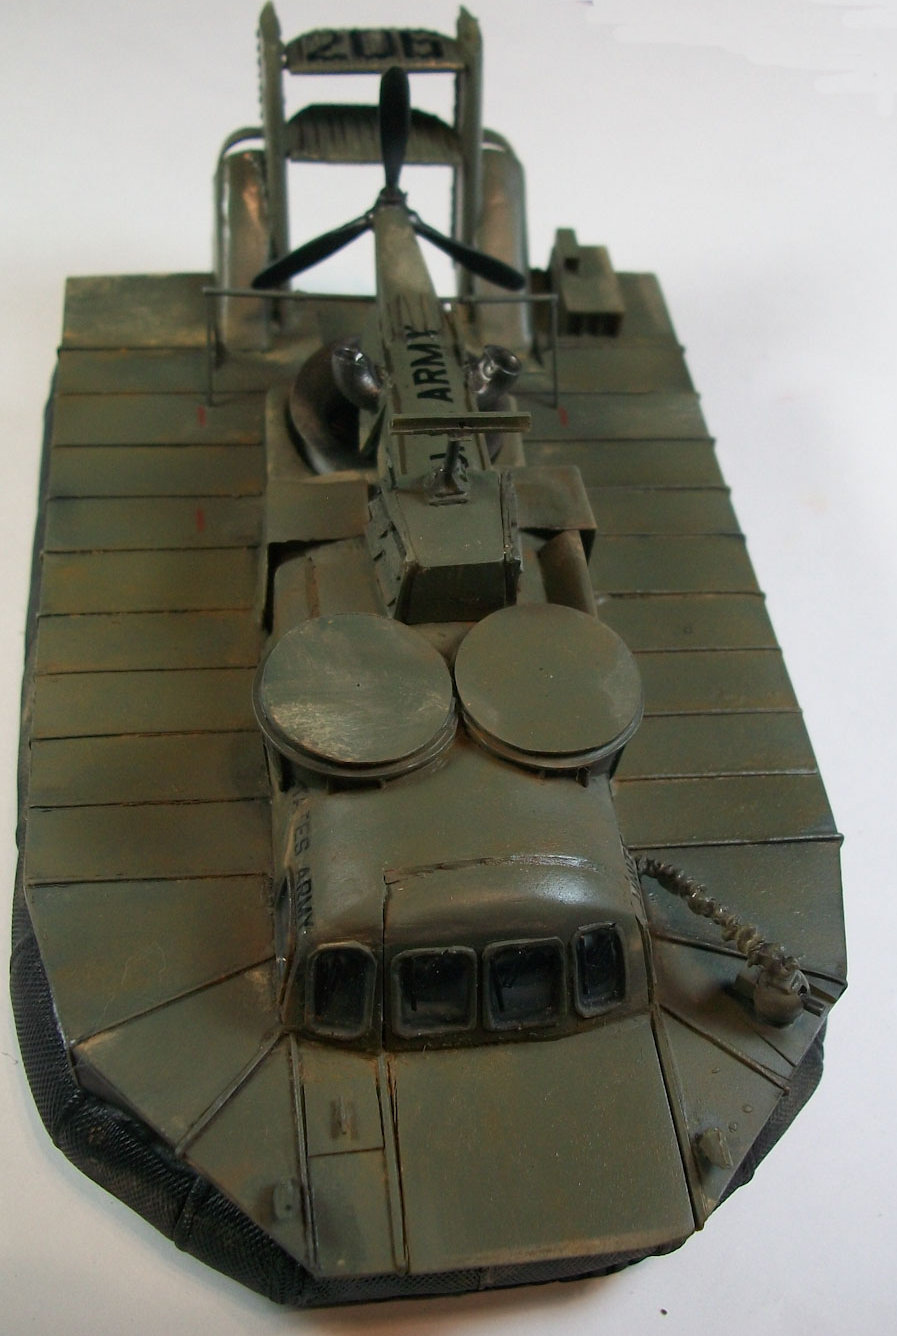
PACV Hovercraft (U.S. Army)
Croco Models from Latvia produces some very interesting and unusual kits and this one is another great additional to their line up.
The Kit is resin
Included is:
- 67 resin parts
- One Photo Etch Sheet
- One Decal sheet
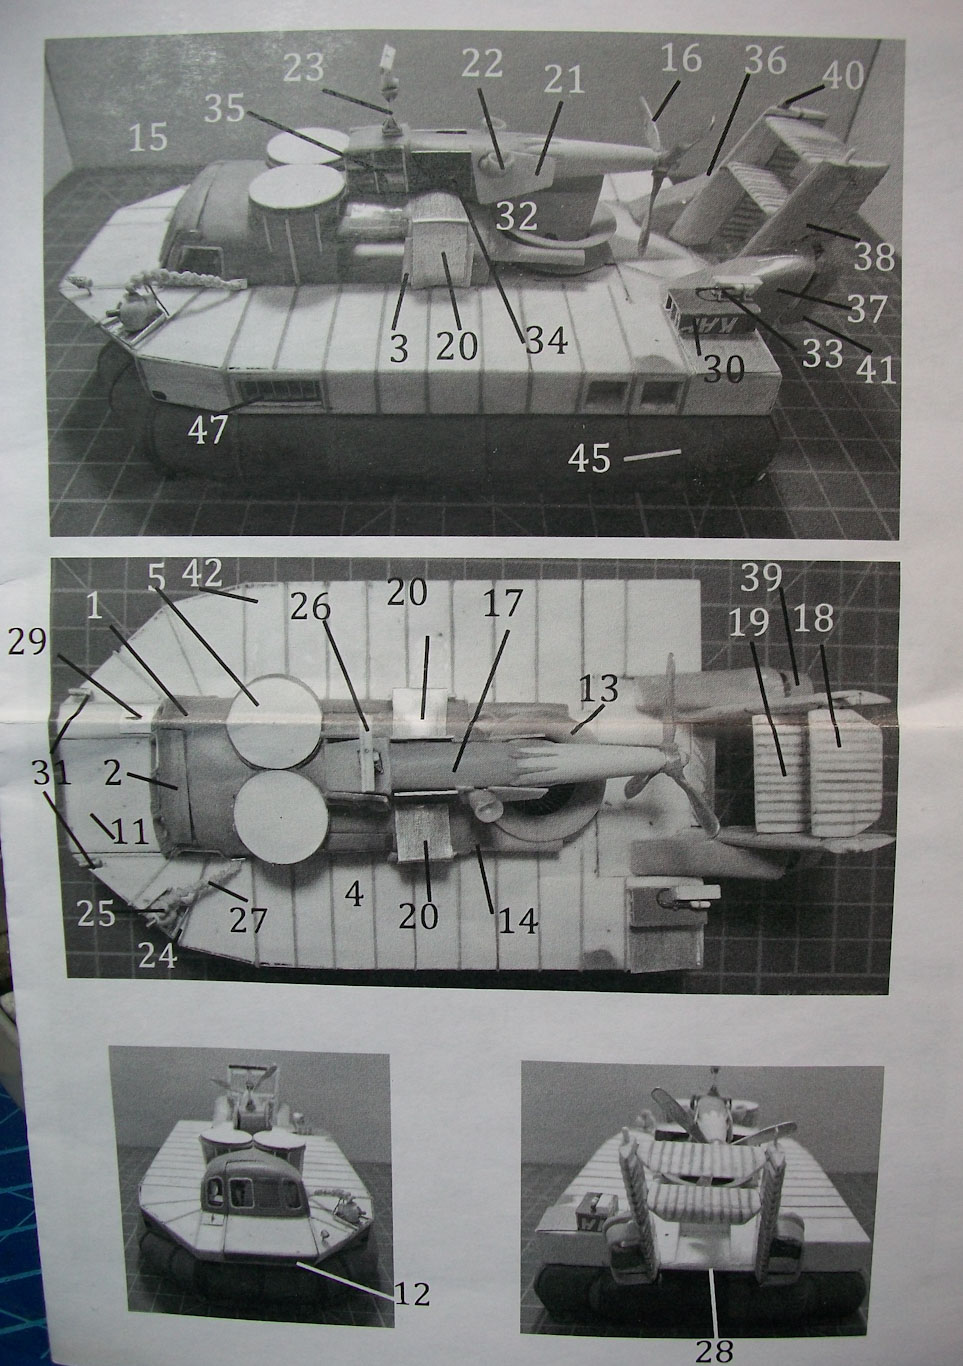
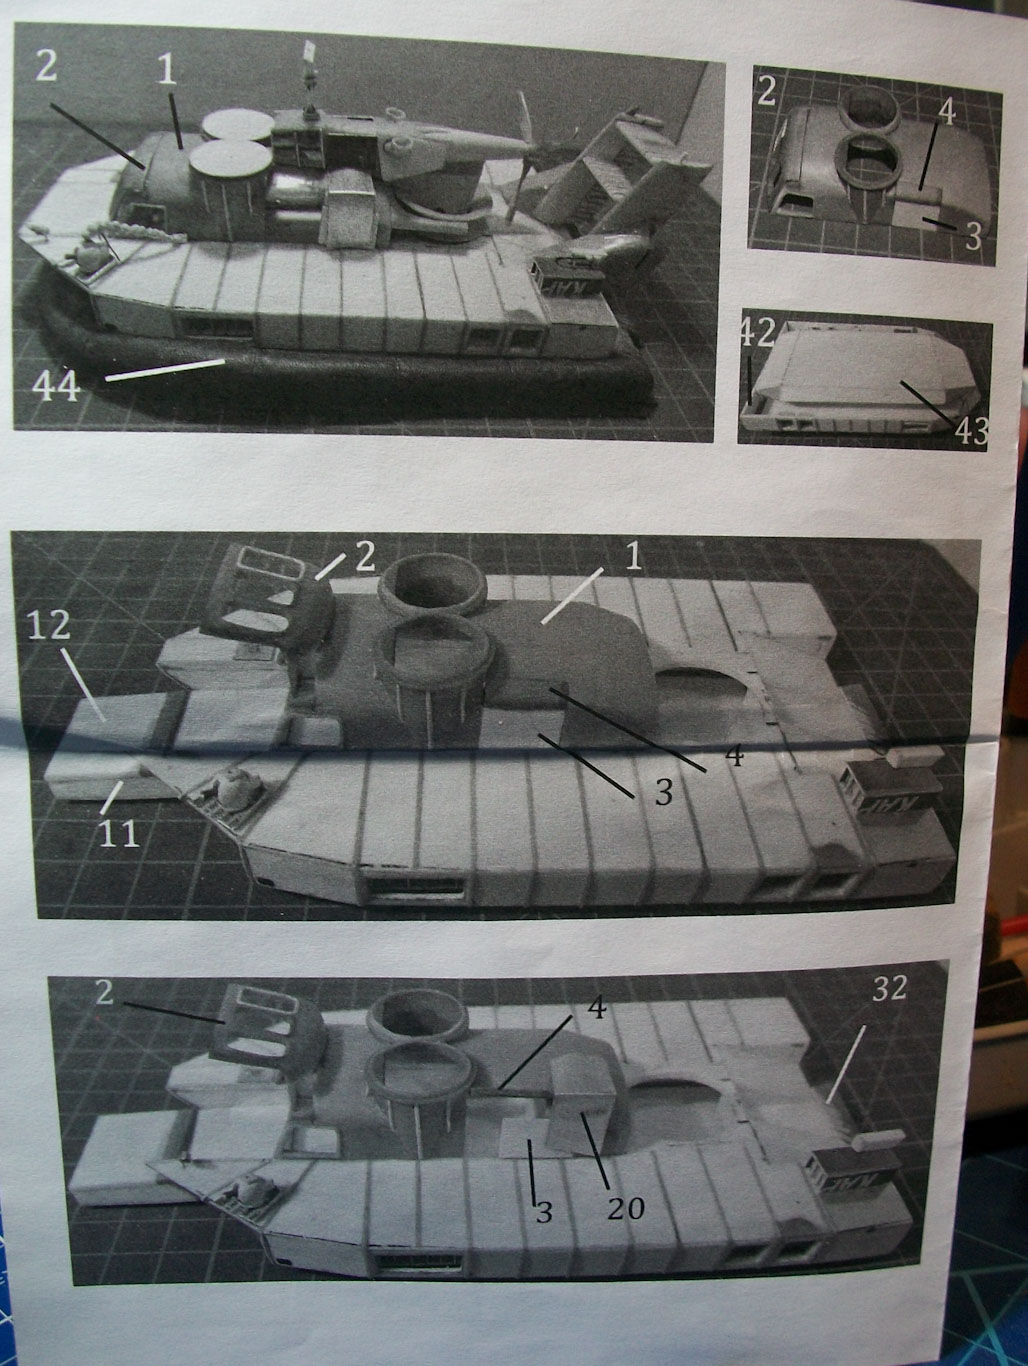
- One instruction sheet
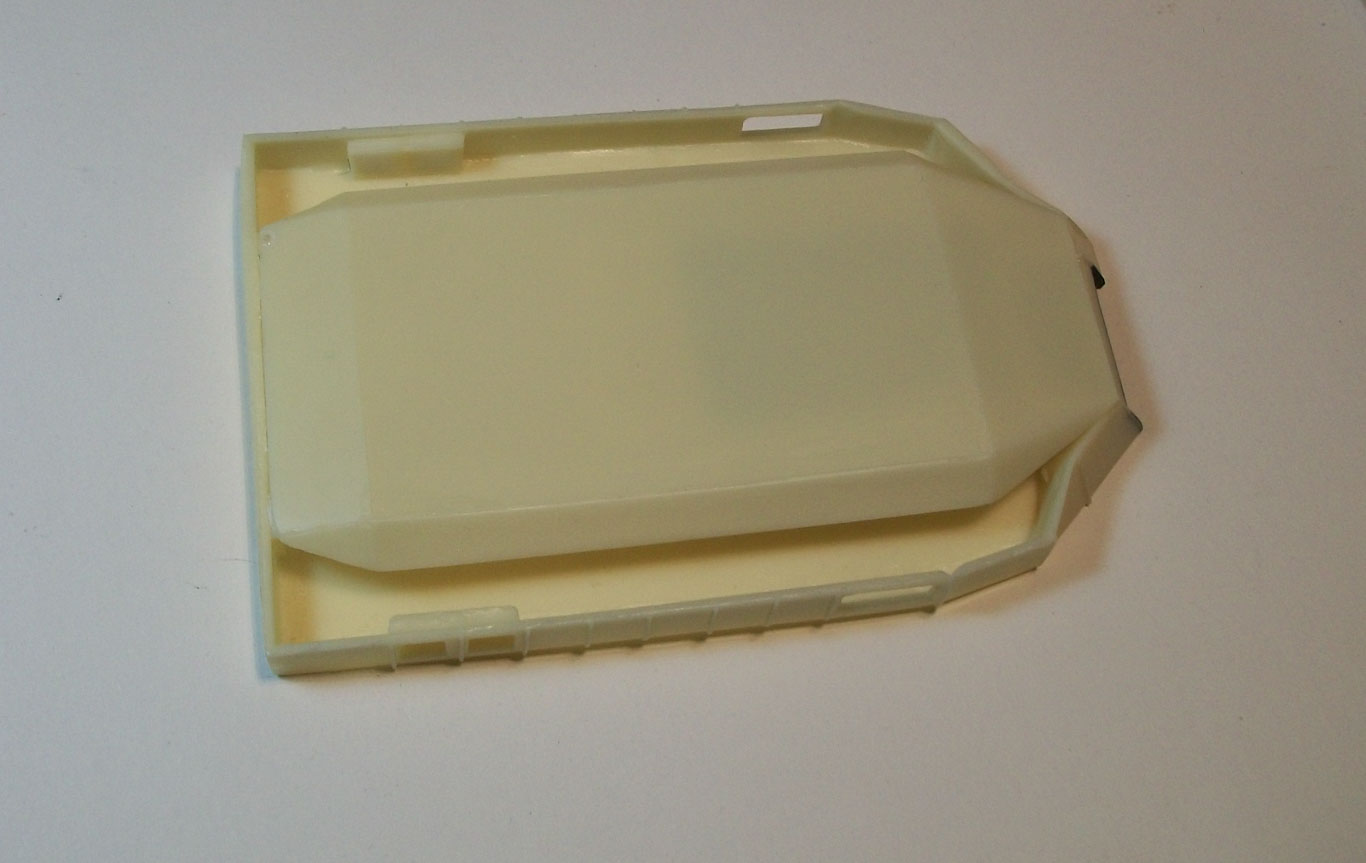
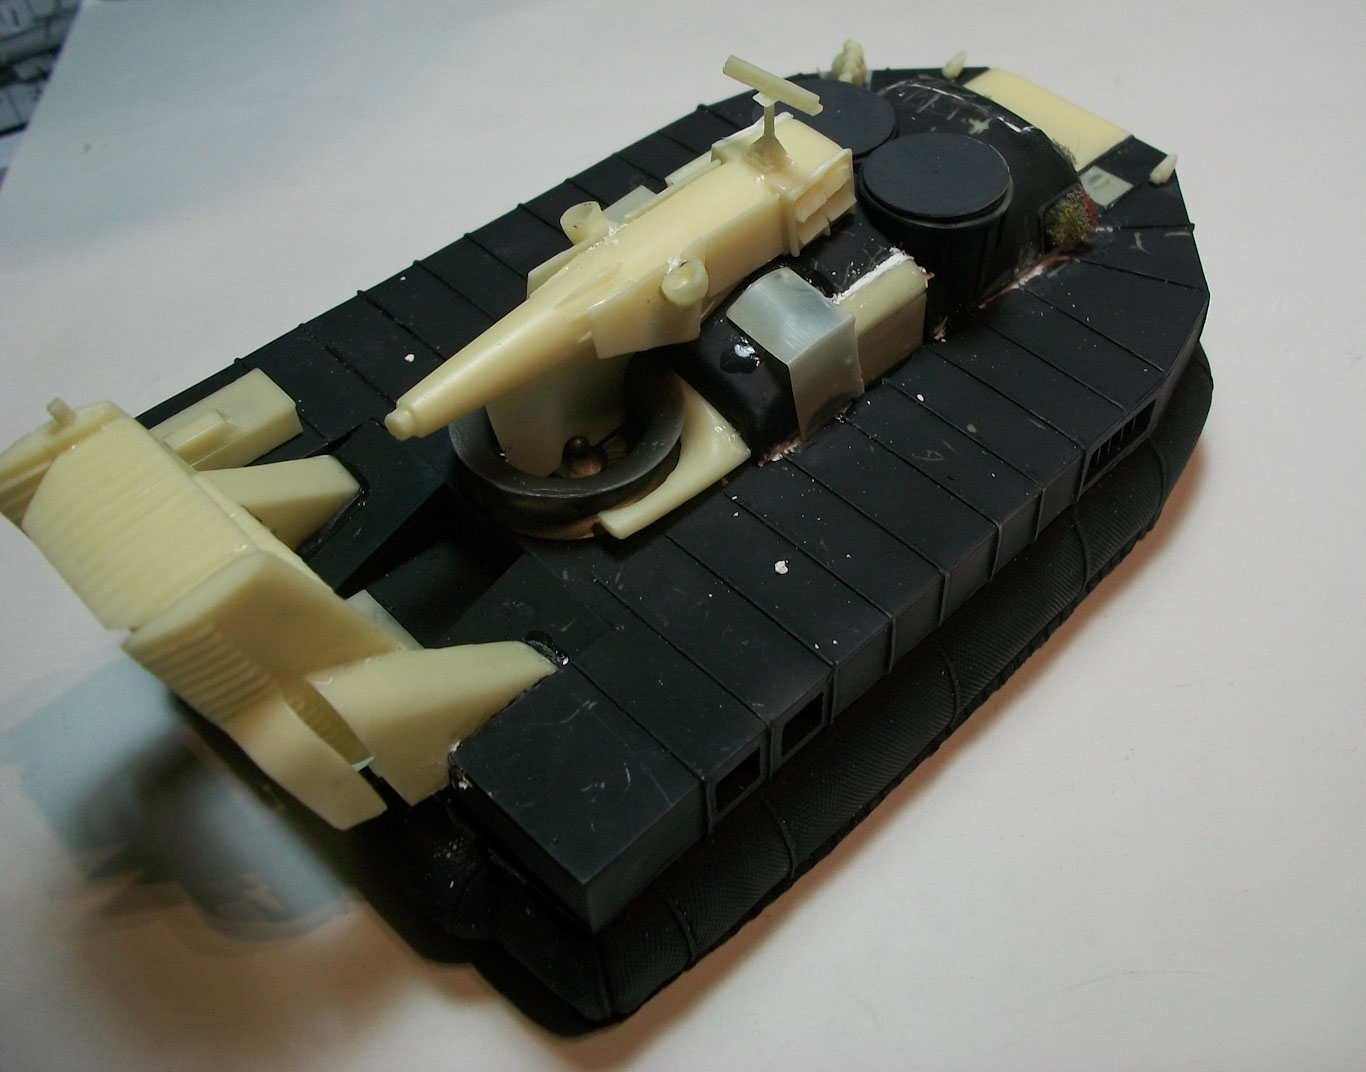
The resin casing detail quality is great; The parts are very delicate parts that need careful removal from the resin bases. Some arrived broken so I would suggest improving the packaging.The instructions need a lot of experience to work with to get a great model as they are not very clear. The assembly is good but needs a lot of patience, pre-fitting and time to the build going together correctly. There were a few gaps that needed filling. The PE sheet has some parts that are not for this version, it is also very thick and made it harder to remove parts from it. There are a few decals but no directors for location, so I used online references for this.
Here is my guide to construction that I will hope others enjoy this kit a little more.
- Install part 15 (you can use the PE part if you prefer) to part 42
- Add part 43 to the underside of part 42
- Install two part 47’s into the sides of part 42
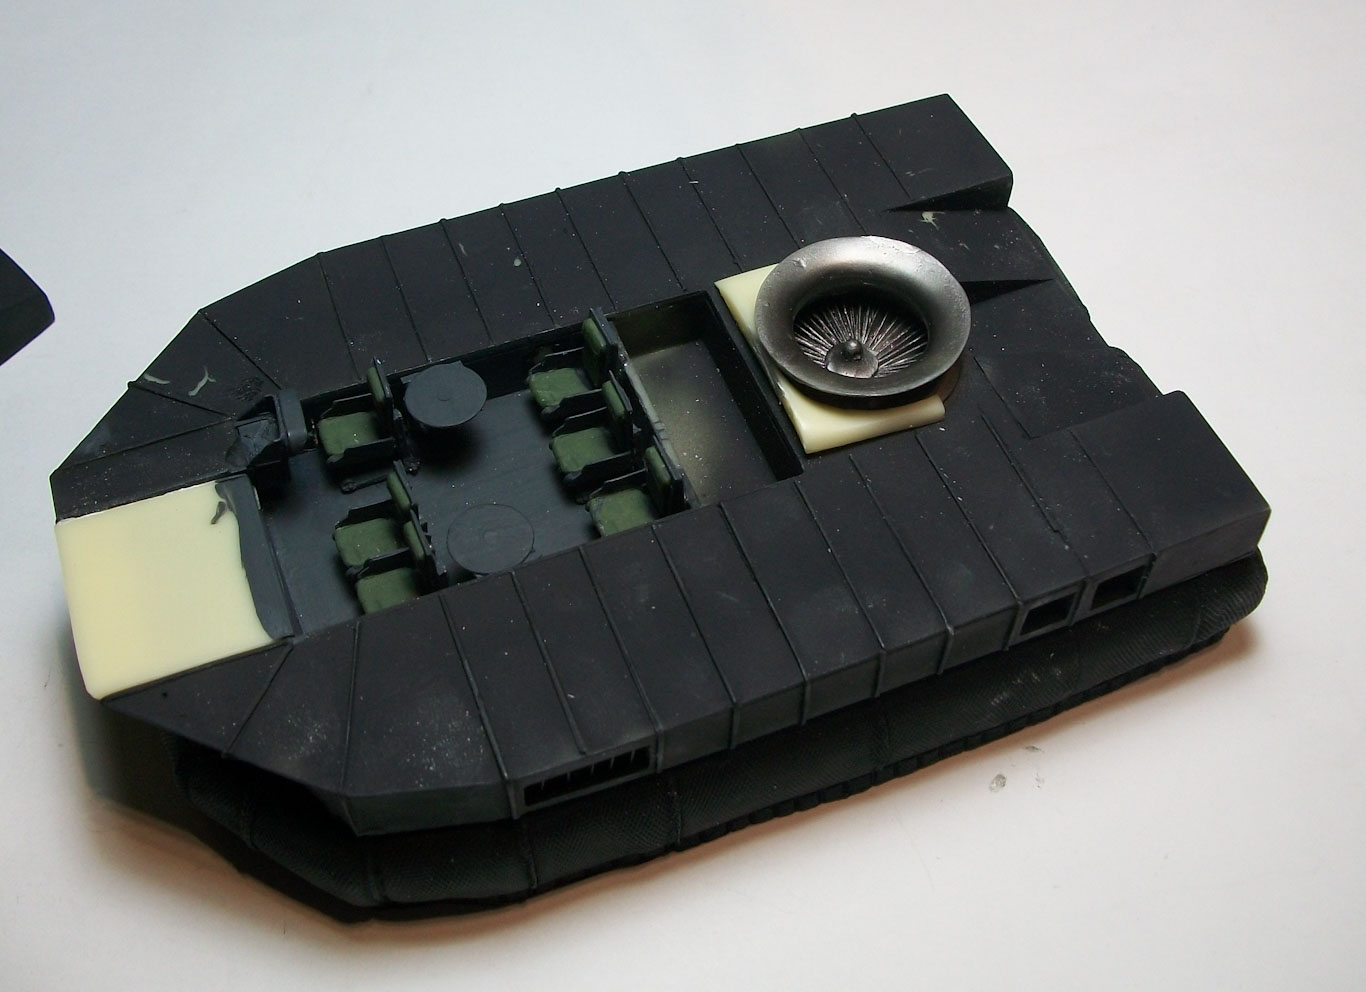
- Assembly seats using the Part 6 which is in fact made of two parts the seat and the frame. Be very careful removing the frame from the resin base as they break very easily
- Next add the skirt part 45 for inflated or 44 for deflated to the main hull part 42
- Install the assembled seats in to 14 locate based on your references as I found a couple of configurations
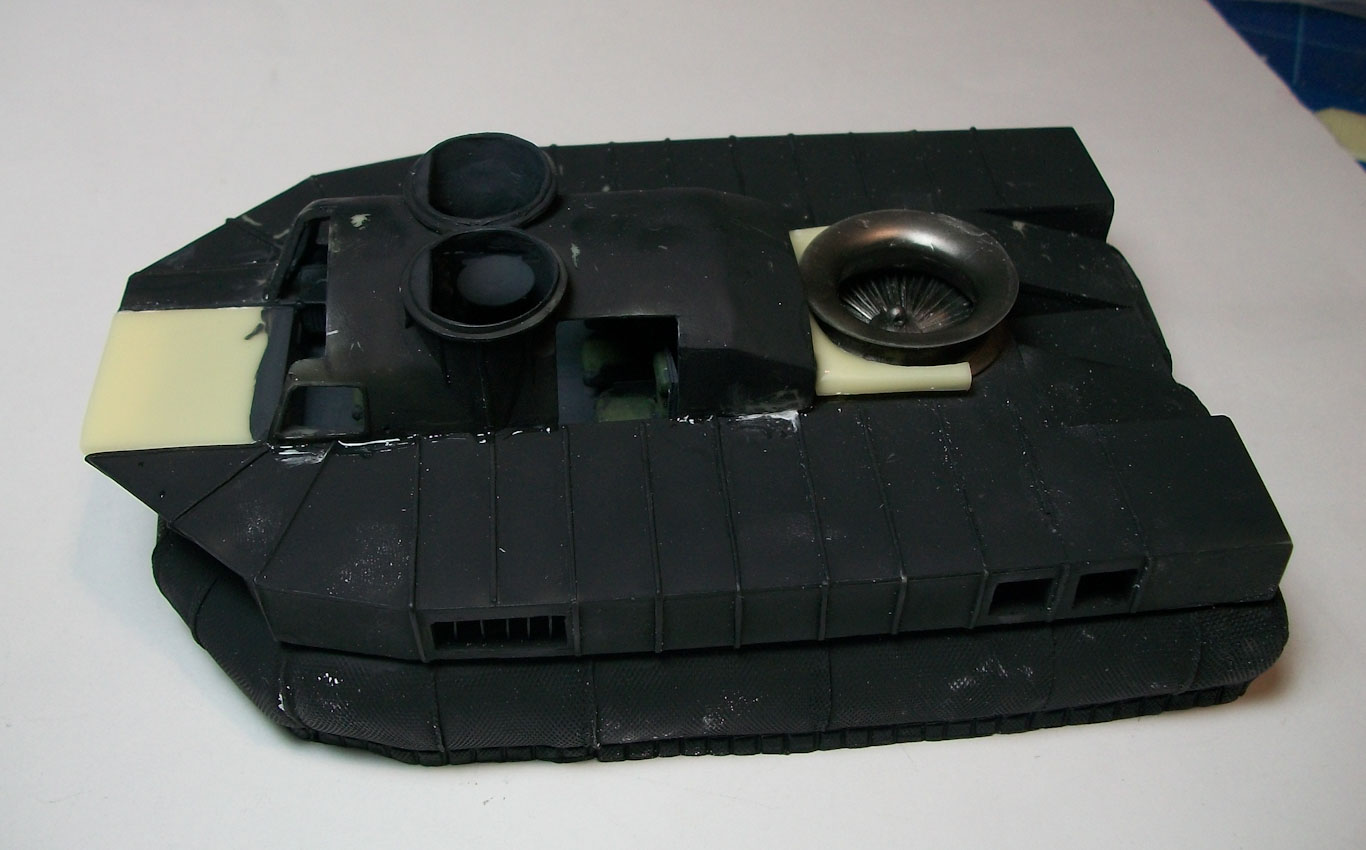
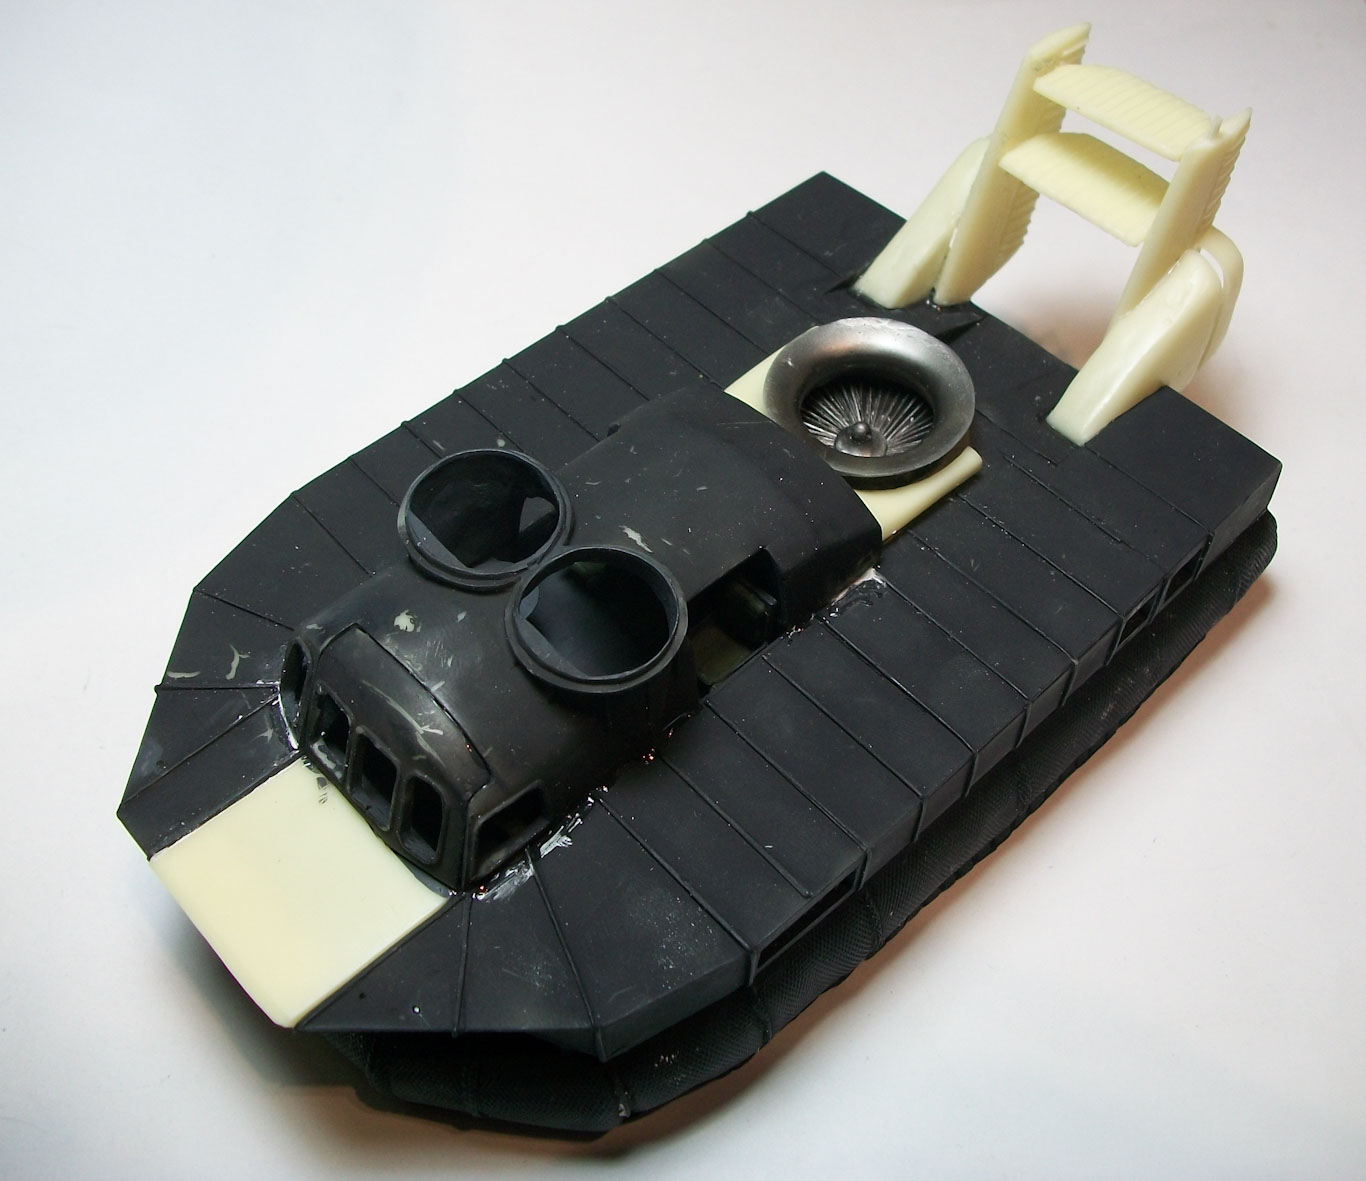
- Add the instrument panel part 10 to the pedestal part 8 (missing from my kit). Add the PE parts and install into cabin (part 42)
- Add the fan duct part 13 to the hull part 42 the add part 11 to the front of the Hull. This can be installed open or closed
- (I painted the interior XF63 Grey based on online ref pictures I found)
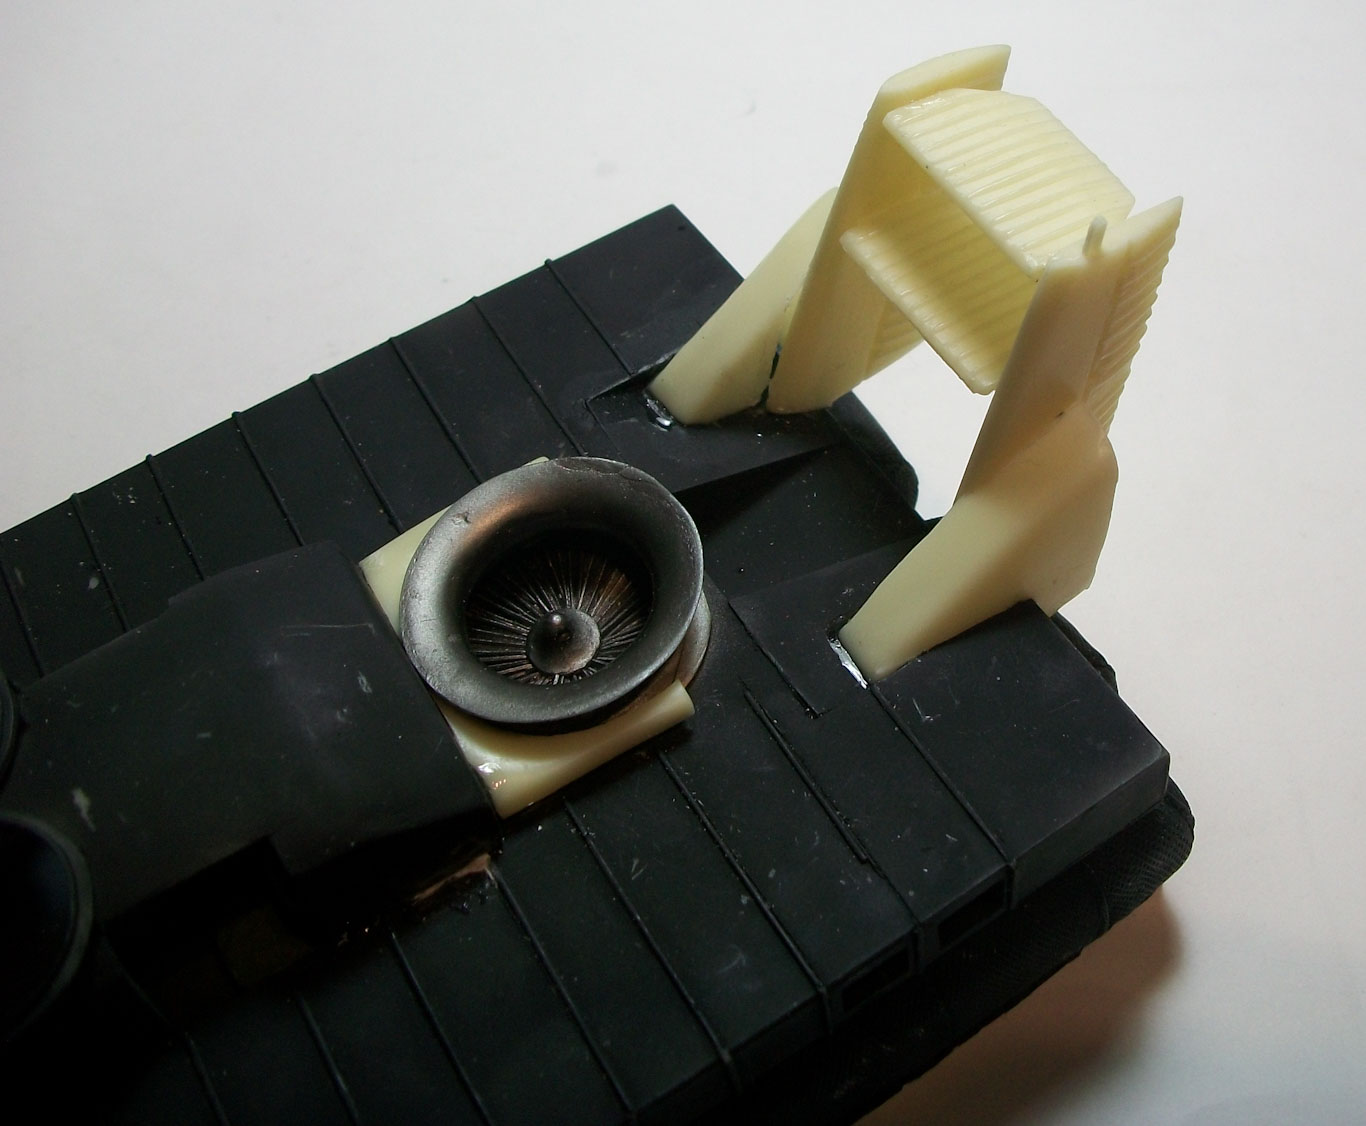
- Attach parts14 to part 1. Add part 39 to 40 and part 41 to part 38. Add part 2 to part 1
- Attach item 30 to 42 ( I found a part also missing from the top of part 30 so scratch built a part
- Add assembled parts 1,2, and 14 to the Hull part 42.
- Attached part 17 to 15 and 1. Add 2 parts 5’s to part one
- Add part 29, 2x part 31 and parts 24, 27 and 25 all to the Hull part 42
- Add 2x parts 22, 2x parts 21, part 23 and part 26 to part 17 (Part 23 was broken in my kit)
- Add 2 x part 20 to part 17. Assembly the tail parts, 38, 40, 41, 39, 18 , 19, 36 and 37. Be very care to assembly square and correctly to enable the correct attachment to the Hull part 42
- Attach part 28 and 32 to the rear of the hull part 42. Attach part 35 and 34 to part 17 and 42.
I found the Kit a real challenge, but I must say I was happy with the end result and I recommend it to experienced modelers.
Thanks go to Croco Models for providing this kit to review and IPMS USA for allowing me to review it for them


Comments
Add new comment
This site is protected by reCAPTCHA and the Google Privacy Policy and Terms of Service apply.
Similar Reviews