
P-51D Mustang
When Phil Peterson sent out an announcement that there were new items for review, I went to the list with only a certain amount of excitement. There are very few 1/144 scale items available for review, and that’s my scale. I was glad to find a new 1/144 item from Minicraft. A P-51D Mustang. I sent an immediate email begging and pleading for this kit. And I got it. And I’m glad I did.
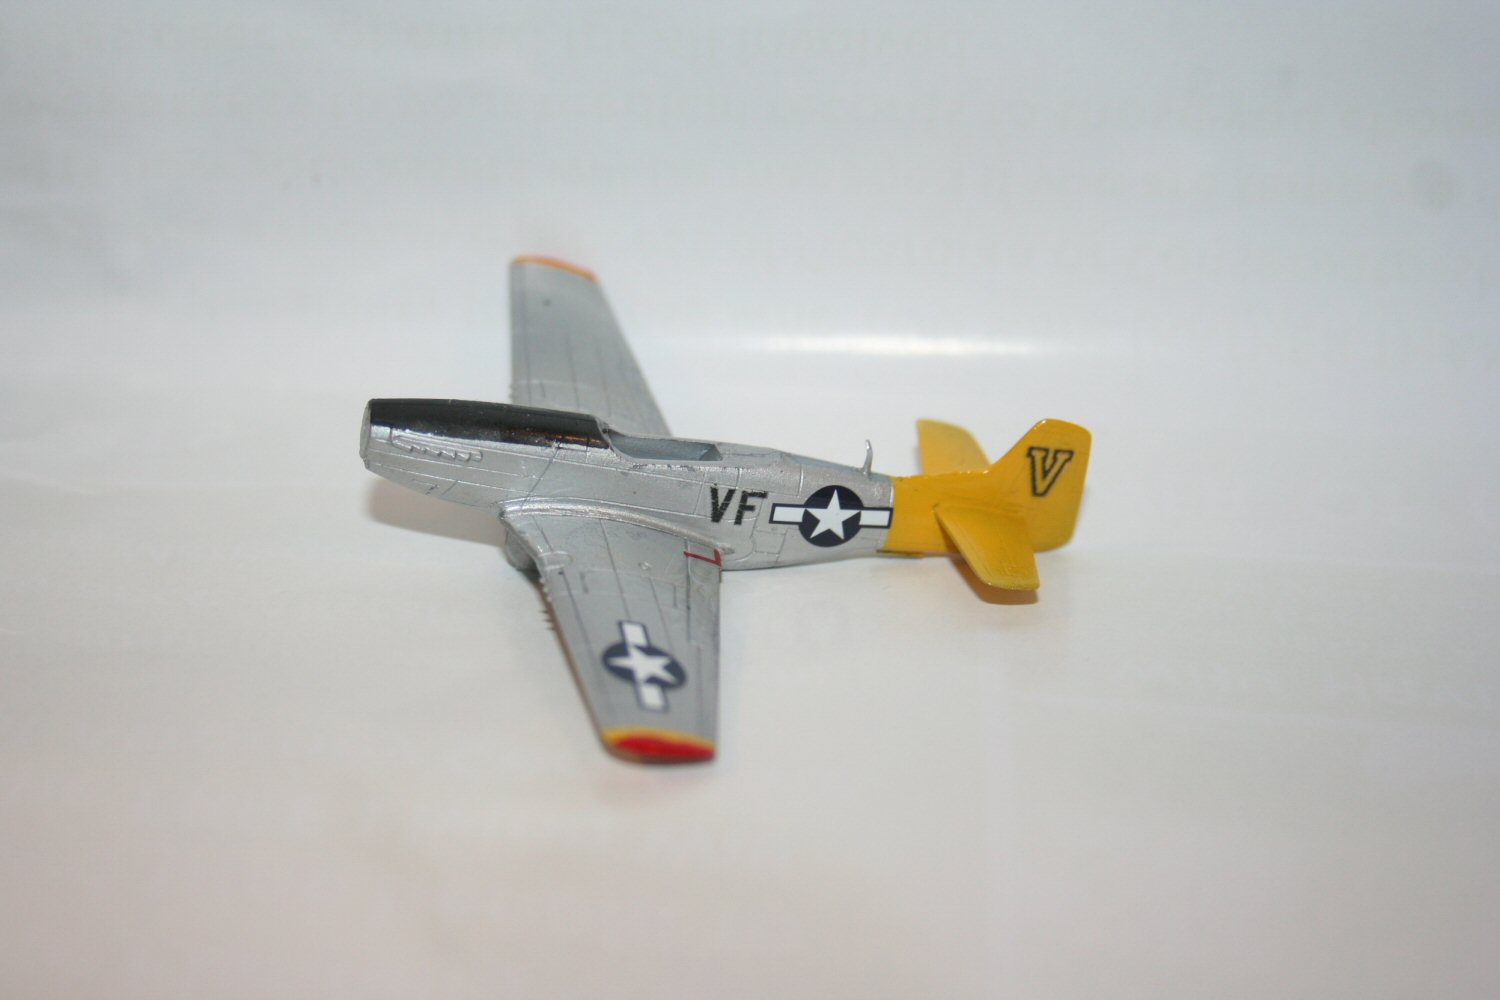
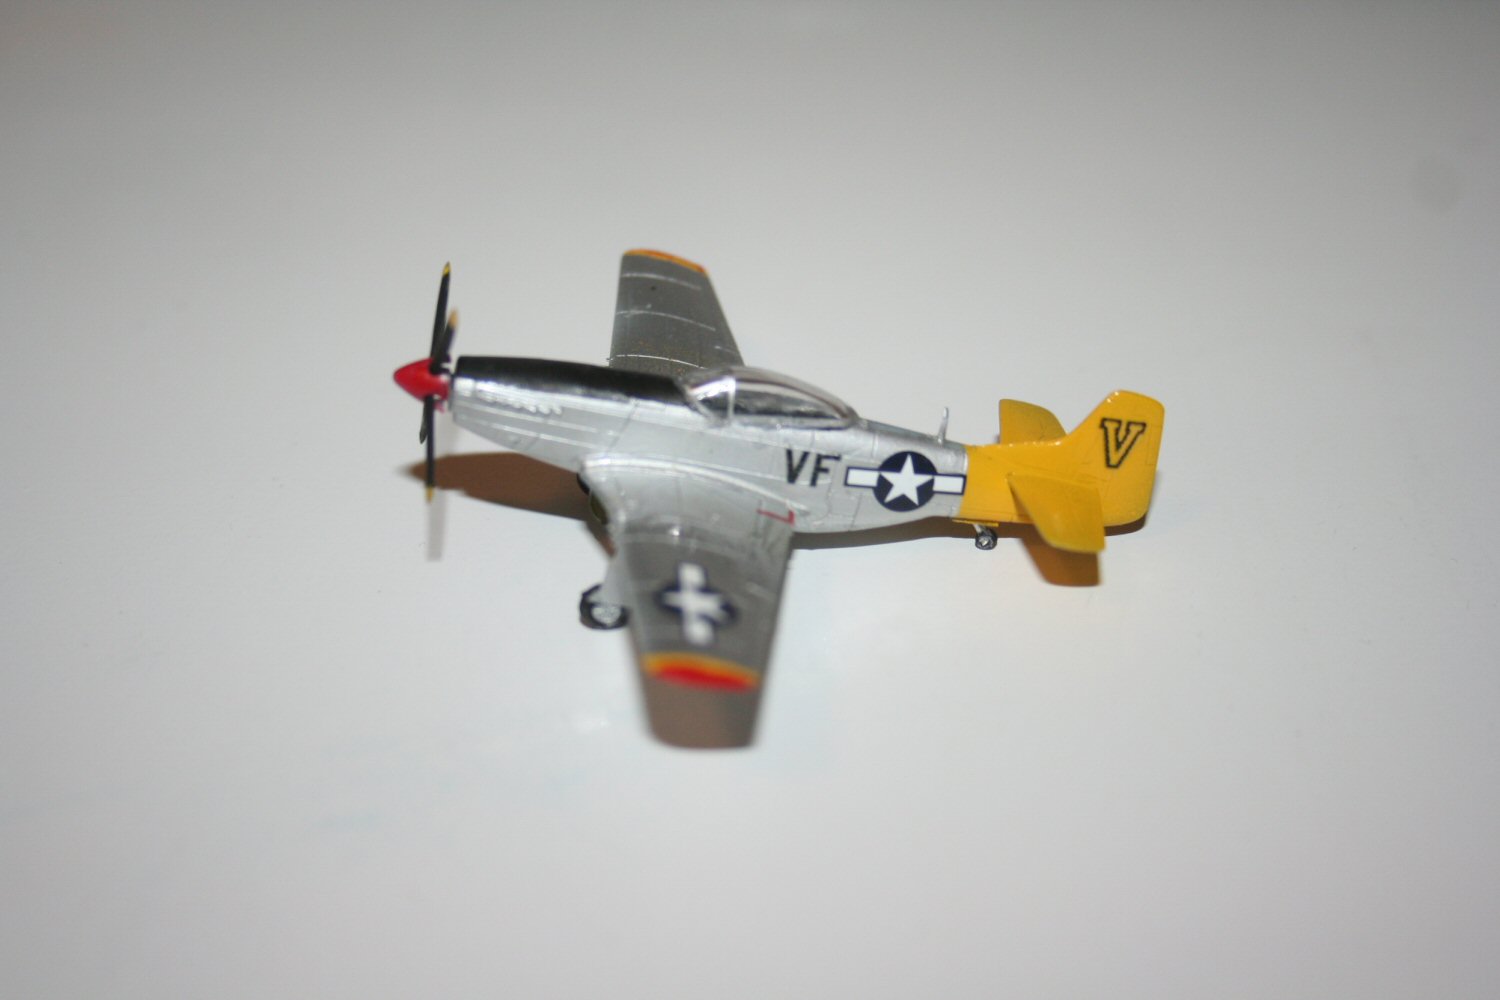
About 17 years ago, I met a fellow in Vandalia, Illinois who was a member of the maintenance crews for the 52nd Fighter Group in Italy. He had a photo which was taken in late 1944 of the Group’s P-51 Mustangs lined up. The planes all had a yellow tail with the individual aircraft ID letter on the tail. They were lined up to spell VICTORY. There’s a book called “Spitfires and Yellow Tail Mustangs” which is a history of this group. I made a copy of this photo, and kept it for all these years. A few years back I started the project of building all 7 of these planes. I finished 2 before I lost interest.
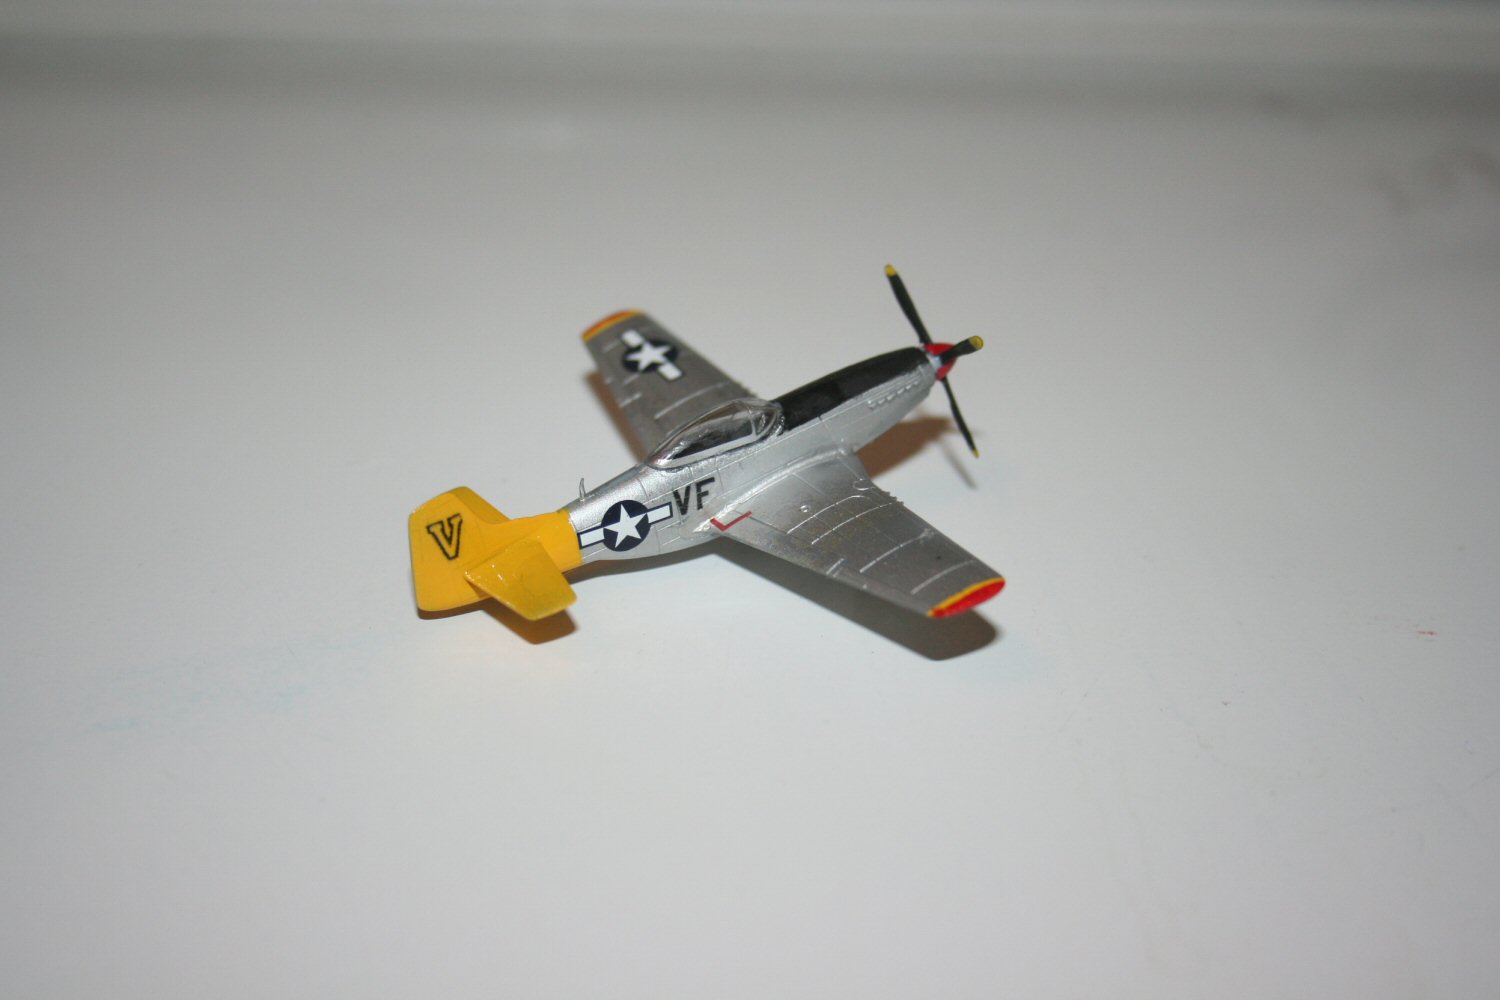
The Minicraft P-51D brought me back into this project. I finished this kit as VF V, the first Mustang in line. I have 4 more P-51s in progress, and hope to finish all of the 7 this year.
The Kit
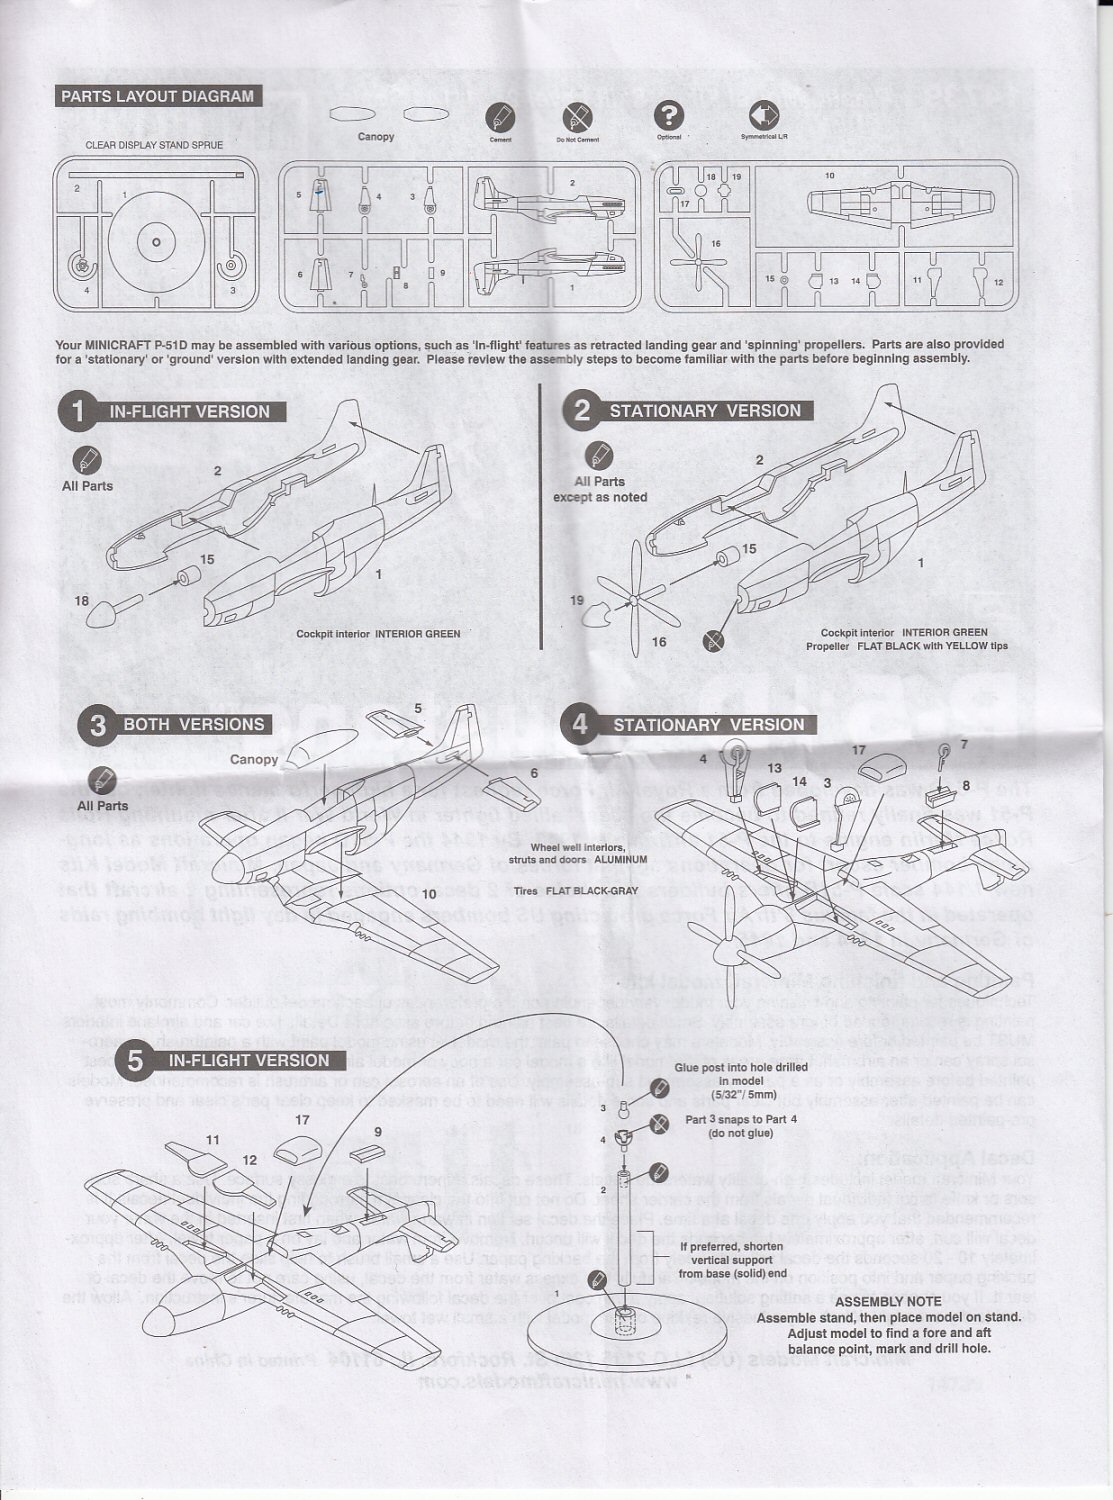
On the end of the box this kit is listed as “Skill Level 2”. This is just fine with me, and it turns out that the kit’s simplicity makes it quite easy to build. And it’s pretty easy to get a good looking model without a lot of cutting, puttying or bad words. The scan of the instructions covers the whole project.
The Build
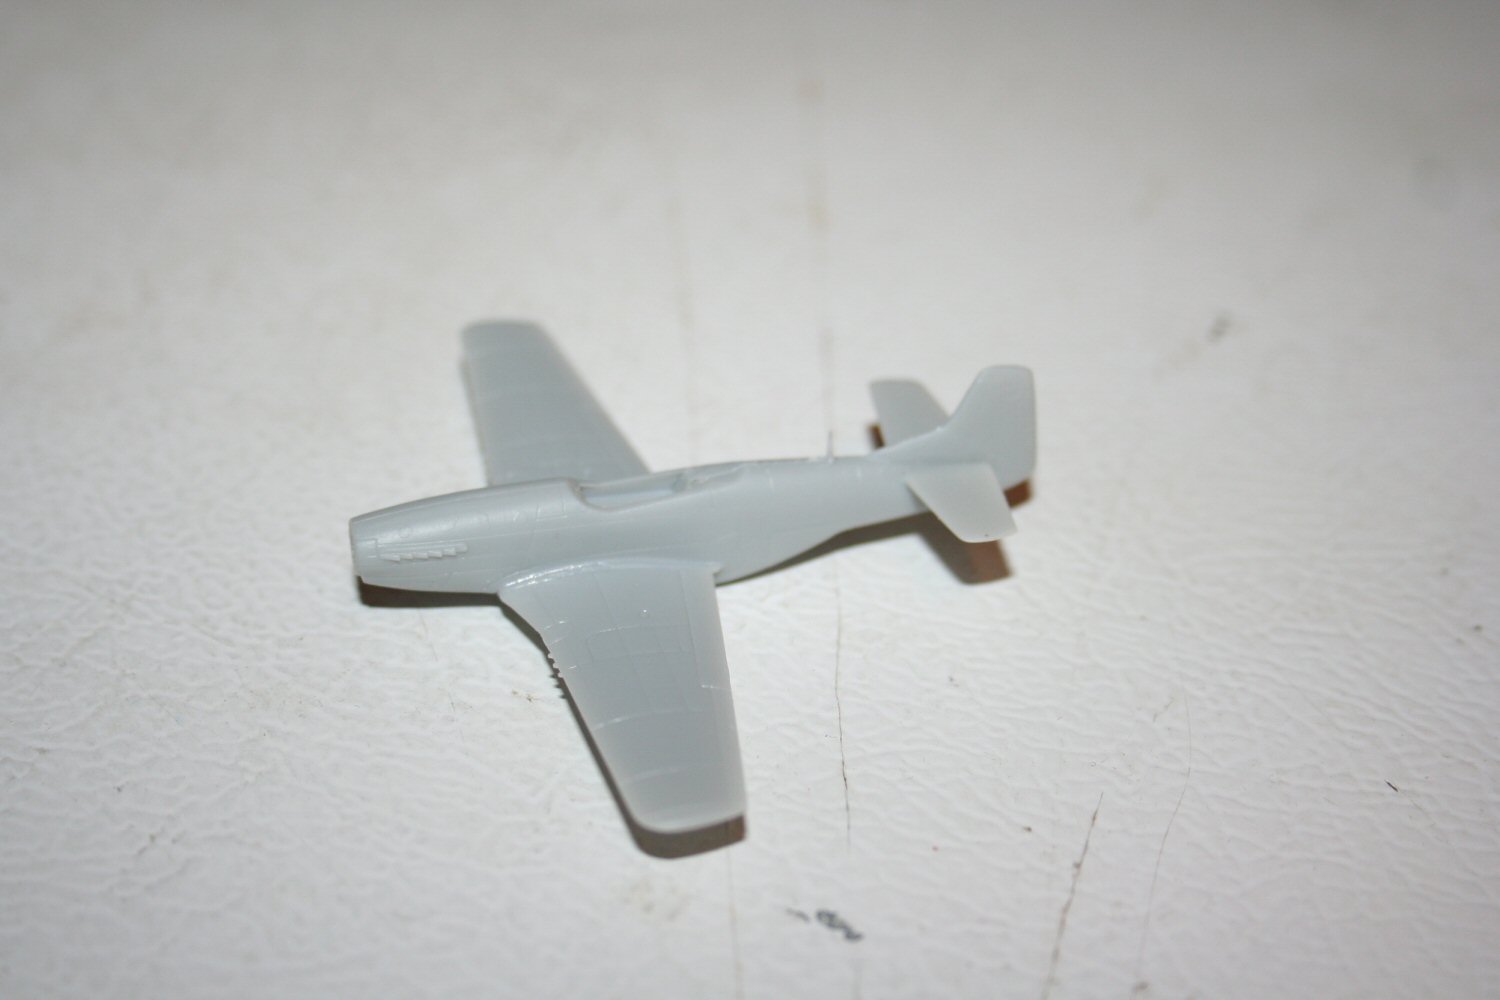
I assembled the fuselage halves, cleaned up the seams a little and glued on the wing. I then attached the horizontal stabilizers. I used a tiny bit of putty on the wing roots. These steps took about an hour. Fit was quite good, the parts had no flash, and everything went together very well. I didn’t put the prop on because I have a terrible habit of breaking small and delicate parts while painting and decaling.
Painting
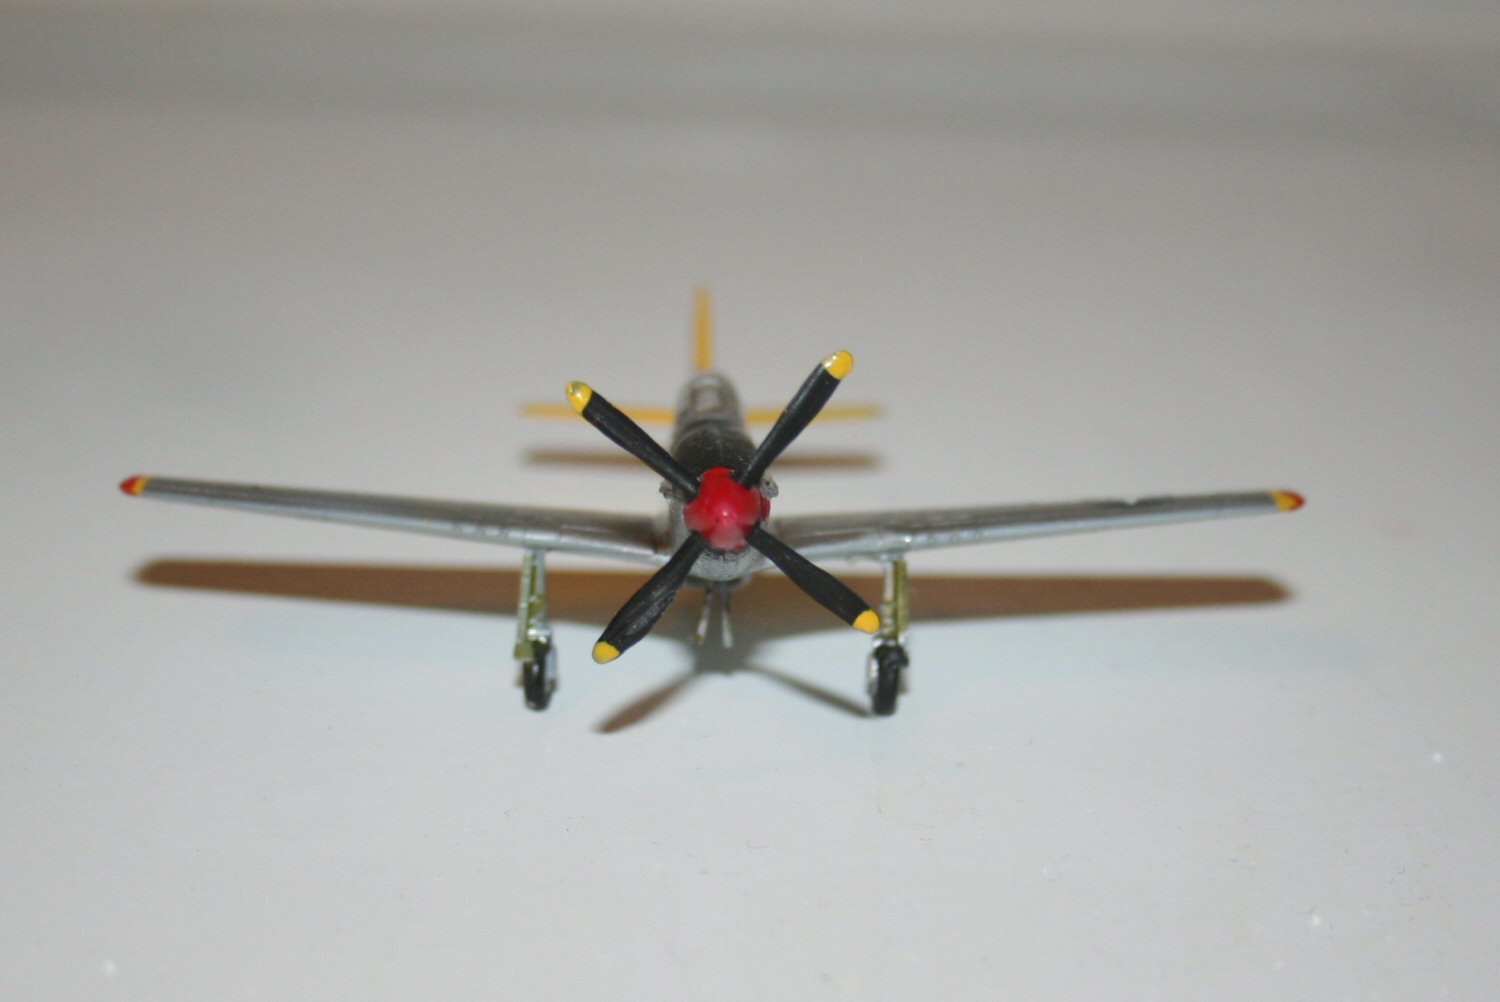
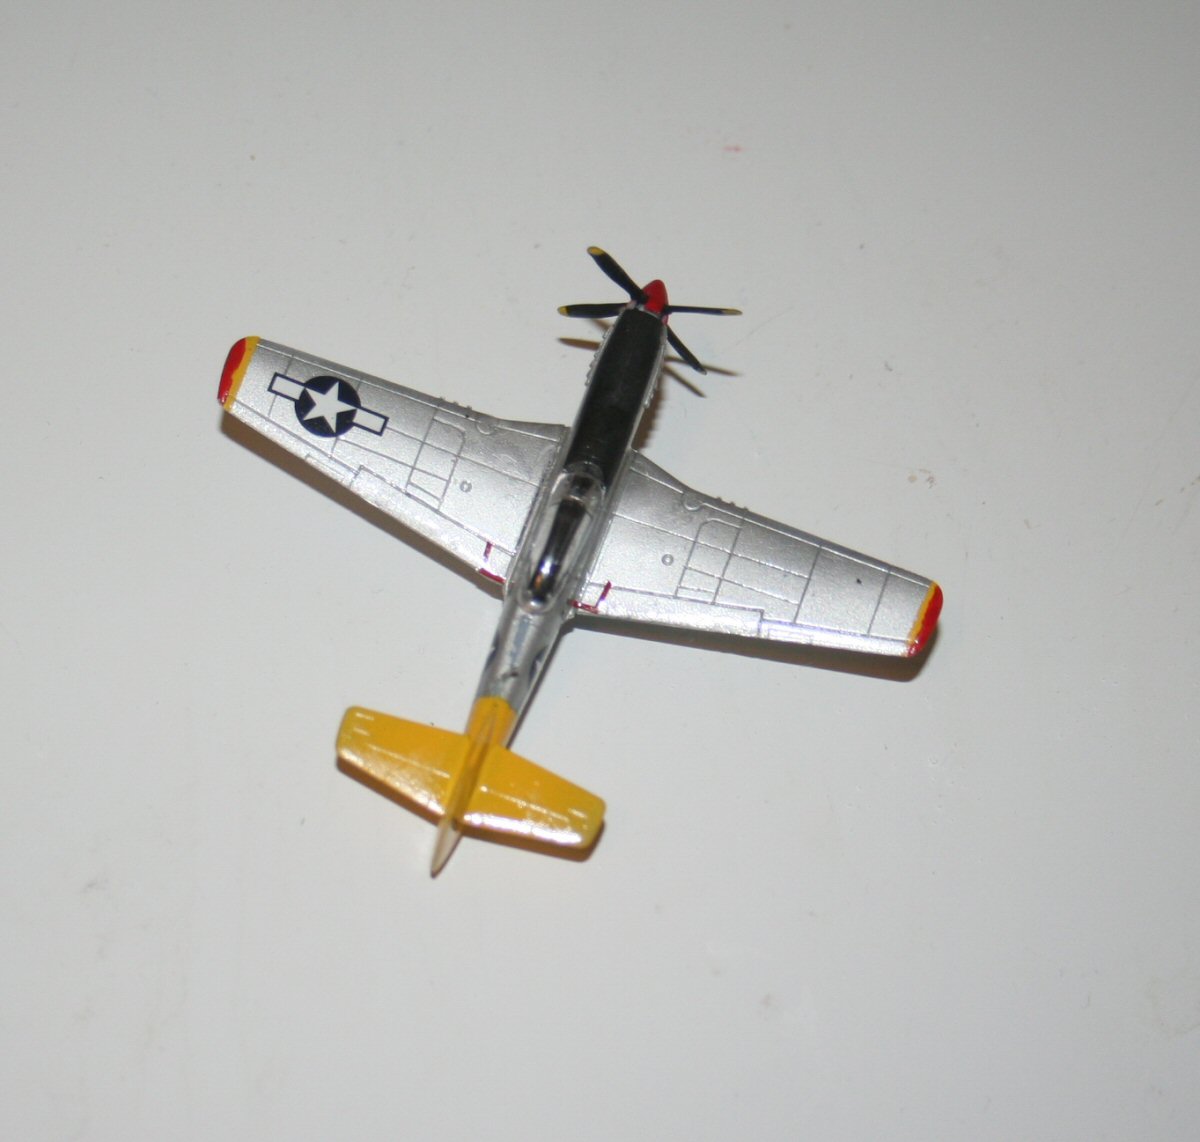
A nice thing about a late WW2 P-51 is that they were overall aluminum. I painted the whole thing Testors Aluminium Metalizer, leaving the tail alone. I also painted the landing gear doors silver. I then masked the wing tips and the tail and painted the yellow areas with Tamiya Flat Yellow. I used Floquil Reefer Yellow on the previous two, but that paint is sadly gone. I put another mask on the wingtips and sprayed Tamiya Red. I brush painted the spinner red.
I did the interior of the wheel wells in light green for the zinc chromate, as well as the inside of the tail wheel well and the inside of the landing gear doors.
This part of the project took about 3 days, waiting for the paint to dry.
I also had to paint the anti-glare panel , the prop, and the wheels black.
After that I put a coat of Future on the model, partly to protect the aluminium finish and also to give the decals a gloss surface to cling to.
Decals
I only used the “stars & bars” and the no step markings on the wing roots. But these decals were first class. The decals came off the backing paper nicely, floated nicely into place, and pretty much stayed where I wanted them to. They were thin enough to snuggle nicely, but heavy enough to stand up to some handling. This is what we’ve grown to expect from Cartograf Decals, and that’s who printed them.
The markings provided are first class as far as being colourful and interesting. I’ve put them in the spares box, because I WILL use them later. In fact I plan to buy another of these Minicraft P-51s just for the decal.
Another coat of Future to protect the decals, and it’s time for the “fiddly bits”
Final Assembly
Now it was time to put on all those parts I would have broken off while handling the model during painting and decals.
I put the inner landing gear doors on. They have a nice extension to glue them to the wing. These can only be installed in the “door open” position. This is fine. If you’re building the plane gear up, there are alternate doors which look easy to install and don’t have that gap between the inner and outer doors. I sometimes like to build a P-51 with these inner doors closed. They were hydraulic operated, and as the pressure dropped, the doors could droop open. But as soon as the engine started, they would close. My friend, CMS Don Neill told me that the Mustangs he worked on in the early 50s had a latch which held the doors closed. But if a pilot was any good, he’d pull the little lever in the cockpit when the engine was shut down, allowing the doors to open, so the ground crew could get to the wheel wells to service whatever needed to be done in there.
The wheels are part of the main gear doors, and just need some detail painting, along with the silver gear legs. The doors just mount in the gear wells. The tail wheel goes into a hole in the well. The prop and spinner go together nicely, and mount on the nose.
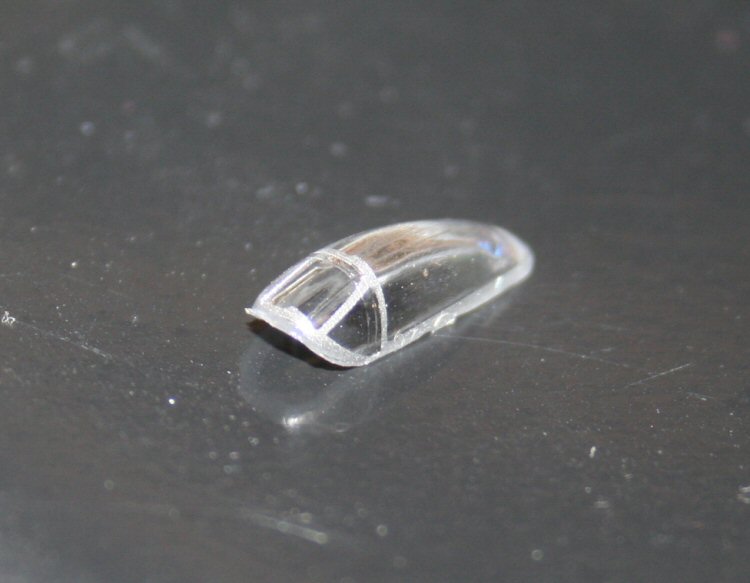
The last thing I put on was the canopy. This was marvellous. Minicraft provides you with a pair of canopies, and ONE OF THEM IS PRE-PAINTED! It’s nice to have a spare canopy to fit a P-51Dm but the painted one is so nice. I used Micro Krystal Kleer to put it on, and I’m happy with that.
One other good thing. The kit comes with the antenna on the deck behind the canopy as part of the fuselage. Somehow I managed to not break this antenna. I did have to straighten it a bit, but it survived my handling.
Overall Evaluation
Highly recommended. Good fit, great decals, and it’s a great build. The decals are super.
Many thanks to Minicraft and IPMS USA for allowing me to build this great kit, and for getting me back into a project which had hibernated for too long.


Comments
Add new comment
This site is protected by reCAPTCHA and the Google Privacy Policy and Terms of Service apply.
Similar Reviews