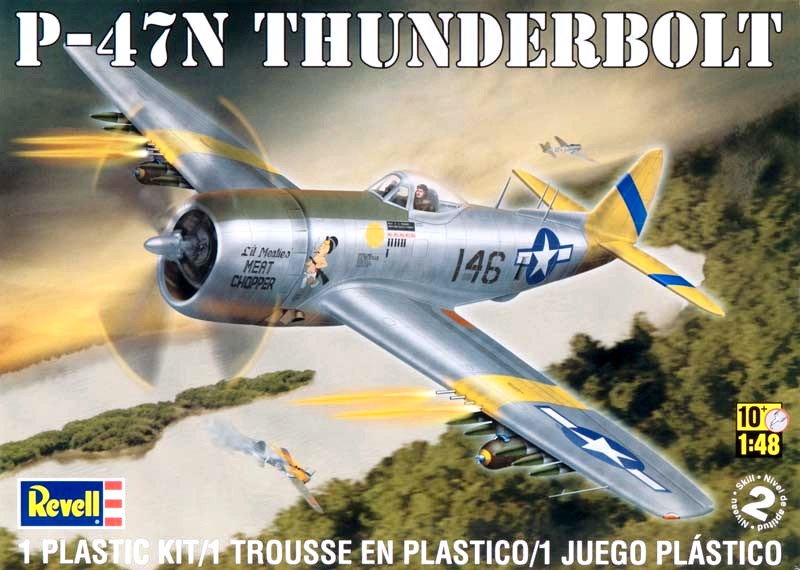
P-47N Thunderbolt
Short History
The P-47N - the last variant produced - was initially developed to escort B-29 bombers during air raids over Japan. The most distinguishing feature of the "N" variant was its in-wing 50-gallon (190-liter) fuel tanks, which extended the aircraft's range by 2,000 miles (3,200 km).
What’s in the Box
This looks like a reissue kit, the copyright marks on the underside of the wing show a 1997 date. The parts are separately packaged, the spurs are molded in grey styrene.
Length: 9-1/8" Wingspan: 10-3/4" Parts: 105
Kit features recessed panel lines, a detailed radial engine, a detailed cockpit, weighted tires, complete under wing stores, a detailed pilot and markings to recreate P-47Ns flown by pilots Lt. Oscar Perdomo and Lt. Col. Ollie O. Simpson.
Building the Kit
For an older kit the panel lines are average at best. The kit starts out with constructing the cockpit, the details here are nice, Revell also provides a detailed decal that lines up to the instrument panel correctly.
The lower wing is a one piece molding; this helps line up the wing to the fuselage, it’s a bit strange at first but seems to work. You will have use some filler for the gaps, and sand to level the edges.
The Engine parts are injection molded parts and will need a little putty on the edges.
The wings and undercarriage bays (with landing gear attached) are sandwiched between the upper and lower sections. This leaves the landing gear sticking out and kind of in the way for the rest of the build.
*Note, there is an error in the instructions; the instruction sheet shows the inner gear door in a backward position, the round part of the door will not line up, simply swap sides to correct this issue.
The gun mounts on the wings will require a little work to putty and level them correctly.
The rest of the parts went together with no issues.
Painting and Decals
Revell's decals usually are thick and don’t meld well to the panel lines, but these were thin, well printed, in register, and went on fine. The sheet also has lots maintenance stencils. The only issues with decals will be with the Blue lines on the Tail section, mainly getting them aligned. You could opt out and paint them on.
I wanted to try Alclad II aluminum but my order has not come in yet, so I opted to use Tamiya aluminum. It works as long as you thin the paint a little more and spray light coats so you don’t cover the panel lines.
The rest of the painting was straight forward. I mainly used Tamiya paints for the main colors.
Weathering and Detailing
I only applied a light oil wash of lamp black and a light spray of dull clear coat.
Conclusion
For an older reissue kit, it has some nice features; mainly the cockpit and engine details with a full weapons package and a good decal sheet. If you are confident using Alclad paints, you can make this kit look really nice. This is a great intermediate kit at 1/48 scale, and I would recommend it for all skill levels.
I would like to thank Revell and IPMS/USA for the opportunity to conduct this review.


Comments
Add new comment
This site is protected by reCAPTCHA and the Google Privacy Policy and Terms of Service apply.
Similar Reviews