
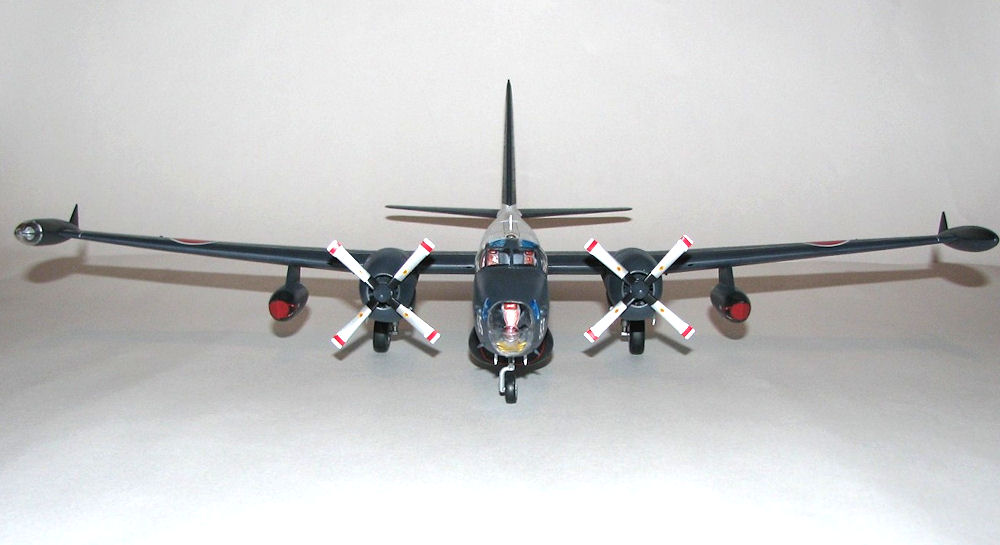
P-2H Neptune JMSDF
History
First flown in May of 1945, the P2V-7 was the final variant of the P2V produced by Lockheed. It was powered by R-3350-32W and J-34 engines and fitted with lower drag wingtip tanks, AN/APS-20 search radar in a revised radome, and a bulged cockpit canopy. 287 of this type were built, with 48 of them being assembled in Japan. First delivery of P2V-7s to the Japanese was in 1959, the last in 1965, and the model was retired in the early ‘80s. Kawasaki built 80 more Neptunes (P-2J), but with a few refinements that included using GE T-64 turboprops, Ishikawajima J-3 turbojets, a lengthened fuselage, increased rudder area, and a 10,000lb weight reduction. These were flown well into the 90s before being retired.
The Kit
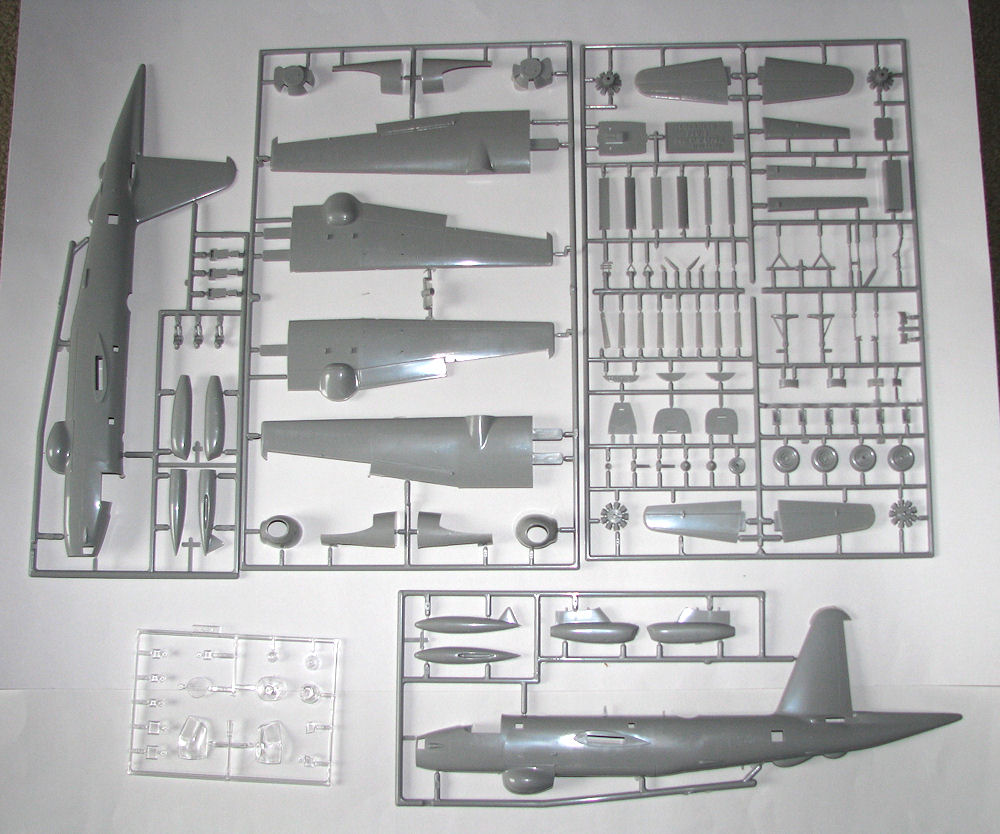
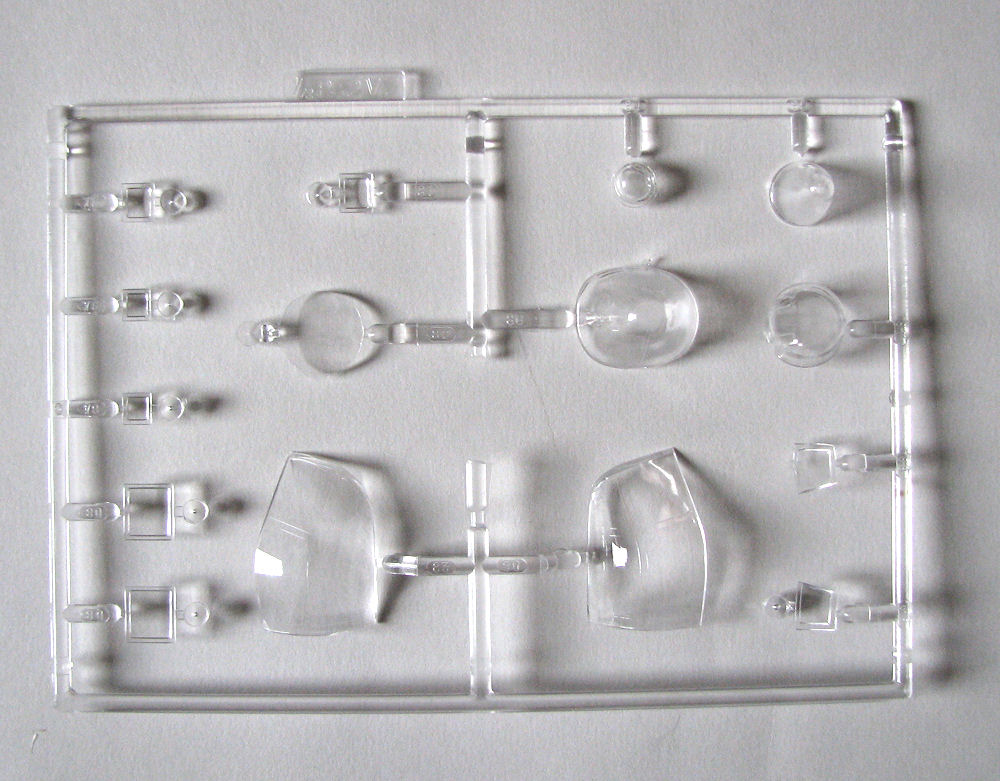
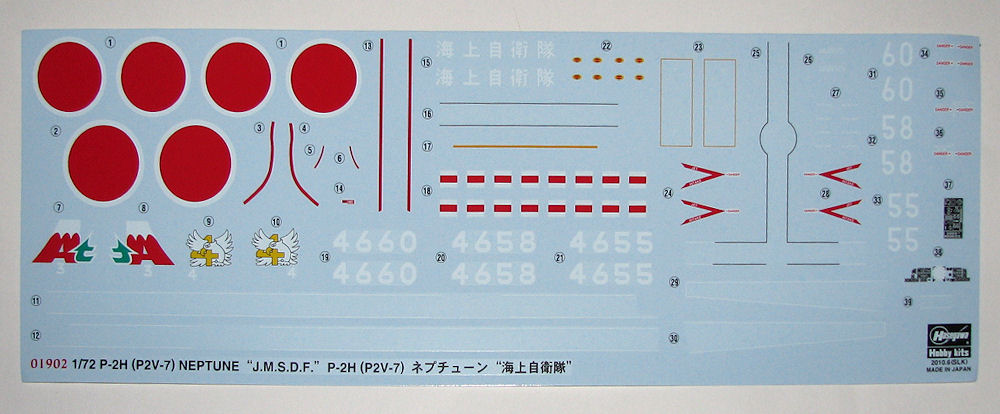
I have an original issue of this kit with the Eduard PE in my stash (I need USN decals!) and thought it would be good to build this one out of box first. Since Hasegawa debuted this kit in 1972, this is at least the 10th boxing by Hasegawa, and (I think) Revell of Germany also boxed it once. In the box you will find 3 sprues of grey and 1 of clear injection-molded plastic. There is a bit of heavy flash on many of the parts, and with raised detail it takes a bit of work to remove the flash without removing detail…I failed at this. You get a beautiful decal sheet with markings for 3 aircraft. Unfortunately, you only get marking instructions for two of the aircraft! (There is a picture in the instructions on page 7 of the 3rd aircraft.) Also, you have the 8-page instruction book and a separate marking & color guide sheet.
Construction
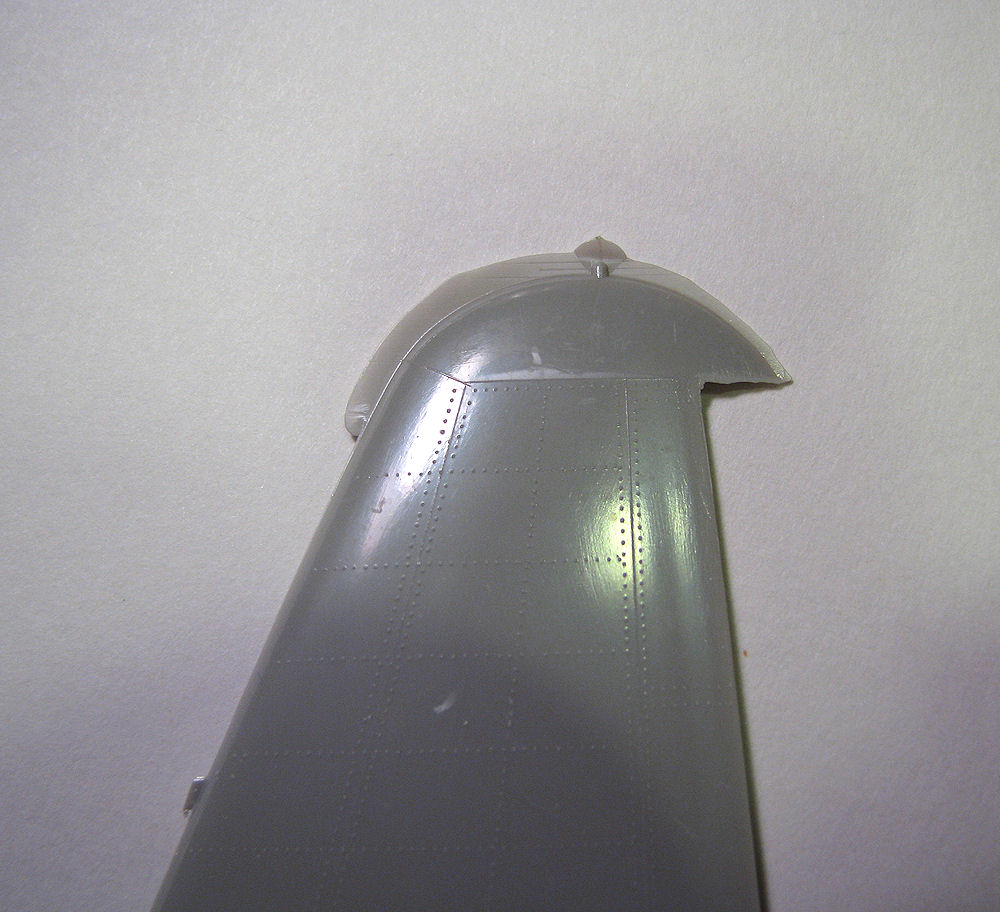
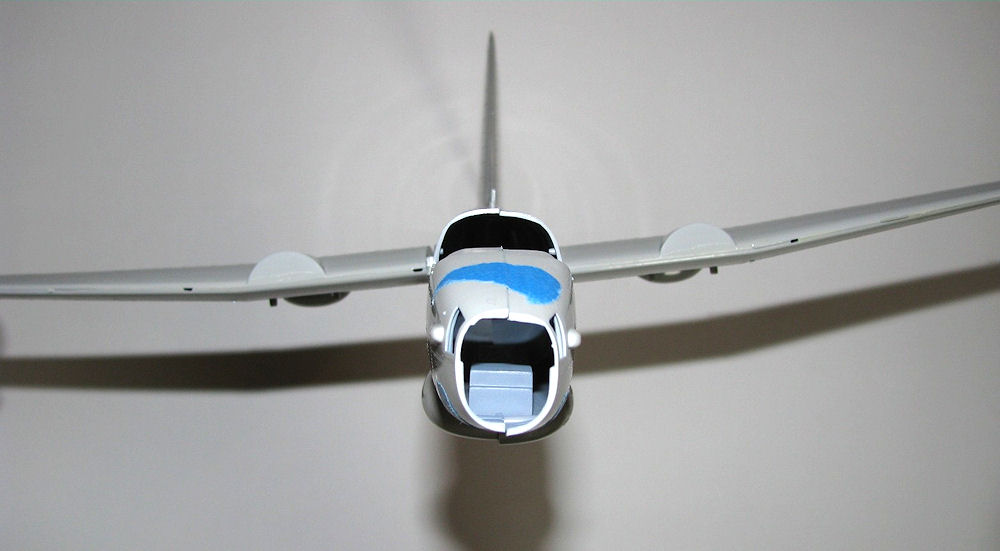
Ten steps are displayed to complete this model, starting with the interior and fuselage. The cockpit is very basic with just six pieces, two of which are crewman; there are no control columns and two decals. The fuselage went together well and I had no problems here as everything fit fine. There was a small gap at the ends of the forward wheel bay (piece #69) but was a simple fix. DON’T FORGET TO ADD WEIGHT!!! I did and ended up having to drill a hole in the radar dome to add some….D’OH! The transparent pieces for the fuselage are clear and fit pretty good, but are a little thick. The engine detail is nice for a kit of this age, but once you put the cowlings and props on you see very little of them. The propellers are a bit of a pain as they are a 6-piece sub-assembly with no guide as to how they should go on. For experienced modelers, no problem, but for a young modeler it could be a challenge. The wings went together nicely and there are three tabs at each end that slide into the fuselage and lock into each other. I thought this would be the easy part, but after a bit of a struggle the wings went in and were a bit cockeyed. After a careful investigation, I found that the space that the wing tabs slide into was too small and was squeezing the tabs together. A few swipes with a sanding stick and all was well. The rudder and ailerons are separate and can be posed however you want (cutting edge in the 70s!).
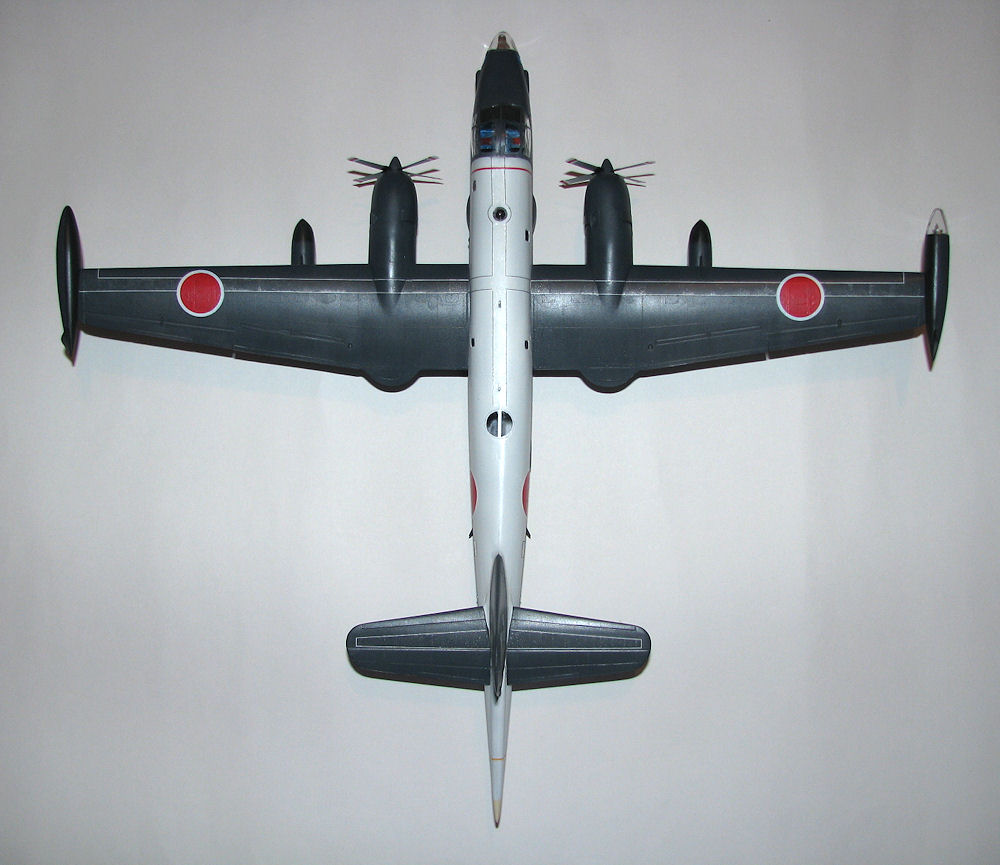
Moving on to the landing gear, which are the most complex part of this kit with ten parts each (including the wheels), I decided to leave the gear doors and main struts (parts # 49 & 50) off until I had painted the aircraft. Construction of these was pretty easy, but there are no locating tabs or pins for the gear doors, making this a bit of a challenge. I used a little Loctite super glue gel control on them and that seemed to work fine. The jet engines are a simple two-piece affair with no detail, so the FOD covers are molded in place. The auxiliary fuel tanks are pretty simple, too, with the left wing tank having just two pieces and the right wing tank having four (the extras being a clear piece and a crude searchlight). Lastly, the canopy and Plexiglas nose were added and I ran into a bit of trouble with both. The canopy is a two-piece affair that I had a hard time placing on the fuselage, as it would not sit right(sat too high or too wide) no matter what I did. I ended up sanding the inside edge on both halves and this helped a little. The clear nose went on perfectly flush with the fuselage, except for the underside. There was a small lip that I left alone as you can’t see it unless you look for it. All in all, for an older kit, the construction was fairly simple and easy, and I did not have to use a ton of filler, either.
Finishing
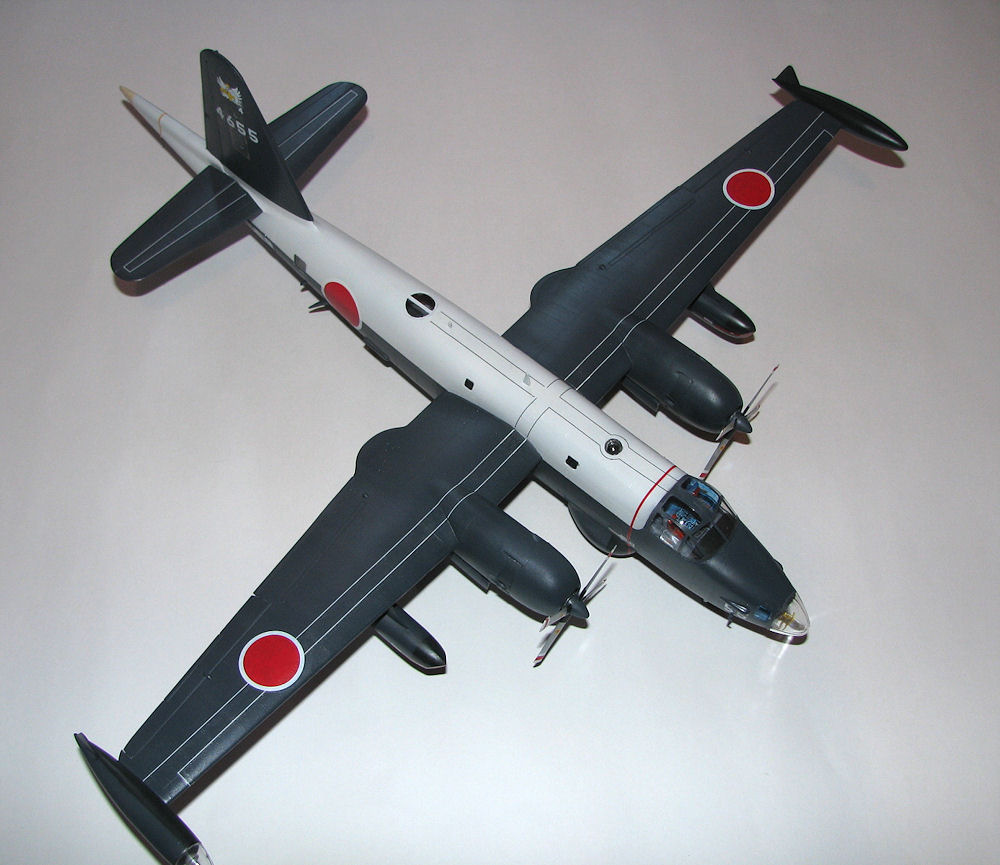
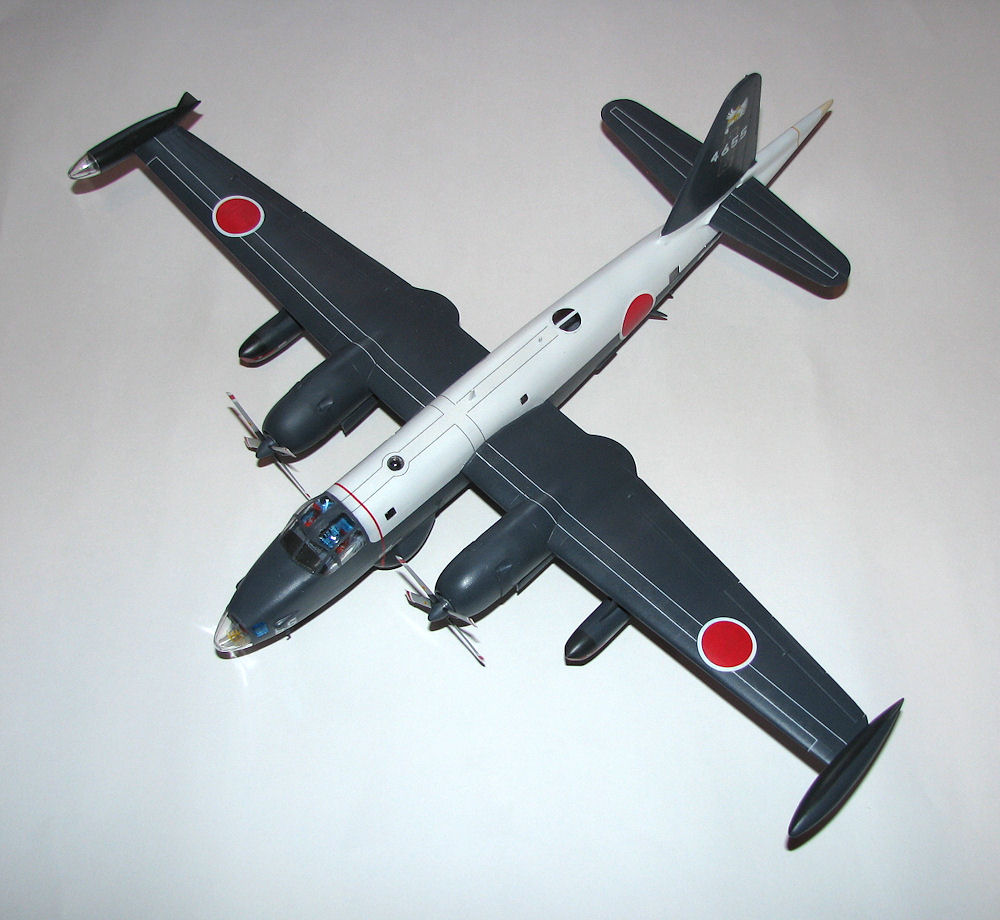
I used Testors Model Master Engine Grey and Floquil Reefer White as the main colors. (It’s the only option in this boxing.) The decals went on smoothly with a little Solvaset to help them along.
Conclusion
This is an old kit that is showing its age, but builds into a nice model of a P2V-7. There are no major problems that make this kit unbuildable. It would be nice (at least for me) if Hasegawa would do a new-tool P2V along the lines of what they did with their Ju-88 line, with sub-assemblies to make multiple variants. I’m not sure if it’s possible to do all the variants, but at least they could do the -5 &-6. Oh, to dream!
I would like to thank Hobbico for supplying this kit, the IPMS review corps for letting me build it, and you for reading it.


Comments
Add new comment
This site is protected by reCAPTCHA and the Google Privacy Policy and Terms of Service apply.
Similar Reviews