
OV-10D Bronco
What is in the Box
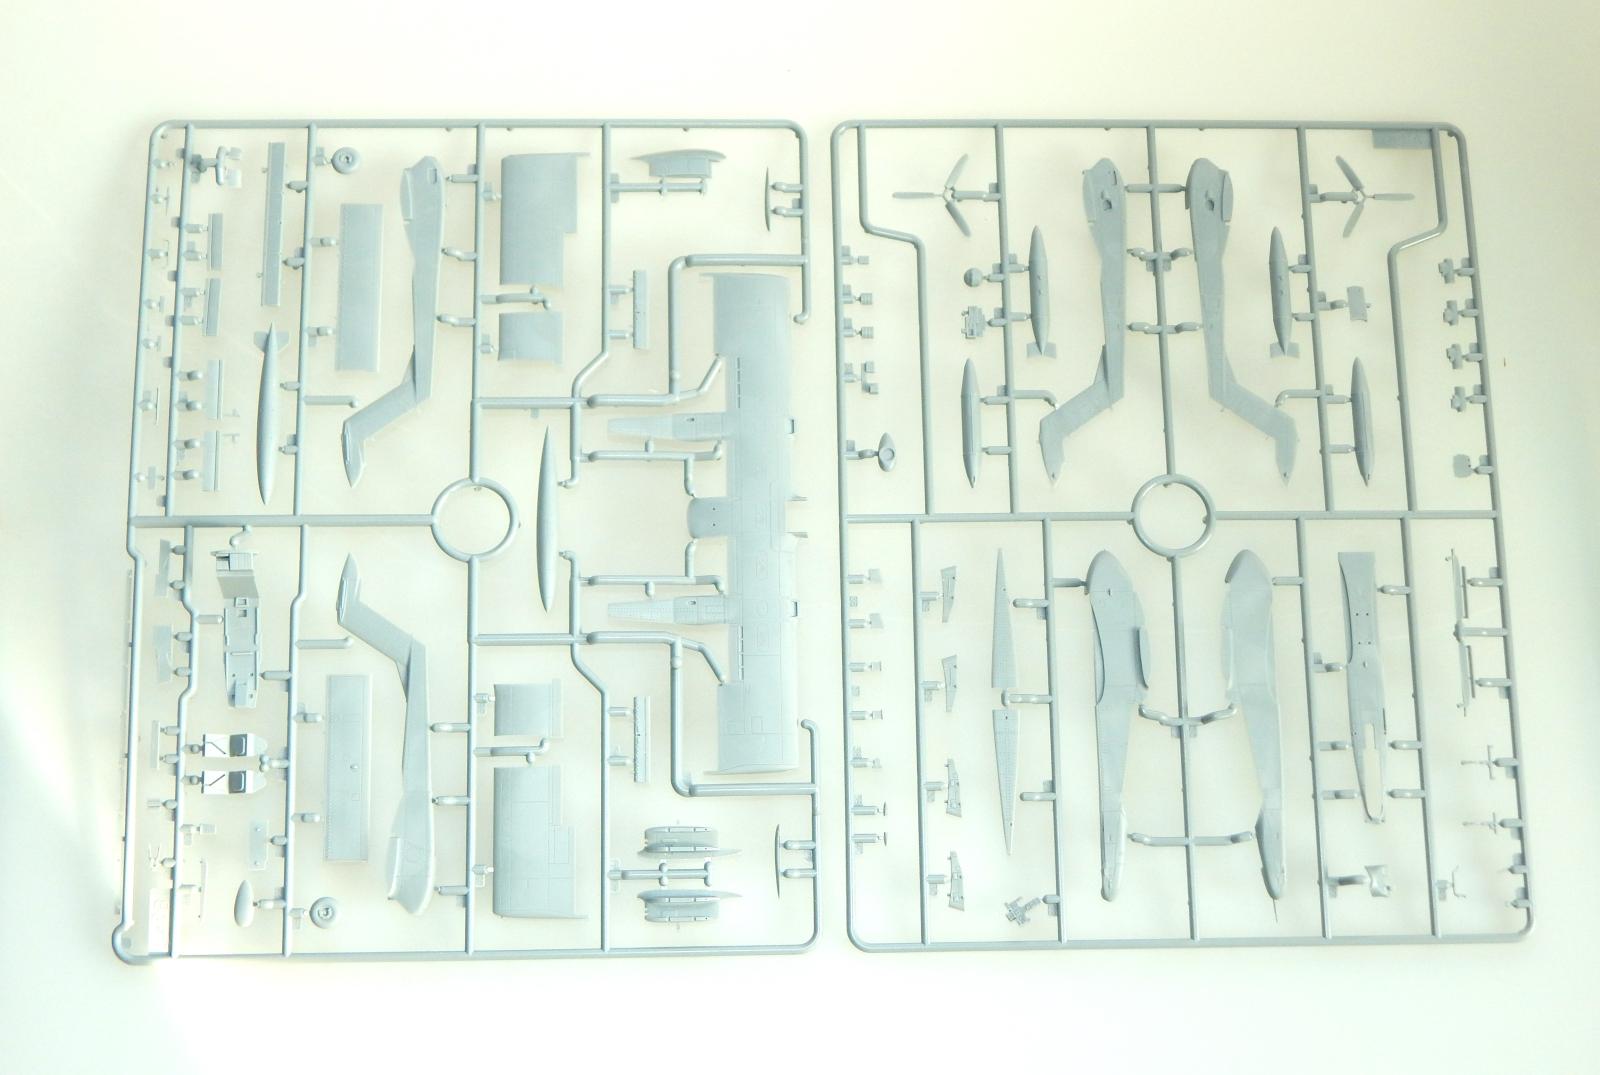
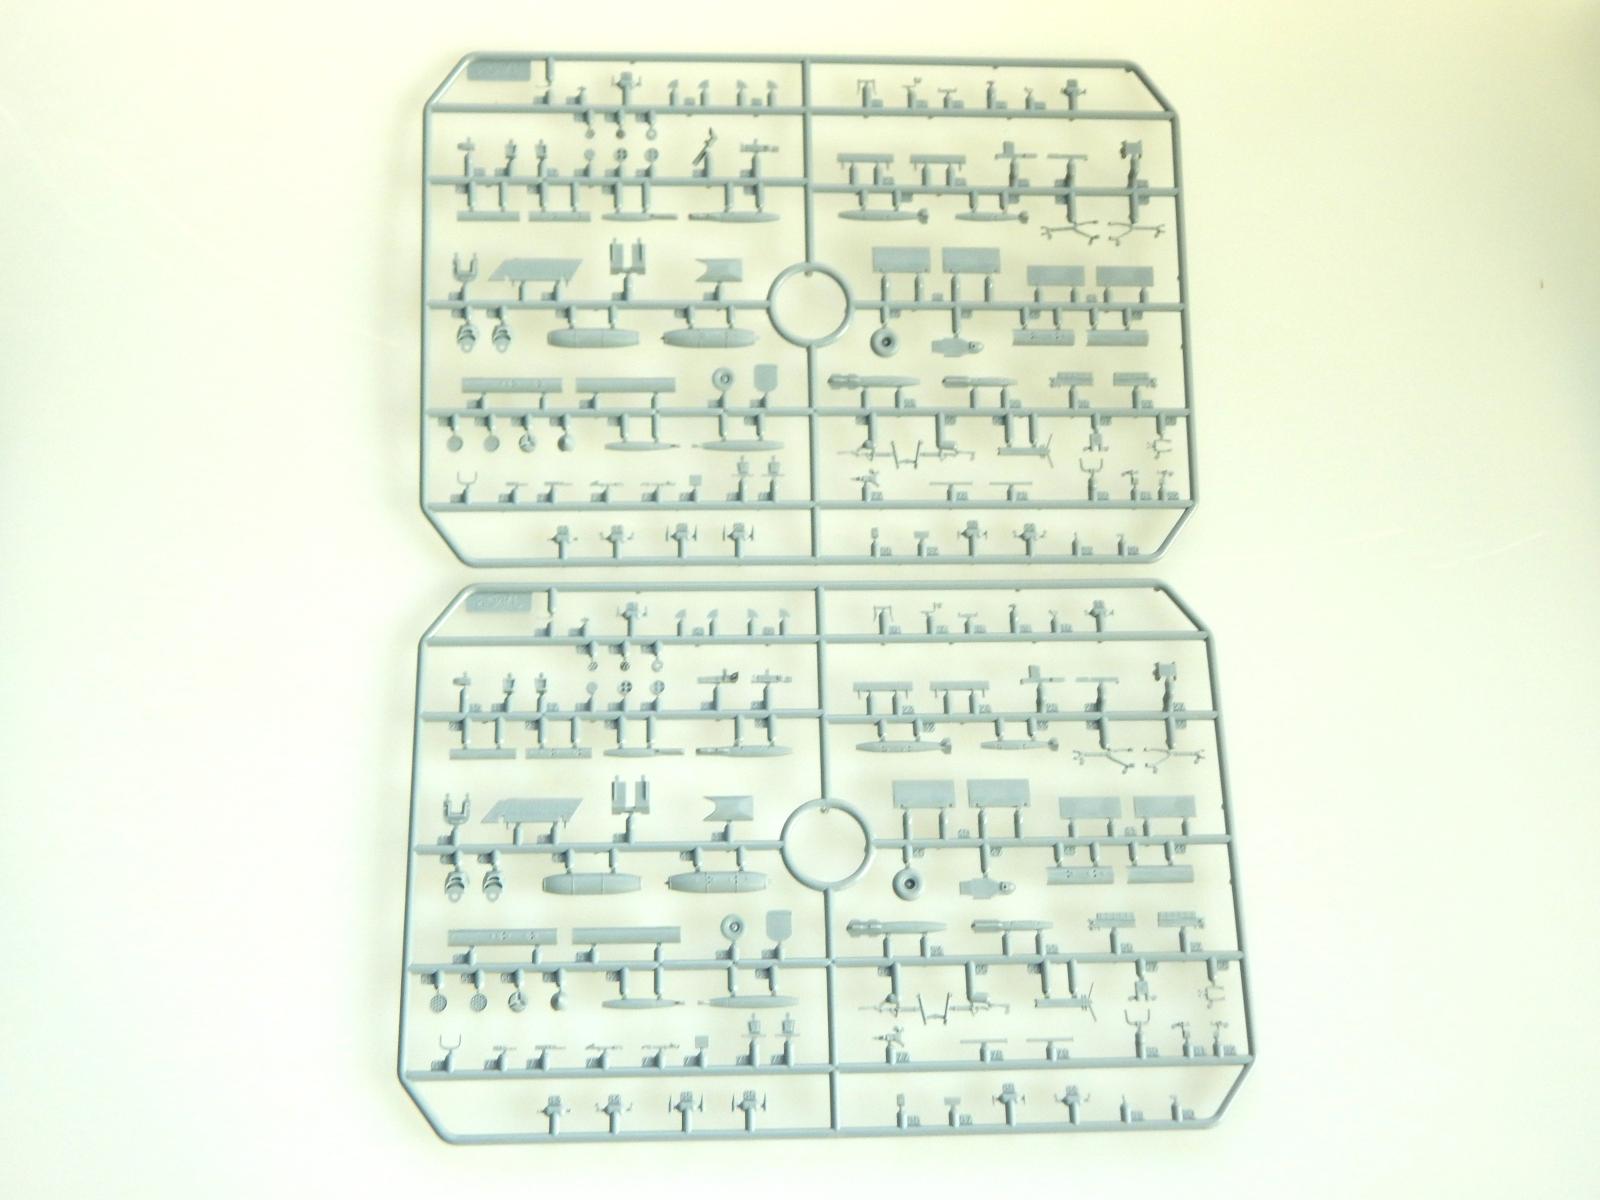
- 4 gray injection molded plastic sprues
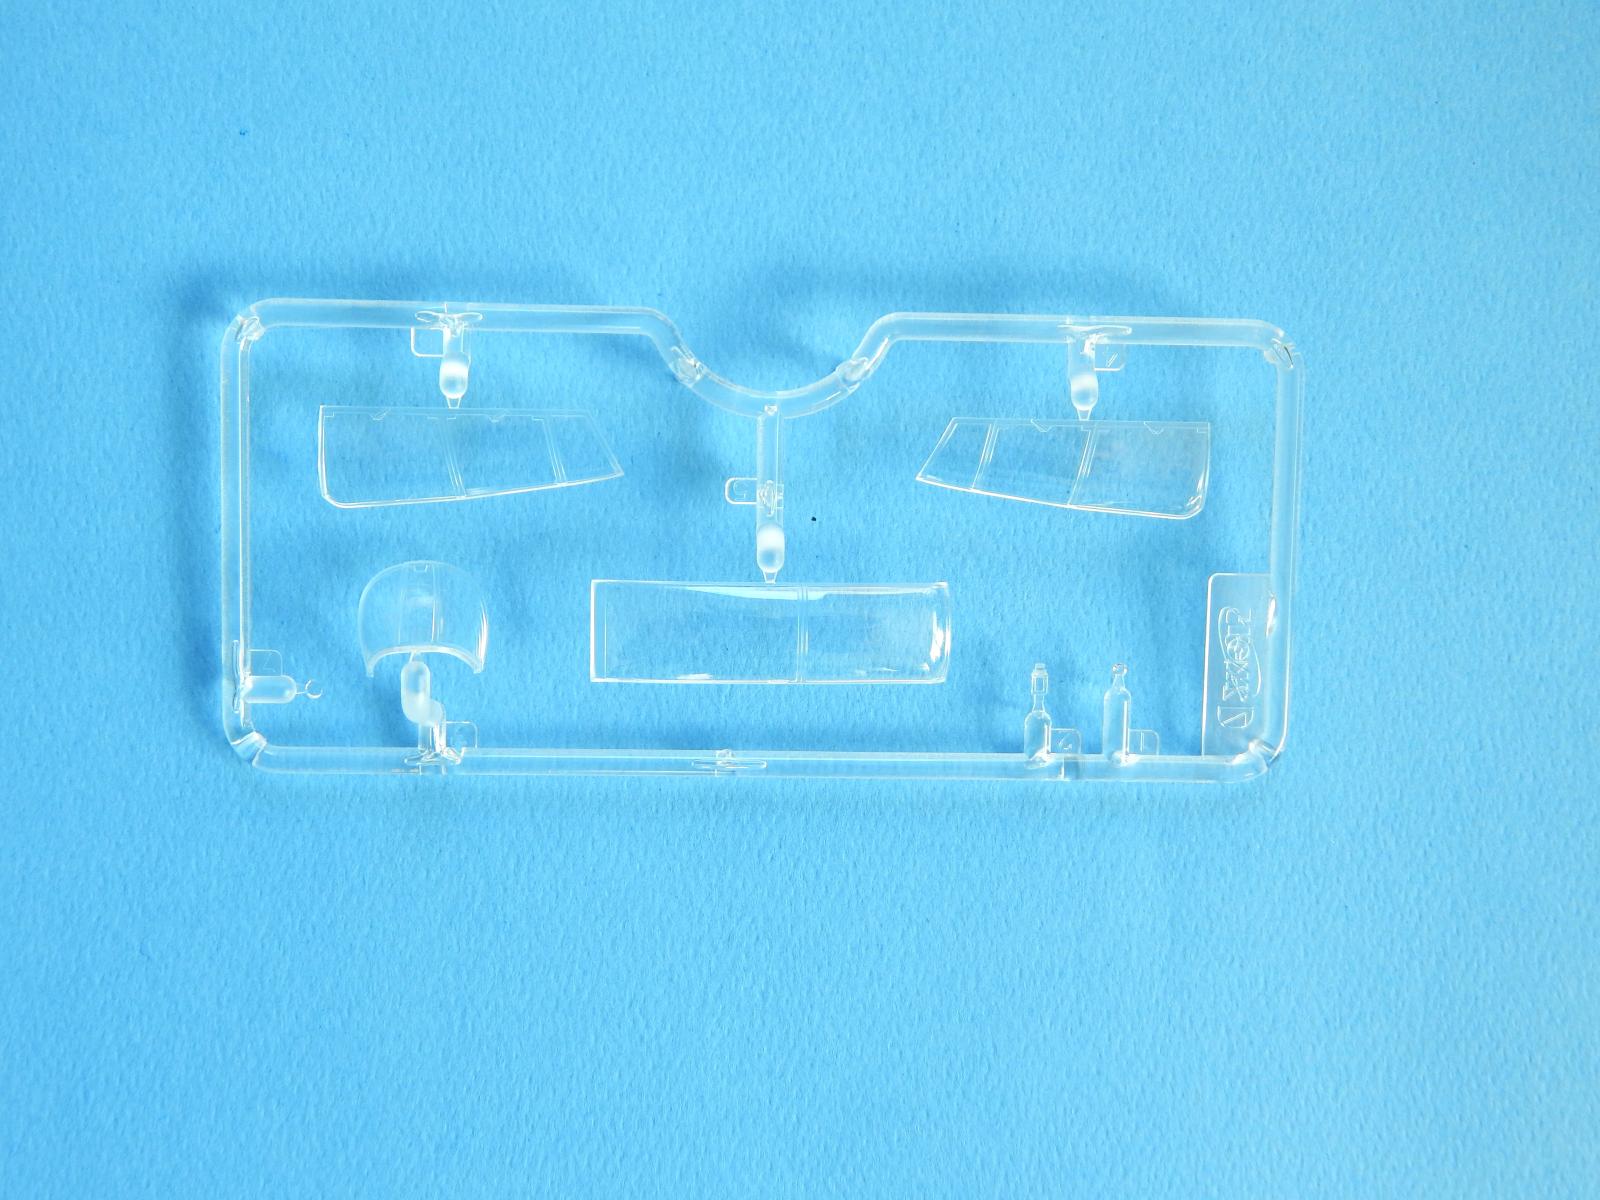
- 1 clear sprue
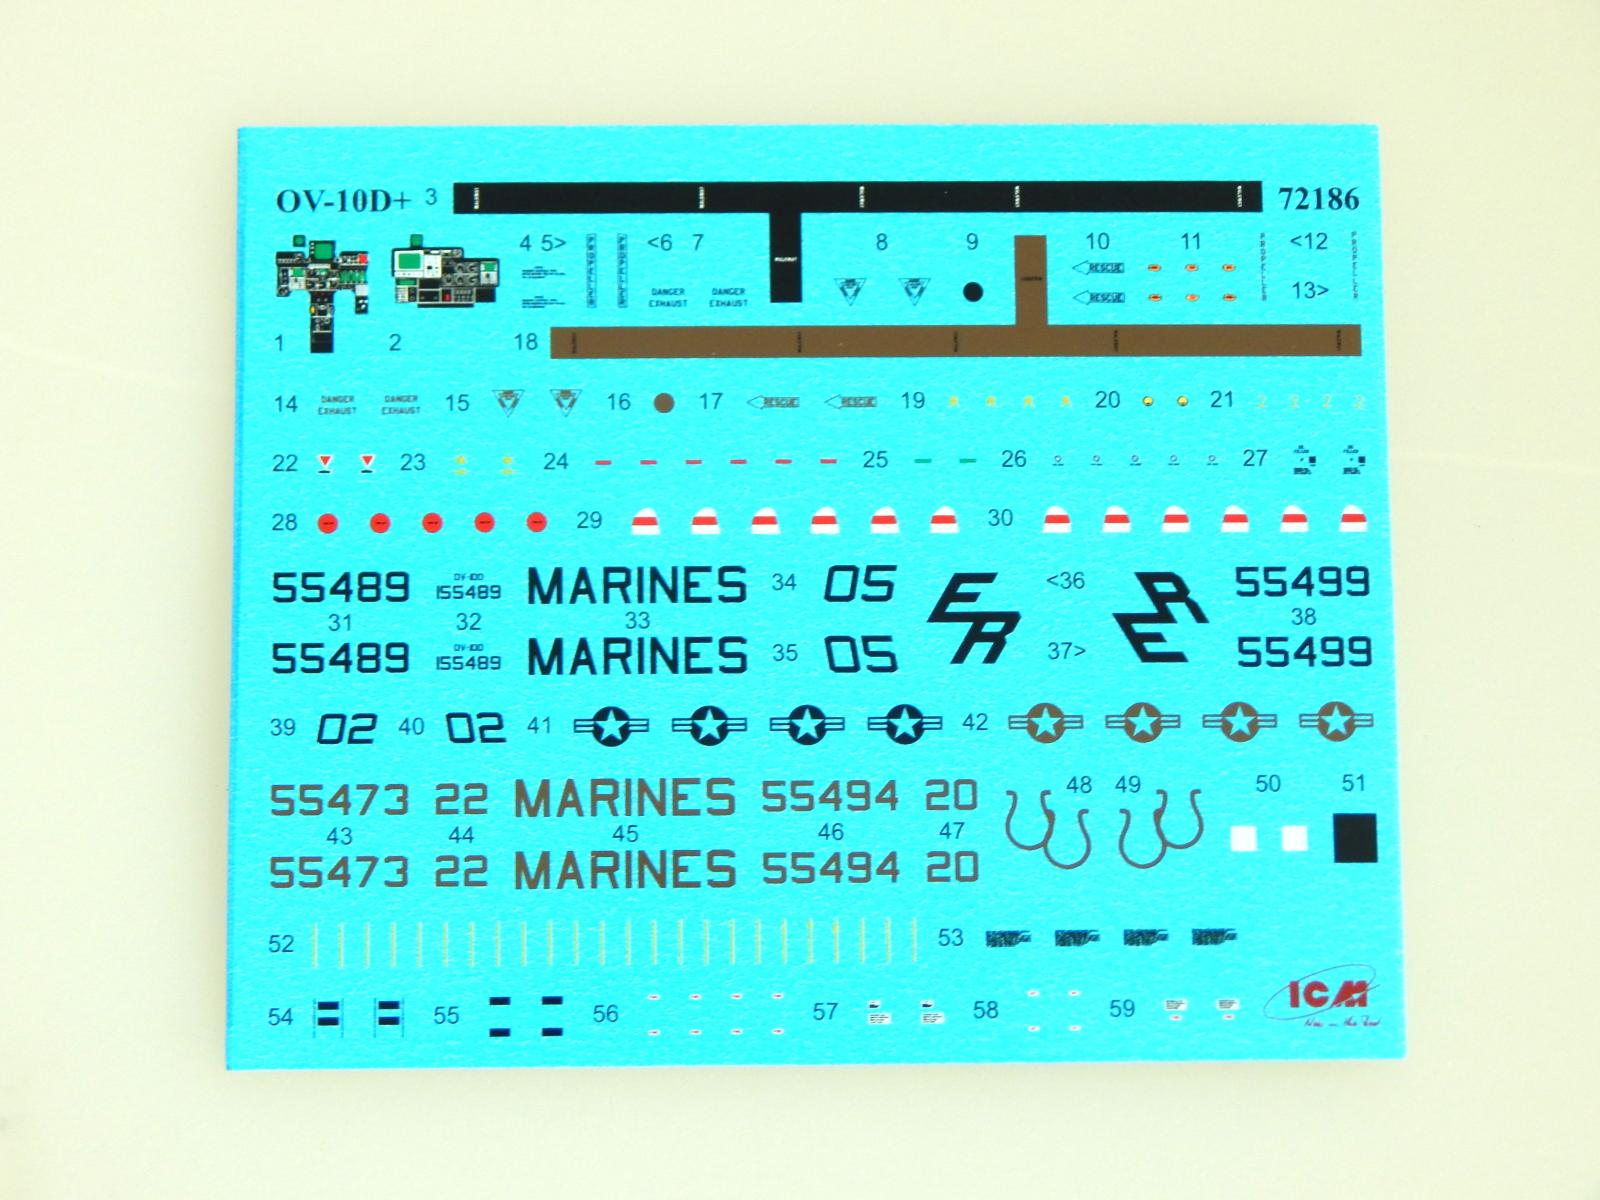
- 1 decal sheet with 4 markings options
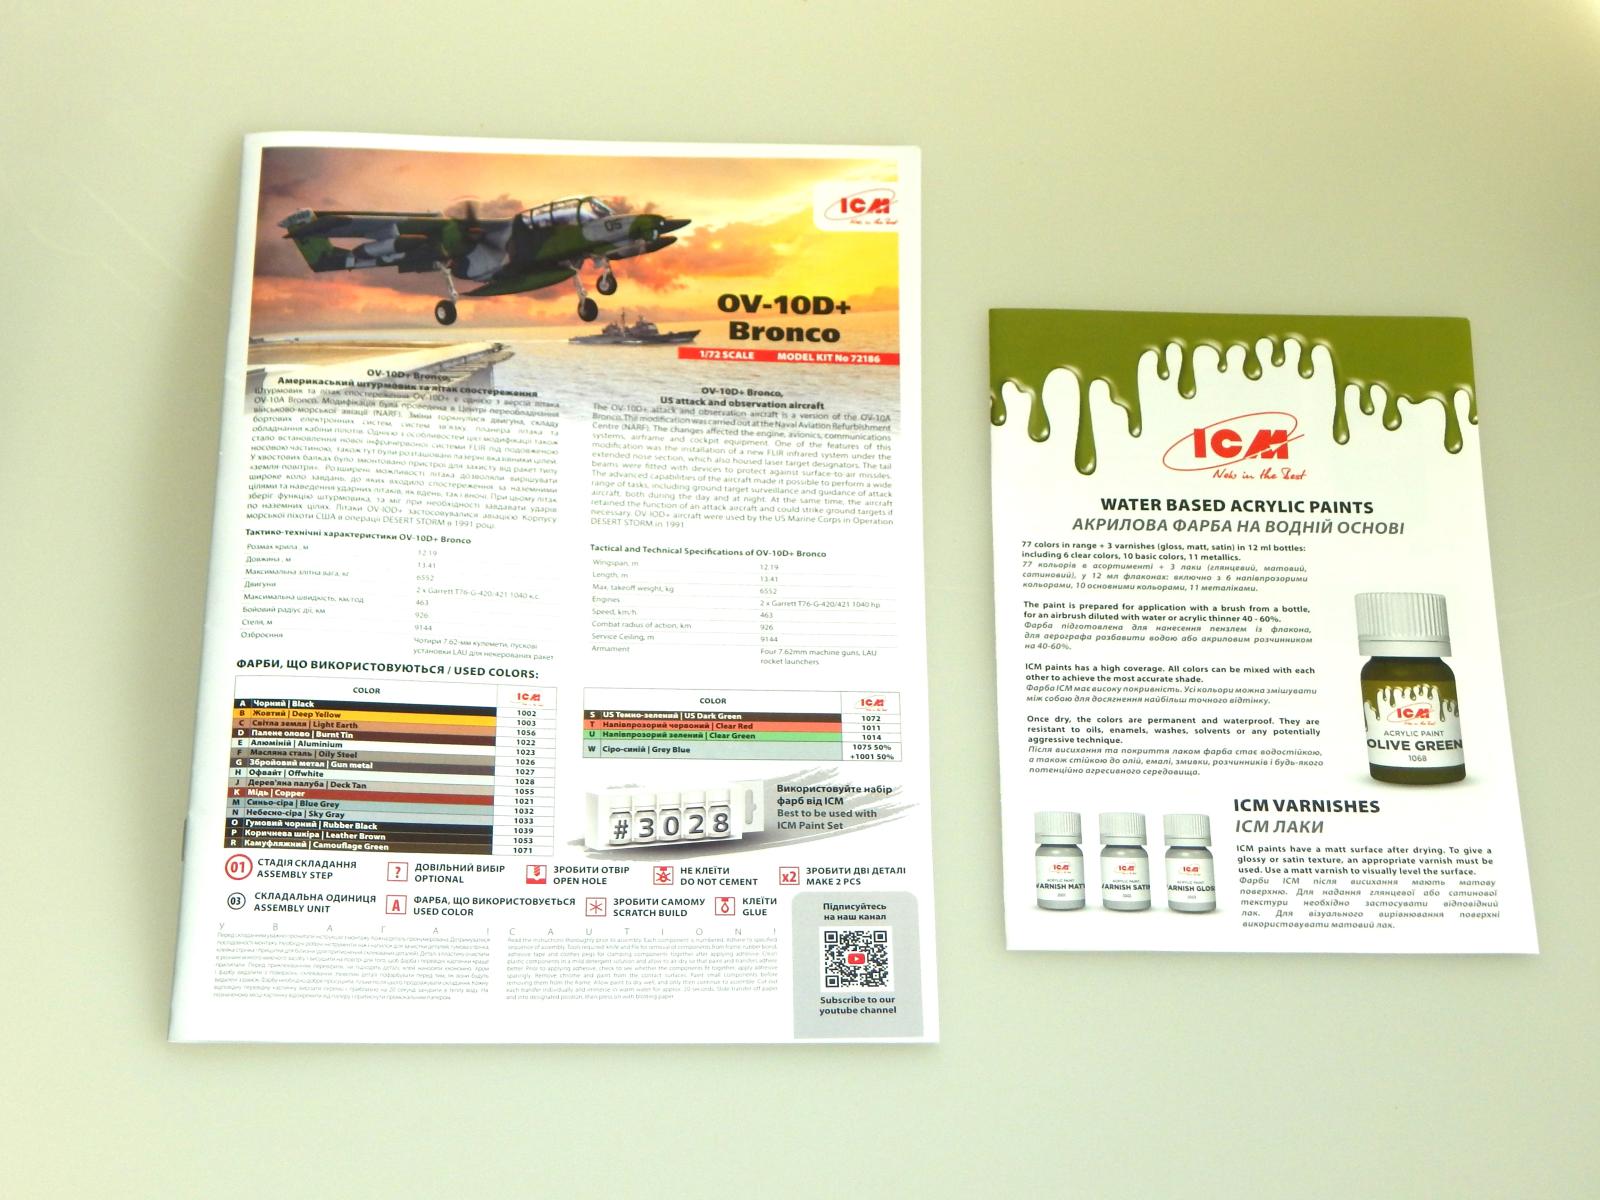
- 1 instruction book
The North American OV-10 Bronco was designed as COIN [Counter Insurgency] light attack aircraft with VSTOL [vertical and/or short take-off and landing ] capability. IT was primarily introduced to USMC and USN squadrons which was the intended customer. The USAF however was interested in this airframe as a FAC [Forward Air Control] aircraft to replace the Cessna L-19/O-1 ‘Bird Dog’ & Cessna O-2 Skymaster.
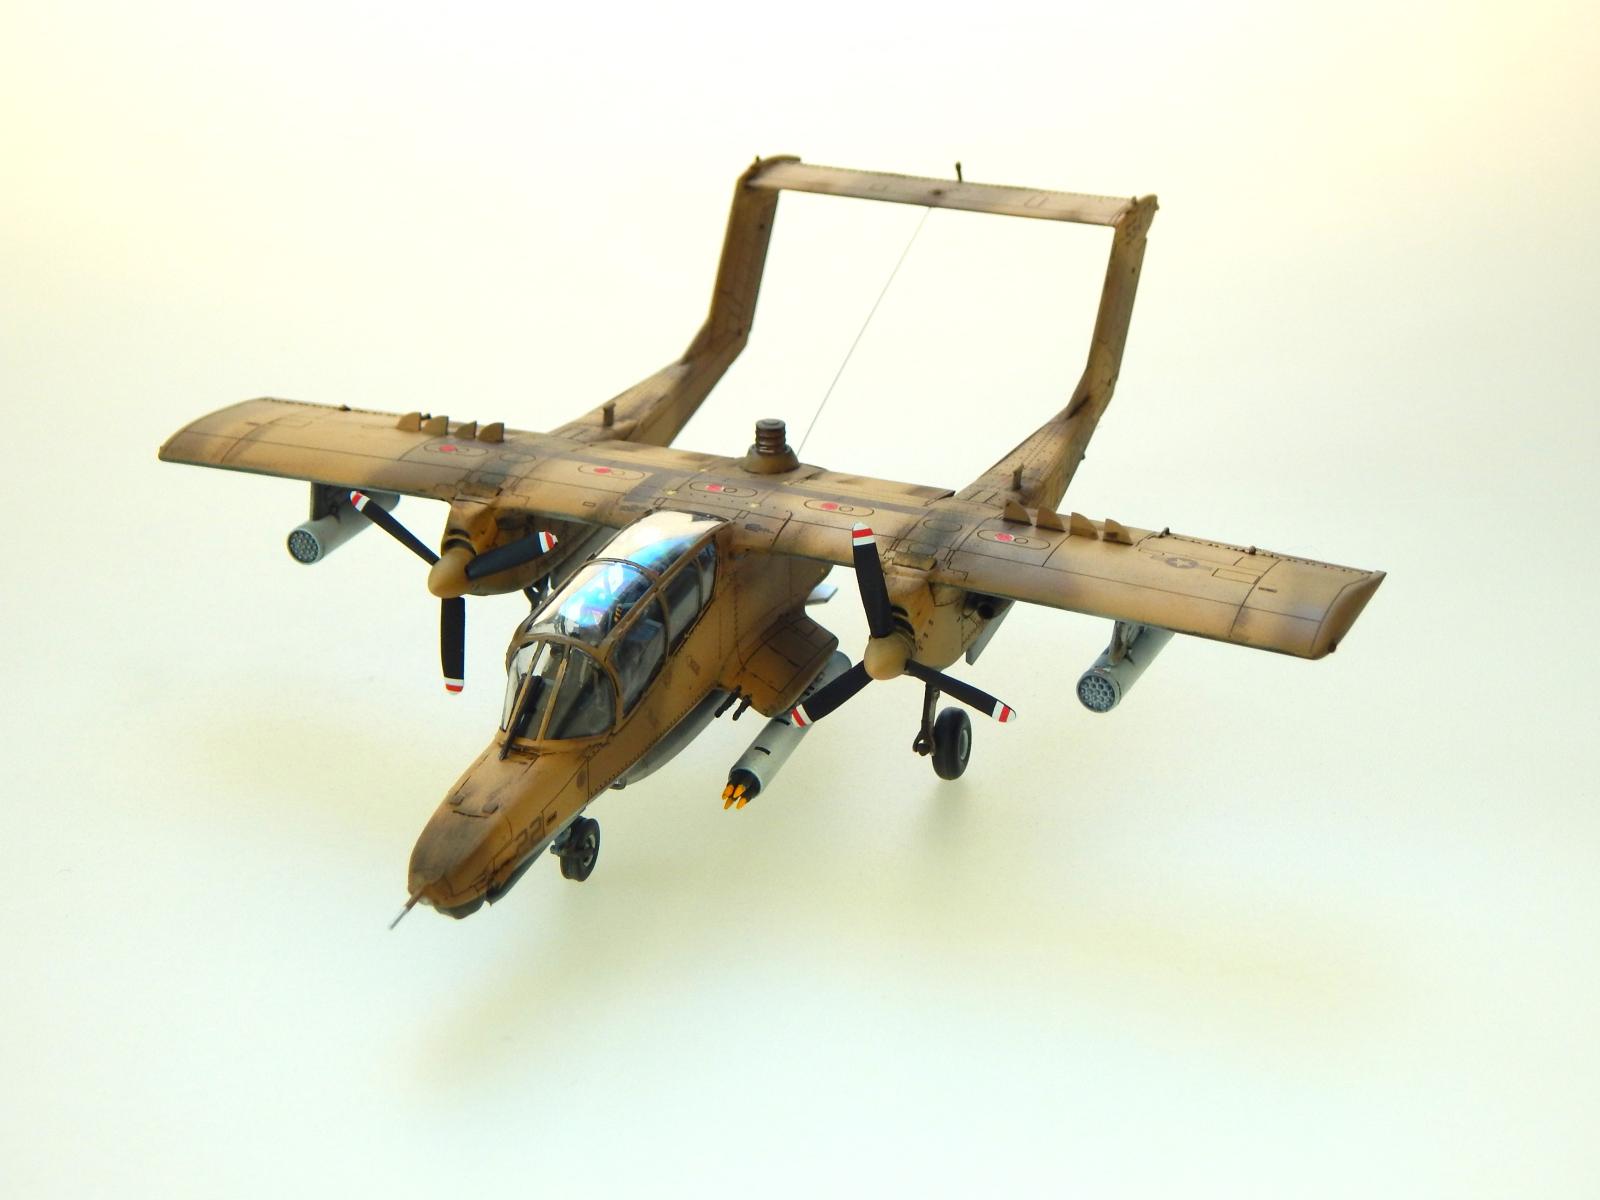
The OV-10 Bronco being a purpose built FAC aircraft had many advantages over the earlier Cessna airframes. The OV-10 was produced in 3 major variants OV-10A, C [export version] and Final version D. The OV-10D was the second-generation Bronco developed as an extensively modified OV-10A airframe, adding a FLIR [forward-looking infrared] night-vision system with a turret-mounted camera under the modified and extended nose.This was visually distinctive from the earlier shorter rounded nose of the A-model.
The OV-10D also had larger & more powerful engines and corresponding larger fiberglass propellers. IT also had these other main external differences; chaff dispensers installed midway down the booms; infrared-suppressive exhaust stacks.
Here is the new sprue review, coming right at you of the ICM 1/72 scale OV-10D Bronco! The kit is a scaled-down version of its recent 1/48 scale kit as evidenced by the parts breakdown and sprue locations. There is no reduction of detail on the plus side but in the smaller scale there will be some fiddly and potential fragile structures to assemble.
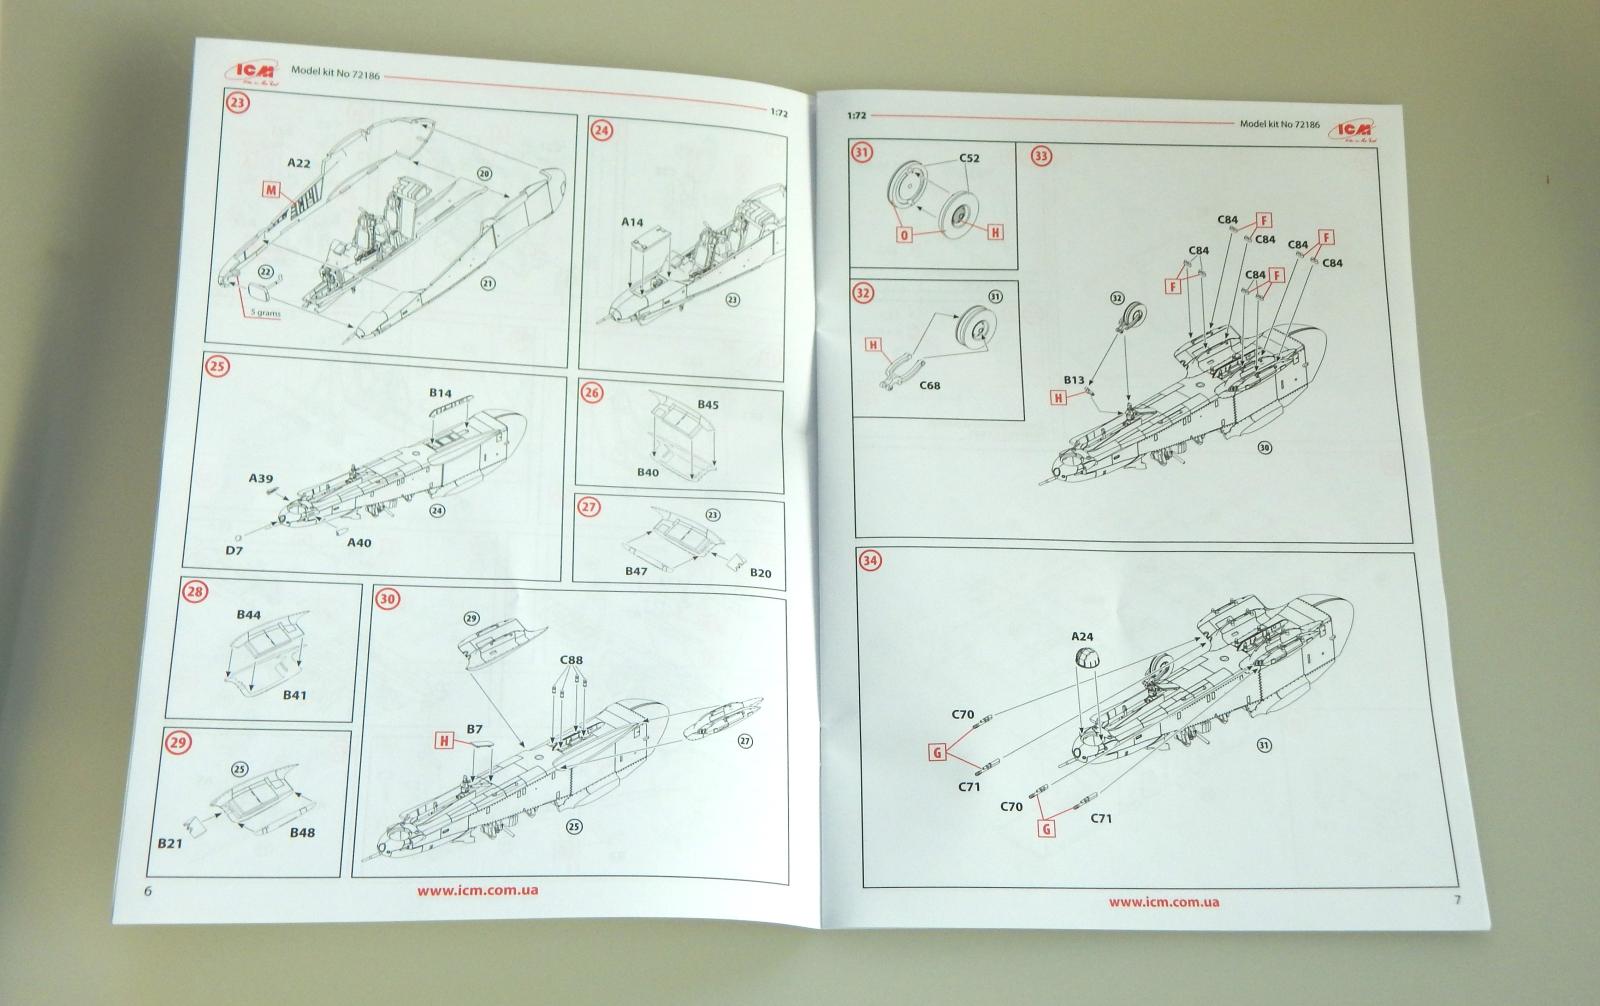
One must be careful with the many smaller parts or they will be launched into the never void of model parts. The instructions are sequential and clear but sometimes do not include some essential information. The color callouts for some parts [step 22] and a few others are not mentioned so some deductive reasoning will help there along with good references.
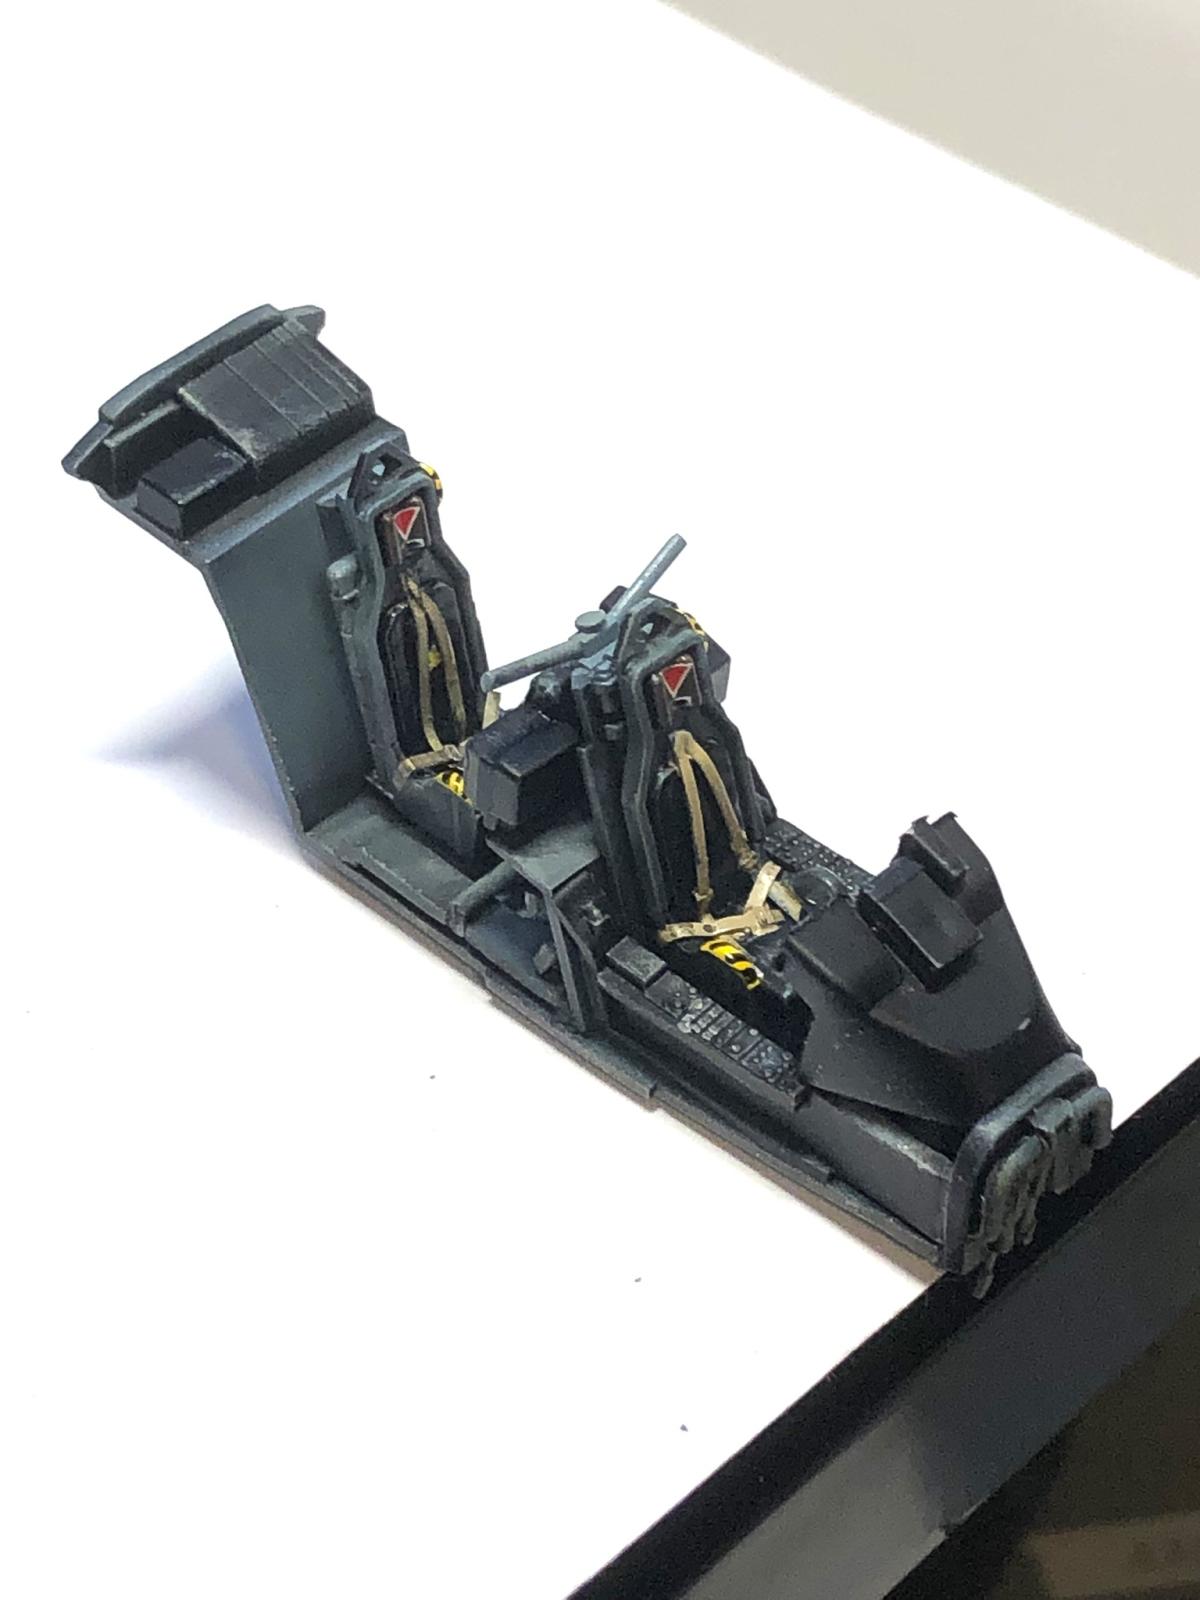
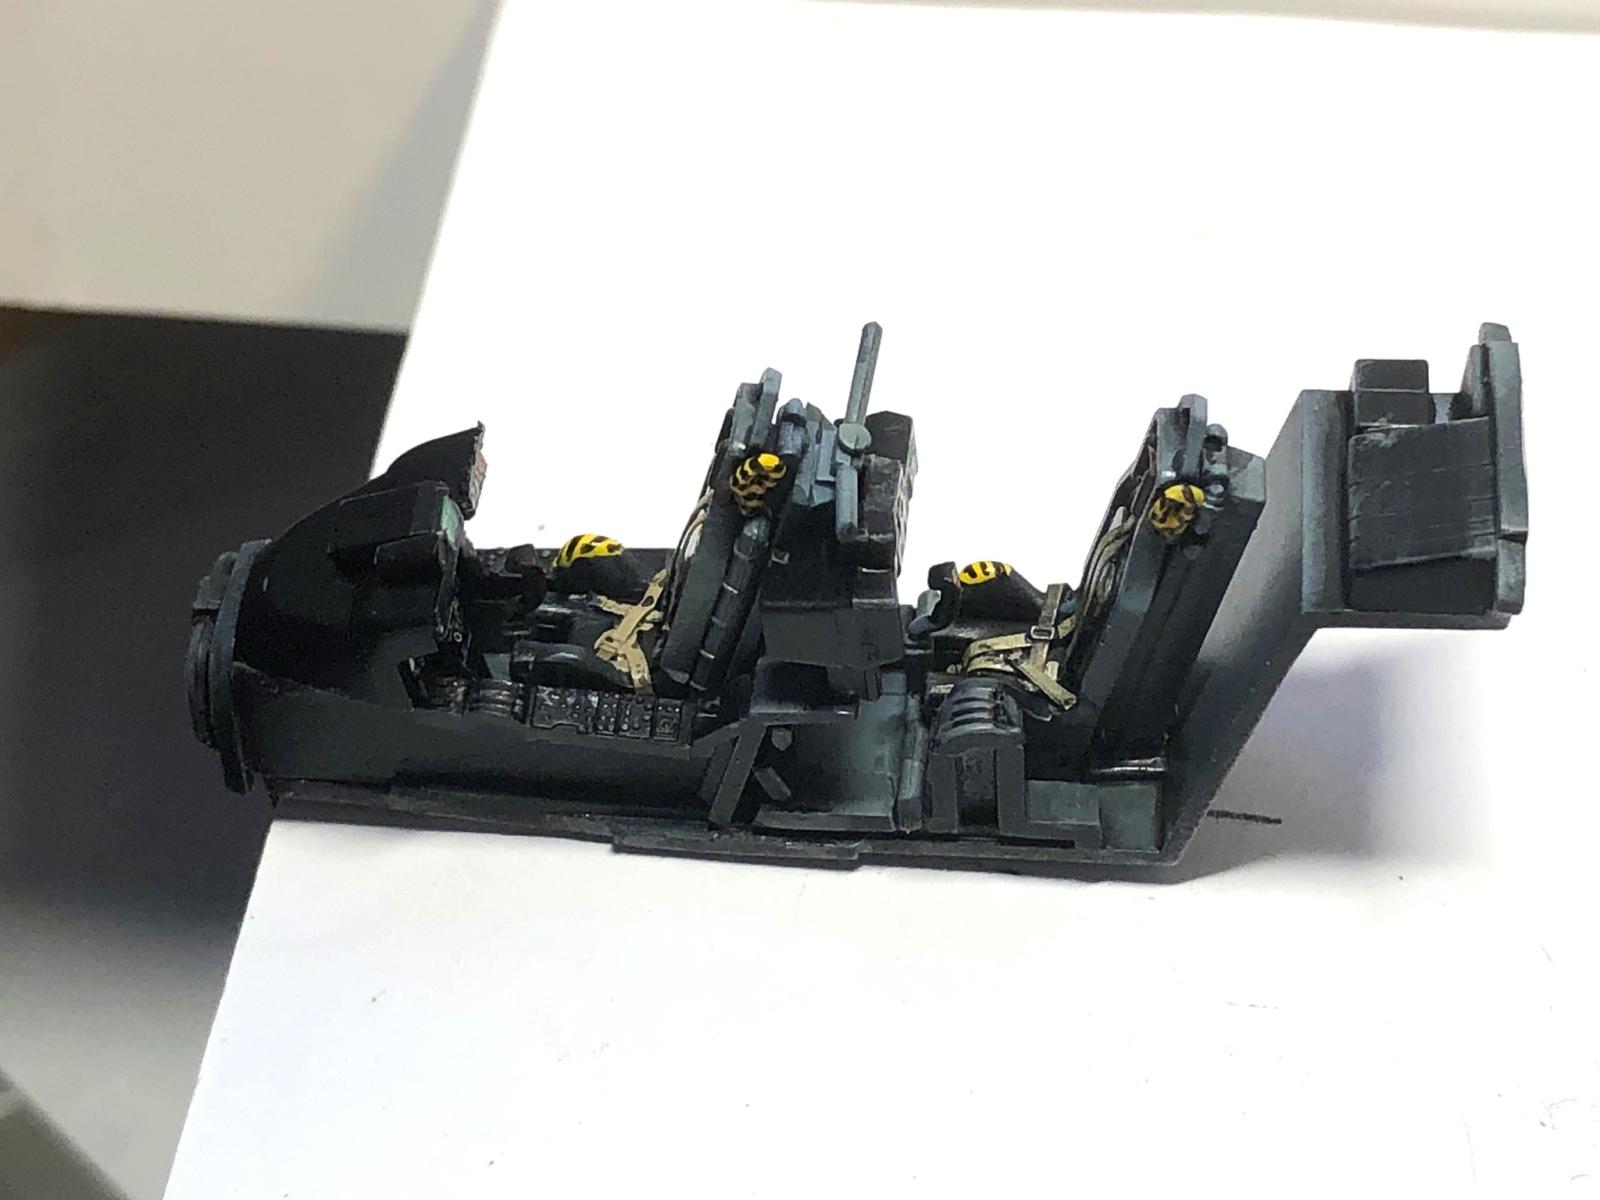
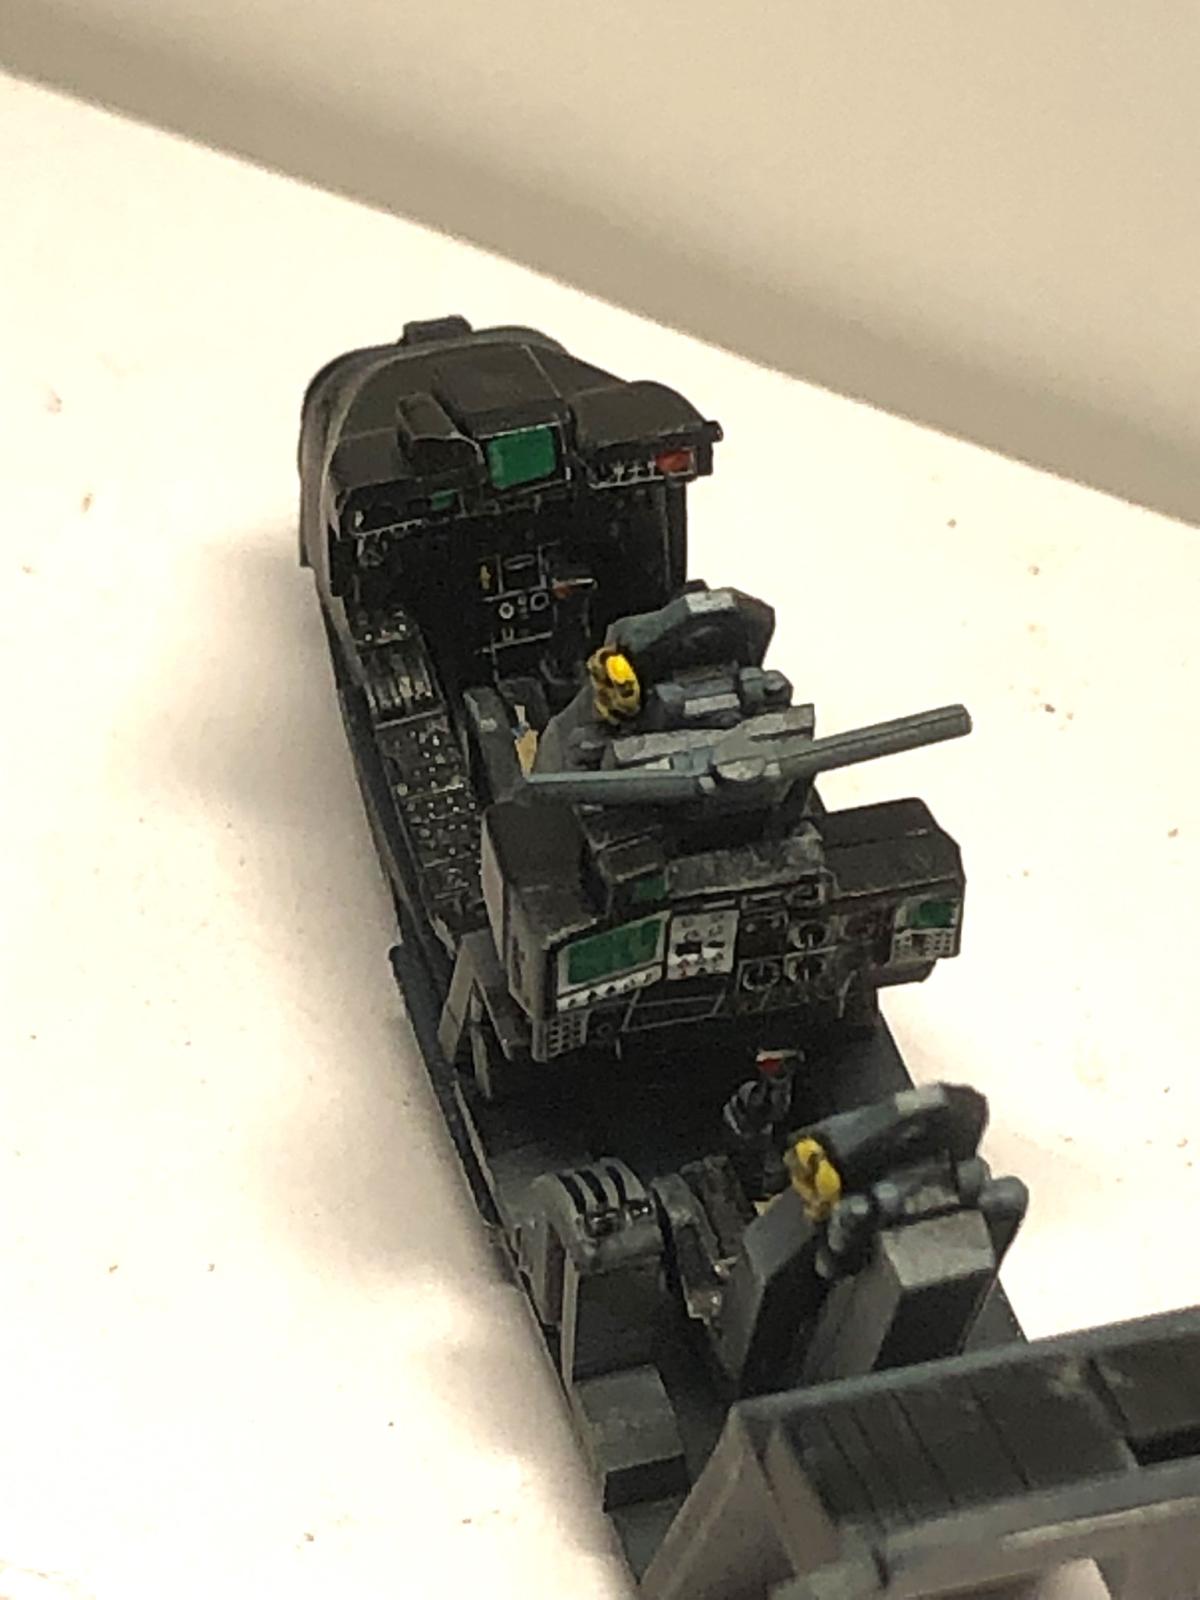
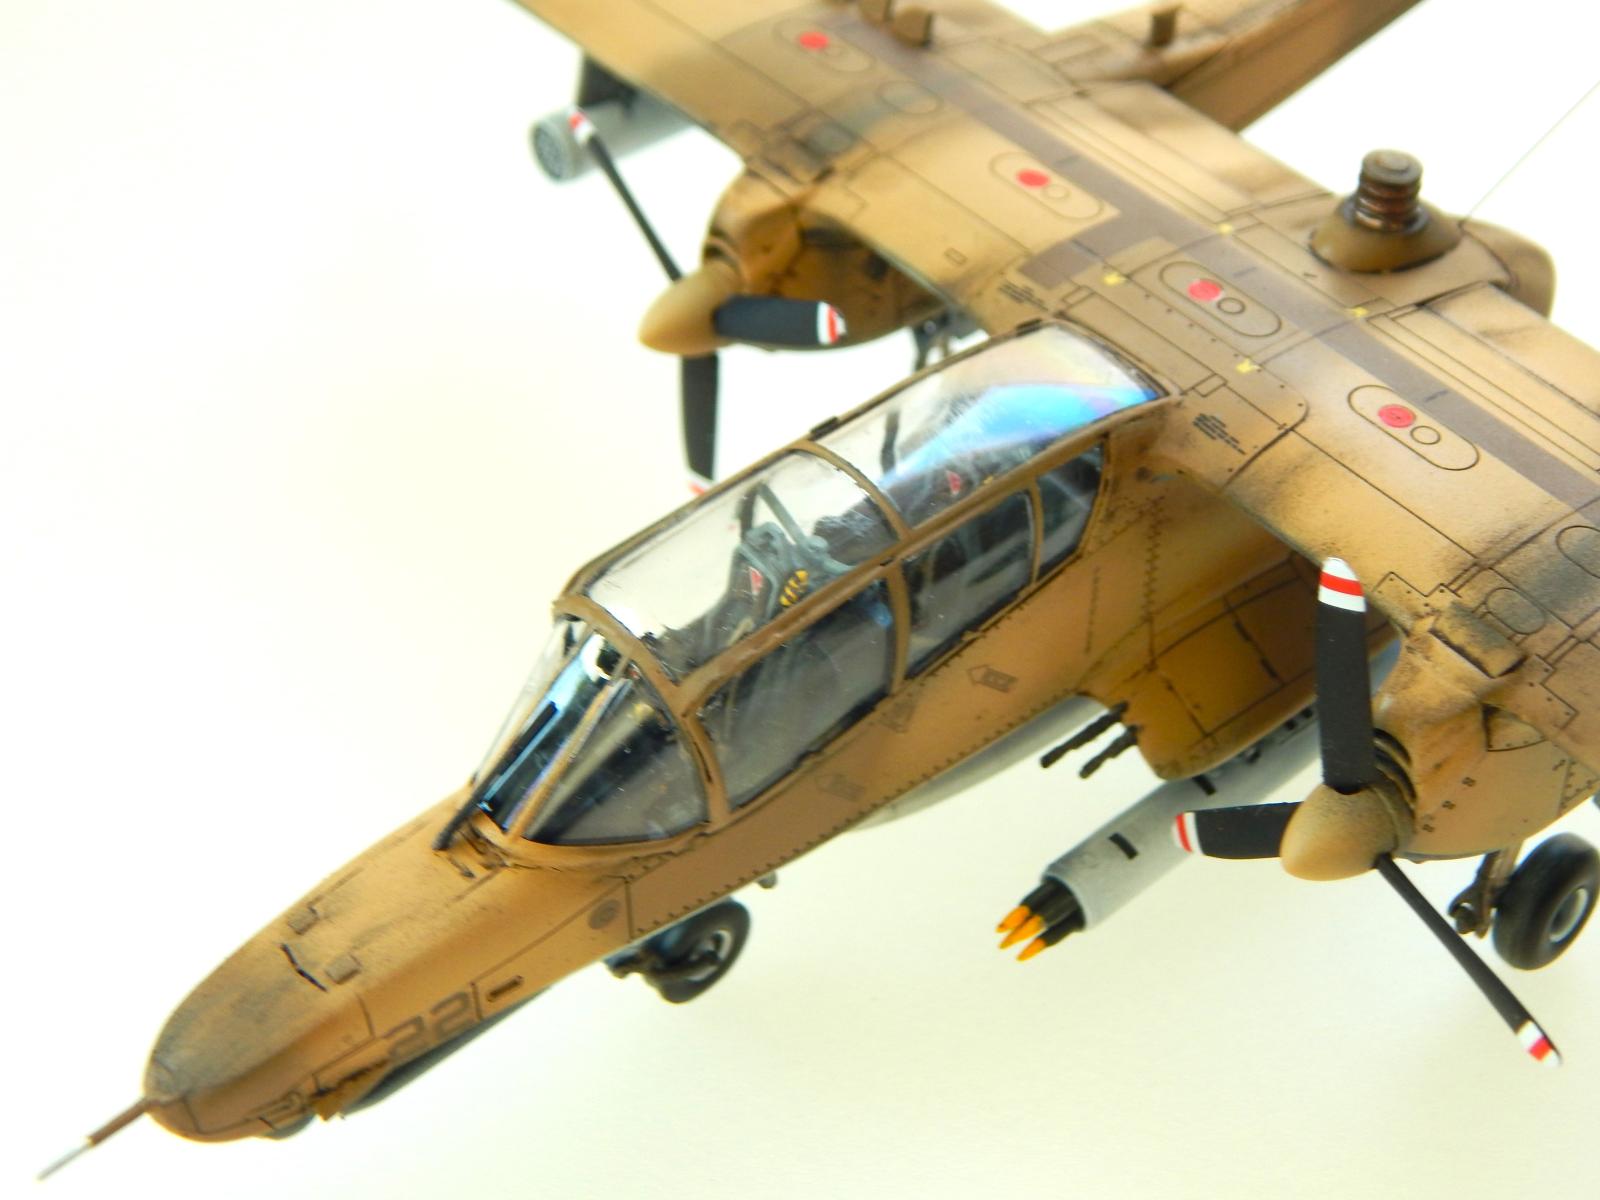
The cockpit is well detailed with a pair of six-part ejection seats and decals for instrument panels and consoles, however there are NO harnesses provided in the kit and really should be at this price point and time and day of modeling! The nose needs 5 grams of counter weight to avoid tail sitting [according to the instructions], BUT I found it hard to fit 5 grams of weight in the nose so I filled the turret mounted camera with liquid gravity and also found some room around the cockpit and wheel bay to increase the weight. I don’t think 5 grams will do in my opinion so a put closer to 10 grams of weight--I caution the builder to use their own judgement.
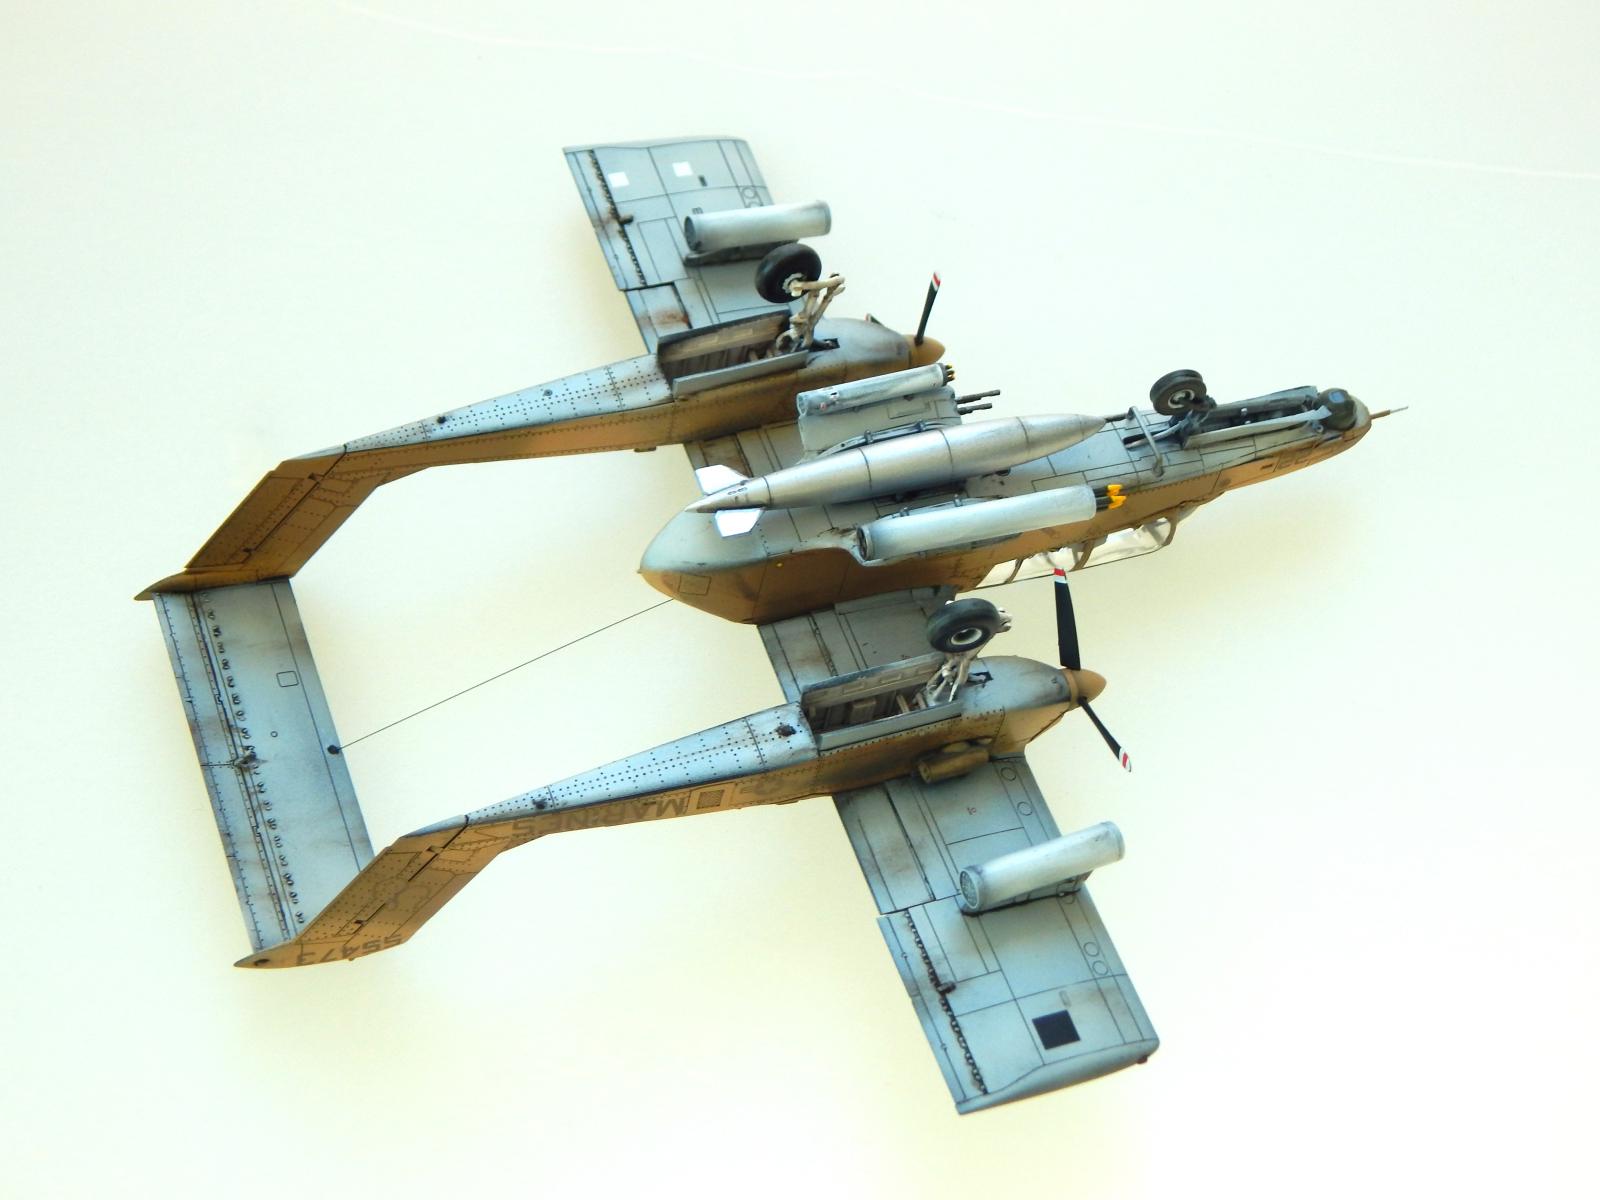
The overall fit of the kit is excellent and detail is well done and very accurate. Most if not all the major joints are on panel lines and this makes clean up much easier. The twin boom configuration lines up very well and requires no filler.Only place I used filler was in the nose are but it was a tiny amount. I think it was due to the softness of the ICM plastic-which is a good and bad quality for injection molded kits.
The trickiest part of the kit is the alignment of the canopy and this why the kit may not be suitable for novice builders. The four-piece canopy is a somewhat arduous task since you must deal with cement joints fore and aft, top to bottom, and side to side. This dictates a glue that dries clear. I would not recommend regular liquid cement since there is too large of clear area to create marring and distortion in the canopy. I used UV clear glue which works well and can be cleaned up rather easily and dries instantly with a UV light.
Most canopy glues a PVA based and may not work well since they take time to set and the canopy may move if not aligned properly. I recommend fitting a few spots on each seam and manipulating the pieces into place before applying your adhesive of choice. I would start with the windscreen in the front and then adjust the top and sides as appropriate to get it to fit and align. Again the glue choice will be important here so one does not ruin the clear parts. The canopy will in the end fit but takes some patience.
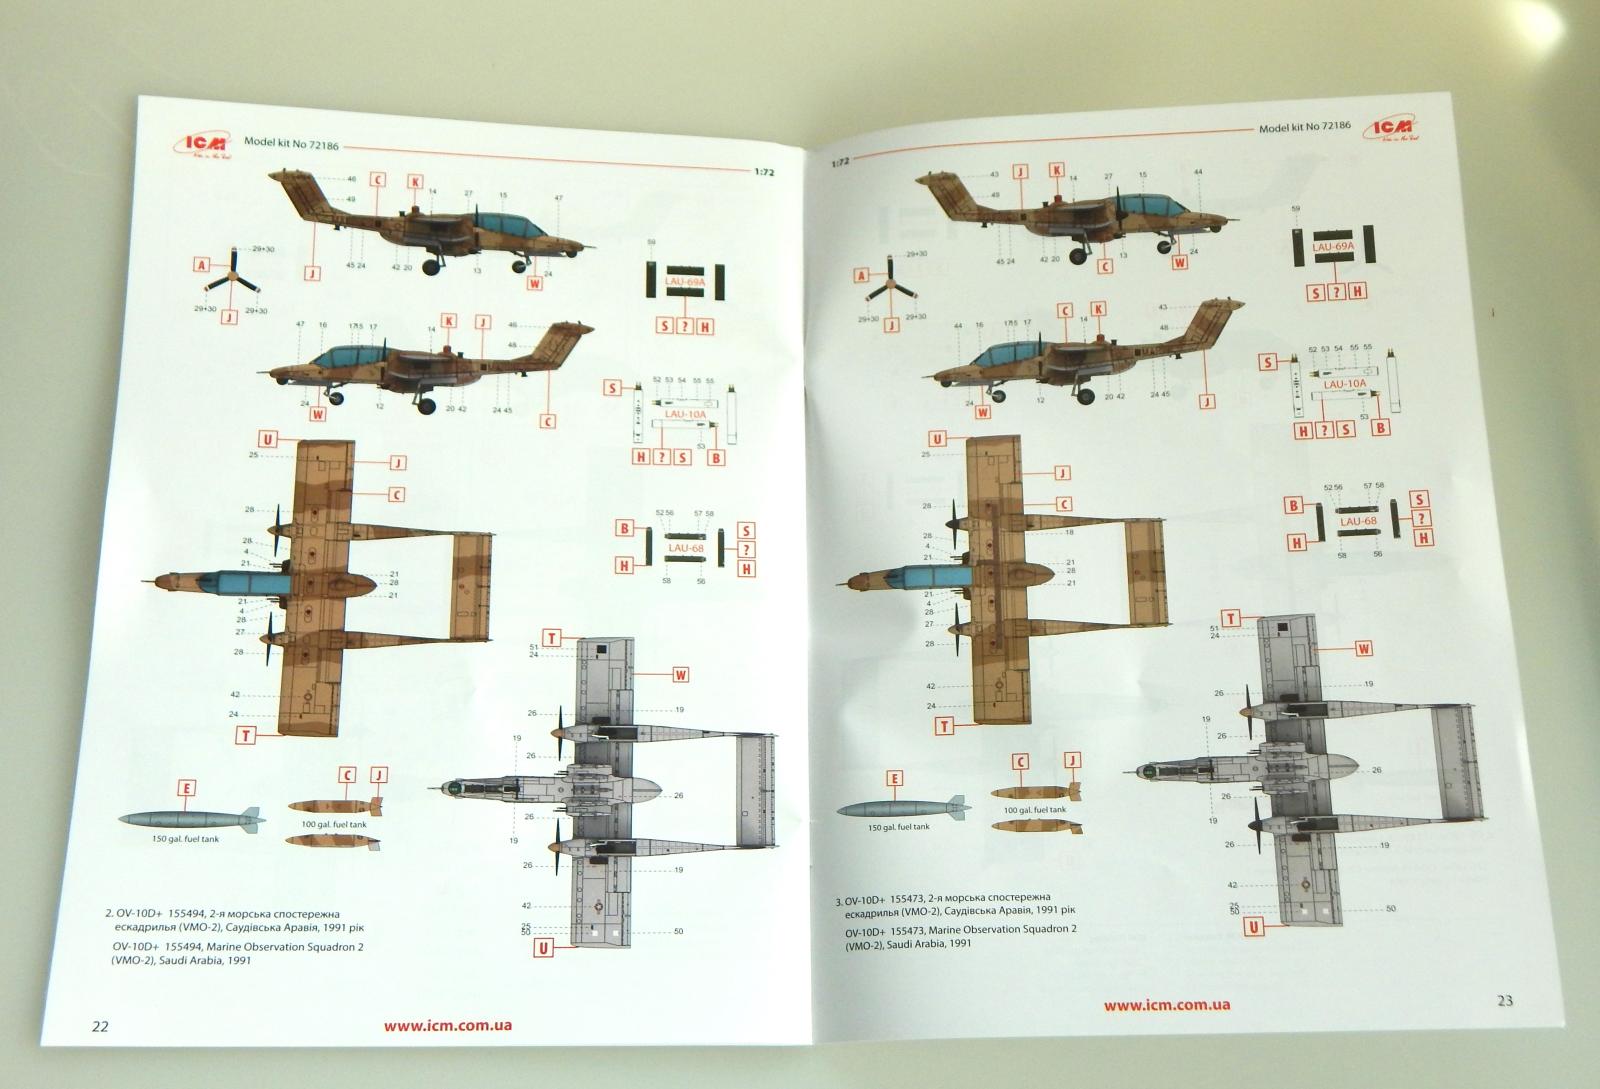
The kit comes with a nice set of ordnance & fuel tanks: two LAU-10A, two LAU-68 and two LAU-69A rocket launchers; napalm canisters; and both low-drag and Snakeye 250-pound bombs and 150 gallon centerline tank and two 100 gallon wing tanks.
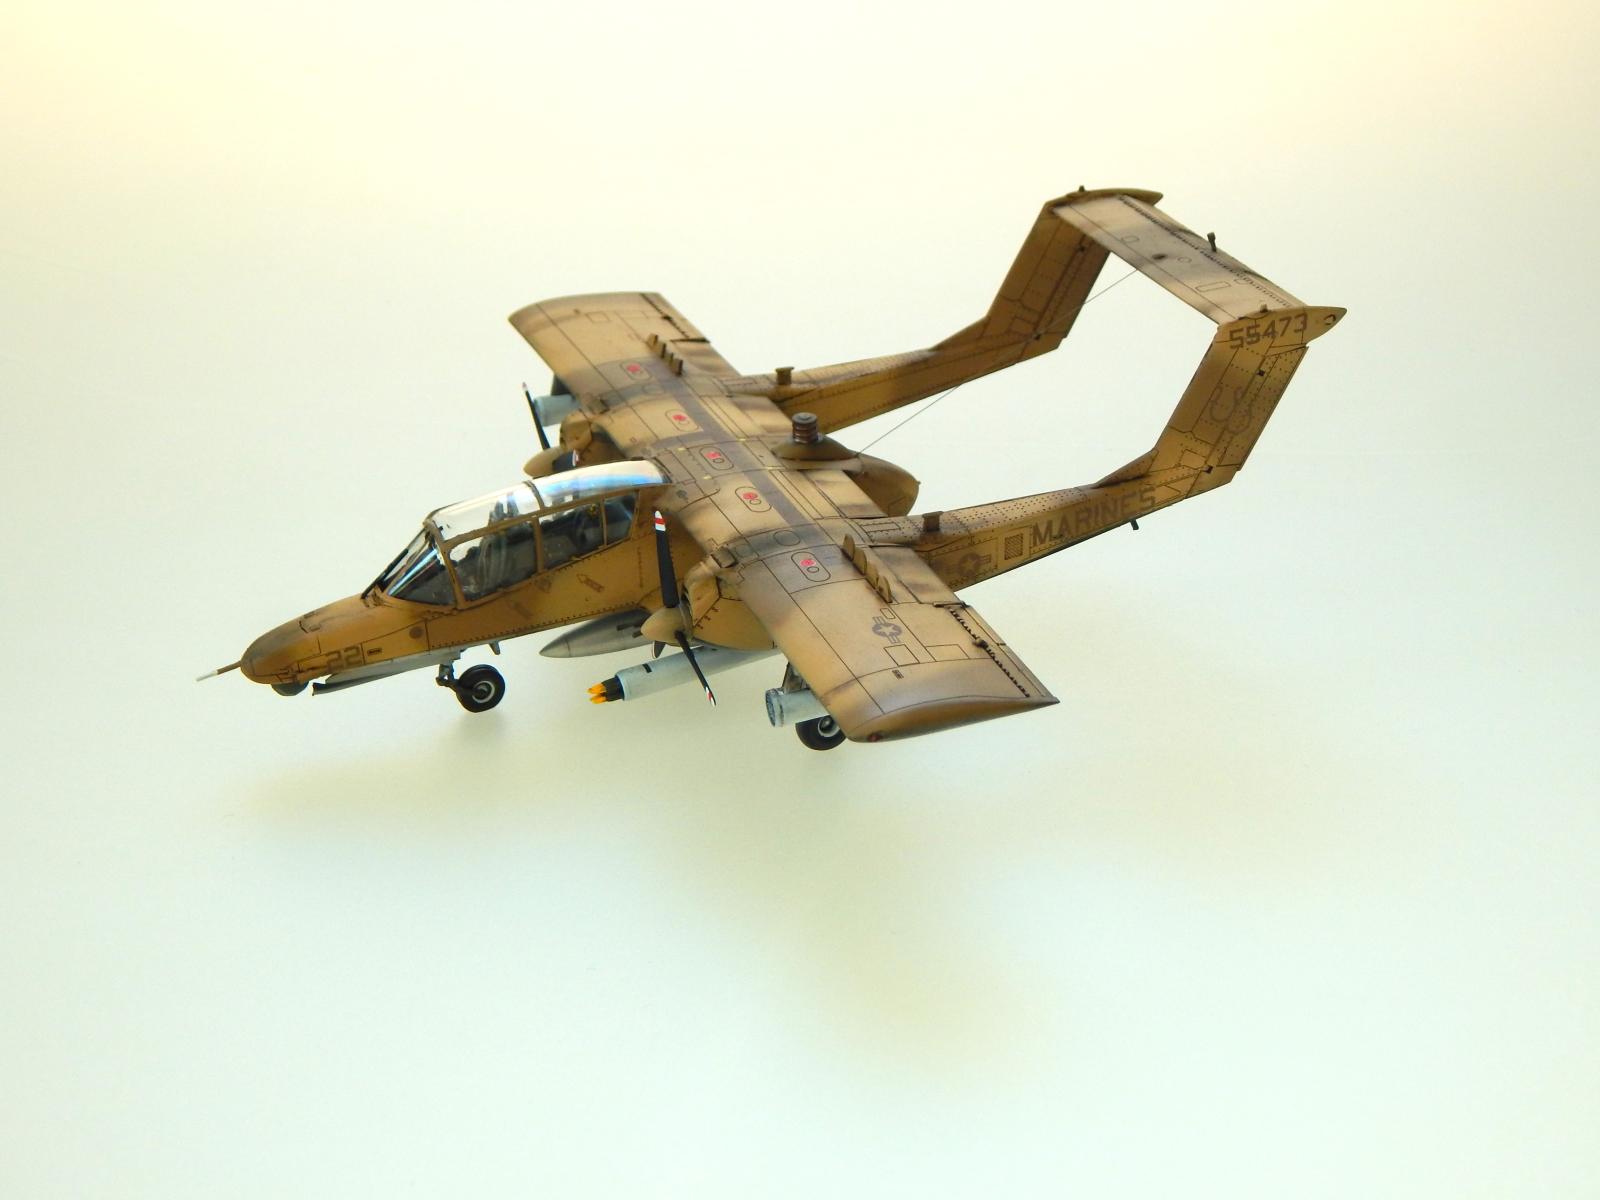
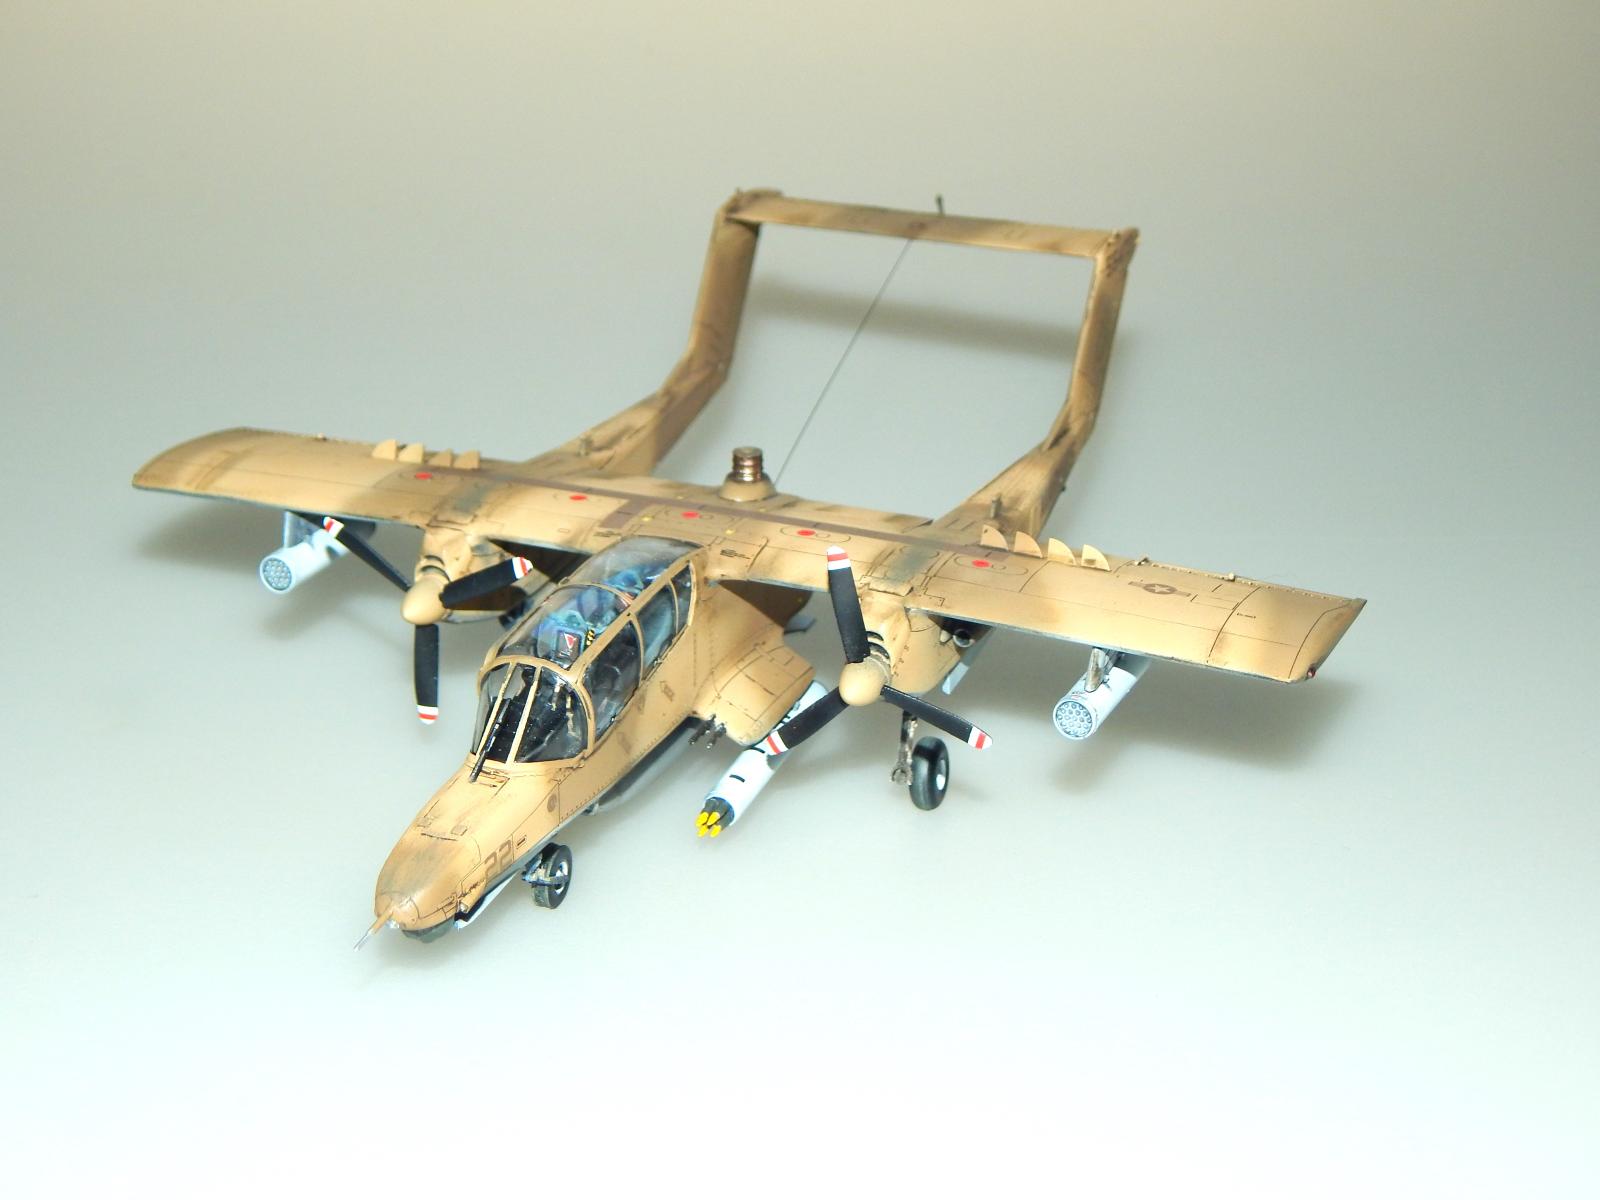
Since I was building the USMC version during operation Desert Storm, I opted for the rocket launchers [LAU-68 starboard & LAU-10 port] and centerline fuel tank and LAU-69A’s on the wing pylons. Painting was the Desert Storm camouflage which in the ICM paint range [color callouts in instructions] called for Deck Tan ICM1055 and Light Earth ICM 1056 over grey-blue.
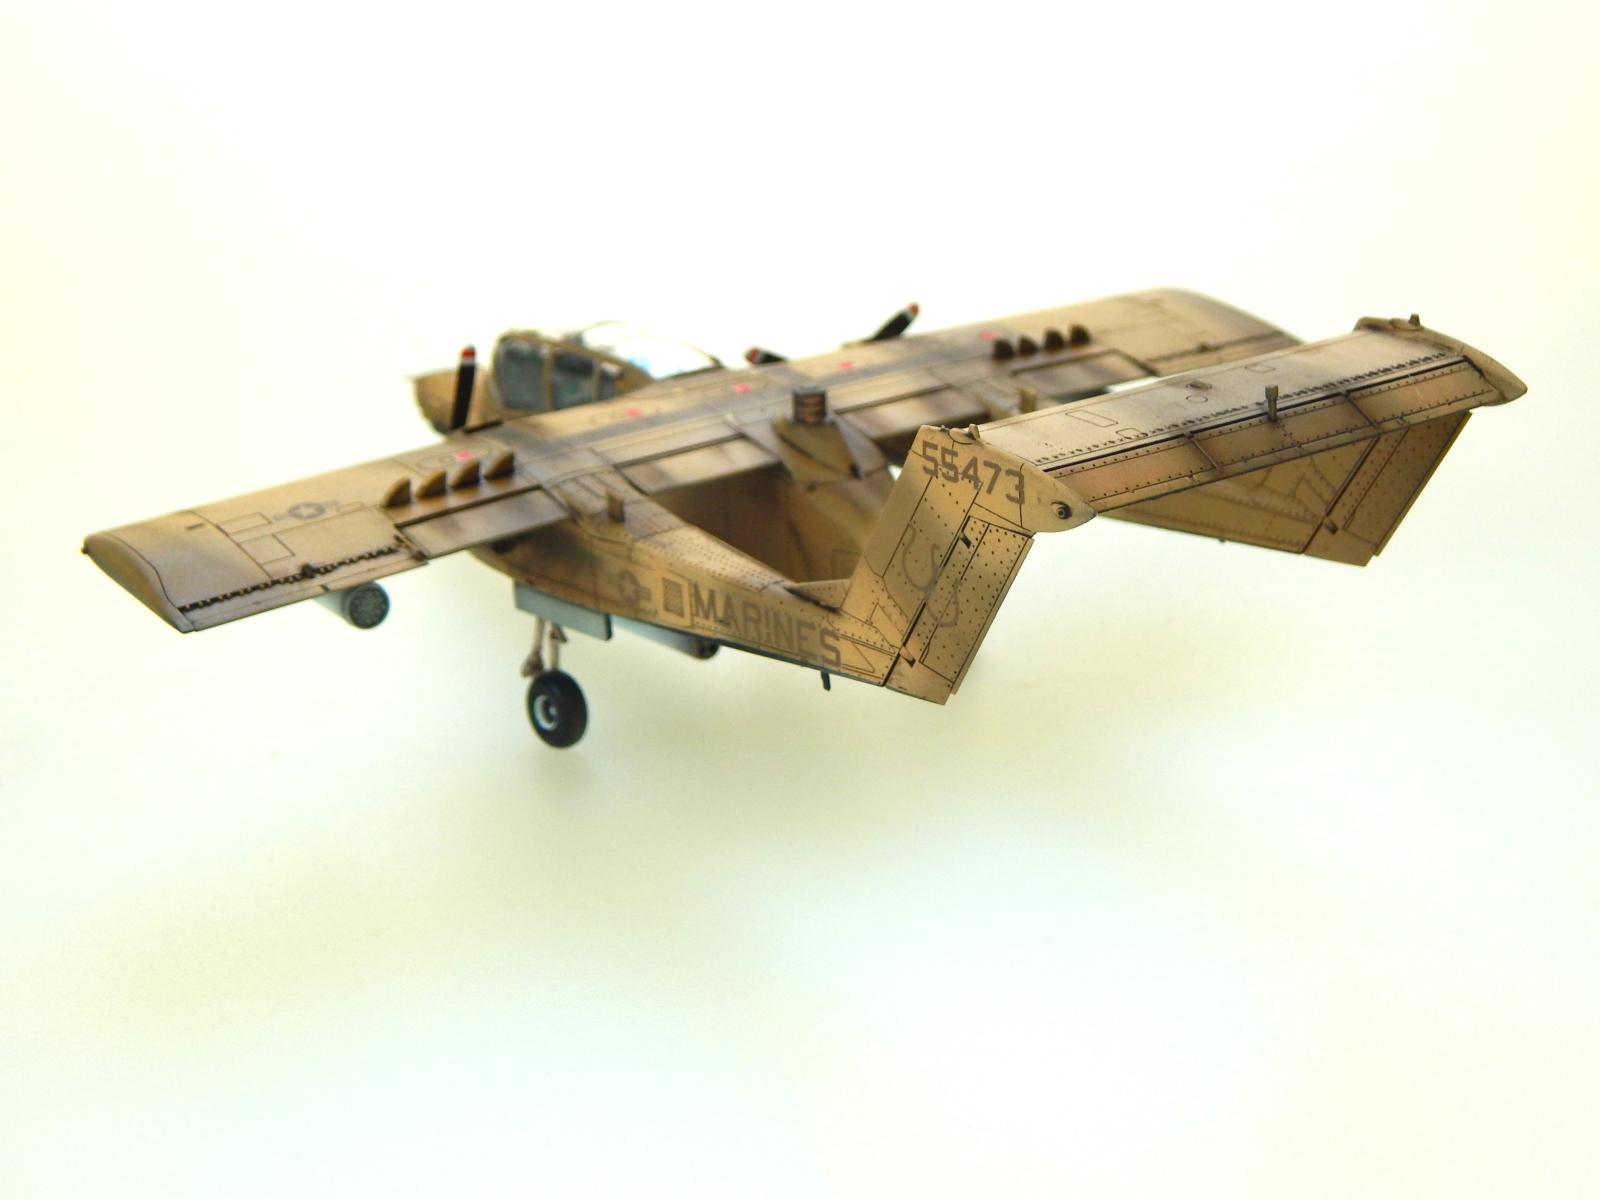
I do not use ICM paints so employed Gunze Aqueous appropriate color matches.Decals are provided for four USMC airframes since only the USMC operated the OV-10D. Two Desert storm camouflage schemes [Deck Tan/Light Earth], a two tone low-vis gray camouflage and a 3 color wrap around camouflage consisting of black, camouflage green and grey-blue.
The decals are in register and are very nicely printed BUT are thin and tangle easily. I recommend you do NOT apply decal solution to the kit when applying but use water then blot dry and then once in place apply a light decal solution like Micro-Set. The instructions provide no reference for adding antennas, but I added an antenna line from the fuselage pod to the underside of the horizontal stabilizer with Wonder wire. This was what was in my reference photos of aircraft of this era.
This was not a particularly arduous build but it took me about 18 hours in construction time and I do not recommend this for novice builders due to the canopy complexities and the many tiny parts that are difficult to attach without losing. I find ICM’s 1/72 scale OV-10 series superior in detail and overall fit than the much older Hasegawa, Revell, Airfix, and Academy kits and overall recommend this kit for your 1/72 collection!I wish to extend my sincere thanks to ICM for the review sample and to IPMS for the opportunity to review this kit.

Comments
Add new comment
This site is protected by reCAPTCHA and the Google Privacy Policy and Terms of Service apply.
Similar Reviews