
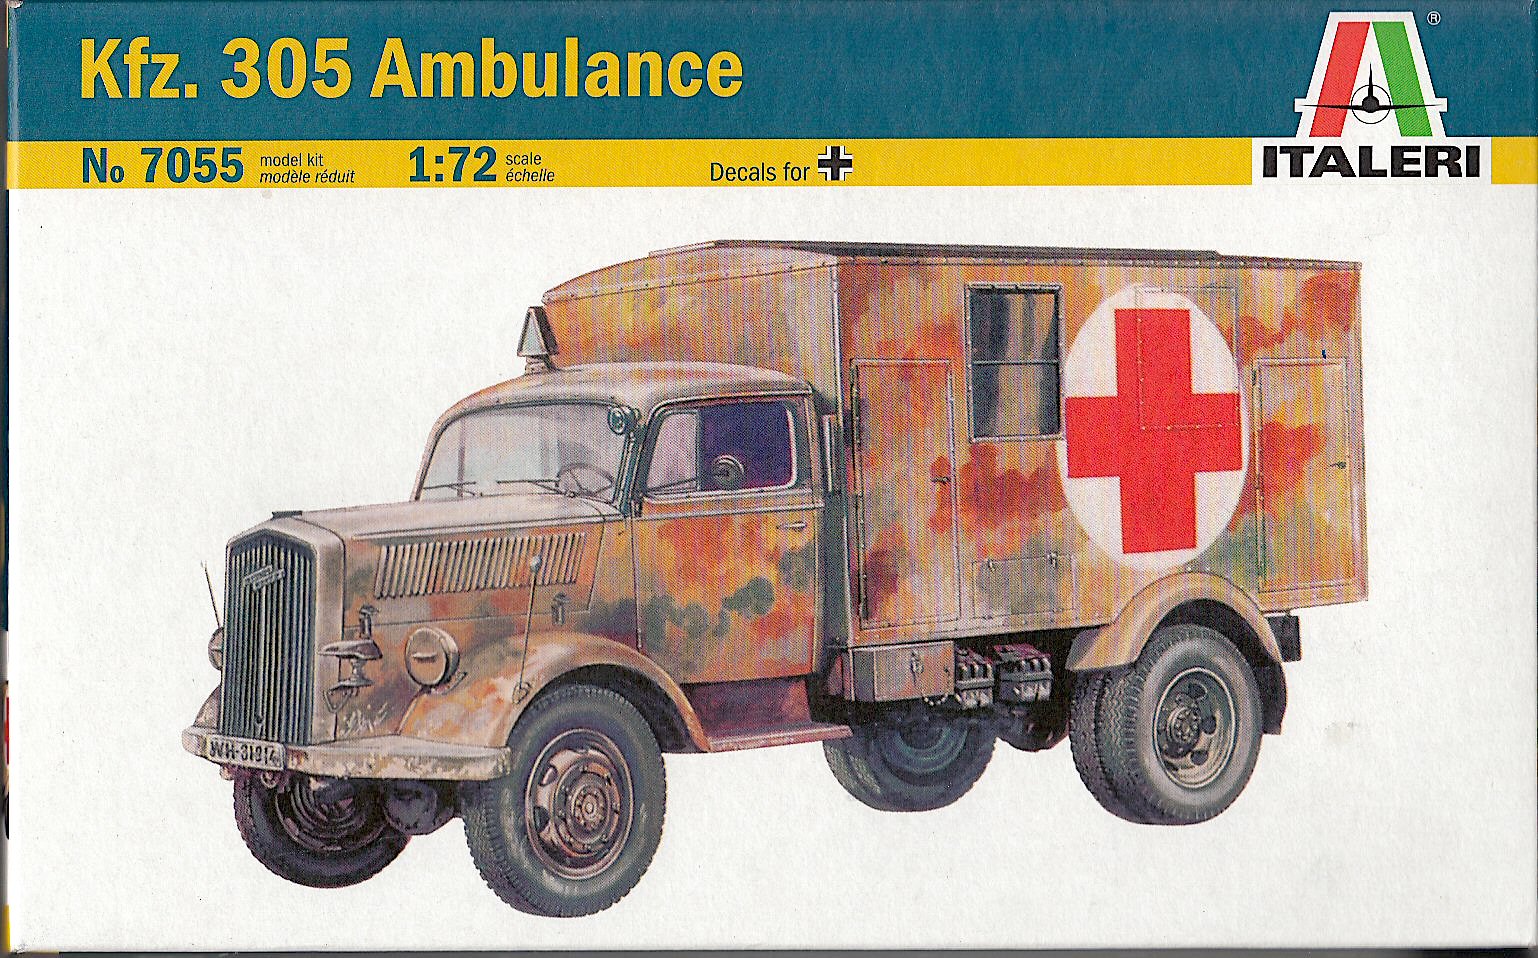
Opel Kfz. 305 Ambulance
The Opel “Blitz” truck was produced from 1930 to 1975. It was used as a commercial vehicle, and when the Wehrmacht needed a reliable and fast truck, the Blitz was chosen. In 1937, the Nazis had Opel build a factory at Brandenburg, which turned out over 130,000 Blitzes, until the RAF stopped production in 1944 by bombing the plant.
This kit is the ambulance version of the Opel Blitz. The ambulance had a transportation box on the back to handle casualties.
The Kit
There are two sprues, along with a clear sheet for windows, and a decal sheet. One sprue is for the chassis and cab, the other is the ambulance box. No PE, no resin, no problem.
The model is fairly straightforward to build. There’s a frame section, the cab, the ambulance box, the wheels, and some detail parts. The kit is a reissue of the ESCI ambulance from the 1970s. The molds have been reworked, as there ‘s no flash, and the parts are pretty well molded.
Construction
I pretty much followed the instructions. I built and painted the chassis first, then assembled the cab. I did deviate from the instructions for the cab. I had a really hard time trying to get the clear film onto the windshield, so I used Micro Krystal Kleer to form the windshield, and left the side windows open.
There were some fit issues between the hood and the interior and doors. I took care of this with some putty. This was the only place I had any fit issues. Easily solved.
The ambulance box went together nicely. No need for any putty.
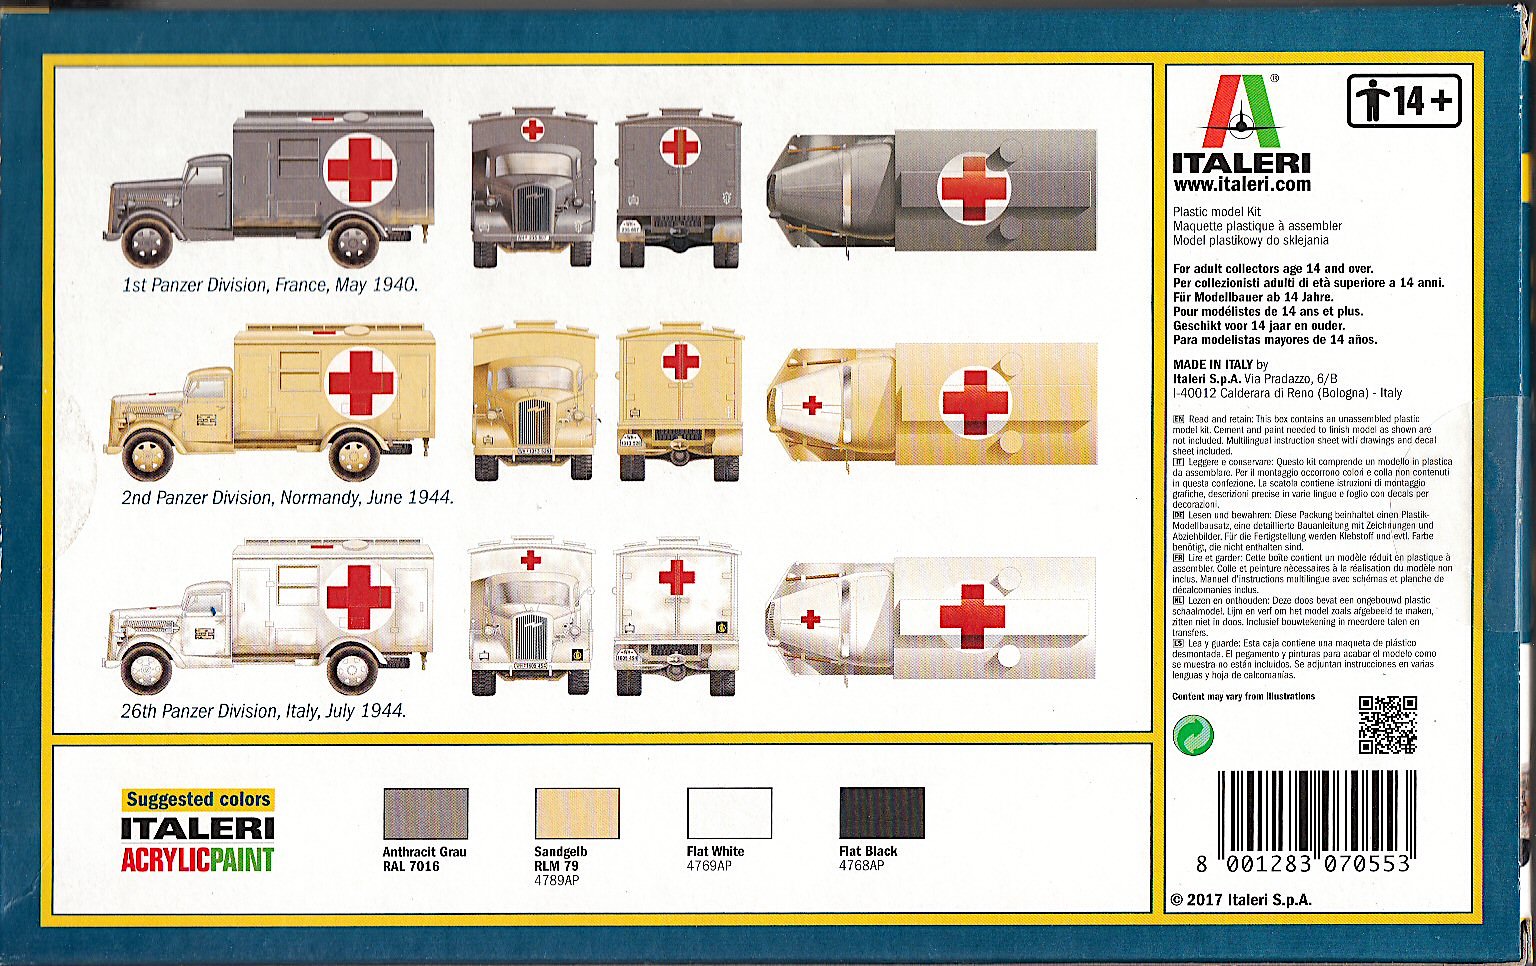
I painted the cab and the ambulance box, then mounted them to the chassis. I had a small problem with the color instructions. I was going to do the 2nd Panzer Division, Normandy 1944 vehicle. The paint color is given as “Panzer Dunkelgelb”. But the FS number they give is 36081. This is a VERY dark gray, not Dunkelgleb. Somebody got that wrong.
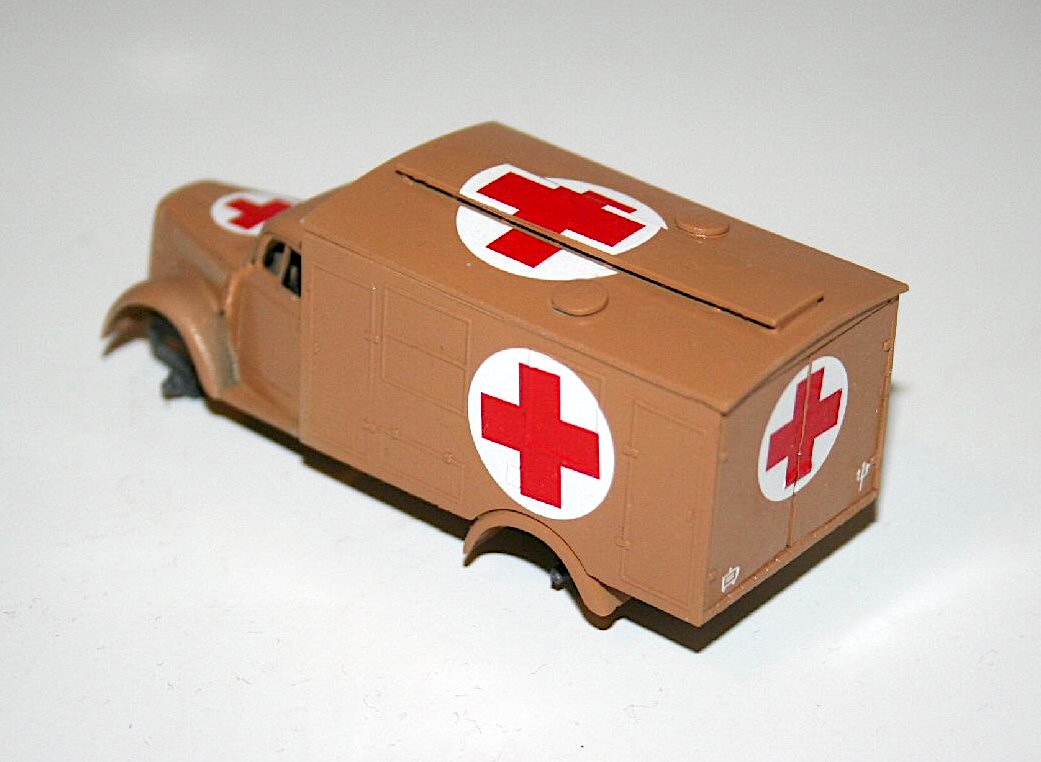
At this point, before adding any small parts like headlights, license plate, bumper, or wheels, I put the decals on. I sprayed some Future on the cab and box, then applied the decals.
The decals were very good. They came off the backing paper pretty quickly, and allowed me to adjust position without folding, cracking or splitting. The decals on the side of the ambulance box snuggled down around the window frames without any need for solvent, just a little press with a damp Kleenex to get the air bubbles out.
Once the decals were dried, I sprayed a coat of Testors Acrylic Flat to reduce the shine from the Future and to protect the decals.
I then put on the wheels, including the spare which is under the rear chassis. Then I added the bumper, the rear license plate, and the headlights. I was going to add the shovel and pickax, but the pickax handle shattered when I cut it off the sprue, so I just kind of left them off.
And the model was finished.
Overall Evaluation
Recommended. This kit has no real problems, except for the fit for the hood/firewall/doors, and that was easily fixed. Everything else fits nicely, the decals are marvelous, and I am glad to add another vehicle to my “shelf of cars, trucks and tanks”, all 1/72 scale.
Many thanks to Hobbico and Italeri for the kit, and to IPMS USA for the chance to build something a little different.

1 Opel Ambulance Box Top
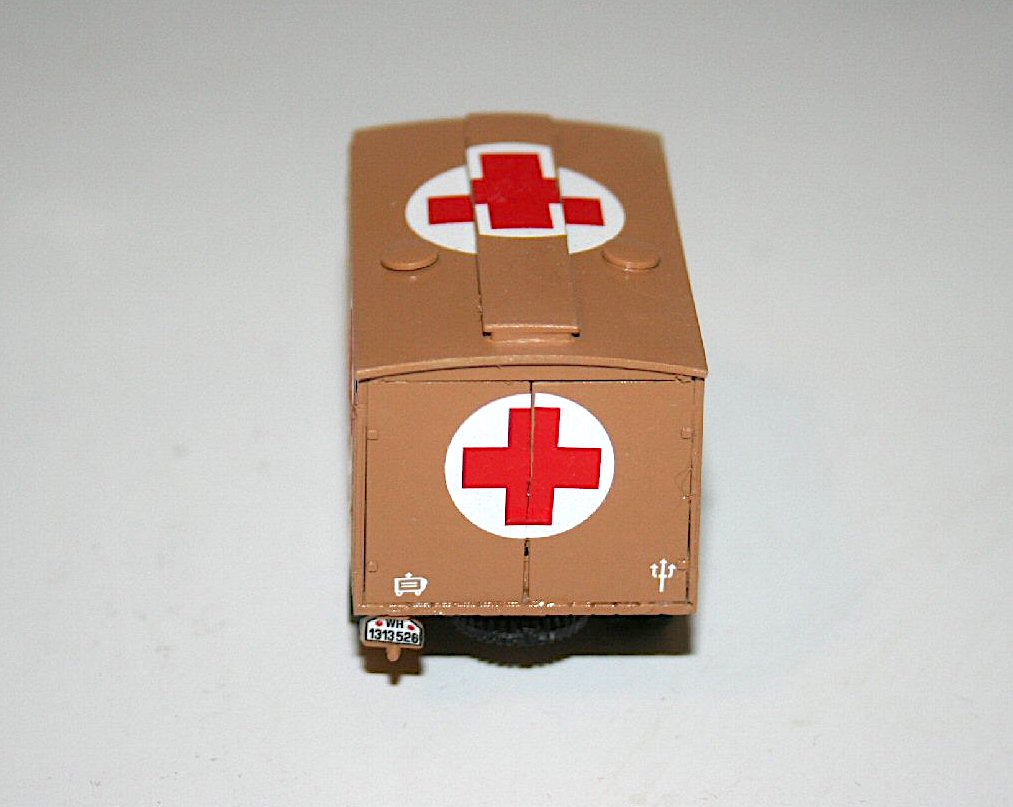
2 Opel Ambulance Box Back
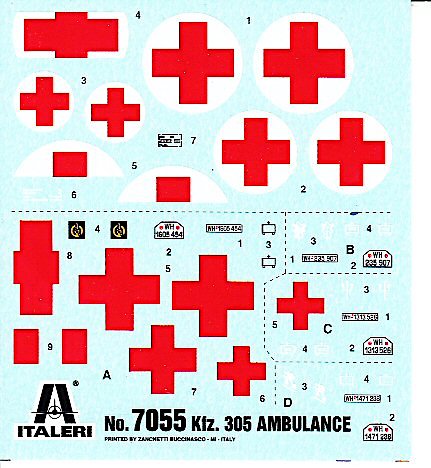
3 Opel Ambulance Decal
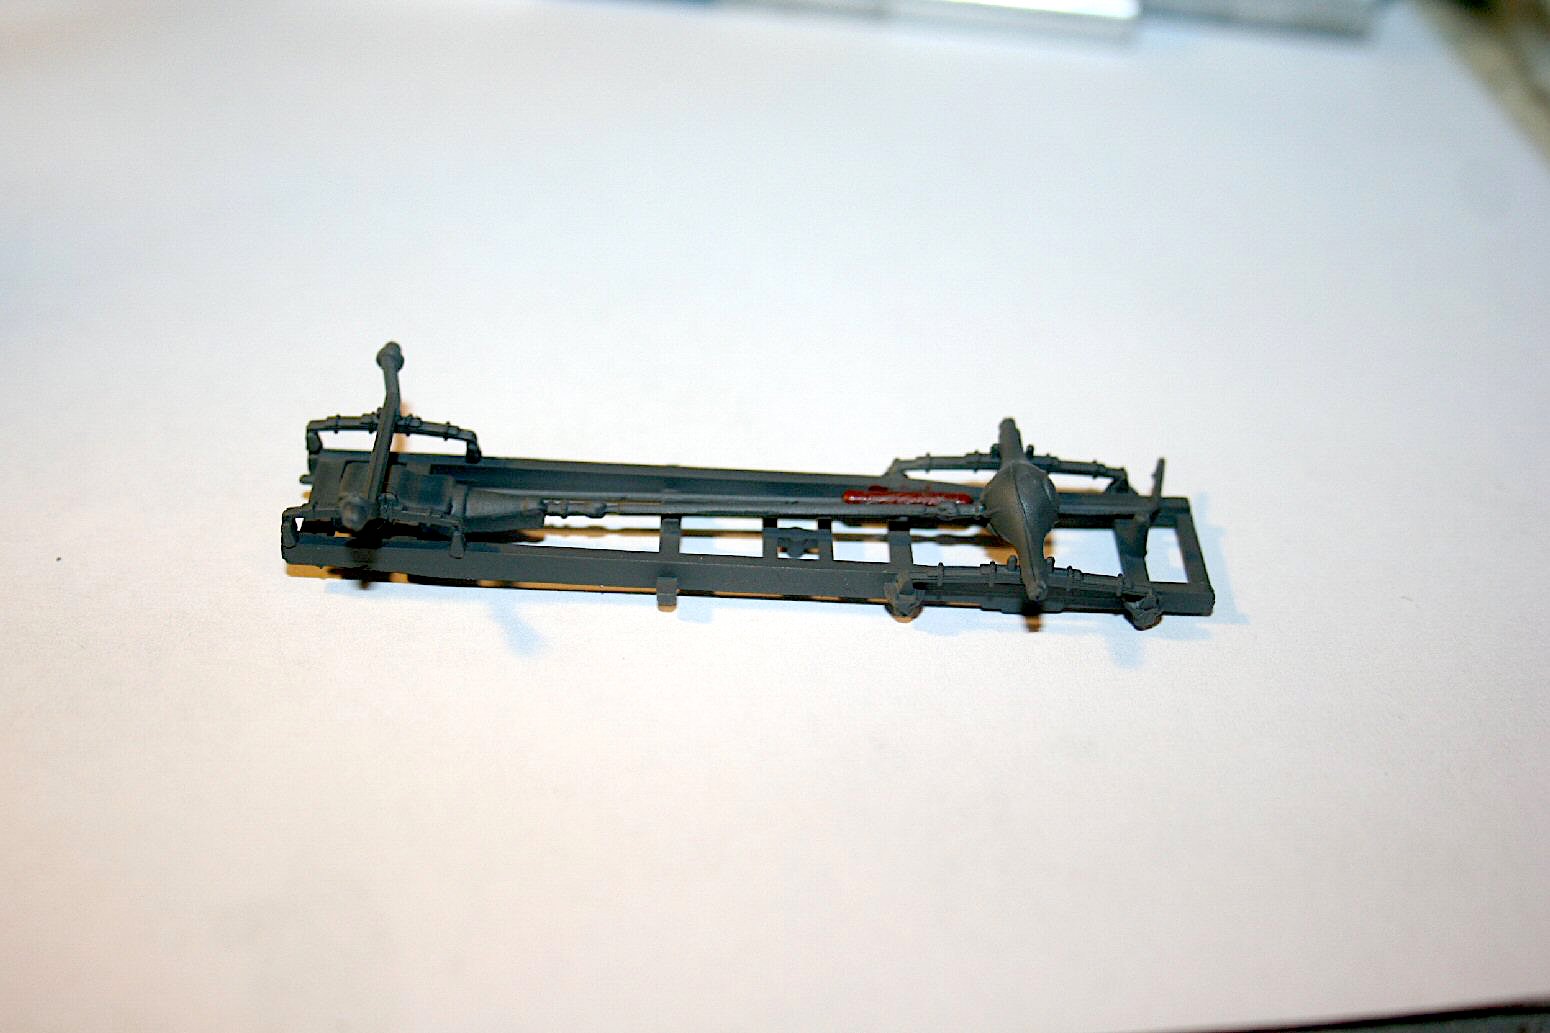
4 Opel Ambulance Frame
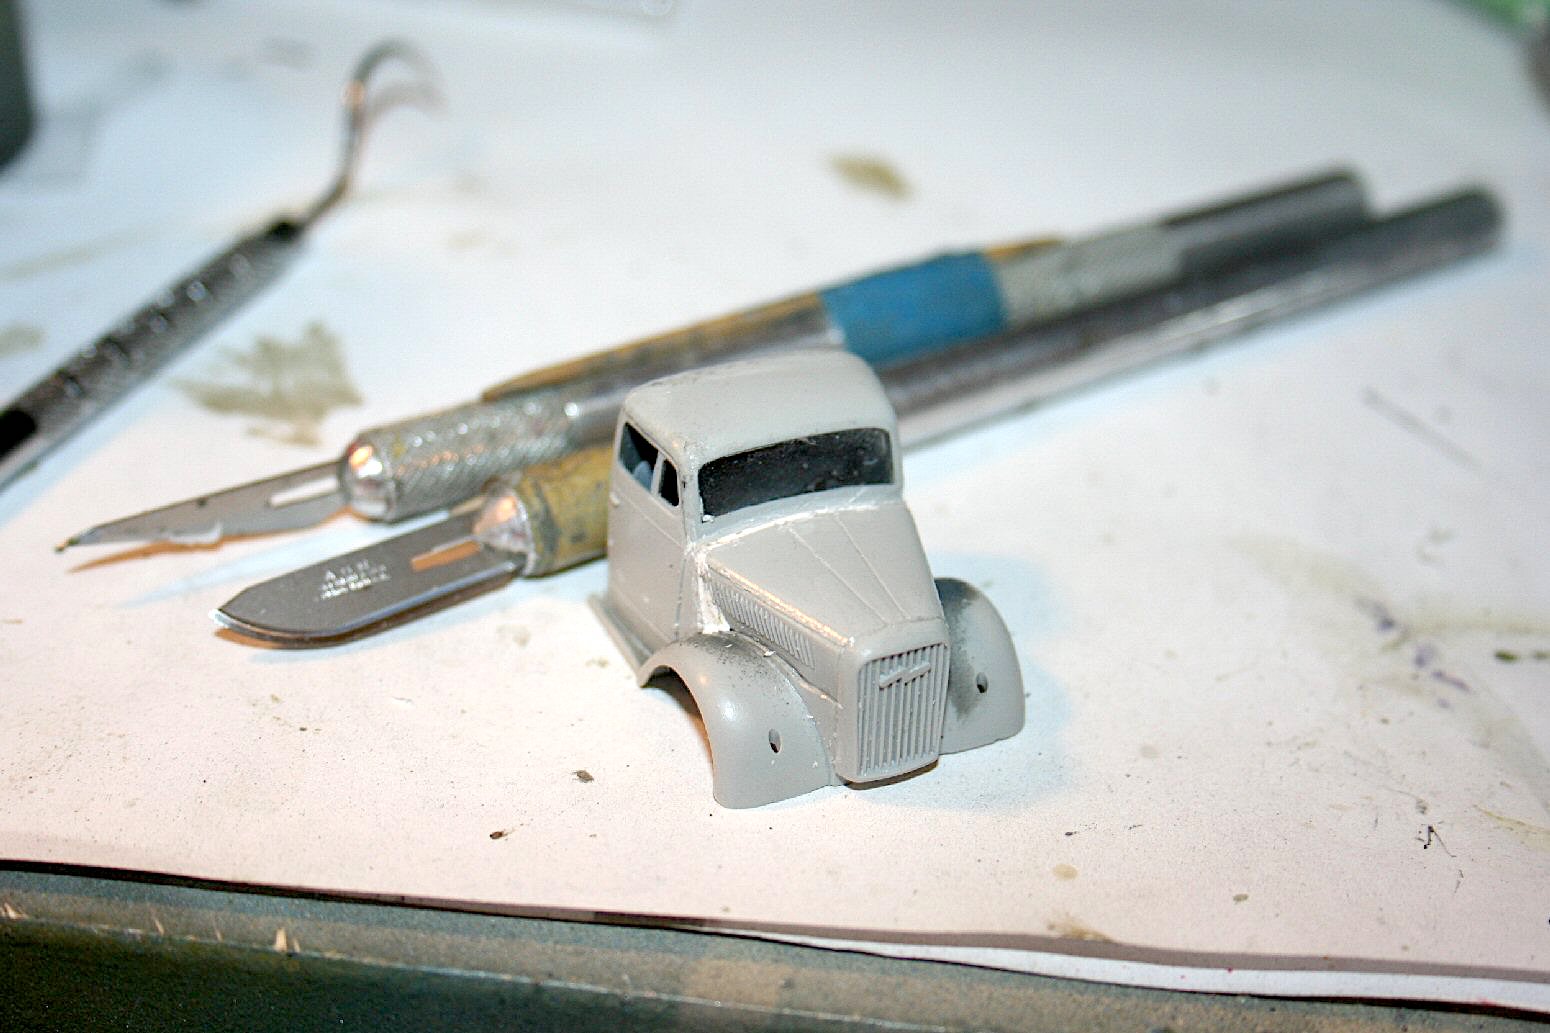
5 Opel Ambulance Cab Puttied
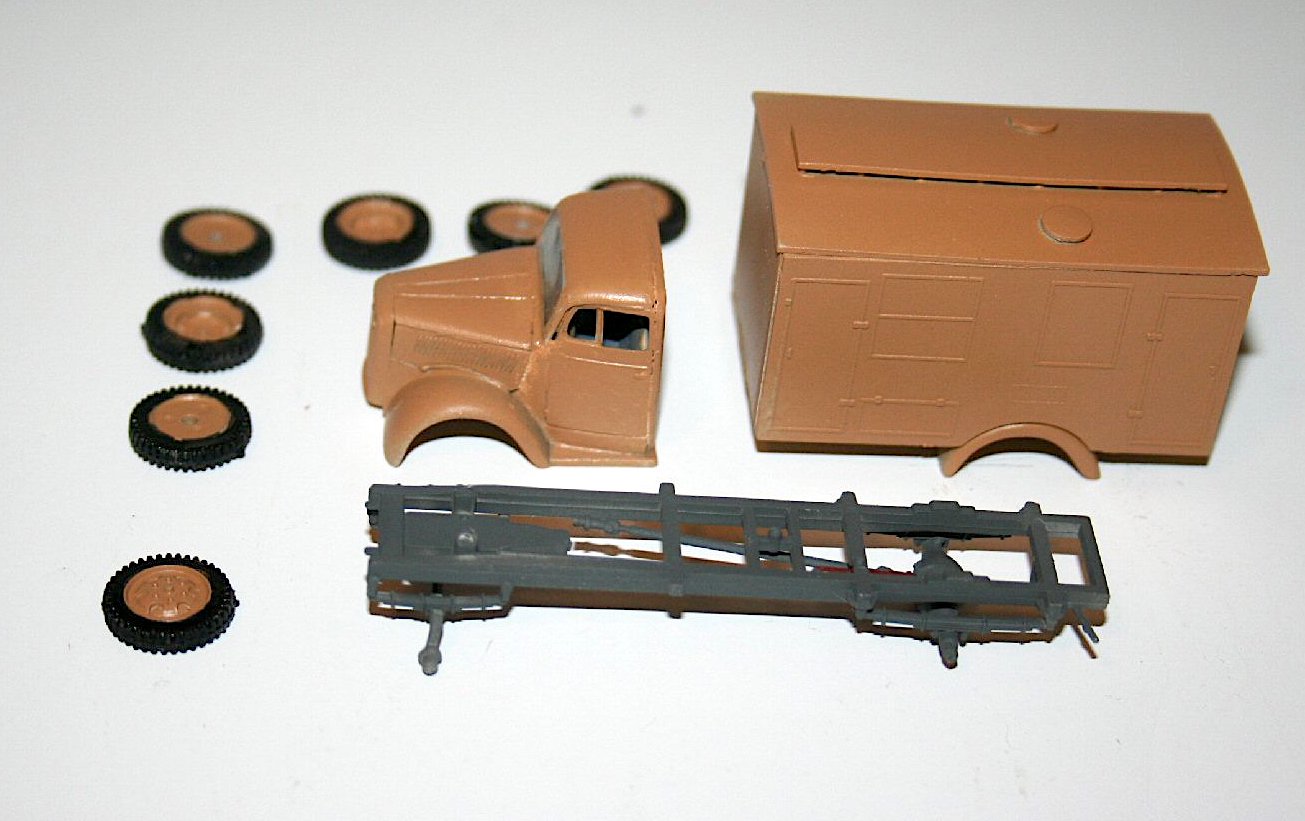
6 Opel Ambulance Subassemblies
7 Opel Ambulance Decals Applied
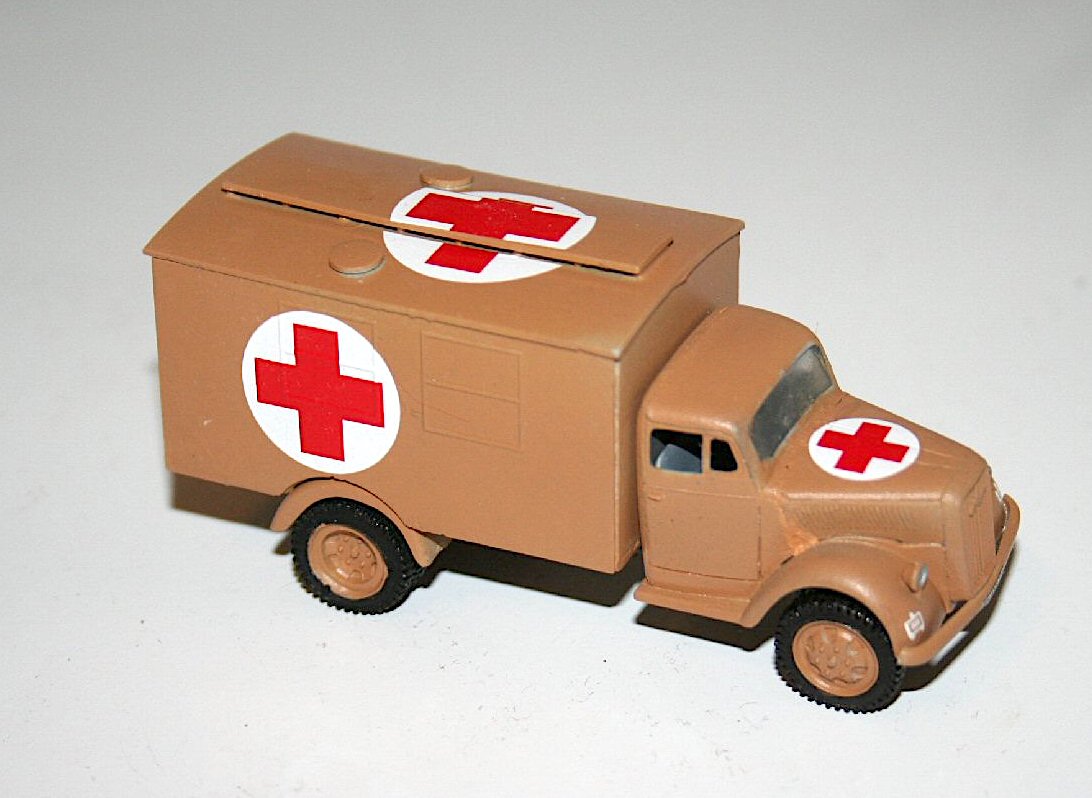
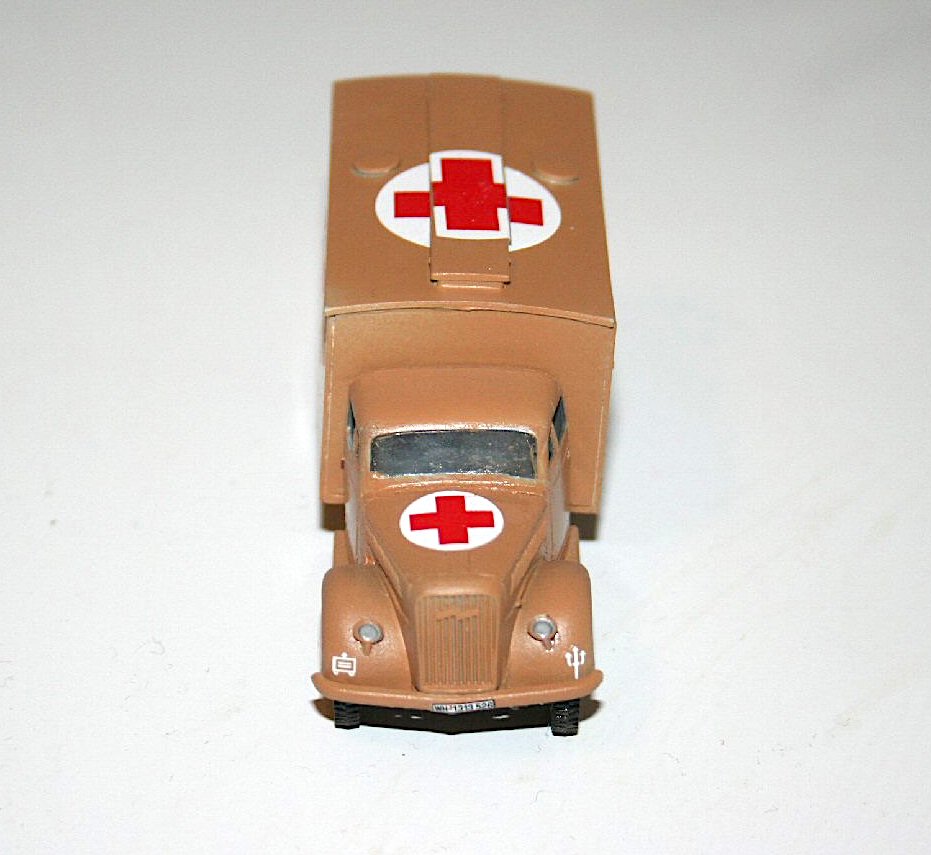
8 Opel Ambulance Finished 1
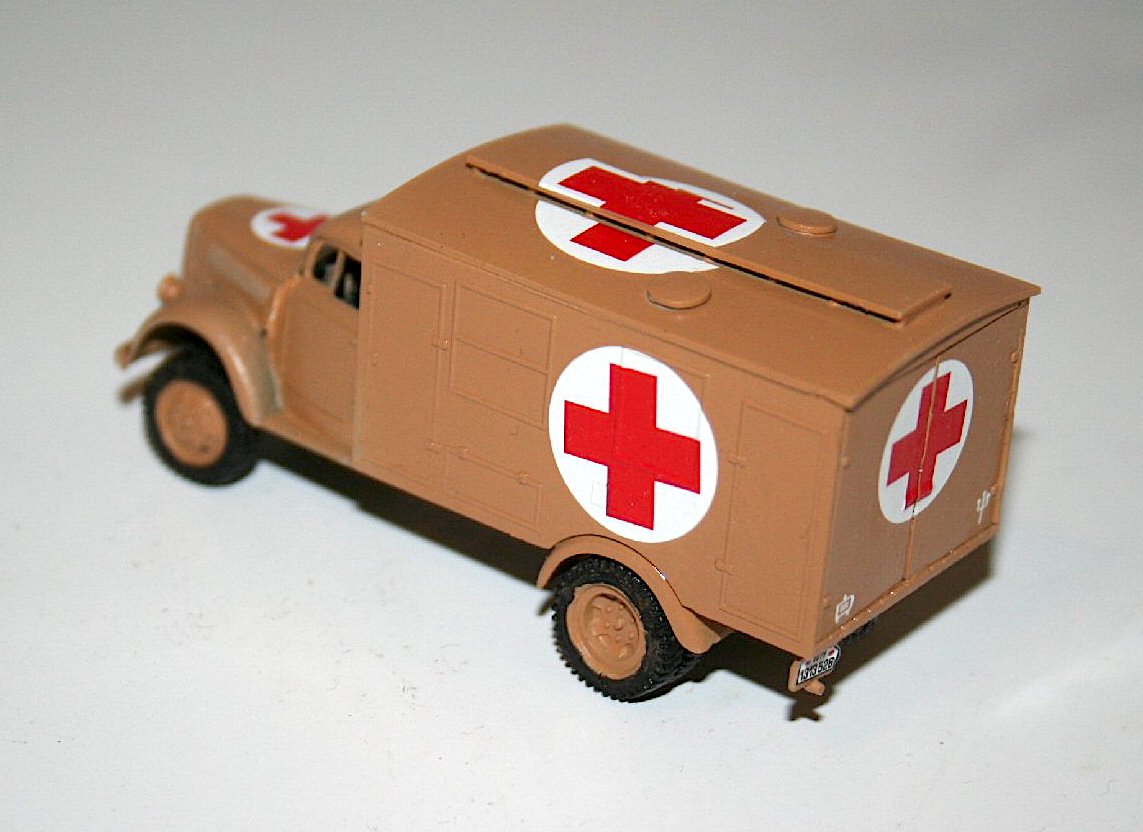
9 Opel Ambulance Finished 2
10 Opel Ambulance Finished 3
Comments
Add new comment
This site is protected by reCAPTCHA and the Google Privacy Policy and Terms of Service apply.
Similar Reviews