
North American P-51D Mustang
This is one of The New Airfix 1:48 scale Releases on the Heels of their 1/72 scale release. Compared to Legacy Airfix, this kit is cleanly molded with great detail and amazing fit. There are some different Approaches to the moldings and how the kit fits together I will highlight those in the Review. Some will complain about the panel lines. But that is opinion and they can be filled and sanded.
Background
We can thank North American Aviation for proposing to the British a more modern aircraft design. The Brits wanted someone to build P40s. The prototype appeared 102 days after contract signing. Initially fitted with an Allison engine, it suffered from poor high altitude performance. Once fitted with the Rolls Royce Merlin Engine the design came into its own as a world beater. The rest is the history we all know.
Opening the Box
You are greeted by a 16 page instruction booklet, A decal sheet and 6 Sprues all in a single poly bag. Including the clear parts. The plastic is the New Airfix powder blue grey that is somewhat soft but appears durable.
The Instructions
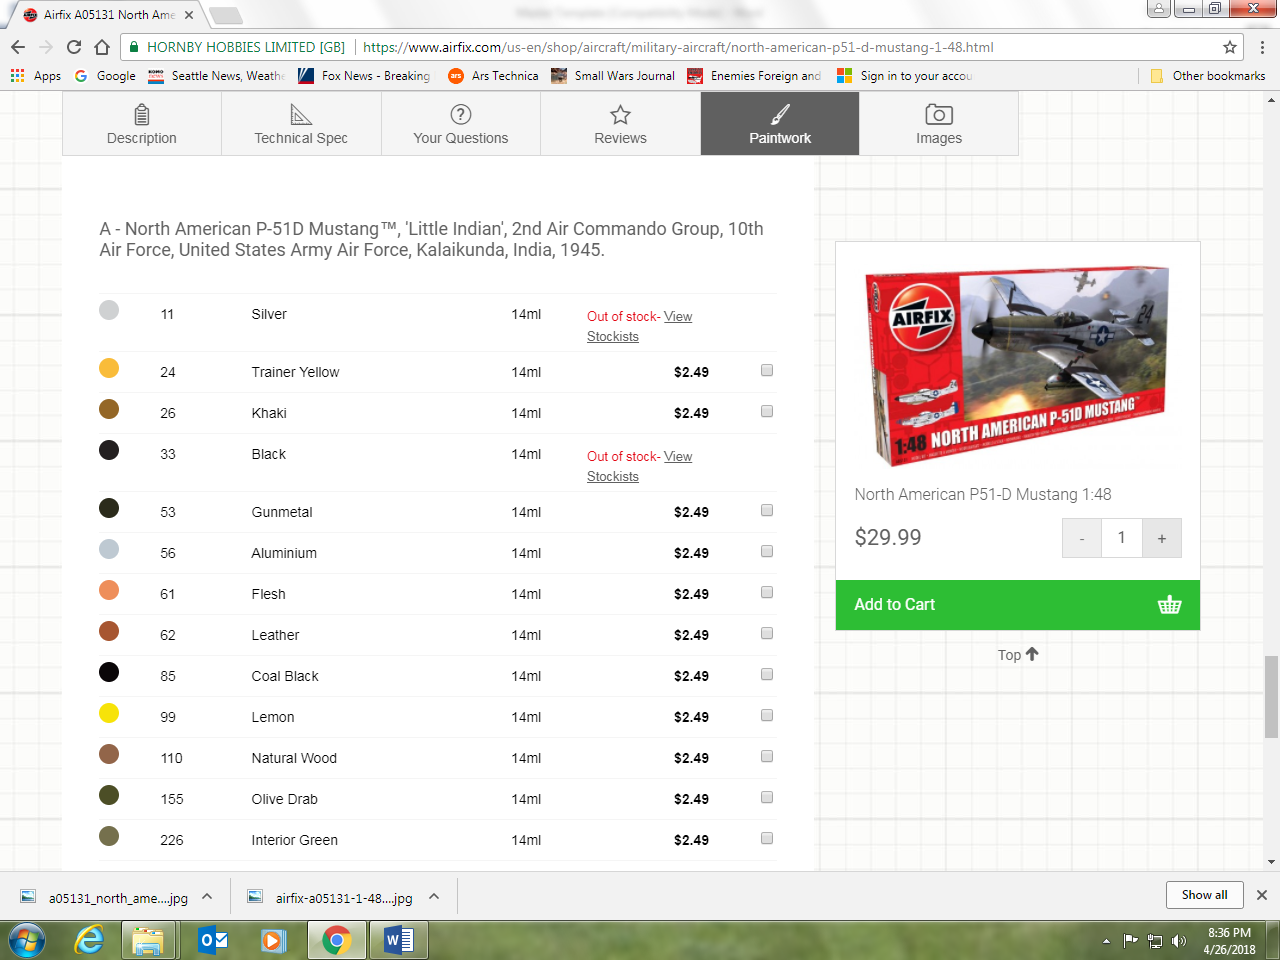
The instructions have red shading to indicate the locations for the last built assembly The part callouts are in bold and circled. The paint callouts are in lighter font. They are Humbrol numbers and there is not a complete number list in the instructions. The color callouts in the Decal and color sheet (Pg 14 & 15). Are only for the chosen markings. Airfix does publish a list on their web site That figure is included in the Review. There are options for poseable control surfaces as well as landing gear and two versions of tail assembly with two fillet styles. There is no Sprue map included.
Things to consider before building:
- The tail is not integrated into the fuselage molding, it’ separate. I recommend that at this assembly point, you glue both the tails on the fuselage and then tape the halves together and monitor how it sits and make adjustments to keep it vertical. The molding generally keeps it close but horizontal stabilizers are aligned by this part and a slight angle on the vertical will show up with the stabs and the main wing alignment being off.
- The cockpit, behind the cockpit, coolers, air scoops and the tail wheel are all blobbed onto one assembly that gets integrated into the fuselage in step 23 This is unusual, but the fit is pretty good and doesn’t require any putty .
- The control surfaces and flaps are poseable. Pay attention during assembly
- The main gear doors are assembled together and it becomes part of the gear well, these parts should be painted before assembly since the outside color will be very hard to spray once assembled and you won’t be able to get a good airbrush coat due to the angles.
- Generally the kit goes together quite well with very tight fit in most cases. The plastic is a bit soft, delicate parts can be easily bent without much force.
- The landing gear is indexed for angle in both axis. Since the plastic is soft, I recommend you drill and reinforce the upper leg as I dropped the kit twice during detail painting and sheared off both legs, and I never got the angles beck, and It looks bad. I chose to let it go as more tinkering was going to make it worse.
- The canopy cross brace has interference with the radios, not a problem if the canopy is opened, I closed it and left it off.
The Build
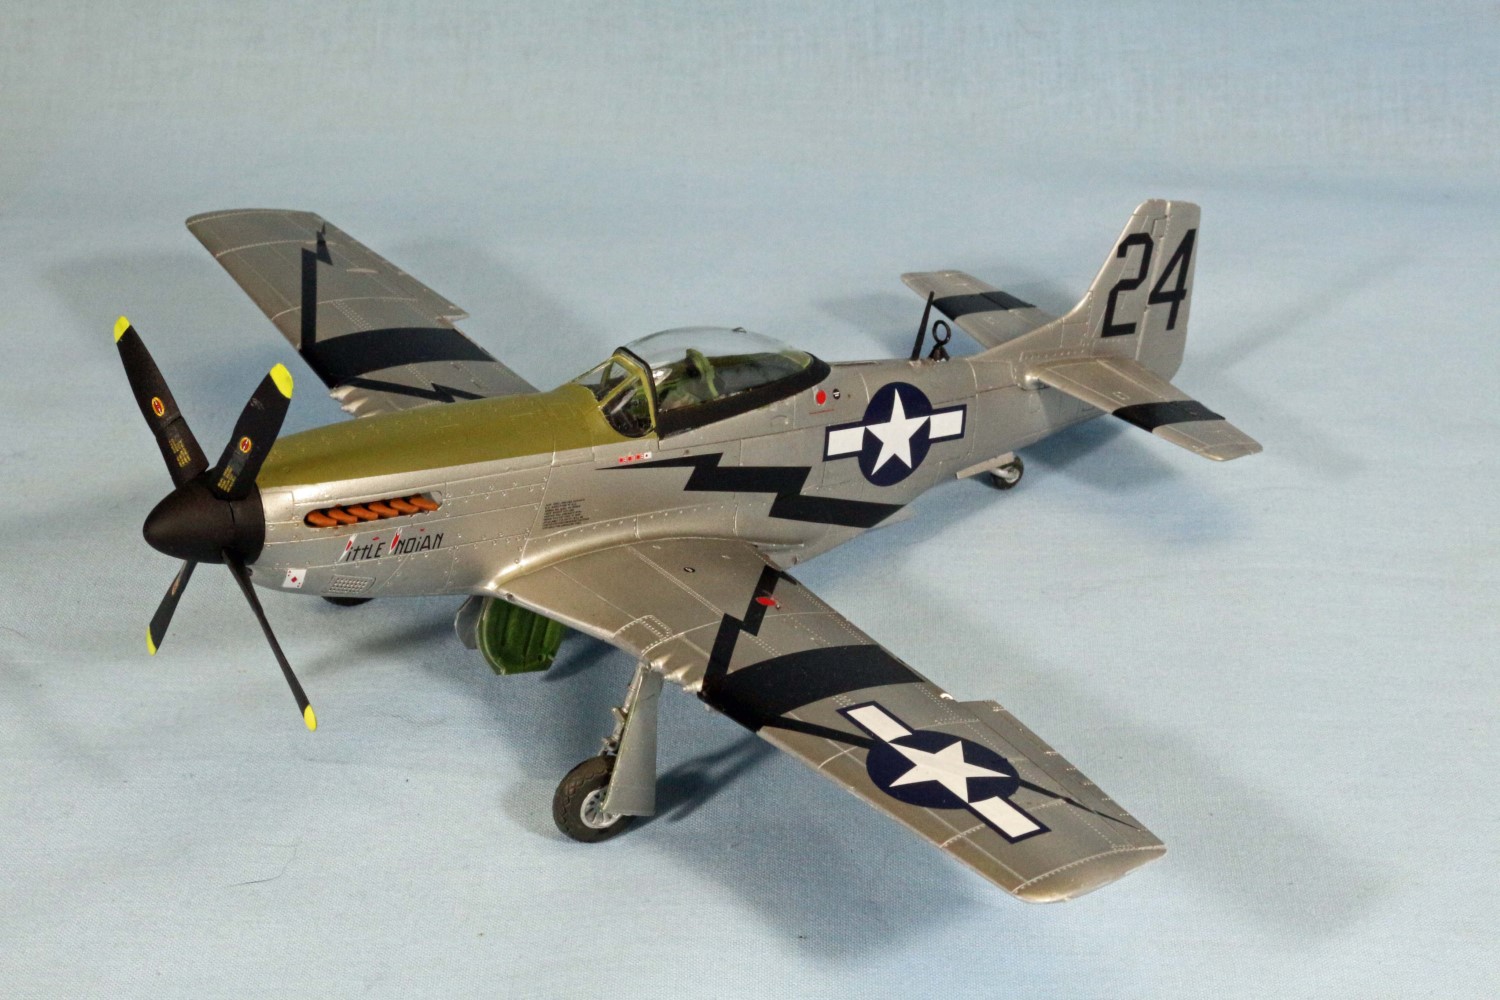
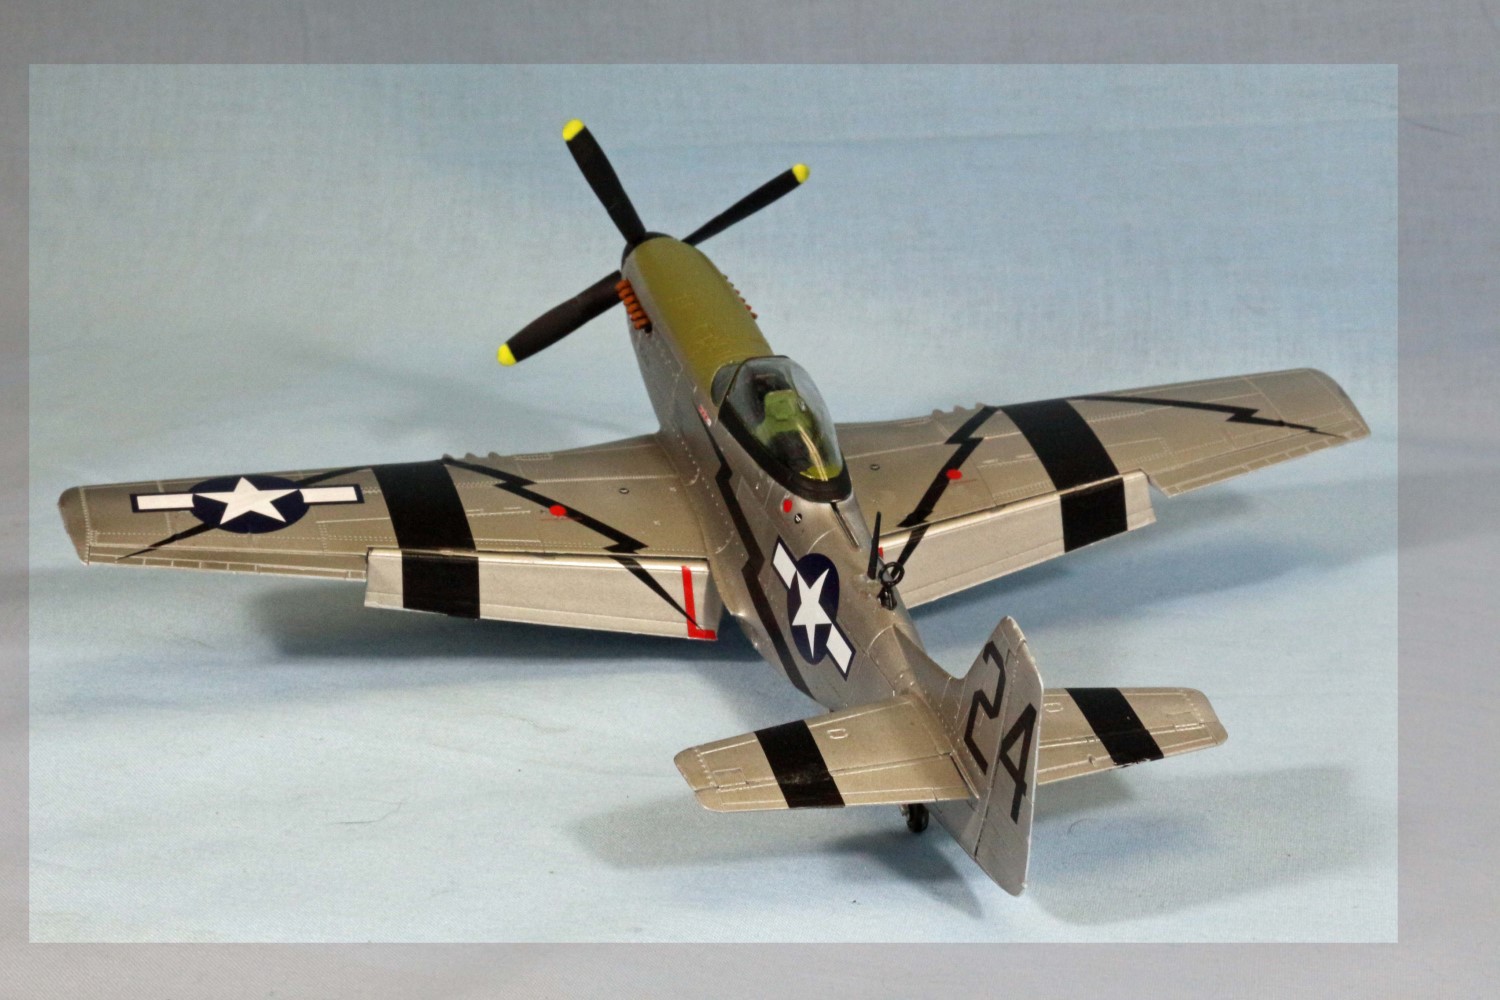
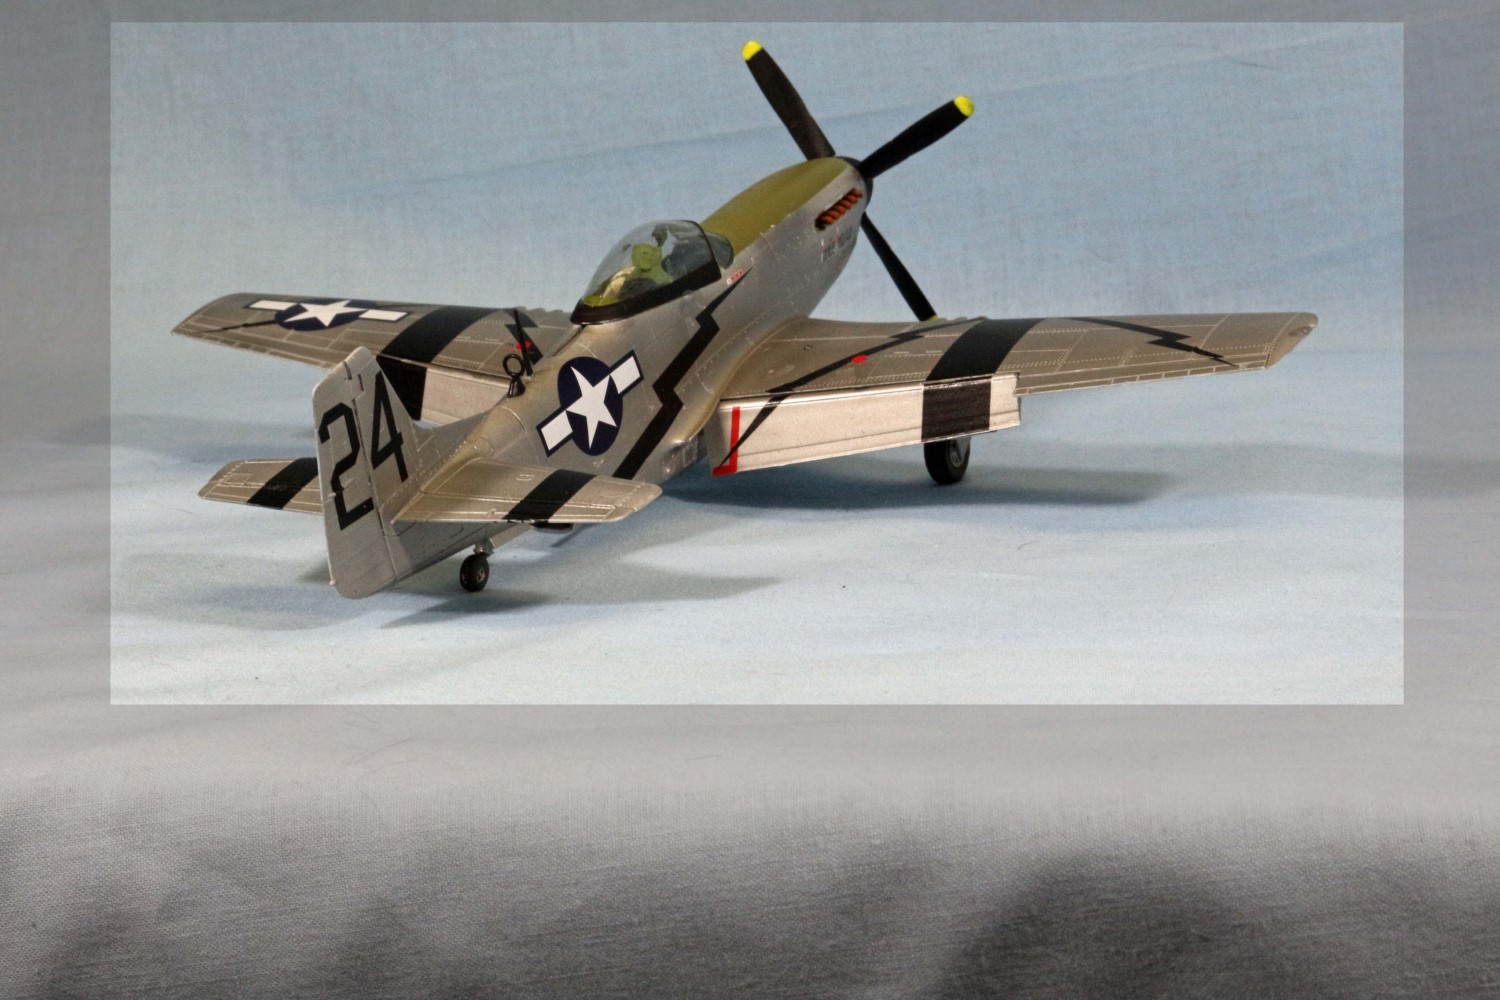
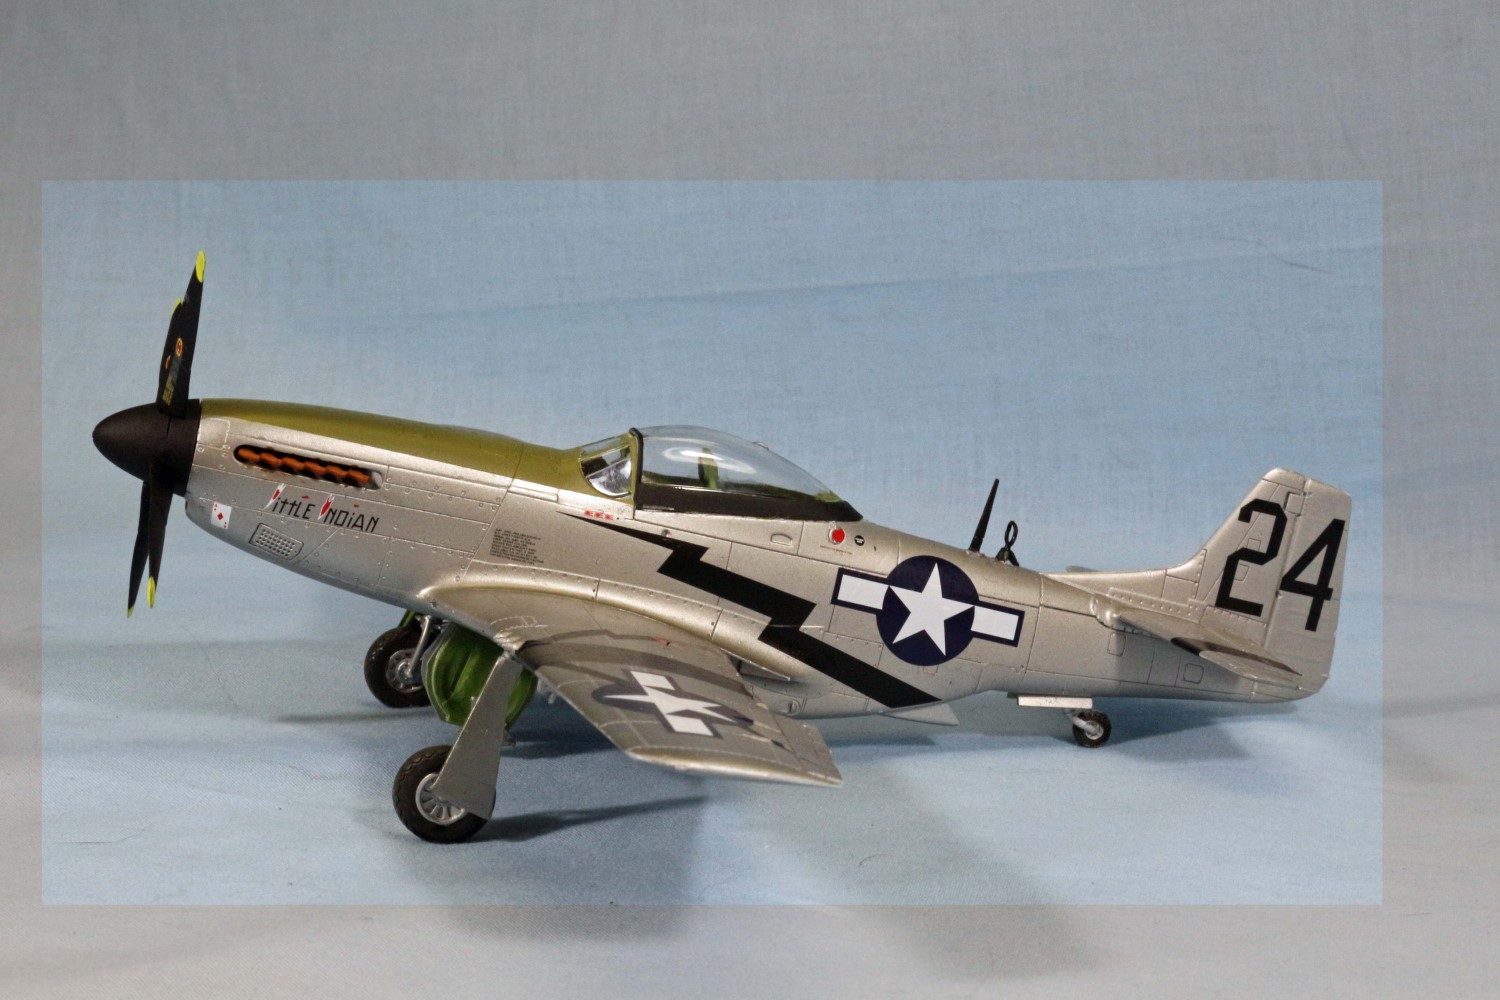
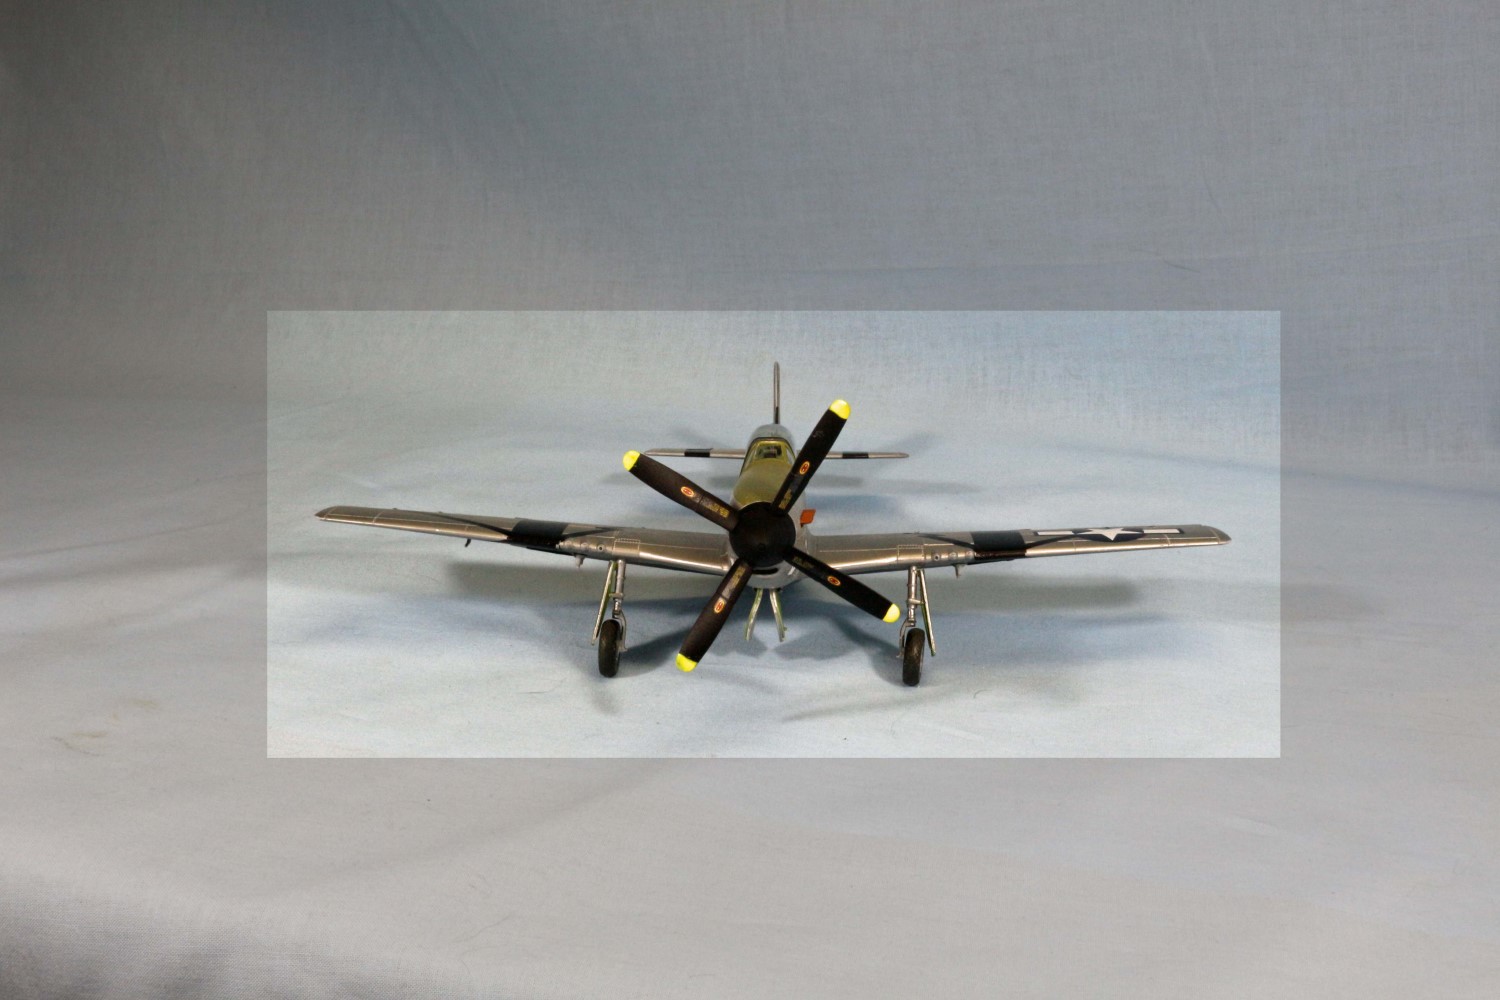
This is a genuinely nice kit. I did not check for dimensional accuracy. It looks like a Mustang, what can you say? There is enough detail in the kit to make a nice build and the aftermarket parts are out there. The fit is sharp and clean, the only places where you might want to pay attention are the gun bays where the fairing fits into the wing as the fit there. Since the vertical and horizontal Stabs are a different assembly method from standard, this required some putty to fill some misalignment I had by not paying attention, not much was needed, your mileage may vary. I chose to do the Aircraft from the 2nd Air Commando Group 10th Air Force USAAF in Kalaikunda, India in 1945. I left the rocket tubes off but put the drop tank pylons on just to spin it a bit. The silver, black lightning bolts and OD anti-glare appealed to my finish ability, I like simple.
With the exception of dropping the kit twice during finish and busting the landing gear, the build was relatively simple and straightforward. The instructions are relatively clear about placement and orientation, an experienced modeler will have no problems with this kit. It’s well suited for a beginner that wants a challenge as well. My last Aircraft kit was built over 30 years ago, so this is a nice surprise to see Airfix step up their game and compete with the likes of Tamiya and Hasegawa.
Painting and Finish
Before I dive into this portion I want to qualify or at least set the context for this portion of the review. My last experience with spraying silver paint was with Testors Silver (1/4 oz bottle stuff) on a T33 in the early 1970’s. Yep I can hear all the “You dumb ass” comments throughout the modeling realm. Be that as it may, the silver painting technology has progressed in the intervening decades, and yes I still have that T-33 and it’s still tacky to some extent. So I proceed to get some more modern experience with more modern tech paints.
Airbrushing Mission Models Acrylics
Since returning to modeling I have been replenishing my paint stash of Model Master with Mission Models Acrylics. I like the way this stuff works as it is very close to how the Model Master sprays, I lays down a visible coat that doesn’t start transparent and takes you a gazillion coats before you can see anything, and then it’s too late. Others may disagree, but my hat is in the ring now and I have to work with it. Besides Mission just released their metallics and I wanted to see what changes I can look forward to.
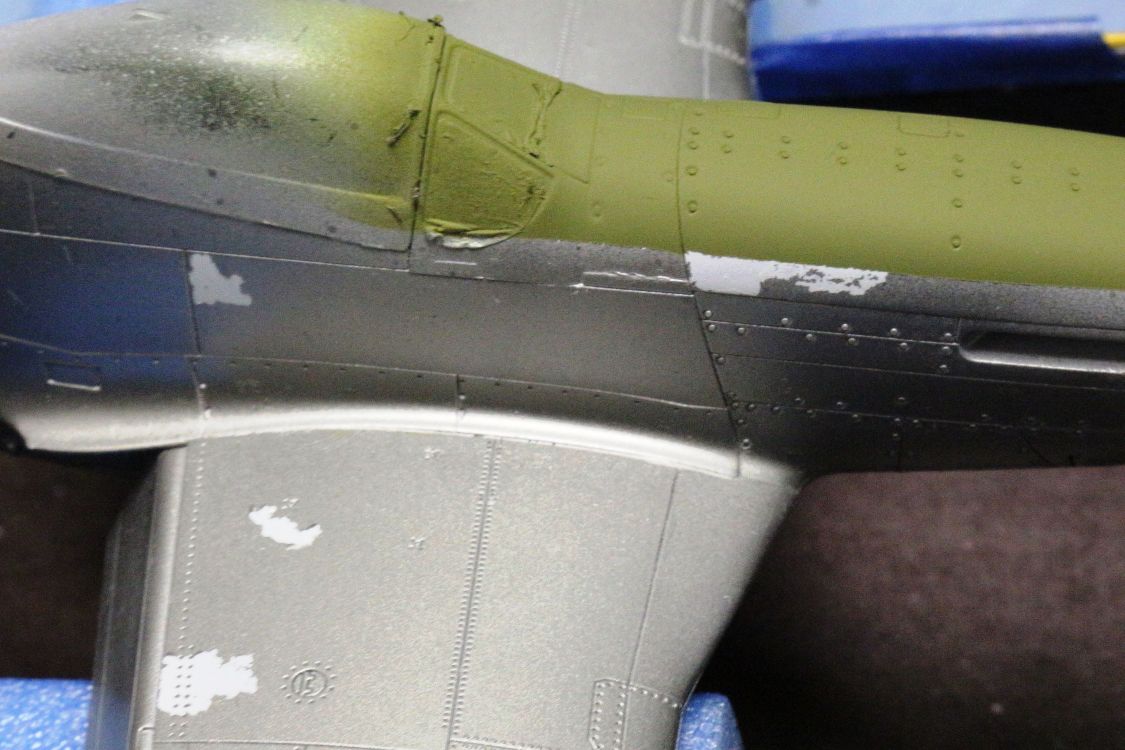
I acquired some Mission Metallics for the project and decided on using Duraluminum ((MMM-005) I consulted with John Miller, a club member and proprietor of Model Paint Solutions (modelpaintsol.com) for guidance on how to proceed John is my go to guy for Mission Models paints and guidance as well as general airbrush help. So armed with information I proceeded to mask everything and coat everything with Mission White Primer (MMS-002) After it set for a day or two (though it was dry and set in less than a day, I decided to wait. I proceeded to micro sand the surface to minimize the impact and enhance the metallic finish. DISASTER! While sanding, some of the primer lifted completely off the plastic. (See the photos). After consulting with John, it was determined that improper surface prep was the culprit. Not the paint’s fault. Ok, back to the “Dumb ass” comments. I was able to recover by cleaning and respraying the primer.
Back to sanding and prep. Once that was done, clean and prep for the silver. Ok, that looked like it was gonna be pretty easy, only one area to mask for the OD anti-glare panel (shoulda done that first). I used Tamiya tape to mask off the AG panel and shot the green. and the canopy frame (Eduard Masks taped that up). Overall the metallic paint was pretty durable, but it peeled off of the primer. Not everywhere, but it may also be a surface cleaning problem. I went back to John and he said to again clean and respray. Despite the patchwork look, the silver was easy to repair and it blended pretty well.
My experiment so far has taught me to be meticulous on the plastic prep, so back to washing the kit before doing anything, wear hand protection and anti- oil or anything.
Need to think through the paint masking and layering. And this was s simple paint scheme. I have several aircraft and jets that will require metallic paint schemes and this is where I will go in the future as I really didn’t have issues with how the paint performed, just that it won’t stick to dirty surfaces.
Decals
There are two decal schemes that come in the box, the Far east AAF from the 10th Air Force mentioned above and “Jersey Jerk” from the 361st Fighter Squadron, 356 fighter Group .
The decal sheet is extensive and includes gobs of stenciling registration is accurate and the decals are easy to apply and didn’t give me any problems. I chose not to apply ALL the stencils and strategically chose the one that are pretty obvious and contributed to the variety of the visual cues. There were over 50 separate stencils that matched both sides so that would make a very busy kit. But I was being lazy and I admit it.
Weathering
I decided with all the problems I had with painting that I wasn’t going to risk mucking it up, so I decided digression was the better part of valor and baked off.
Addendum
I got this review kit and after essentially completing the construction, I was at a technical conference for work and ended up having a mini-stroke, so even completing this review is an accomplishment. I was delayed for over 6 months with occupational, speech and physical therapy. Then I had to overcome the loss of momentum, and attitude. This problem is not unique to stroke victims, it is a problem with all modelers as there are lots of partial built kits we find at Auctions and estate sales, and occupy the “shelf of doom” in everyone’s lives. I probably have more problems with typing the review than building the model, as I have to review the text as the left hand seems to have mind all its own and isn’t back to 100%. Growing old is a side effect of living.
Conclusion
I would like to thank Airfix and Hornby Hobbies for providing this kit for review, and to IPMS USA for giving me the opportunity to review it.


Comments
Add new comment
This site is protected by reCAPTCHA and the Google Privacy Policy and Terms of Service apply.
Similar Reviews