
MQ-1C UAV
Aircraft and History
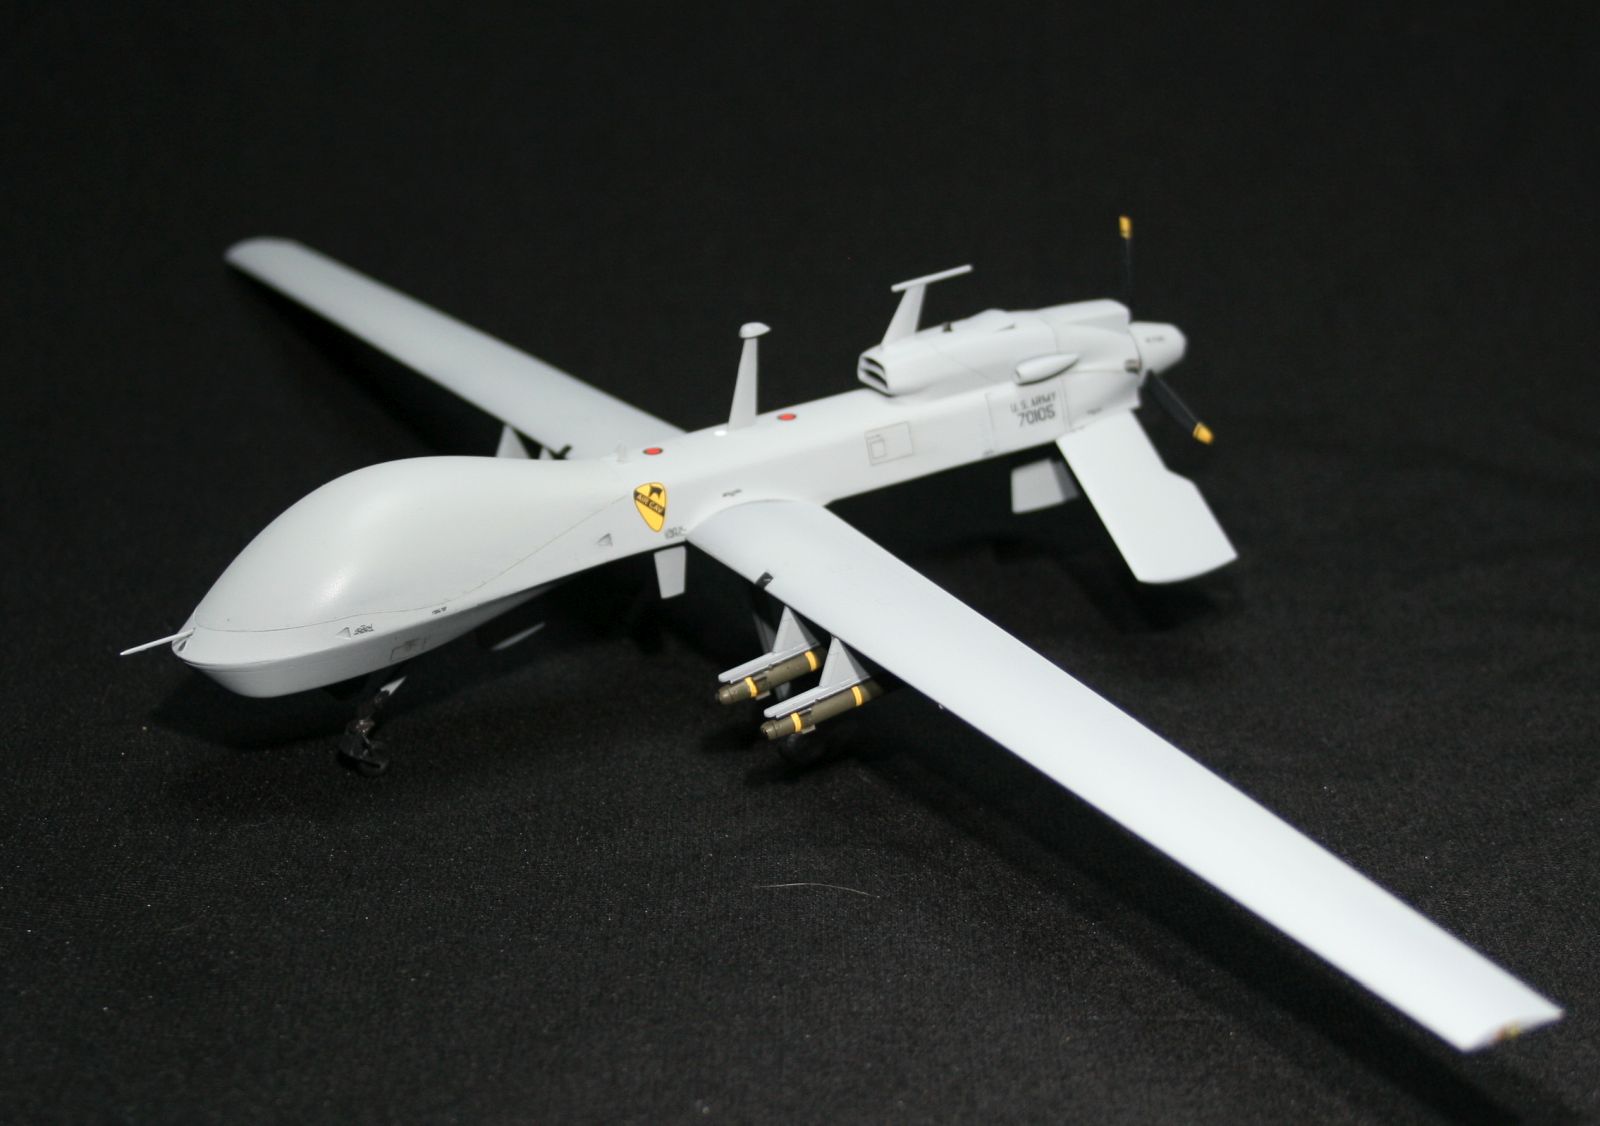
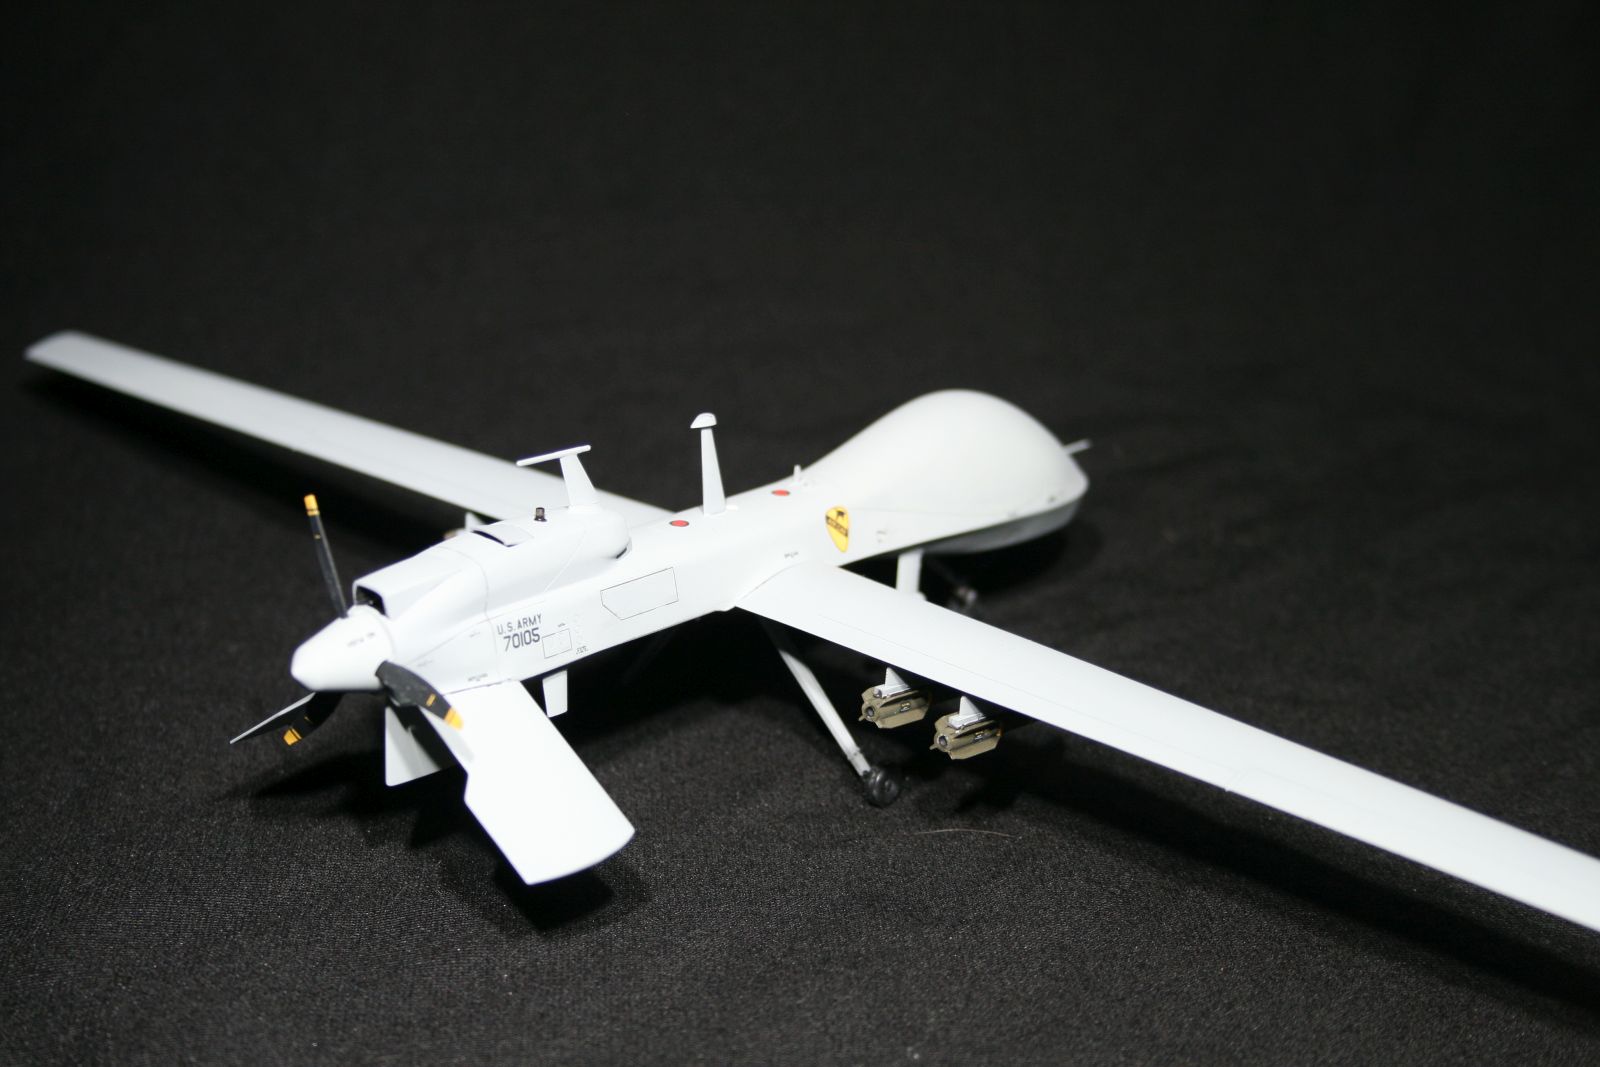
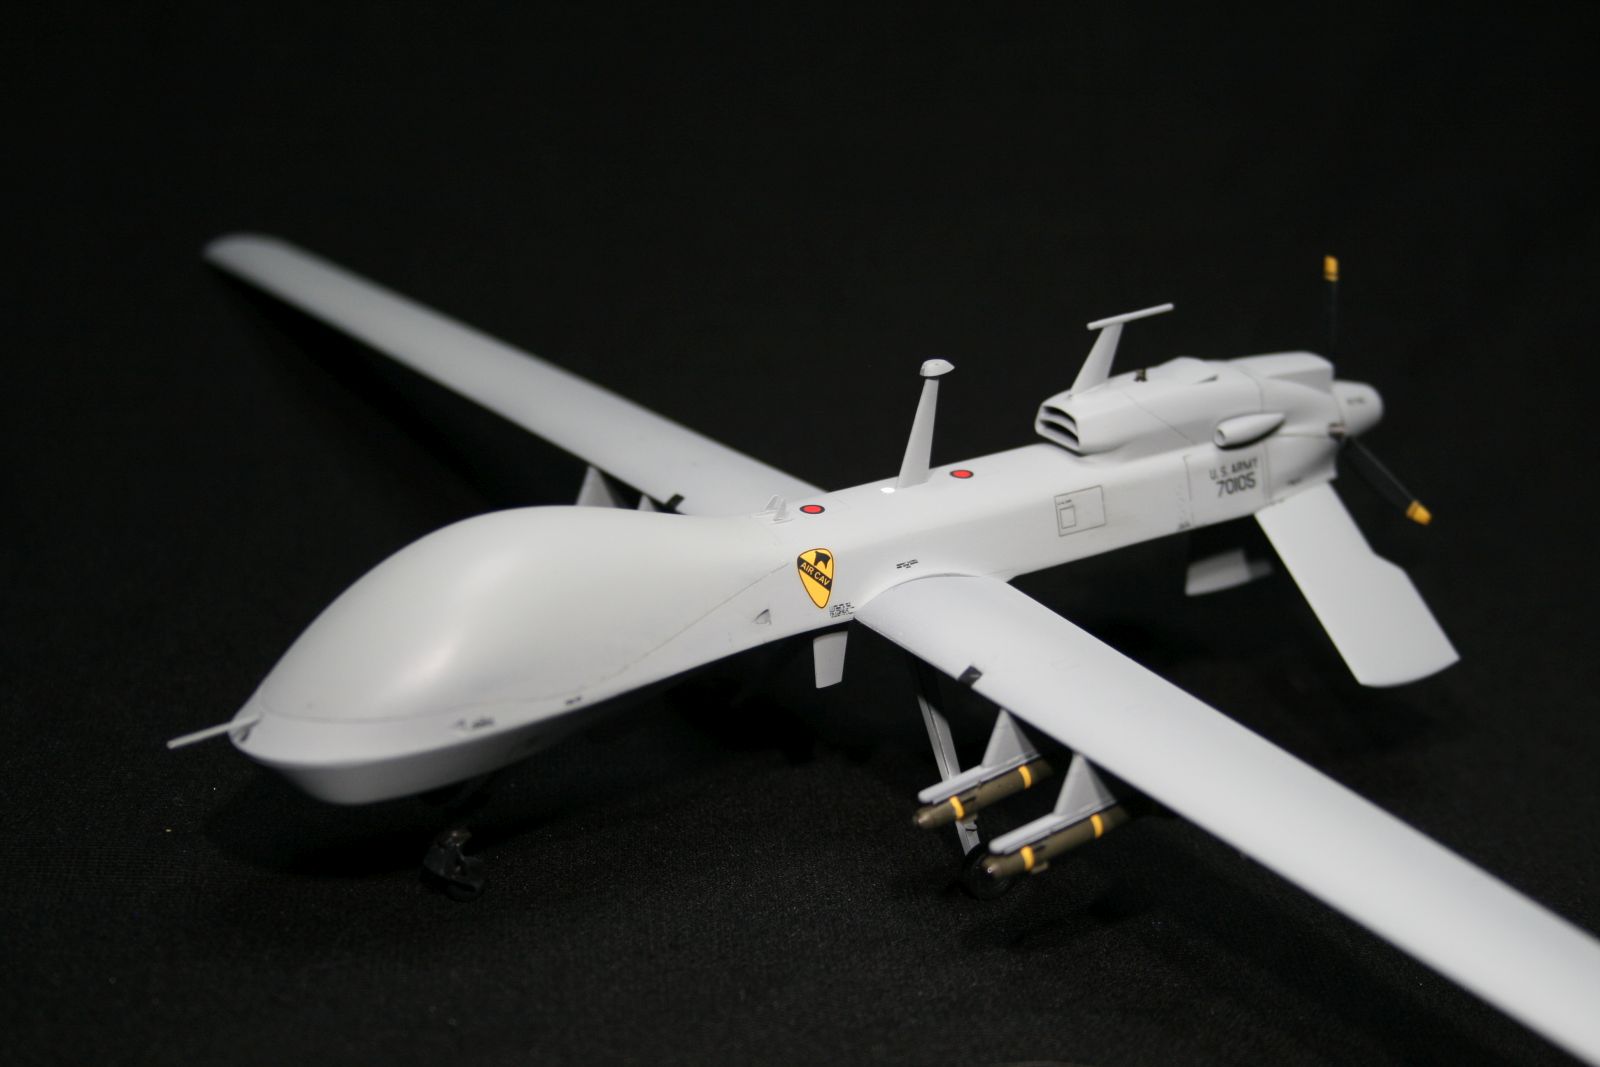
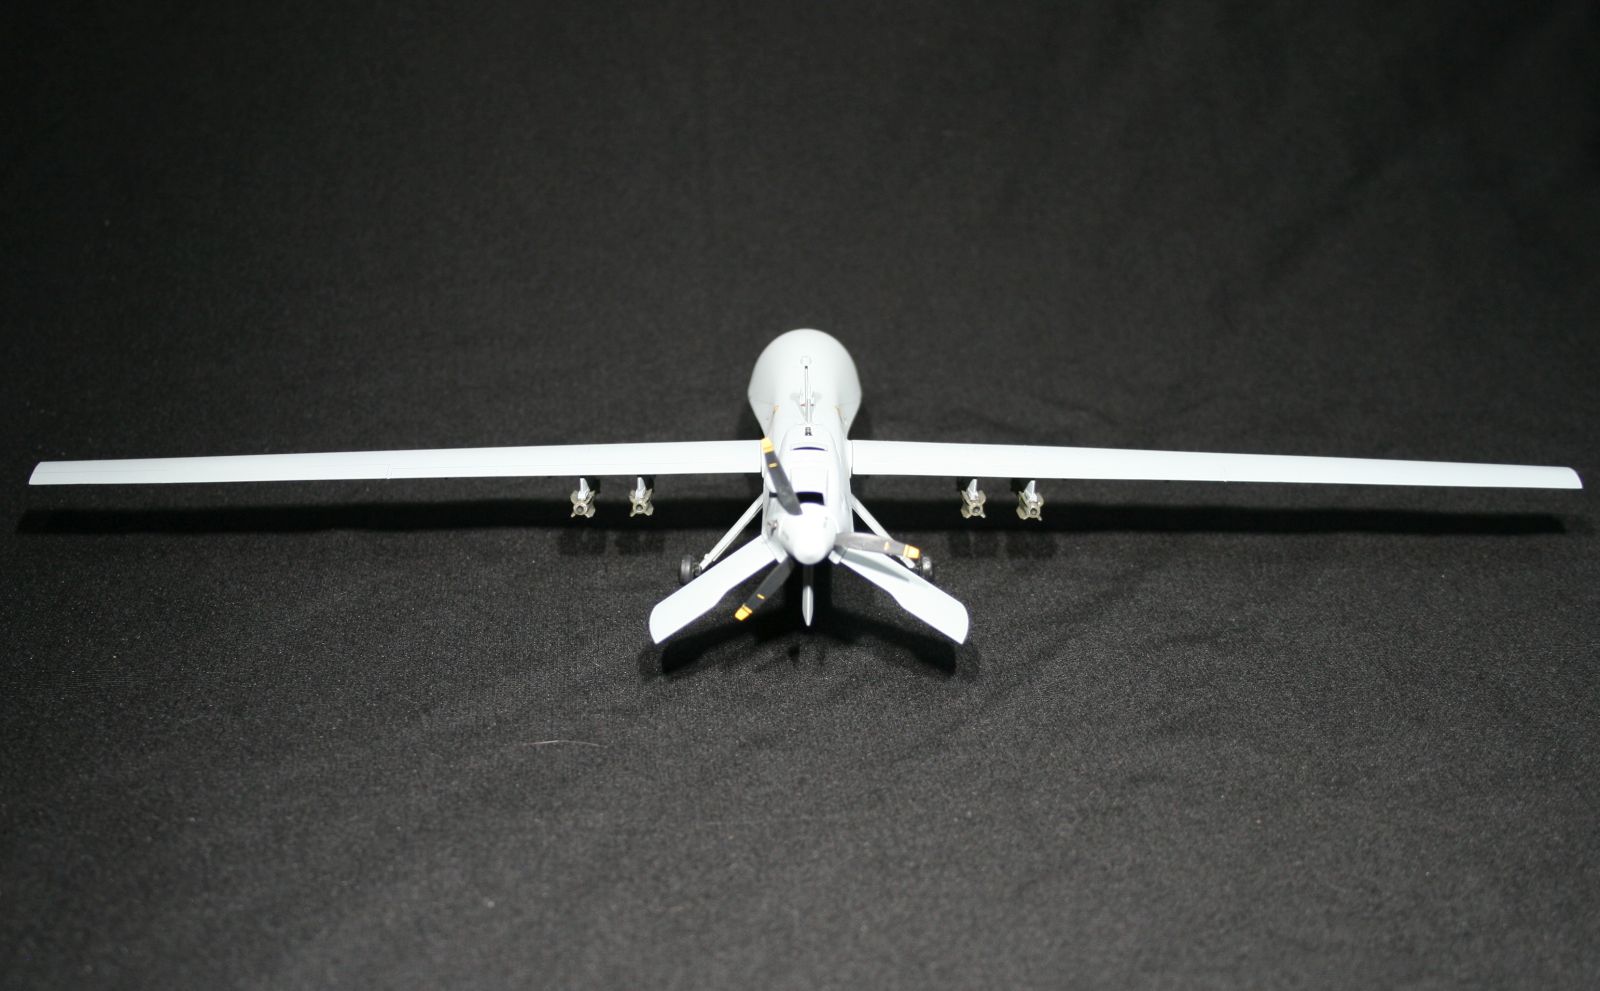
The MQ-1C, known as “Grey Eagle” is a medium-sized Unmanned Aerial Vehicle (UAV). Based on the MQ-1 “Predator”, the Grey Eagle is a slightly larger airframe and two additional hardpoints (total of 4) for weapons. The engine was upgraded to aheavy fuel piston engine capable of running jet A compared to aviation gasoline used in the Predator. The primary user for the Grey Eagle is the US Army where the Predator was primarily flown by the USAF and now the US Border protection and CIA operate the Predator..
Kit
Clear Prop is a relatively new model company that specializes in unique subjects not covered by other traditional model companies. The MQ-1C is quite unique, and as far as I know, this is the only injection molded kit available. Packaged in a thick sturdy box that is separate from the cover (which is really nice) are seven sprues, two photo etch sheets and one decal sheet. Panel lines are engraved, not too fine and not overly deep or wide. I did not see any flash on the sprues on this sample. The instructions contain 13 pages with full color portions for painting & decals and the remaining instructions black & white. Paint brands listed are for Mr. Color and MIG. The step-by-step directions are very well laid out and clearly inform the builder on critical details.
Build
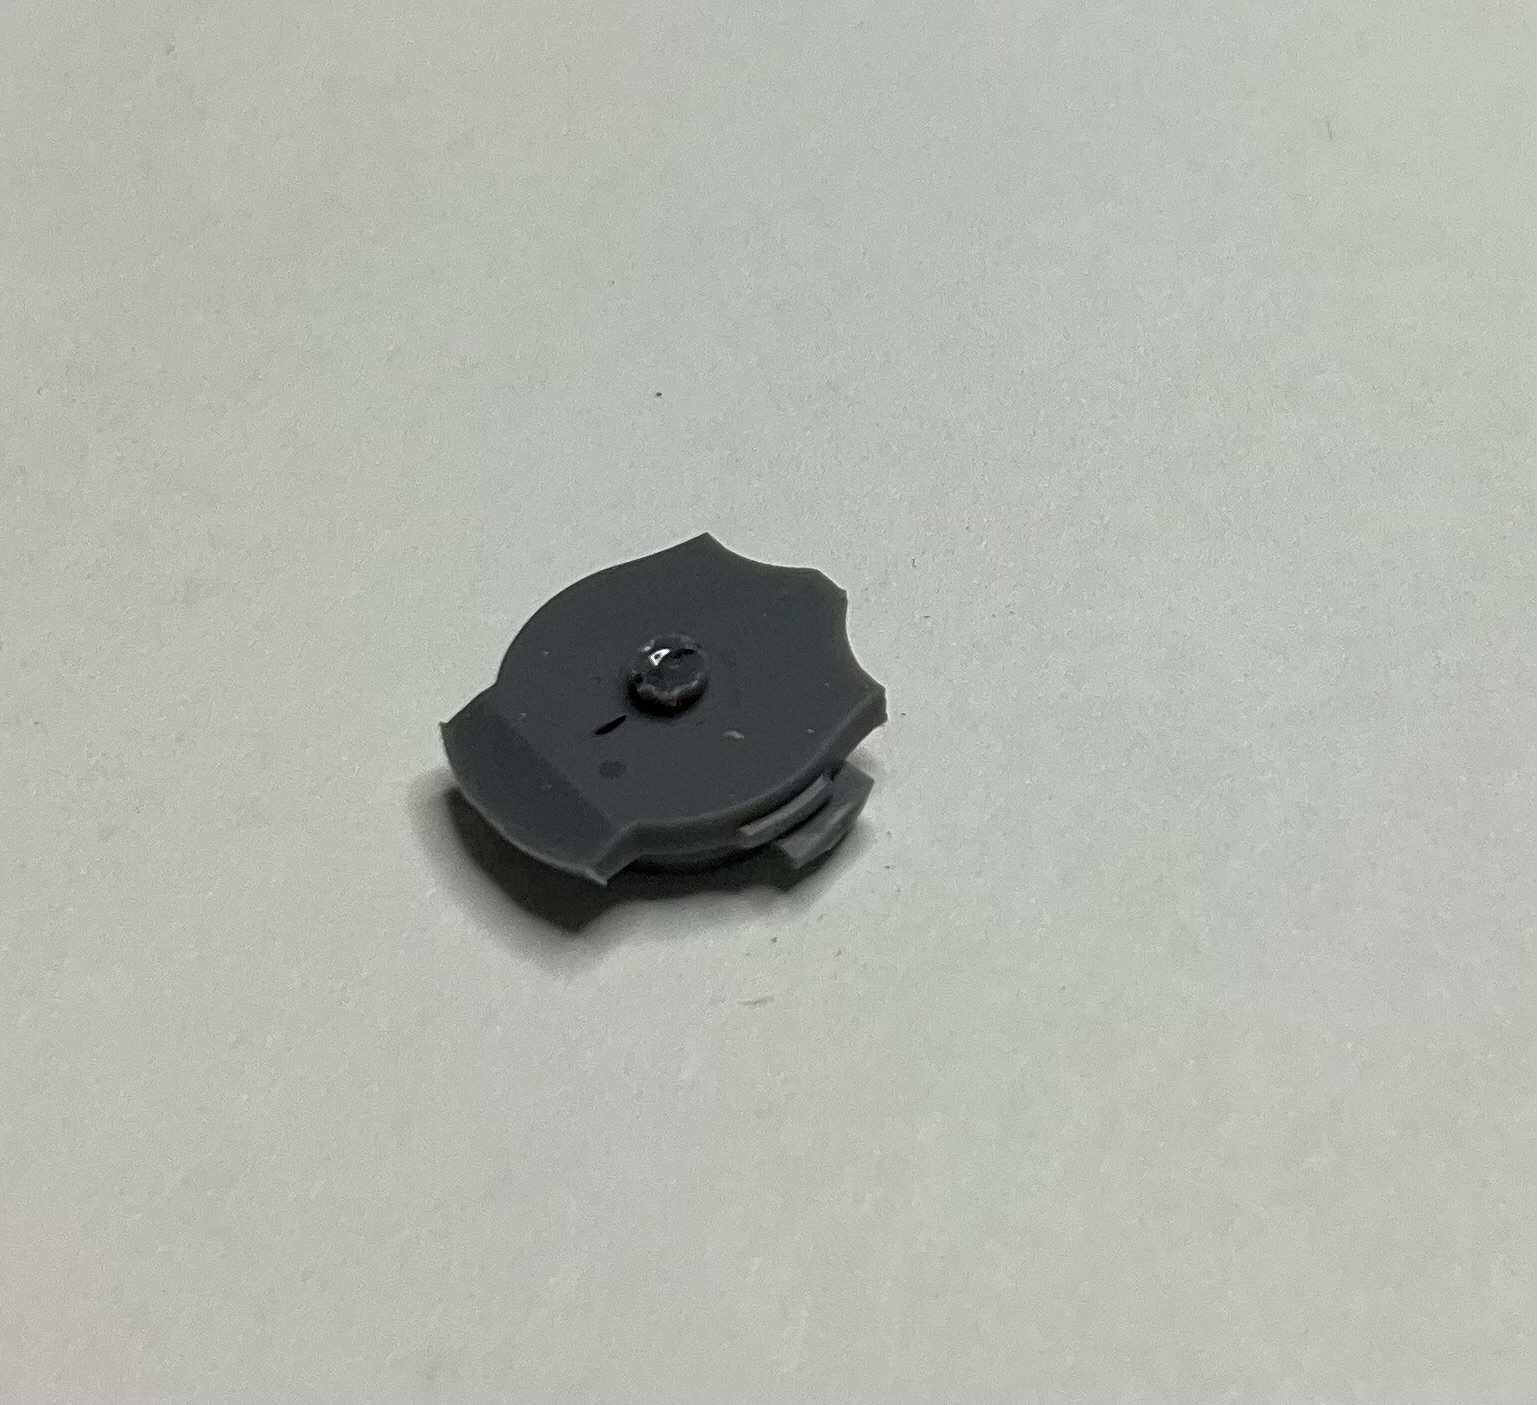
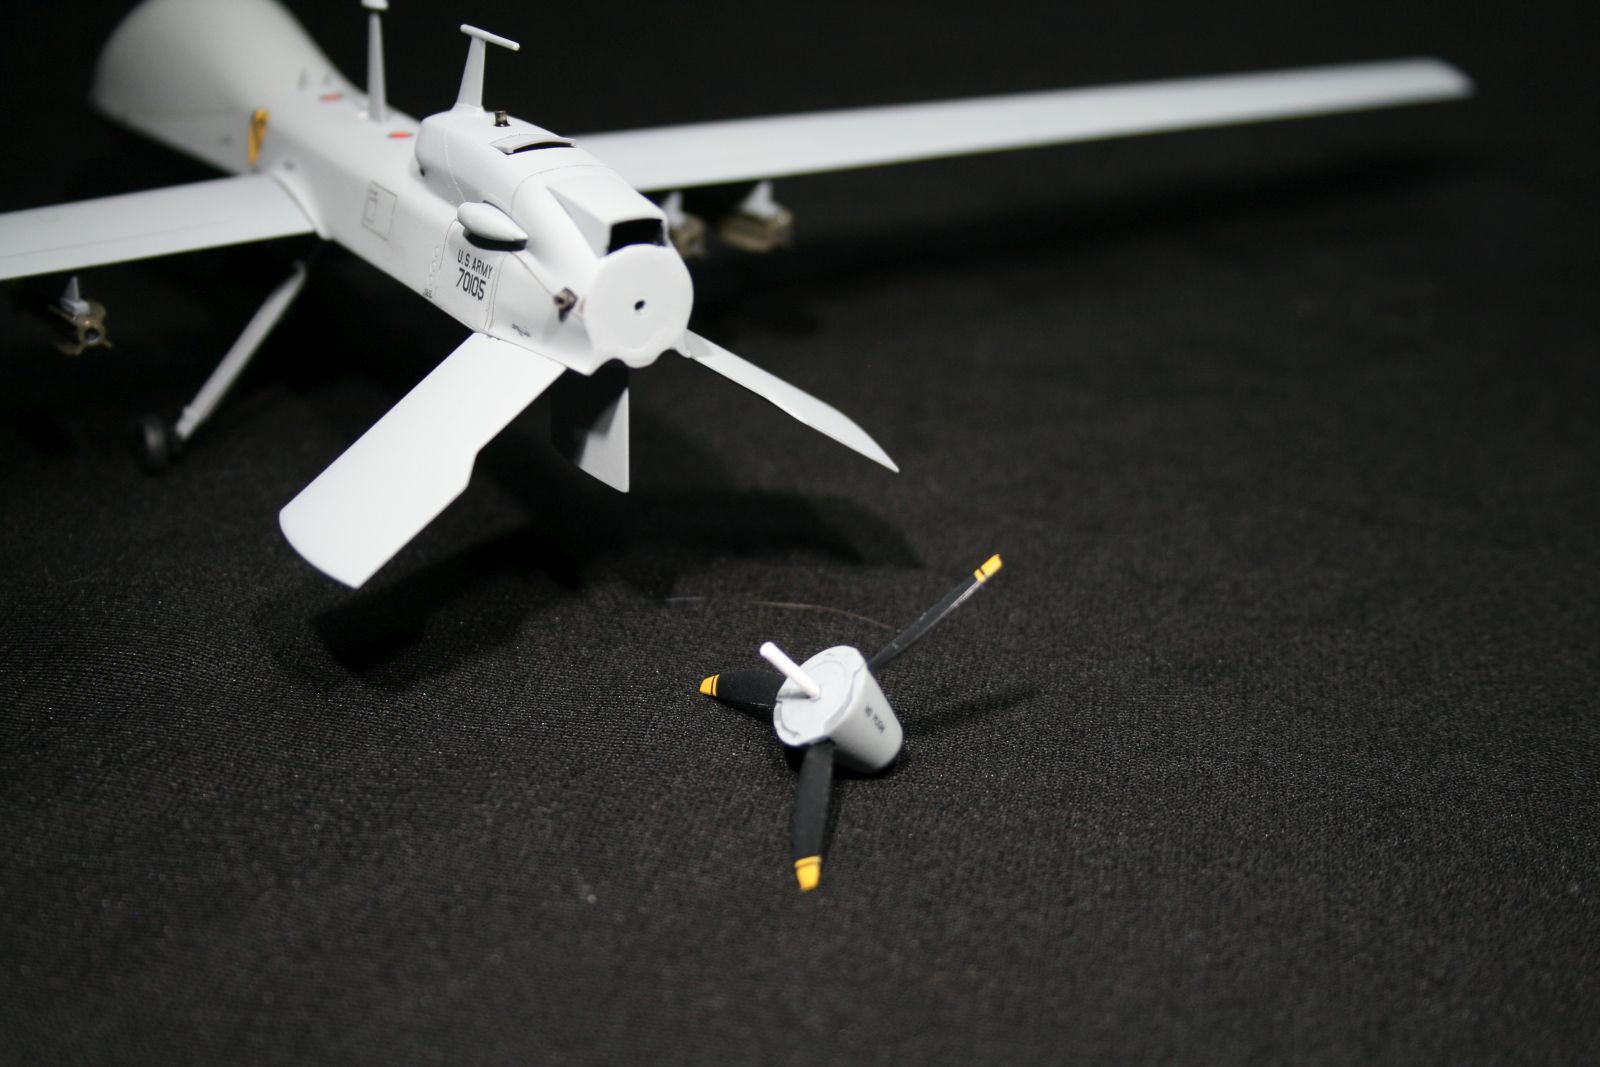
The first step is to assemble the output shaft on the engine. This wasone of the areas that was a challenge and I deviated from the kit design after I damaged the hub. The hub is extremely small and fragile. When I glued the hub retaining ring on, (trying to be very careful with the glue) I still got a small amount of glue on the shaft. Eventually, the shaft snapped and I needed to deviate from the kit's design. The modification uses telescoping plastic tubing for making a sleeve to go in the firewall and new shaft attached to the propeller hub. It worked out very well and now the entire kit can be built without adding the propeller until the very end of your build.
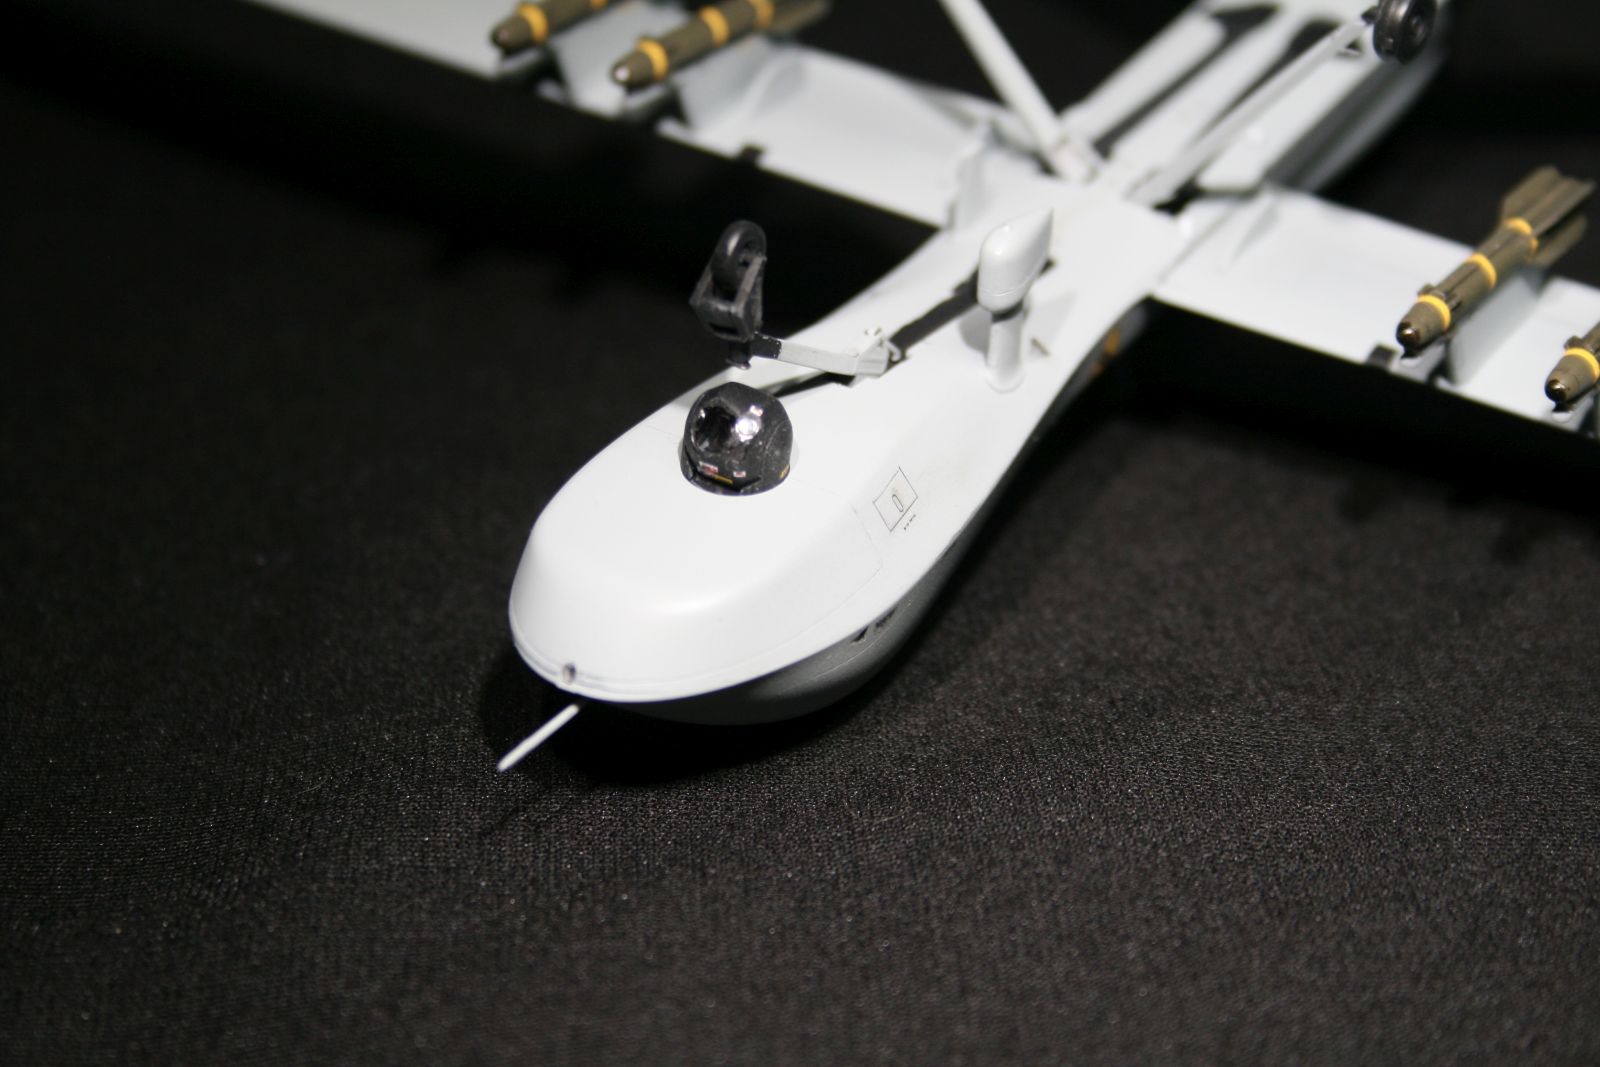
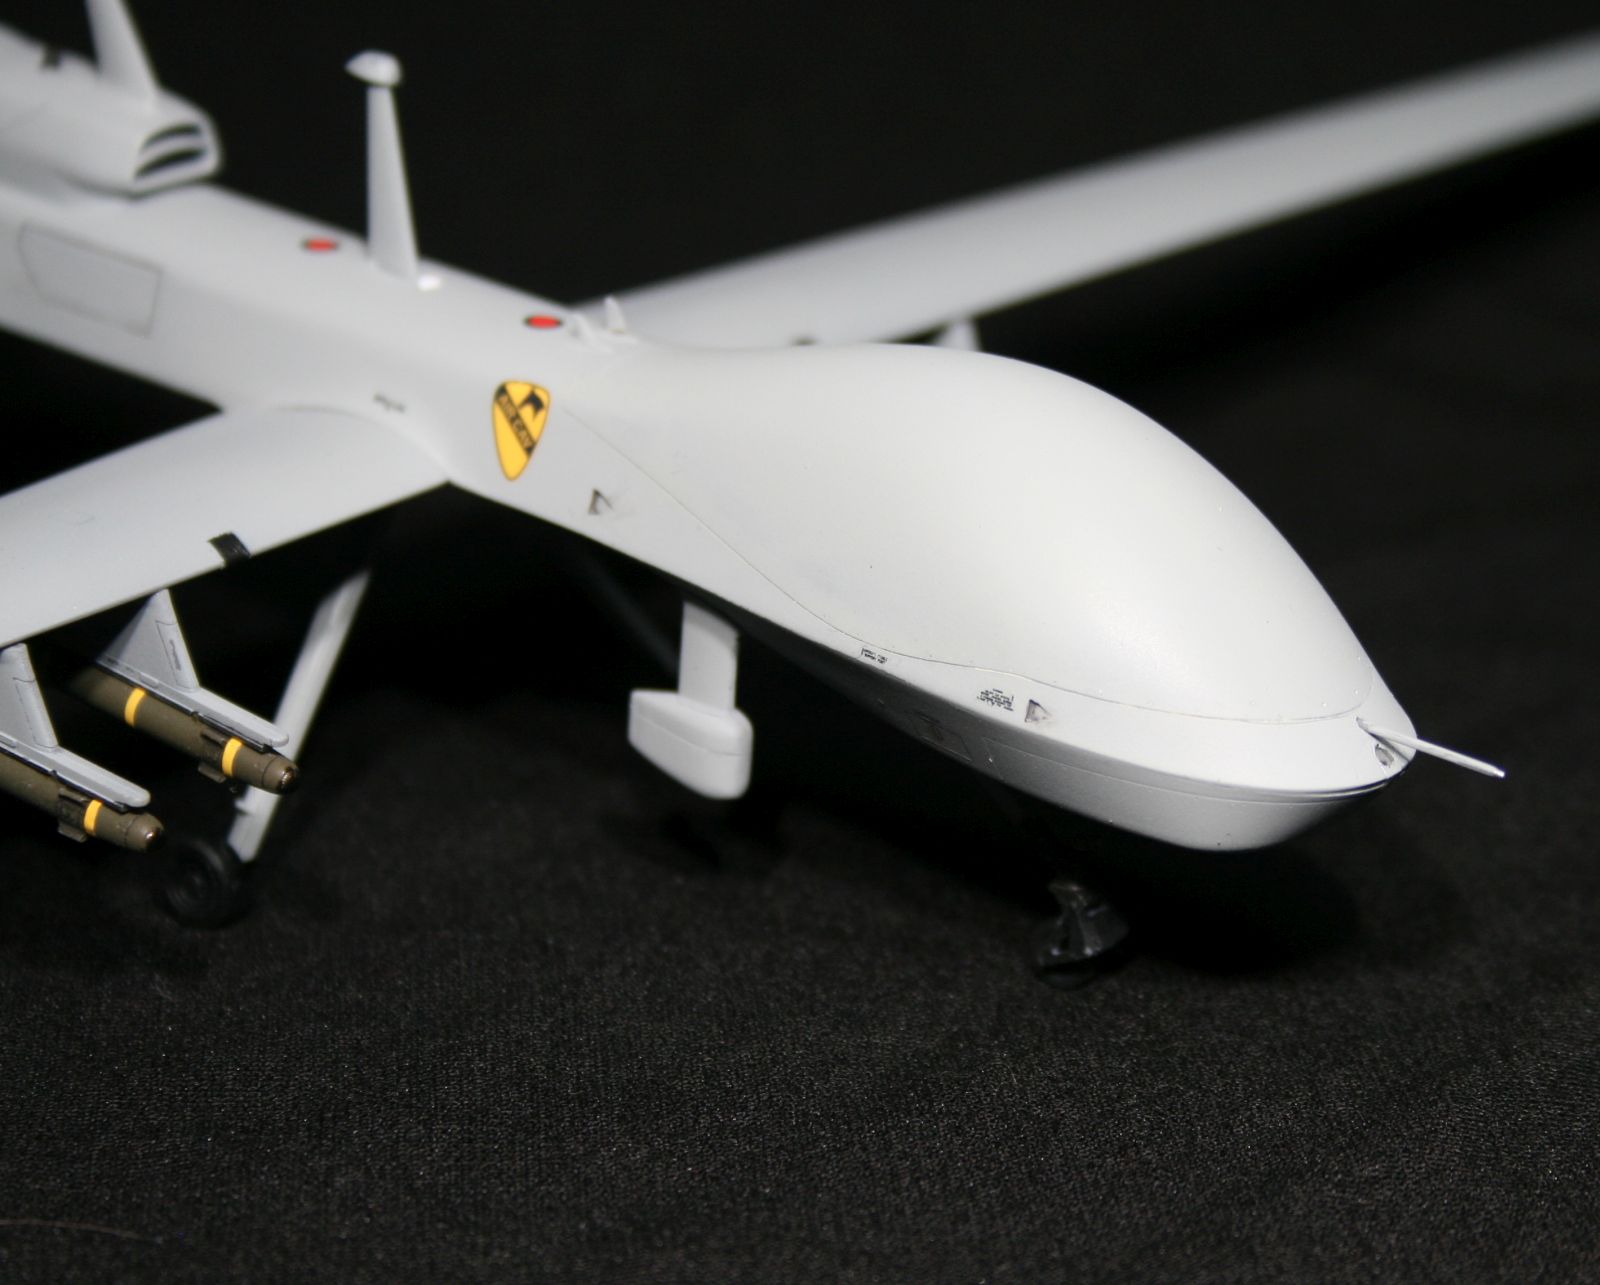
Next on the assembly order is the upper fuselage. Fit here was exceptional. No large gaps and the upper dome lined up perfectly which helped when sanding the seam. Moving to the lower fuselage which is the second and last area I had issues with. The sensor ball ring design is easy to get excessive glue on and prevent rotation. My solution was to add thin strips outside the ring with minimal liquid glue which solved the issue. Do not forget to add the recommended 5 grams of weight in the nose.
One nice feature is a wing spar will allow you to fully assemble the kit and attach the wings at the end of your build. The fit is snug and you will not need glue to keep the wings on. Take care when installing the small clear part that goes on the nose. Masking with tape would be difficult so I recommend using a liquid mask on this part, as well as, the sensor ball. The molding is extremely crisp, so using a liquid mask works very well.
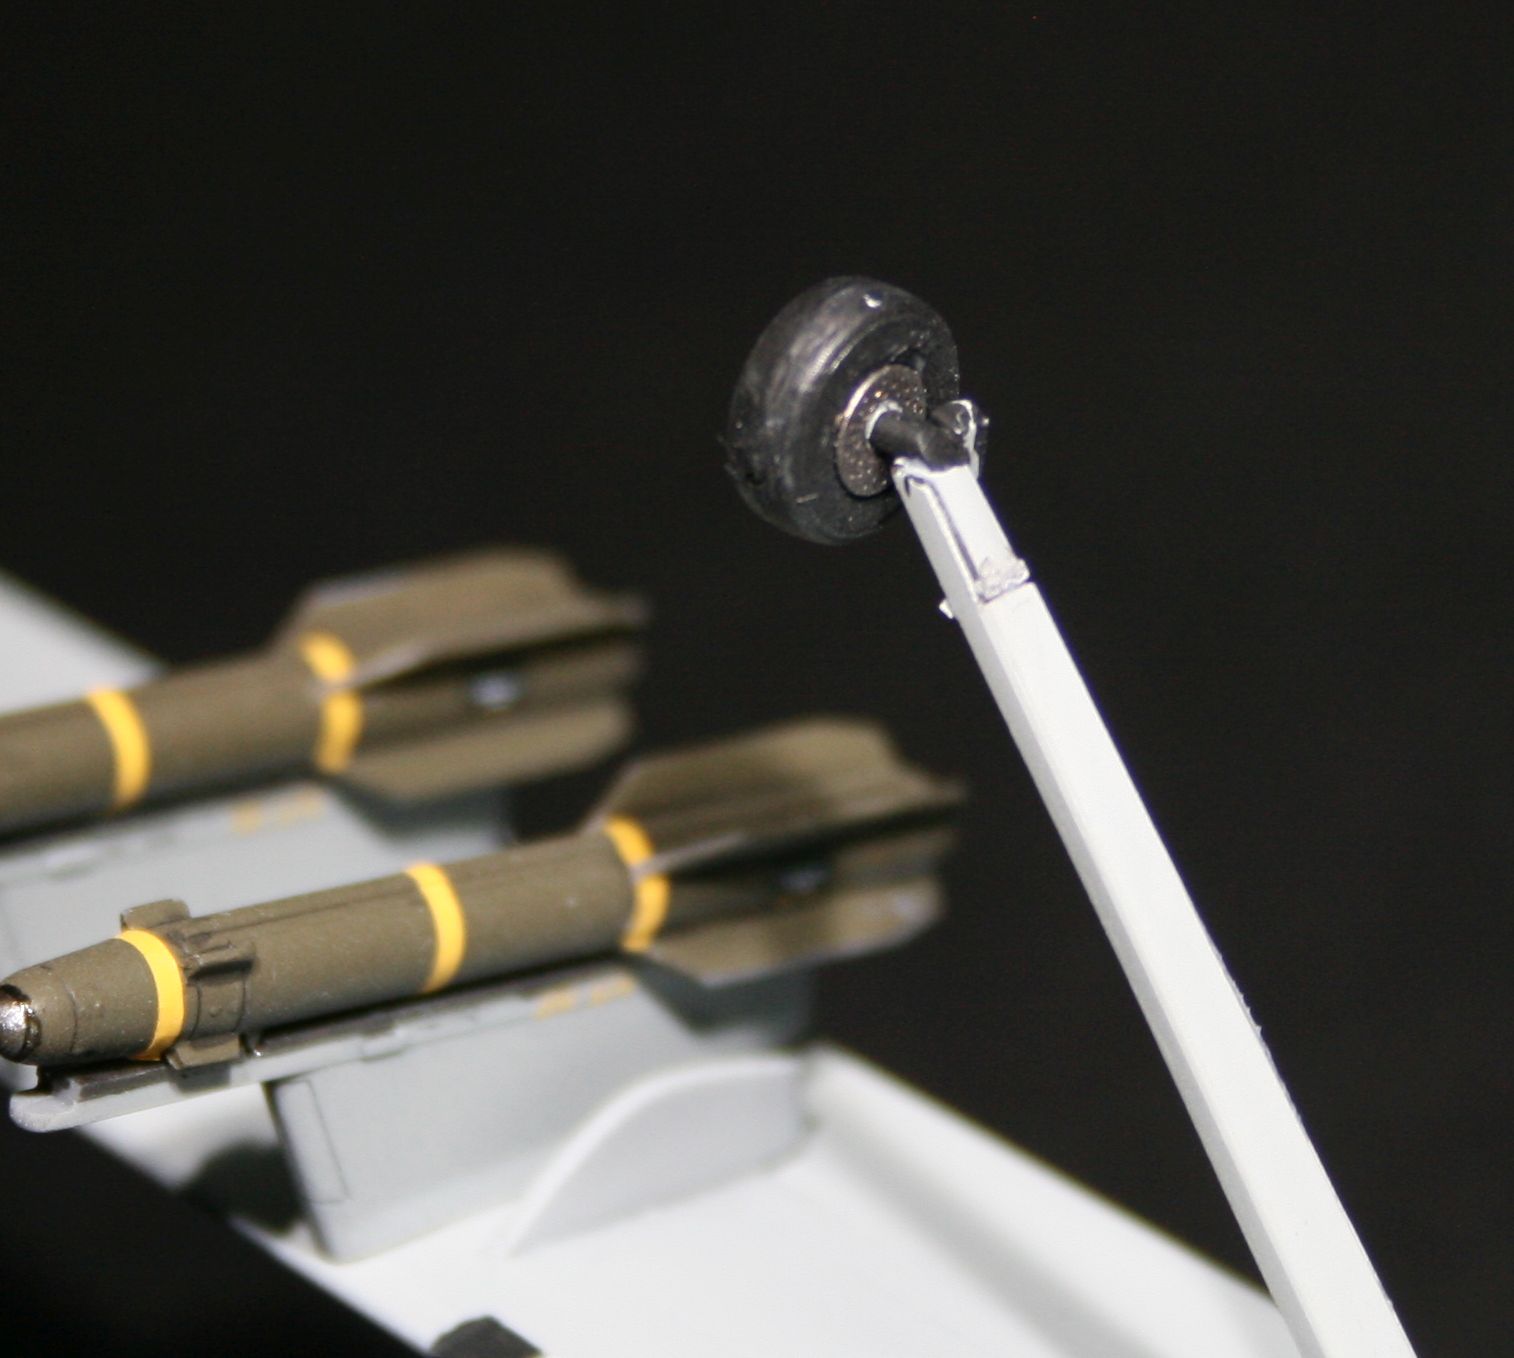
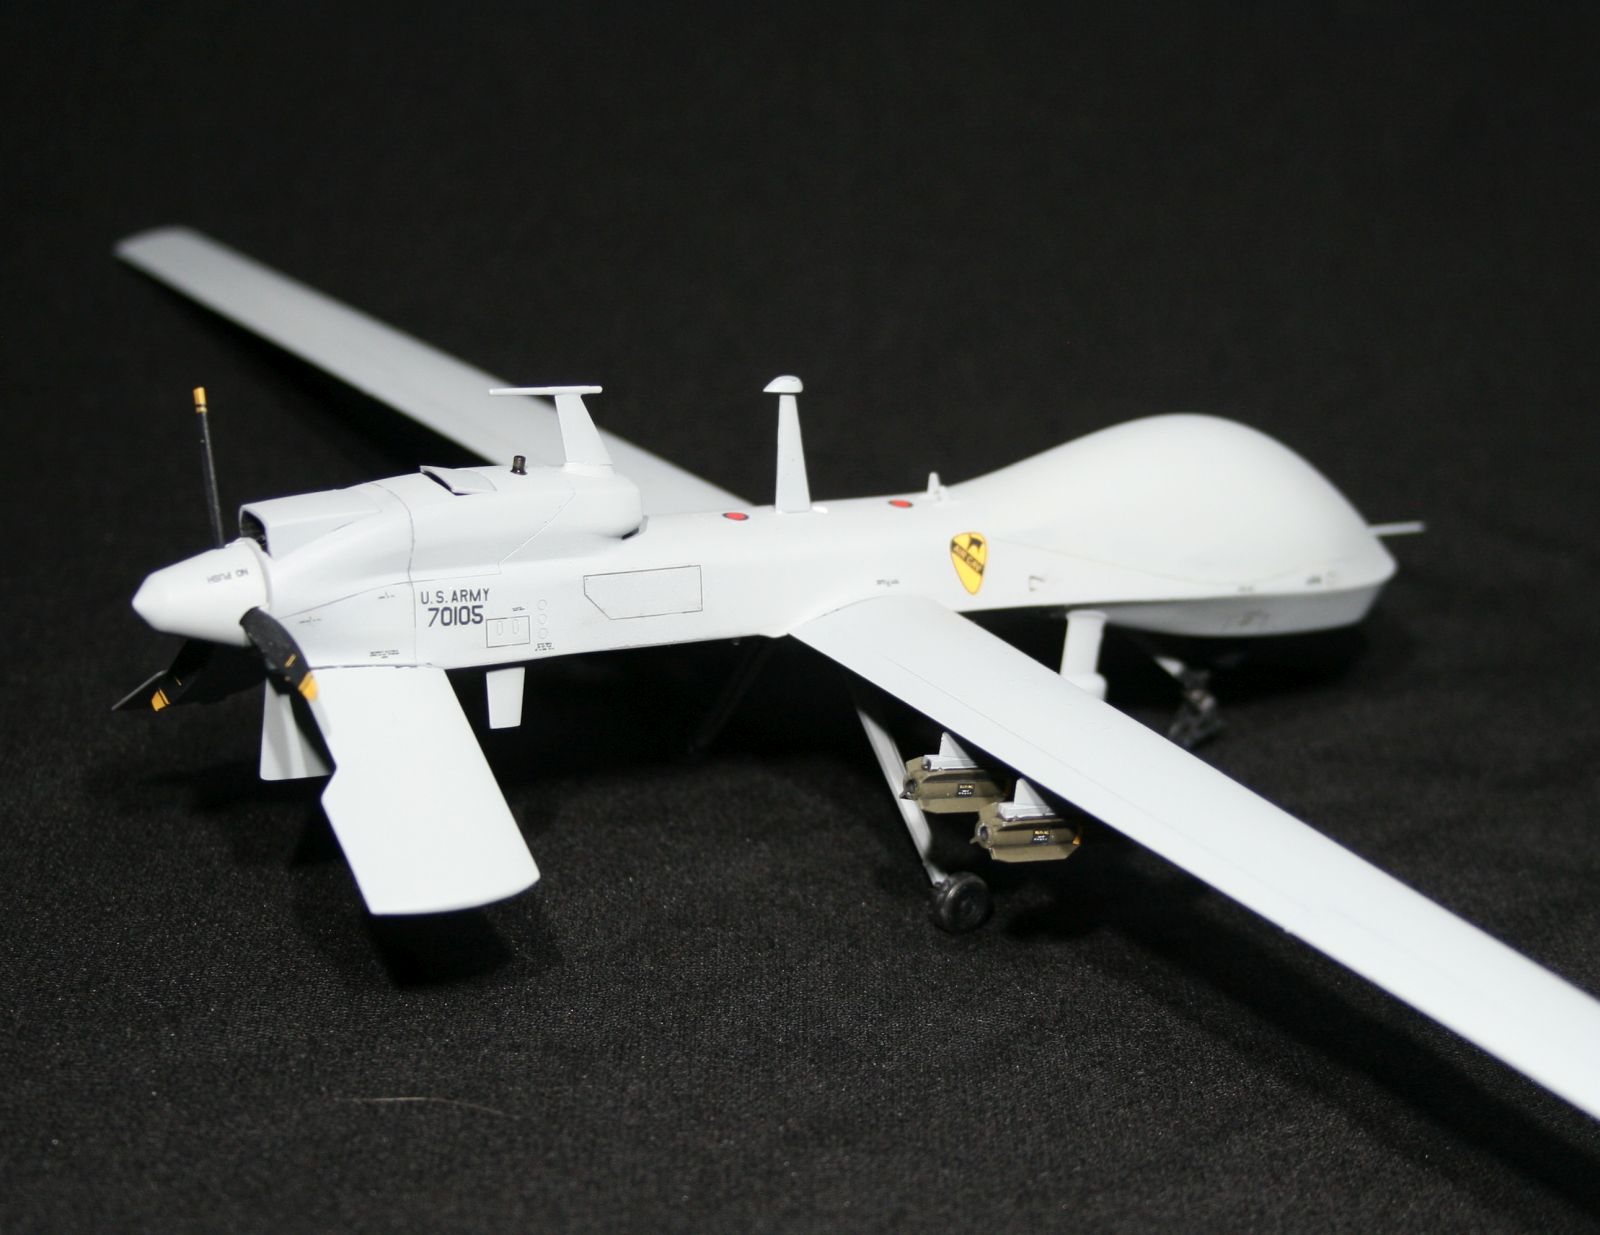
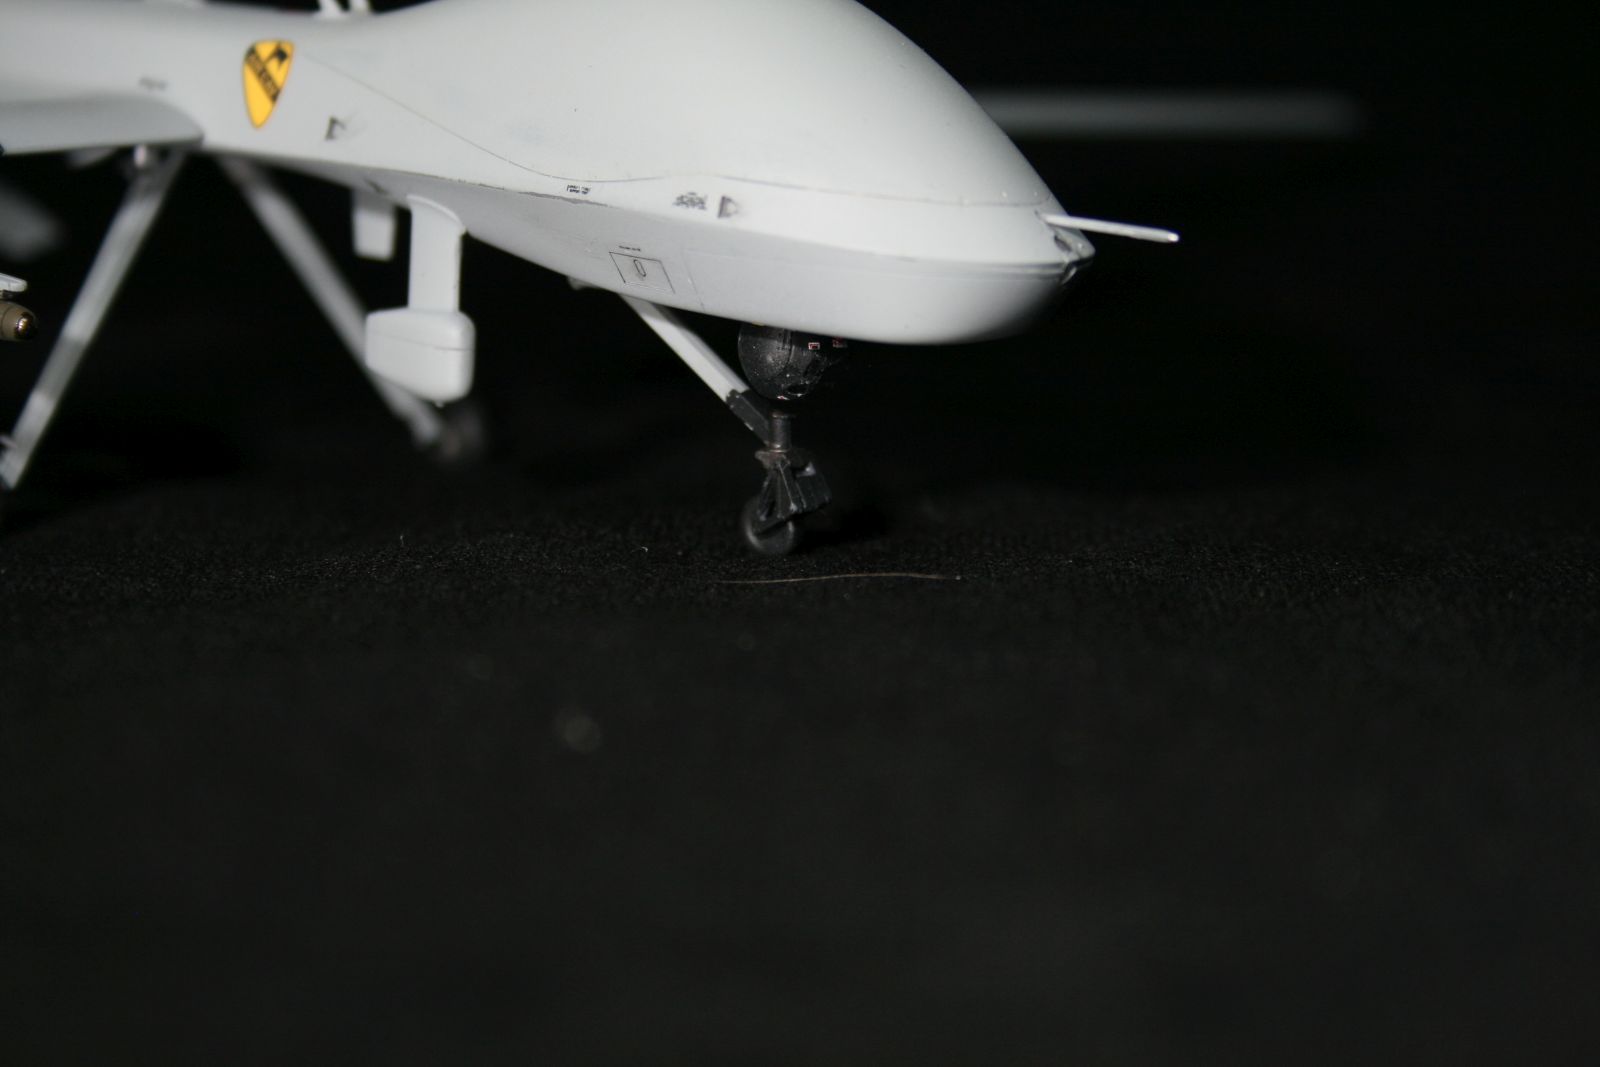
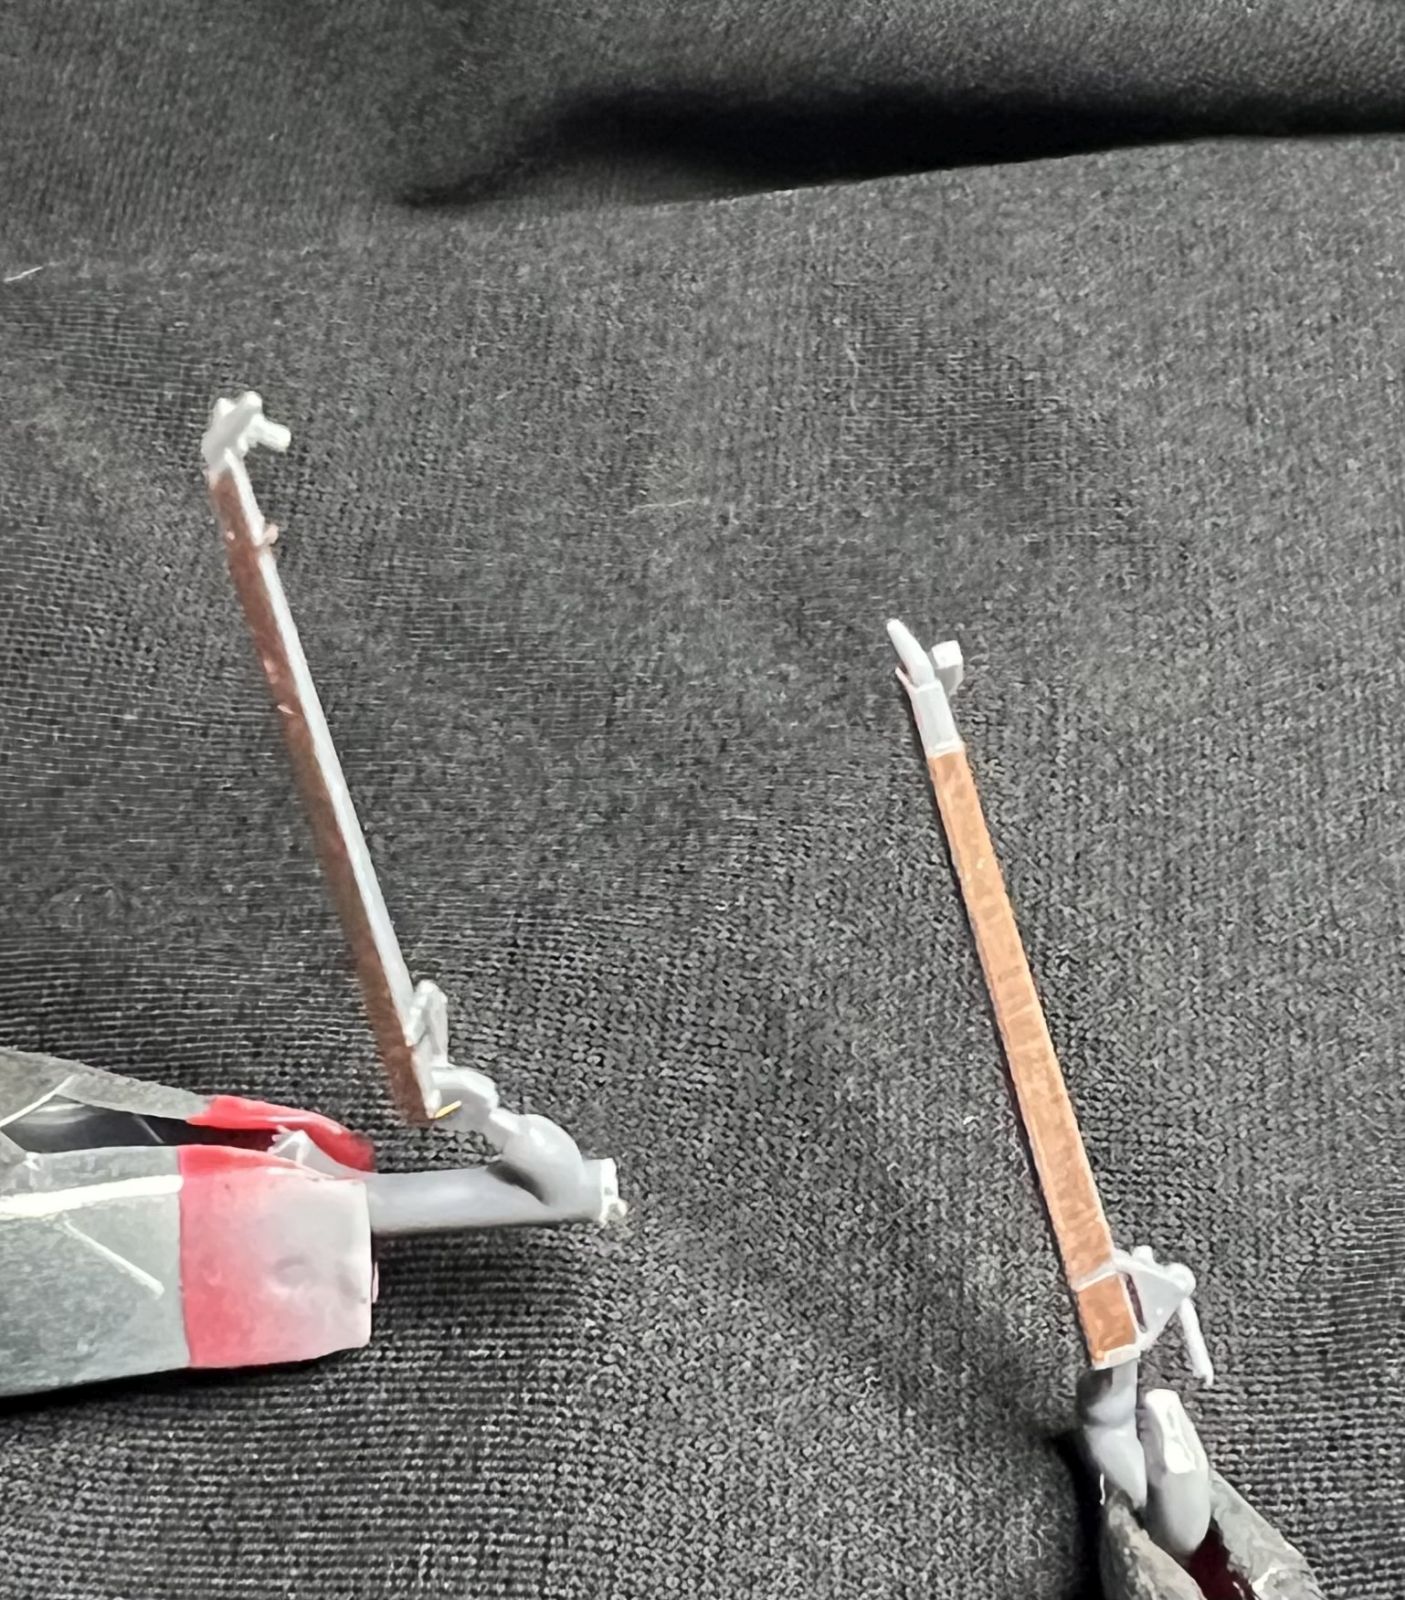
The landing gear is fairly simple and the instructions show item 27 & 28 reversed on my kit. Pay attention to the picture and assemble the parts per the image for items 27 & 28. You will also have to install the nose wheel when assembling the gear. On the main gear, each leg gets a few photo etch items. One of the PE parts is a fairing that runs most of the length of the gear strut. The next PE item is a brake rotor, complete with vent holes, which is a nice touch. The instructions provide a reference dimension on how wide the gear needs to be spaced. My build seems to have a nose-low attitude and the instructions indicate 53mm space between the inside of the wheels but mine measured 51mm. I'm not sure if the 2mm difference will change the attitude very much.
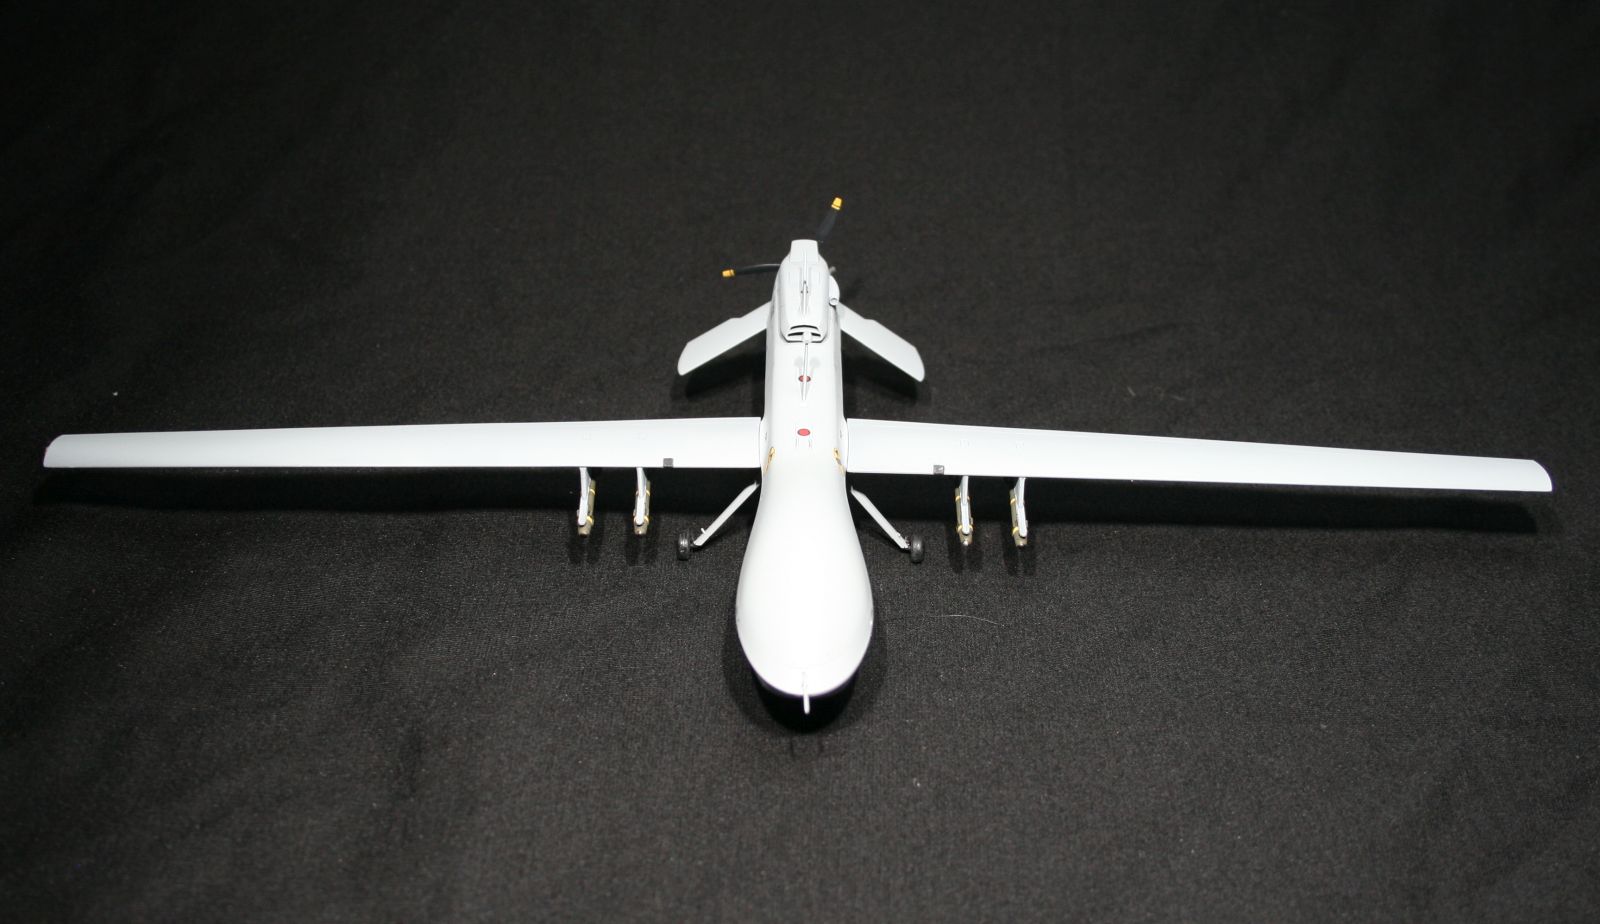
Attaching the elevators and rudder, the kit does not give you an option to pose them in a deflected position and each elevator has two guide pins which keep the parts secured and the rudder has one large guide. The rest of the build was to add all the antennas and I left off the remaining clear parts until painting was complete. No issues were encountered for the rest of the assembly.
Painting and Decals
Paint used was Xtracrylic (XA1136) 16375 light compass grey for the entire kit except the sensor, missiles and prop which are black. The real aircraft I have seen are fairly clean and weathering should be at a minimum. Before applying the paint, I used Tamiya panel line accent color (wash) for a “pre-shading” effect. This “pre-shading” worked very well and did not over-exaggerate the panel lines. On only a few areas did I have to add some panel line wash where paint was applied too heavily.
Armament consists of four Hellfire missiles which you get options for all black or olive drab missiles. The color I chose to use was olive drab and the entire missile is one solid color except for the seeker head. For the seeker head, I painted that area silver and used Tamiya “clear smoke” over that area.
The decals are of very nice quality and went on flawlessly. You get a choice of four different markings, all US Army. There are surprisingly quite a few decals that go on the kit and the instructions clearly indicate where they go. I am not certain but I believe decals 29 thru 32 should go on the missile instead of the pylon as suggested but I am not 100% sure so check your sources. Note that decal #30 is called out in three places but in each area #30 is called out it shows a completely different decal.
Conclusion
Overall this was a pleasant and quick build that an average modeler will not have any problems with even though the kit rated the assembly for advanced modelers. With only a couple ofpotential issues (both items related to movable parts) and two minor instruction issues, this kit is nearly flawless. The kit build will not take too long to build, a little longer than a weekend but it can easily be completed in a week or less than 10 hours build time. If you are looking for a relaxing quick build of a unique subject, this is the perfect model for you.
Many thanks to CLEAR PROP plastic model kits for providing this kit to IPMS for review.


Reviewer Bio
David Horn

I have been building models since at least 8 years old and with a brief break after high school, model building started again late in college. My preferred subjects are aircraft of all eras and scales but a majority of my builds are 1/48 scale. I am the son of a USAF navigator who flew tactical airlift in Vietnam then his last 8 years he served at Altus AFB where he retired. My love of aircraft comes naturally and try to build subjects that I have a personal connection to. My day job parallels the hobby where I design full flight simulators ranging from small corporate jets, military fighter jets to the C-17. I hold a commercial pilot certificate and fly as a volunteer with the Civil Air Patrol. I really enjoy flying cadets, passing on the love of flight and inspiring future aviators.
Comments
Add new comment
This site is protected by reCAPTCHA and the Google Privacy Policy and Terms of Service apply.
Similar Reviews