
Model W.O.T.8
ICM Holding, a Ukrainian-based company known for outstanding quality, has produced a very nice version of a truck that you don’t see very often on the market. The W.O.T. 8 (Work Office Transport) was a World War II truck produced by the Ford Motor Company in Dagenham, UK. Ford (UK) was one of the largest suppliers of trucks to British Forces. The W.O.T. 8, a 4x4, 1.5-ton vehicle, was produced from 1941-1942. It was used in North Africa, Italy and also in Europe between 1942 and 1945. Around 2,500 W.O.T.8 trucks were produced.
The finished kit will measure about 6 inches length and 3.25 inches in height. Contained in the box is one sealed bag holding six highly detailed gray styrene sprues and a separately bagged clear sprue. It also has one set of rubber tires and a photo etched set containing five parts. The kit contains 234 parts which were all flash free and showed no injection marks or sink holes. Panel lines are finely recessed. Parts which are not used for this particular model are clearly marked on the sprue diagrams with pick highlights.
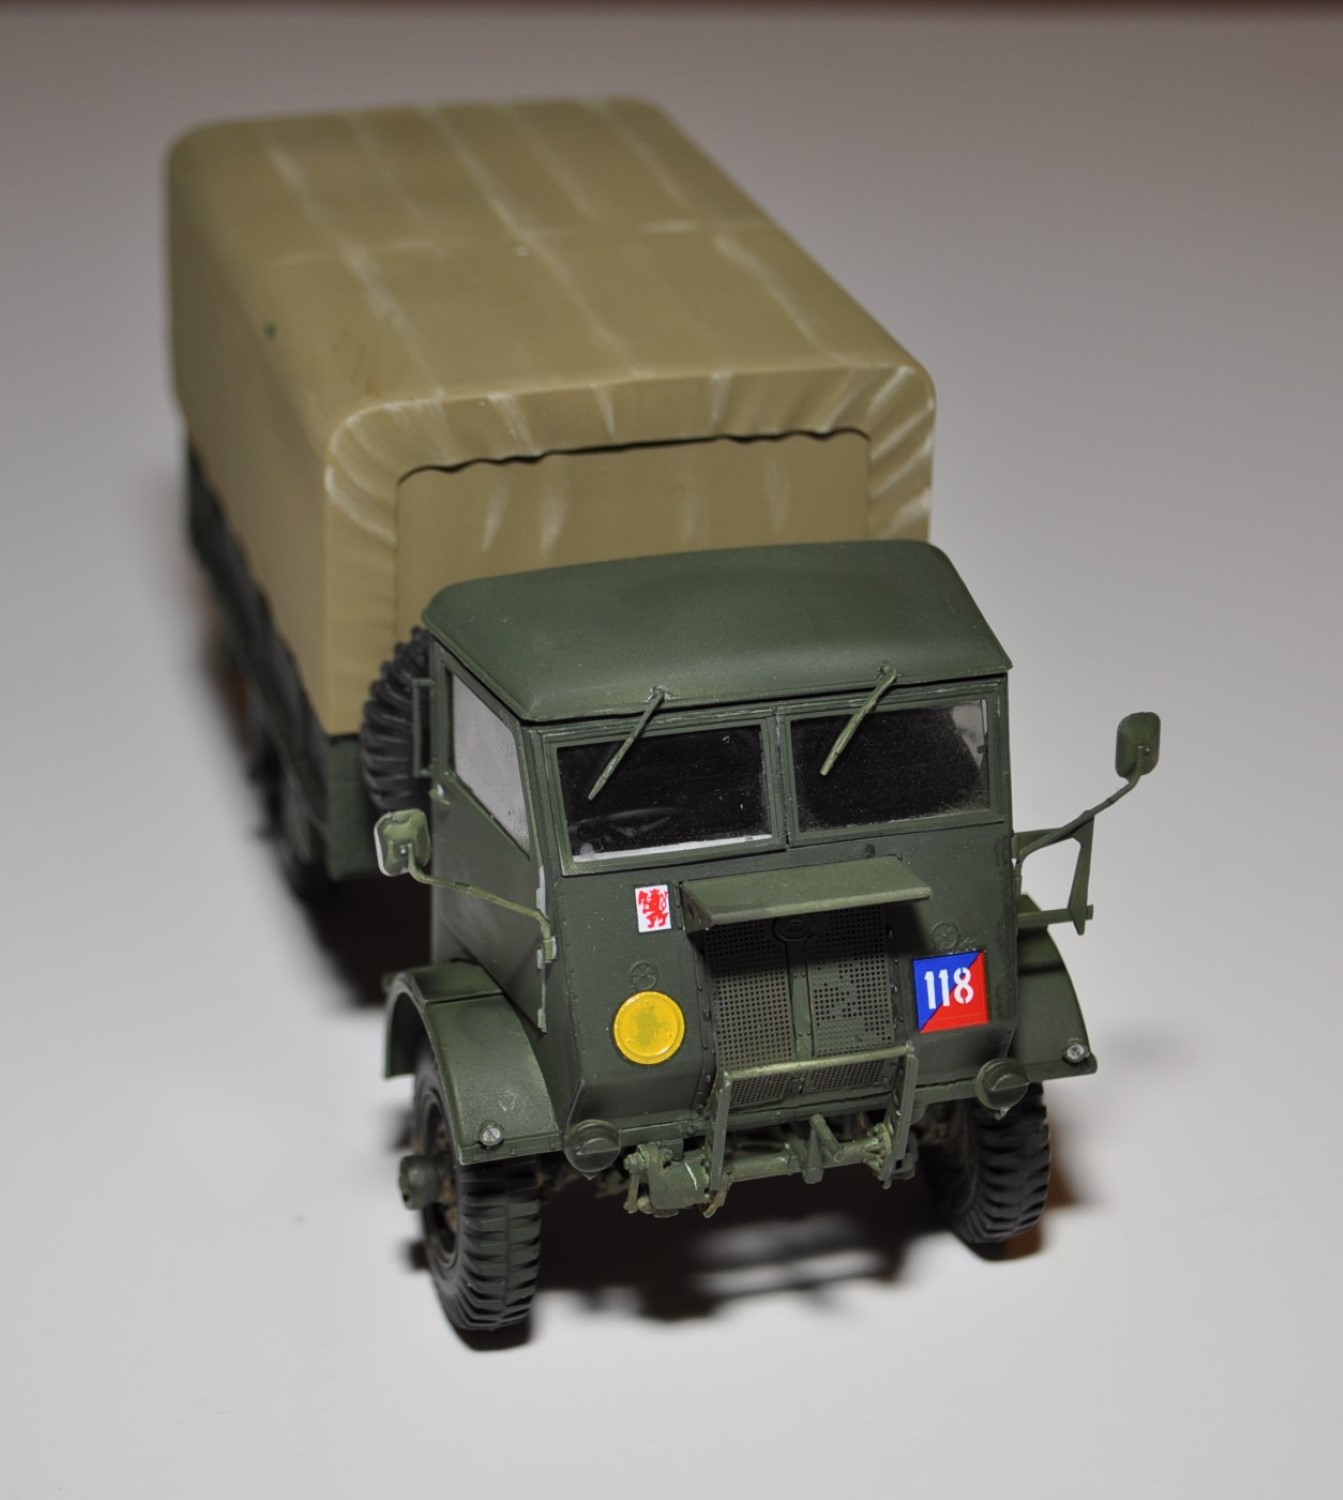
The 28-page assembly guide follows the typical vehicle building methodology. The last page shows two full-color pictures of two different vehicles. The paint and decal call-outs are clearly marked. The two versions provided are the W.O.T.8, 1st Czech Armored Brigade, Germany, Spring 1945 (depicted in the review sample), and the W.O.T.8 France, Summer 1944.
Reviewer’s Comments
This kit was quite enjoyable to build. The assembly went rather quickly and was mostly free of problems, but there are a few things to watch out for. I have a few recommendations to help you make the most of this nice kit.
- Many of the parts are very small. Prepare your cutting surface. Make sure it is clean, that you have a good cutting matt and take care removing parts from the sprues.
- Some parts are very thin (exhaust pipes, door frames, handles, etc.). I made the mistake of using a sprue cutter on one and the part snapped in half. I switched to using a small saw and no longer did any parts break. Lesson learned: use a saw or very sharp blade to remove parts.
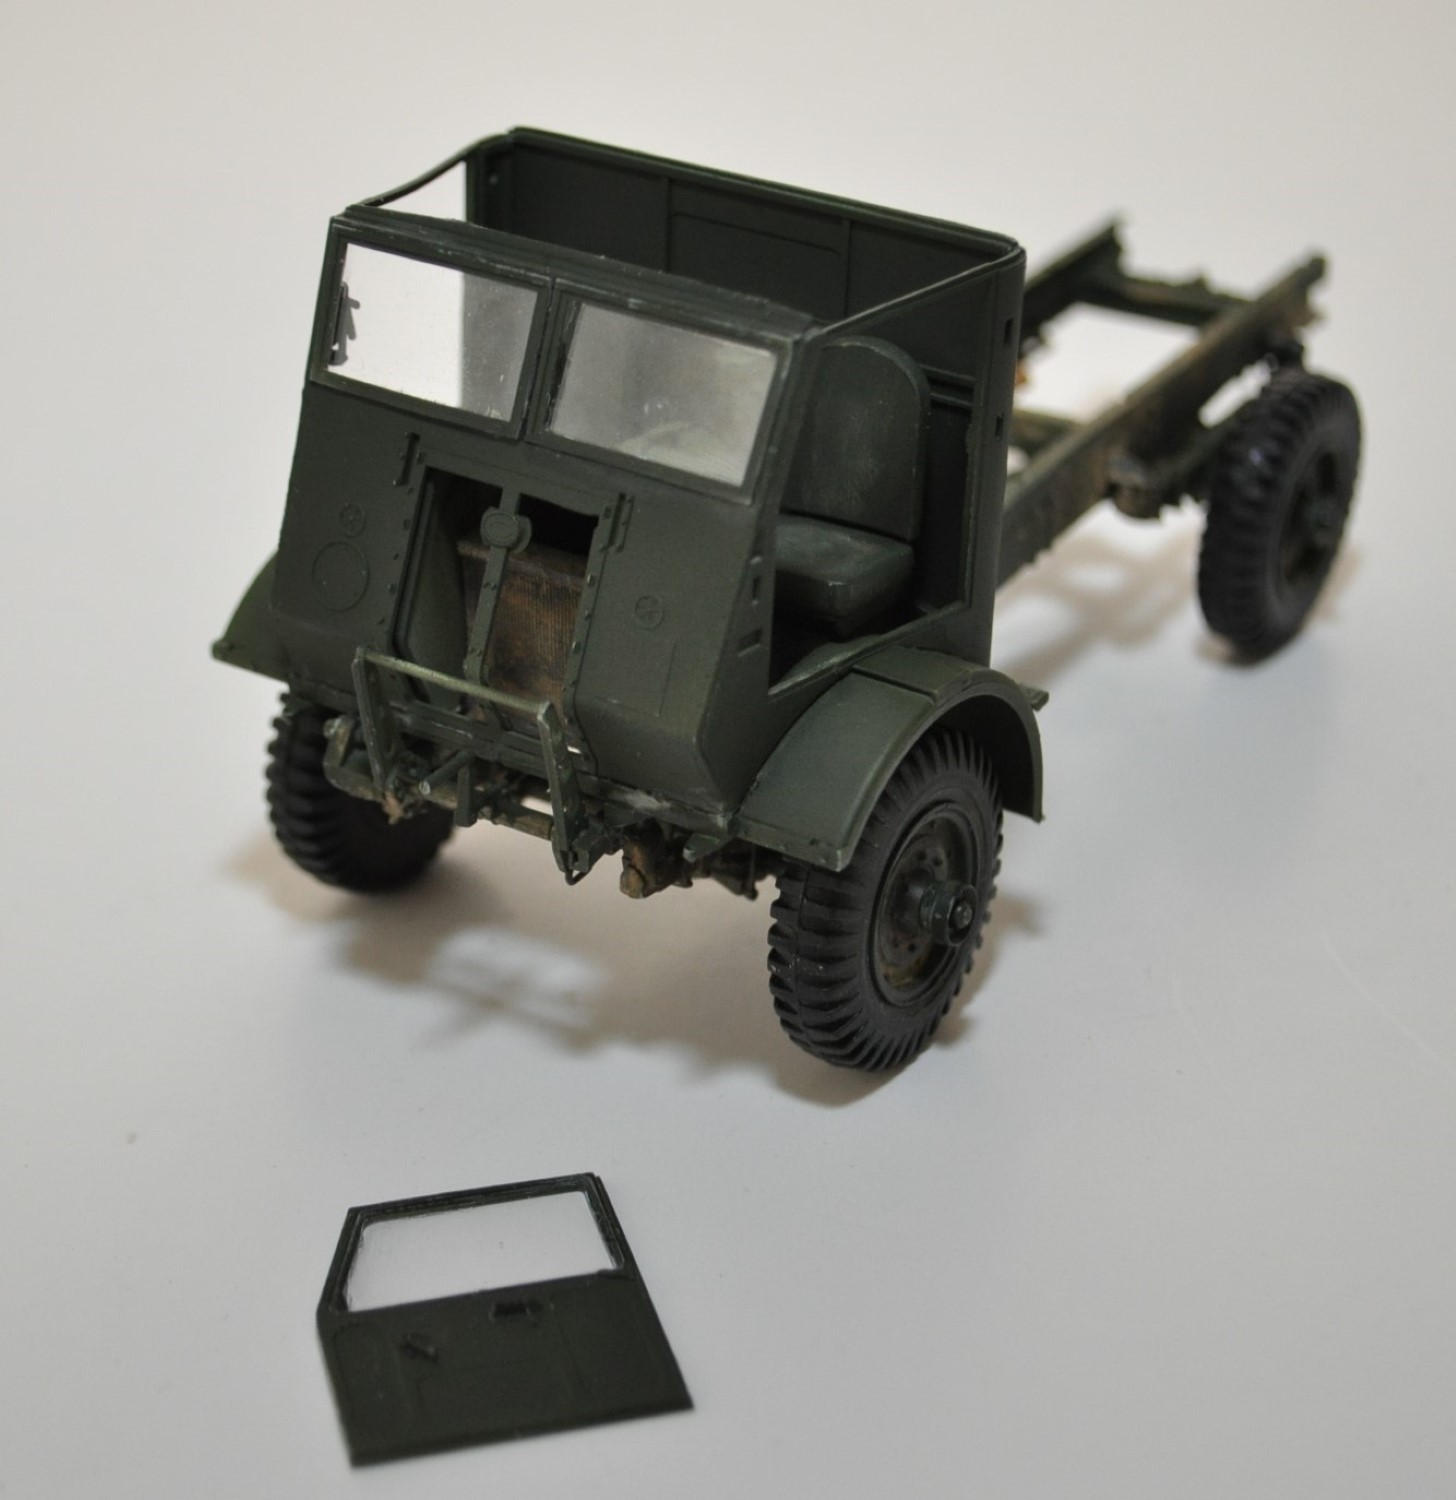
- Step 71 has a mislabeled part. This is a large part (rear cab panel) and is easy to find, but instead of A10, the part is really A12.
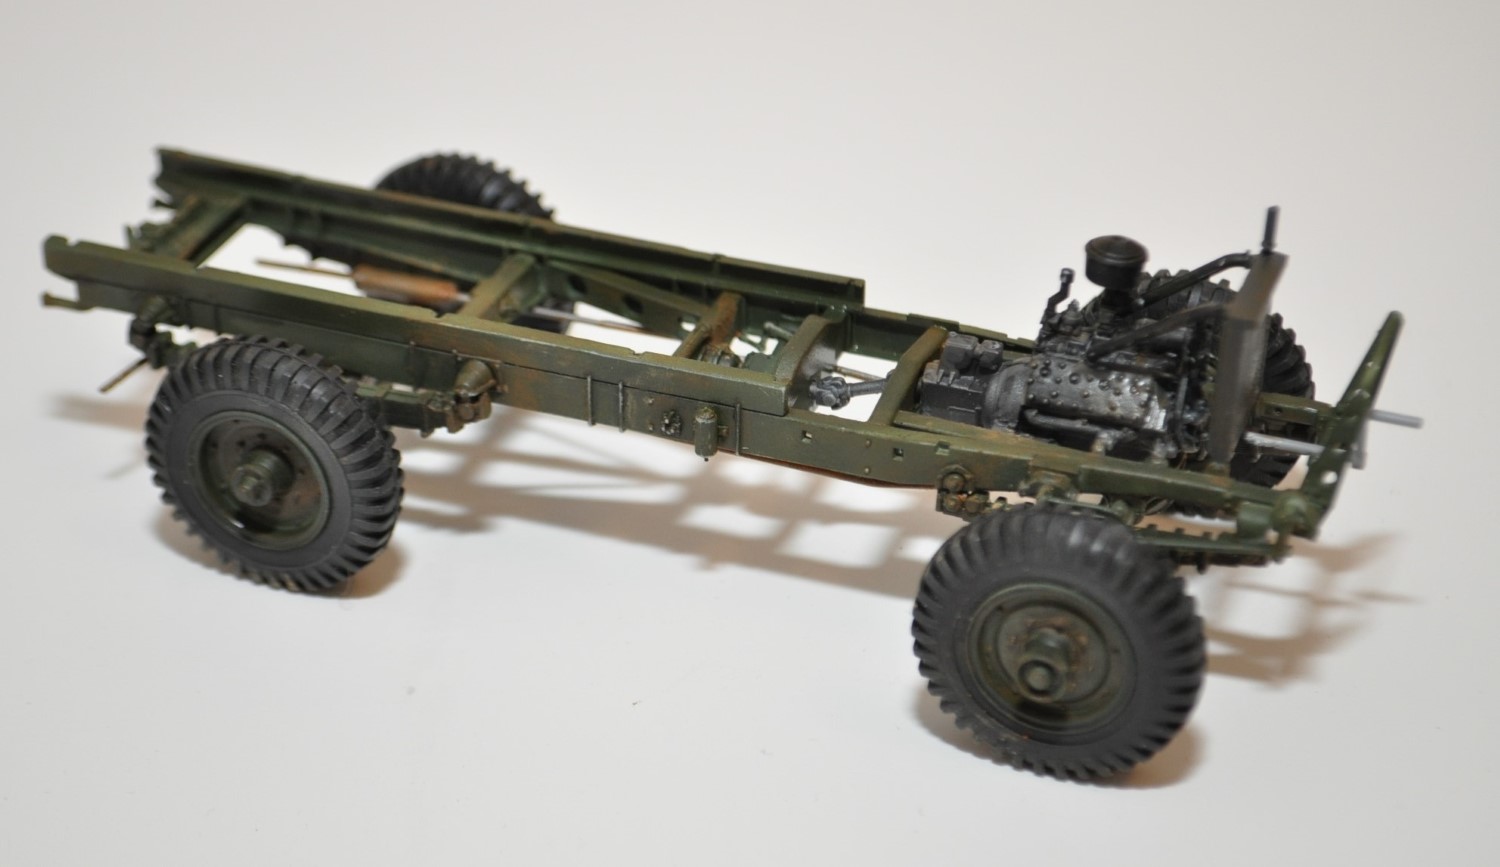
The chassis assembly is straightforward and the parts fit accurately. Pay close attention to the diagrams and test fit as you go along to ensure you have proper orientation at all times. Be careful as you handle the chassis, especially after you install the exhaust pipes and tie rod. They are fragile and will break.
The engine is appropriately detailed for this scale. The cab construction goes together nicely and the parts fit together well. Before adding the clear parts (windshield and windows), paint the frames first to avoid having to mask them. Three decals are used for the gauges. The seams of the cab’s rear panel were about the only seams I needed to sand. No putty was required to make them disappear. The truck bed was also very quick to build and the parts fit precisely.
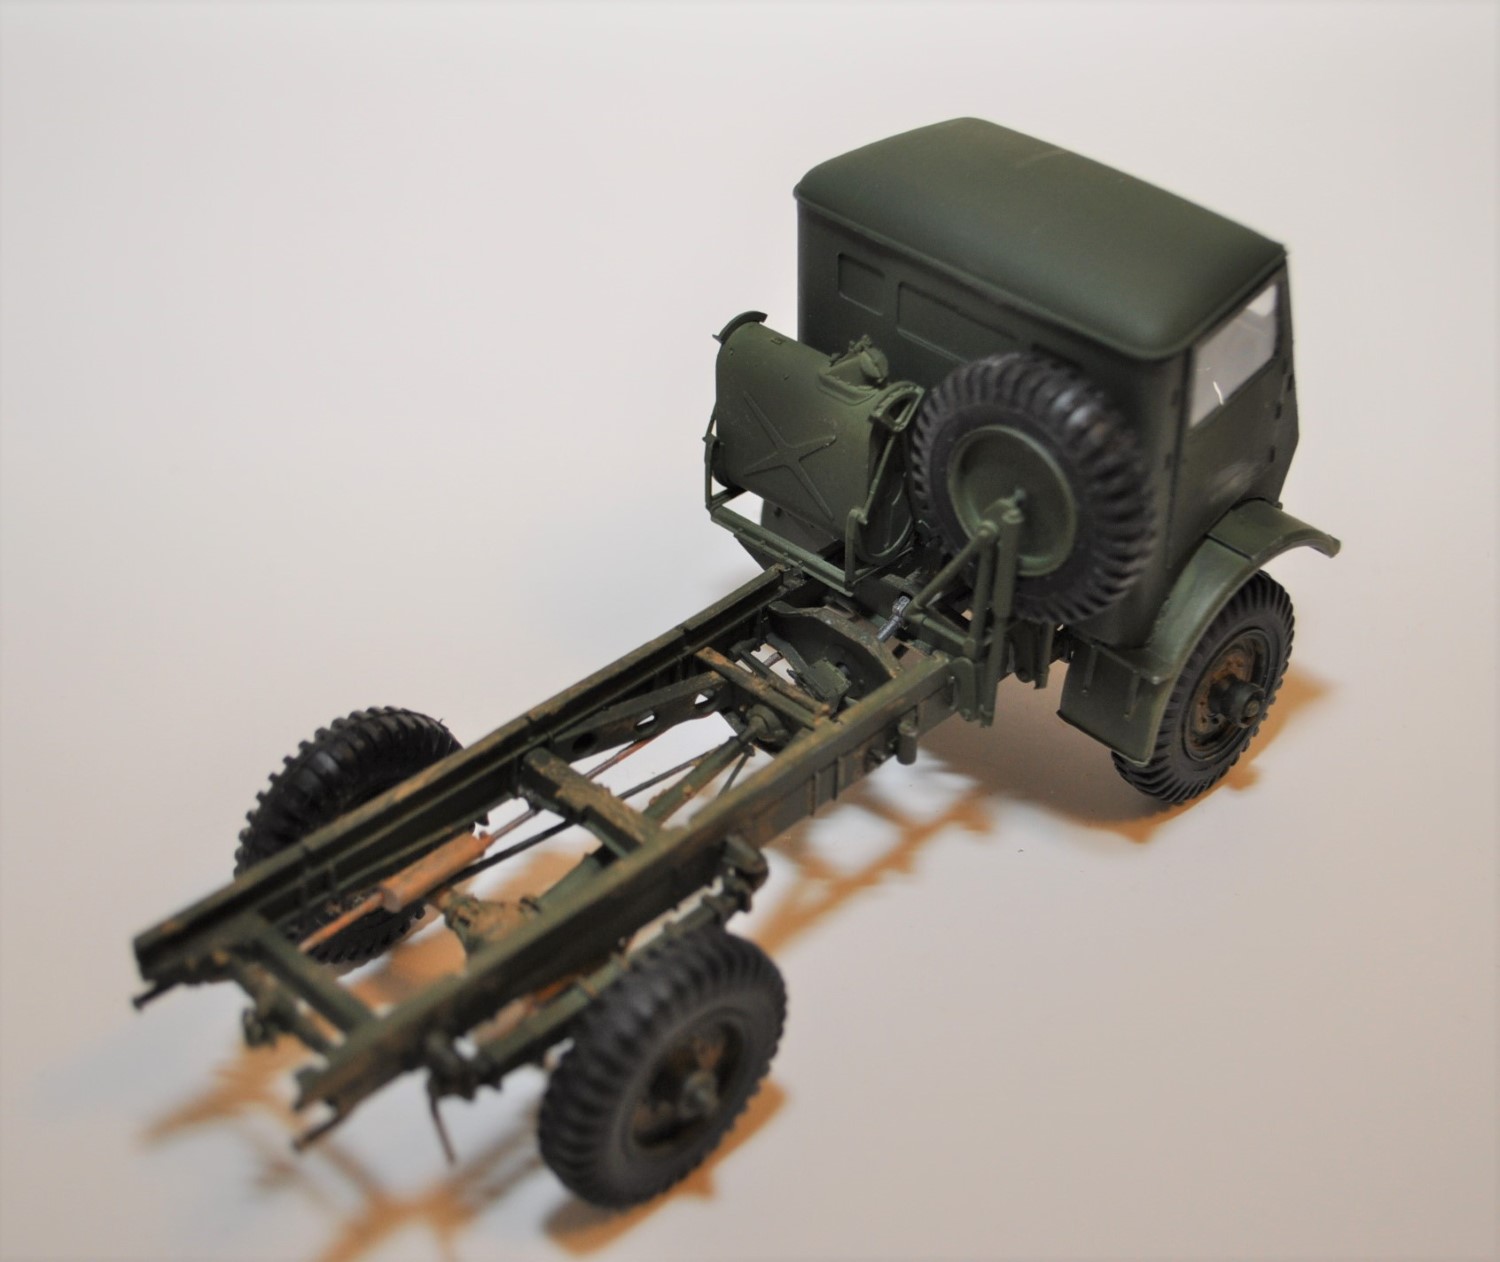
To complete the model, final details will be added: mirrors, lights, canopy & photo etched grill. I would like to offer a few tips to help you avoid some pitfalls:
- The photo etched grill parts do not have an indication on them as to where you make the bend. To solve this problem, I cut the sticky end off of a Post-It note and applied it to the front of the model and made a mark with a pen. I transferred this mark to the PE part, and this worked great. Don’t be over aggressive with the angle. I provided a photo showing the angle you should have, but make sure you test fit before gluing it into place.
- Watch the mirrors as you handle the model! I didn’t pay close enough attention and snapped one off and had to repair it.
- When gluing the truck bed to the chassis, use some weight to help it set. I loaded mine up with a few Tamiya paint bottles and let it sit for about 15 minutes, and that did the trick.
Overall, this kit is a very nice and enjoyable to build.; it is the kind of kit that would make a great weekend project! With following some of the recommendations, you can have a really great model of a very interesting British vehicle to add to your collection.
Thank you to ICM for the honor of reviewing this very nice kit, and thank you to IPMS for the opportunity!


Comments
Add new comment
This site is protected by reCAPTCHA and the Google Privacy Policy and Terms of Service apply.
Similar Reviews