
MK I "Female" British Tank, Somme Battle Period, 1916
Tank History
A bit of research on Wikipedia reveals that the British Mark I tank entered service in August 1916, becoming the world’s first combat tank. It was developed during World War I to combat the trenches and machine guns that dominated the battlefields of the Western Front. Despite the primitive nature of the first “tank,” a designation chosen to maintain secrecy, it was able to deal successfully with the various tasks found on the battlefields: small-arms fire, fortified enemy positions, challenging terrain, and the need to carry supplies. The Mark I’s first combat usage was on September 15, 1916, during the Battle of Flers-Courcelette, part of the Somme Offensive.
Kit Contents
The kit includes 54 parts, seven photoetch parts, and vinyl ‘rubber band’ type treads. Instructions include a diagram showing the layout of the sprues. The parts are not numbered on the sprues, so to locate a part you have to refer to the sprue diagram to find the part number. The plastic used is dark gray, seems fairly hard, and is nicely detailed with rivets and recessed panel joints. The instructions include 21 steps plus a separate sheet of instructions for the photoetched parts. The instructions also include axonometric views of the tank from three different angles.
Kit Construction
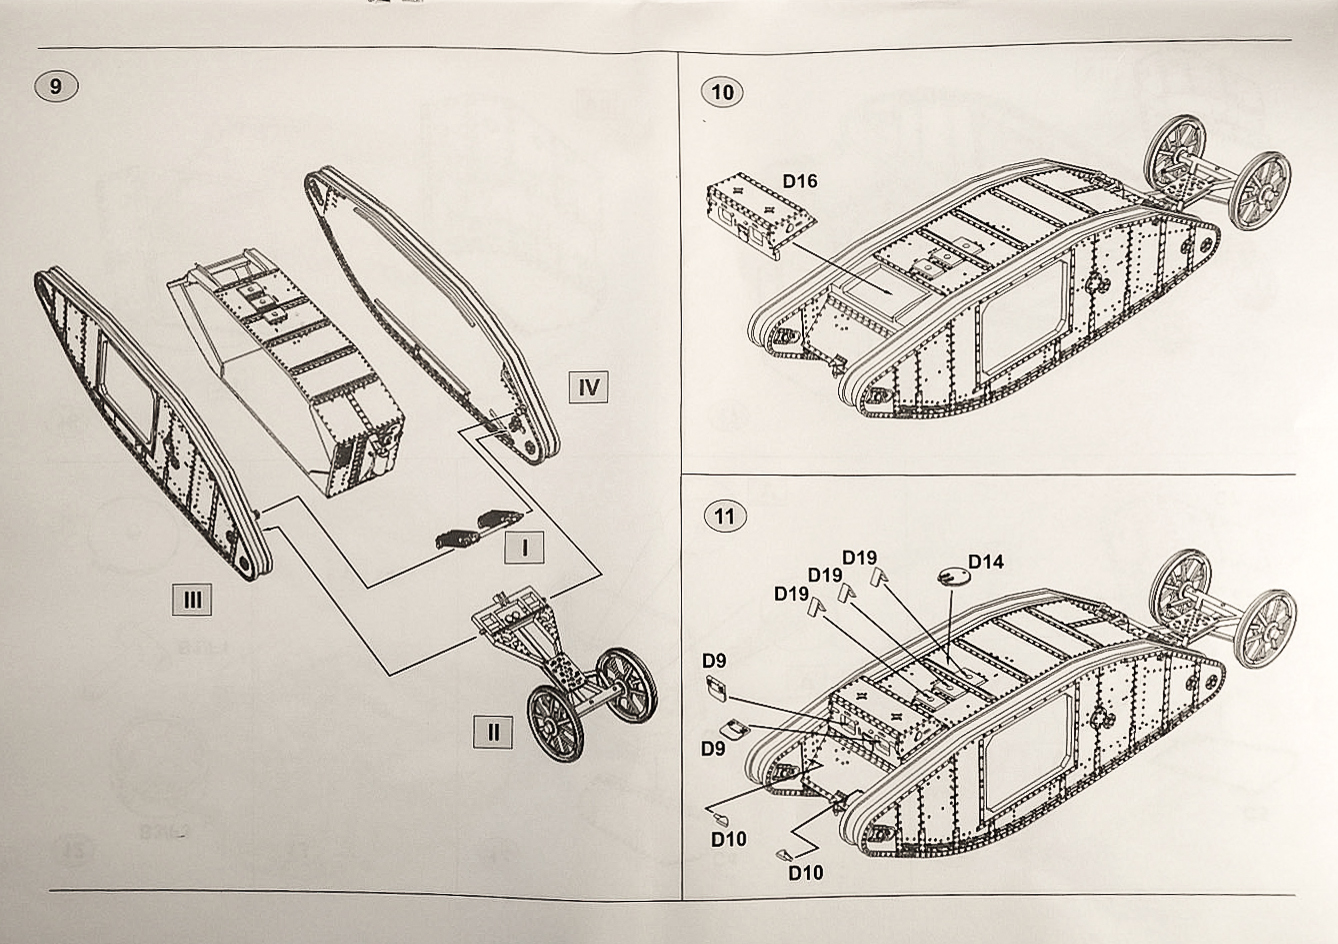
In step number two I broke part D13 trying to get it off the sprue and needed to repair it. In step number three, it is unclear where to locate the front end of part C2. I moved ahead to step 10 and installed part 16 first, which gave a more positive mounting location for part C2.
In step 11 the lights, parts D10, do not have locating holes in the side of the tank, so these will need to be drilled out on the tank body. The covers for the driver’s hatches can be installed open or closed. In steps 14 and 15 parts labeled as ‘C’ should actually be ‘B.’
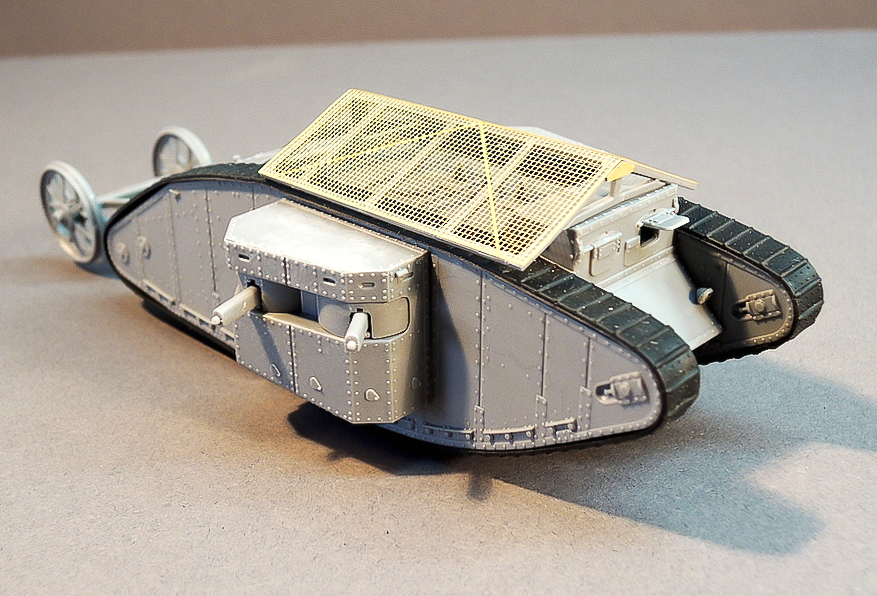
Steps 18, 19 and 20 are the installation of the grenade screen over the top of the tank. Refer to the photoetch parts assembly sheet for modifications to the frame and installation of the photoetch and screen. The photoetch includes gussets for the screen frame and additional detail for the axle of the rear steering wheels. The photoetch is appropriately thin for the 1/72 scale.
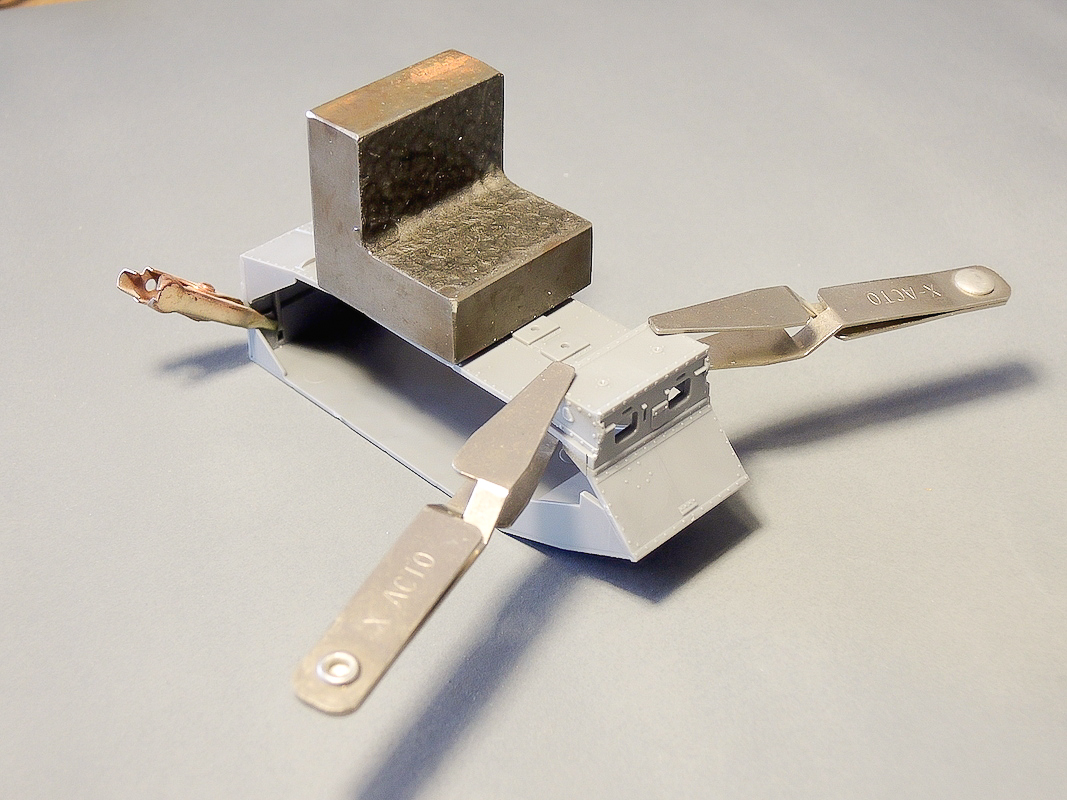
The vinyl tracks are installed in step 21. The joining pegs for the treads fit into a recess in the bottom of the sponsons. I joined the ends of the treads with a hot blade, and stretched them around the sponson. The treads needed to be glued down in several spots so they will lay flat. After installation of the treads, the tank was nose heavy so the rear steering wheels were not on the ground. I dilled a hole in the bottom of the tank, and inserted some lead weights so the rear wheels would be on the ground.
Color numbers are listed for Vallejo and Lifecolor. Colors for the camouflage scheme are shown on the back of the package, but do not seem to match the colored illustration. The colors are more similar to the illustration on the front of the package. I primed the kit, including the vinyl treads, with Alclad primer and painted with Vallejo paints. I then weathered the vehicle with AK Interactive’s streaking grime and rust washes.
Conclusion
The Master Box kit assembles easily and quickly, and builds into a nicely detailed version of the Mk. I tank. Thanks to Dragon Models USA for supplying the review sample and thanks to the IPMS review staff for letting me do this review.

Instructions Sample

Painting Guide

Sprue Sample
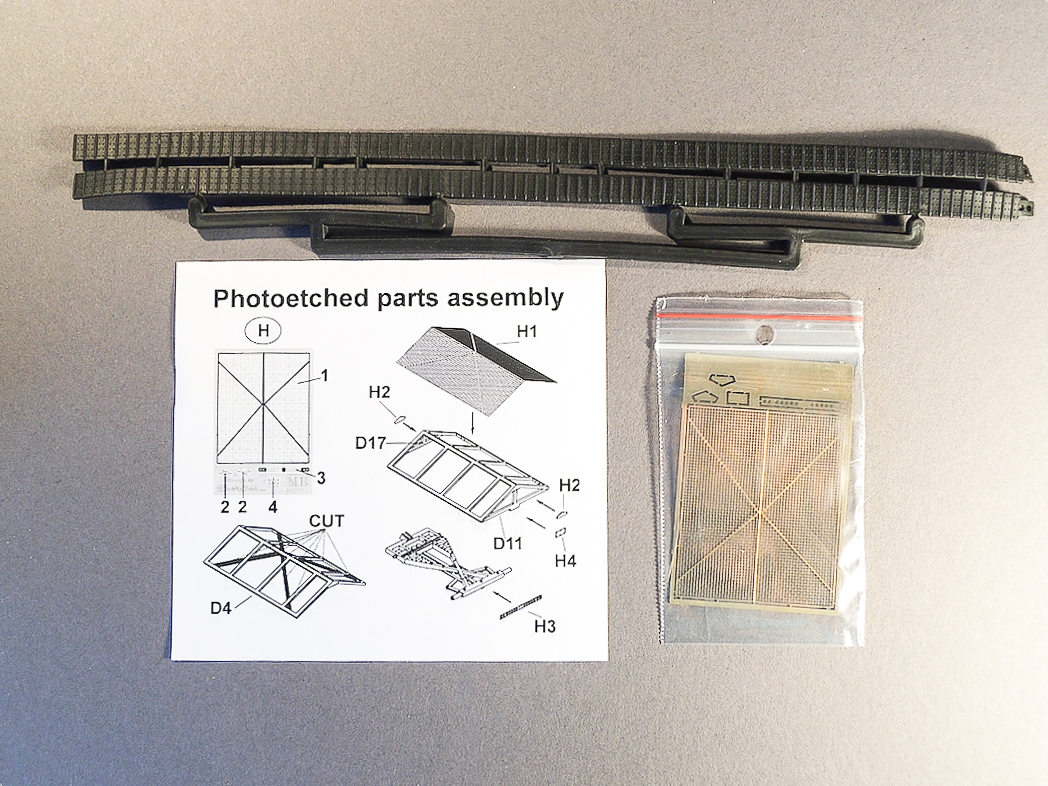
Photo Etch and Treads
Body Assembly

Sitting Nose Heavy
Assembly Complete
Painting the Camouflage
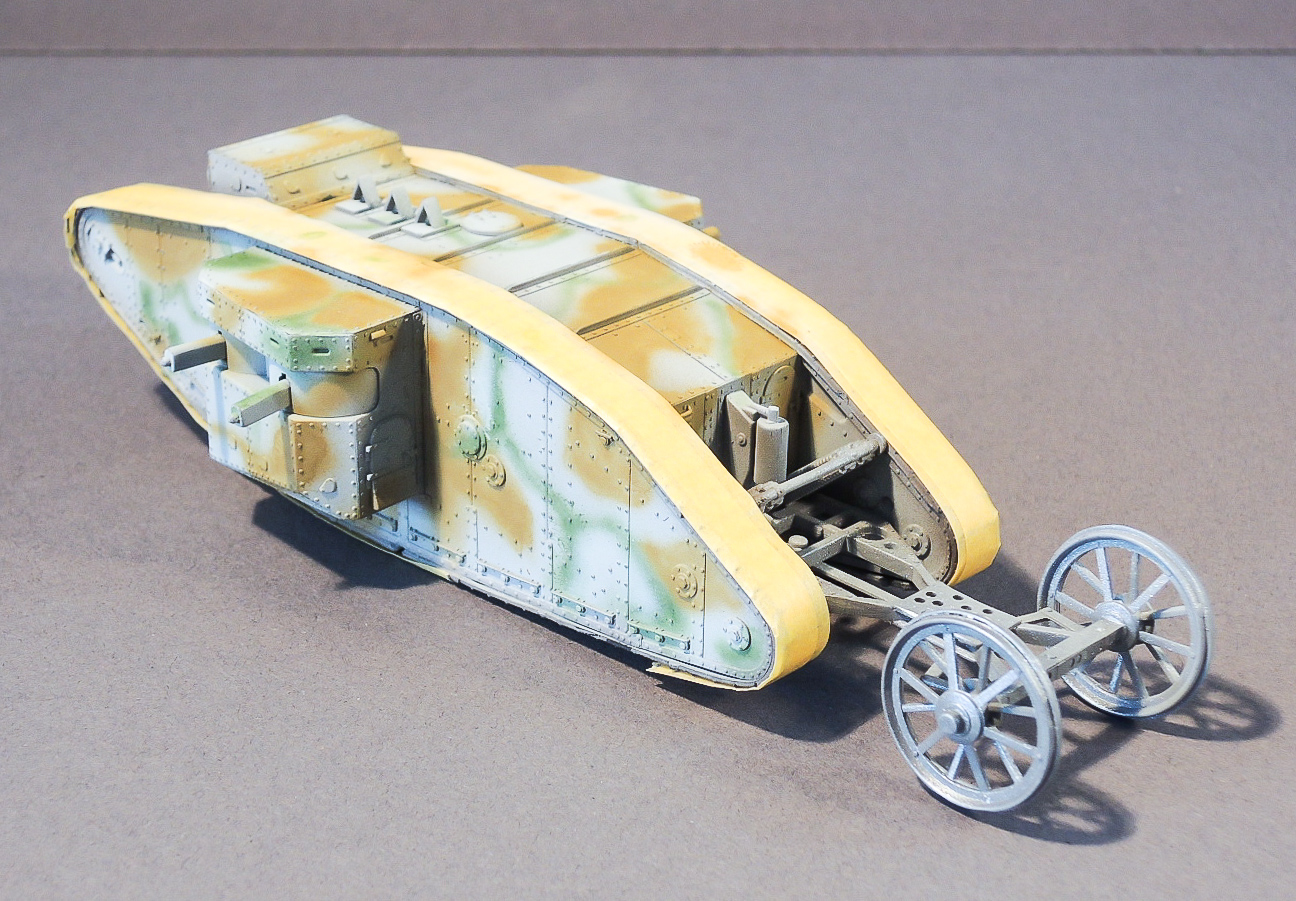
Completed Model - Left Front
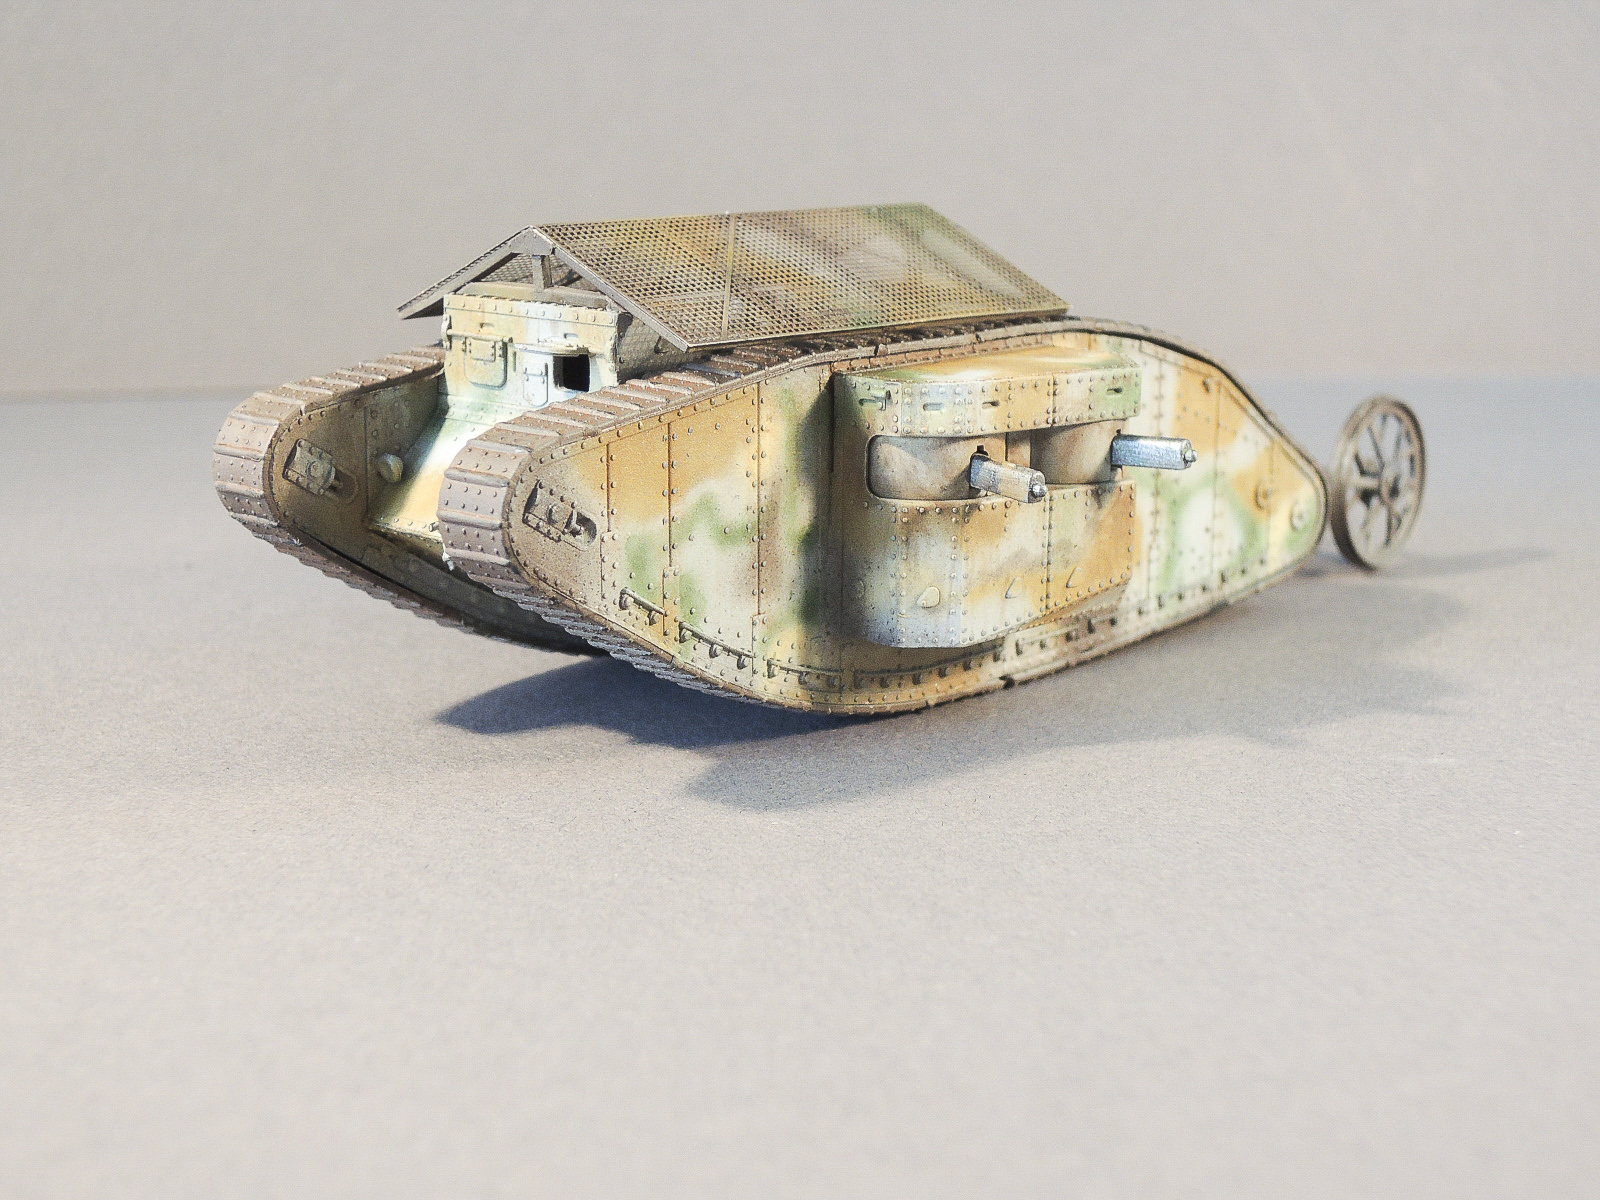
Completed Model - Right Rear
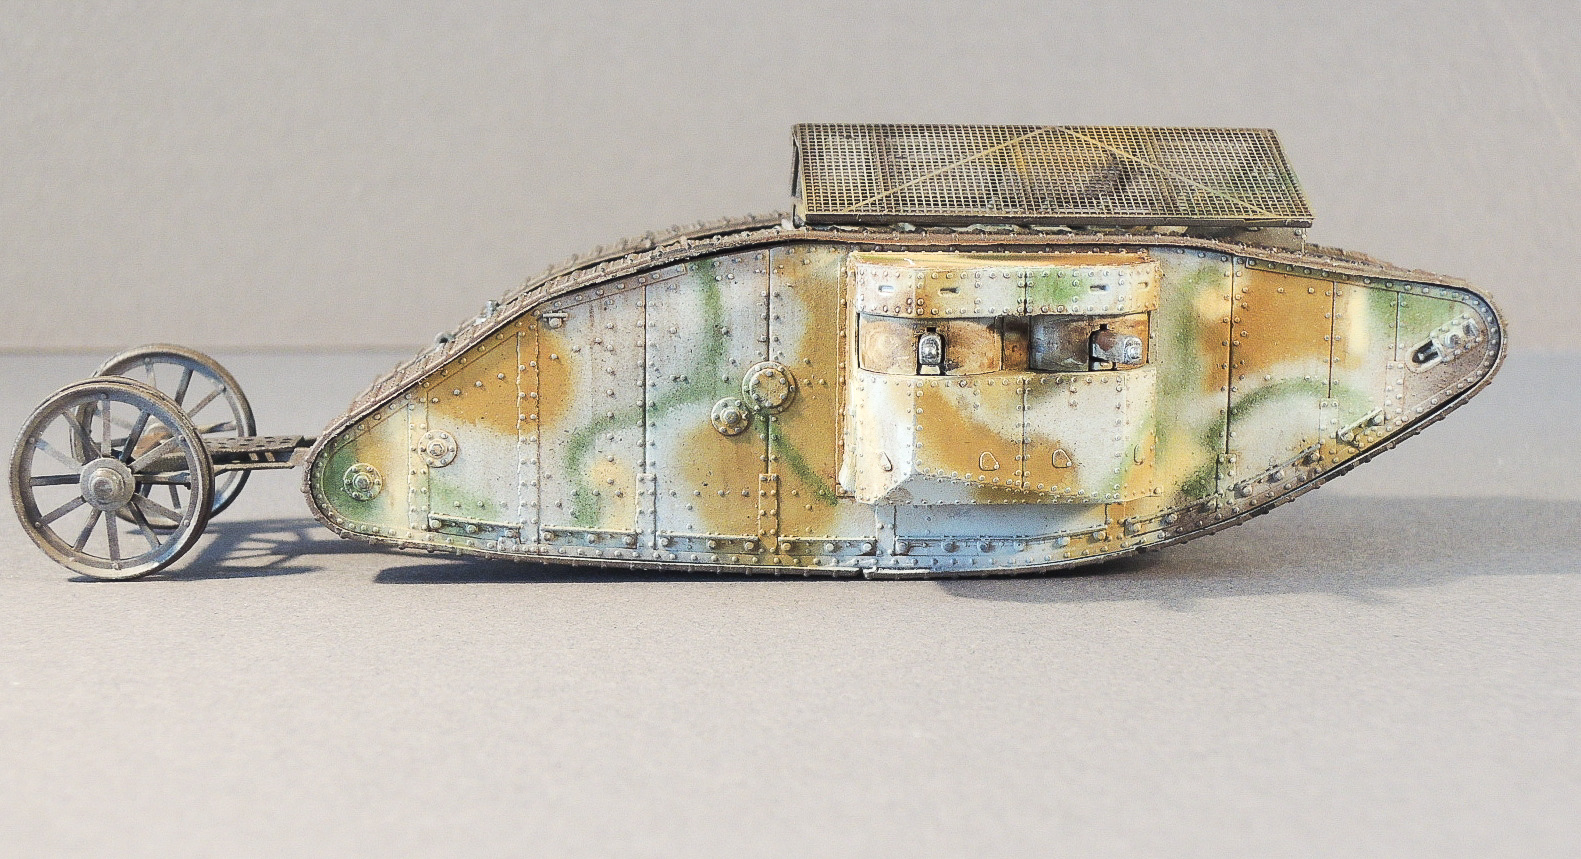
Completed Model - Right Side
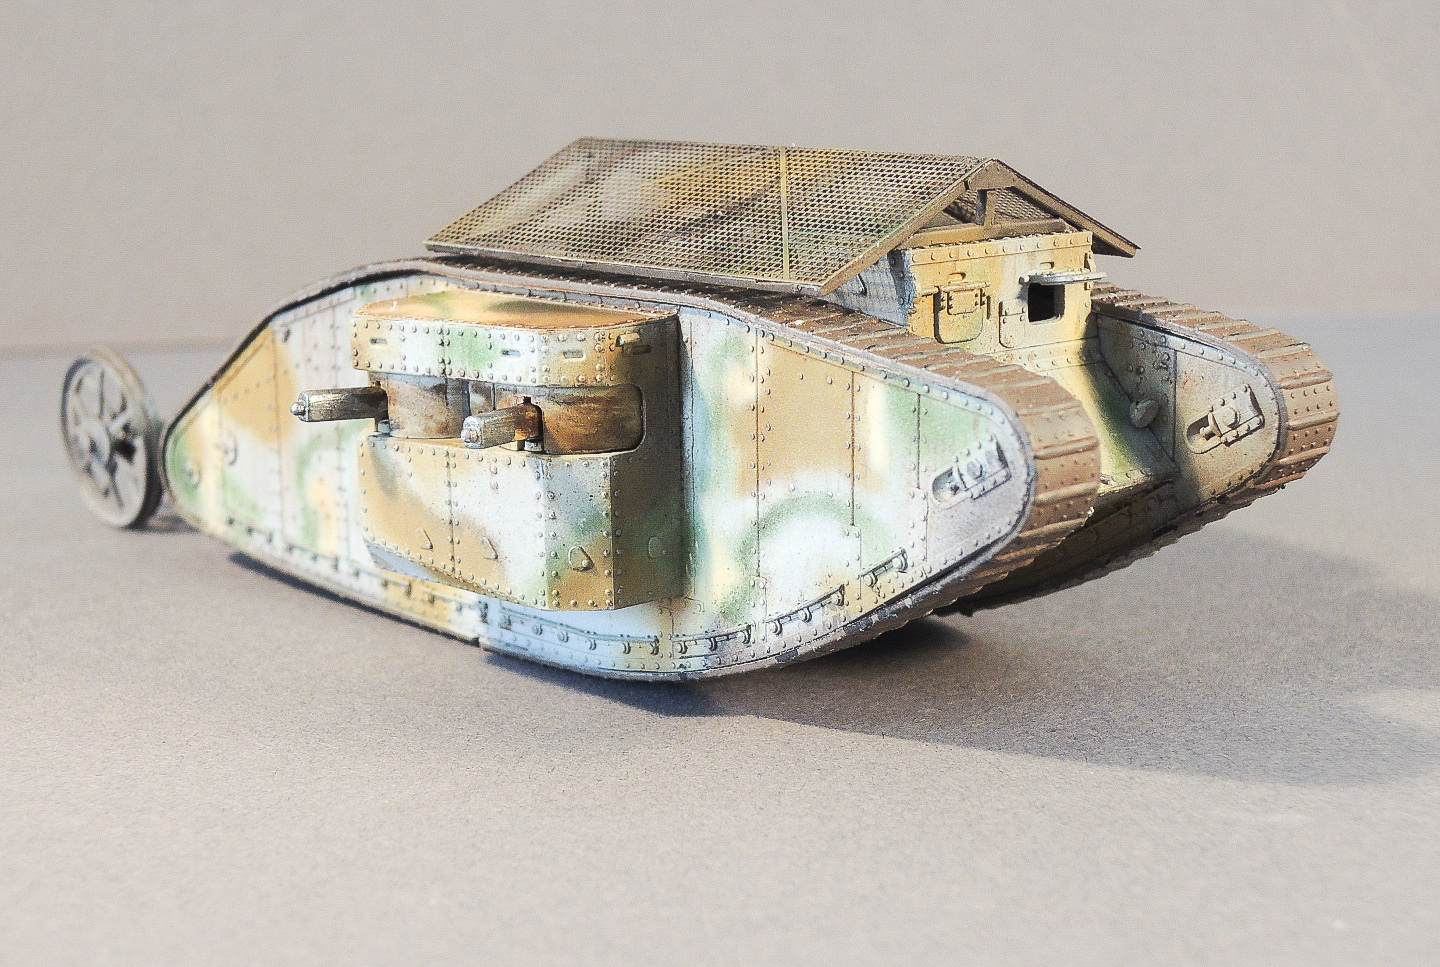
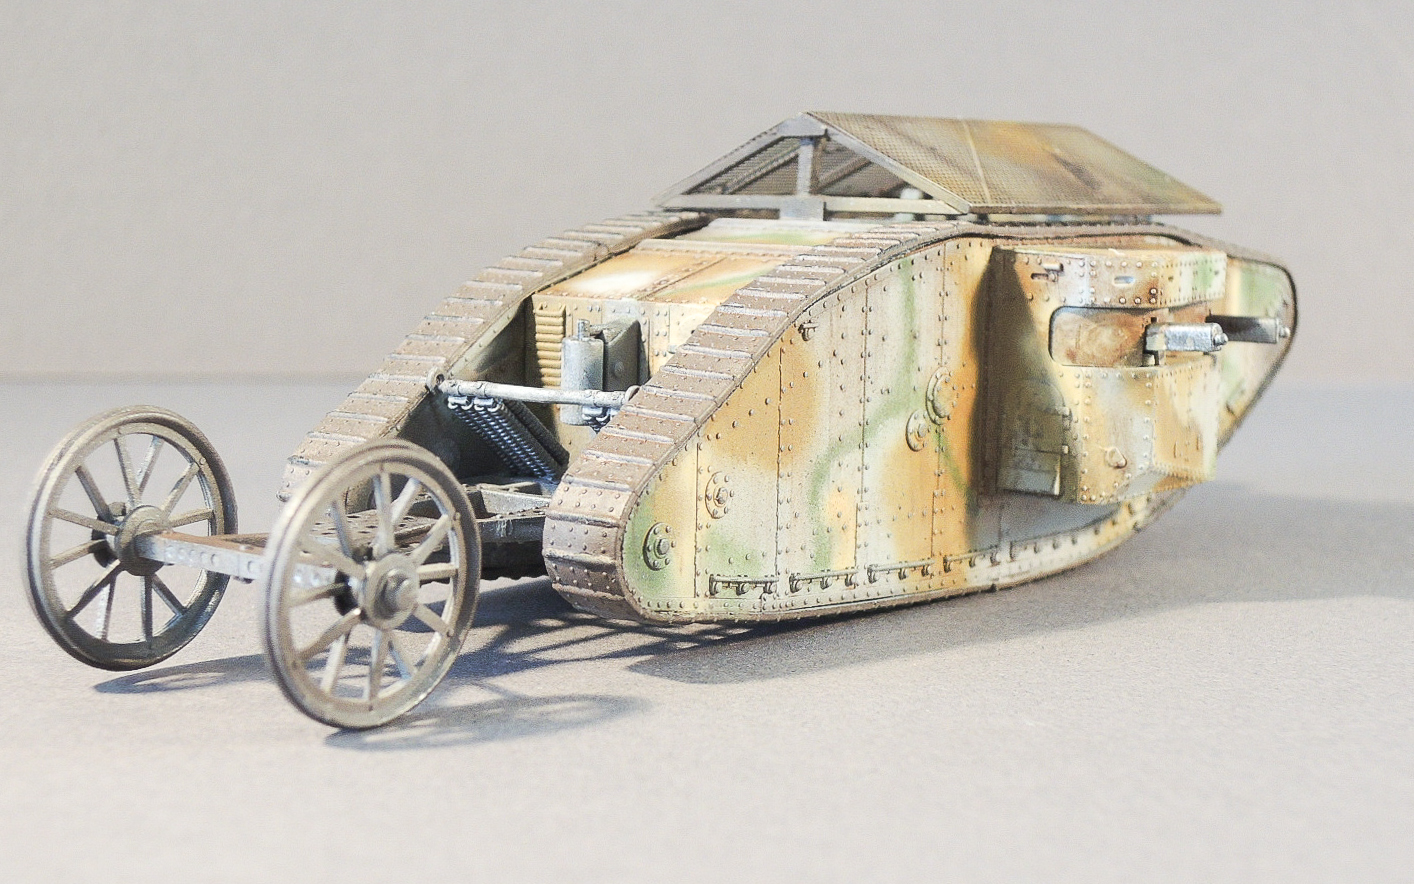
Completed Model - Right Front

Comments
Add new comment
This site is protected by reCAPTCHA and the Google Privacy Policy and Terms of Service apply.
Similar Reviews