
Mitsubishi Zero A6M5c Model 52c
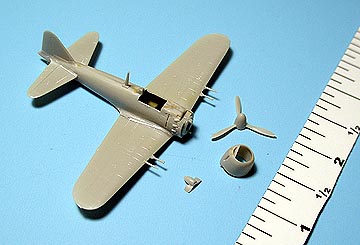
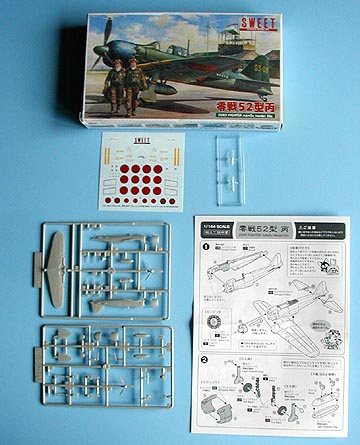
Sweet's 1/144 scale Zero is molded in light gray plastic and features beautifully-done recessed panel lines typically seen on much larger kits. (See photo #1) Dare I say "exquisite"? That was my overall impression of the finesse and crispness of all the parts. Two complete kits are included in the box, with seven choices of markings given on the Cartograf decals. This kit was a big step (in a smallish sense) for me. I had never built a Sweet kit before, and don't know much about Japanese subjects other than airliners.
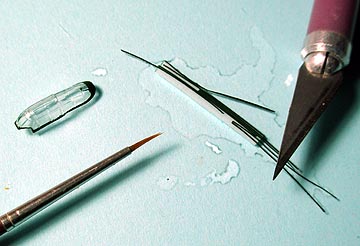
There are multiple parts in the kit -- some not for use -- so I had to watch the part numbers pretty closely. I was really favorably impressed with the fit of everything. The only place I needed to use putty was on the belly where the trailing edge of the one-piece wing fit into the fuselage. Let's face it, there just aren't many lineal inches of seams present in a kit this tiny. Construction of the kit was straightforward, just complicated a little for me by its diminutive size. (See Photo 2.) There's nice detail in the main wheel wells, but the cockpit is a little sparse, with just a seat provided. The gear struts even have the subtle but correct "bend" in them so the wheels are vertical while the struts angle slightly inward.
The guns -- tiny as they are and perfectly molded -- fit into recesses in the wing leading edges. I opted to leave these off until I got the kit to the painting stage, to minimize my chances of breaking them. The kit was actually a pretty quick build since it fit together so nicely. Then the "small details" came along -- these normally take me awhile on larger kits, so their size on the Zero really slowed my pace. The belly tank's two hangers are actually "handed" and seemed to me to fit better if they were reversed from the instructions' specs. The inboard main gear doors have a small "tab" at their aft ends, meant to be bent outward -- the external fuel tank won't fit to the belly if this isn't done.
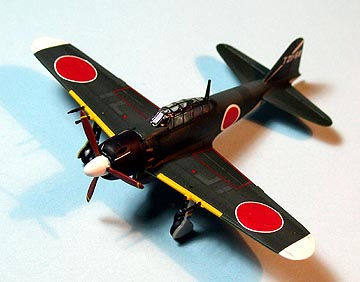
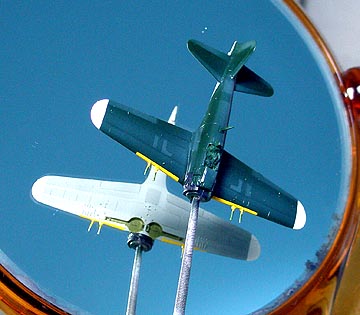
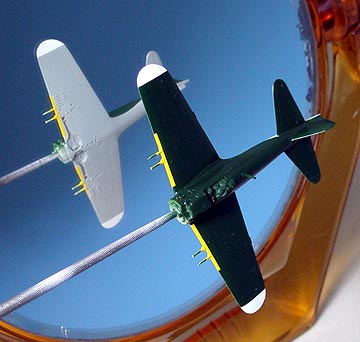
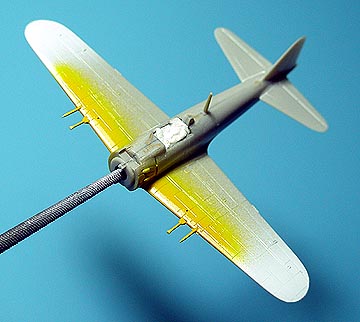
The yellow wing ID bands are given as decals, with tiny holes in each, meant to slip over the wing guns. I wasn't sure of my ability to accomplish this and have them conform to the tight curvature of the wing leading edge, so I opted to paint this feature instead. After a base coat of gloss white for the wingtips and leading edges, I sprayed a deep yellow over the latter. (See Photo 3.) Then it was a simple matter to mask the lower edge, spray the lower surfaces gray, and when dry, reverse the masking and spray the uppers IJN Green. (See Photo 4.) For such a small model, the green was way too dark, so an overspray of greatly-thinned flat white (as well as picking out a few panels here and there) gave the model a more scale appearance. (See Photo 5.)
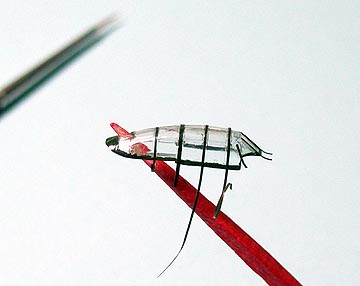
The canopy is pretty thick and not all that optically clear. Instead of trying to paint the extensive framing, I just masked and painted the skirt, and used thinly (VERY thinly) sliced trim film decal for the framing. (See Photos 6 and 7.) This was a fairly tedious process, but the fineness of the decal frames was a nice complement to the rest of the kit and gave the canopy a much more delicate appearance than if I'd tried to paint them. Once all the frames were in place, a dip in Future sealed everything and improved the looks of the clear part.
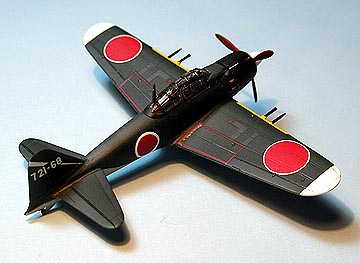
"Perfect" is the word that comes to mind when it comes to the kit's Cartograf decals. I chose to use the markings for the 721st Flying Group. The decals fit the model precisely, the white was opaque, the markings snuggled down into all the cracks and crevices, and really made the model pop.
The main gear doors are too thick and distract a little bit from the overall appearance of the finished model when viewed from the front. if I build this kit again, I would opt to replace those with thin plastic sheet.
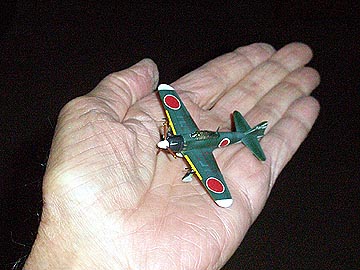
Sweet's Zero was a pleasure to build, but you'll need really good eyes (or magnifiers) as this kit might otherwise be a challenge because of its diminutive size. I worked over an upturned box lid for much of the build to catch small bits which might otherwise take flight and head to the carpet. The end result is a beautiful little model (See Photos 8, 9, and 10), and induced me to buy another Sweet kit (my second) at our Regional convention last month, the P-51C. It's gotta' be a little bigger than the Zero.
Thanks to Sweet Aviation Model Division for the opportunity to review this beautiful kit.

Comments
Add new comment
This site is protected by reCAPTCHA and the Google Privacy Policy and Terms of Service apply.
Similar Reviews