
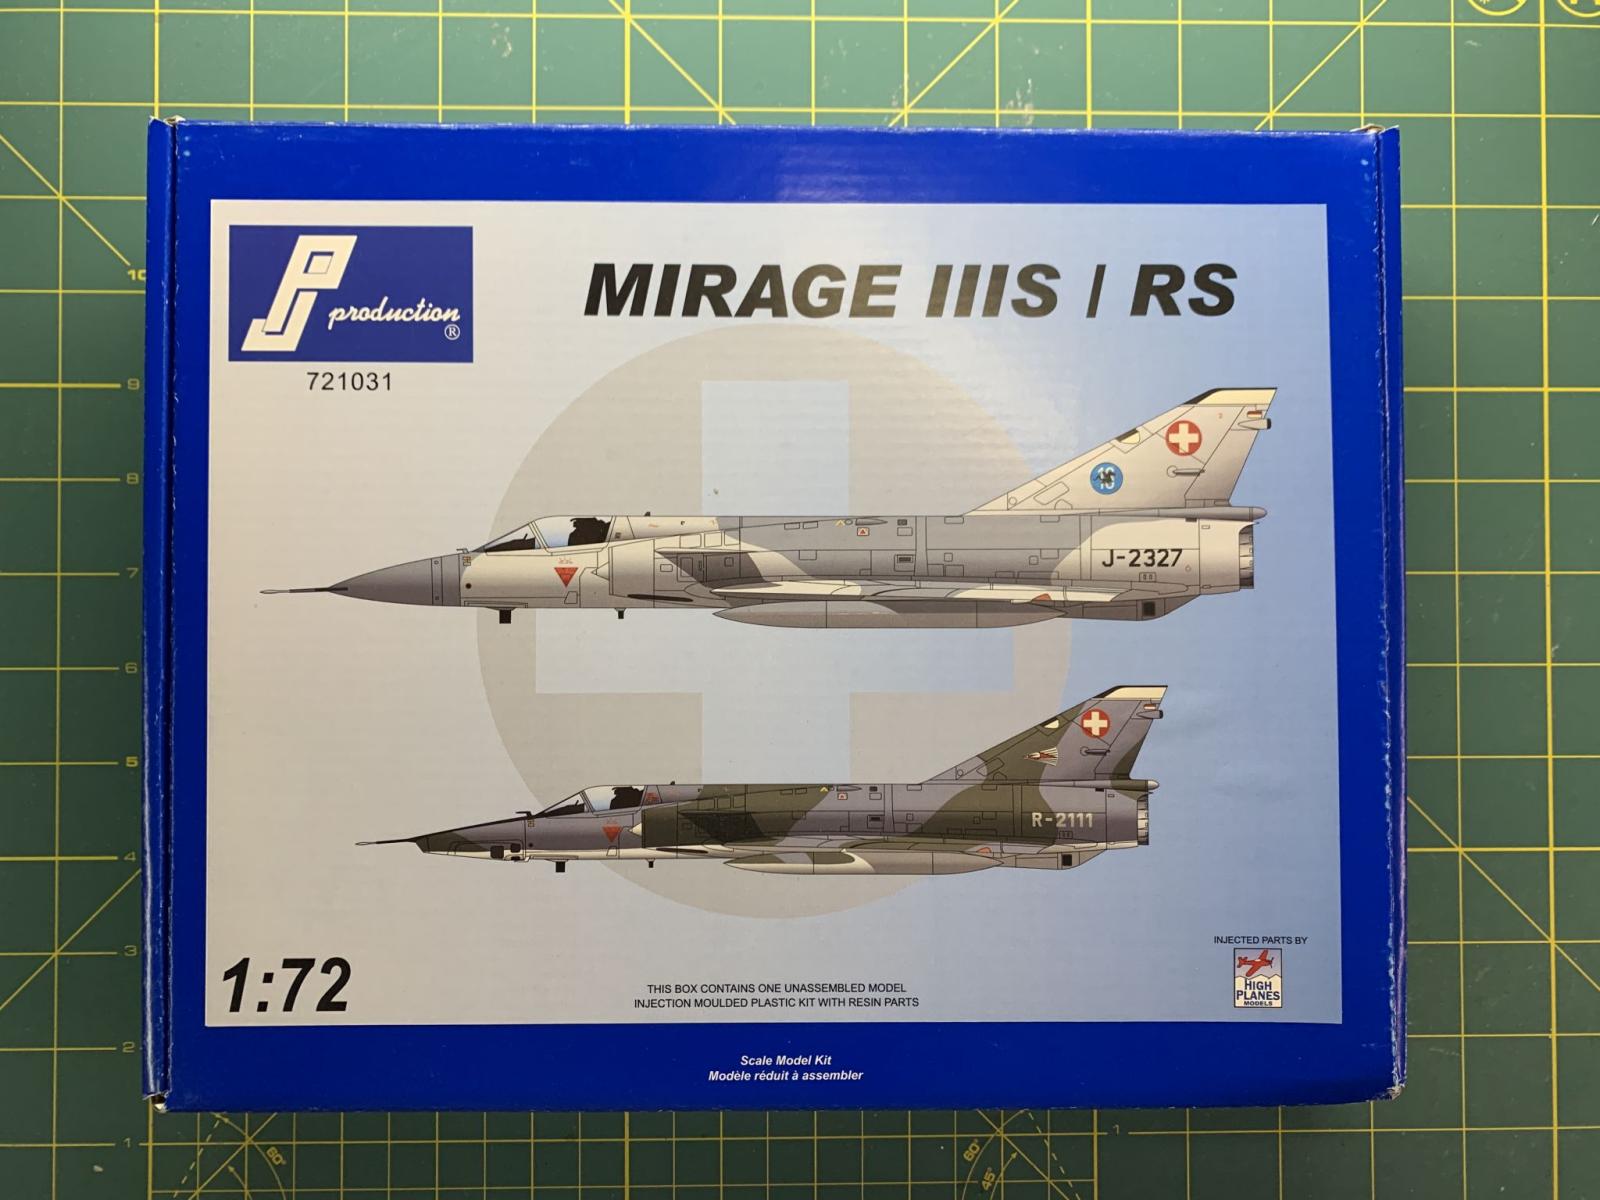
Mirage IIIR/RS
The Dassault Mirage III needs very little introduction among aviation enthusiasts. A lightweight, single-engine, delta-winged, all-weather interceptor, it was in 1961 and soon found its way into air arms around the world. The Mirage III has seen combat, notably in Israel, South Africa, Argentina, and Pakistan, and has been upgraded and modified over the years in order to extend the life of the airframe. Sixty years later, Pakistan is the only remaining air force flying the Mirage in the form of the ROSE III upgrade.
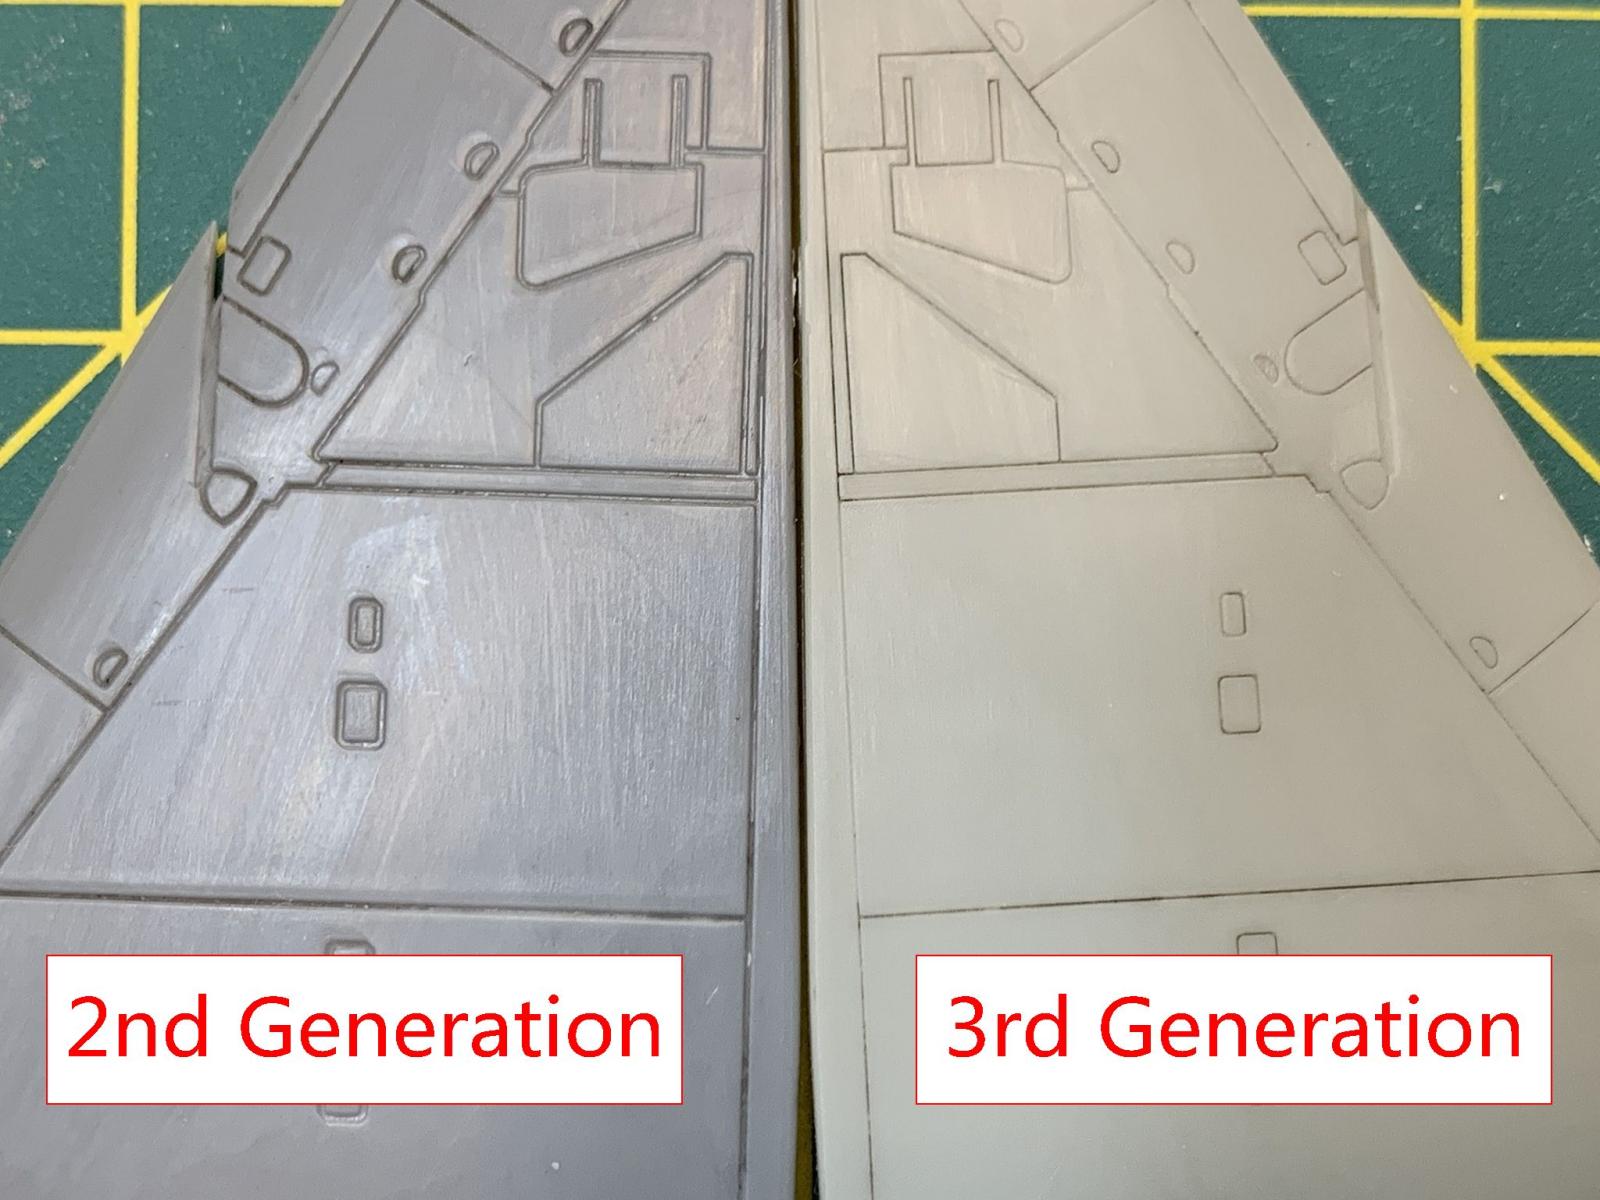
With such a history, it is surprising that there are not many kits of the Mirage III in 1/72. The Heller kit from 1976 was the definitive Mirage III kit for a while, and there has not been a modern kit of this iconic aircraft until the last few years. This particular kit is a collaborative effort between PJ Production in Belgium and HPM (High Planes Models) in Singapore, so it is an injection molded plastic kit instead of the resin kits PJ was known for. The base plastic is licensed out by HPM, while PJ reboxes it with resin pieces needed to convert the airframe. Note that this is actually High Plane’s third tooling/generation of the Mirage kit – the first generation was a limited run, accurate but very challenging build with the distinct light blue plastic, white metal pieces and vacuform canopy. The second generation was released around 2011, after High Planes moved from Australia to Singapore, and is a steel-mold injection tooling. Around 2016, the molds were retooled, resulting in thinner panel lines (see comparison photos for reference). This resultant third generation mold is what comes with this kit.
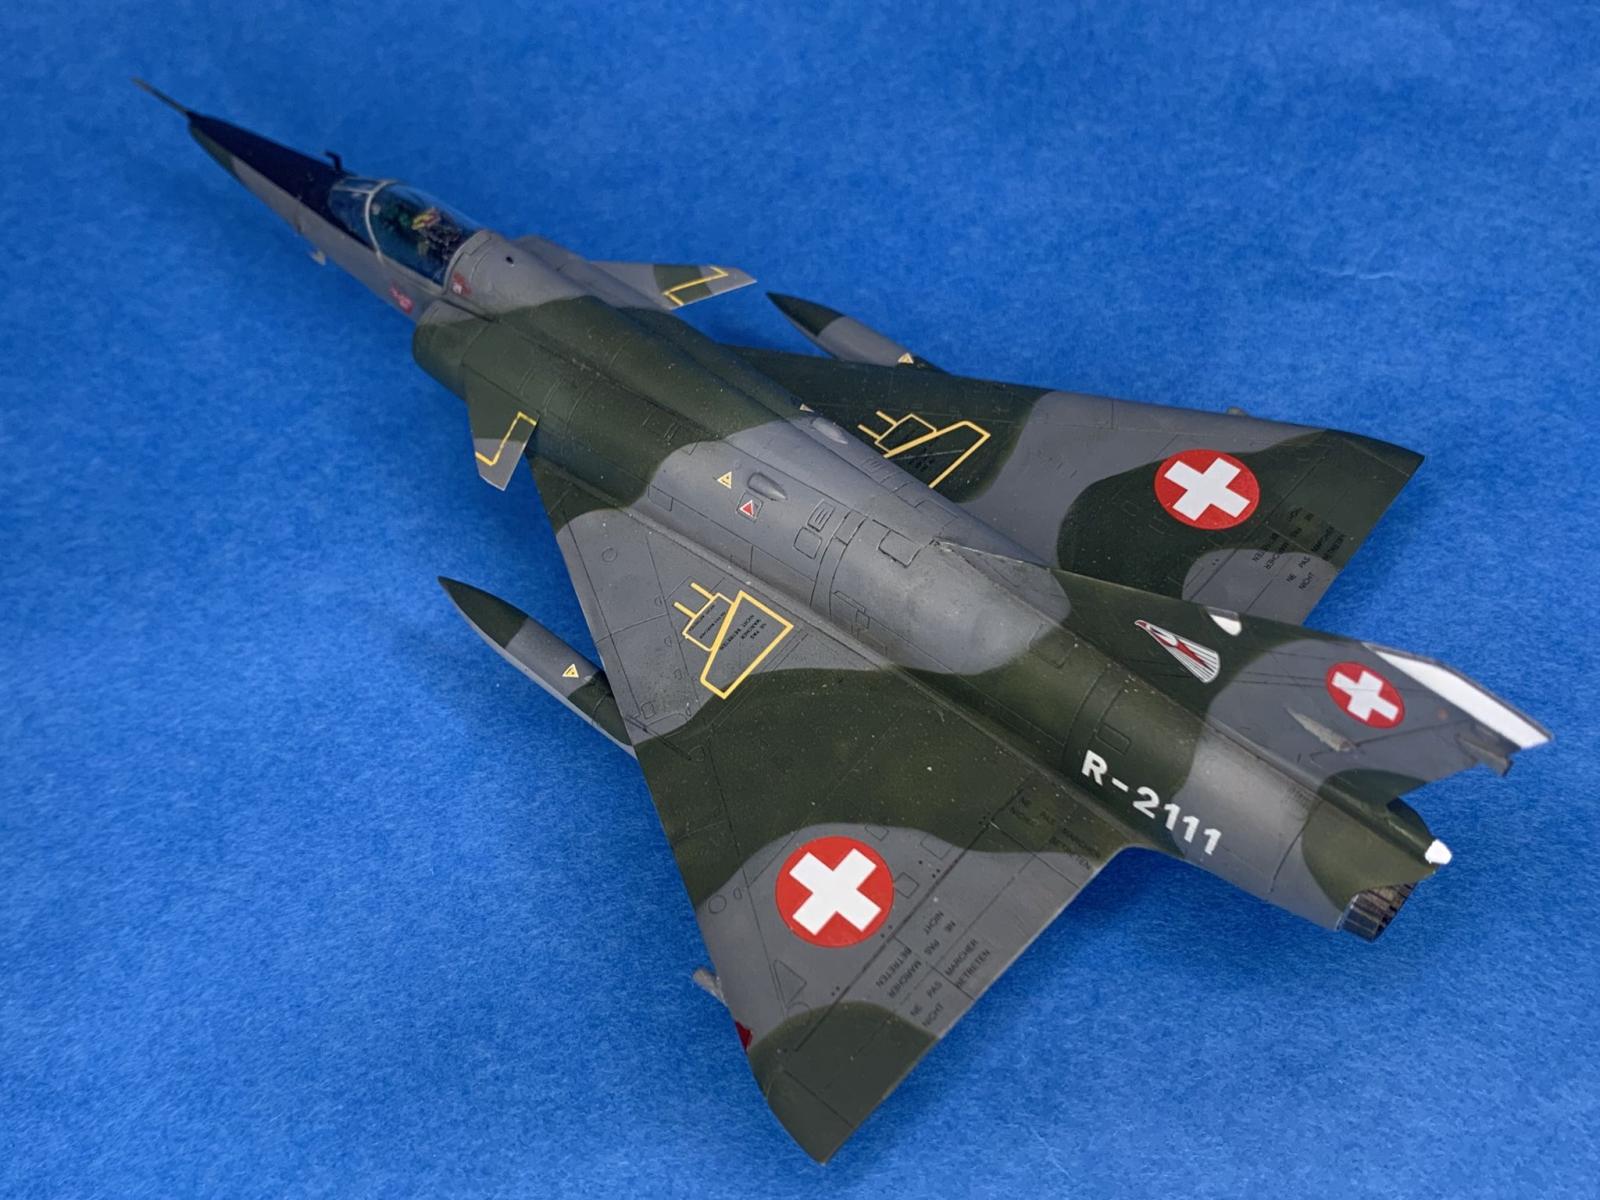
PJ Production gives you two options in this kit: The two-tone gray S interceptor build with the TARAN-15 radar nose, and the gray-green RS reconnaissance variant with the camera nose. Decals are provided for both and the two kits share the same resin parts apart from the nose. As such, you could build the entire kit and make up your mind on which variant to display all the way up until the paint stage.
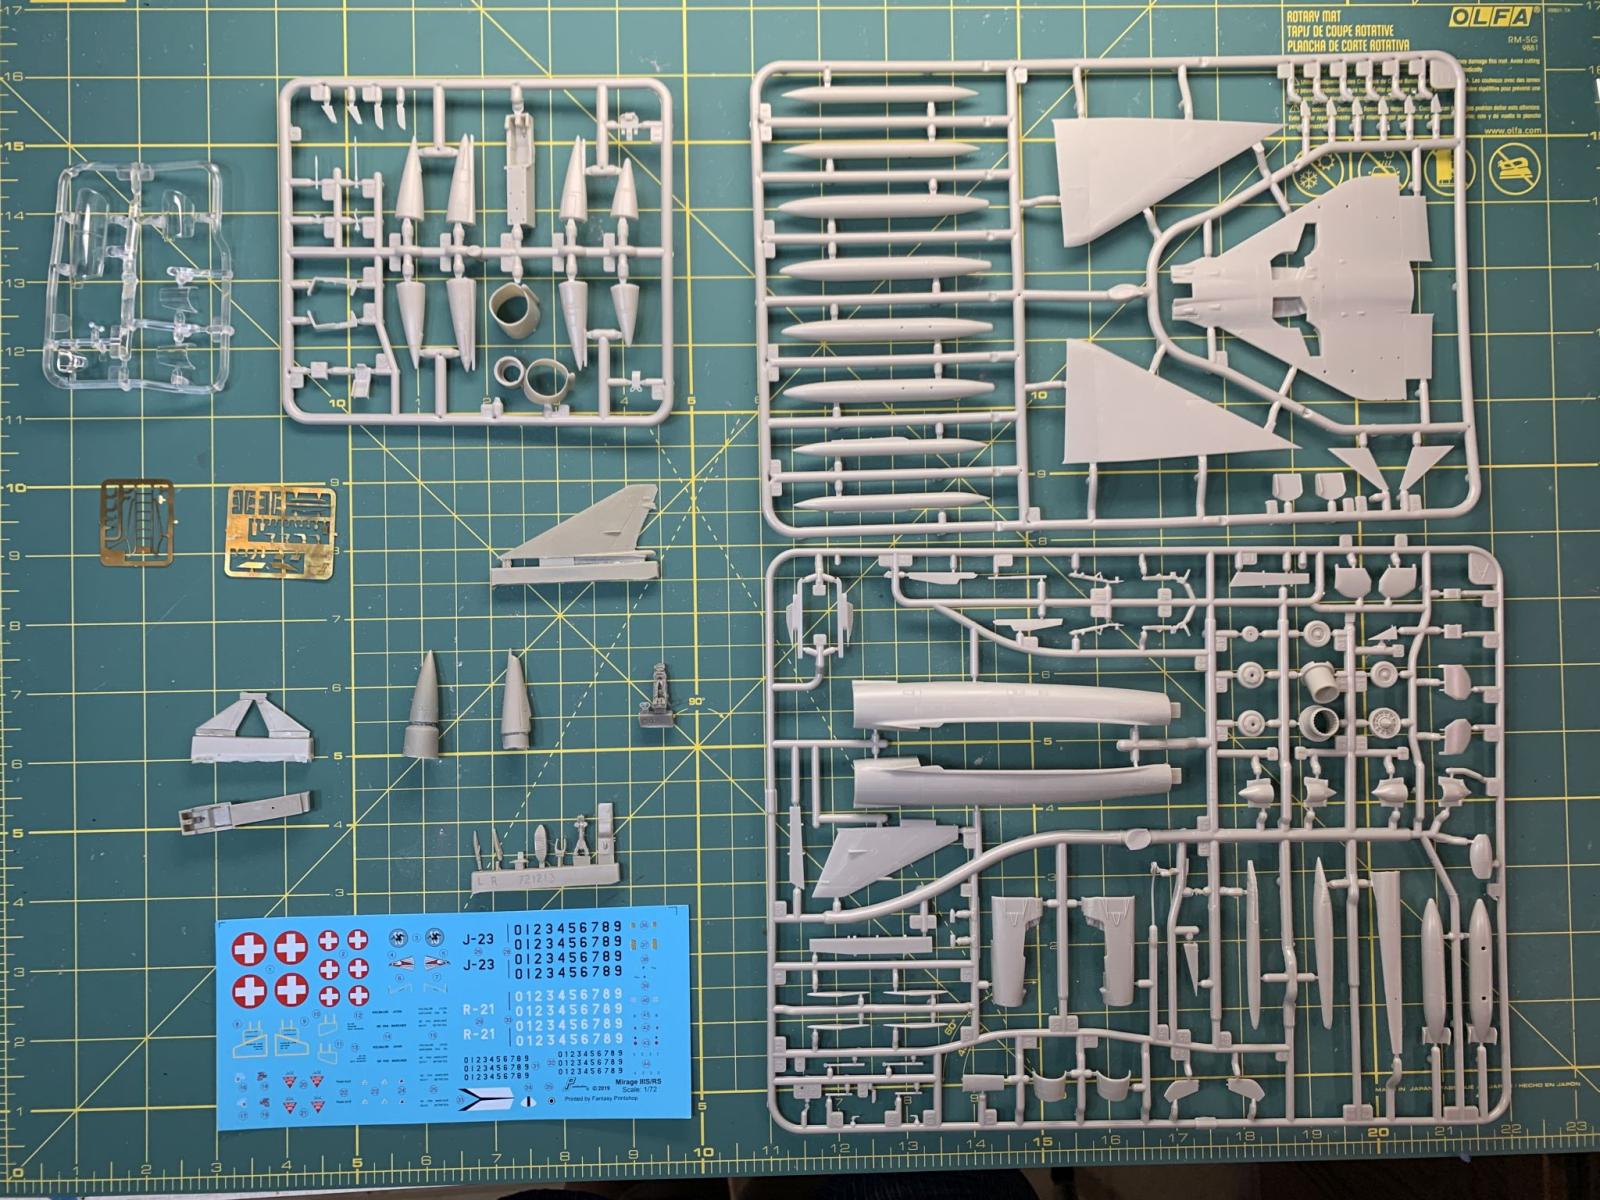
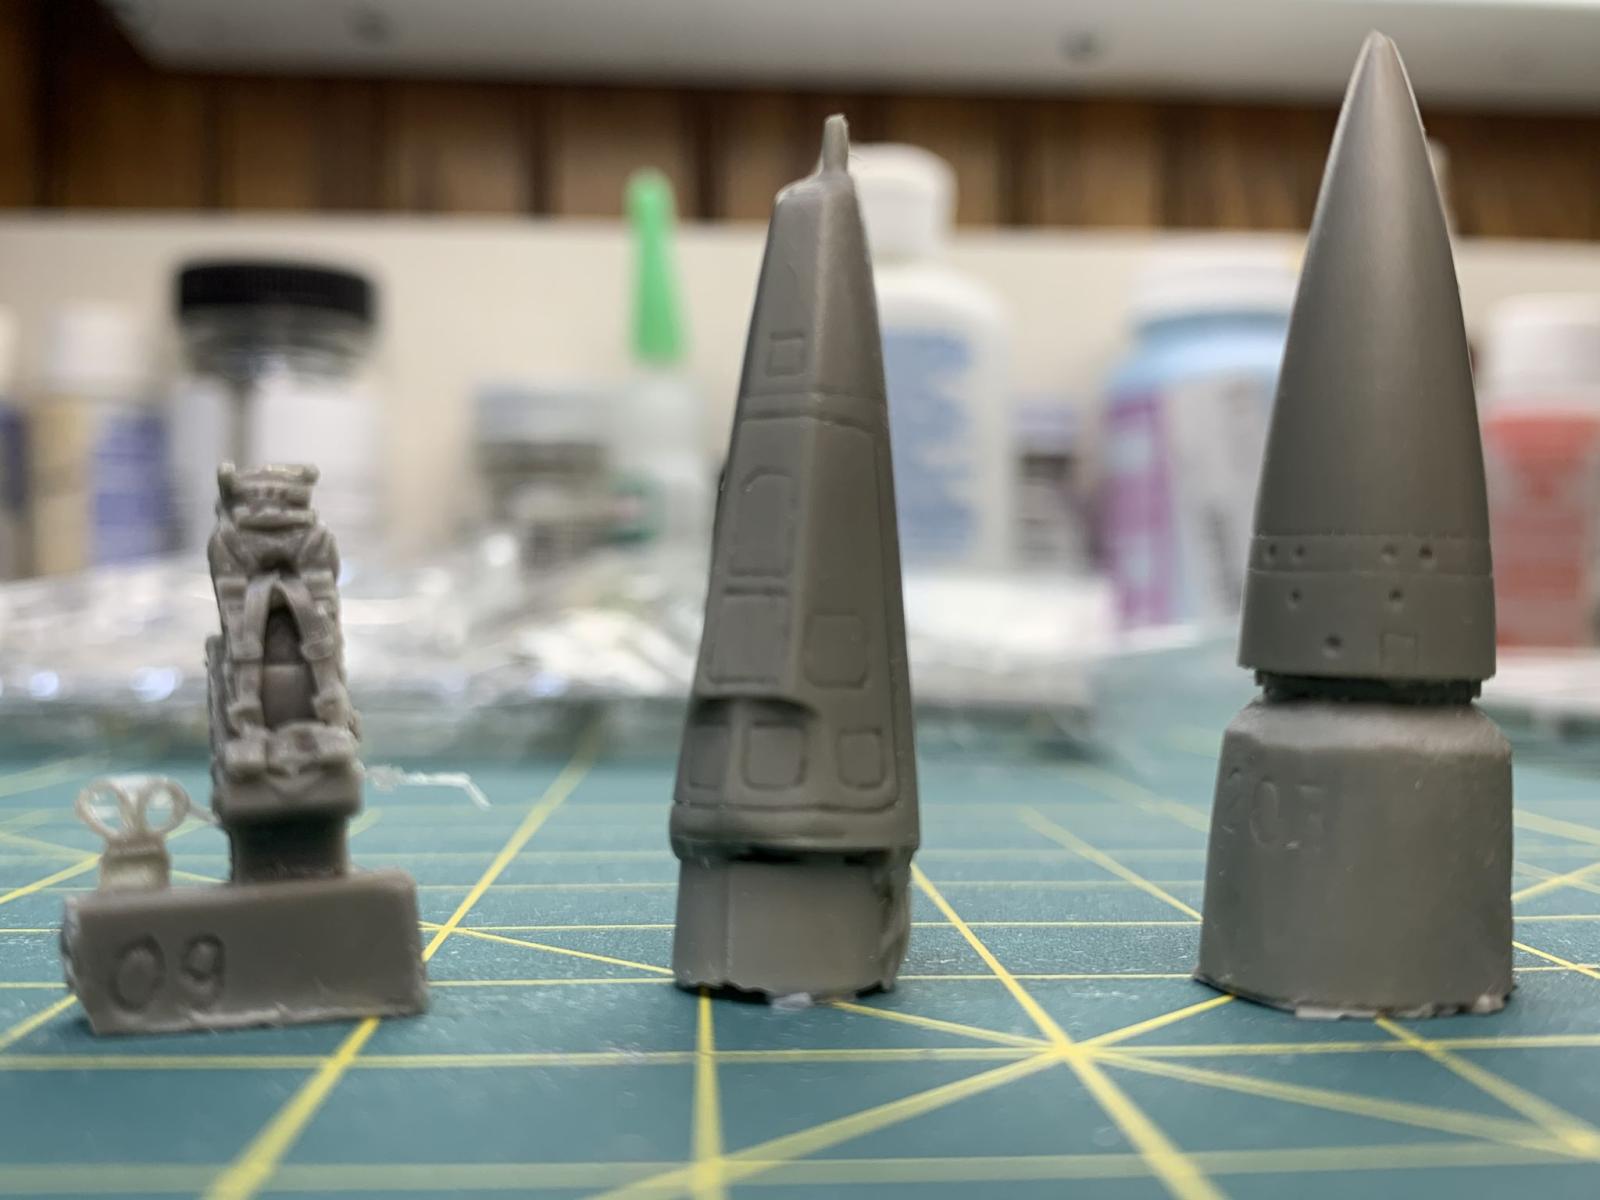
The kit contains the base kit in three styrene sprues and one clear sprue. Two photoetched frets make up a boarding ladder and several antennae. Resin pieces include a tail, a pair of canards, a Martin Baker Mk.4 ejection seat, TRACOR AN/ALE-40 countermeasures dispenser, an extended nose wheel well/cockpit assembly, nose wheel well assembly, antenna blade, wingtip RWR receivers, extended nose wheel door and finally, separate resin noses for the III RS reconnaissance nose or TARAN-15 interceptor nose. The kit is rounded off with a nice decal sheet printed by Fantasy Workshop.
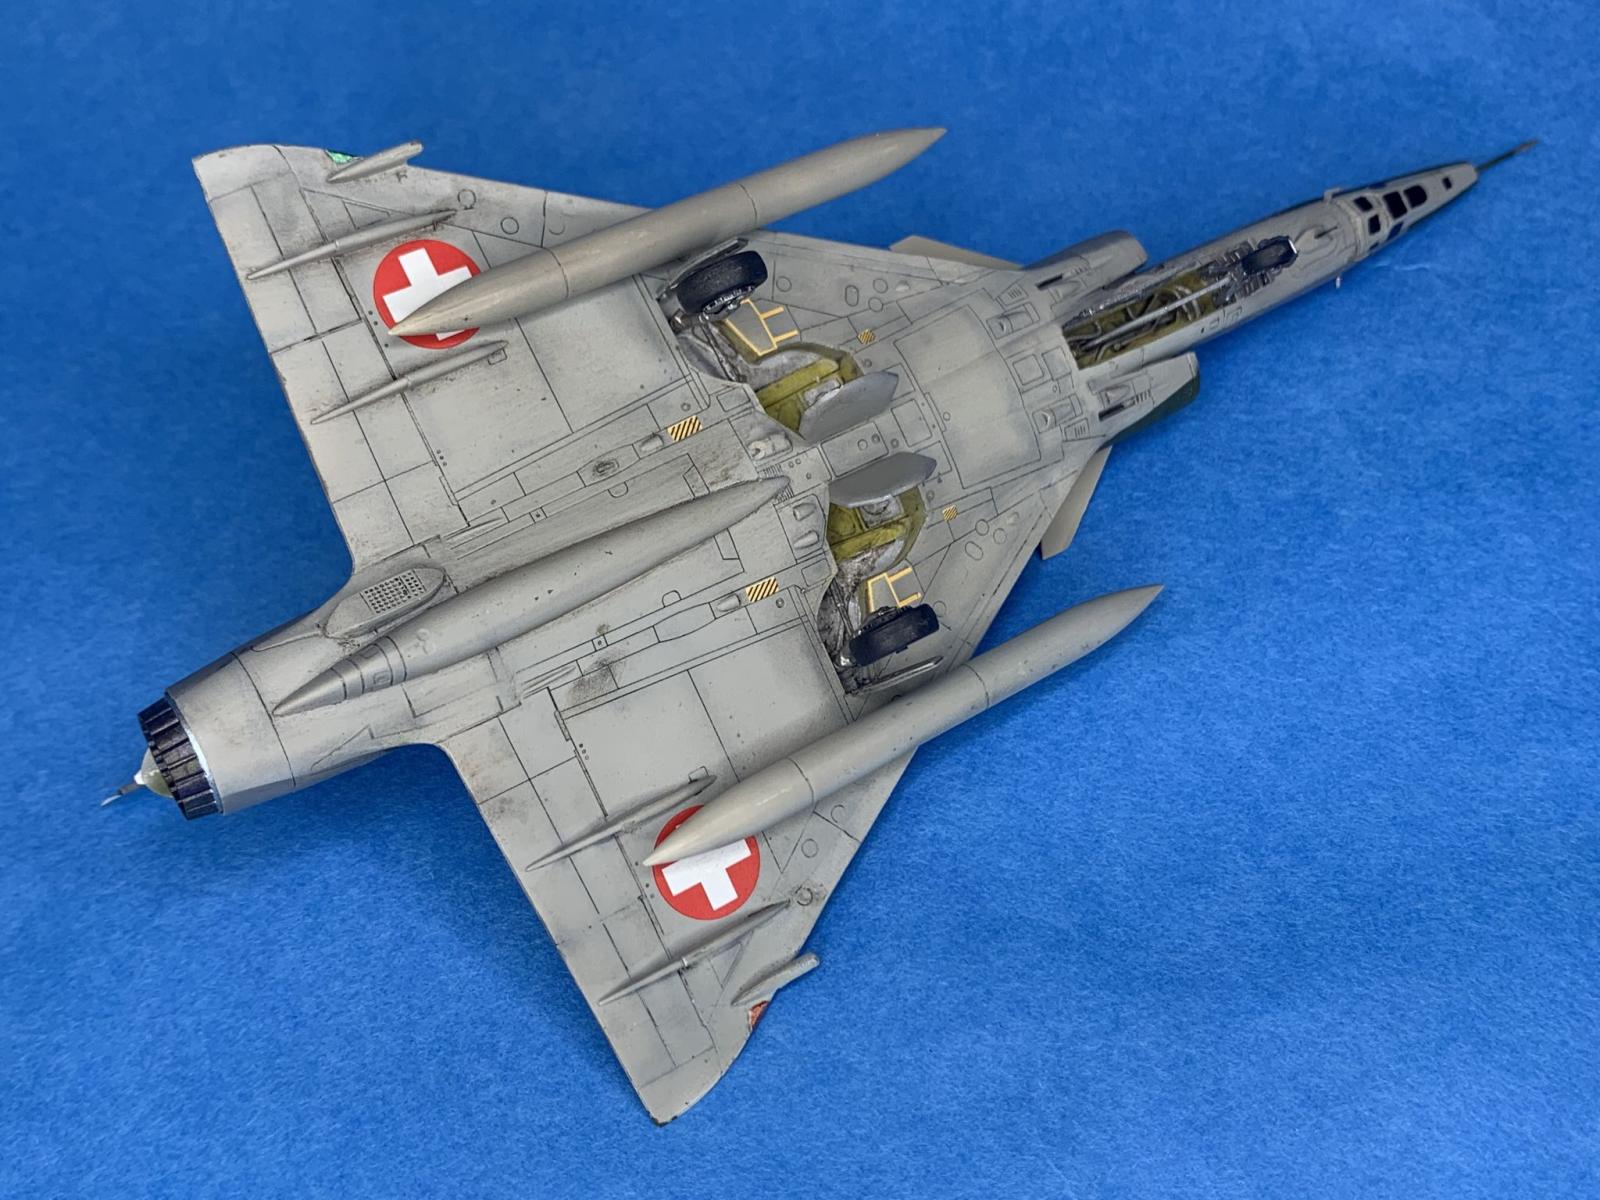
The cockpit tub is attached to the nose gear bay, so a resin replacement is provided to accommodate the extended nose wheel on the Swiss version. The resin piece is essentially a cast of the kit cockpit piece with an extended wheel well, and so has the same amount of detail on the kit part. As the cockpit is small, there is no loss of detail suffered. The Swiss cockpit is metaling green reminiscent of Japanese fighters, so I painted it silver and added a coat of clear green after. Other than cutting a section of the lower wing piece to accommodate the extended bay (which is pre-marked making for easy and precise cutting), no surprises were encountered during construction.
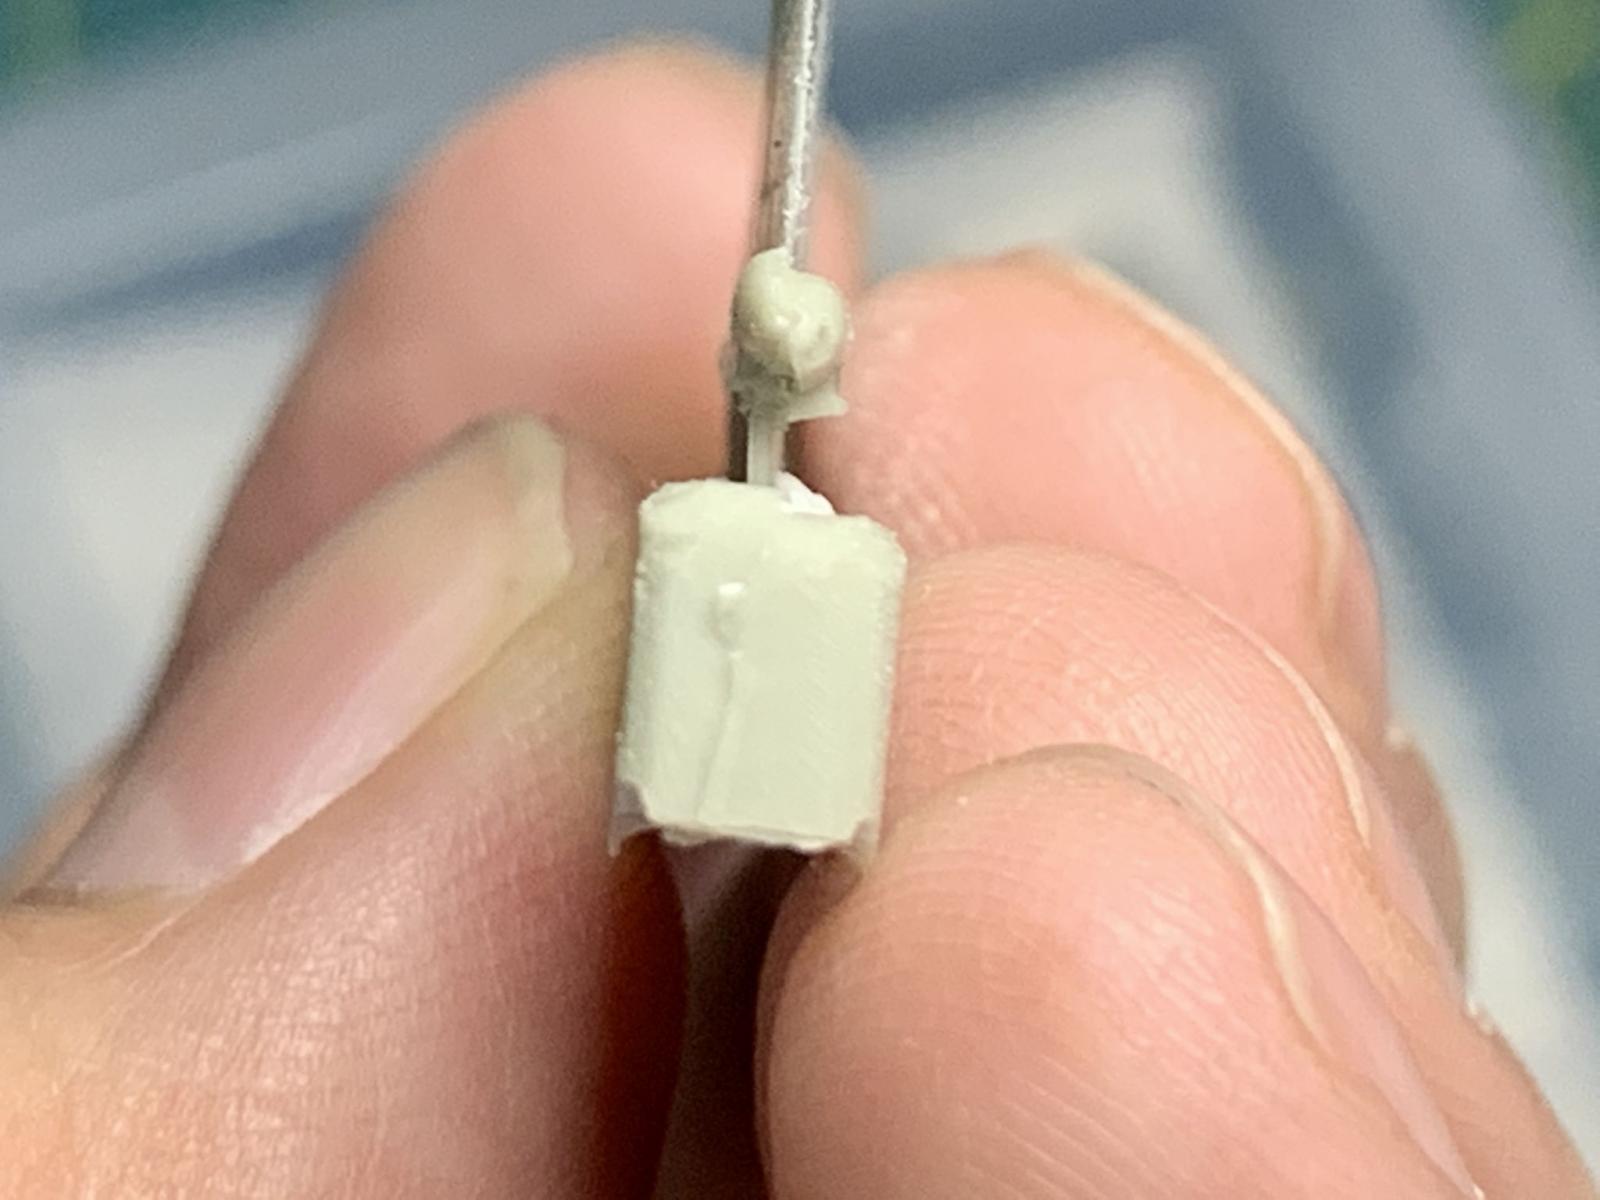
The III S/RS tail contains a rearward-facing RWR receiver in a bullet housing underneath the rudder, and is one of the parts in the included conversion. The resin piece is practically paper-thin along the leading edge, so care is needed not to damage it. Unfortunately, the bullet fairing was offset on one side by 1mm, possibly the result of a shift in the mold while the resin was curing. I reached out to Philippe Jacques, the head of PJ Production, and he noted that the molds were damaged and therefore would not be able to replace it. While it was unfortunate that he was not able to replace it, I did appreciate that he was transparent with me on the issues and was very gracious in response. The alternative would be to modify the kit tail by scratchbuilding the bullet fairing. However, I felt it was necessary to use all of the provided conversion pieces for the purpose of this review, and I was determined to salvage the resin tail. Eventually, I managed to rectify the issue by using a razor saw to slice off the mismatched side, glue it back into the correct position, then reshape the fairing with putty. My scratchbuilding skills aren’t very good, but I believe I managed to create an adequate fix.
Unlike most kits where you may need to improvise and built parts of the kit out of sequence, this is one of the few rare kits where you want to build it according to the instructions. One of the brilliant engineering aspects of this kit is that you can build the forward and rear fuselage halves separately and not have to worry about a mismatched step or seam when they are mated. This is because the rear fuselage halves have these tabs that slide into and lock the forward fuselage in place. The separate fuselage spine then eliminates the need to clean up any seams on top. This does require that you assemble the fuselage halves precisely to avoid a mismatch, but when it comes to modular kit fuselages this is quite well done. The intake pieces do not fit very well however, and will require a little shimming and putty to ensure a nice transition from the intakes to fuselage. This is the only part of this kit that is problematic.
The kit also has spreader bars built into the fuselage halves so that you do not need to measure and cut your own out of kit sprue. You should just be able to drop the fuselage and wings into place with minimal fuss. A bare minimum of filler should be needed to mate wing root to the fuselage. For the remainder of the resin pieces, the nose fit with few issues and needed just a little sanding and rescribing to clean up the resultant glue seam. The countermeasure dispenser also fit normally, though there is no area marked out for it – you will need to mark an attachment spot with a pencil or marker on your own. The wingtip RWR receivers did not fit well and needed a little putty and sanding to get them to fit flush. I left out the antenna blade under the nose and the canards due to my propensity for breaking stuff off during handling and left that for last. After masking and attaching the canopy, I started to paint the model.
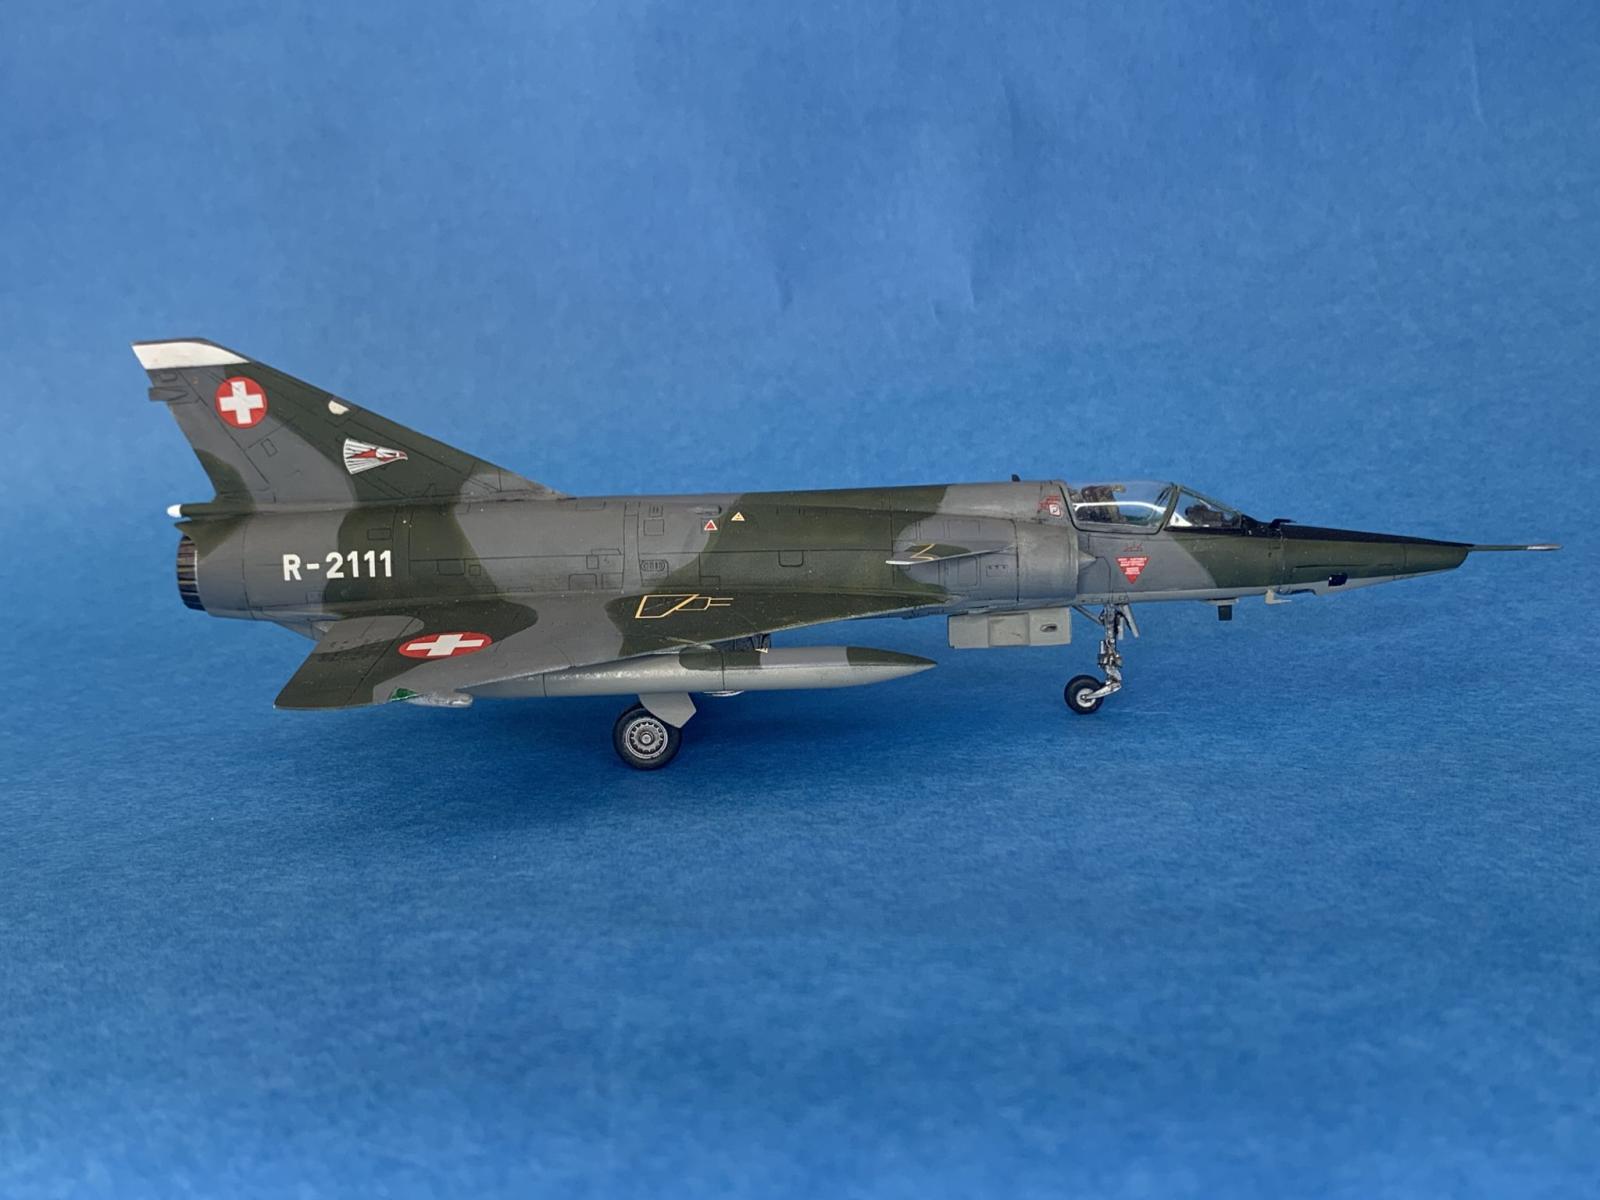
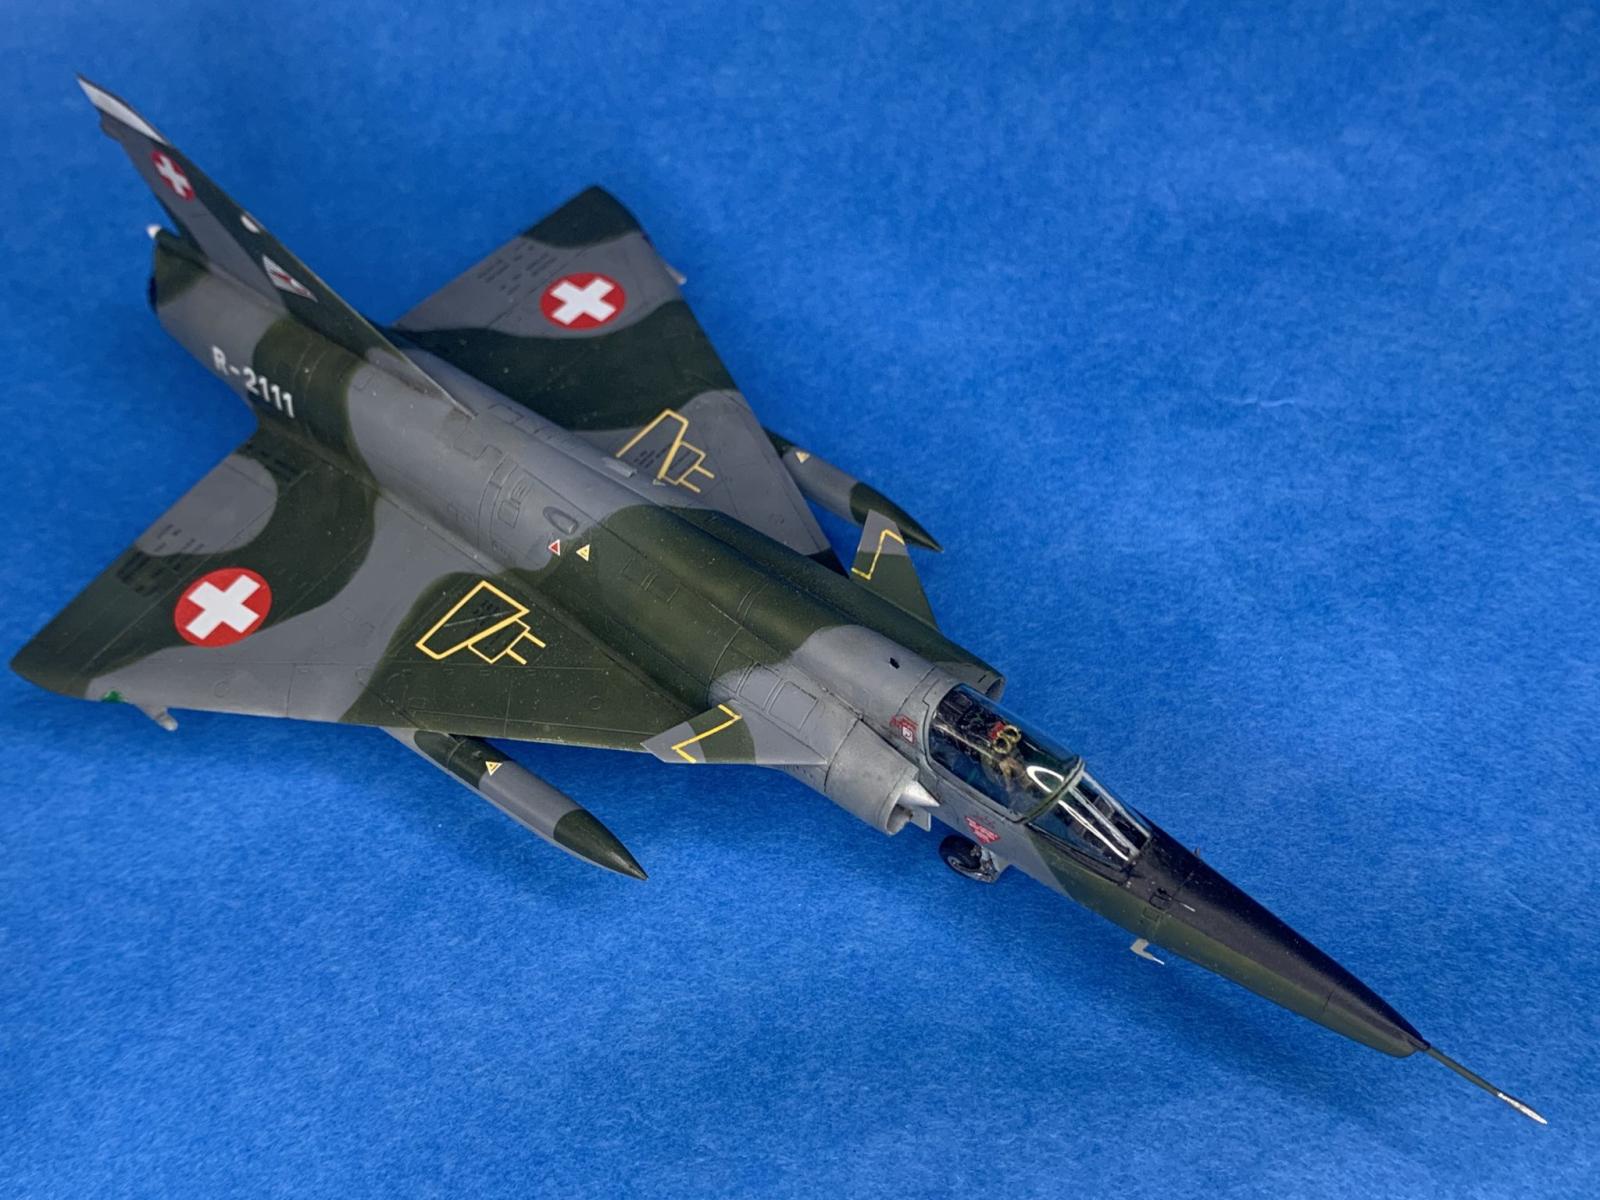
Paint was two-tone green and gray, using Tamiya XF-67 (Nato Green) and Vallejo ModelAir FS36176 (Ocean Gray) over Alclad II gray primer. Underside was painted with Vallejo ModelAir FS36622 (USAF Light Gull Gray). I used silly putty to set up the paint demarcations.
Decals were clear and nicely opaque. I did not encounter any issues other than some minor silvering, something that could be resolved with a very good gloss coat (which I admittedly did not do a good job of). Finally, the probes were attached from the PE fret. I am on the fence on whether the PE probes are any real improvement, as they look two-dimensional and flat. However, the short-run nature of this kit means that small parts molded in plastic are a bit on the chunky side. The undernose antenna and canards were added after stores and landing gear were added. The placing of the canards were rather vague, and was a bit nerve-racking having to make sure they were symmetrical.
Despite some of the difficulties, I found the PJ Productions Mirage III enjoyable. There are a few challenges in construction, but nothing that would cause the builder to give up in frustration. This kit would be a good introduction to limited run builds. It is also significantly cheaper and easier to find that the previous resin kits. Between HPM and PJ, they’ve released almost every version of the Mirage III and V to date, as well as the ENAER Pantera and Atlas Cheetah variants so you’ll be spoiled for choice.
I highly recommend this excellent (but challenging) kit. Thanks to PJ Production for the opportunity to review this kit.
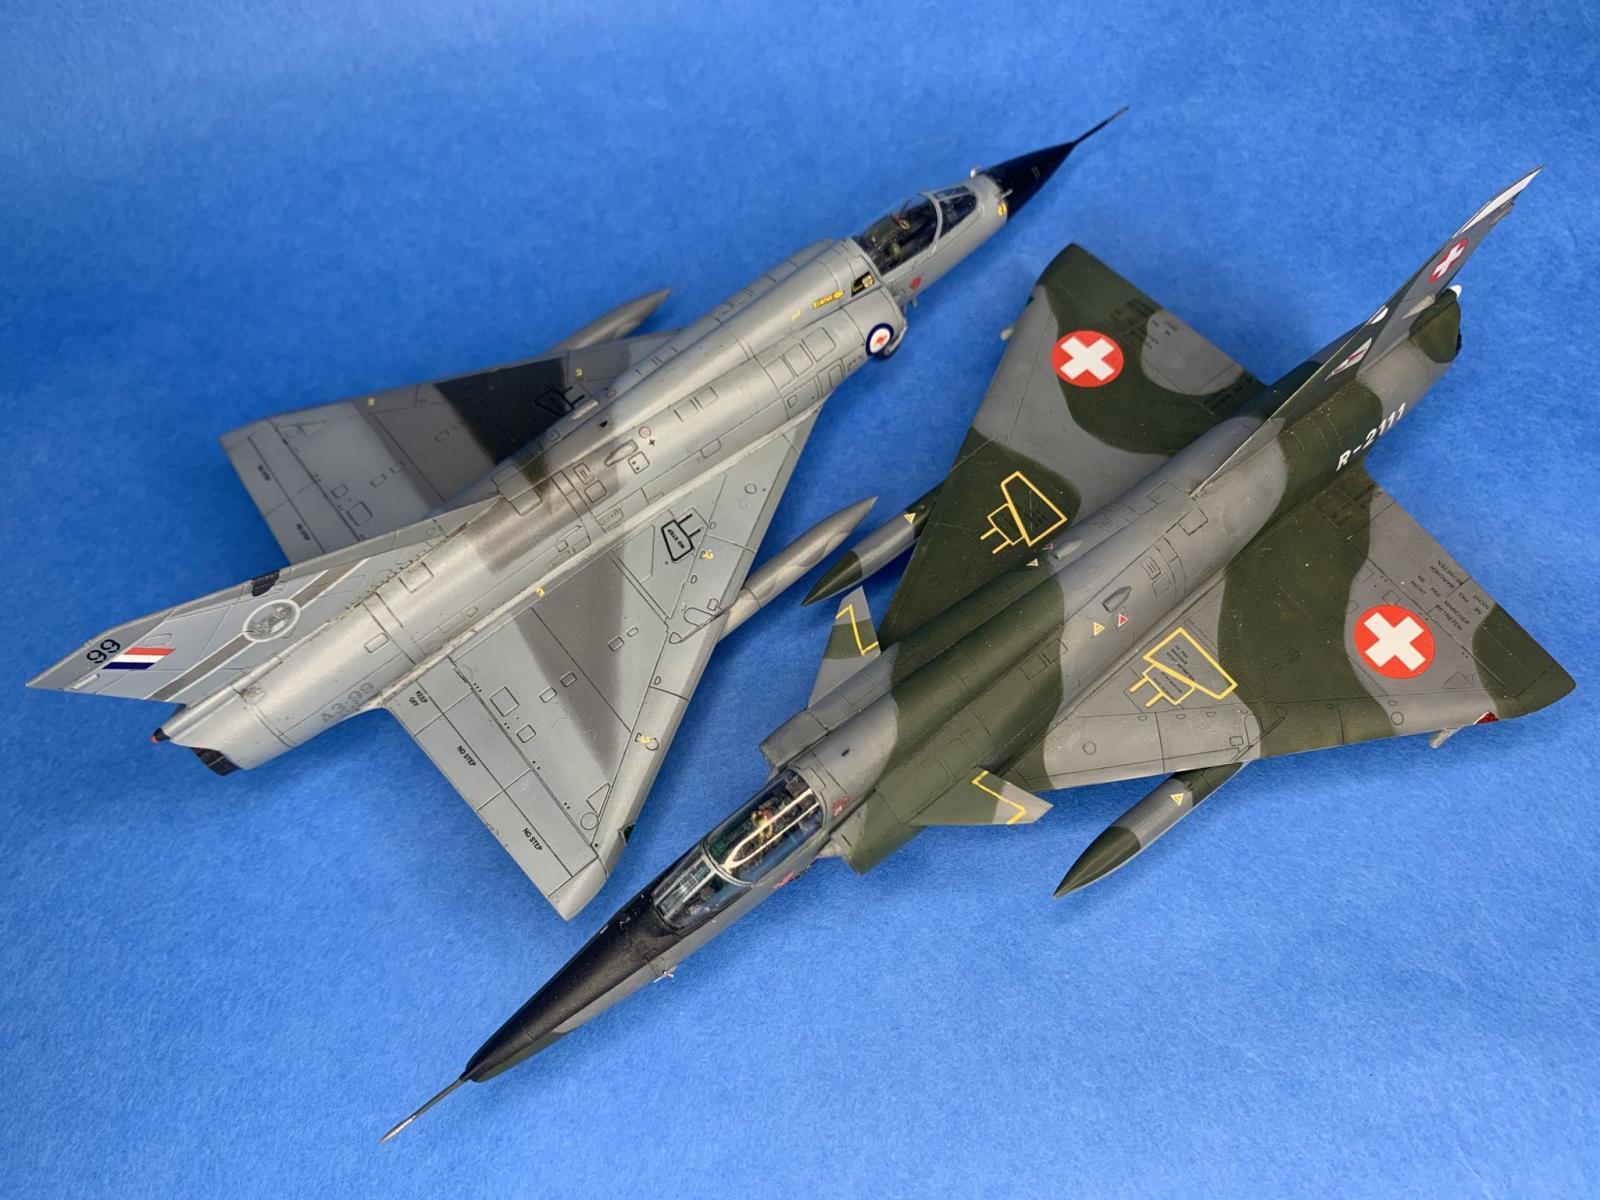
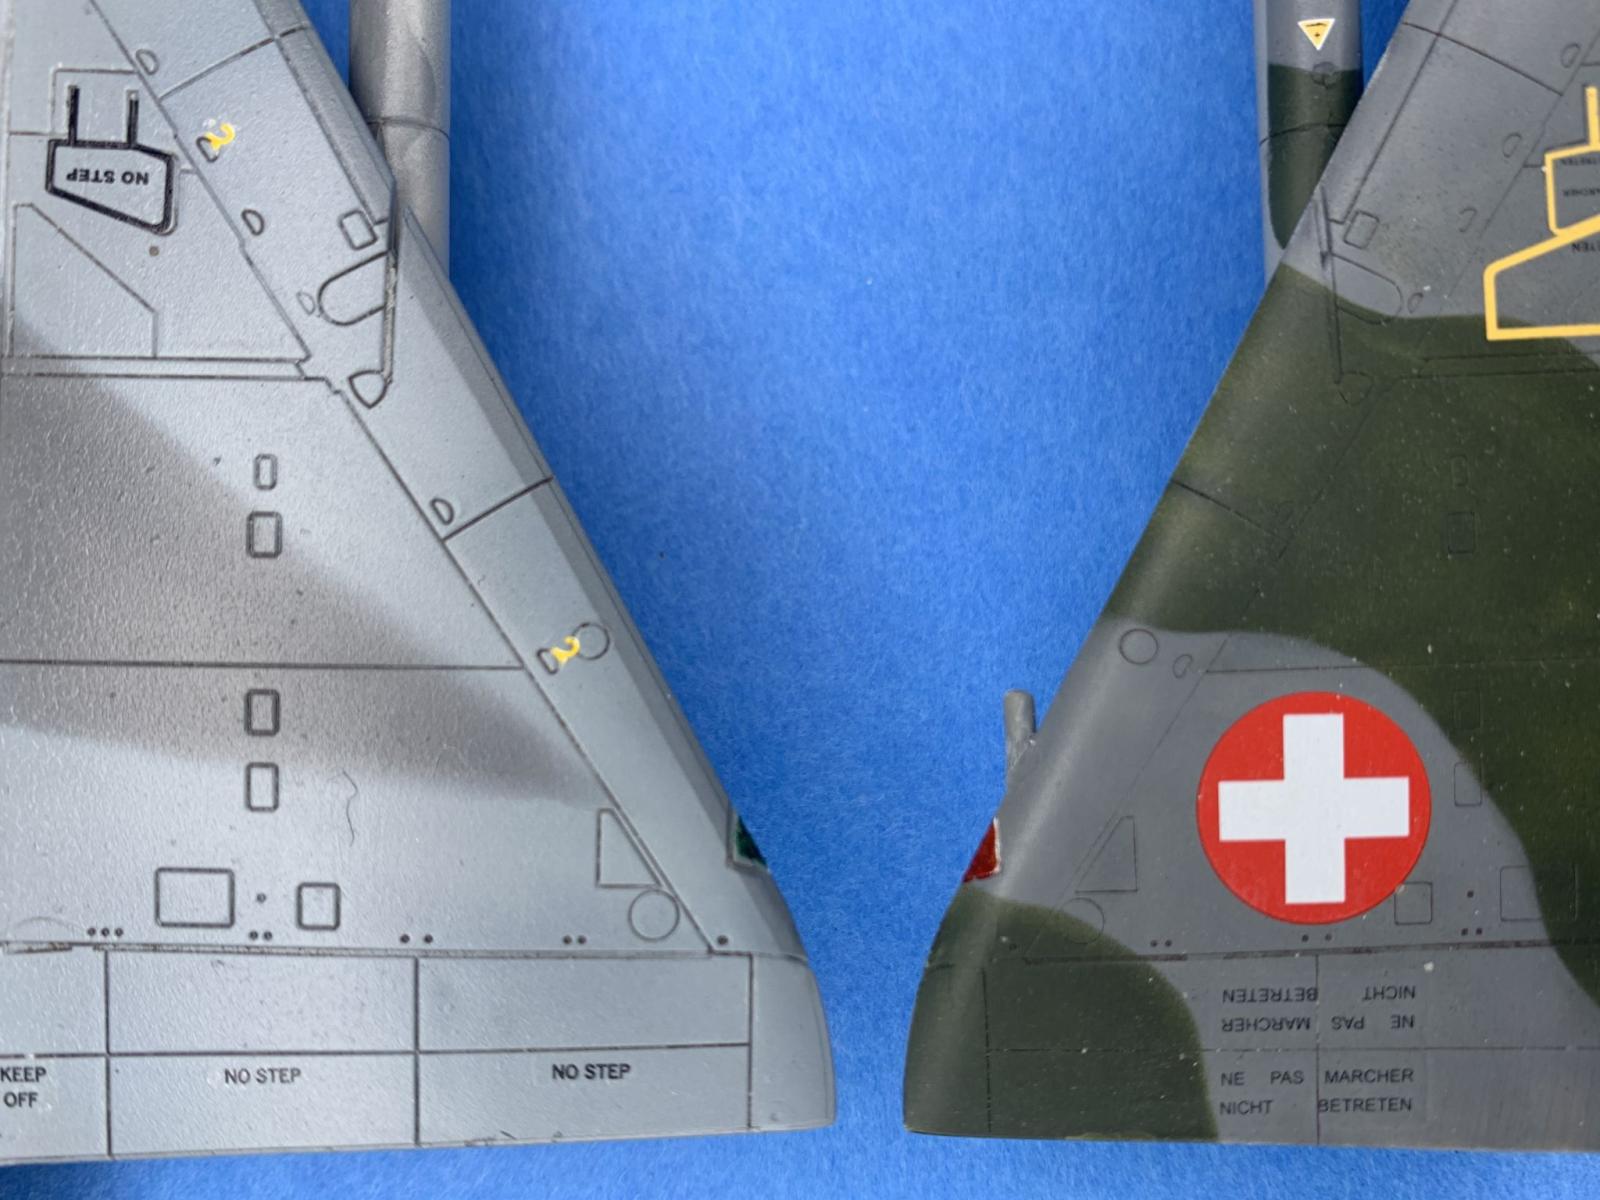
Comparing the 2nd and 3rd Generations of the HPM Base Kit
As mentioned earlier, this is the 3rd generation mold released around 2016. It is essentially the same kit as the 2nd generation, except for the finer panel lines. Parts from both generation kits are interchangeable. I would recommend using the 3rd generation kit for natural metal paint schemes. I have included images of the wings from the 2nd and 3rd generation kits as comparison, as well as images of a 2nd generation built up as an RAAF IIIO. Despite the wider panel lines, the 2nd generation still builds up into a nice kit.
Addendum
While doing some research for this build, I came upon a review of the older Mirage IIIRS kit, which was the original PJ Production resin kit, reviewed by the late Clarence Wentzel. When I started modeling again in college, Clare was one of the guys at my local IPMS club (Kalamazoo at the time) who constantly encouraged me and always had positive feedback that ended up improving my work. I attribute a lot of what I’ve learned in modeling to him. Clare was also the Make-And-Take guy at the club, always running Make-And-Takes for the club contest. I thought it was bit poignant that I would end up reviewing the newer generation of the kit that he built many years earlier.


Comments
Add new comment
This site is protected by reCAPTCHA and the Google Privacy Policy and Terms of Service apply.
Similar Reviews